
Dane Kouttron
Project Documentation: 03/2014 Reformatted: 01/2024
Imaging Balloon of Science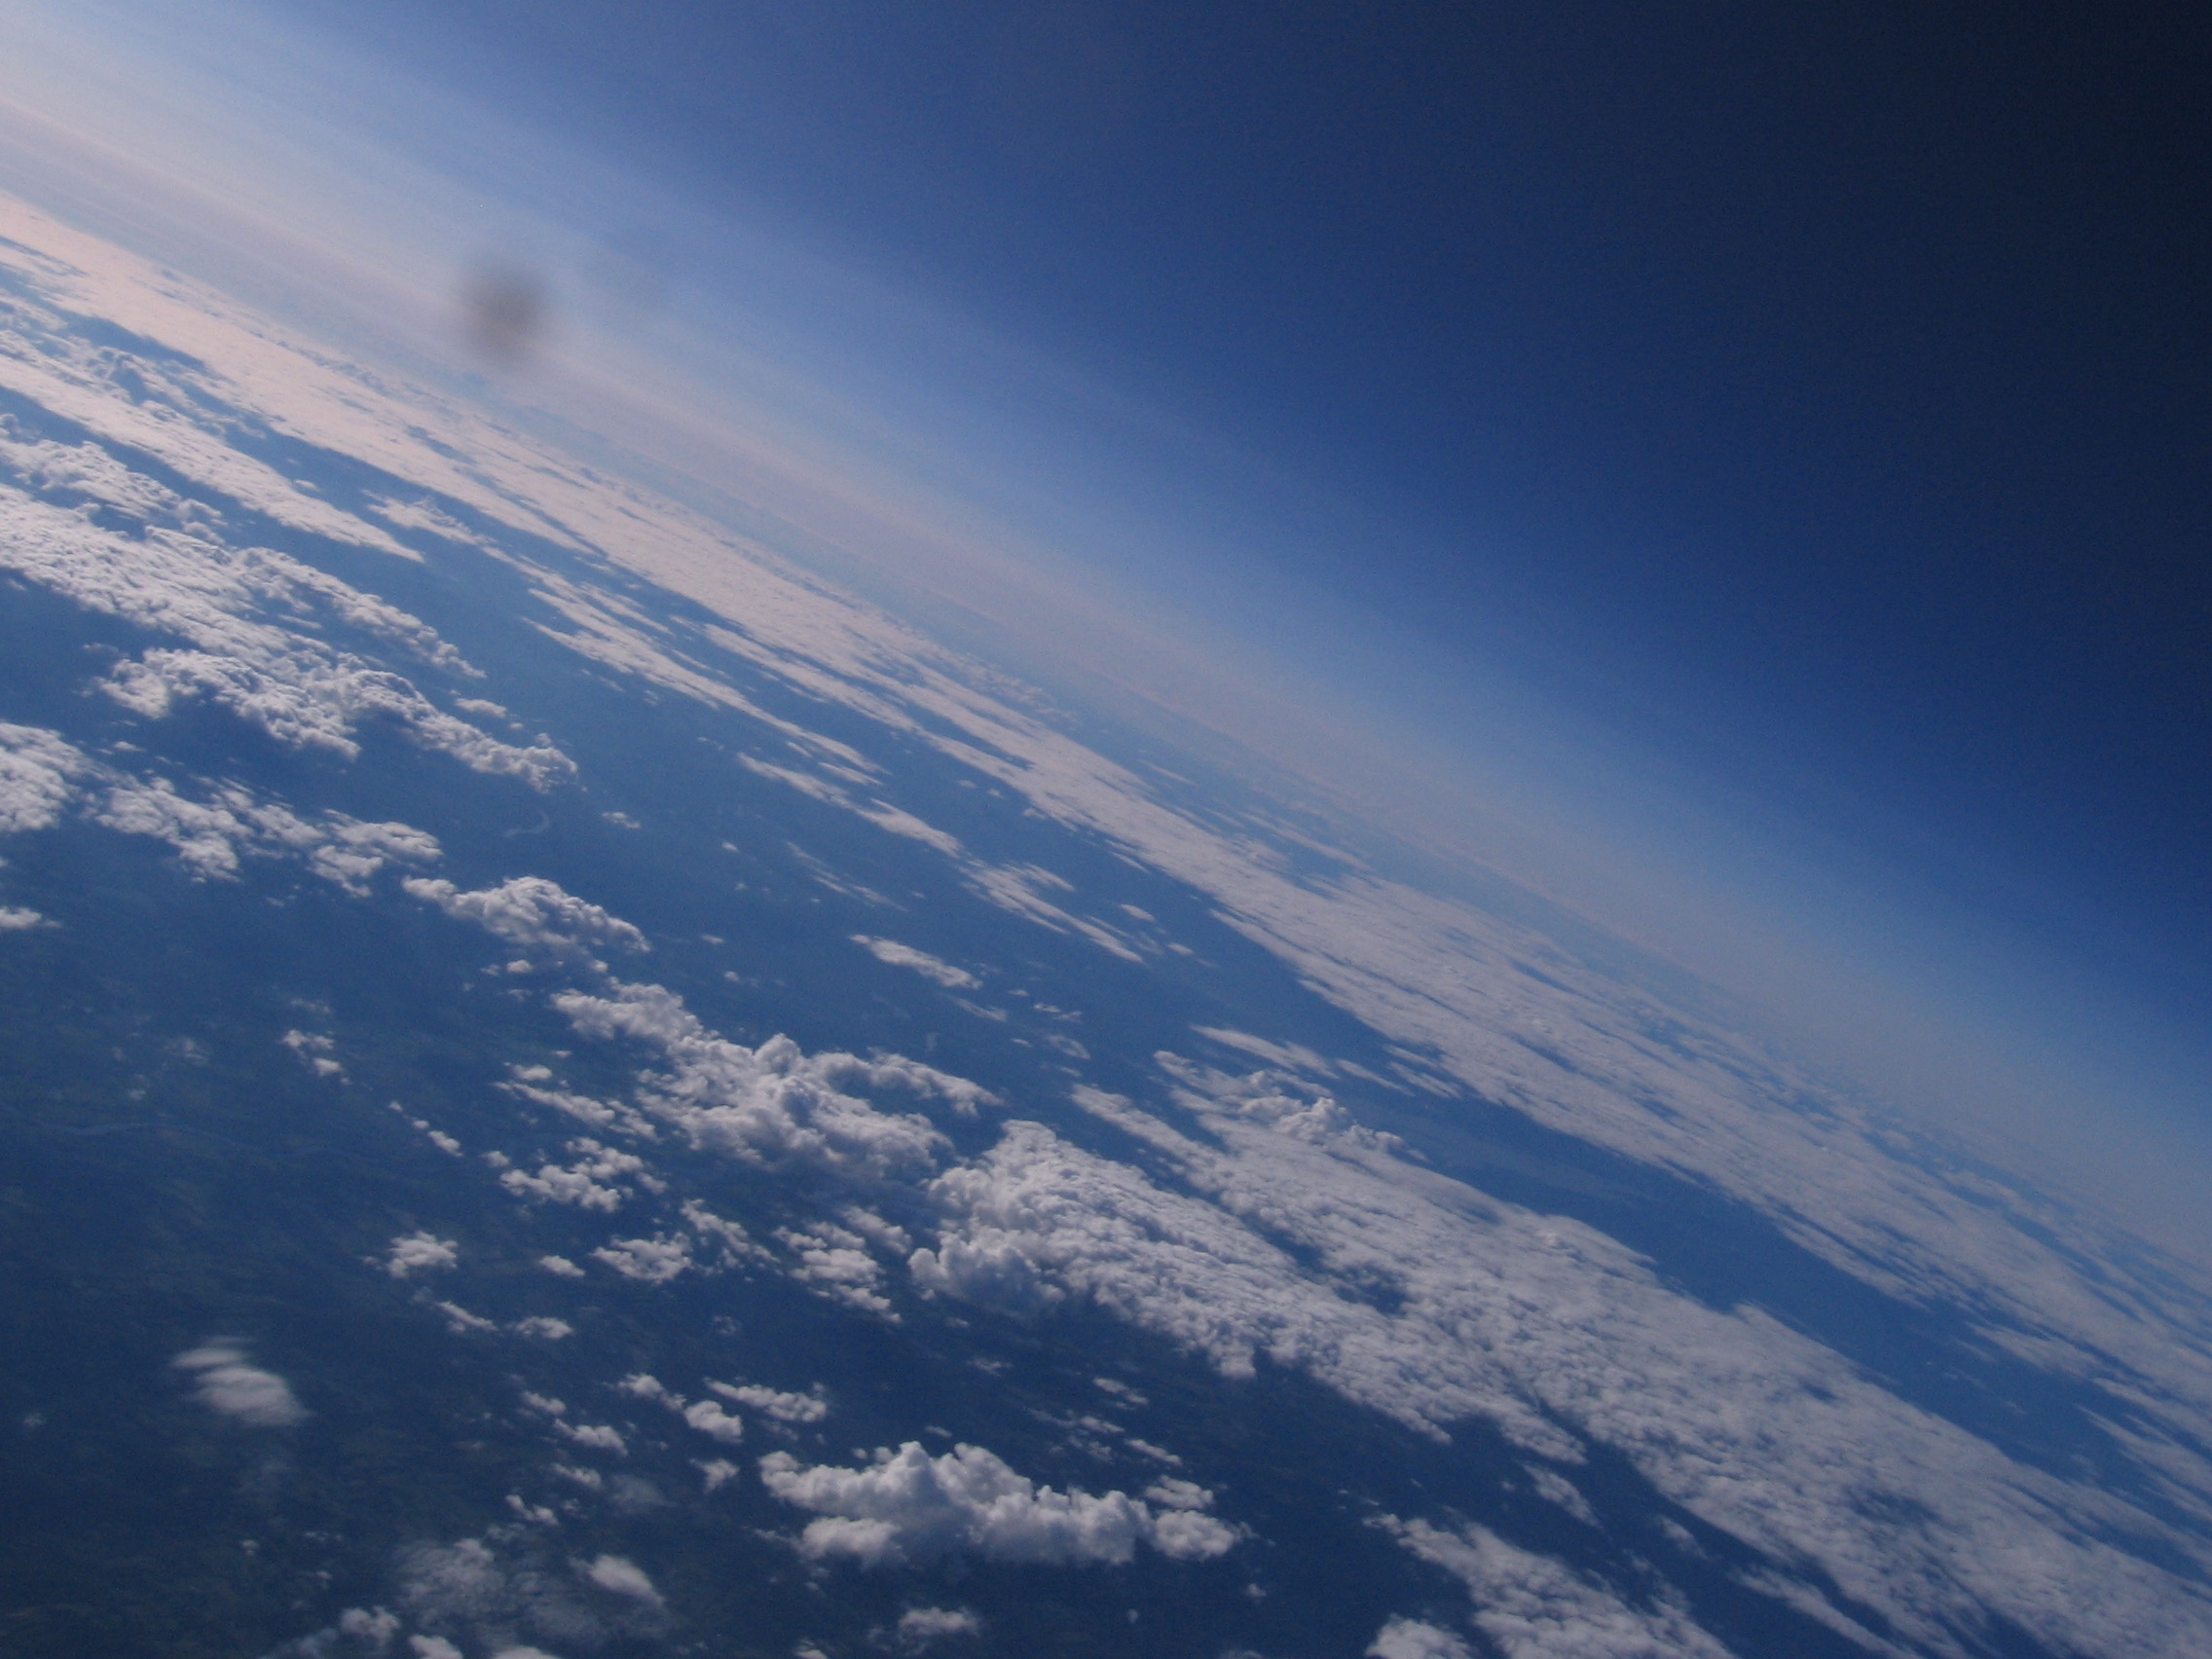
Creating a near-space imaging vehicle in under 30 hours (aka a beer cooler, that ran Linux). Seeing the curvature of the earth from the eyes of your own machine, is awesome. Myself and a group of friends sought out to build an imaging balloon for cheap, in the course of a weekend, and to document our findings for subsequent launches and for the Internet. I wanted to do this, made some phone calls, motivated some comrades and did a bunch of leg-work. The results speak for themselves. |
What?This page details the preparation and launch of the IMAGER-1, a haistly-built-in-30-hours imaging balloon, birthed at the RPI Electronics Club during the summer of 2009. Eight multi-diciplinary folks people put aside their busy summer schedules for a weekend of chaos, tinkering and fun. We planned and organized in advance, gathered materials, and managed to build the craft that took the images (shown below) in ~30 hours. 
Video of IMAGER-1 LaunchSystem LayoutThe heart of this project is a donated 600mhz x86 embedded development board, kindly donated by the folks at DEKA, where I had been interning. The devboard ties, over a USB hub to a USB-Serial GPS, a cannon camera and a thumb drive. The OS, kindly shrunken down by the ever fantastic Armenia, lives on the USB thumb drive. The modem / downlink worked over a rs232 serial link to a maxtream transceiver. The goal of the max-stream was to 'yell' down compressed images as the vehicle was in-flight. The project, being haistly thrown together ran into a quirk, the development board required a 5v 2A supply, while the whole balloon ran from a 4S 1P prismatic lithium battery module. Two 'GPS' automotive adapters were paralleled to supply power for the devopment board, the USB hub and the radio downlink. 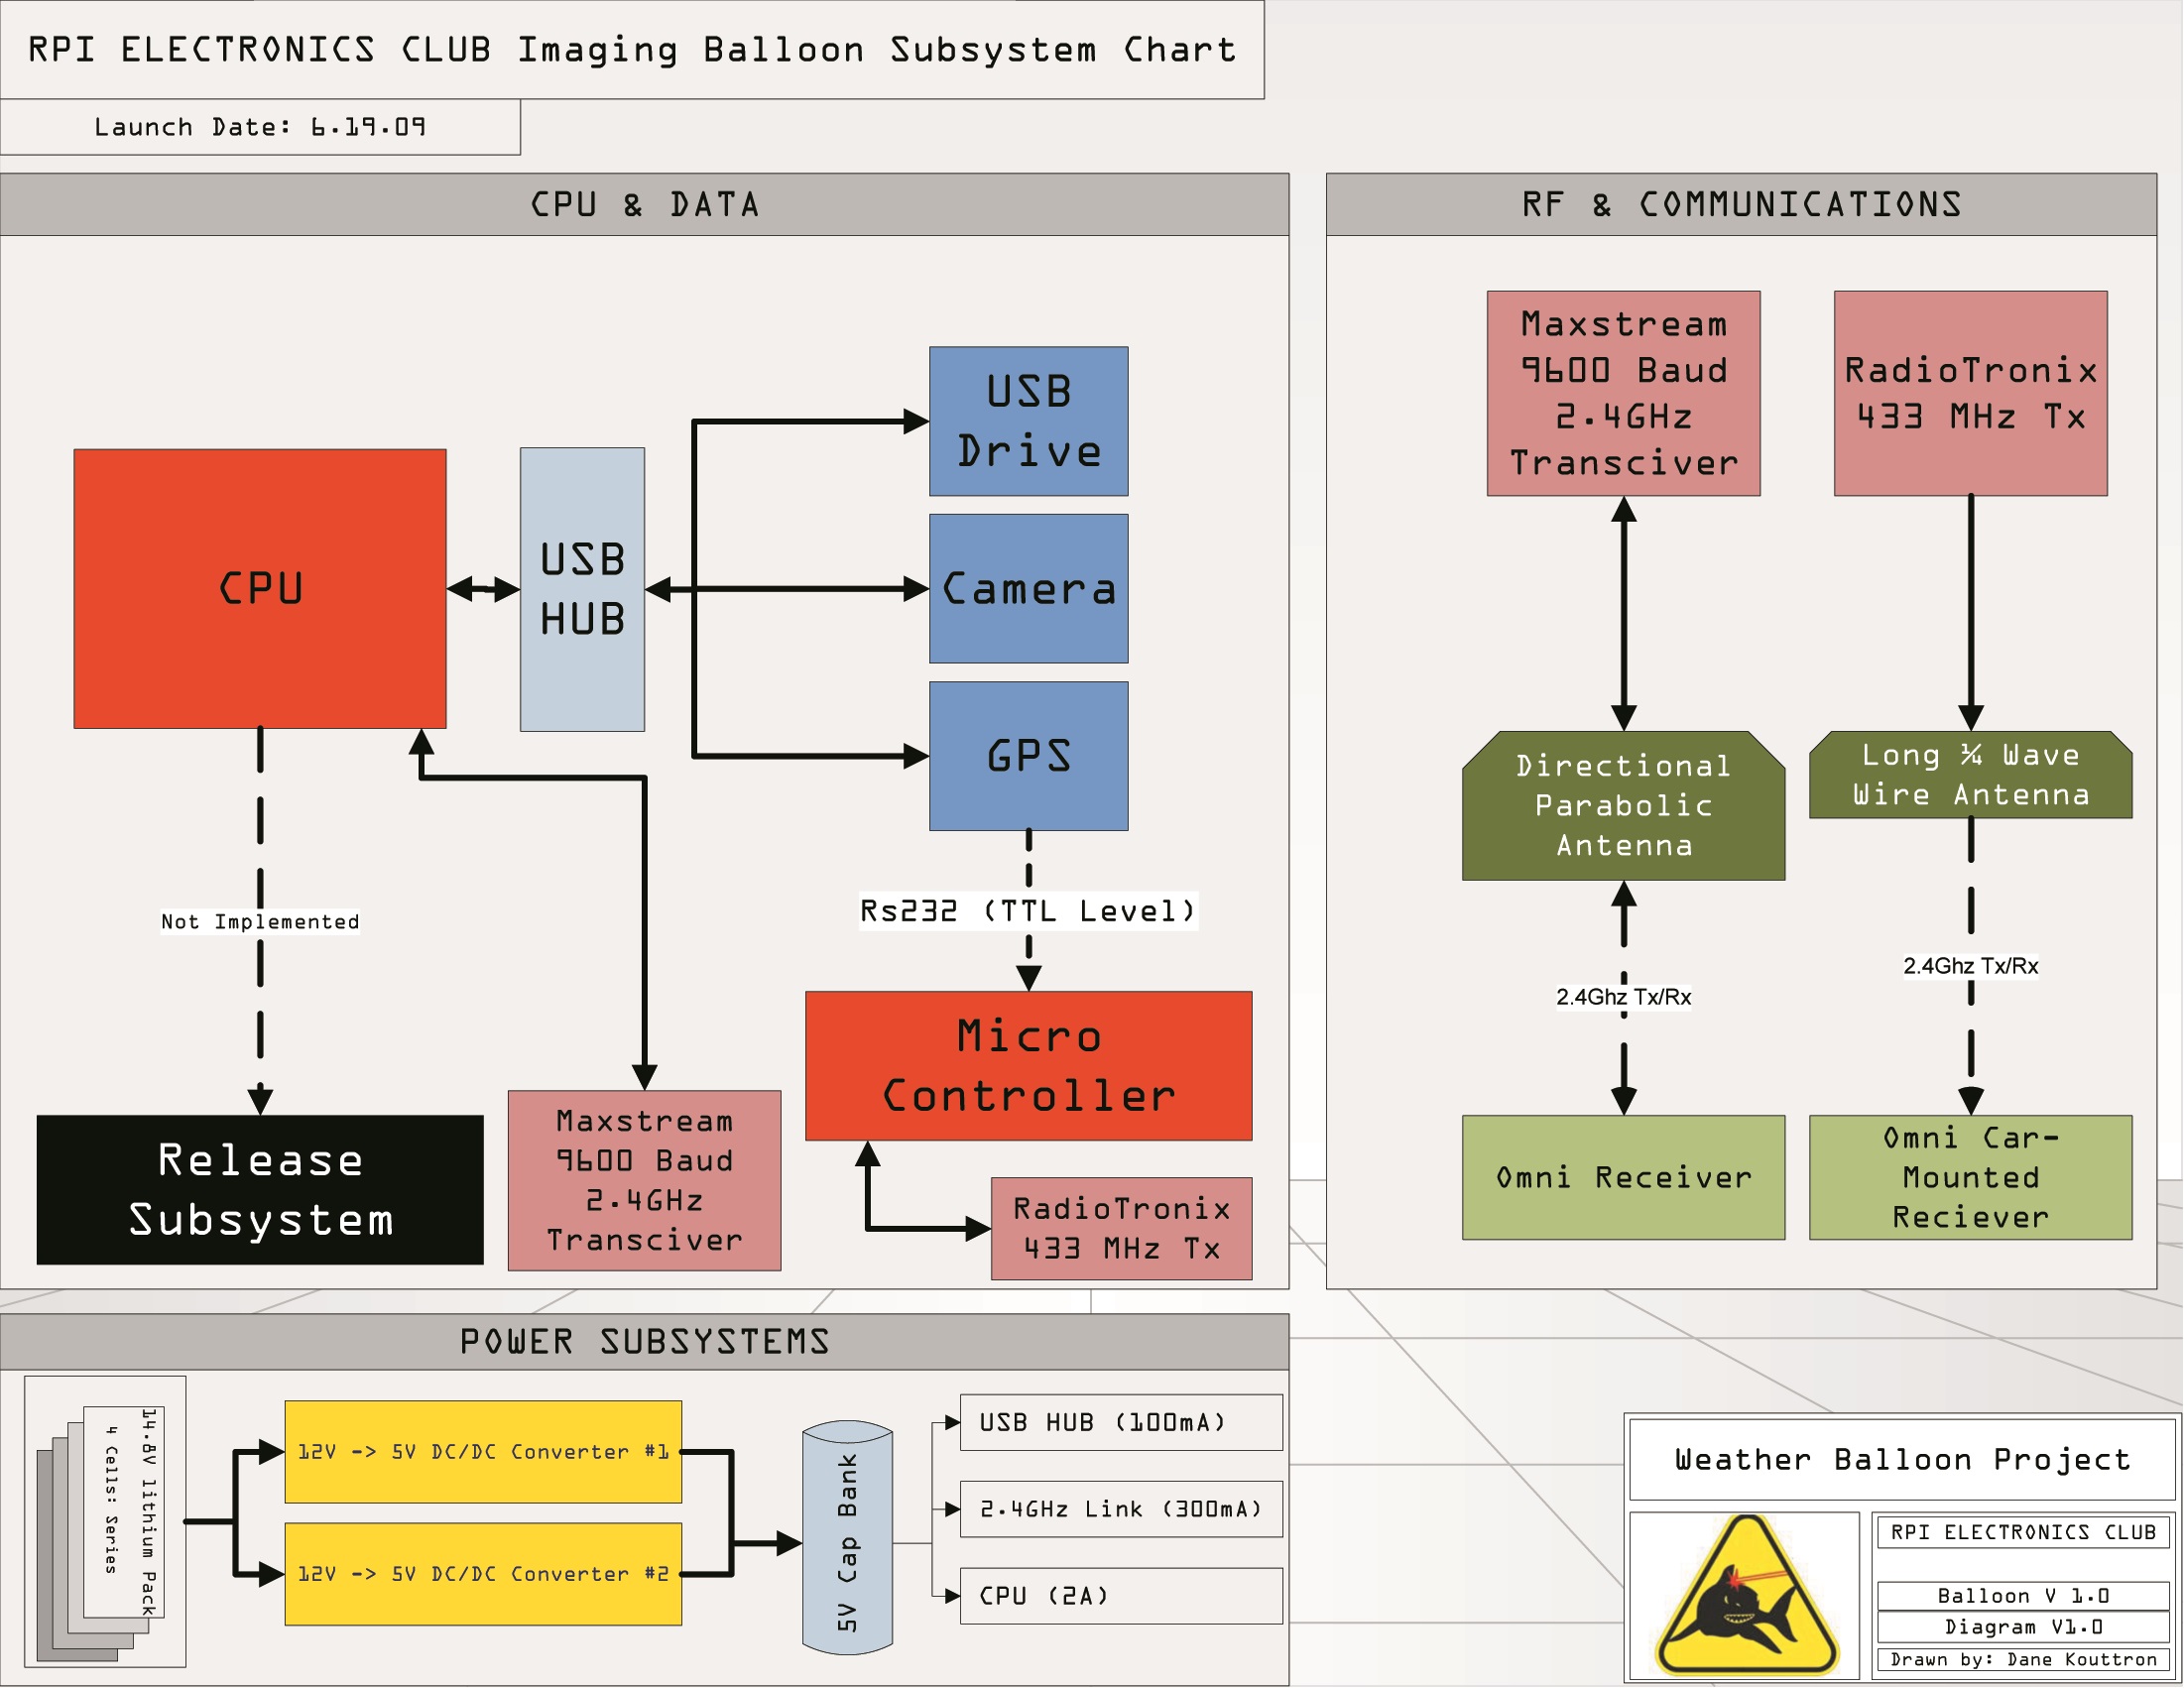
Release MechanismPlanning an escape route. We needed a mechanism to release the payload from the balloon if it drifted too far out to sea or if we needed to terminate the launch. Using the fairly over-used E-CLUB whiteboard, a plan of attack for the release mechanism was thrown together. We had a few initial plans to use as a release: a pin-release mechanism, heating the nylon cord until it melted, and some ungodly exploding cylinder. A solenoid based release was tinkered with, using the solenoid to pull a pin, separating the balloon from the payload. 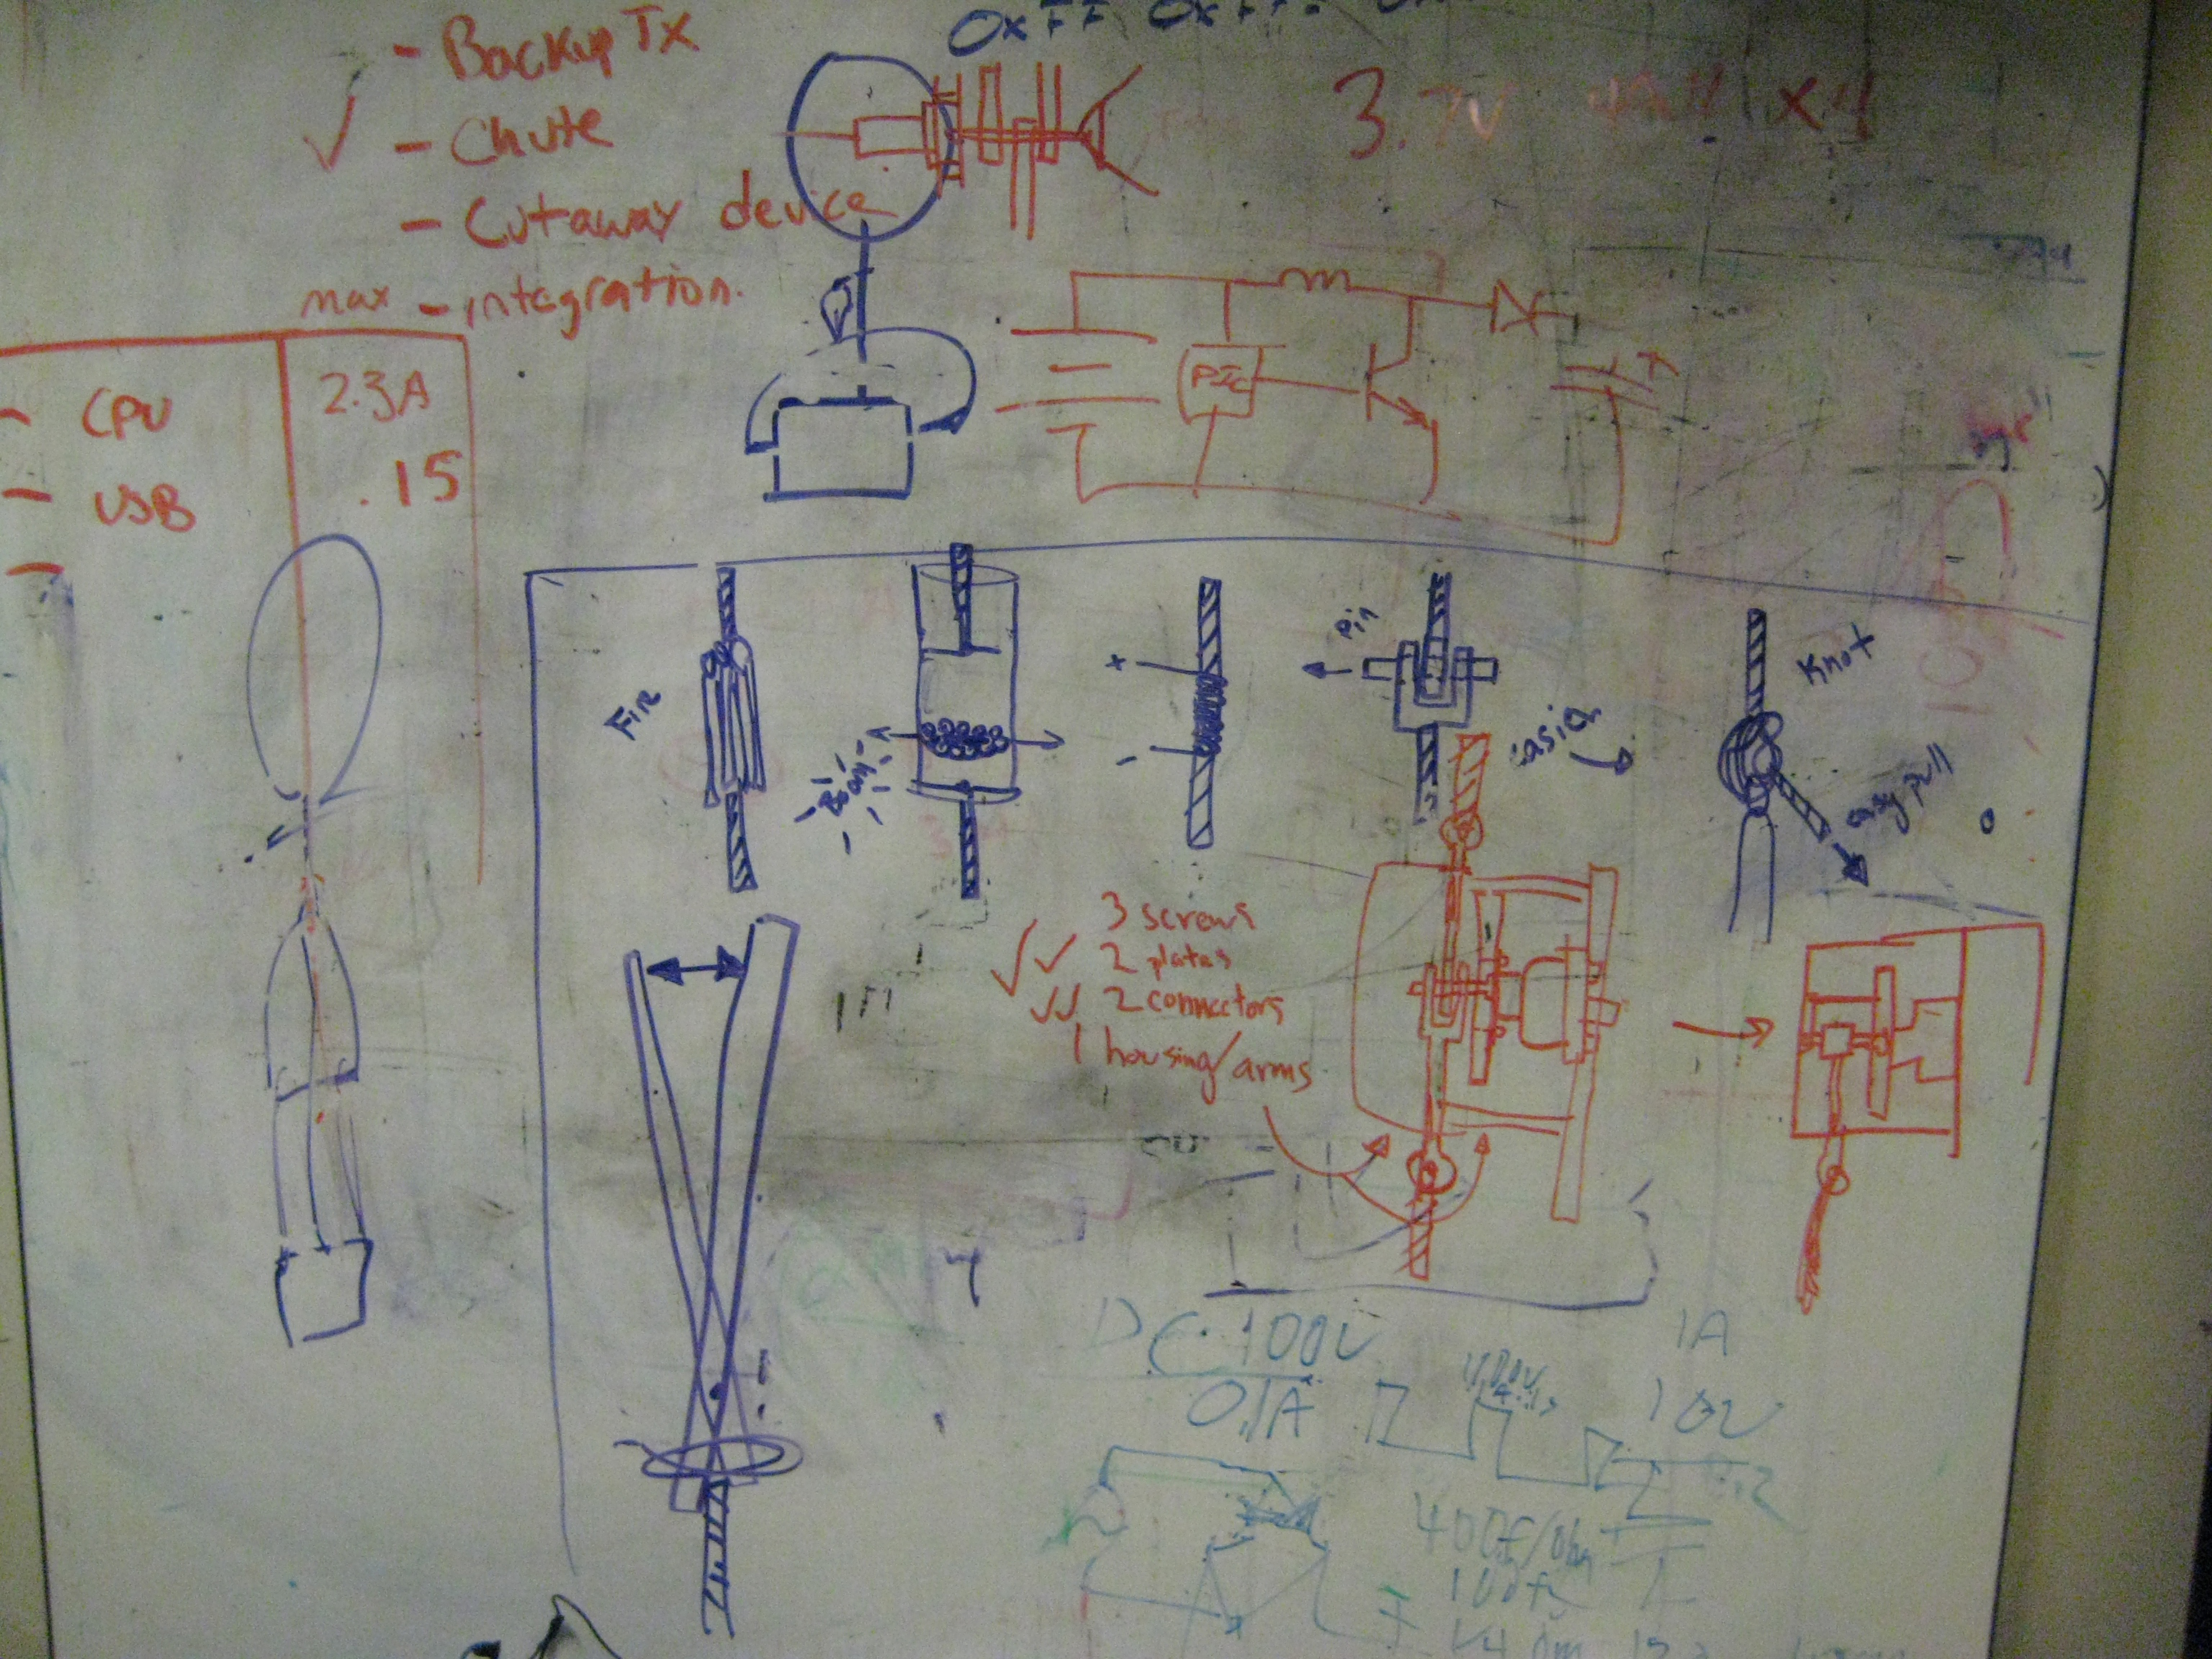
A launch release mechanism. The following were tested as a potential 'release balloon from payload' mechanism. It is a miscellaneous crufty solenoid and a latching mechanism fabricated from cut up sheet metal. The solenoid was nominally 24v actuated and single-direction. The tiny pin, shown on the far left would rapidly retreat back into the casing, separating the balloon from the payload. the elastic strap, on the far right, would hold the pin in place for a majority of the ride up. 
More Solenoids. A close up of the solenoid and release testing. The solenoid held fairly well but ended up being rather heavy. The 'bank' of capacitors was our emulated craft-weight. The mechanism pulled a rod from between two plates. It required a fair amount of force to pull the two strings apart with a lot of force laterally pulling on it. 
Danger Danger, High Voltage. to trigger the solenoid driven release mechanism, a set of 9v batteries were ran in series to provide a high voltage pulse, pulling the solenoid from the binding mechanism. Operating the solenoid at 12v didnt provide a significant amount of force, not nearly enough to override the static friction of the two rope assemblies that it was holding in place / able to release. 
Testing the solenoid release mechanism. The solenoid release mechanism was tested using a HV cap manually connected to the solenoid drive. We found that it would take ~60+v to reliably rip the solenoid out from the two connecting cables. The team debated just charging the cap before launch, or running eight 9V batteries in series and actuating via relay. A mass of capacitors was used as a weight in this video. CPU, Image Magic and HardwareThe embedded cpu for the balloon project was kindly donated from the folks at DEKA, where i had been intern-ing for the summer. It was a 10W 5v powered 400mhz X86 development board, with USB, onboard hardware rs232 and a few GPIO pins for external interfacing. Here's the datasheet for the beast [link] [mirror]. A lions share of the development work was completed by the ever awesome Andrew Armenia. 
Powering the balloon in-air. Regulated 5V and 2A is a bit of juice, and given that it was 2009, high-power, easily available DC/DC supplies werent quite off-the-shelf available, as they are presently with IPAD's and more power hungry gadgets. So, the ever resourceful streitman-meister purchased two 5v automotive 1A GPS power supplies, and ran them in parallel, using a series resistance. This was our CPU / USB hub power source, mounted ever so carefully with a ziptie to the Styrofoam container housing. What about the battery? Good question. We ran a 4S 1P 5 ampere-hour lipo pack, nominally 78 watt-hours at room temperature. This lipo pouch cell, donated kindly by the ever excellent Charles guan, was light and powerful. 
Extra power for the camera. Our camera was a 'craigslst-deluxe' cannon point & shoot. It came with a broken battery bay, and using three external 2xAA battery holsters, we aimed for having an extended runtime. The camera ran stock from 2X AA cells (3v). Why the extra juice? Alkaline cells impedance grows signicantly at low temperatures, and we wanted to make sure the camera could counting snapping photos at altitude. 
Soldering everything together. myself and Andrew Armenia put together interface hardware, for tying the usb accessories. The tiniest of which was the USB GPS puck, which, contained a small rs232 gps and a usb-serial converter. We patched 2 lines to the internal rx/tx and used the unfiltered hardware ttl serial data for a microcontroller based position broadcast. 
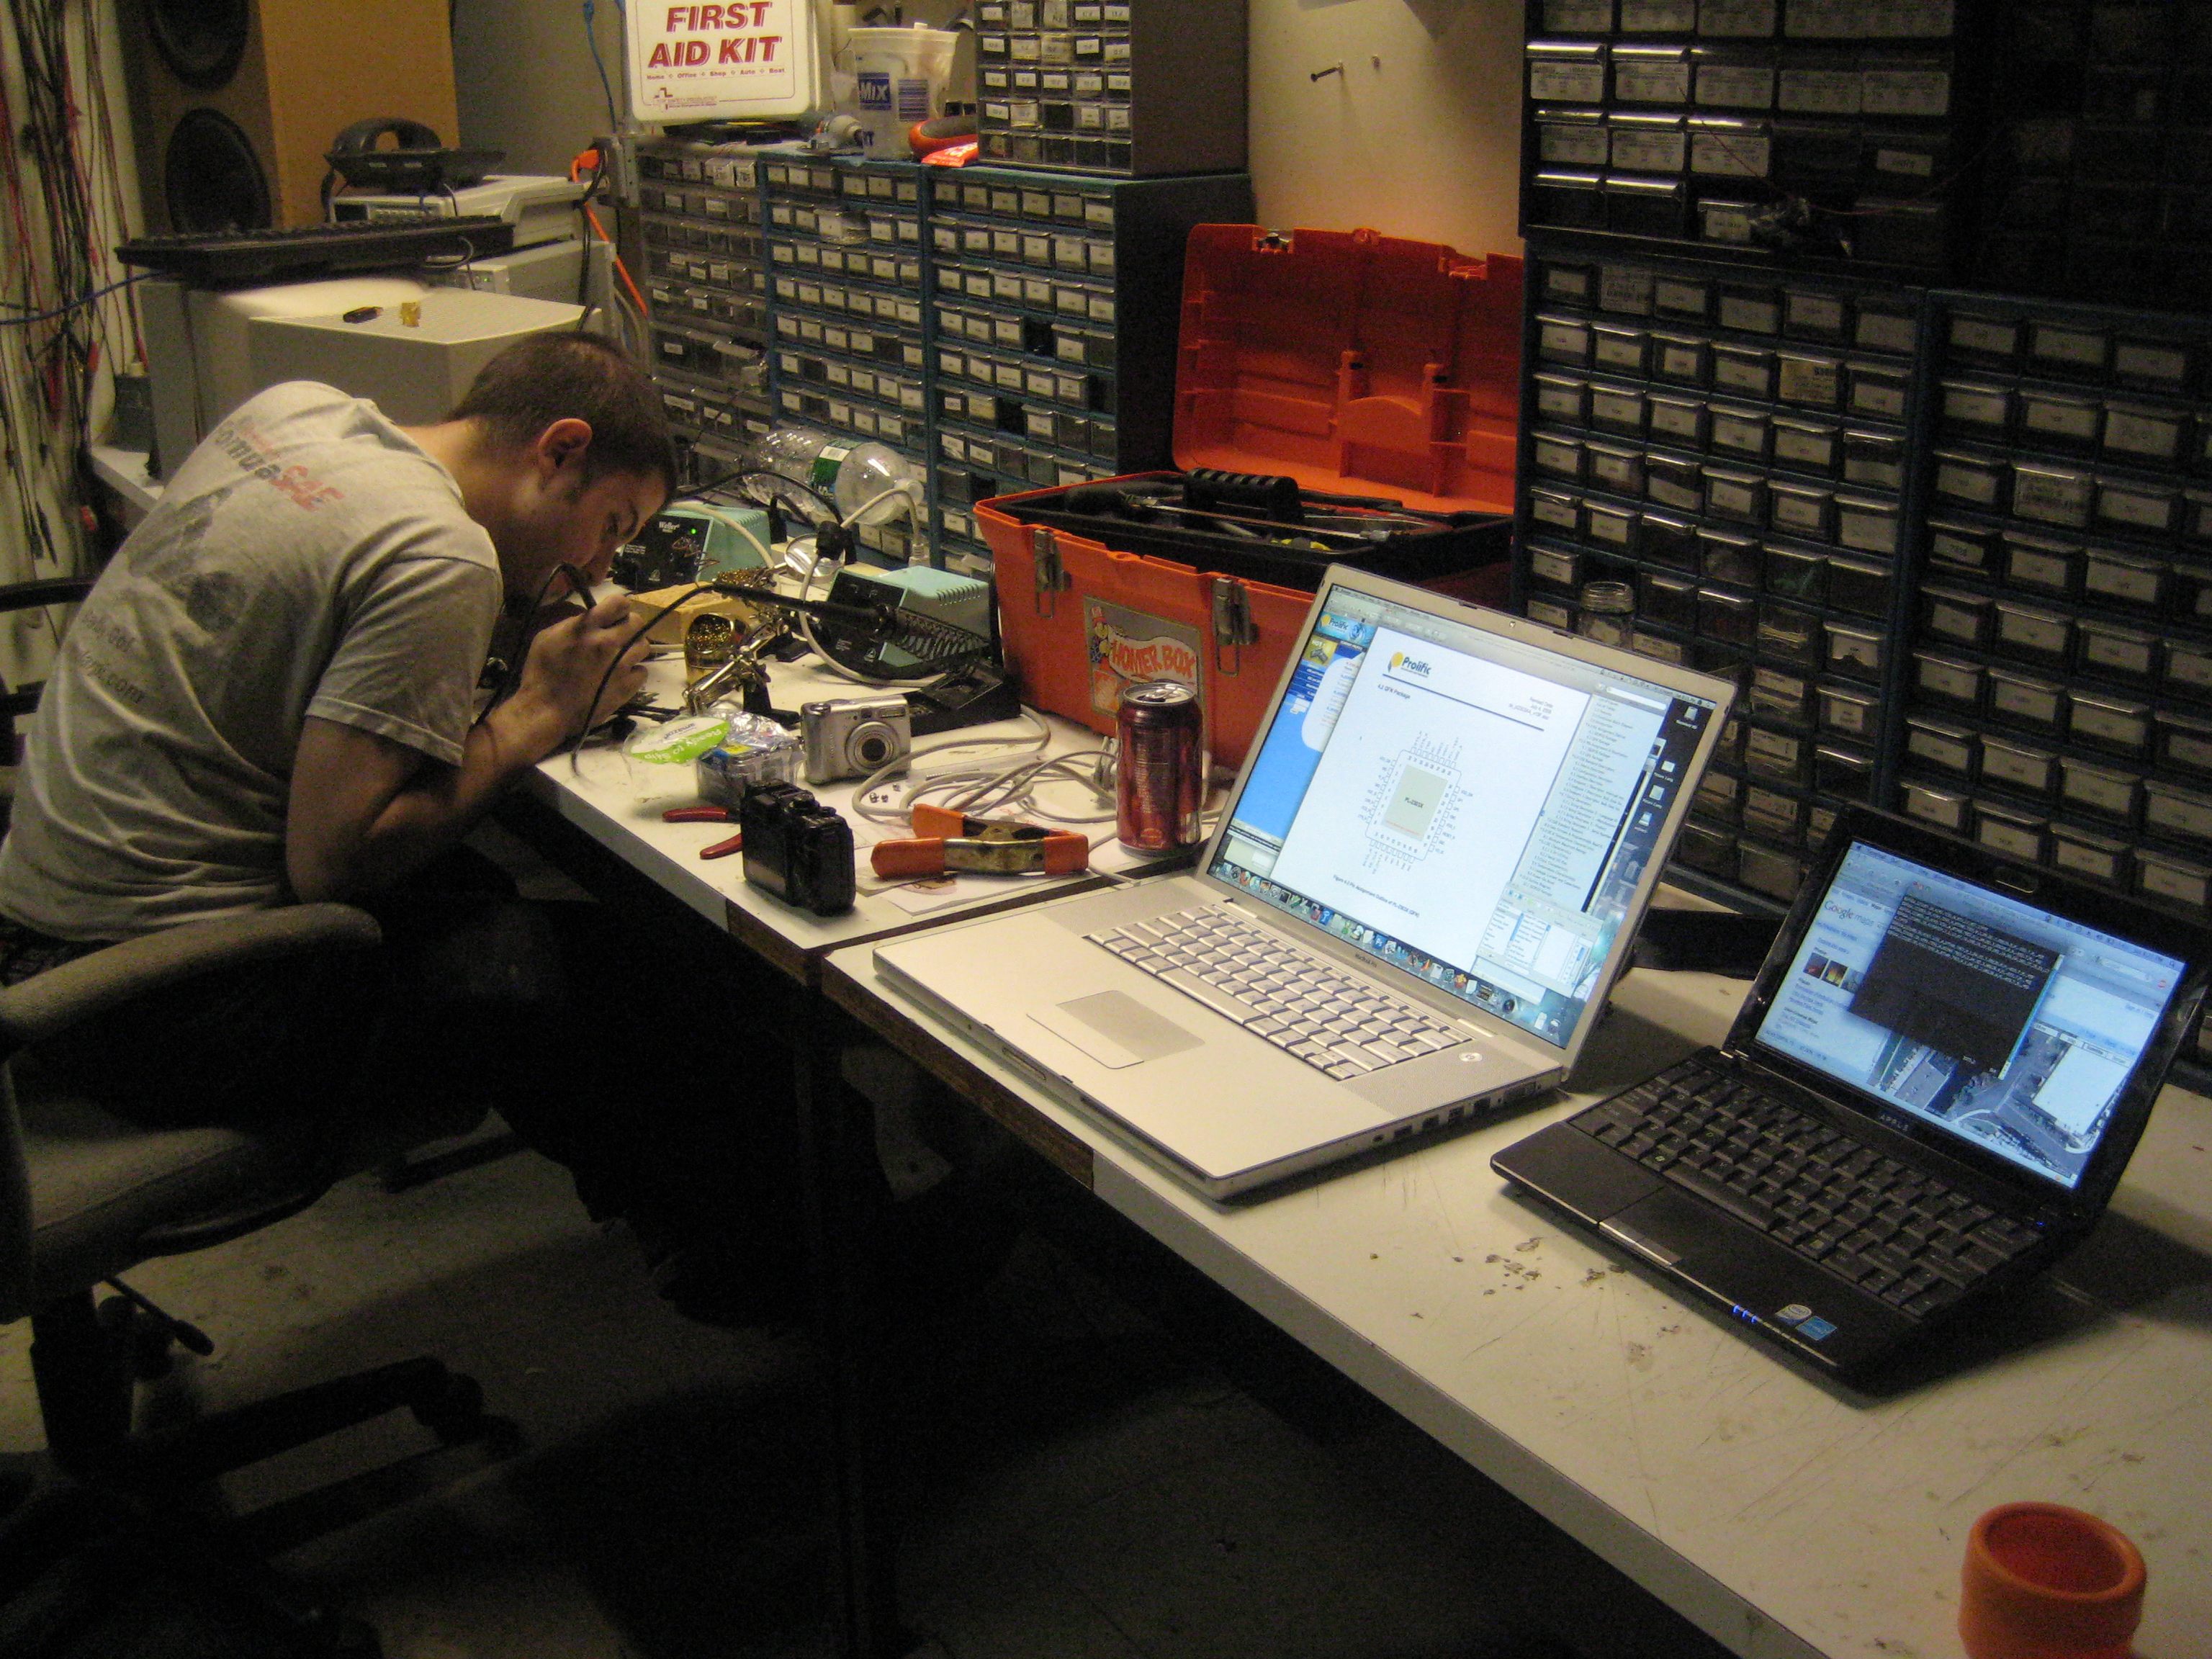
USB / RS232 GPS. A bit more on the USB-GPS. Shown right is the smt IC in question, the onboard usb -> ttl Rs232 converter, which 2 tiny 30 gauge wires were tacked onto to allow for secondary communications in case the cpu went awry. 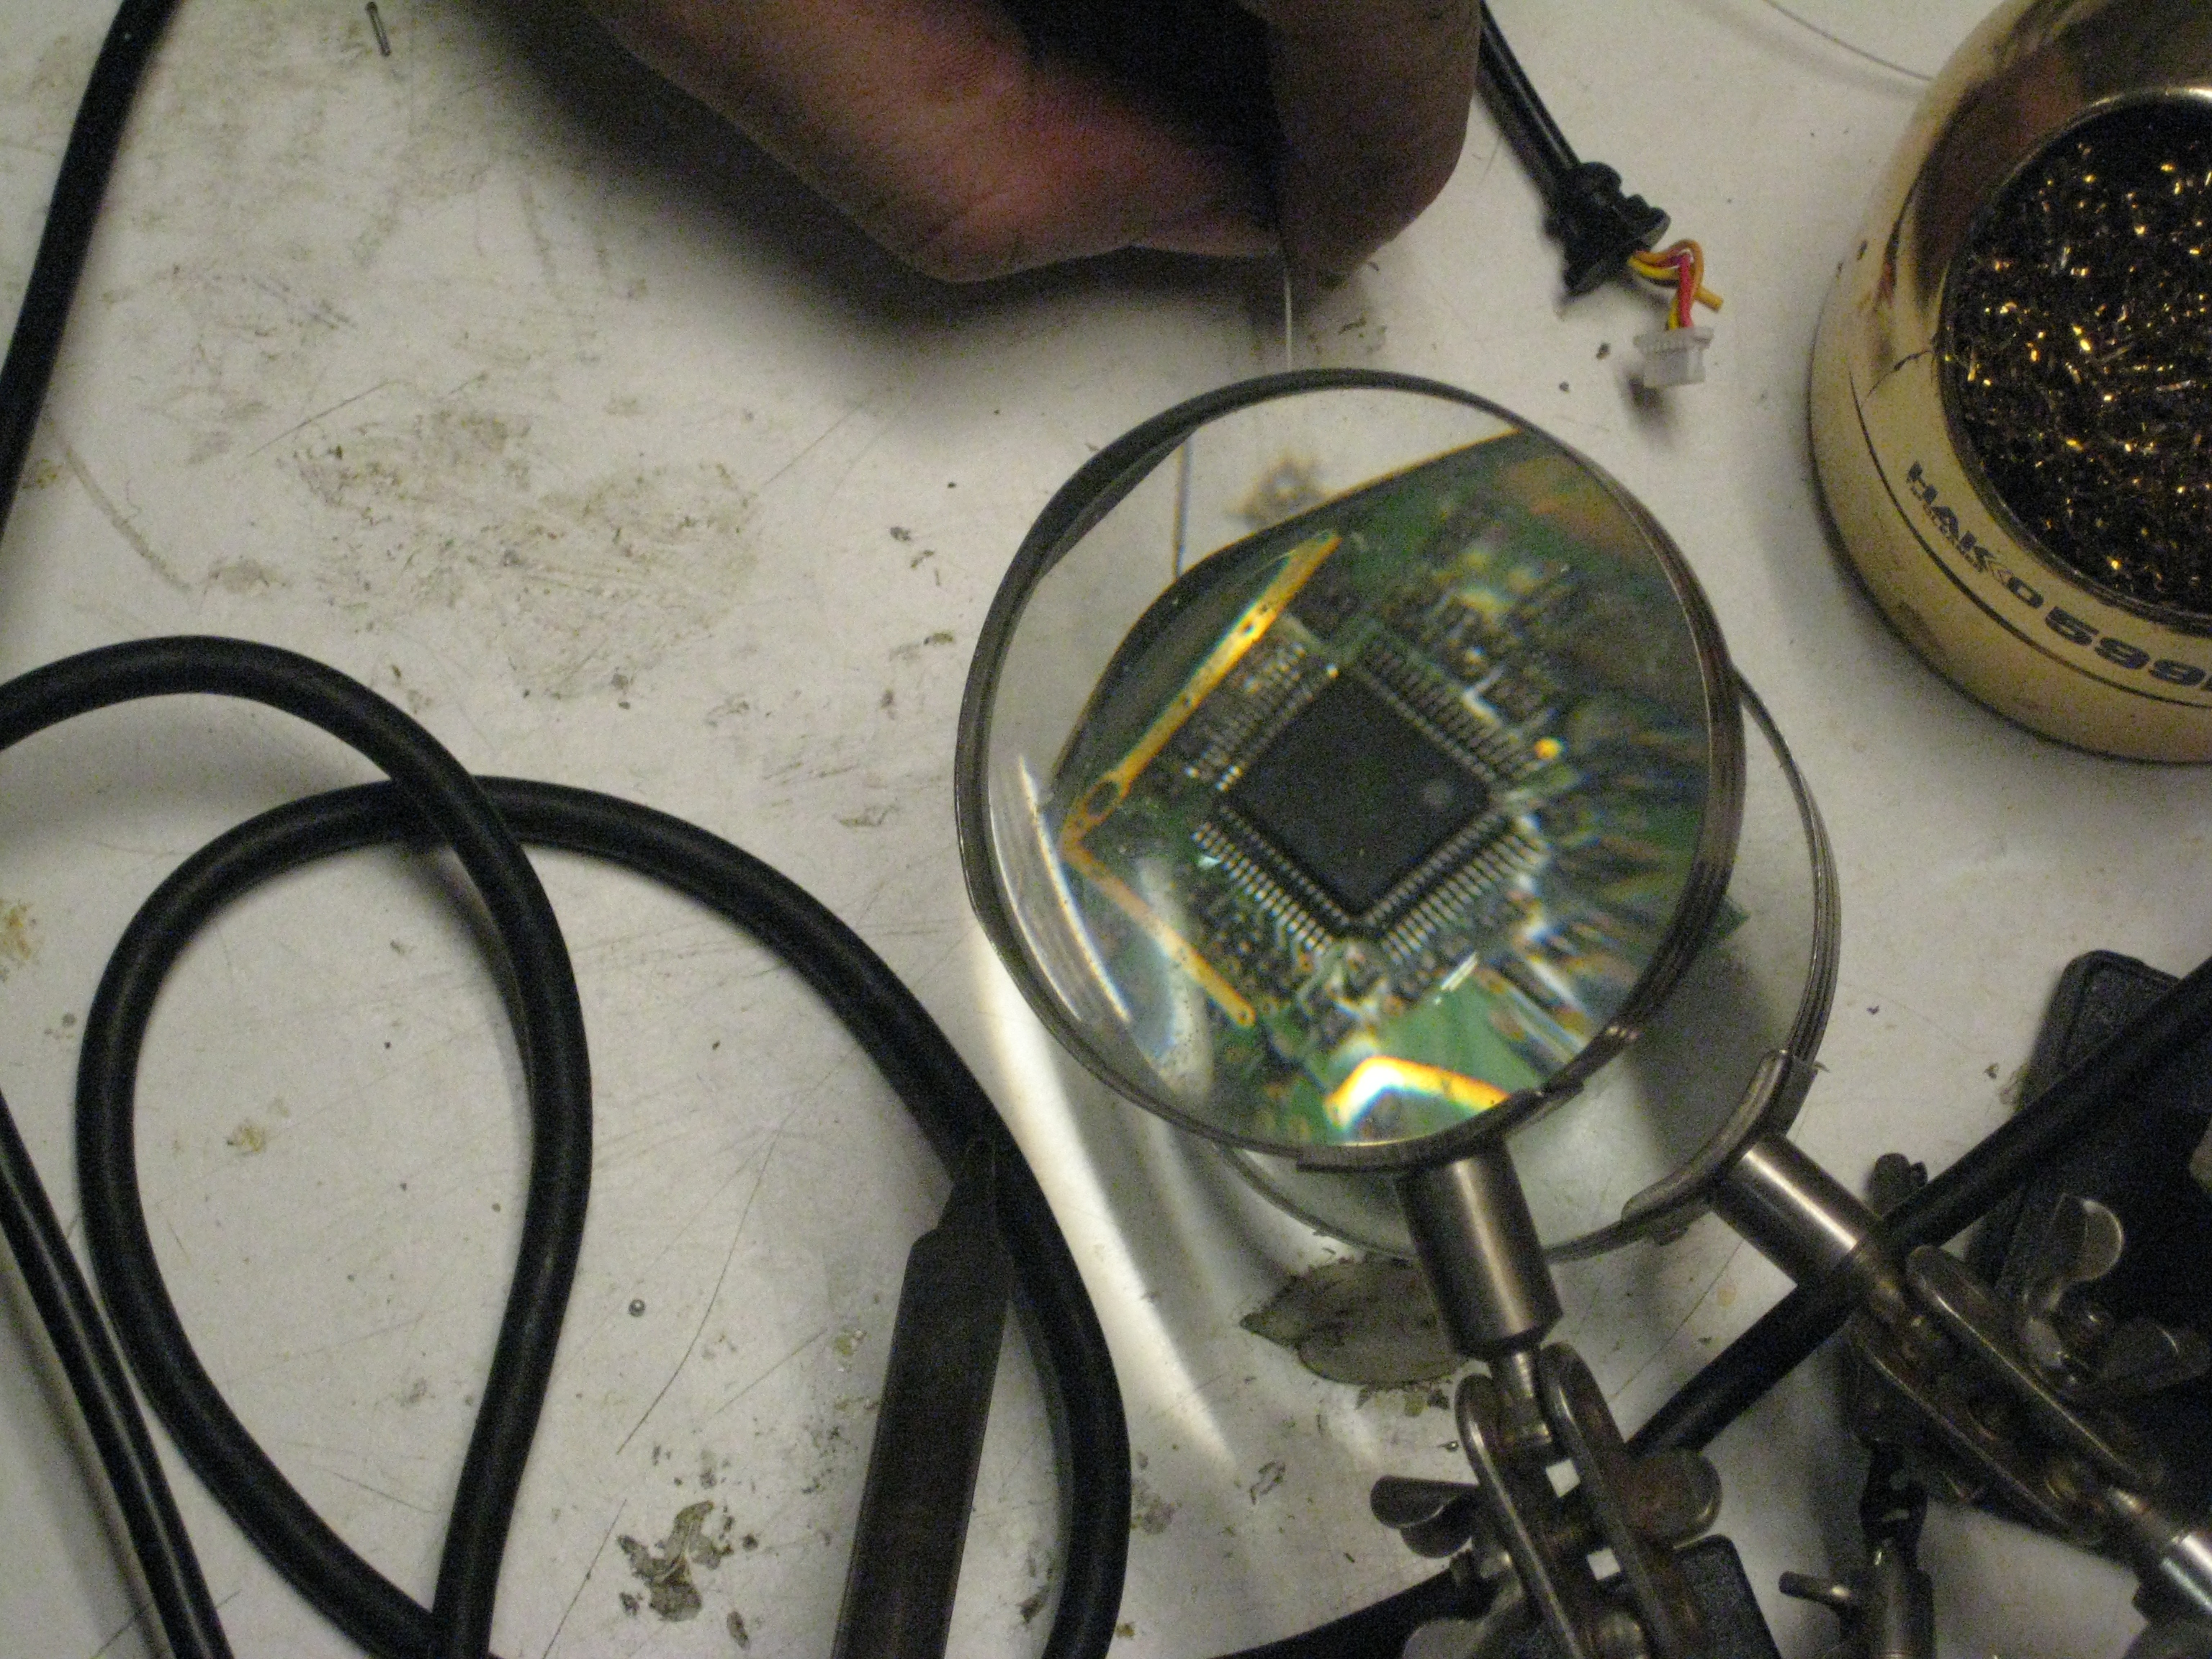
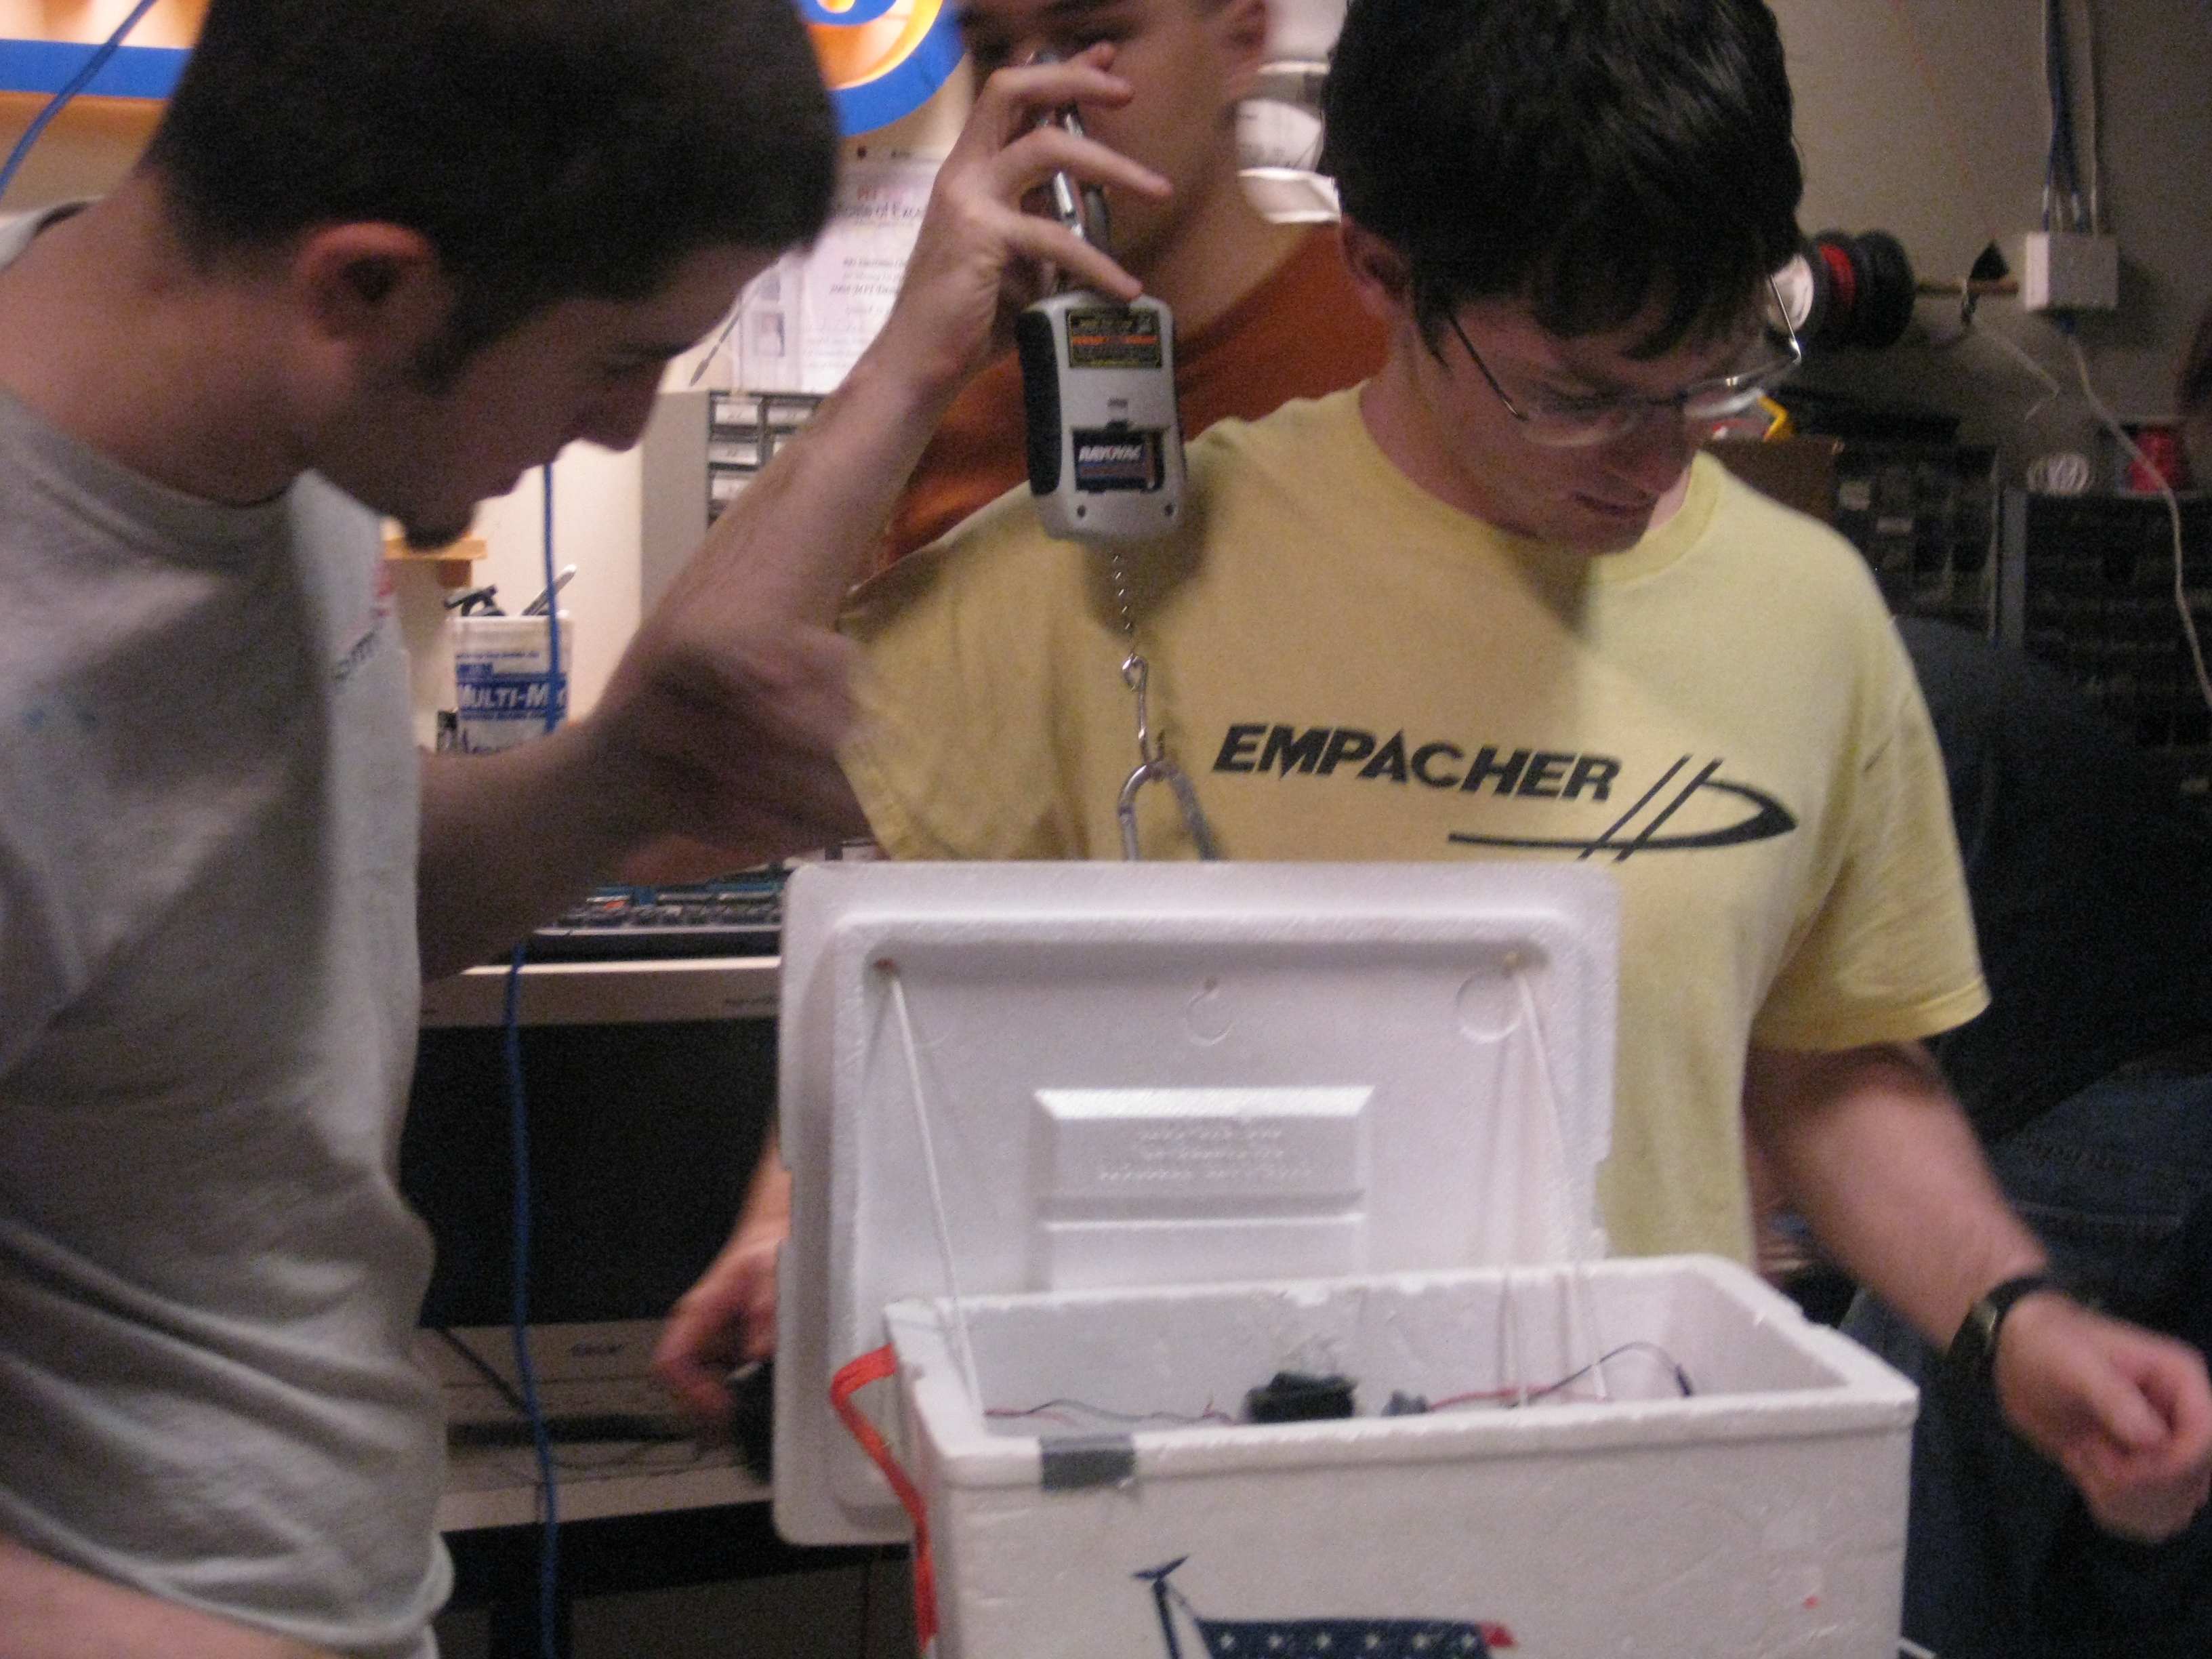
The modem and radio. For data transmission, we used a Maxstream 2.4ghz transceiver, (9600 baud) it was used for compressed photo down-link. Link. The initial plan was to have images from camera, compressed using Gphoto2 on the x86 cpu, and streamed down the 2.4 ghz link to the tracking vehicle. This was interfaced over an RS232 link. The beast nears completion. a small harbor-freight 'fish-scale' was used to make sure the vehicle's mass was in-check. 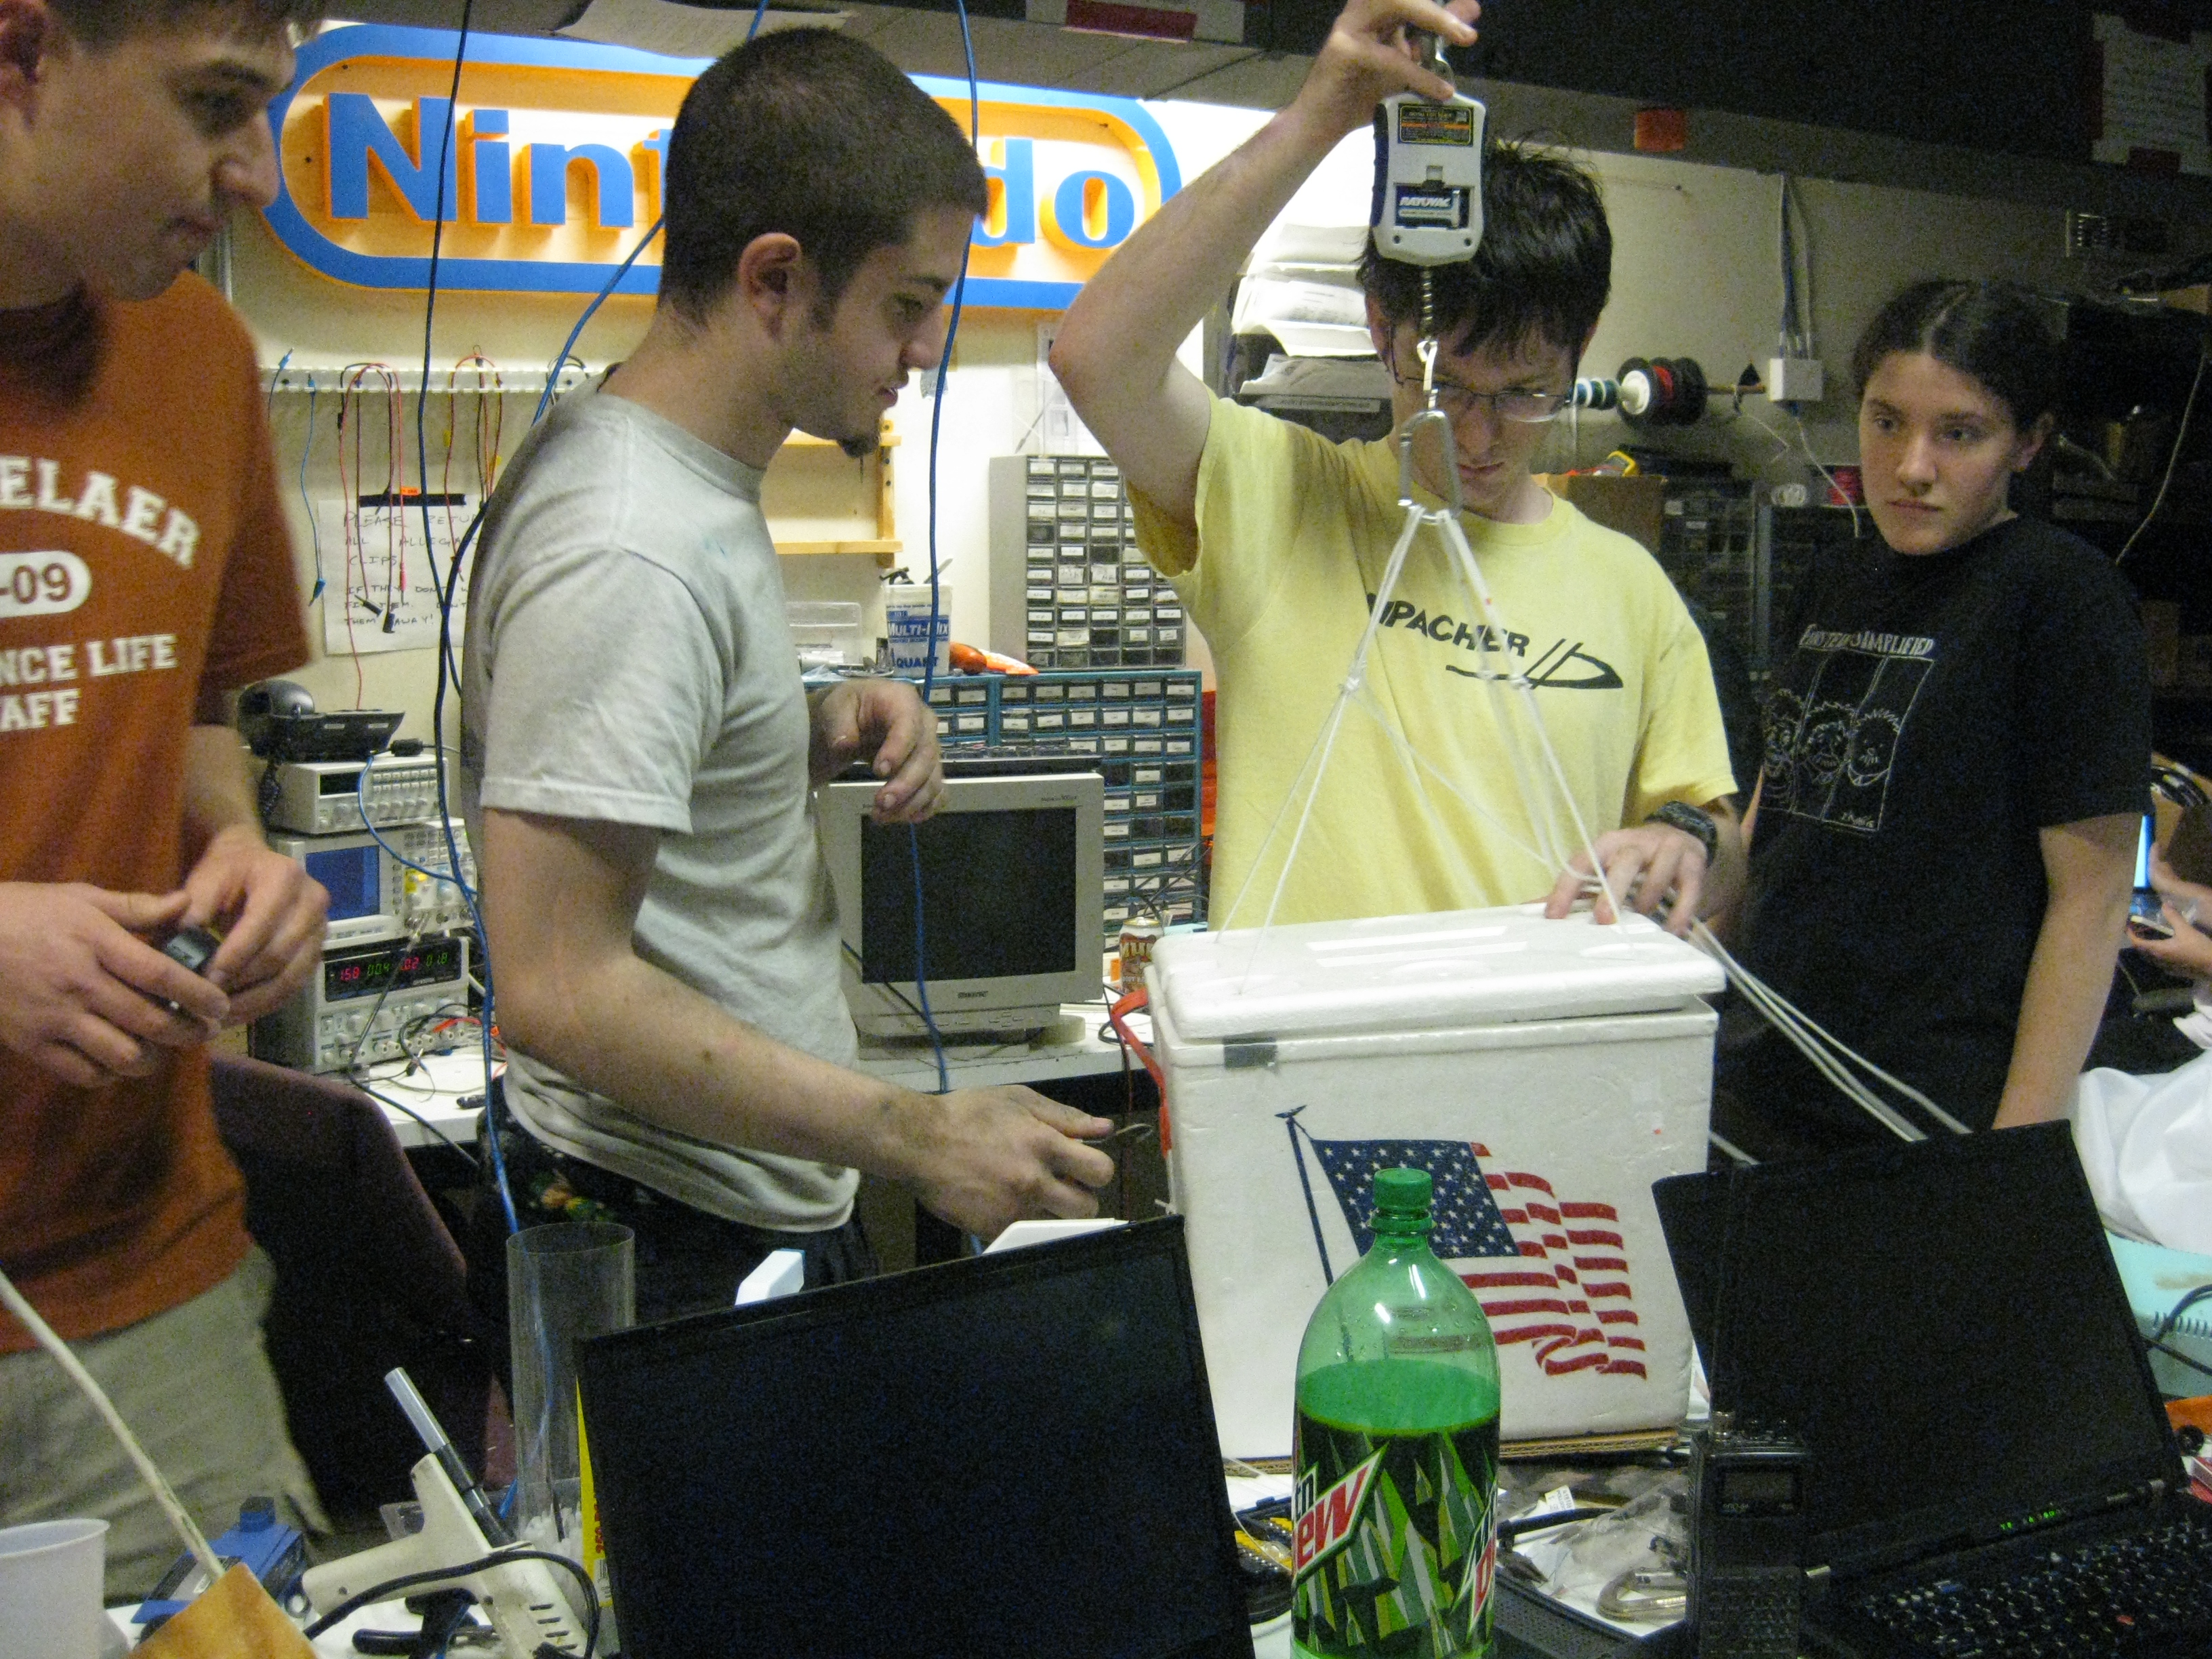
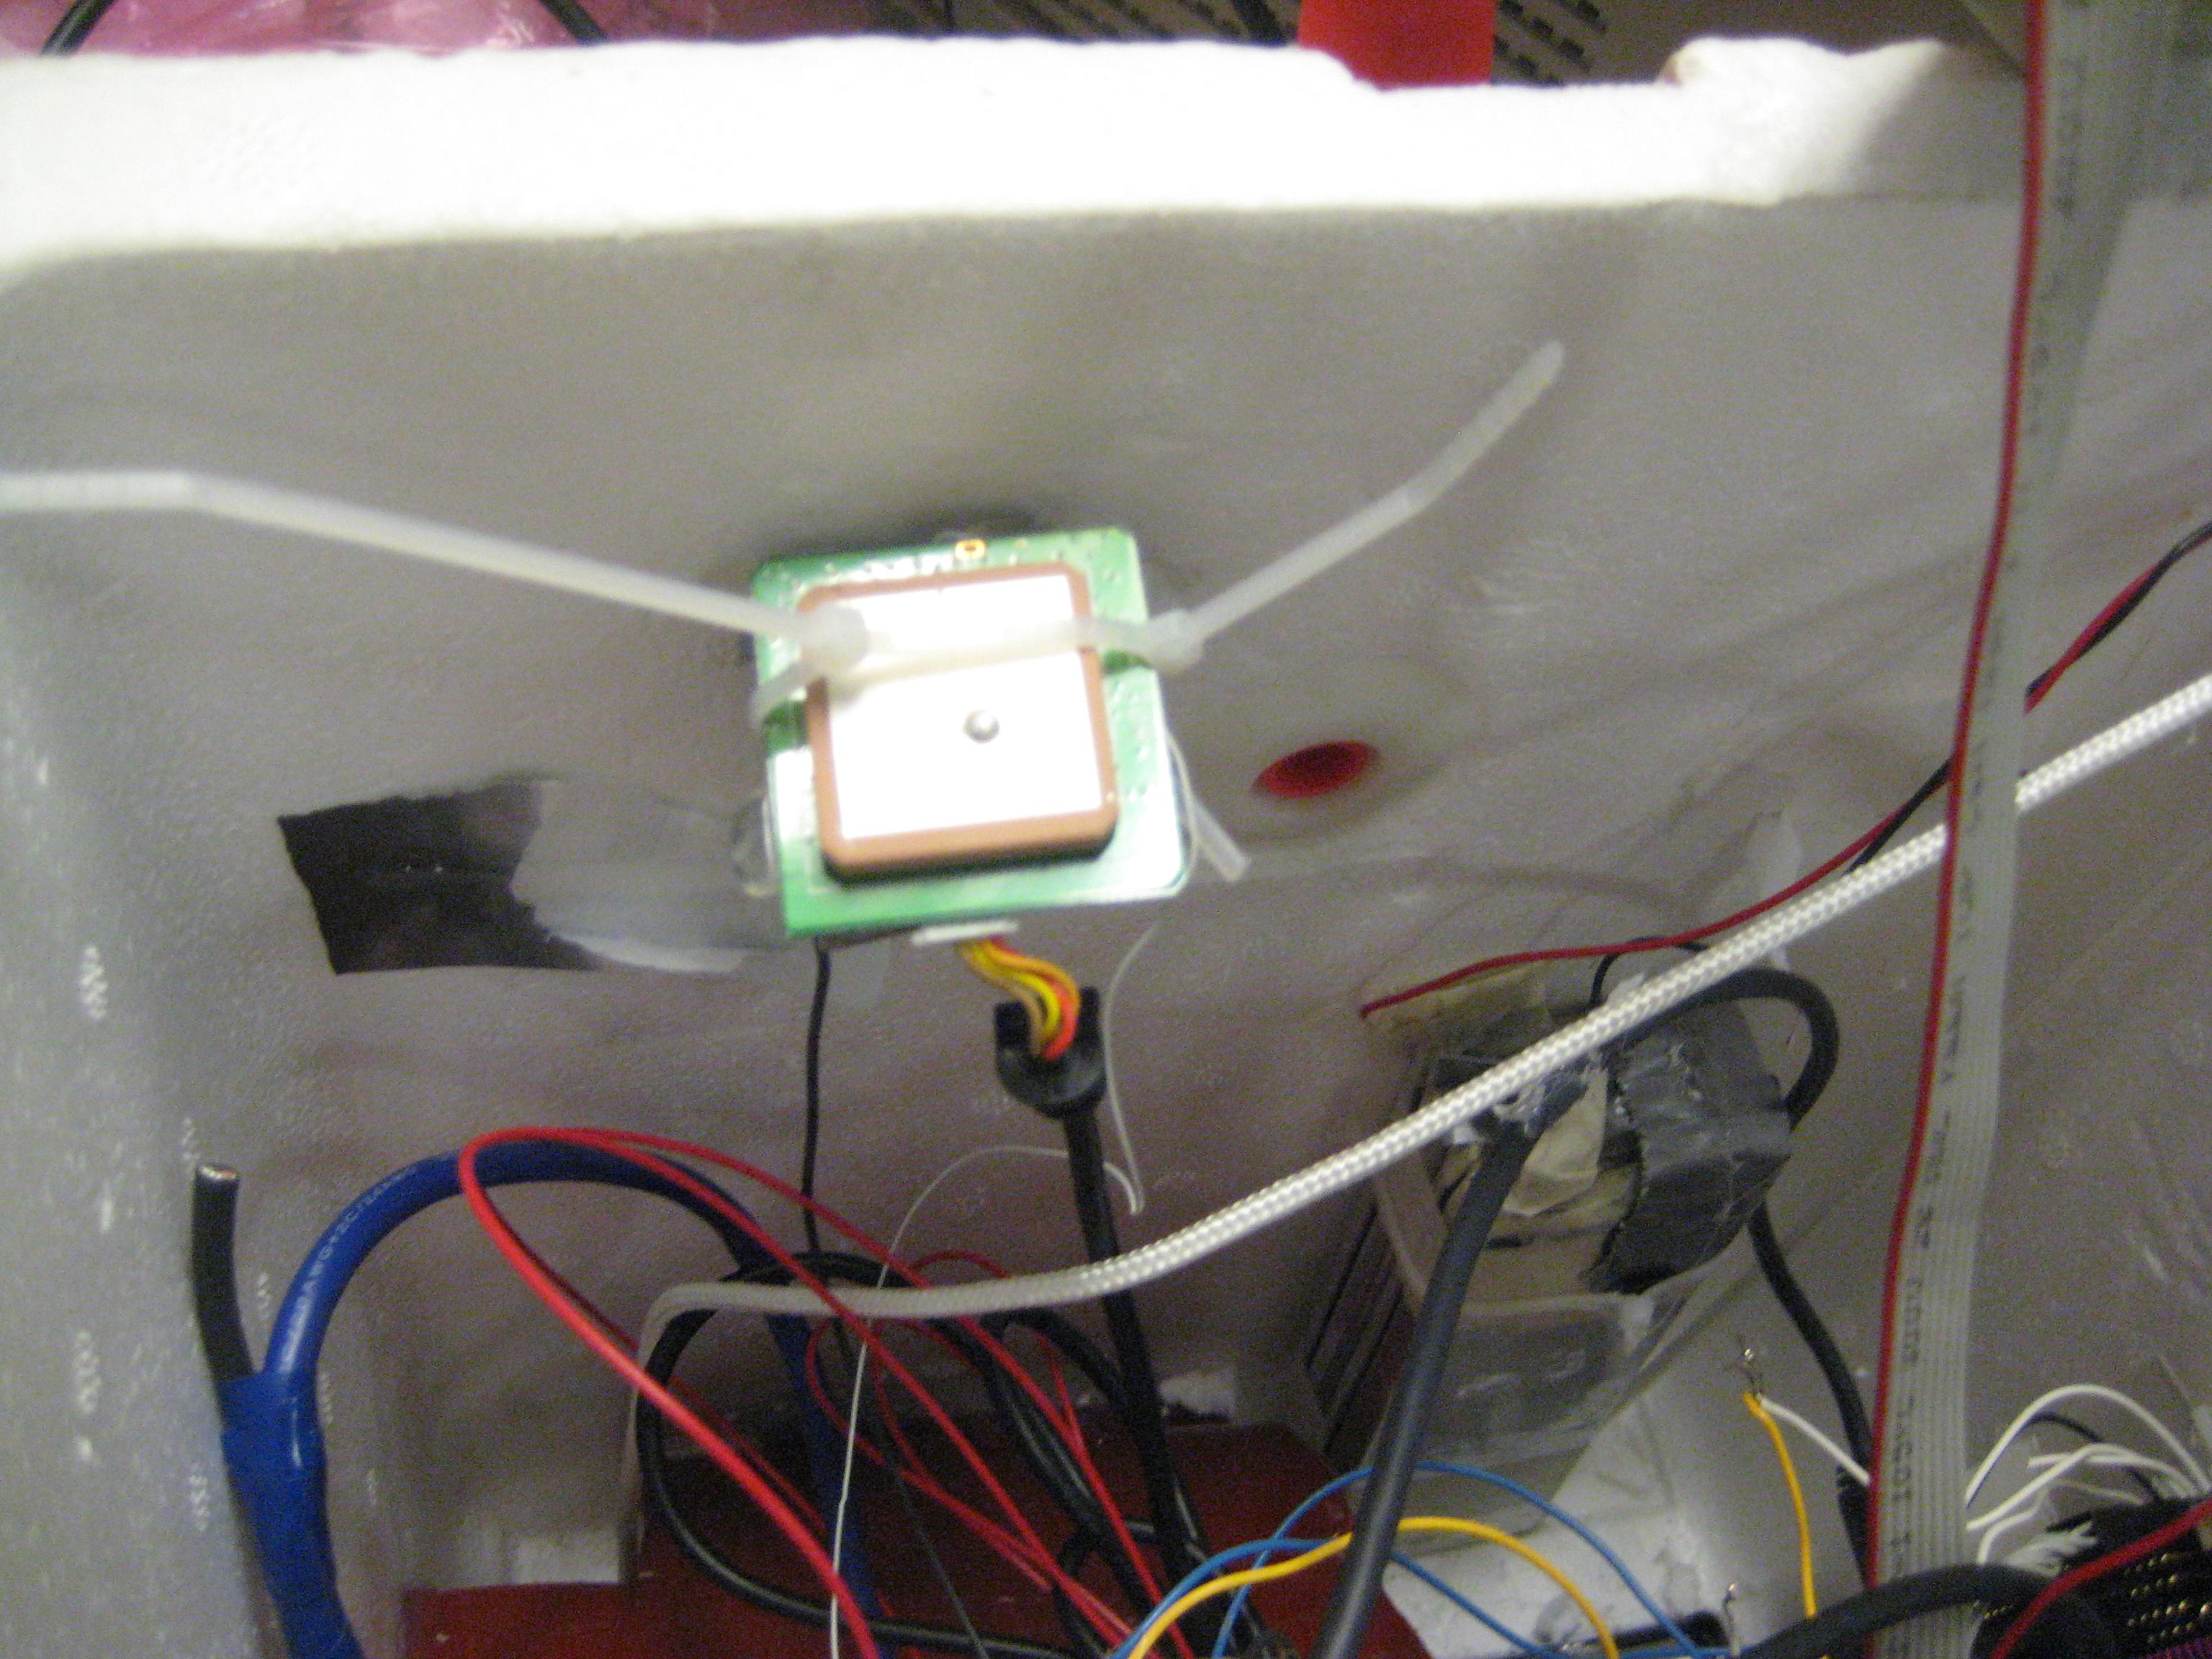
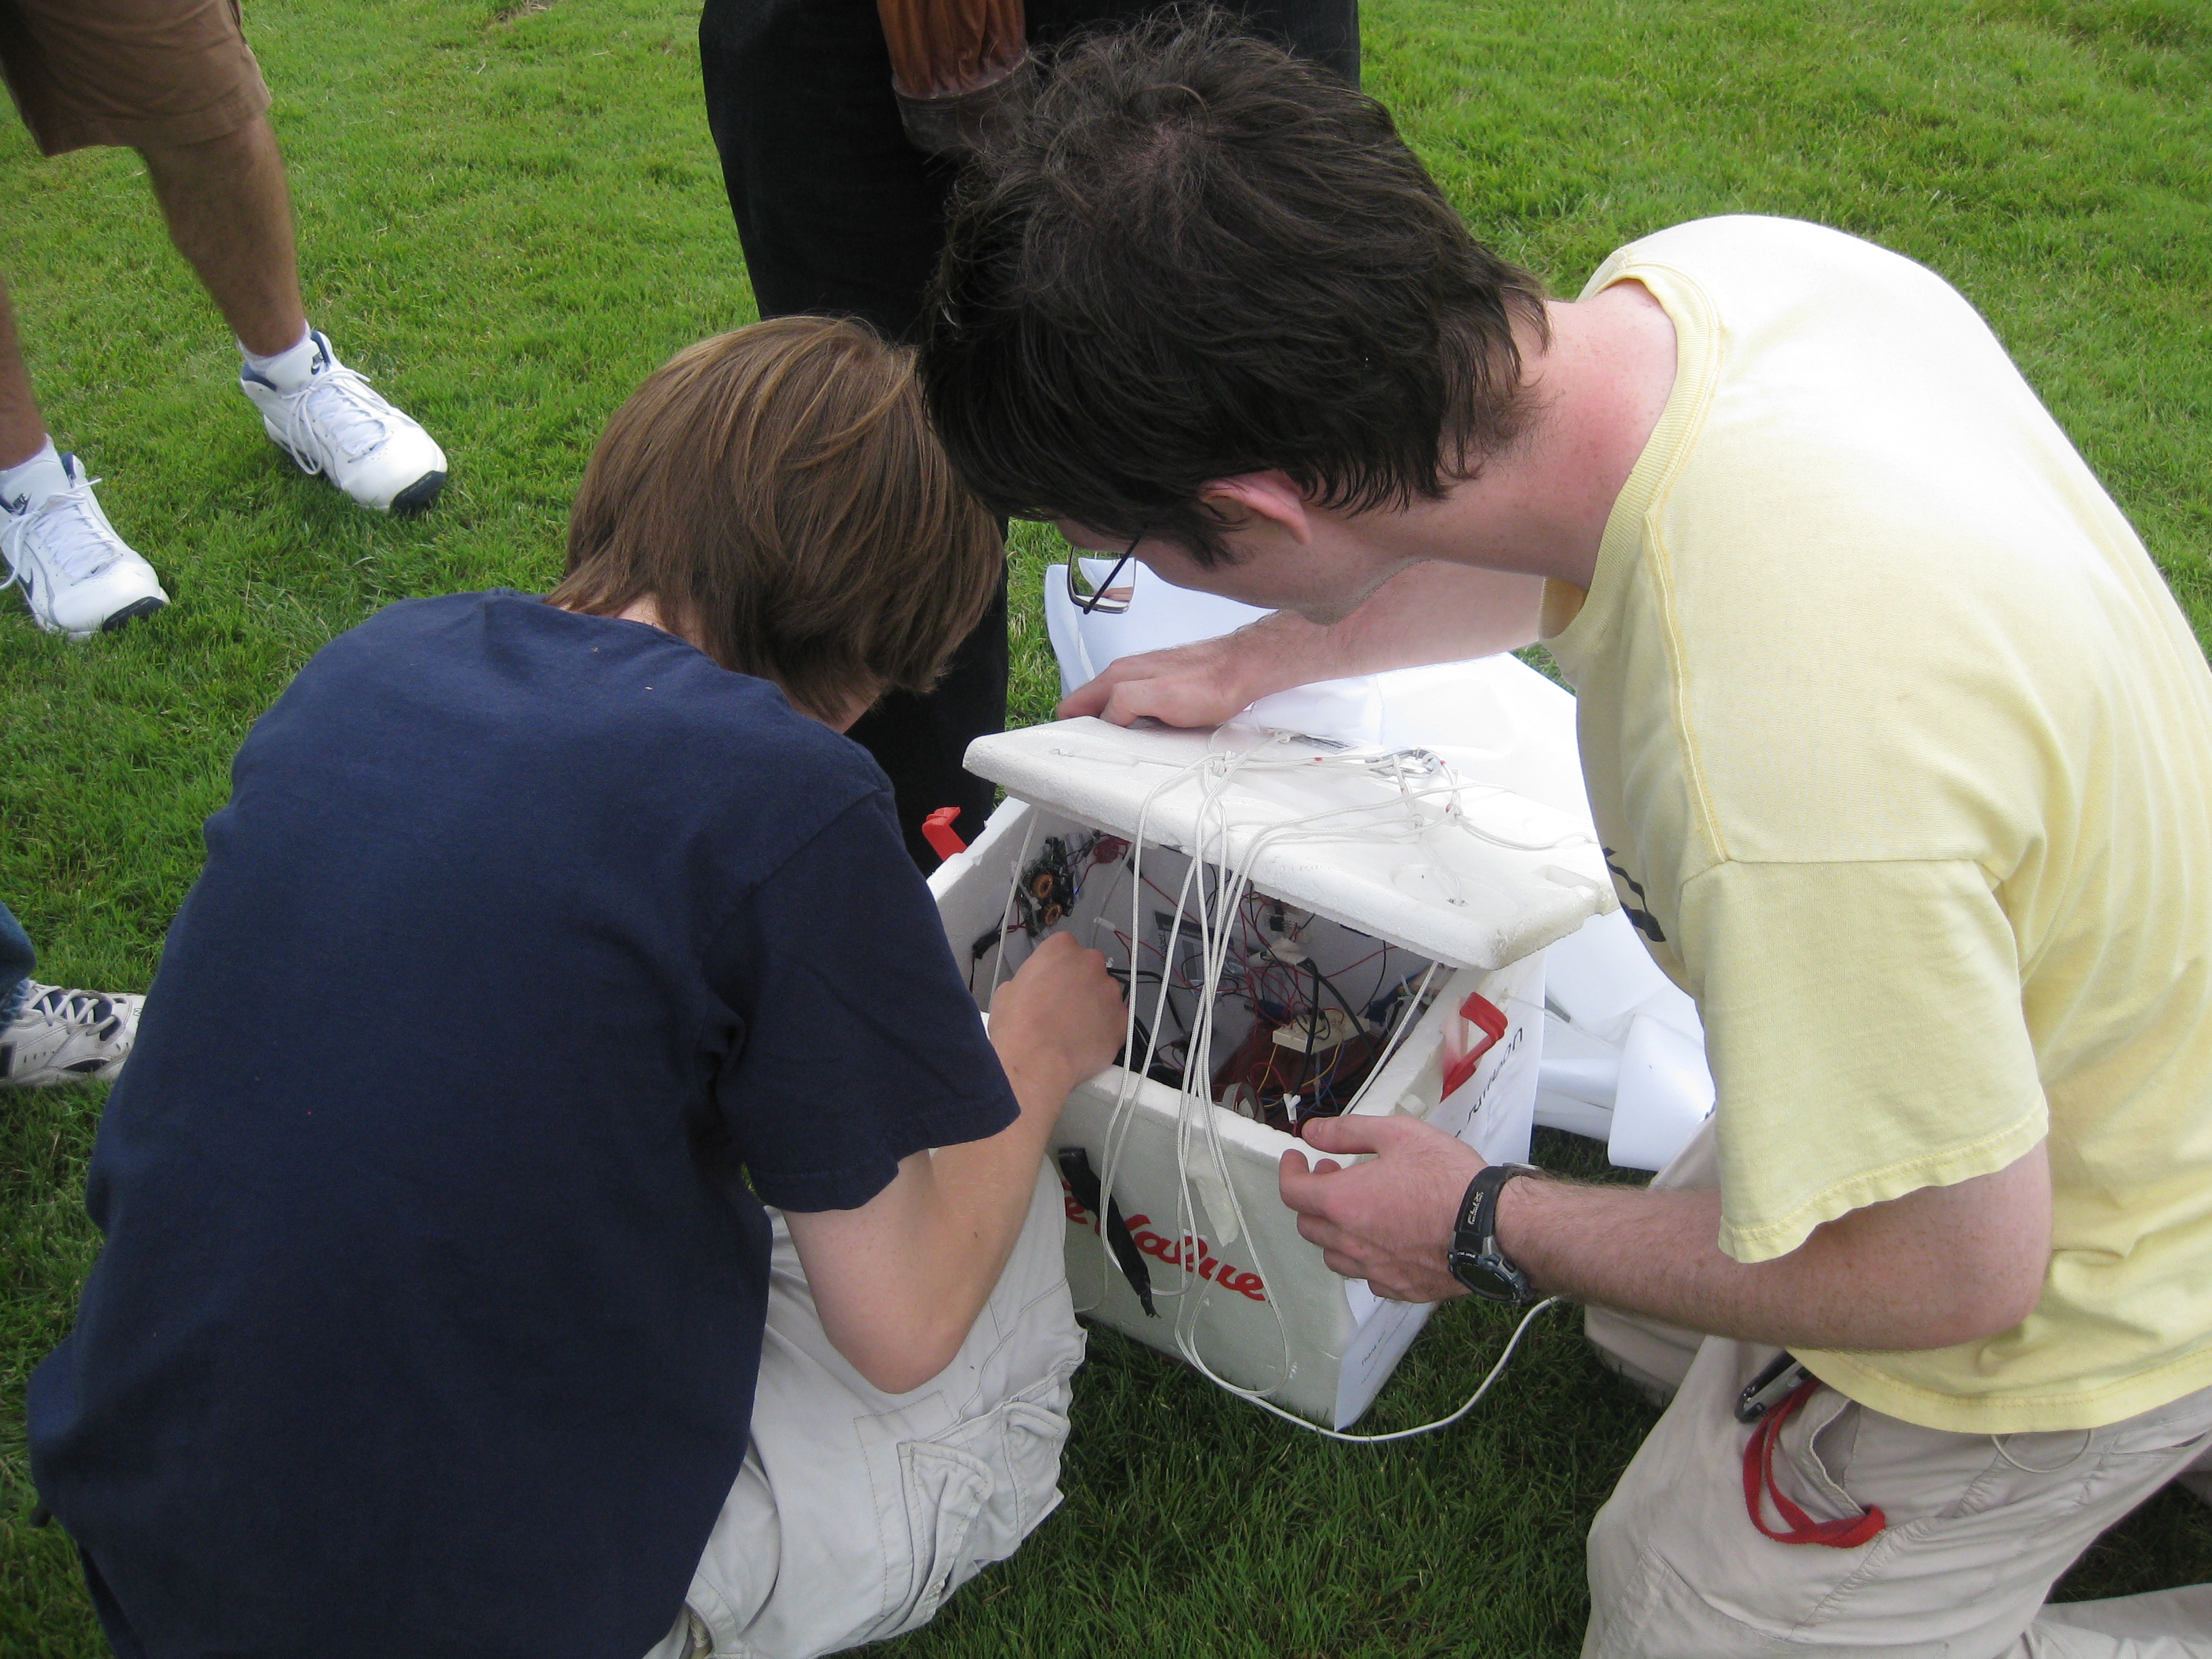
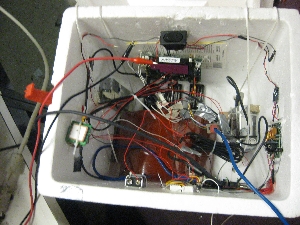
The mess. The inside of the craft was a mess of wires, as this was a quickly thrown together project, it worked well. Shown below (red) is the reflective copper sheet for the antenna, top left, the GPS antenna, bottom right the camera assembly, top center, the CPU board and left center, the lipo battery. 
Making a ParachuteLightweight, stable and cheap: pick one. For a parachute, Andrew tamoney and Emily Krupczak did some quick research on what was available in terms of DIY designs, and diced up some pricechopper brand tablecloth. An emulated mass of the balloon and some rope was used to test out the effectiveness of the design. 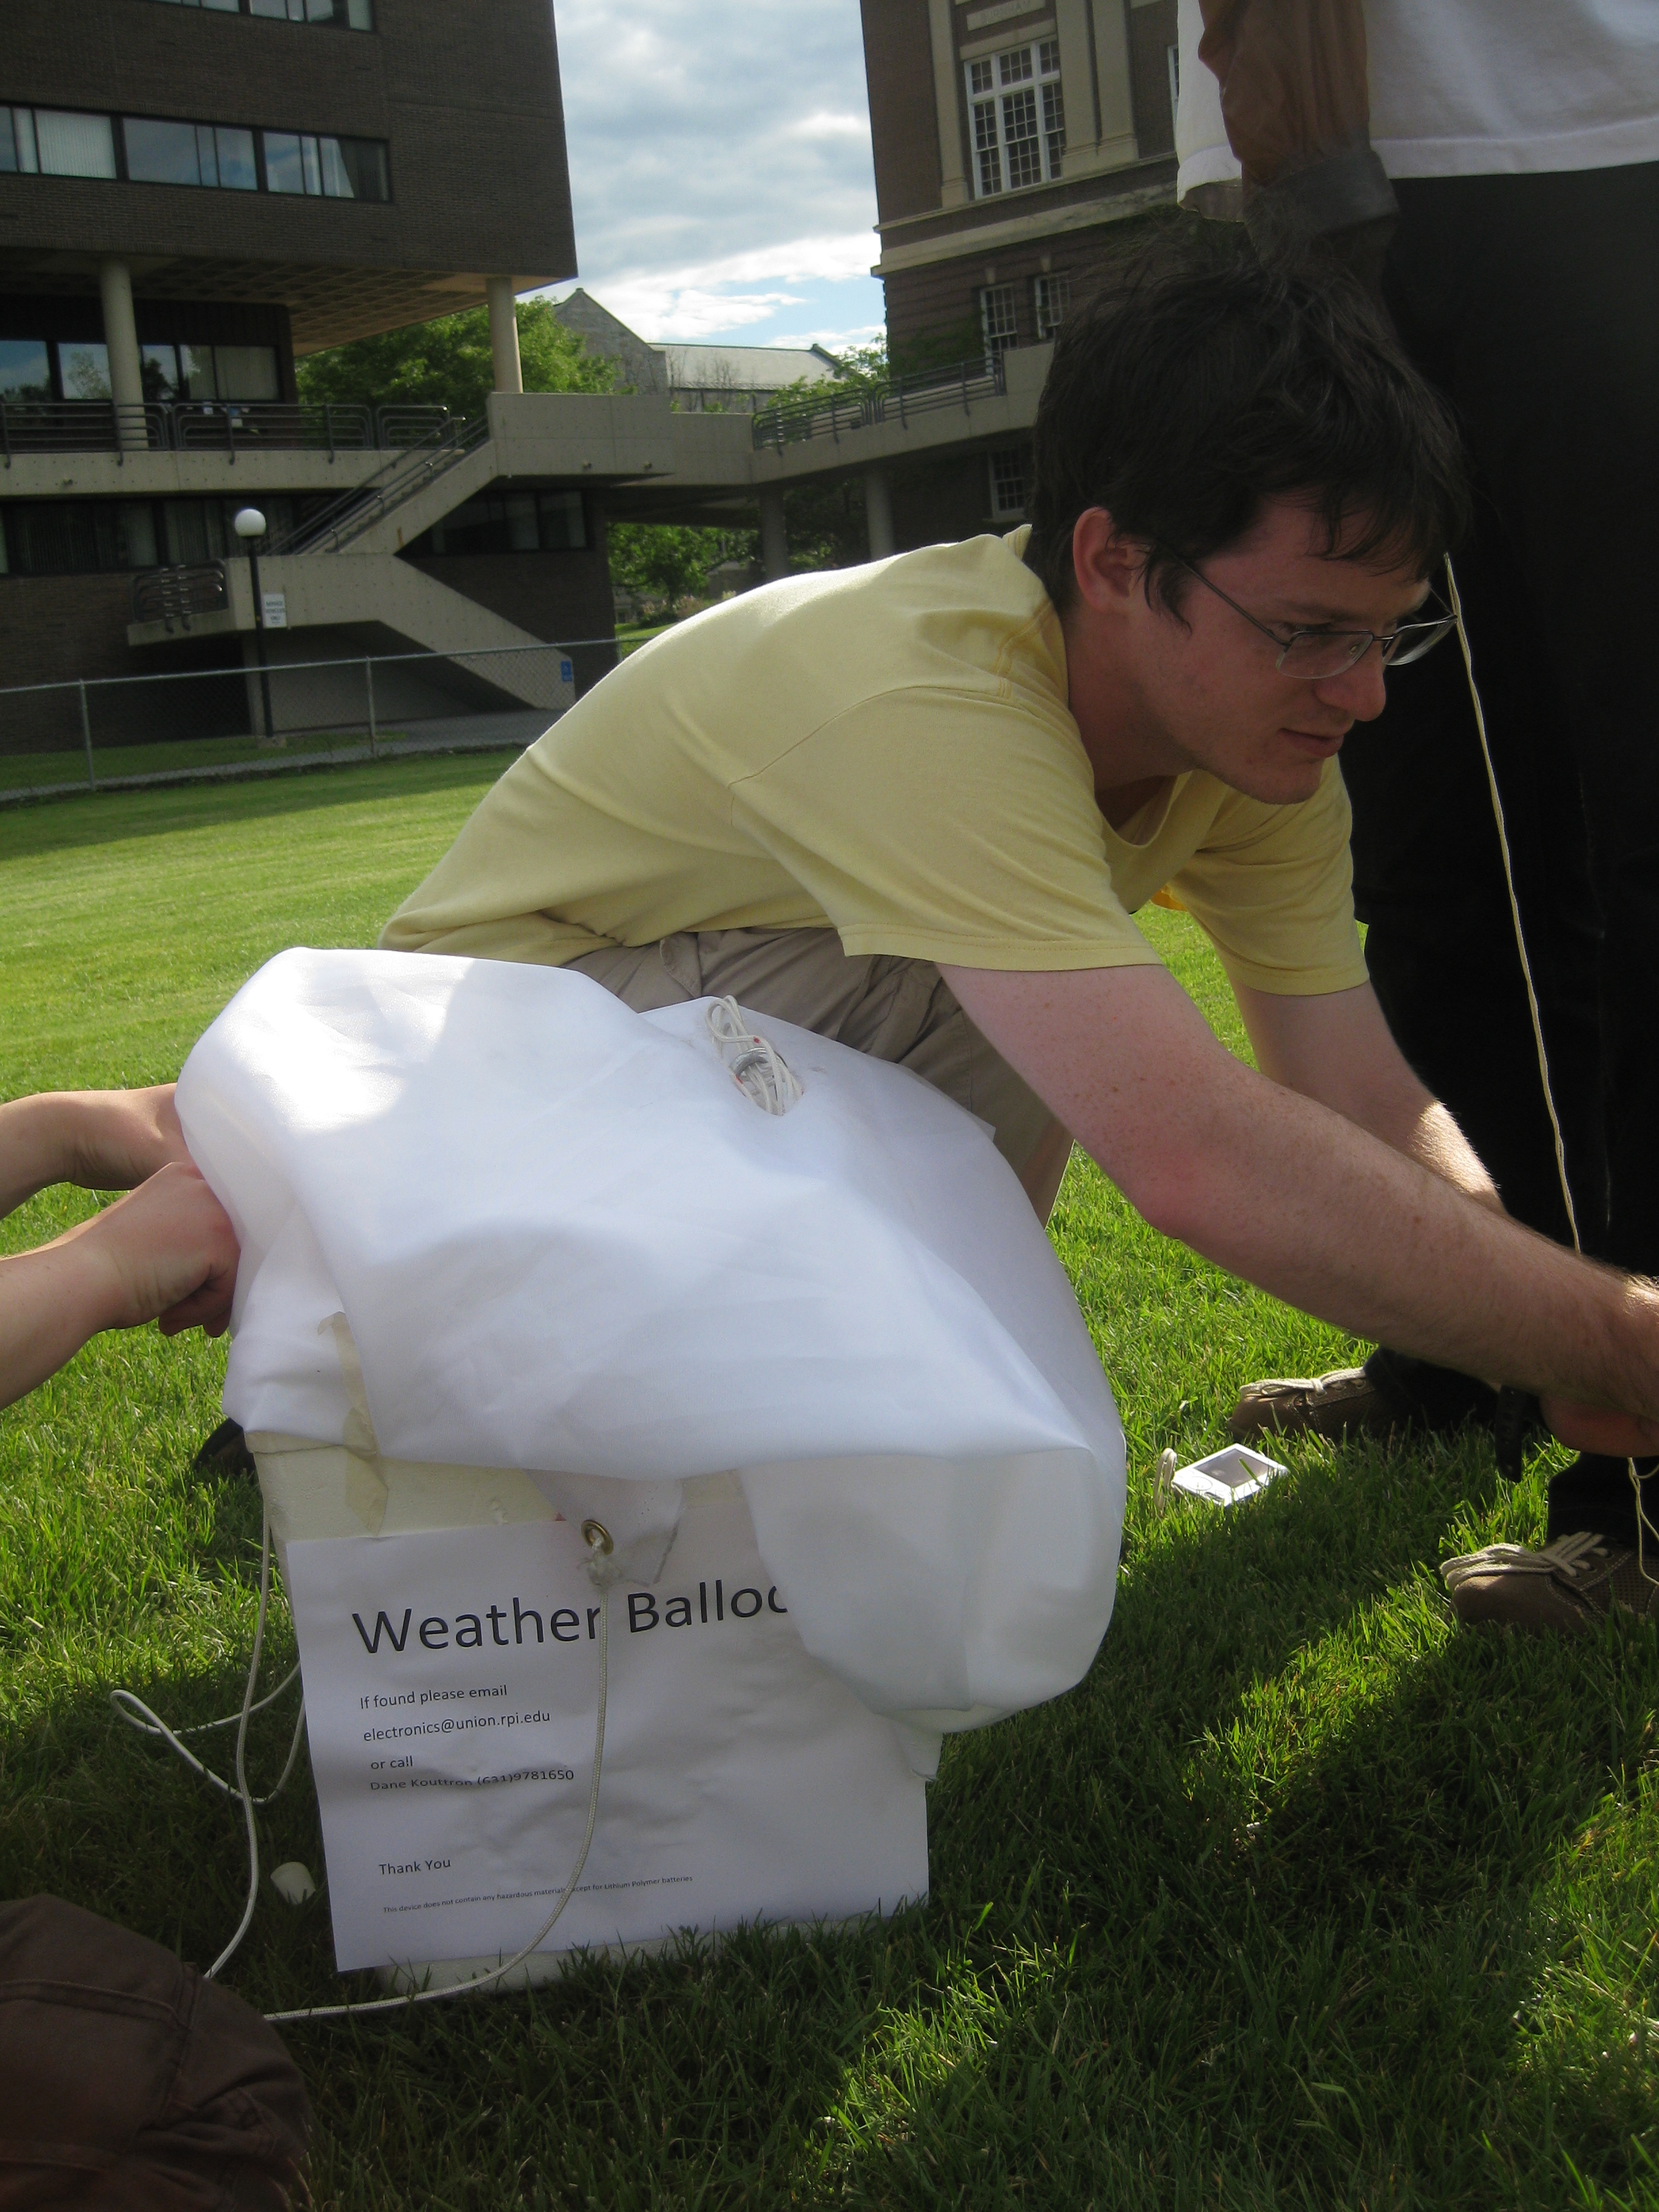
The parachute was attached to the craft, and held loosely in place with masking tape for the ride up, with the hope that it would tear open and inflate for the ride down. 

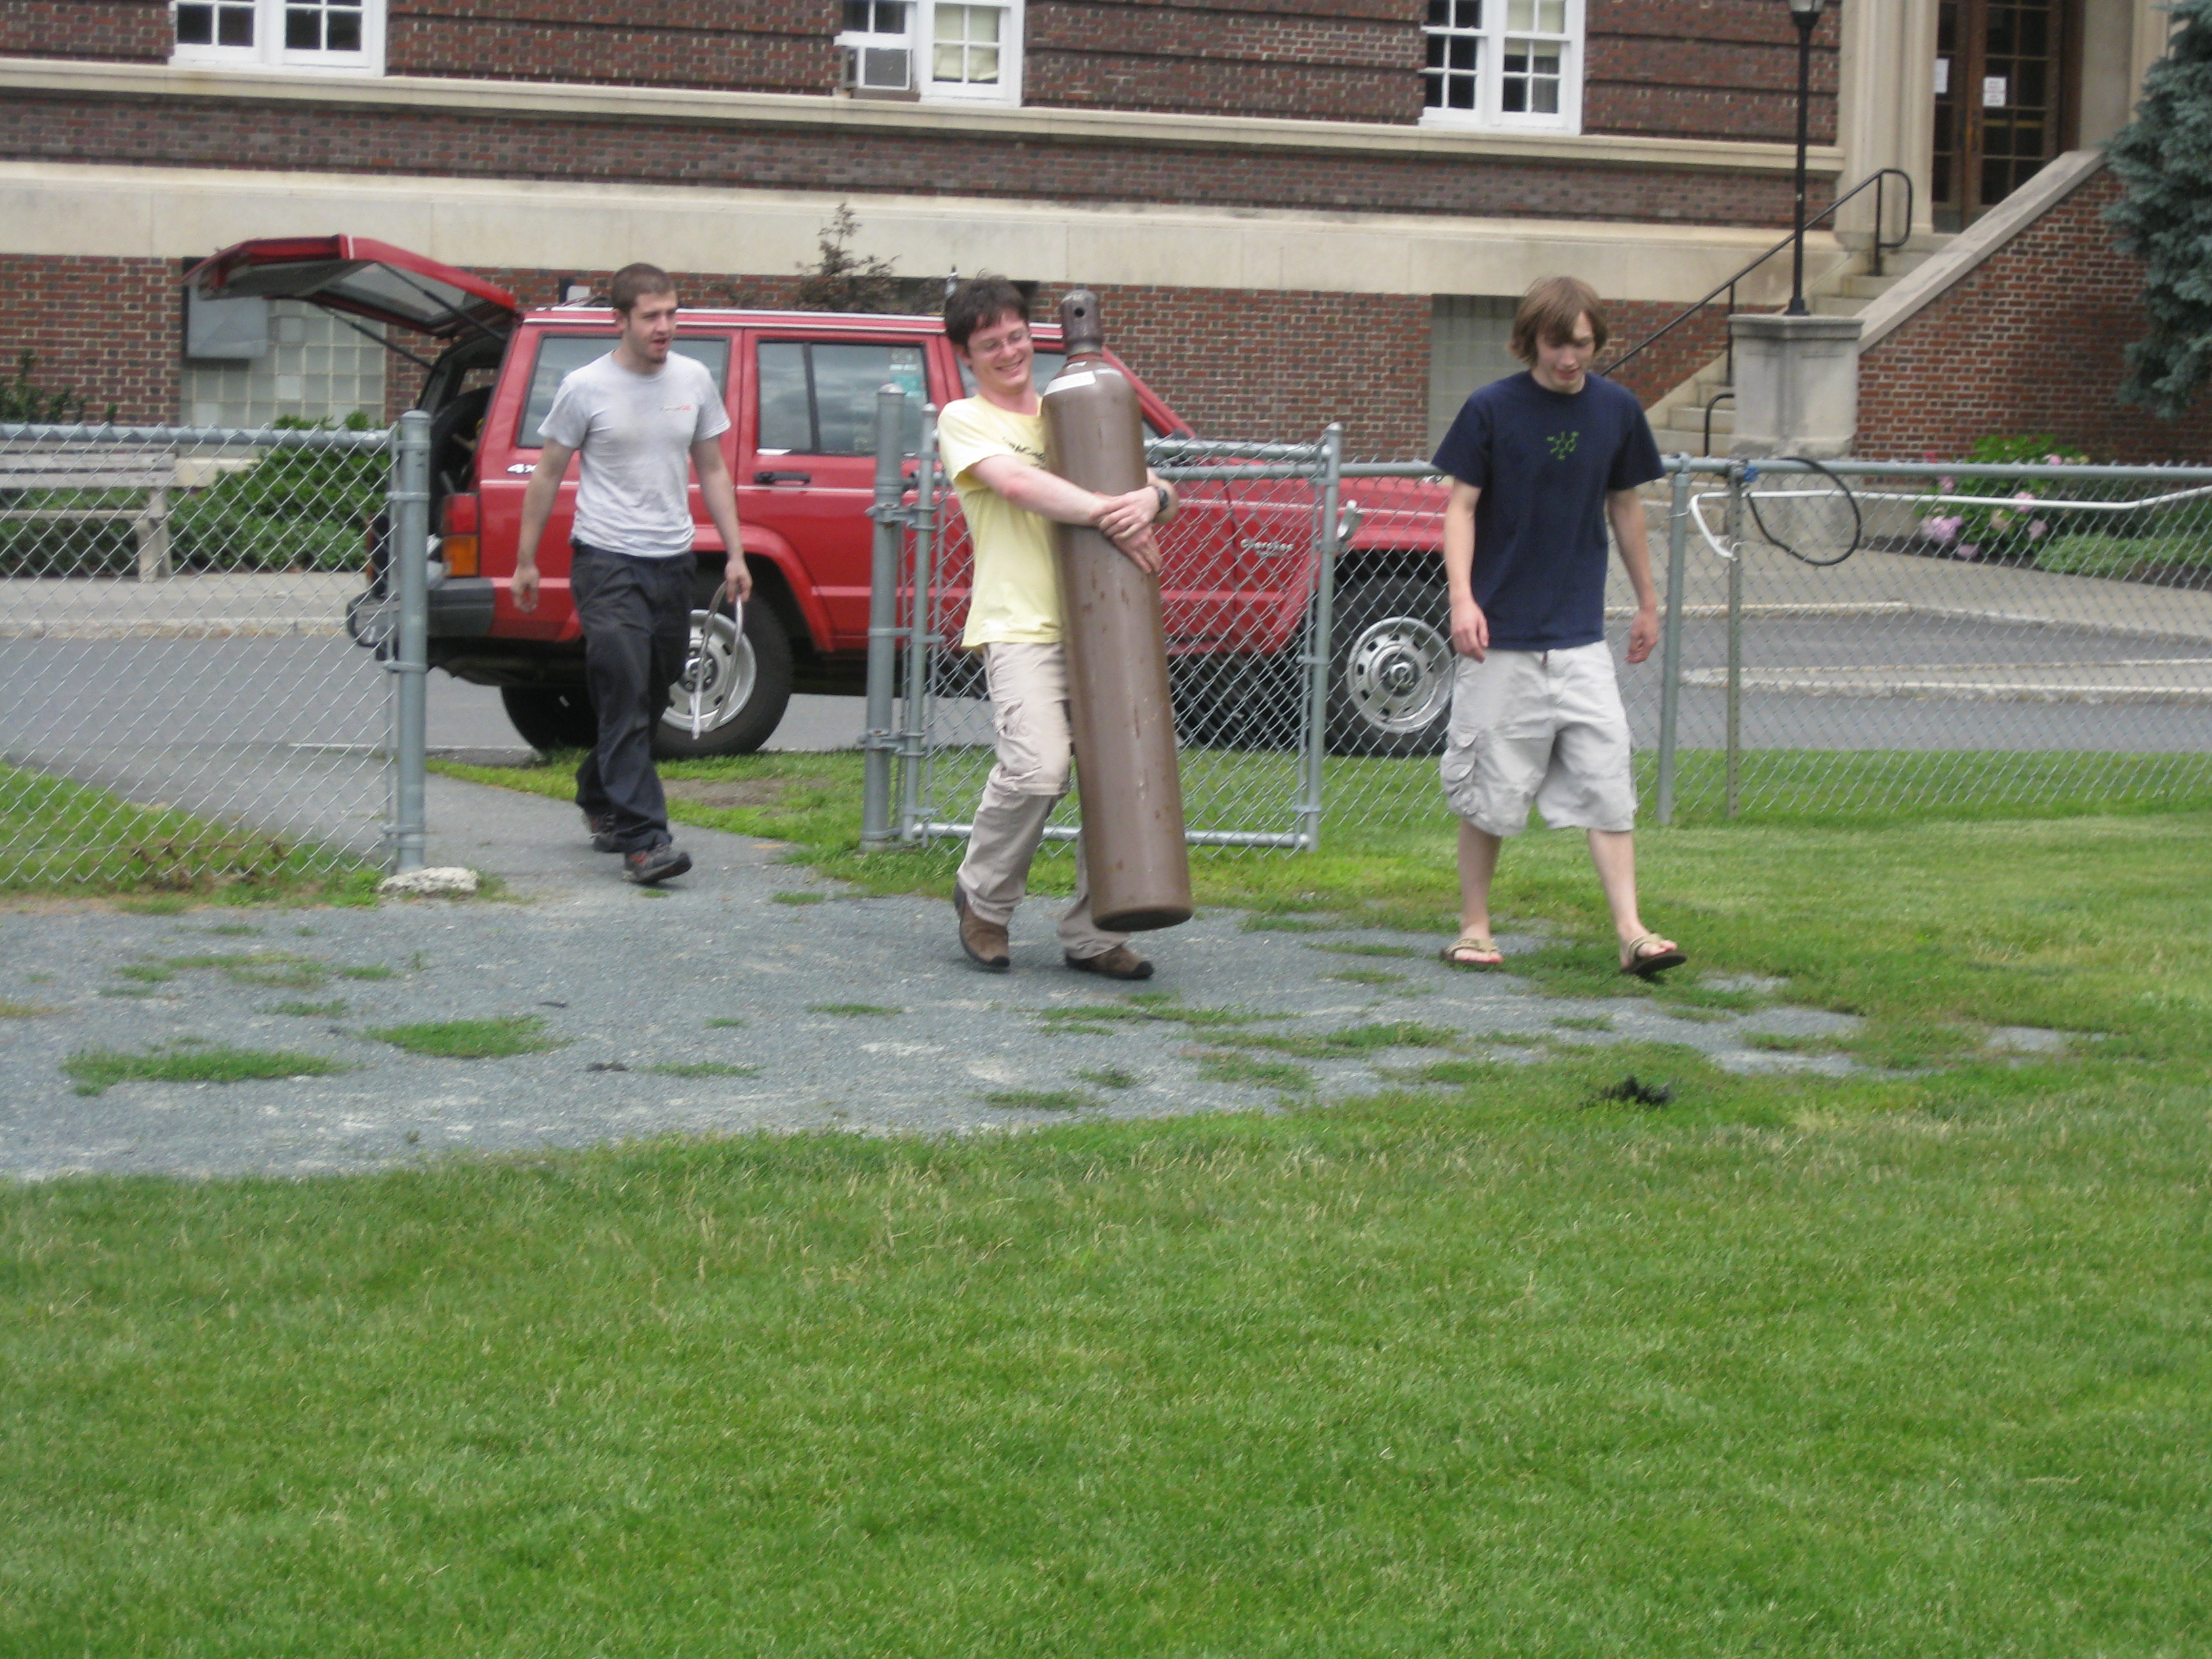
Testing the chute. For this test, the team used the CII building on RPI's campus. at ~8 stories tall, it was a fairly decent way to see how well the chute would work, how much of an innner airgap cut would be needed and how balanced the roping was. Inflating the giant BalloonWe rented a full size bottle of 'weather grade' helium from airgas, in nh. Thanks to an old MIT paystub, I was able to get a significant discount. This bottle was schlepped from NH to NY and back. Its a bit overkill for one balloon, however, in the case that we pre-maturely burst the first of the two balloons we had on hand, it should have been able to make up for the difference. 
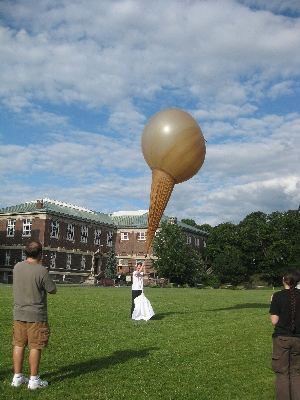
ITS A TARP! This was a really great idea from Andrew T, place a tarp down where the balloon was unfolded to prevent anything from puncturing or damaging the balloon surface. The tarp was held in place and the balloon was unfurled from its box for filling. 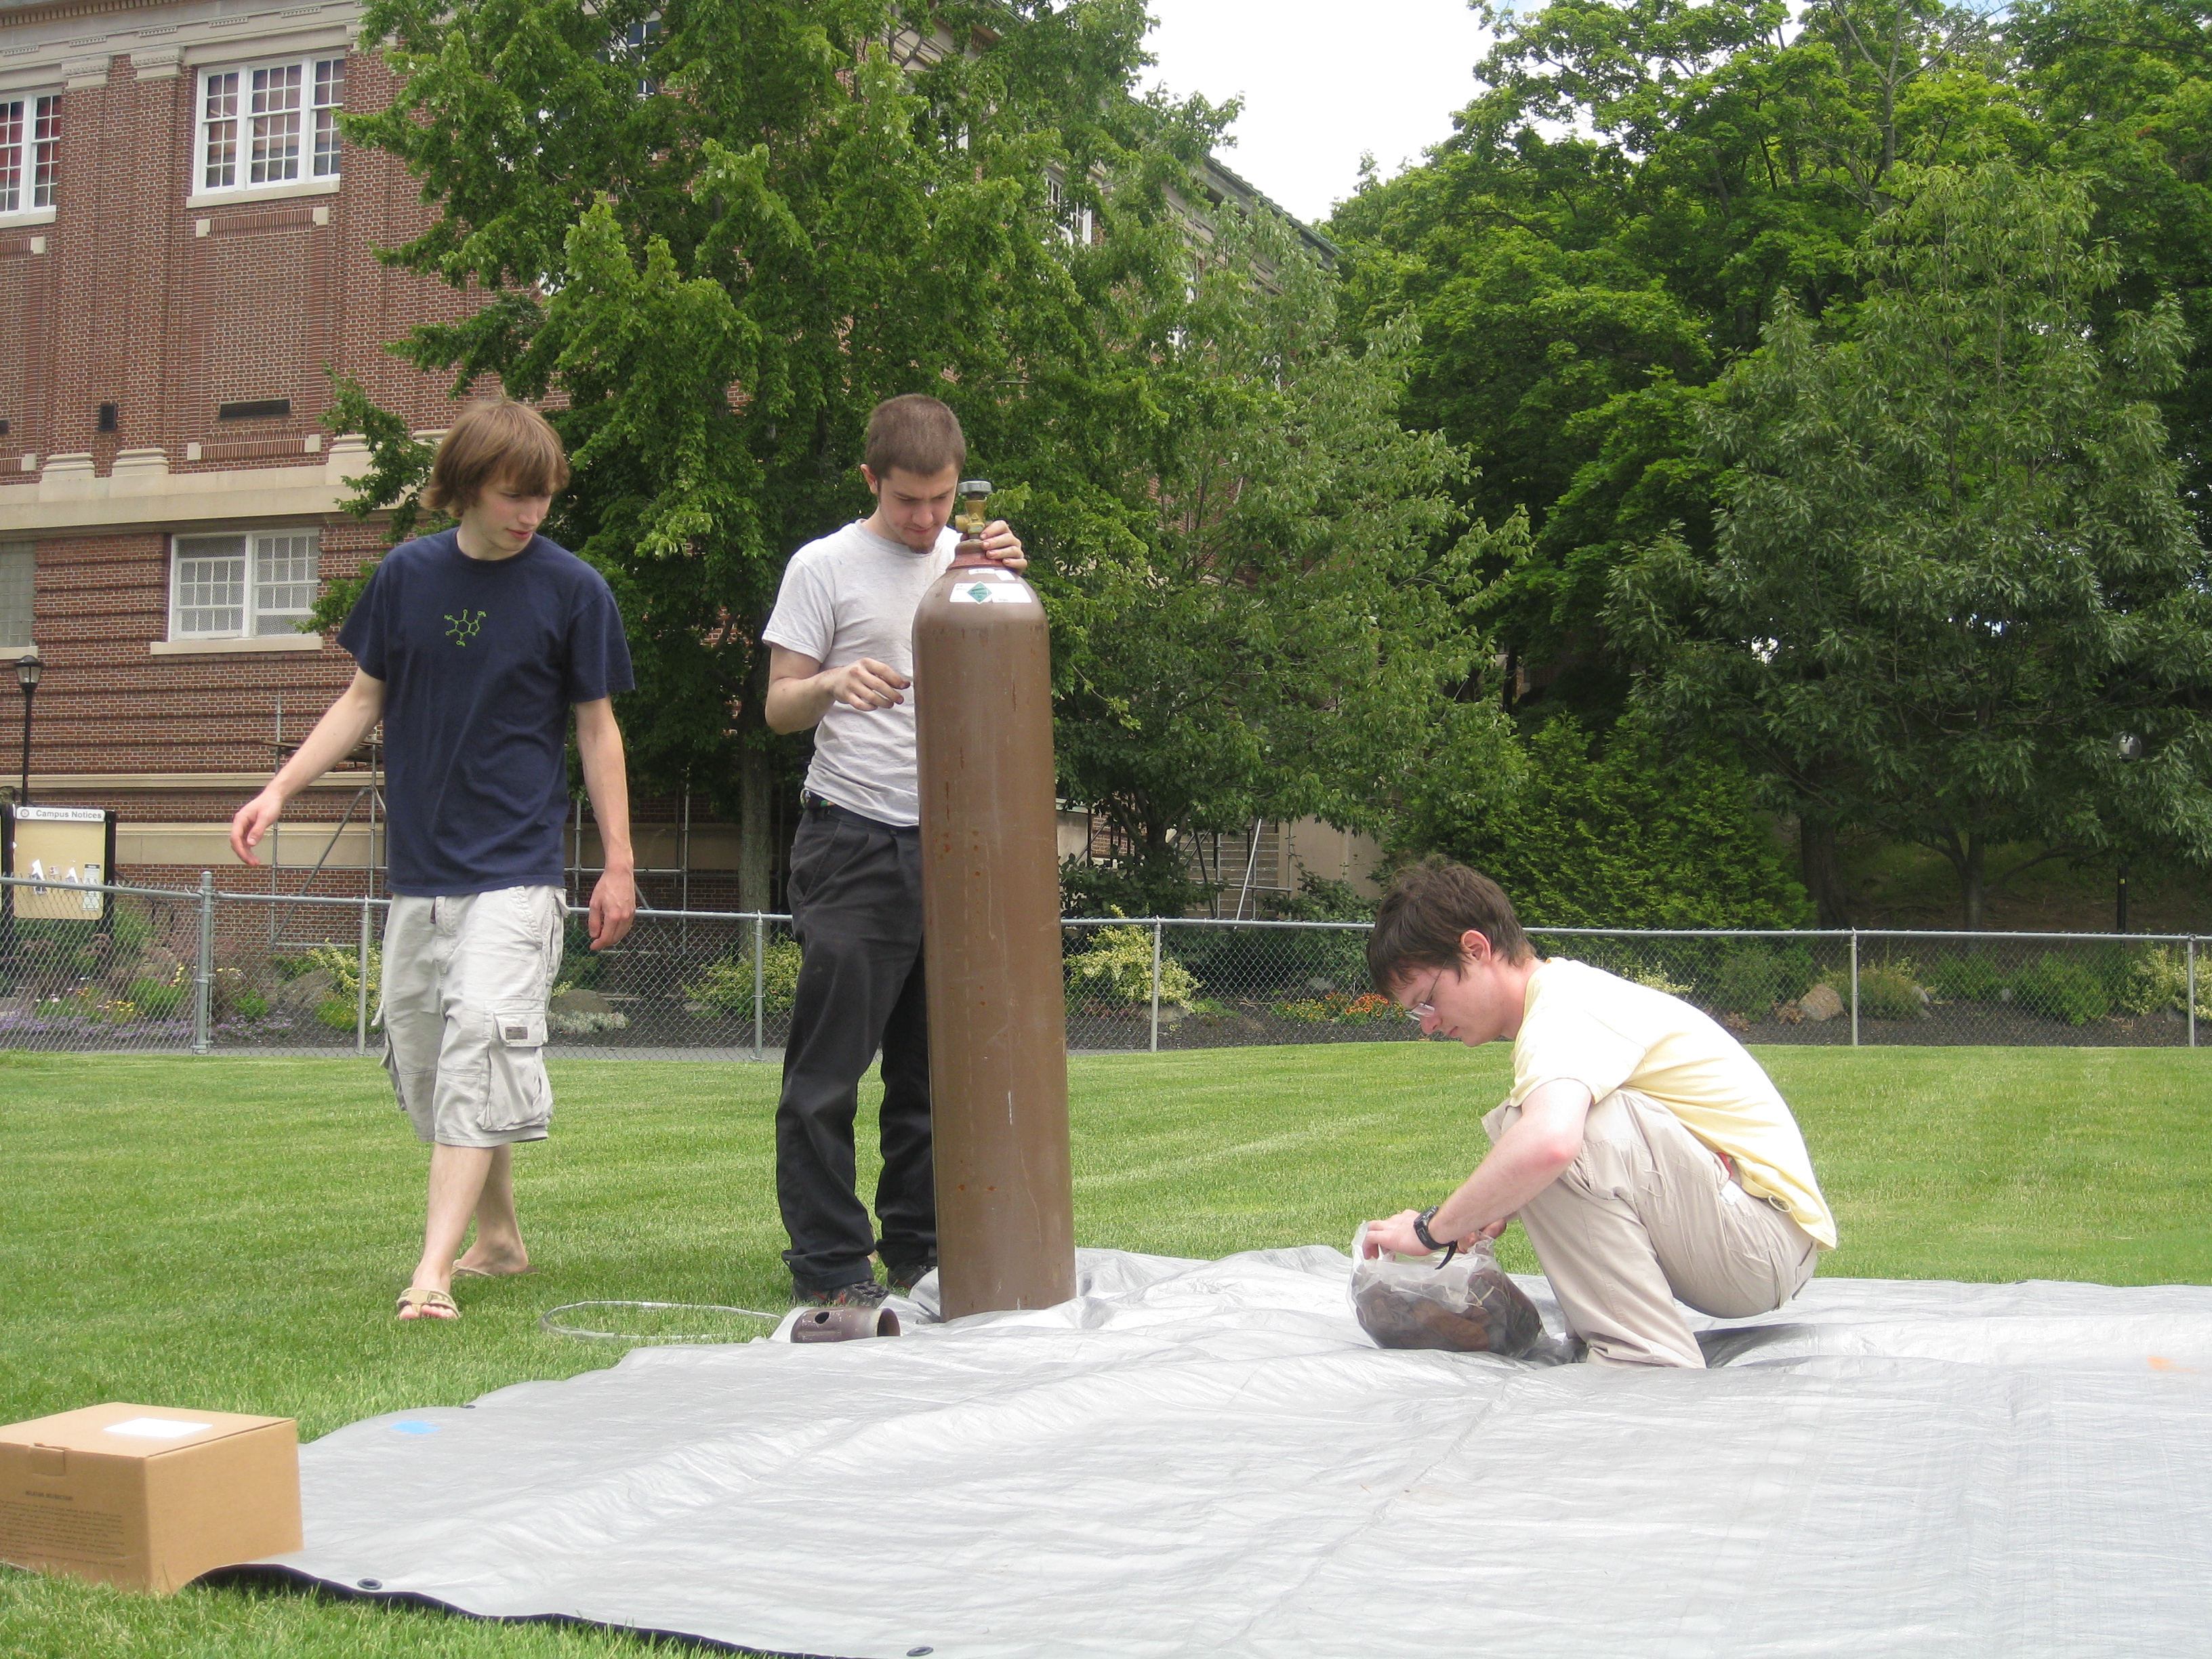

Filling the beast. without a regulator, the filling was fairly quick. The valve on the bottle was used to regulate flow. After a few minutes, this becomes a 2 person job. 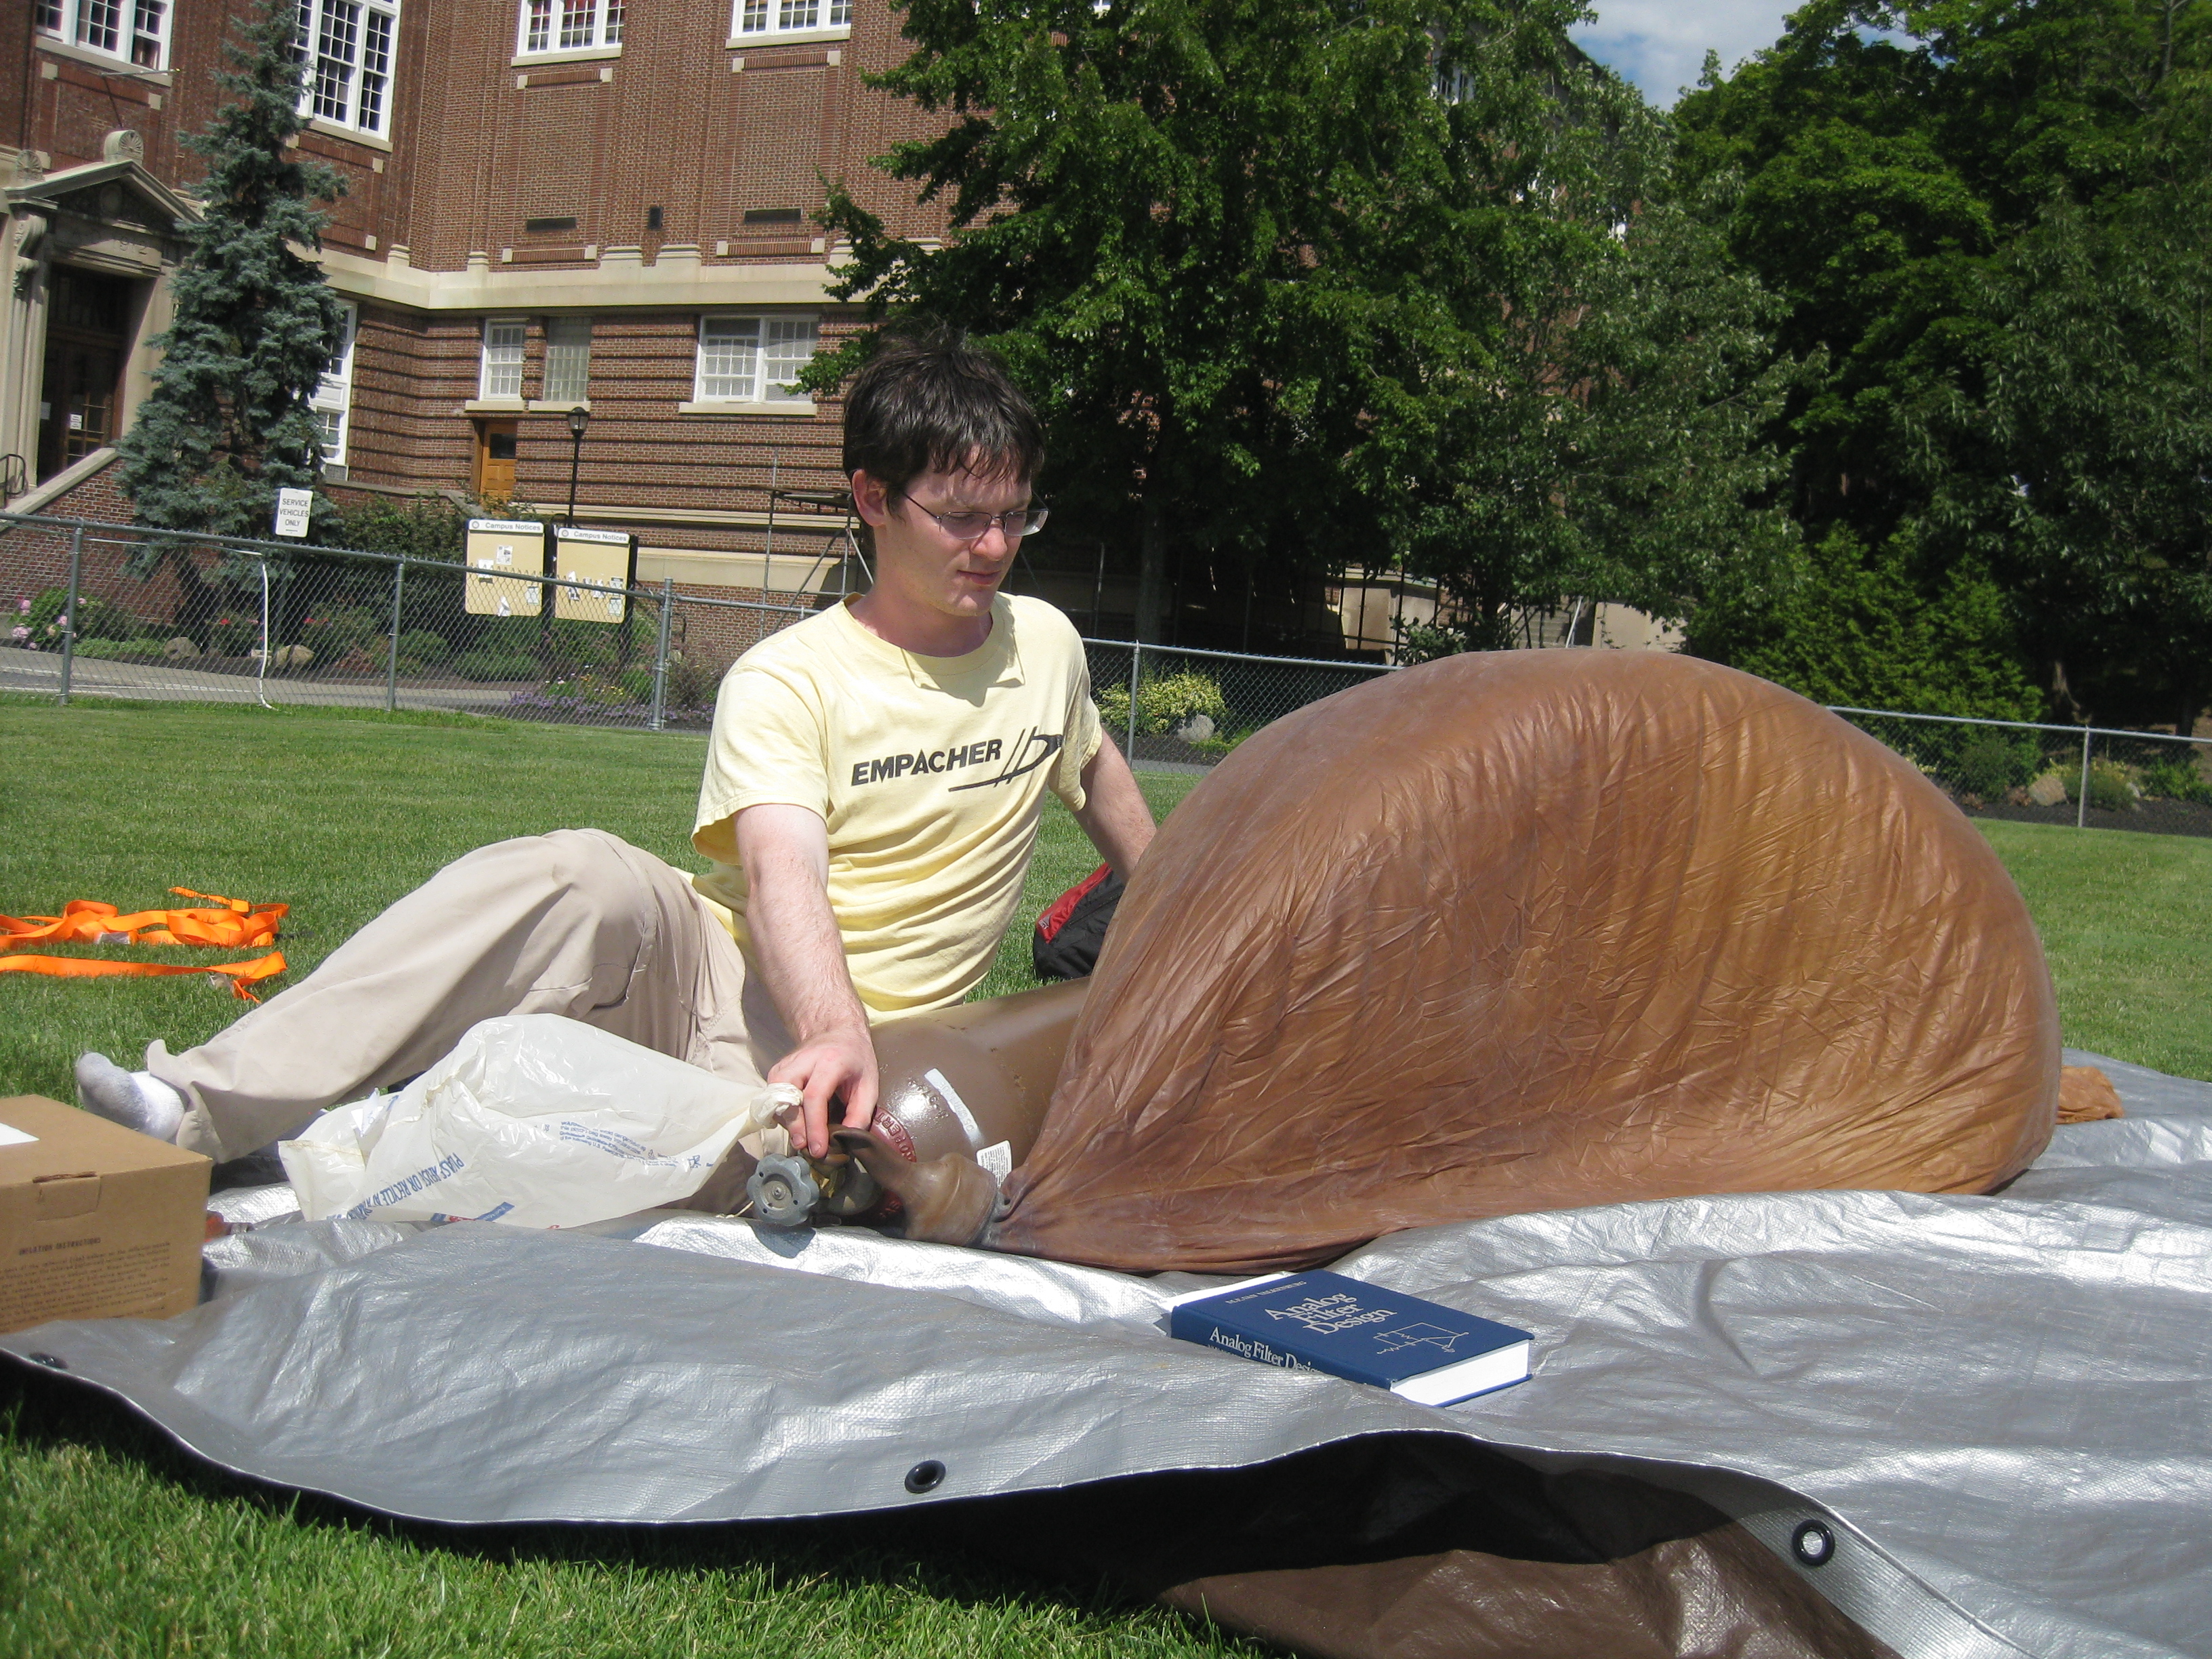
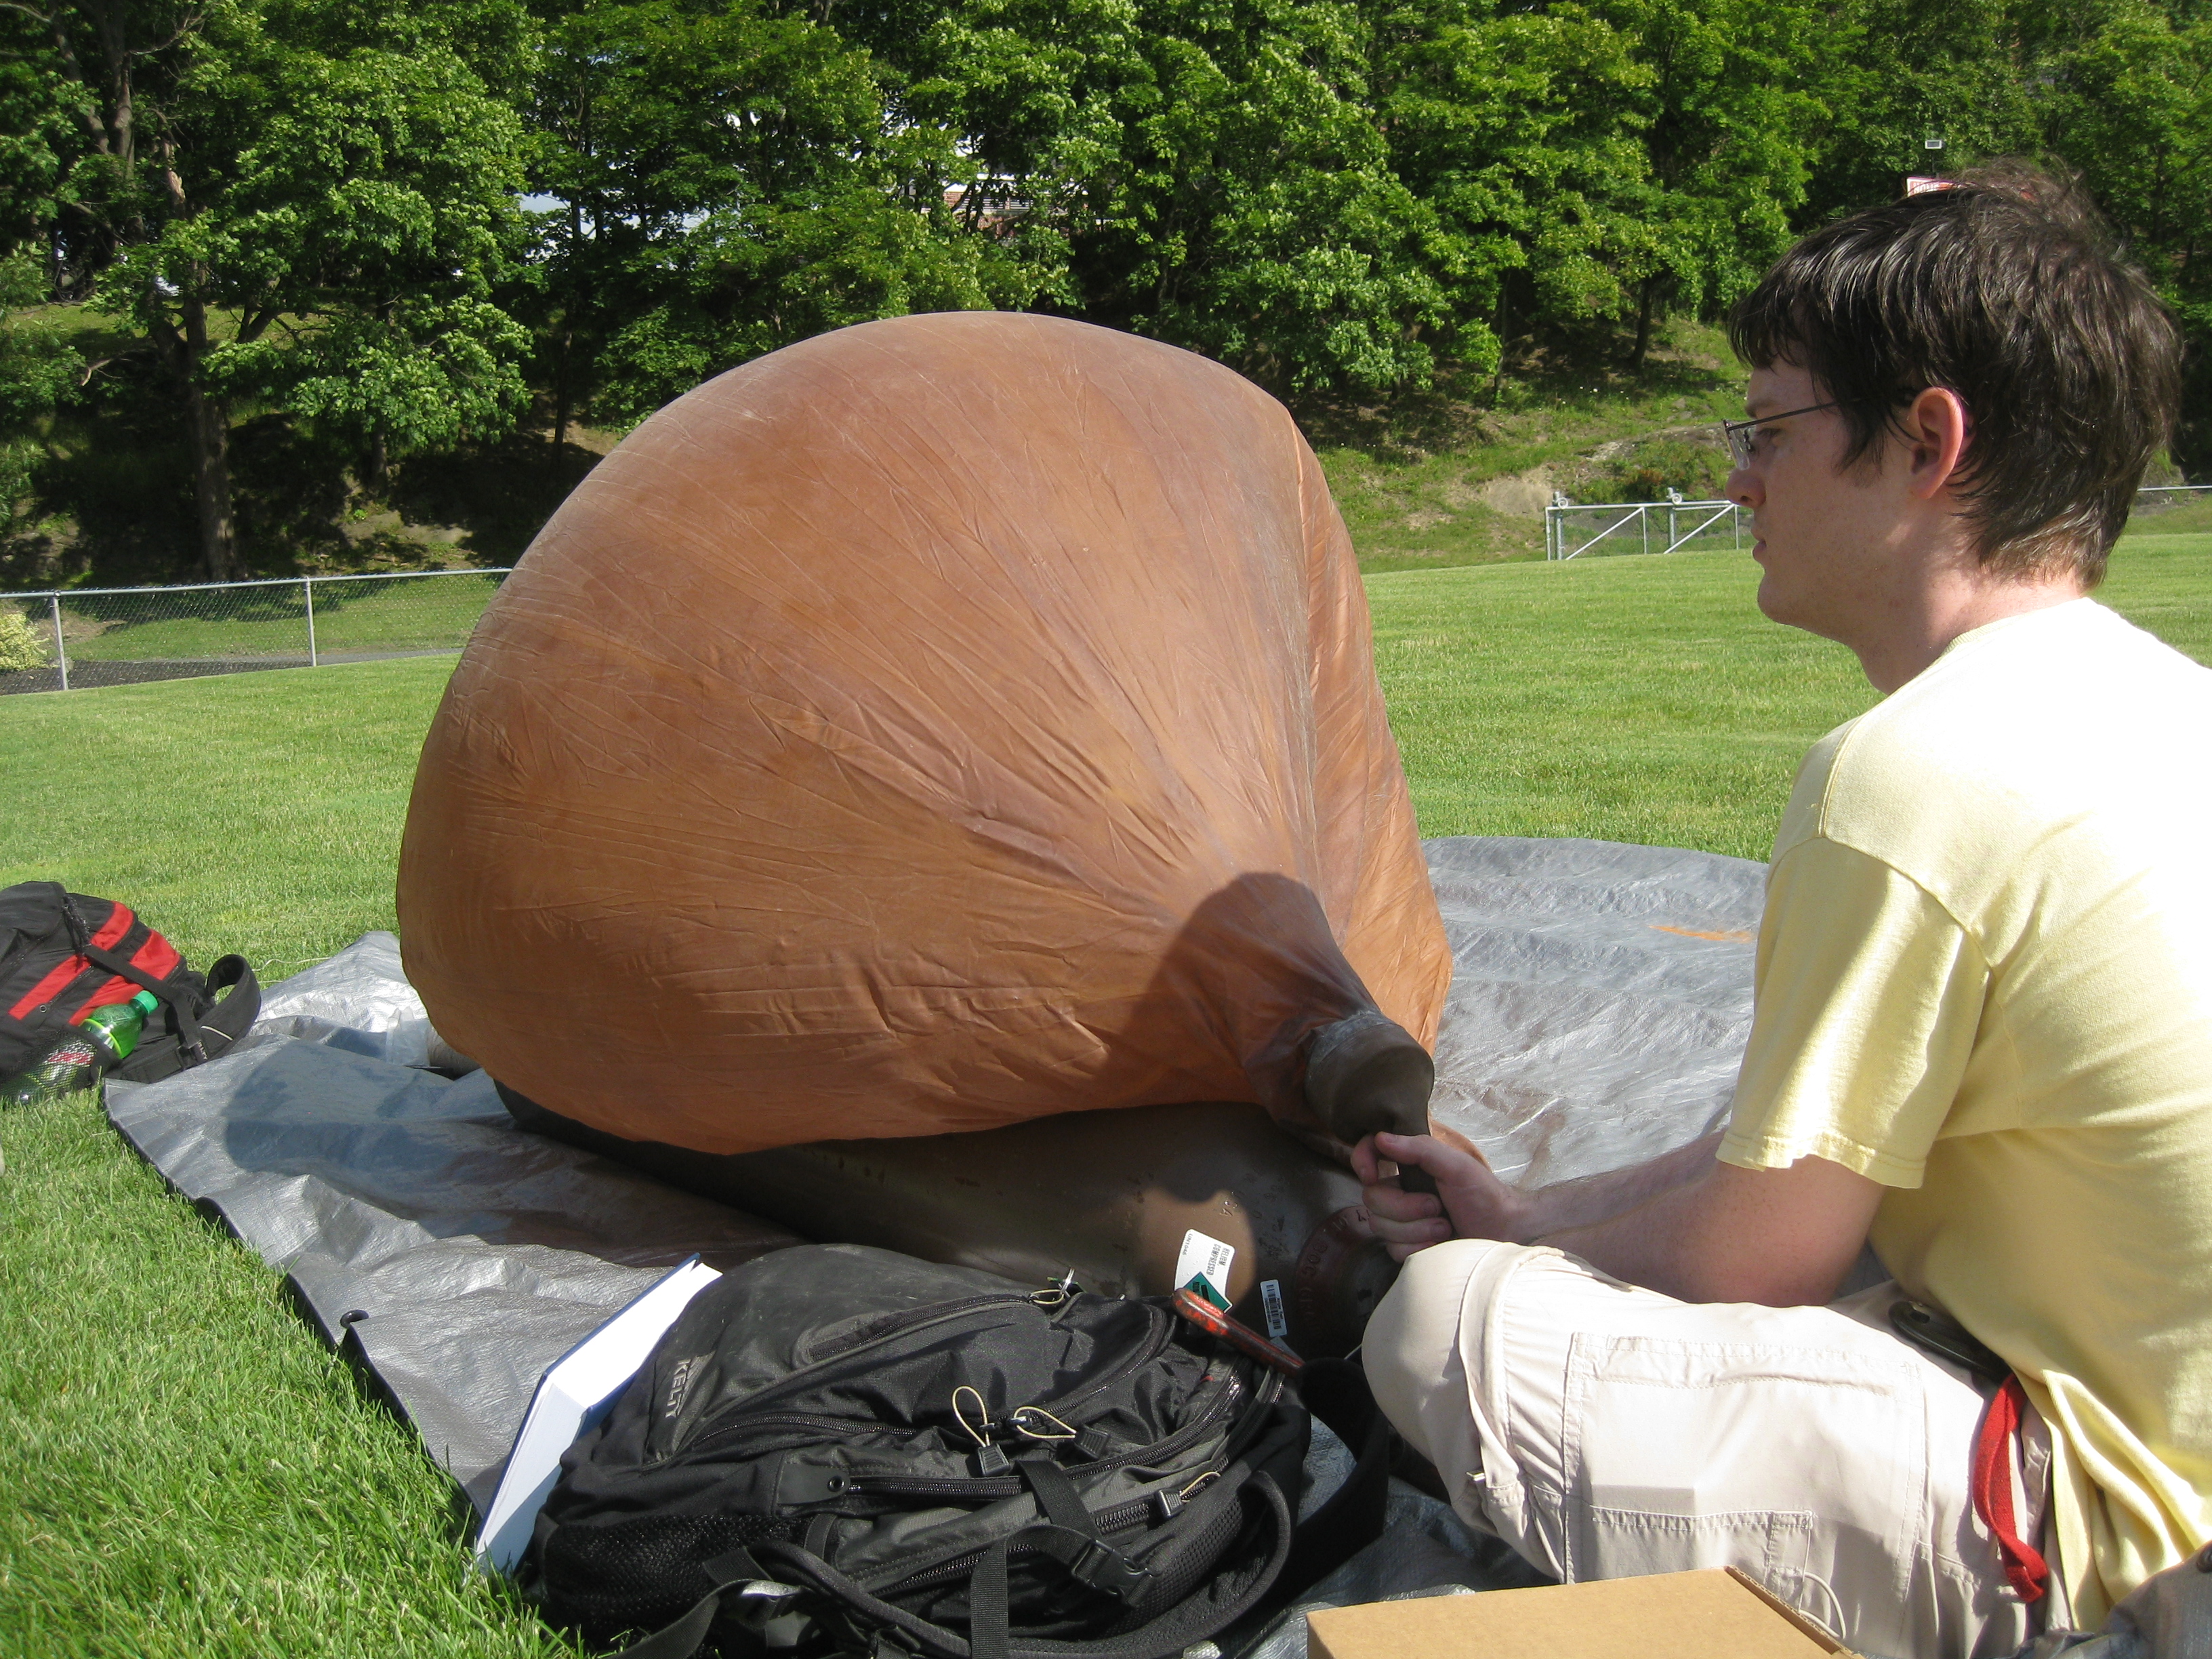

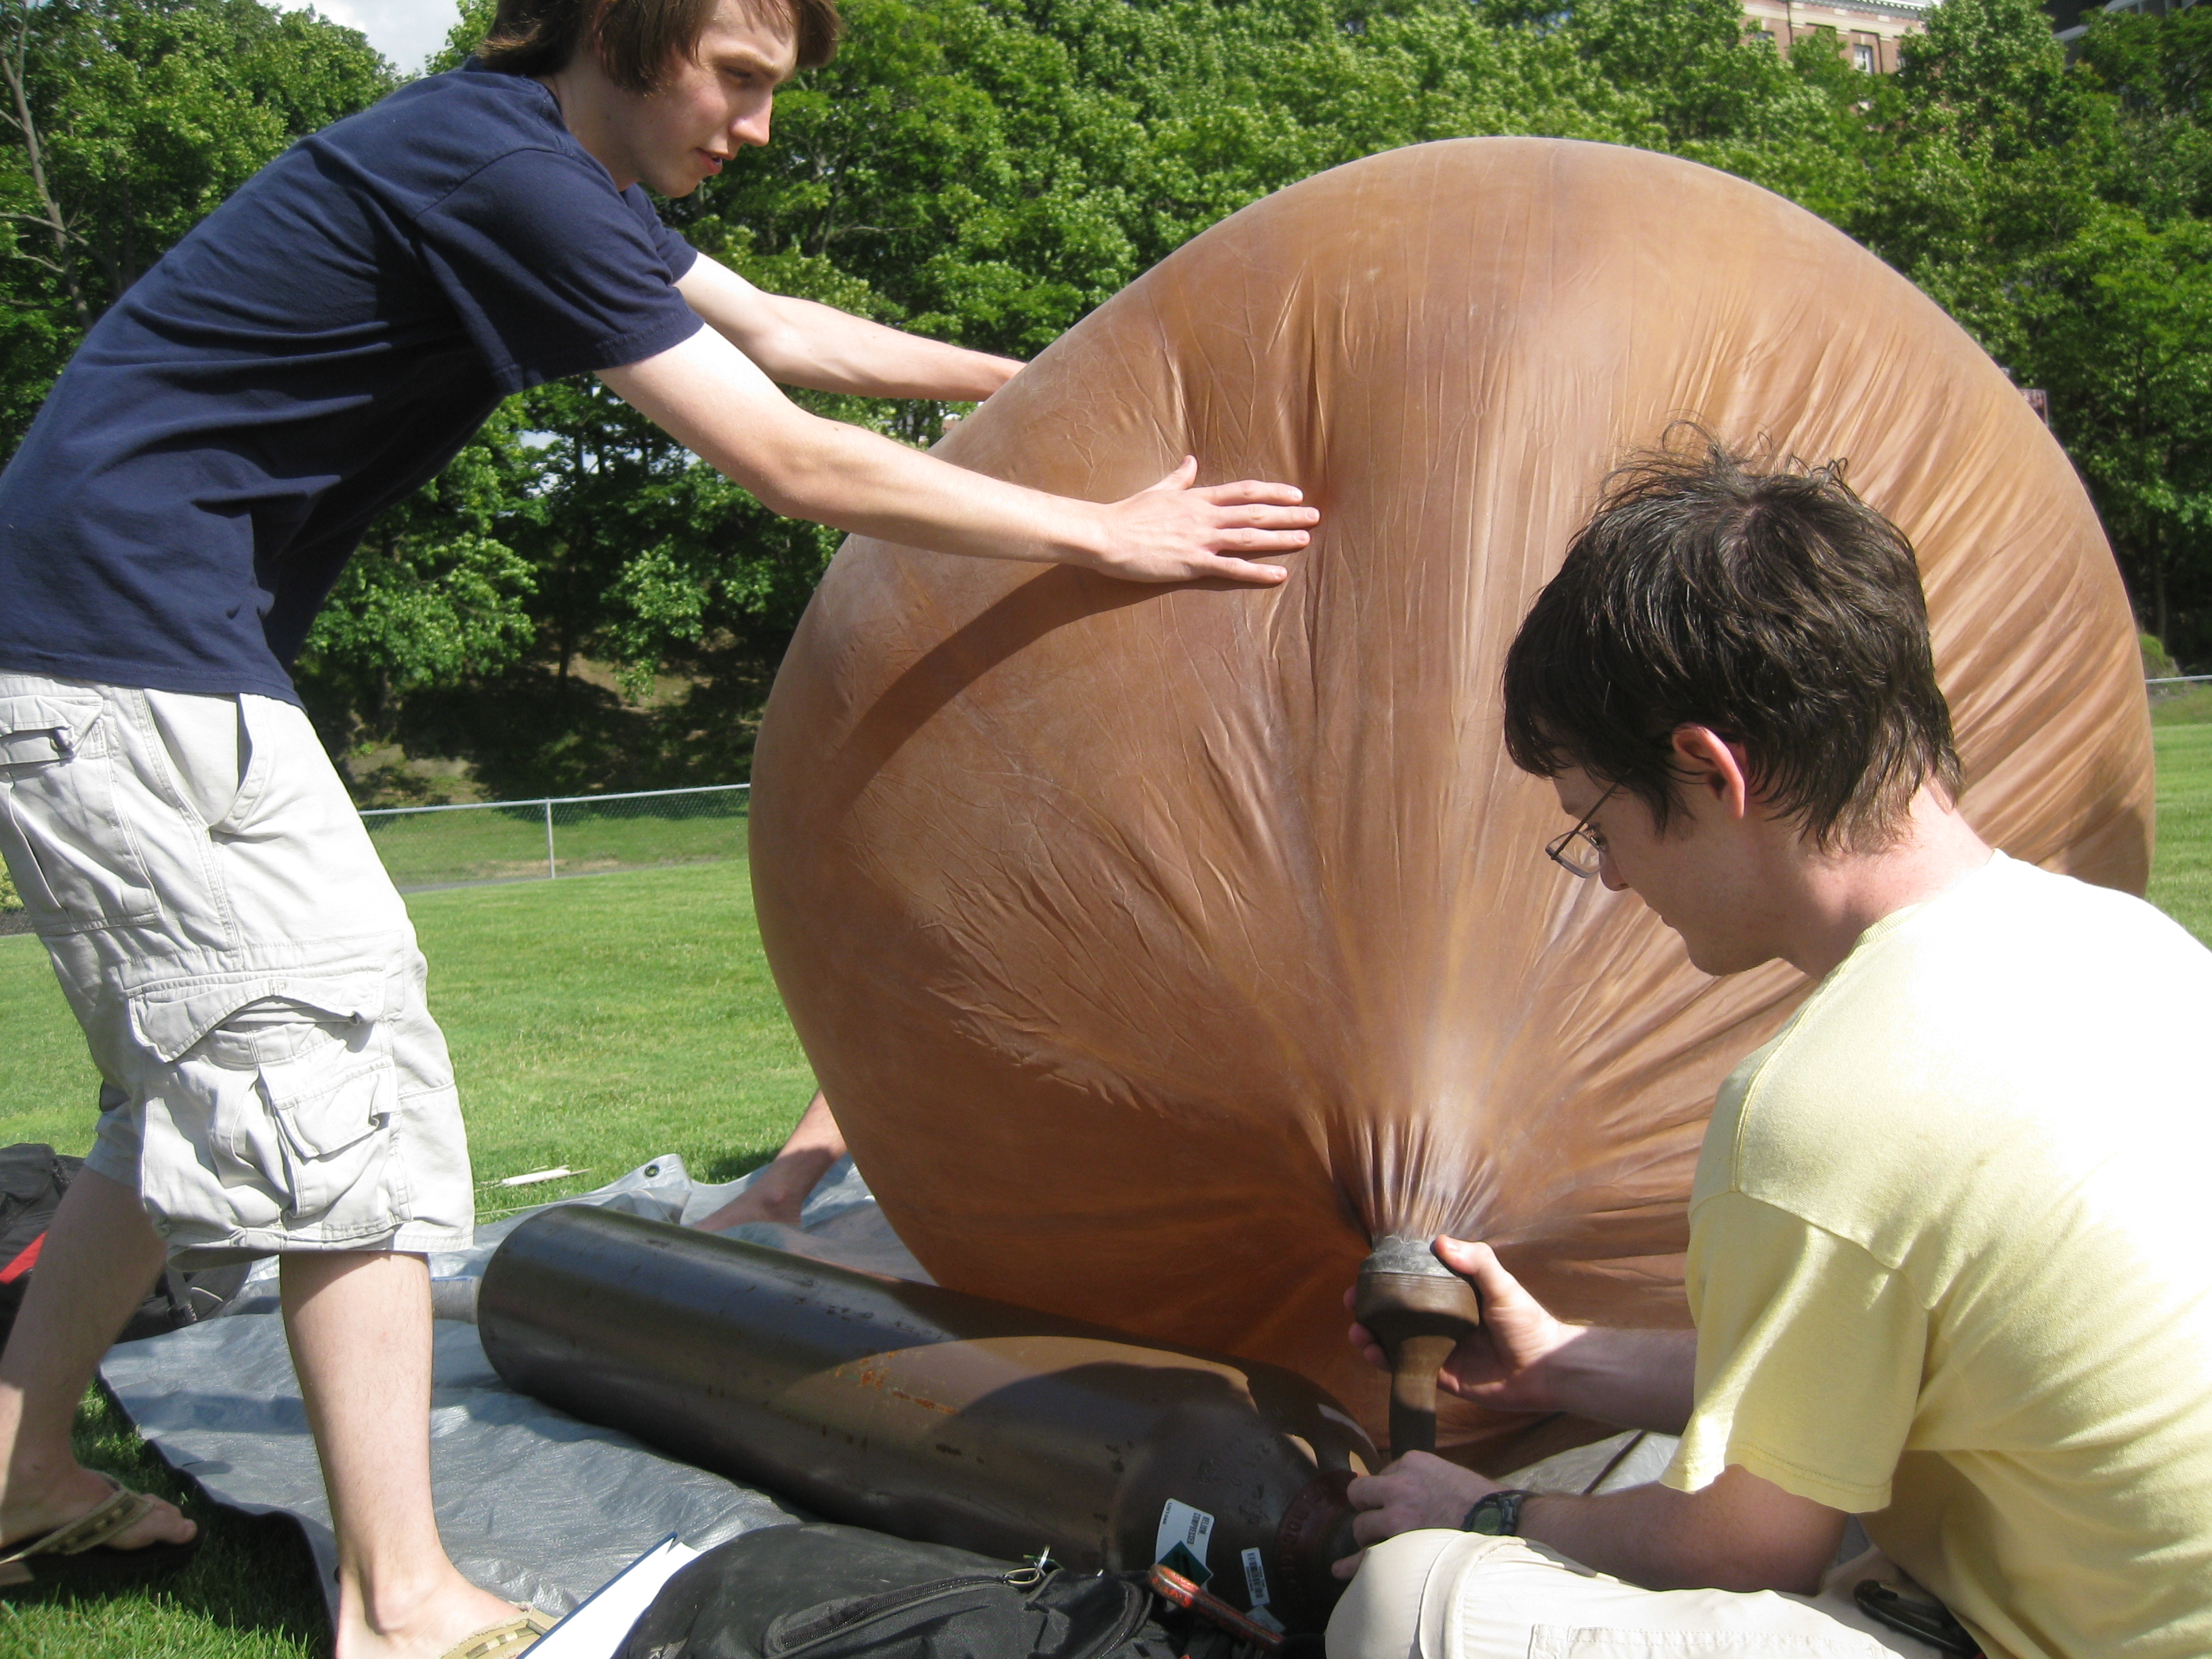
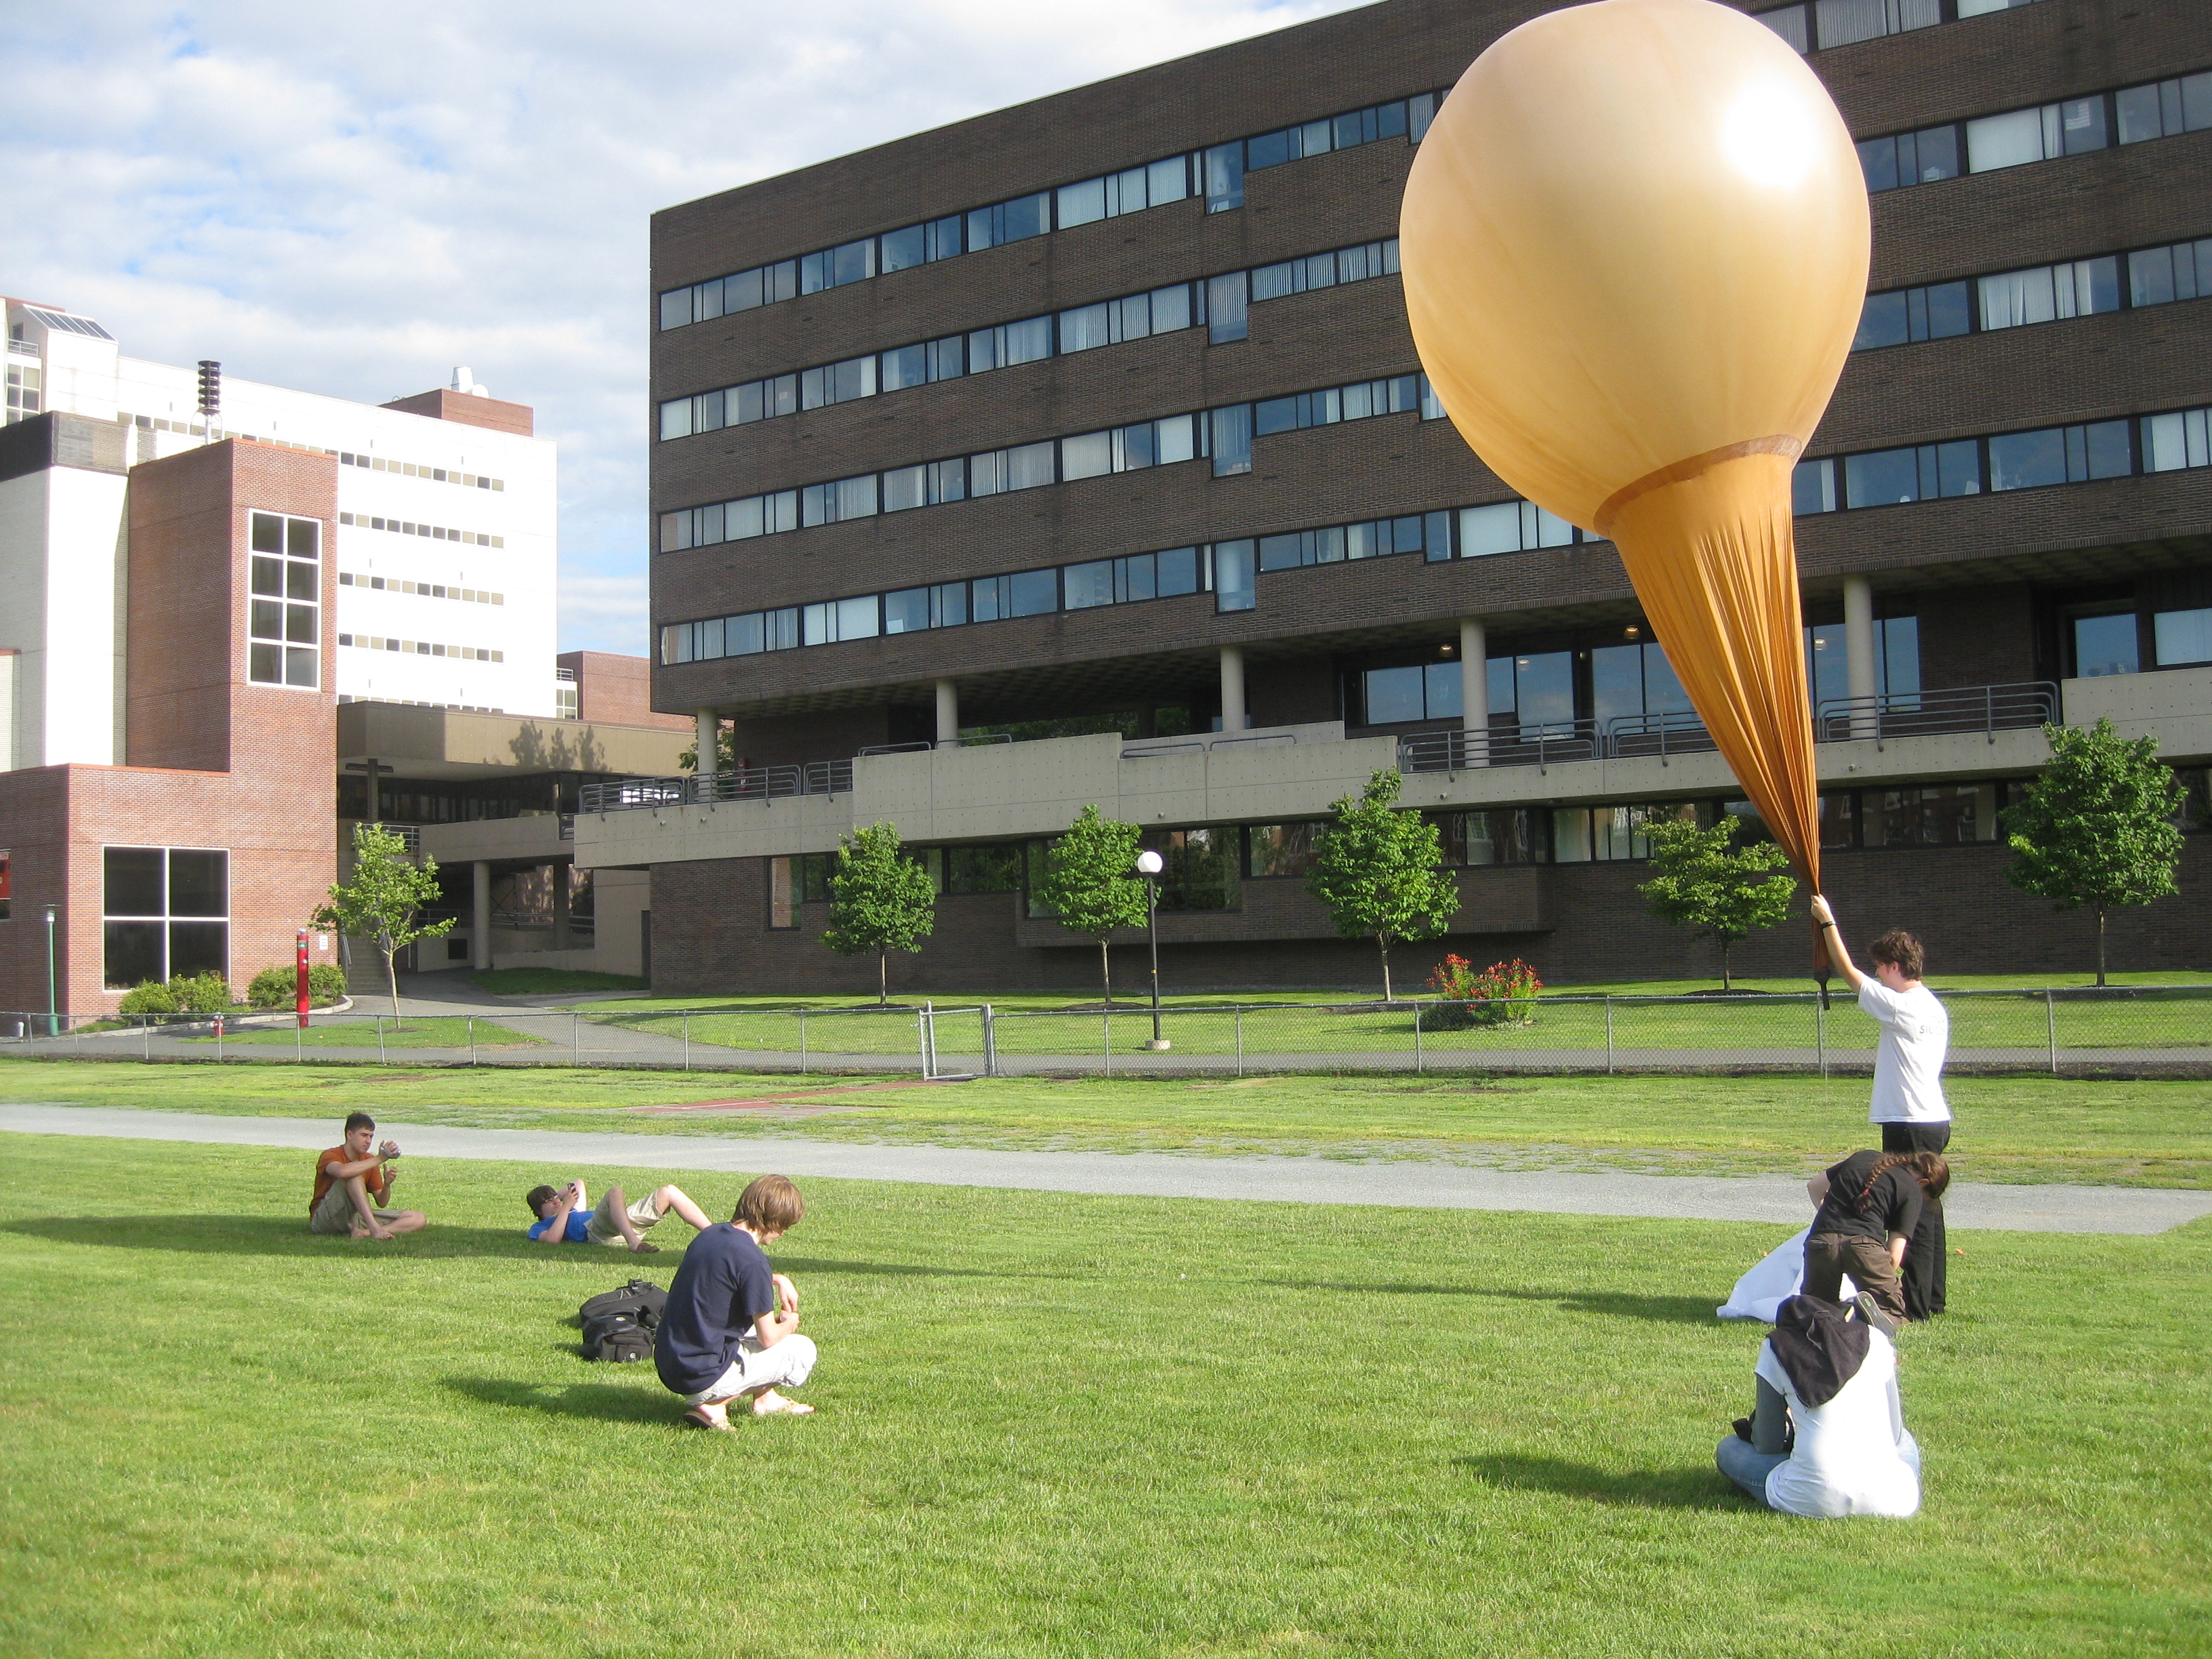
Then it becomes a 4 person job. There were some sporadic gusts on launch day, and while we kept the balloon grounded, it required a bit of a crowd to keep it in check. 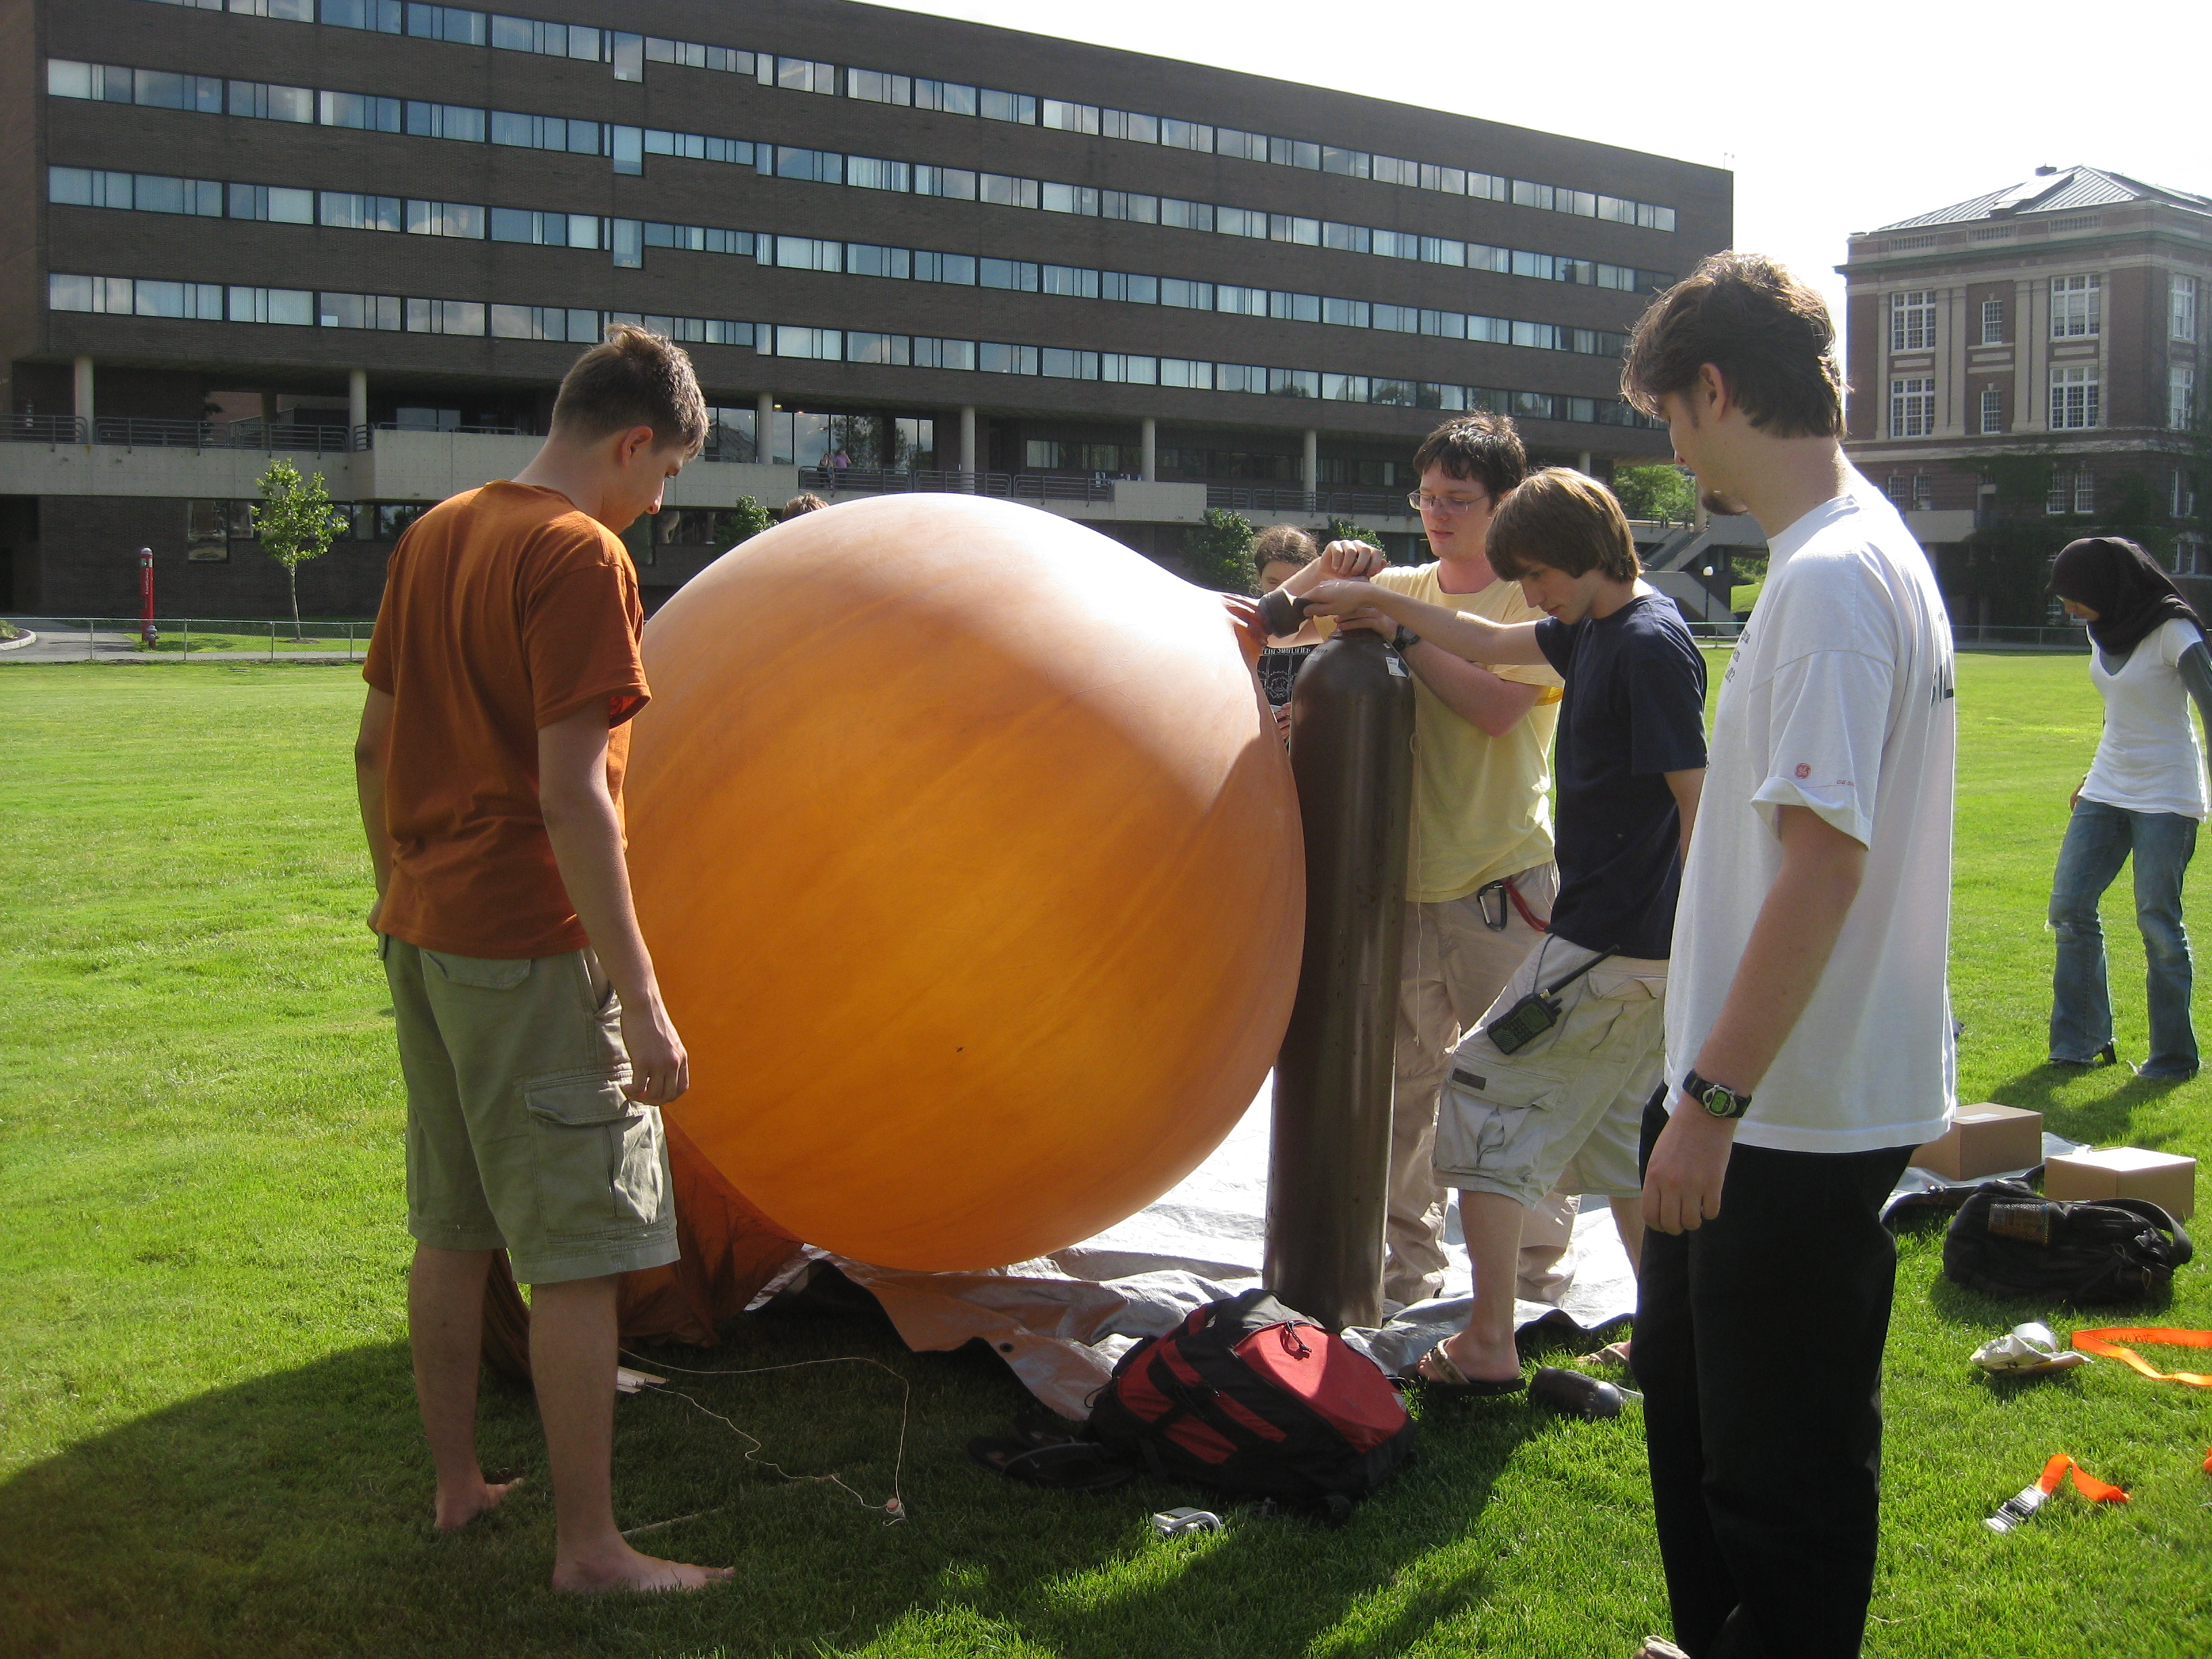
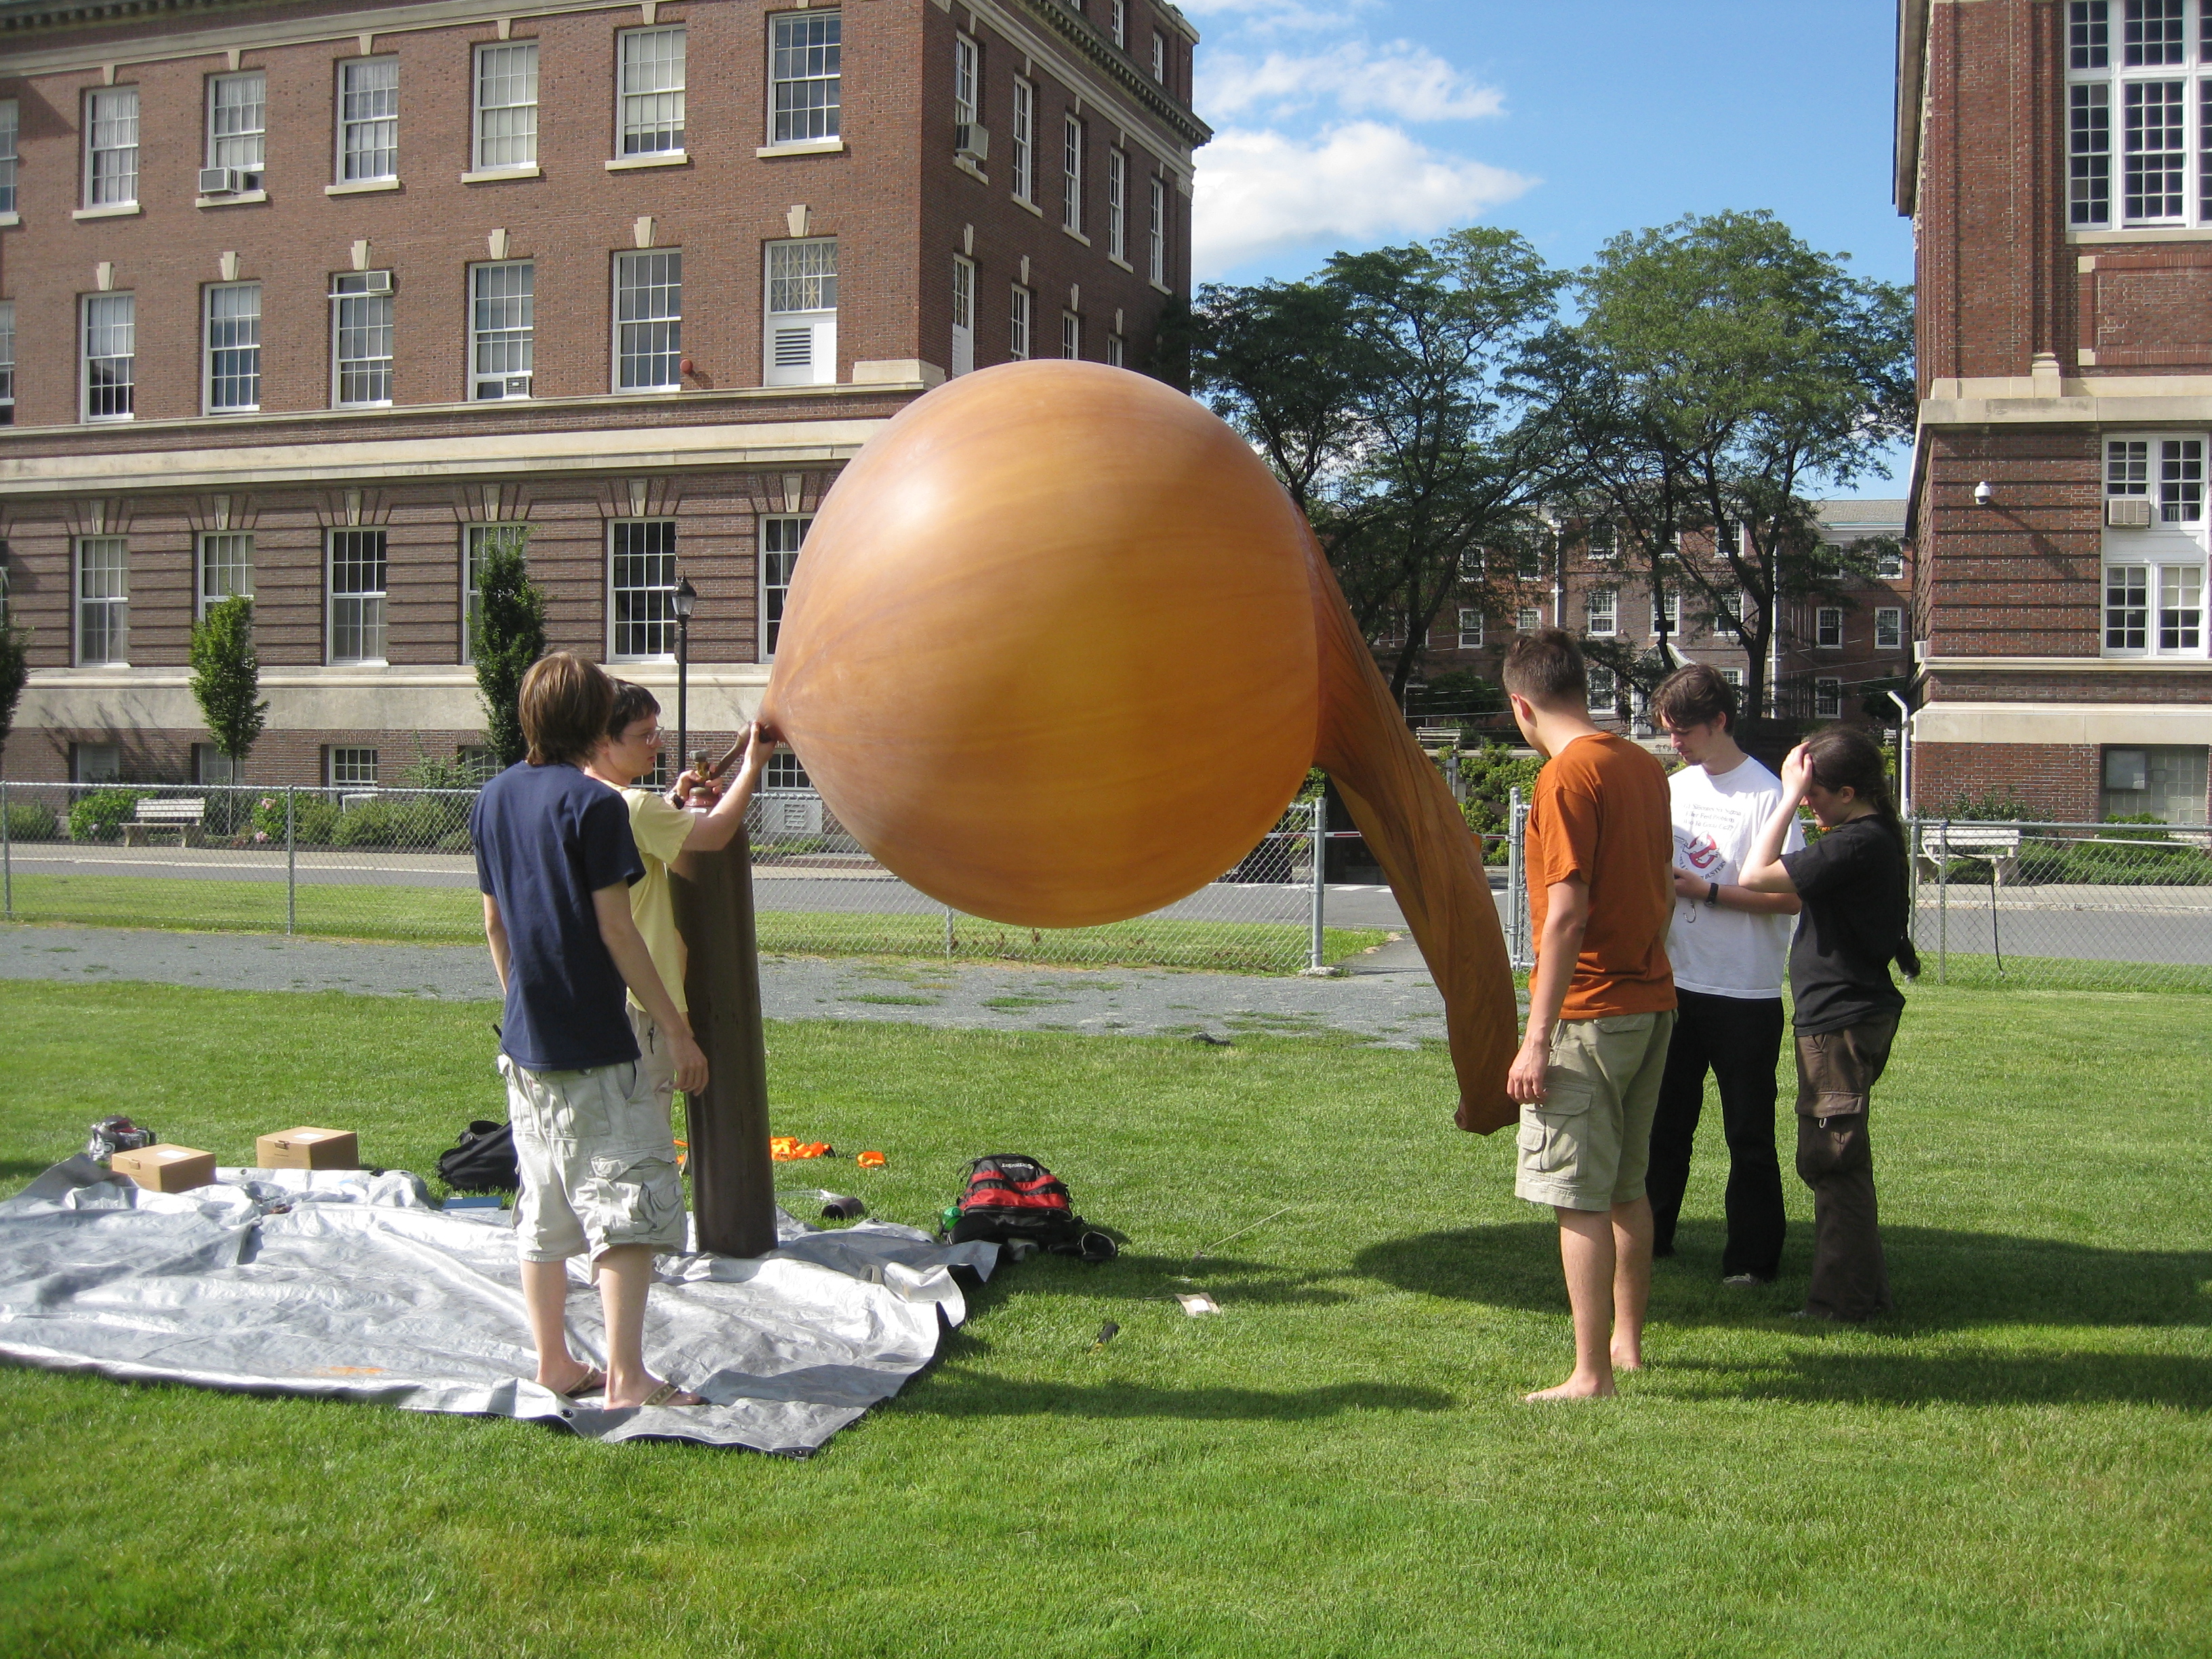
Dont Overfill! The balloon functionality is governed by the internal density being significantly less than the surrounding air. If the balloon was over-inflated, the stressed balloon would no longer remain as an elastic barrier, and apply pressure to the internal gas, increasing its density. 

Installing The PayloadThe payload was mostly prepped inside the RPI Electronics Club. 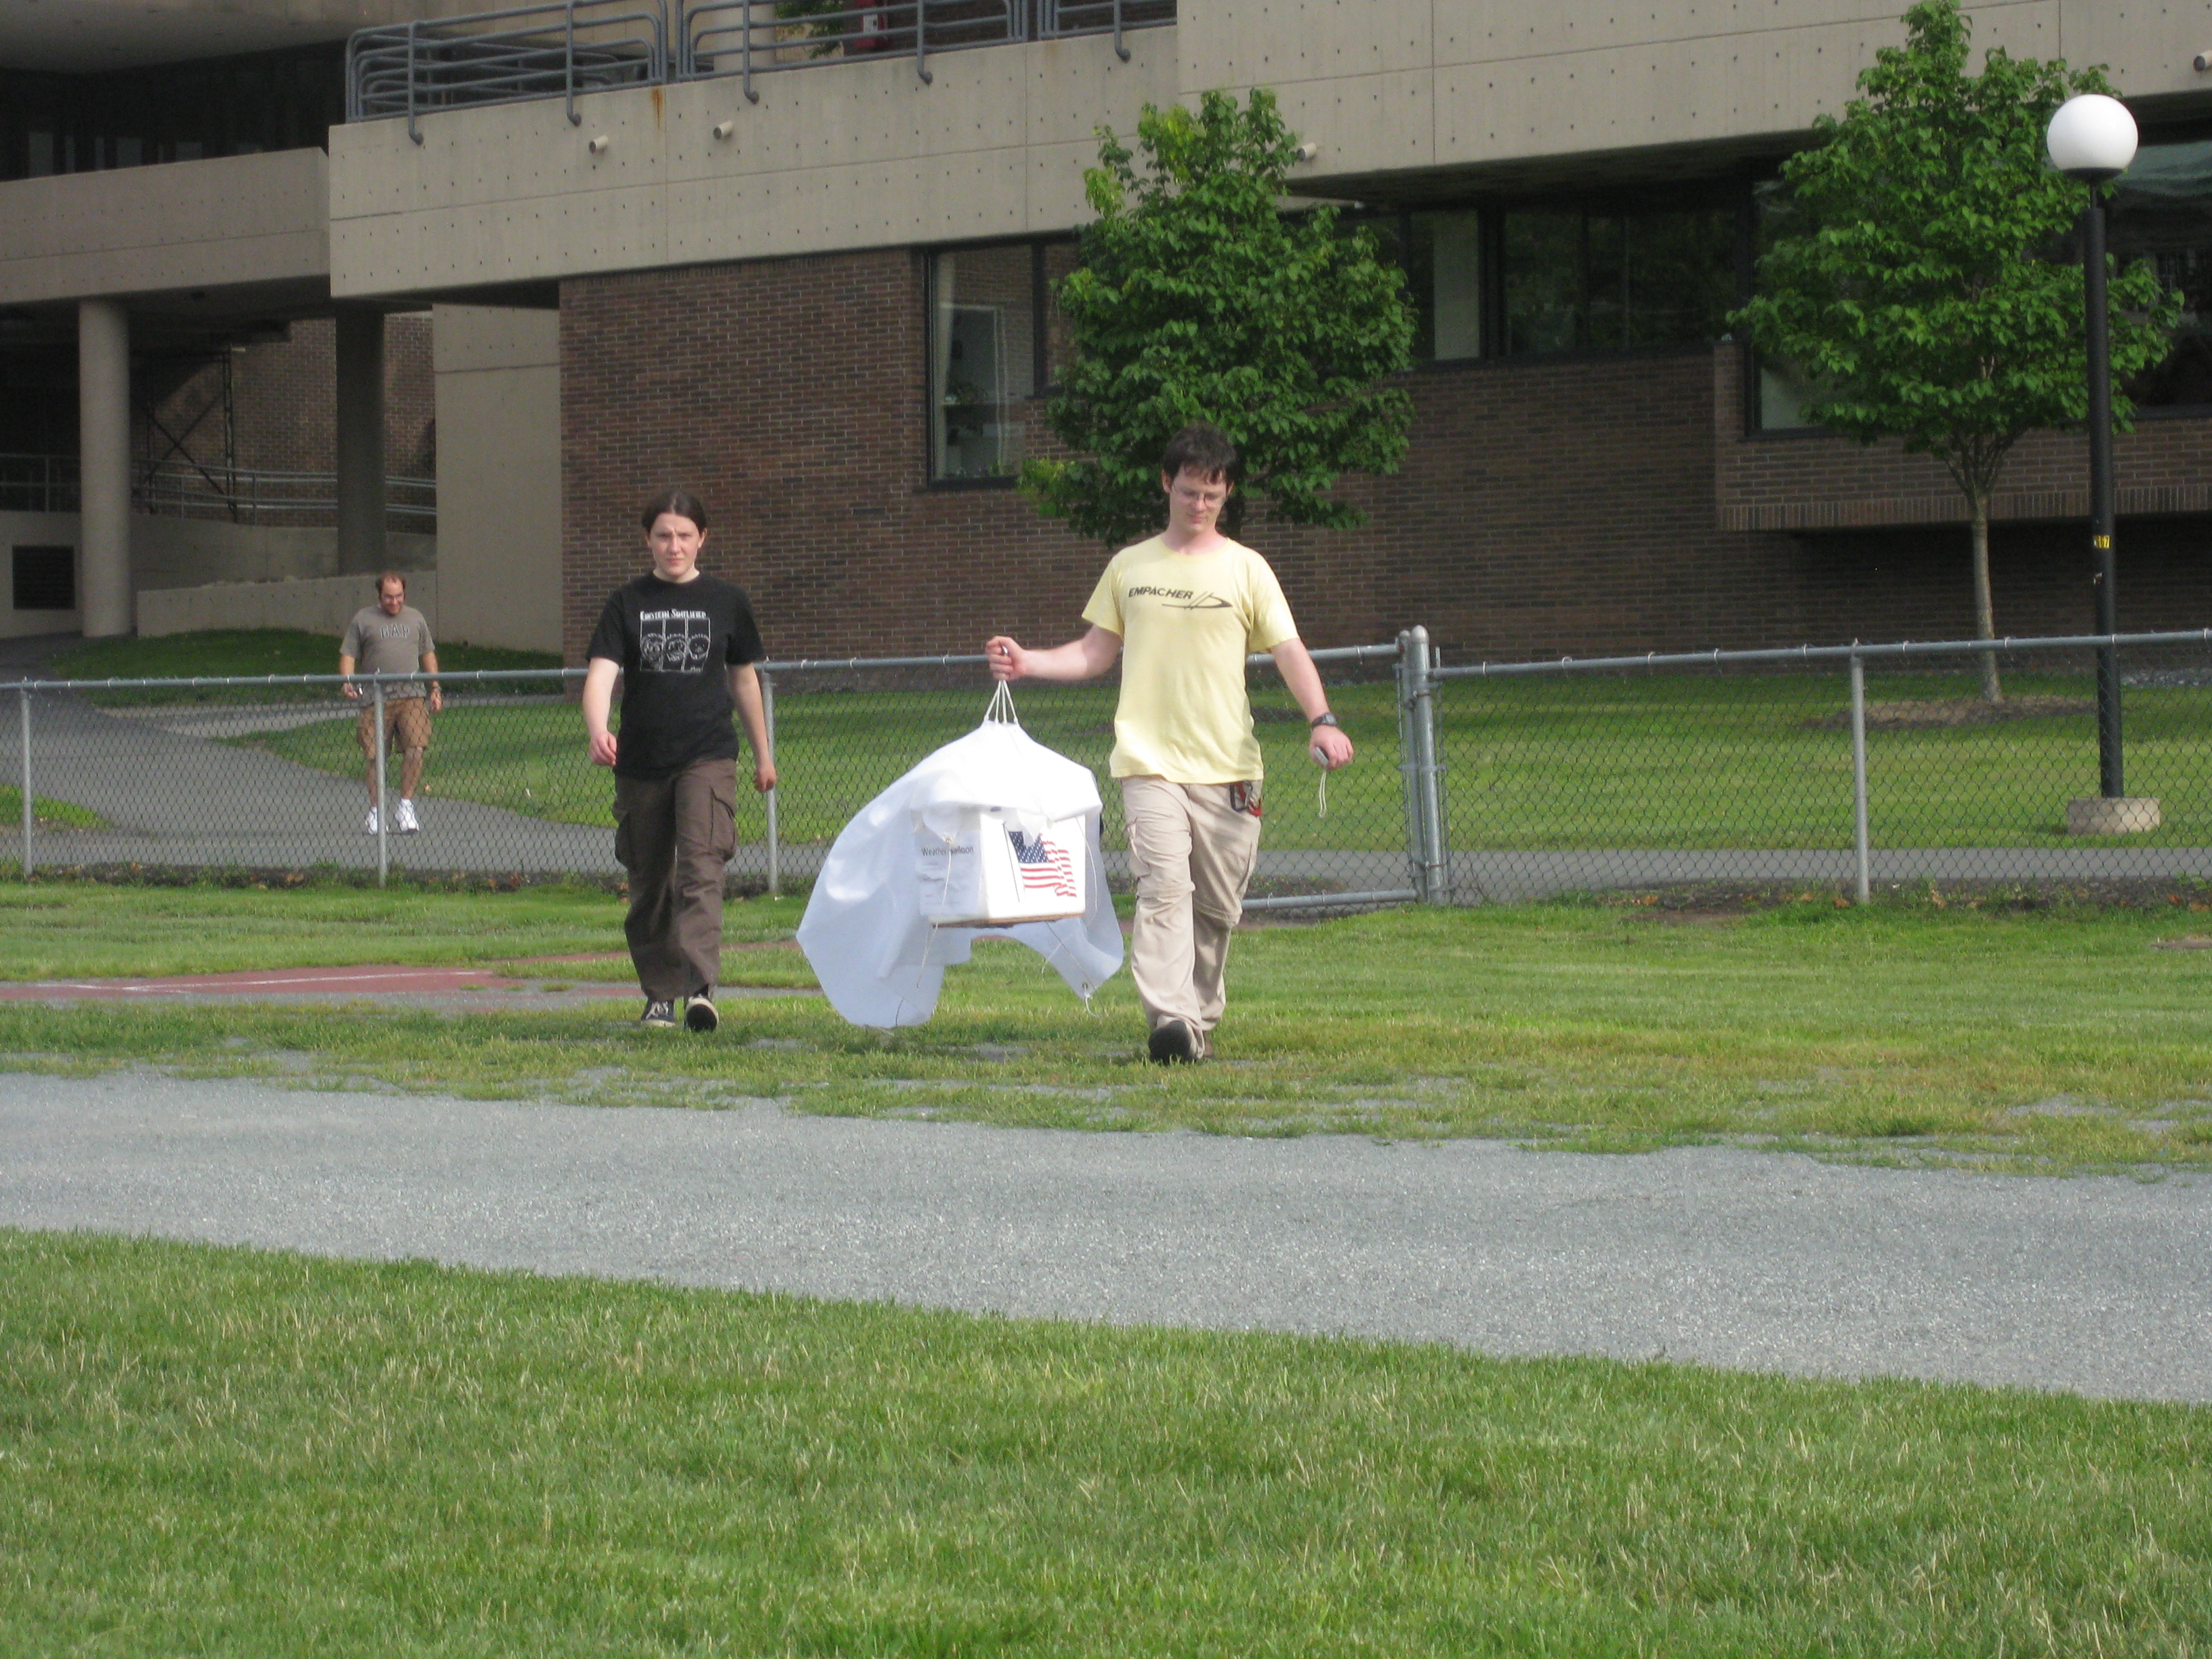
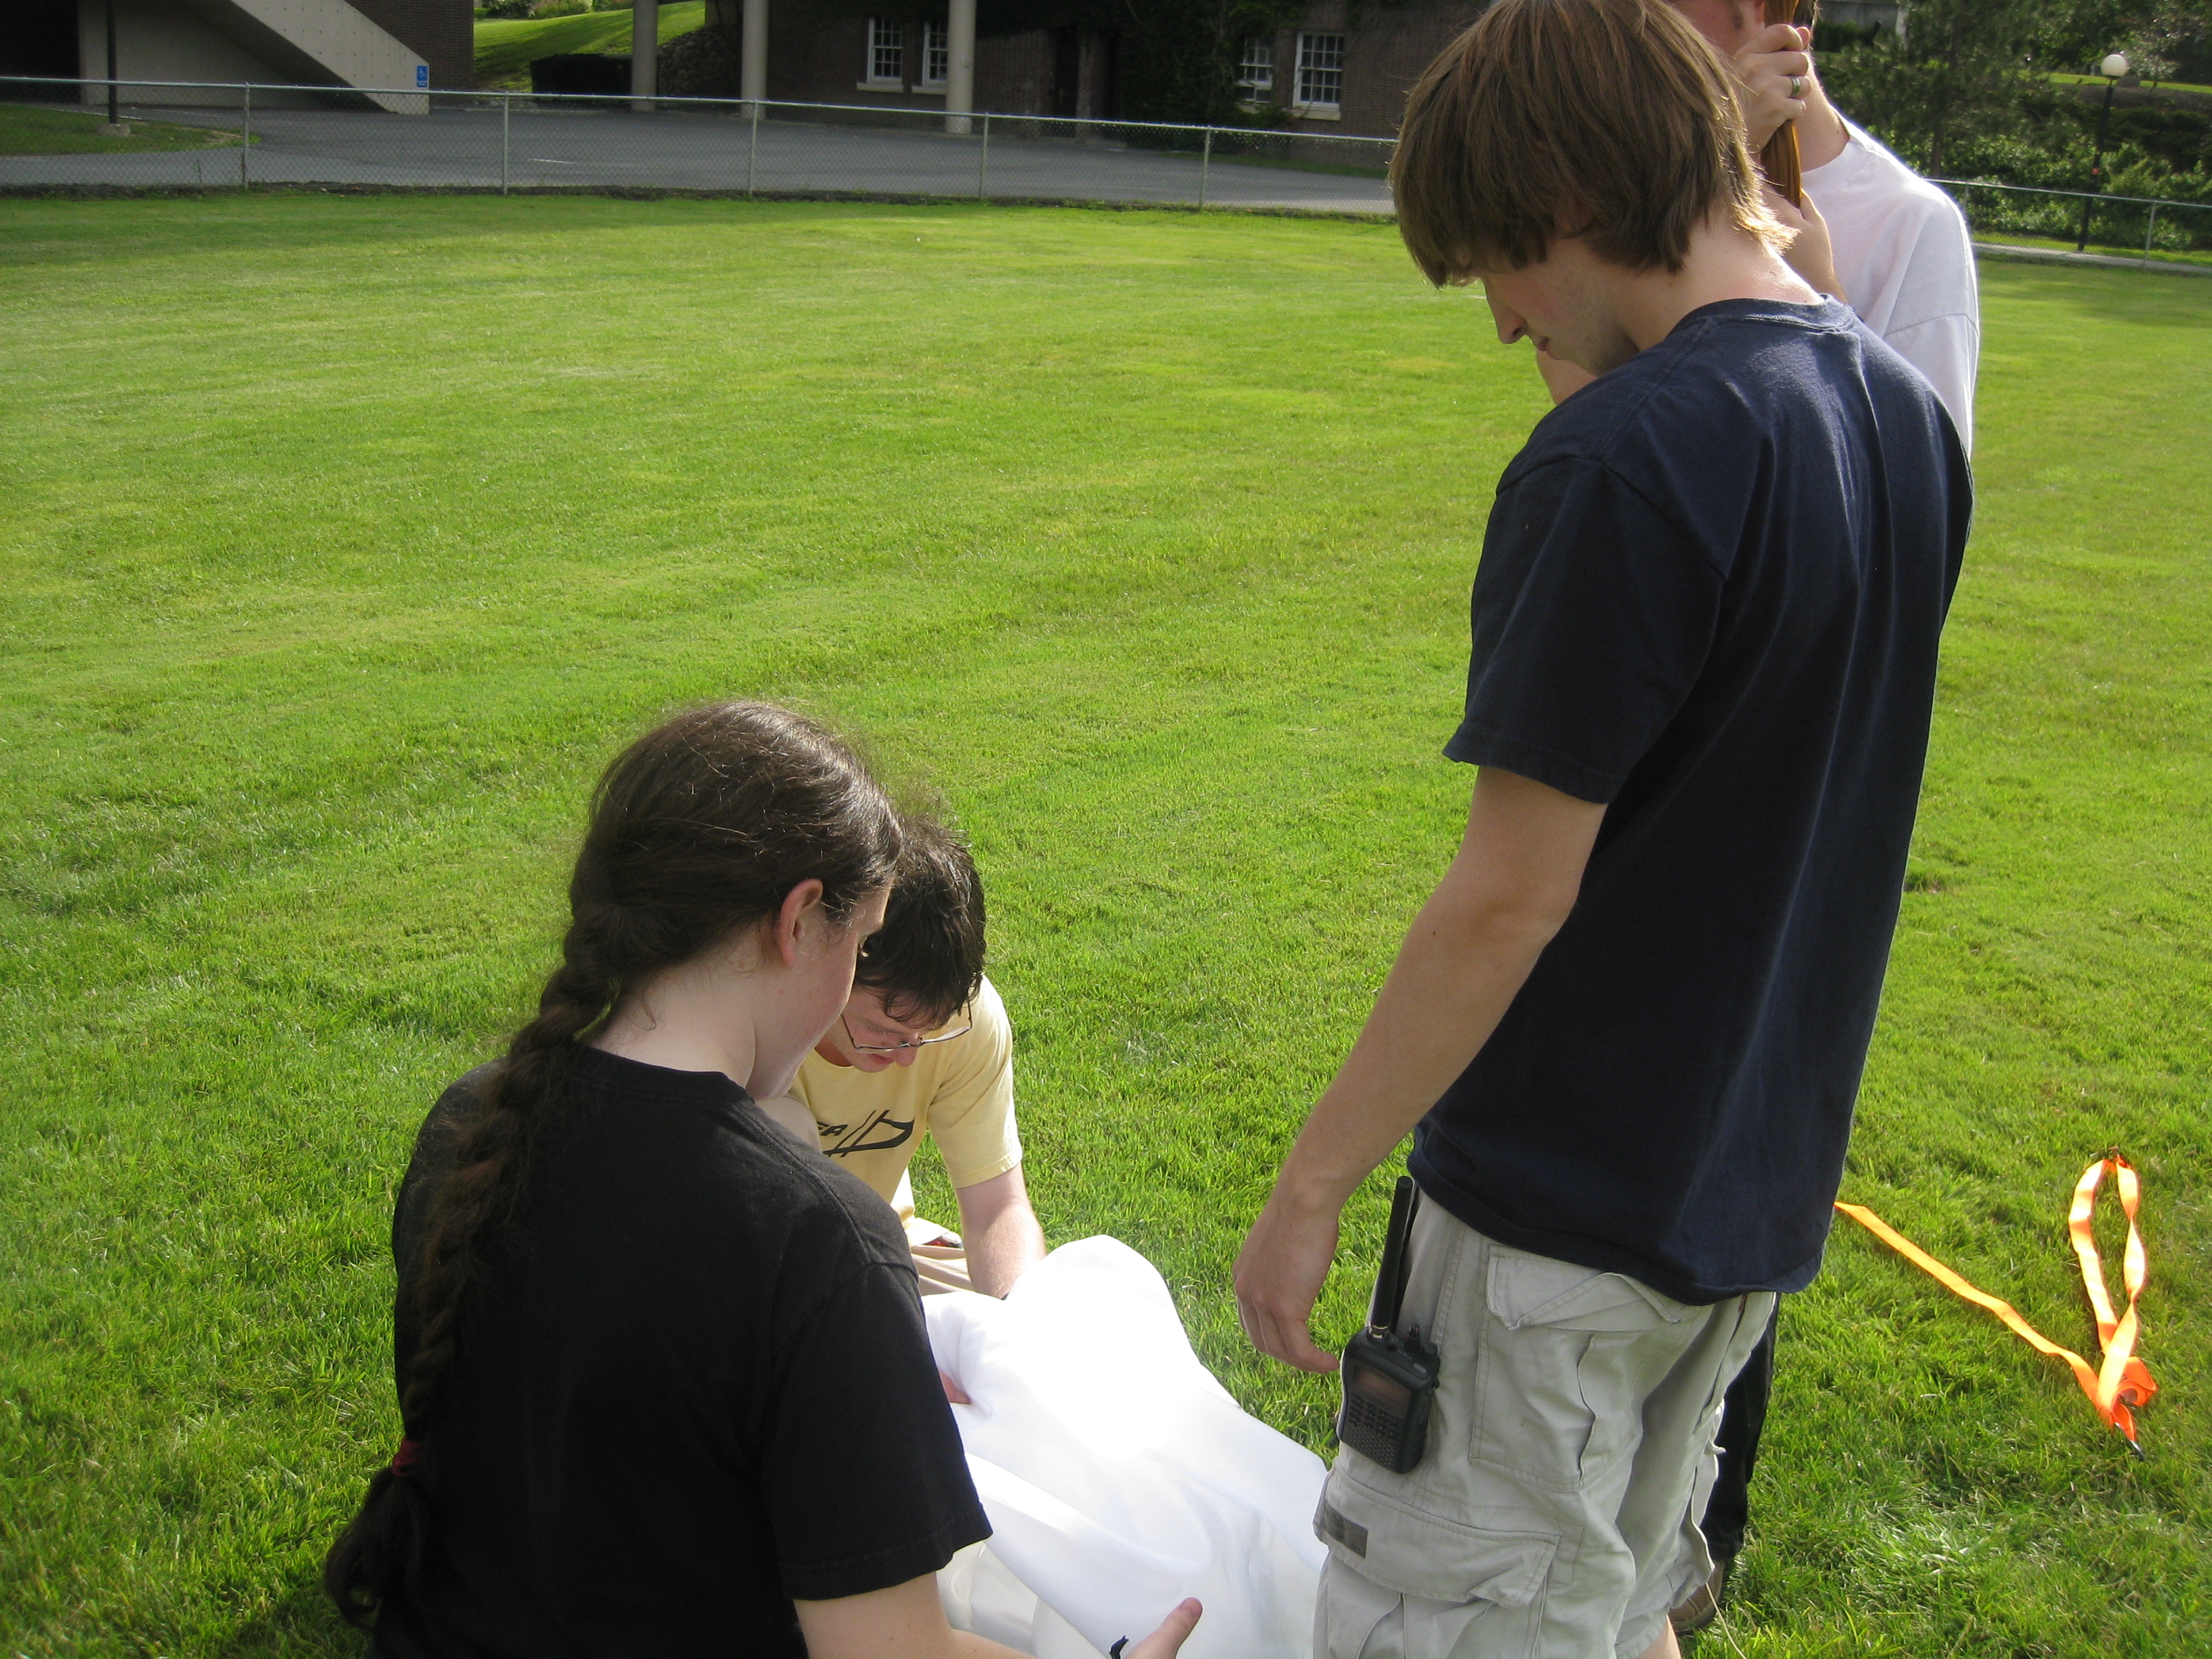
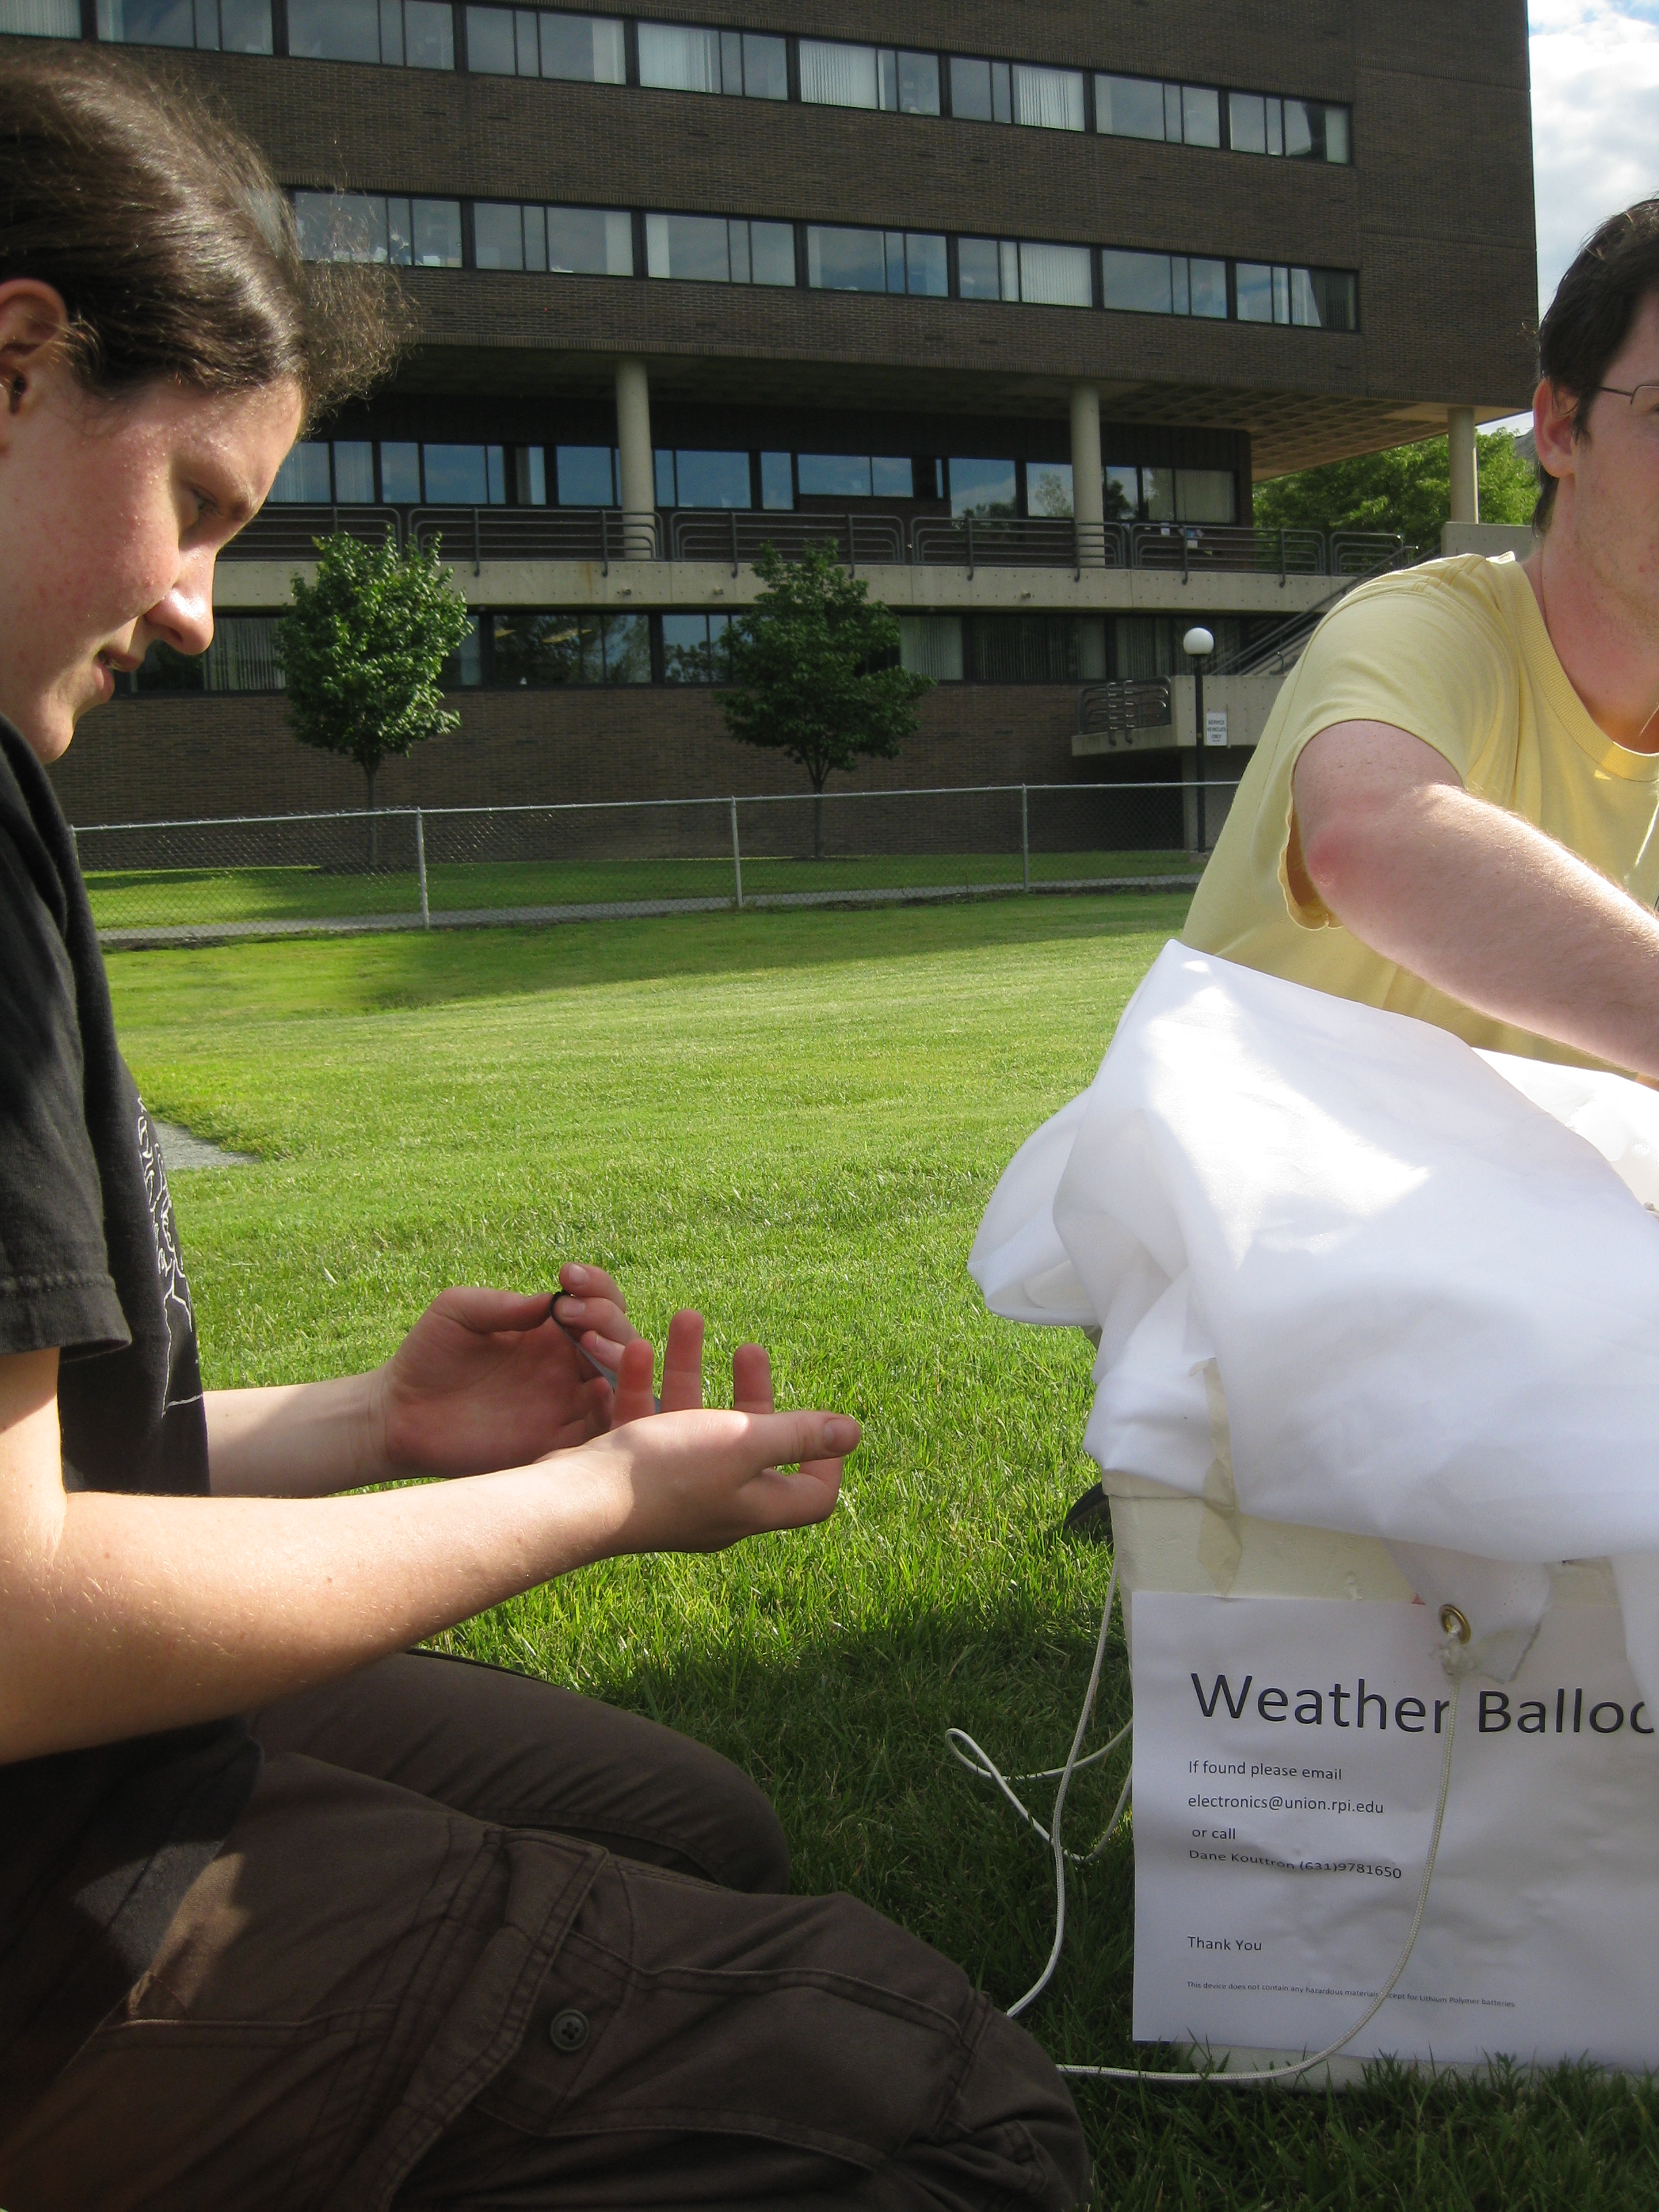
Labeling. The payload is labeled to allow for easier recovery if signal is lost, or if the craft disappears into the ether. The parachute was carefully laid on top, packed in place, gingerly, with masking tape. One final look into the controls to see that everything was working nicely.

Launch!PREP FOR LAUNCH. This was quite possibly the most beautiful day Troy NY had ever experienced, it was sunny, warm and the skies were a crisp blue. Between prep, running back and forth to the electronics club, hiding in the shadow of the massive balloon provided a cool place to rest. 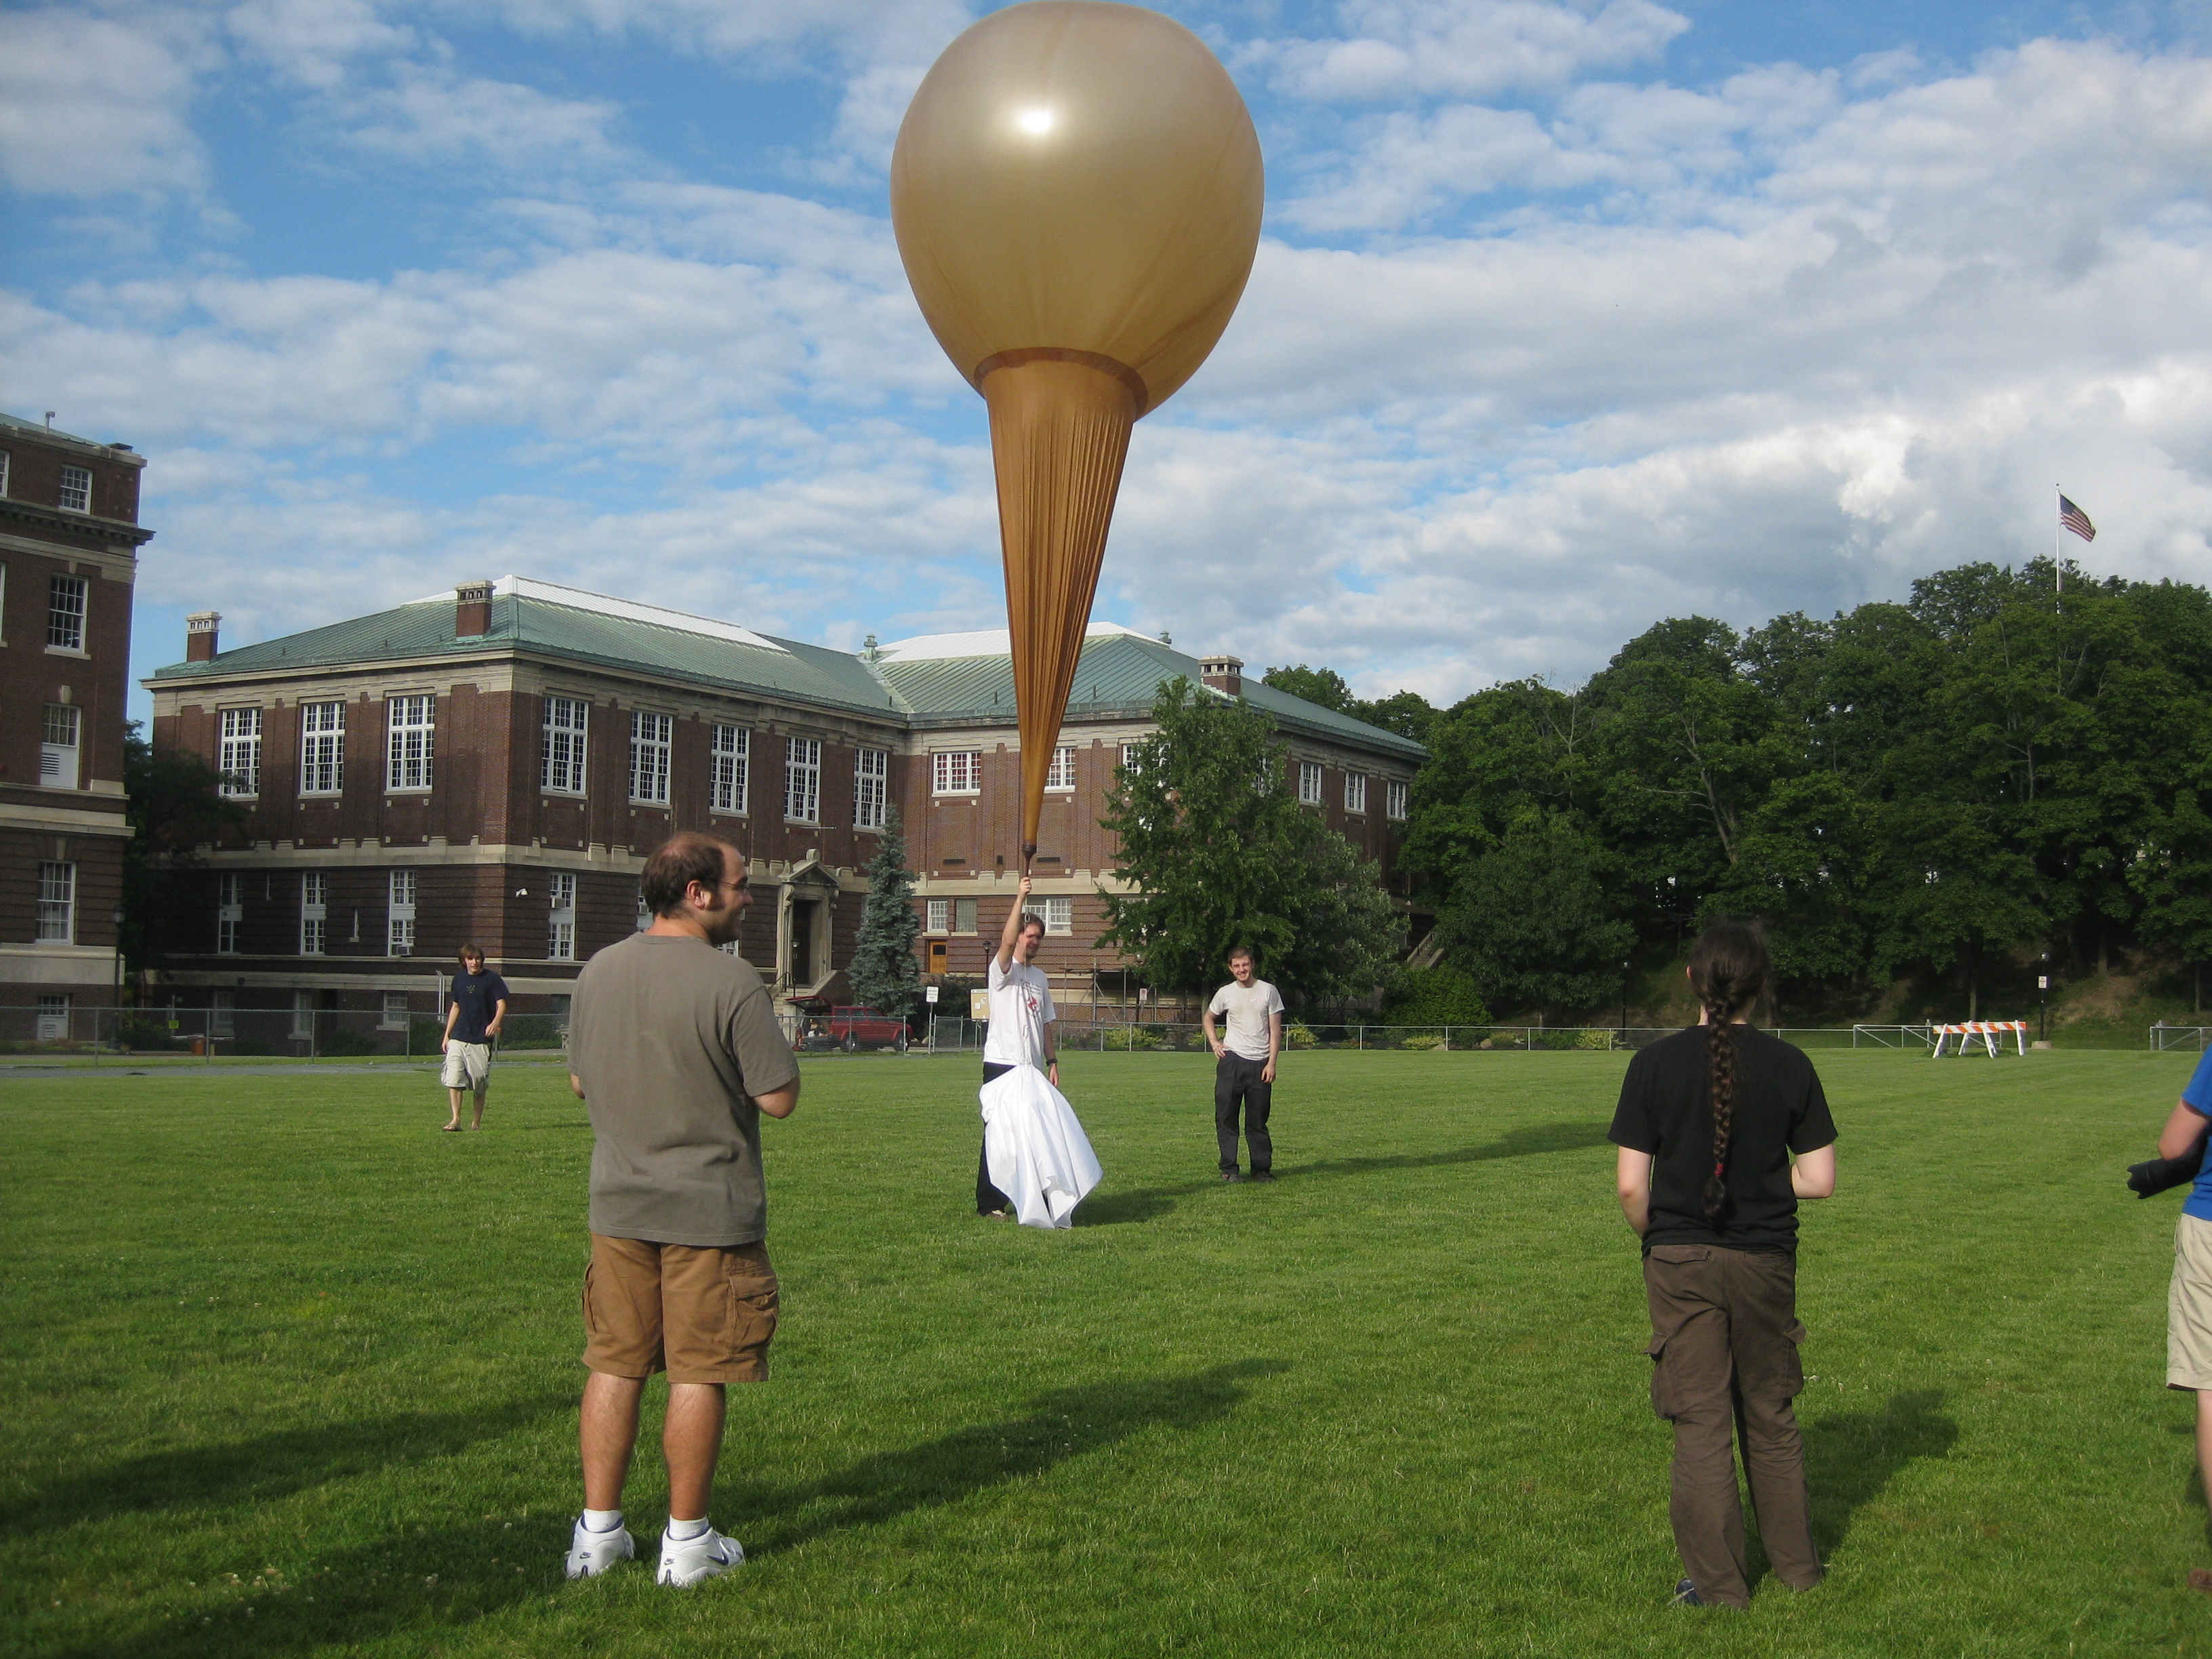
LAUNCH!!!!!!!!!! The fearless Eric VanWyk, says the final words and lets the craft lift into the heavens. It was fairly amazing to watch. A long sleepless weekend all hinged on some string, a lipo and some quickly thrown together software and hardware. It was breathtaking, everyone was full of smile. 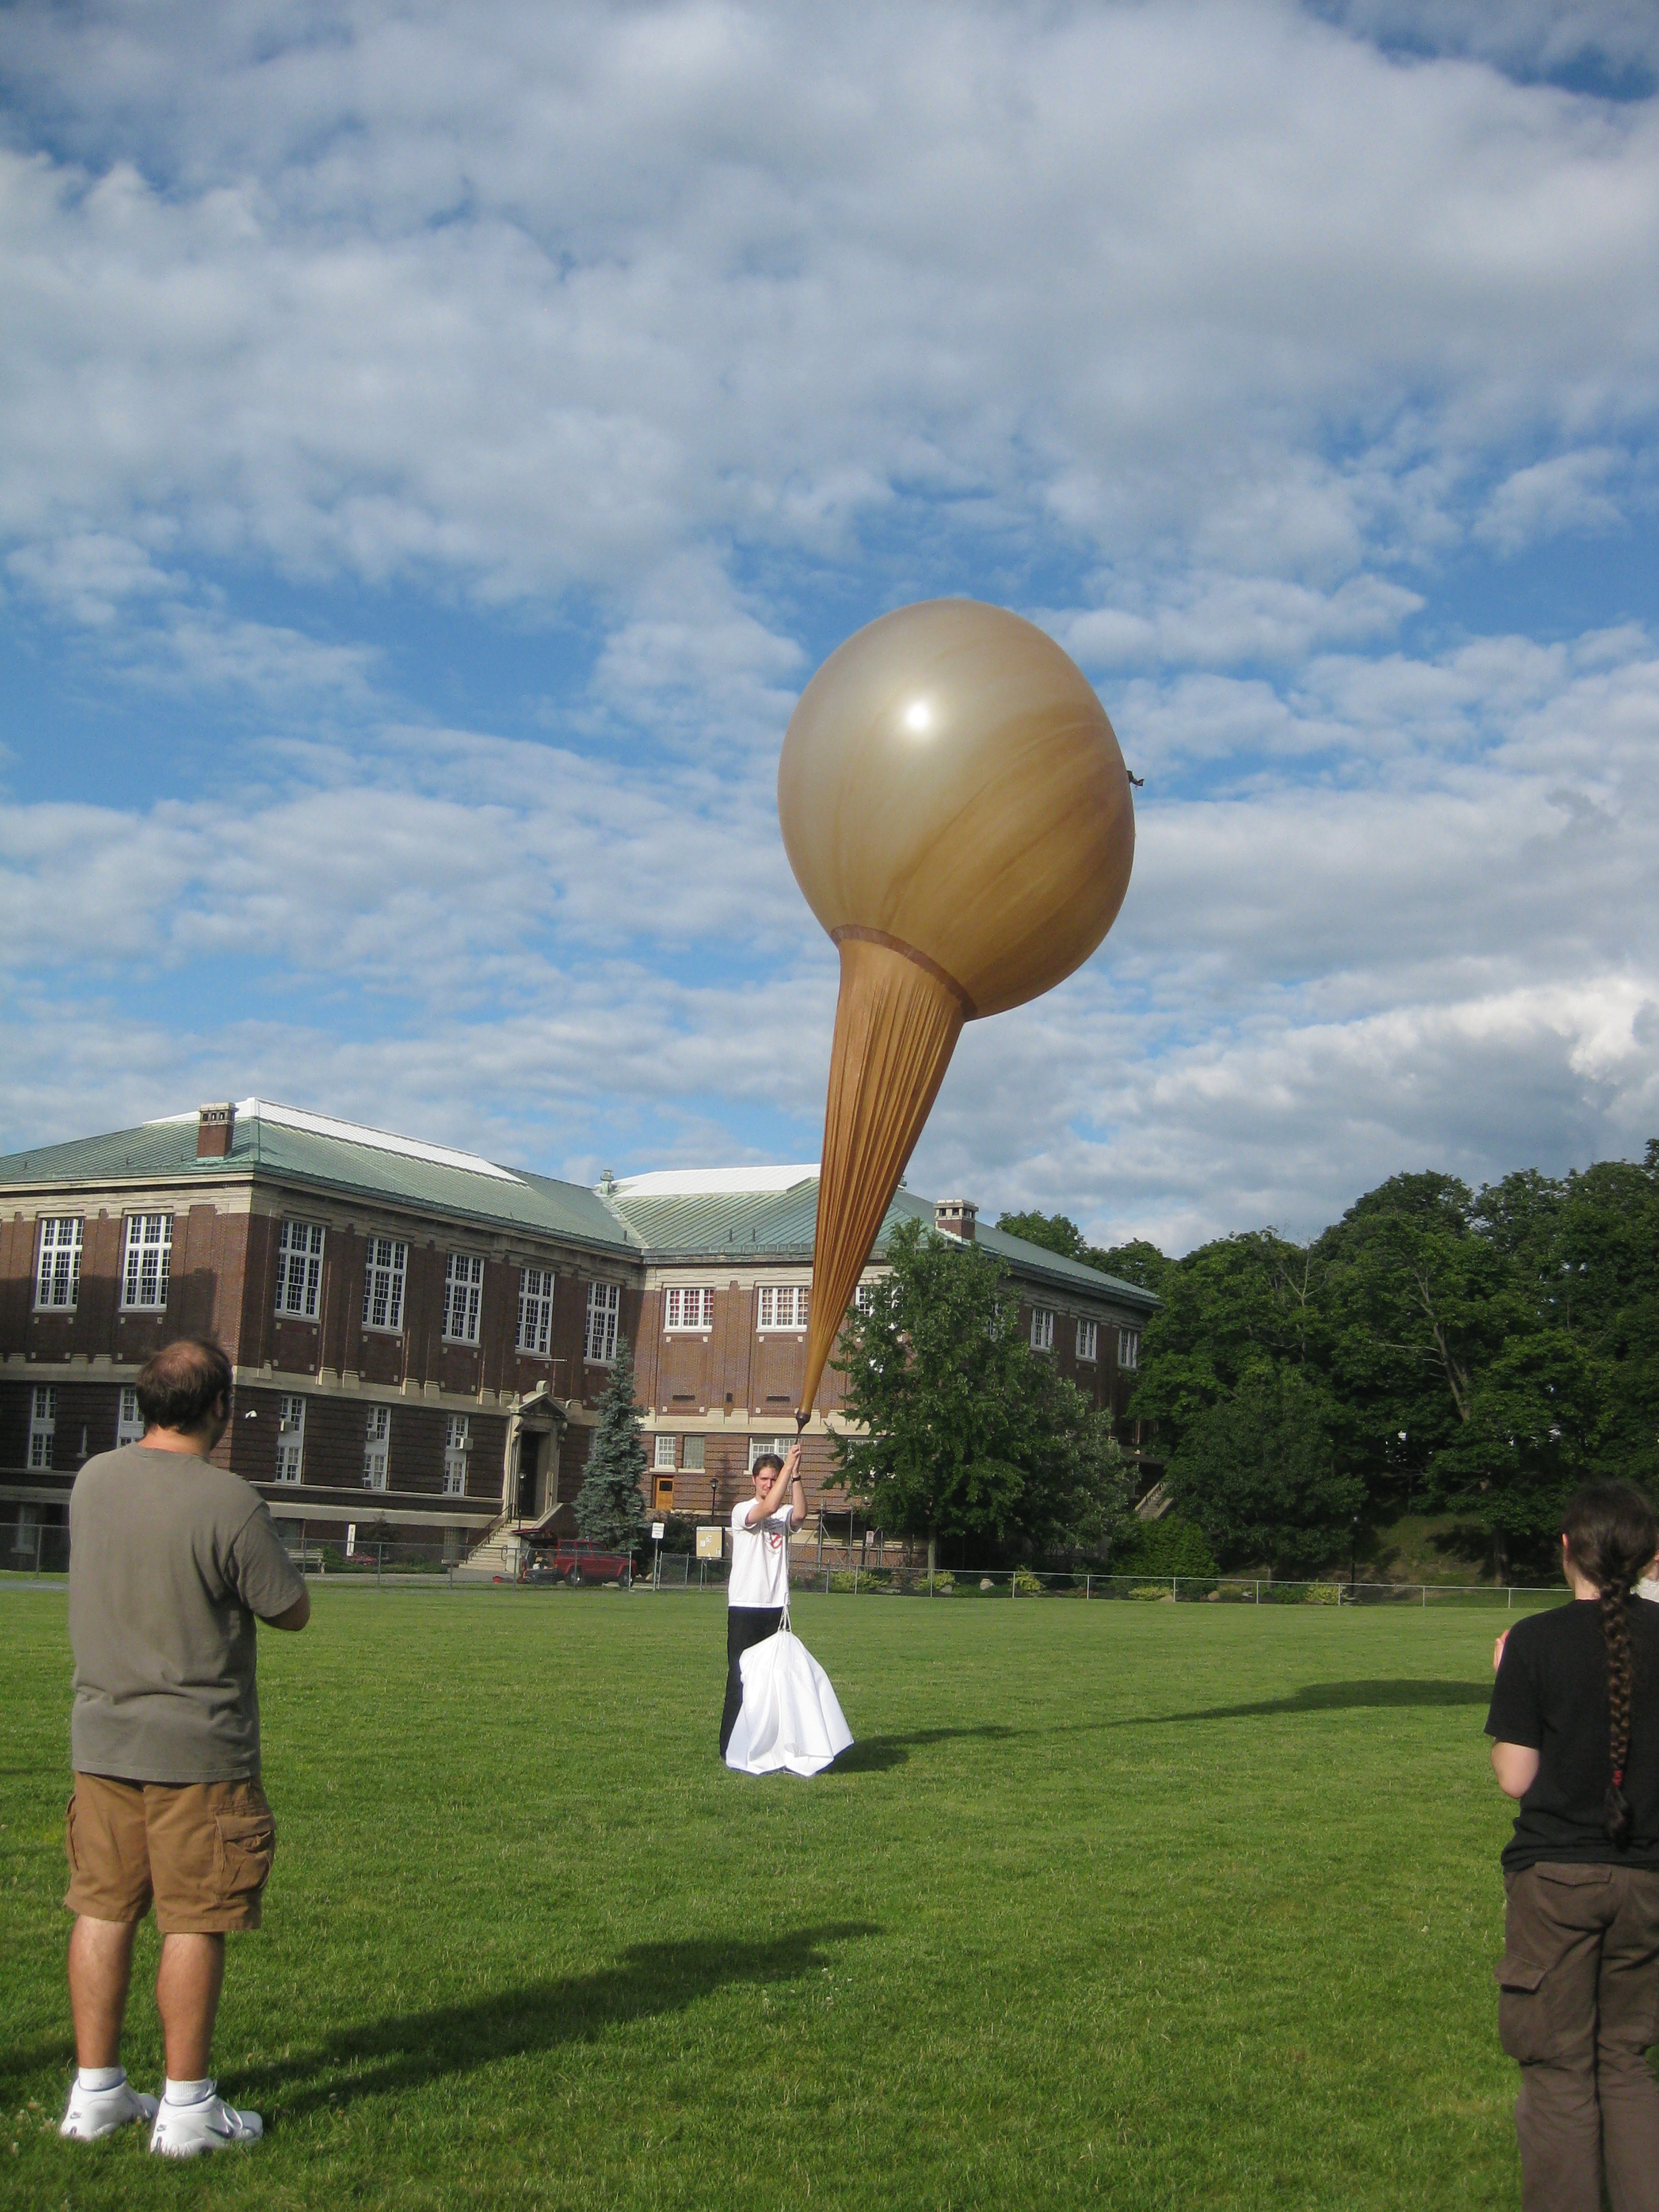
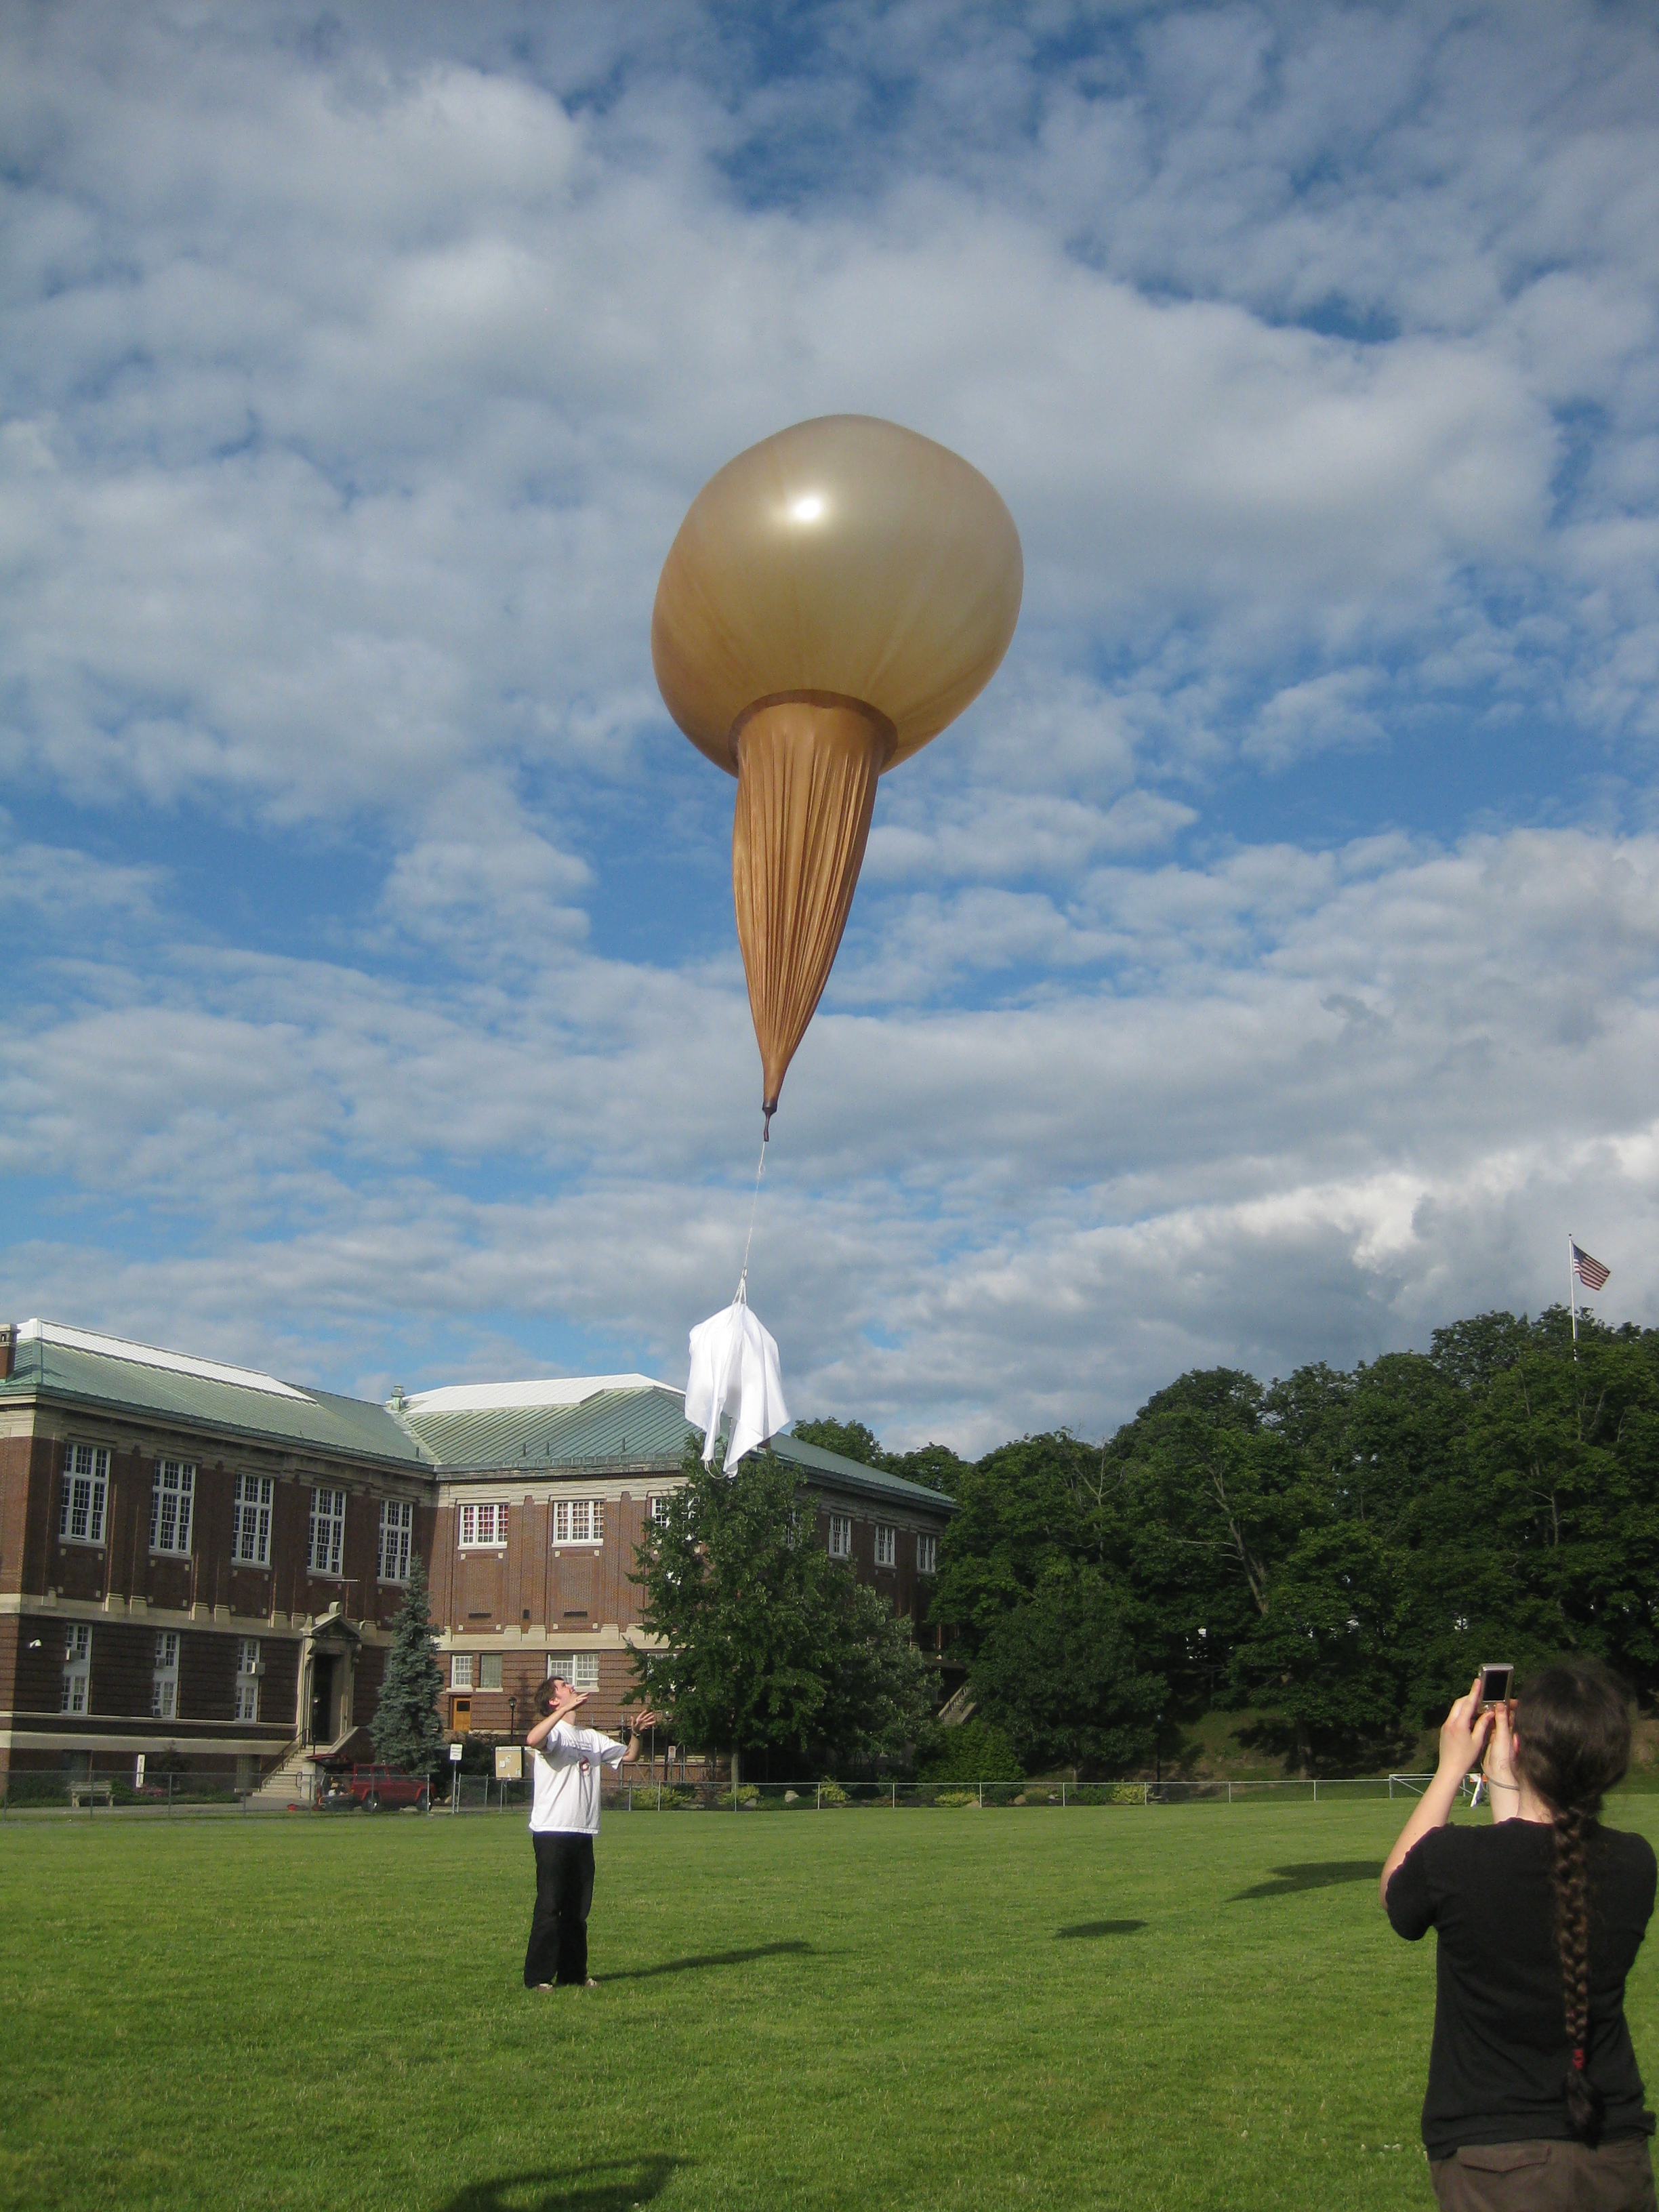
UP UP UP. Goes the styrofoam box, and tablecloth parachute, computer and camera! What a beautfiul day. The skies were really well lit, the clouds were contrasting magneficiently and the grass glowed an iradescent green. 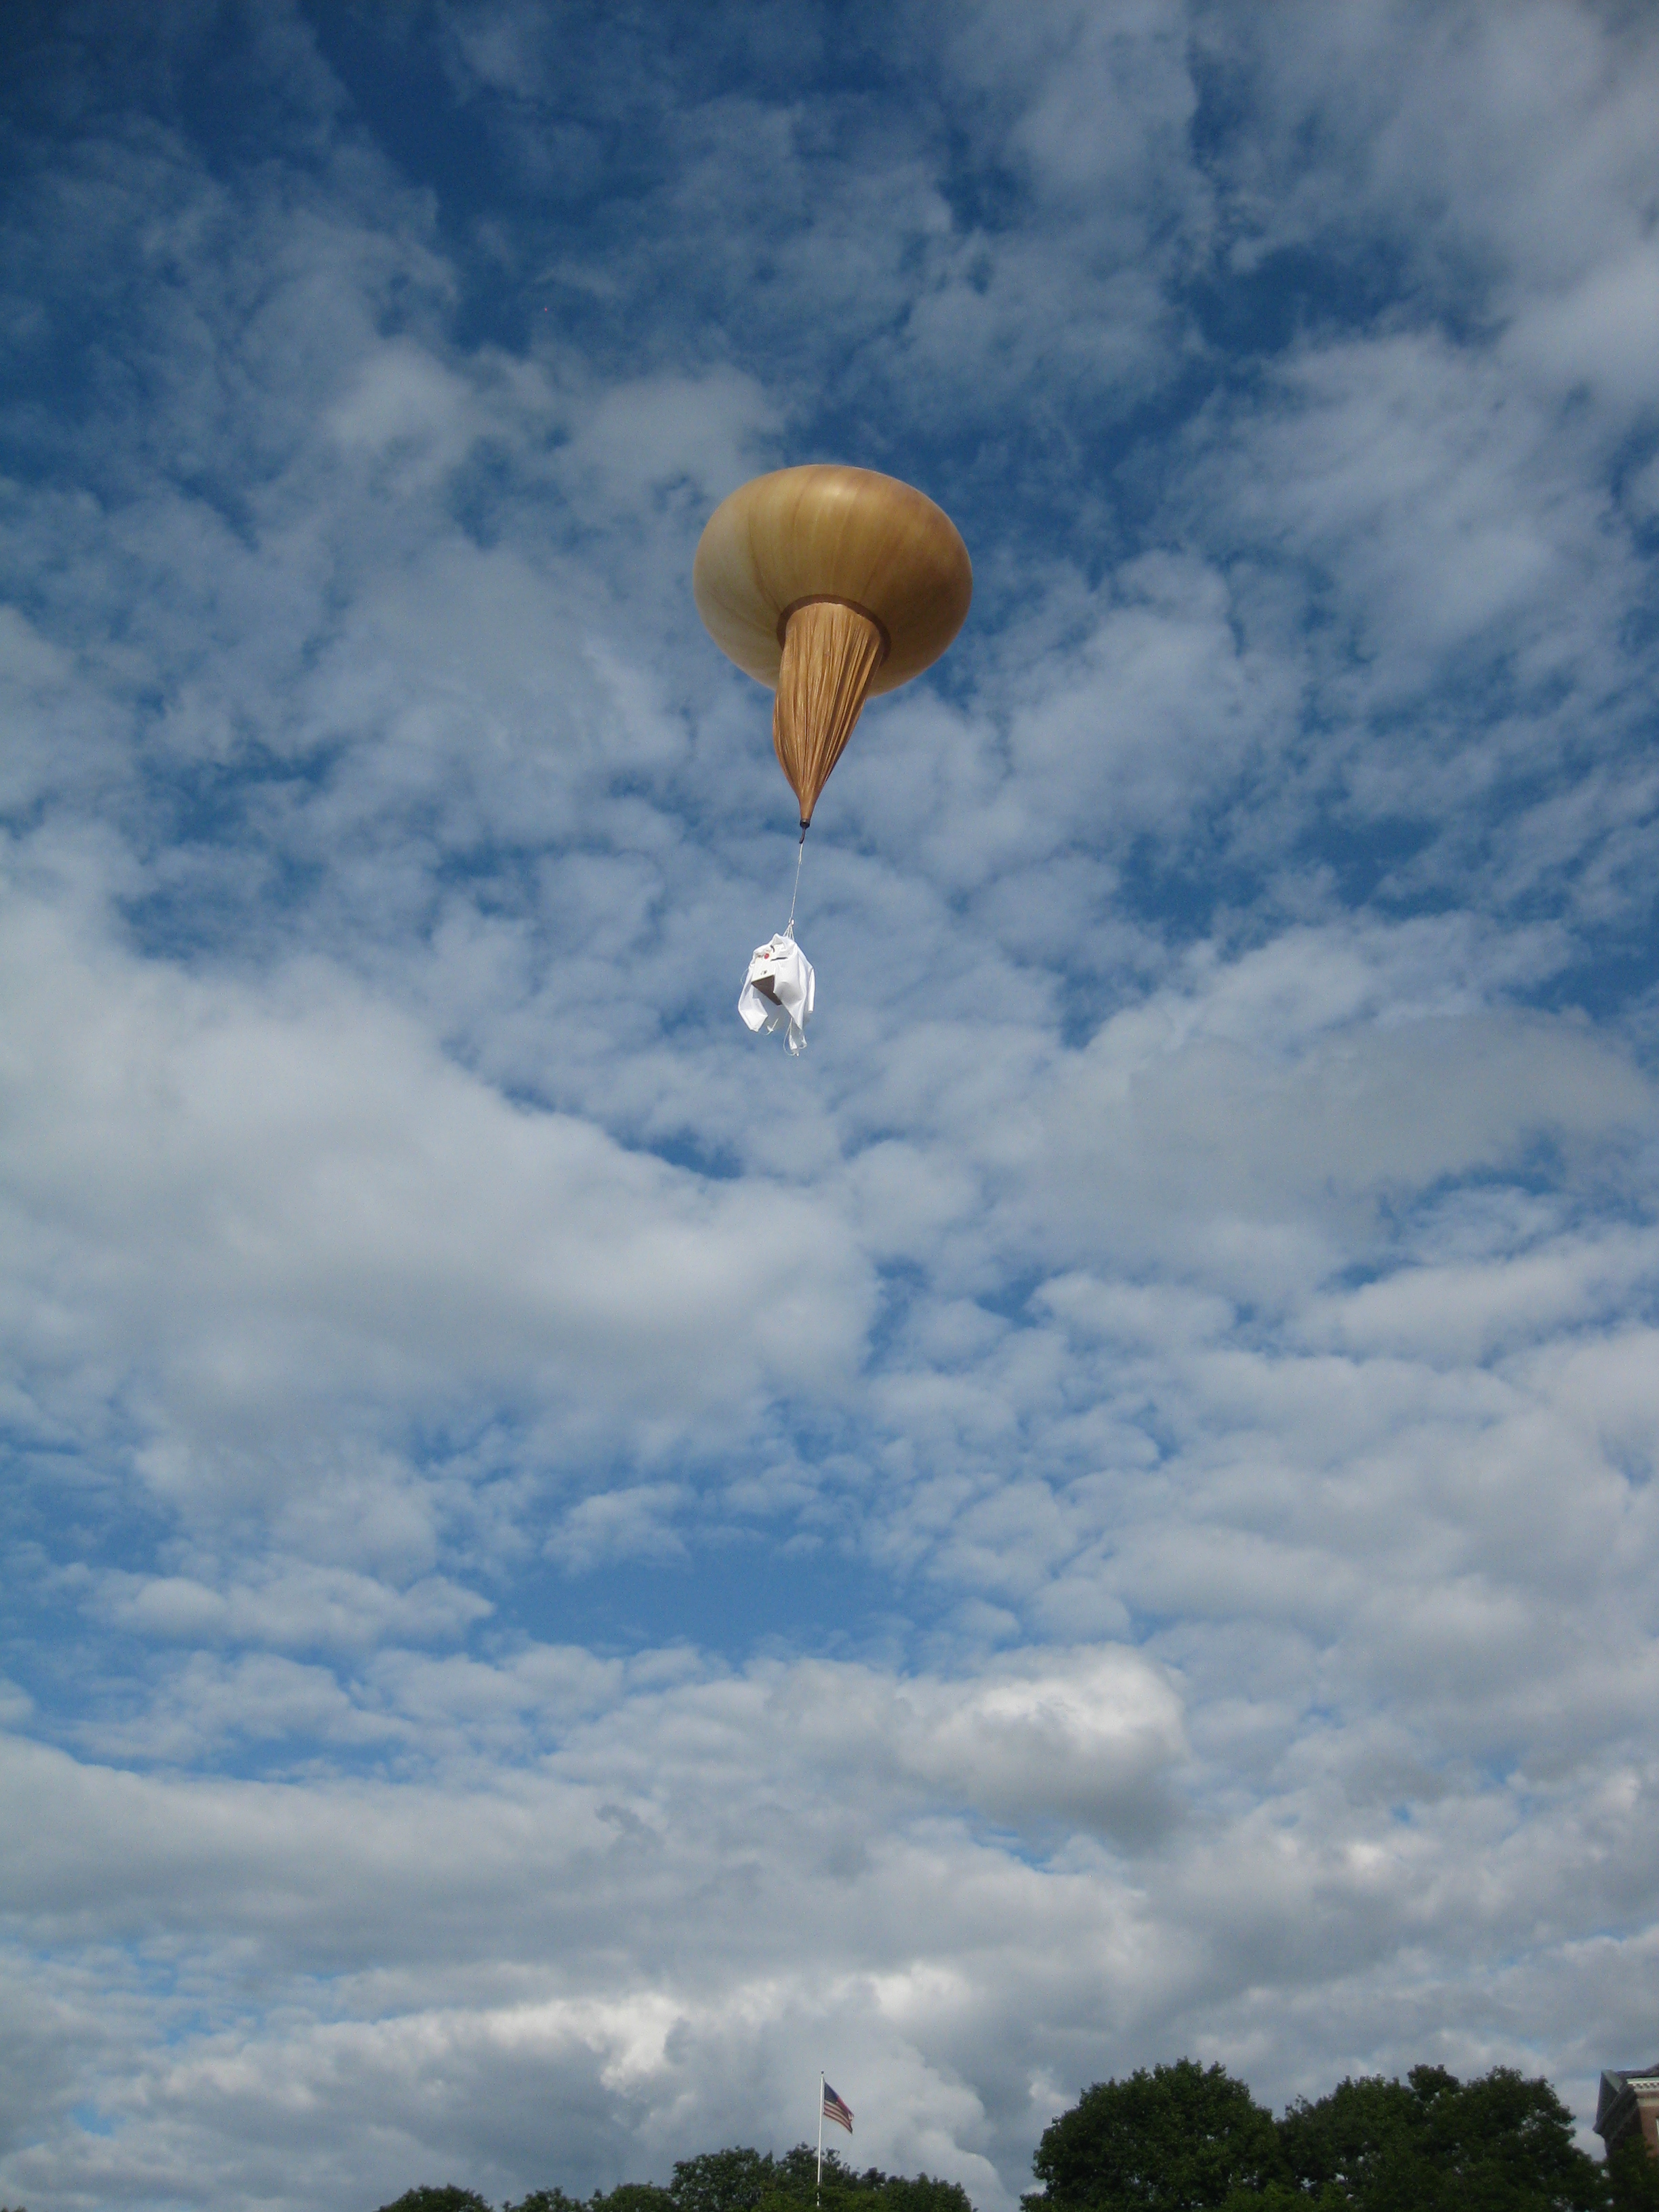
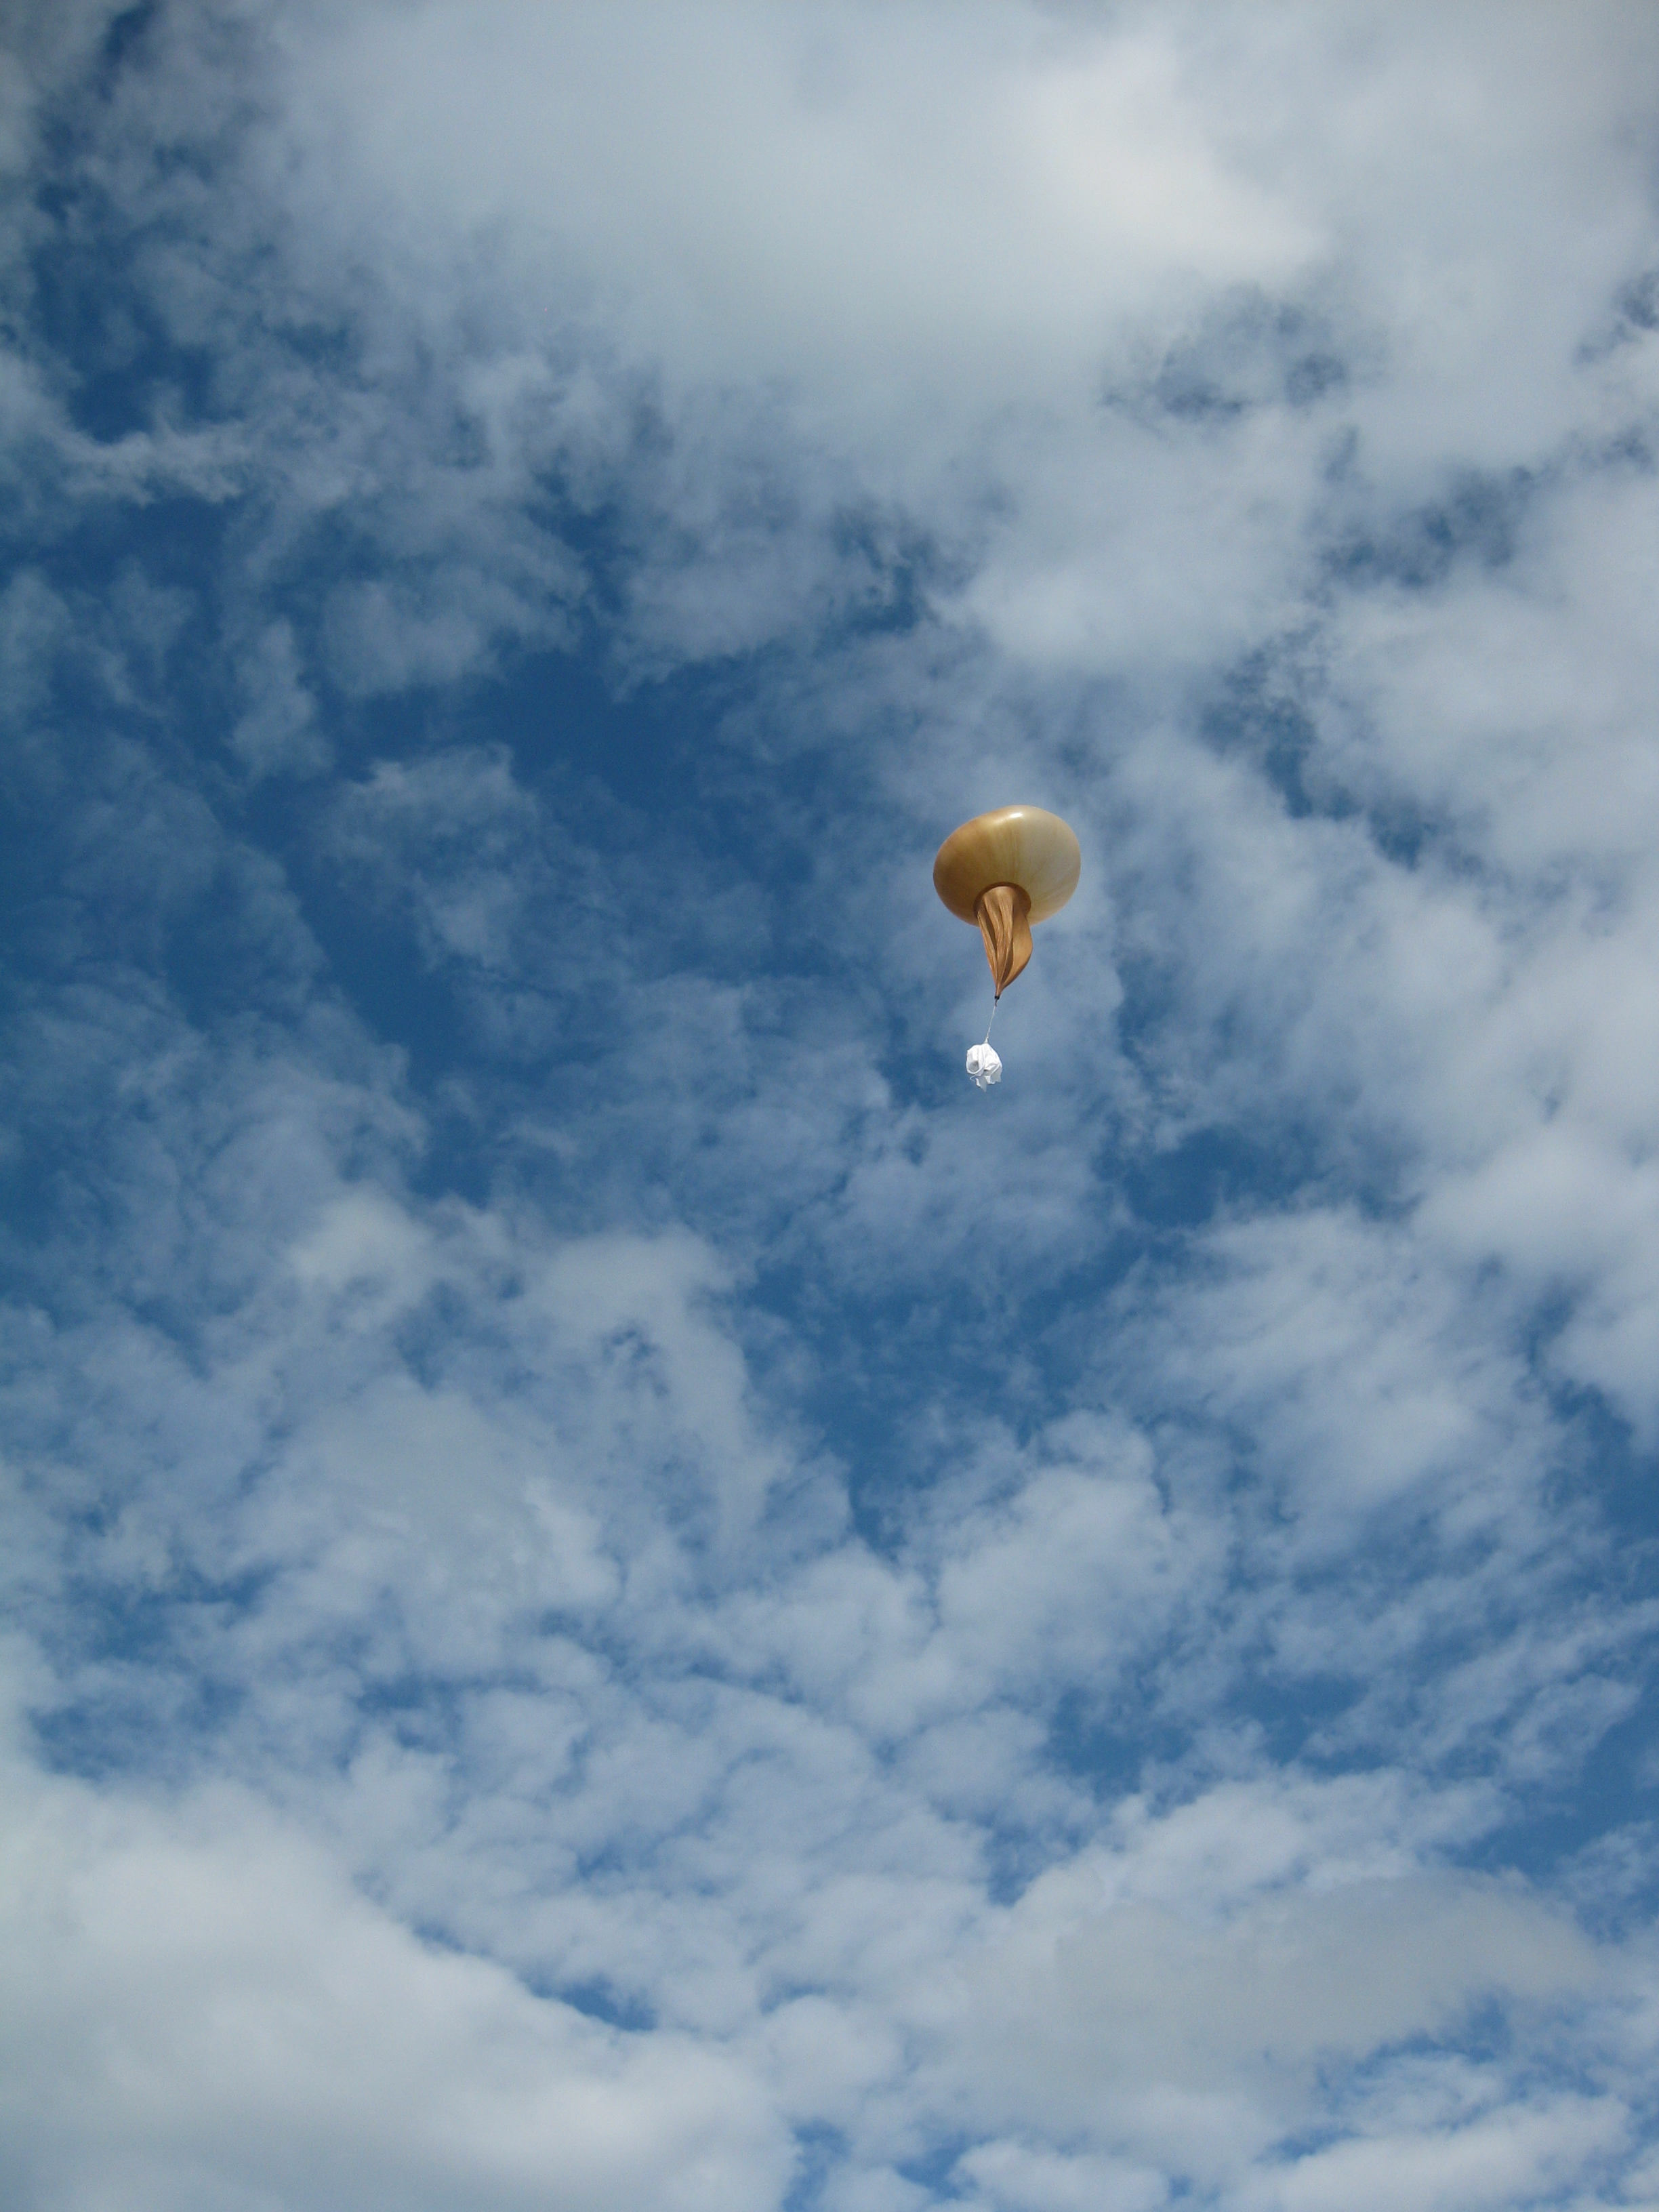
zipping off into the distance. 
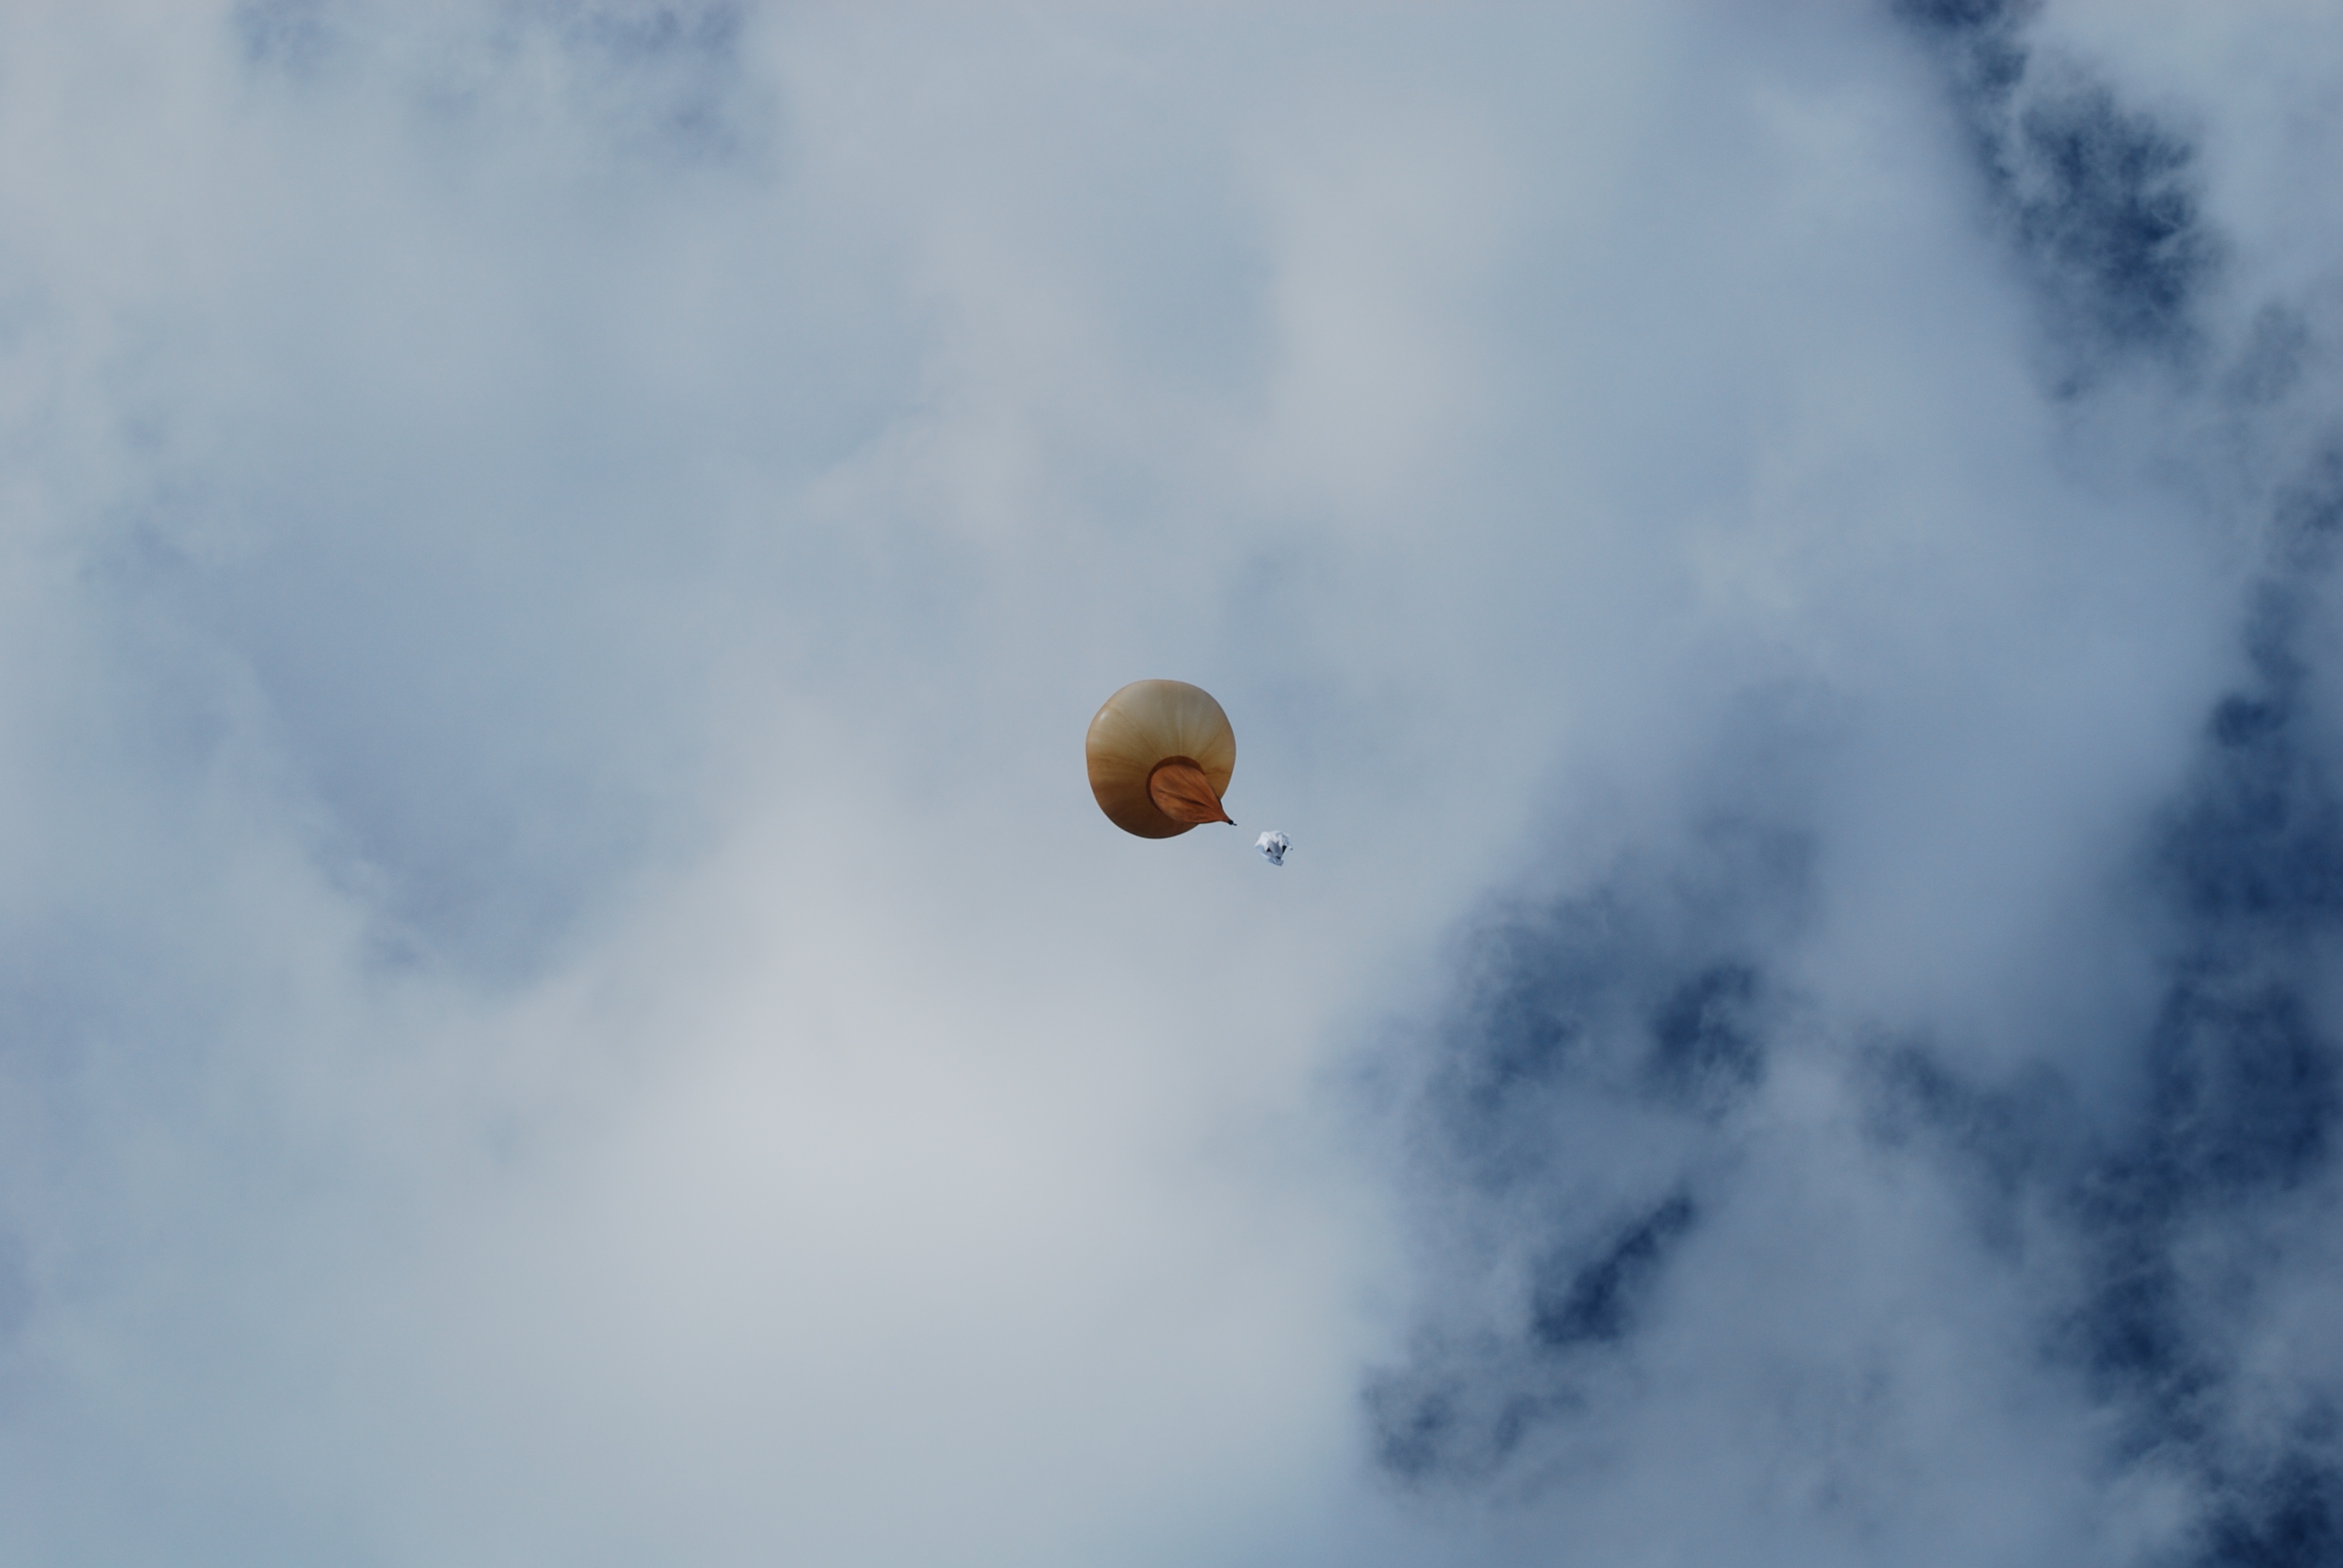
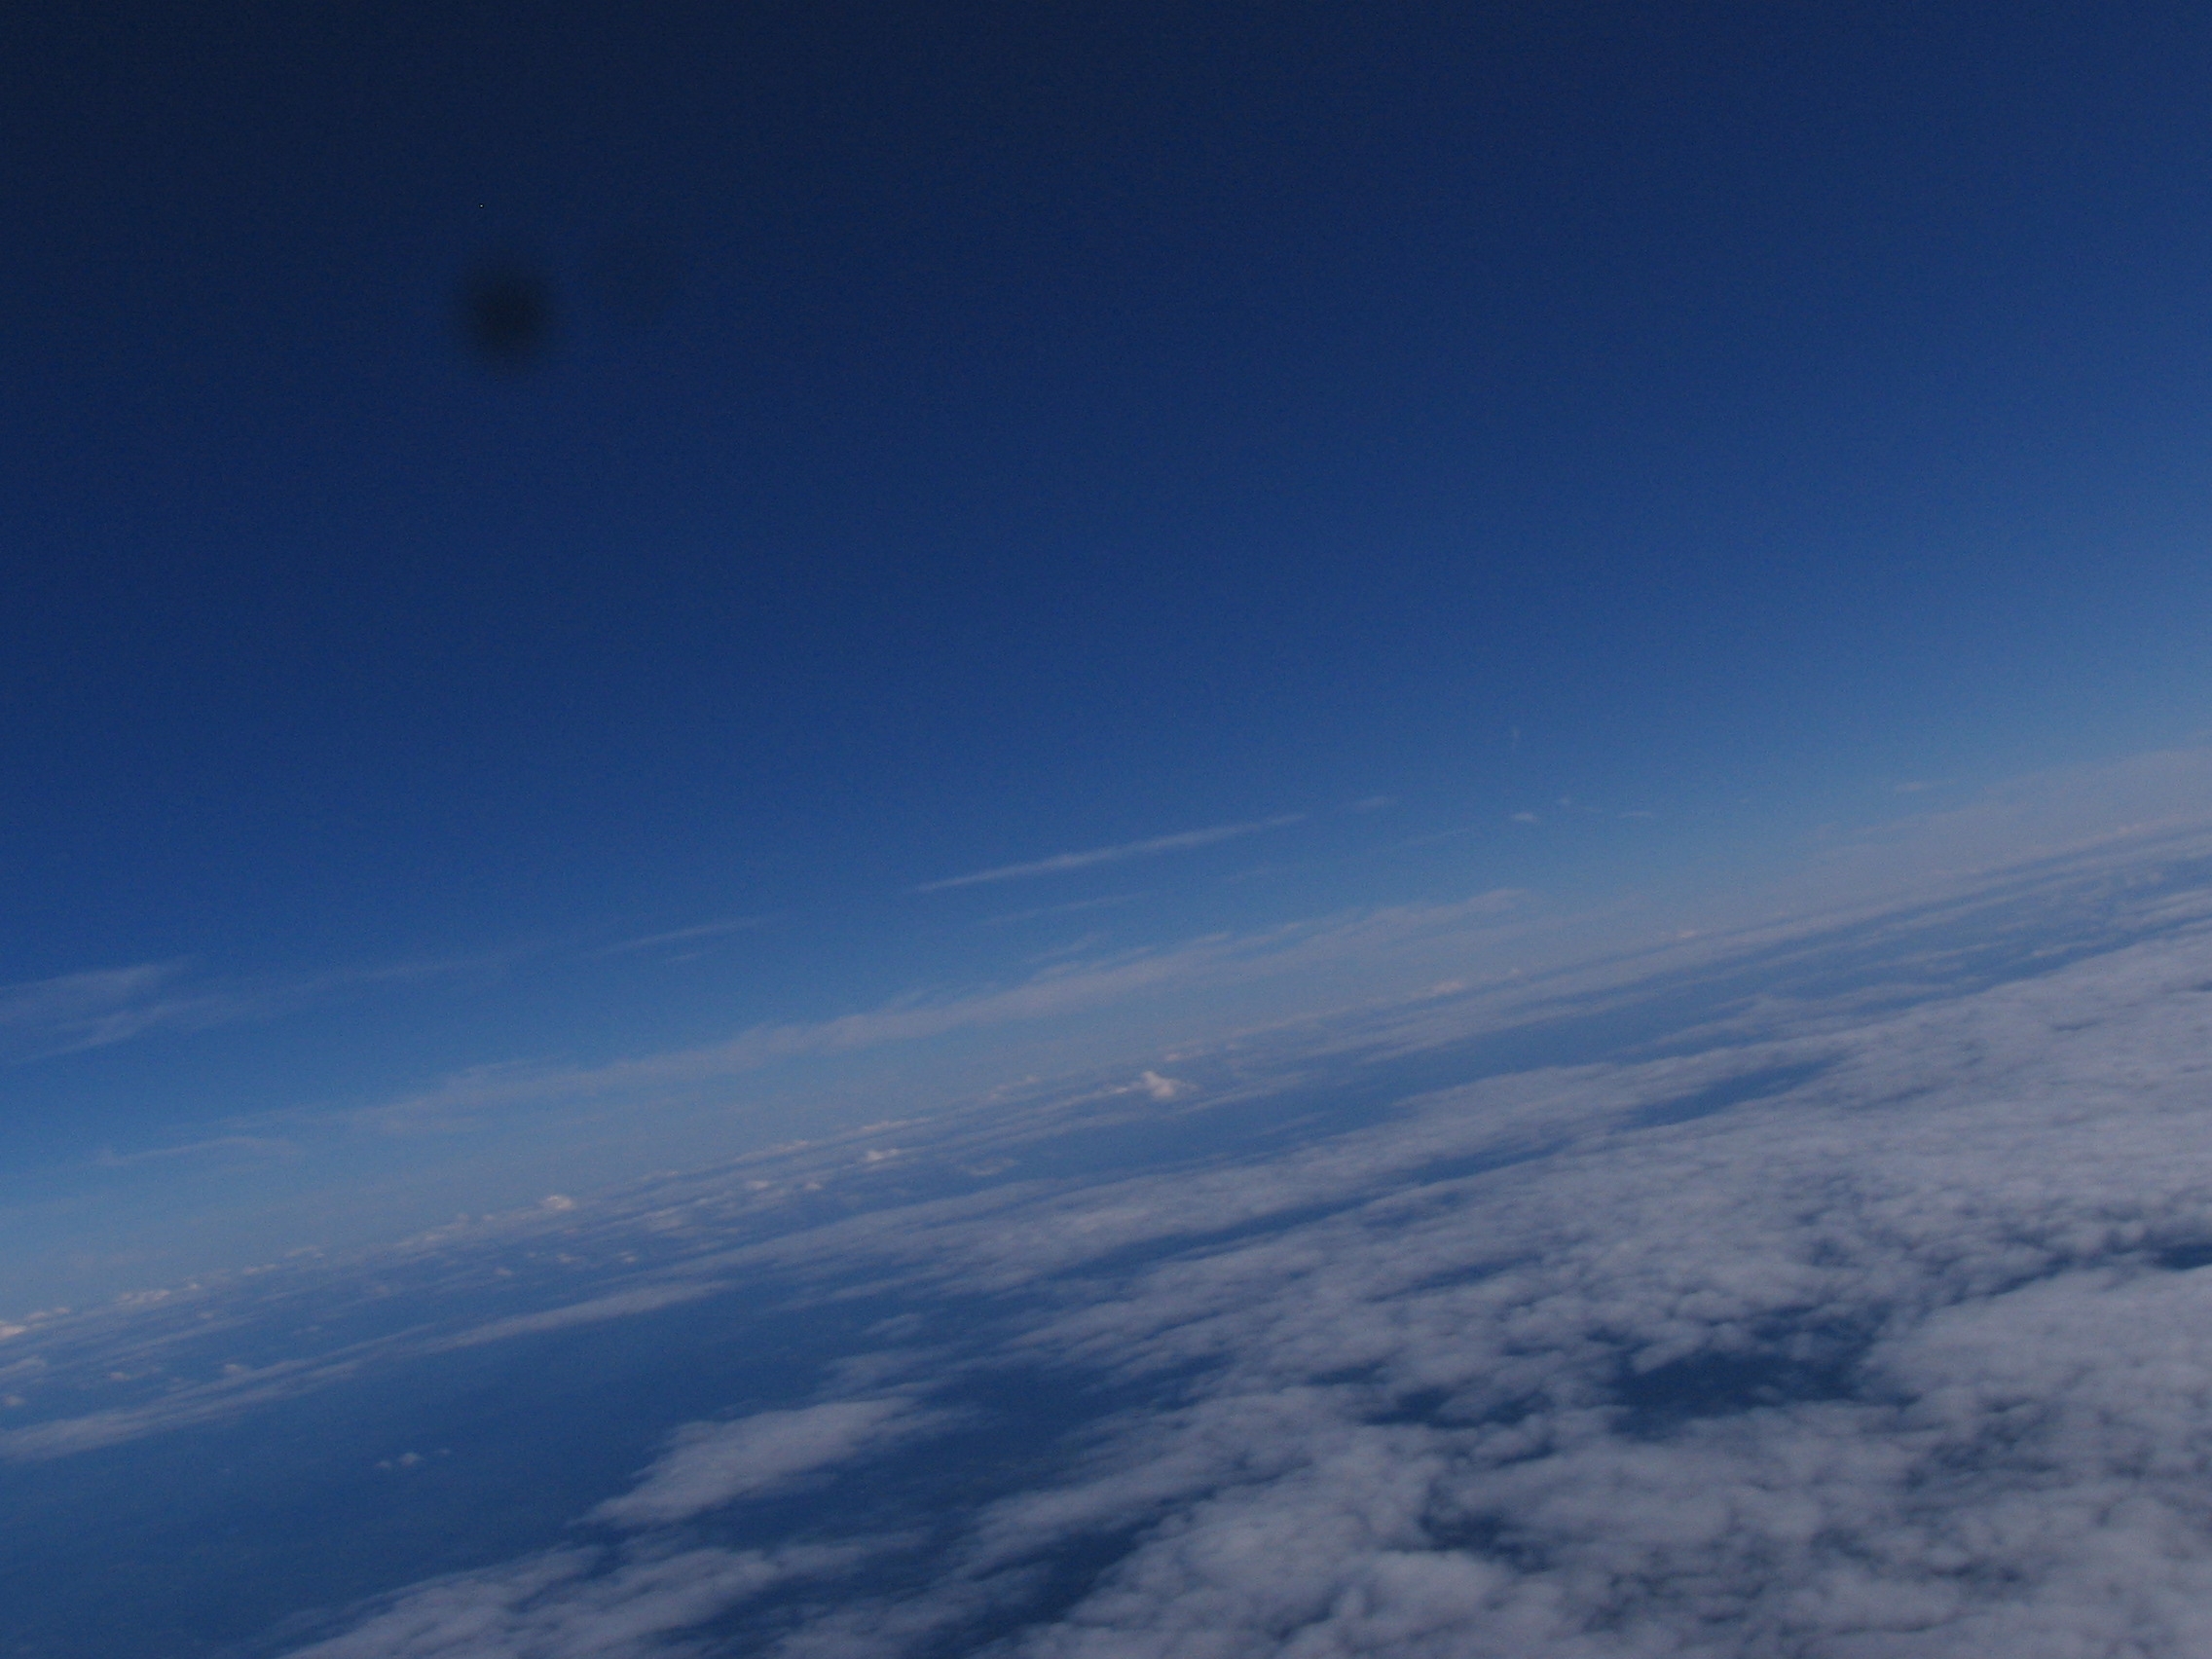
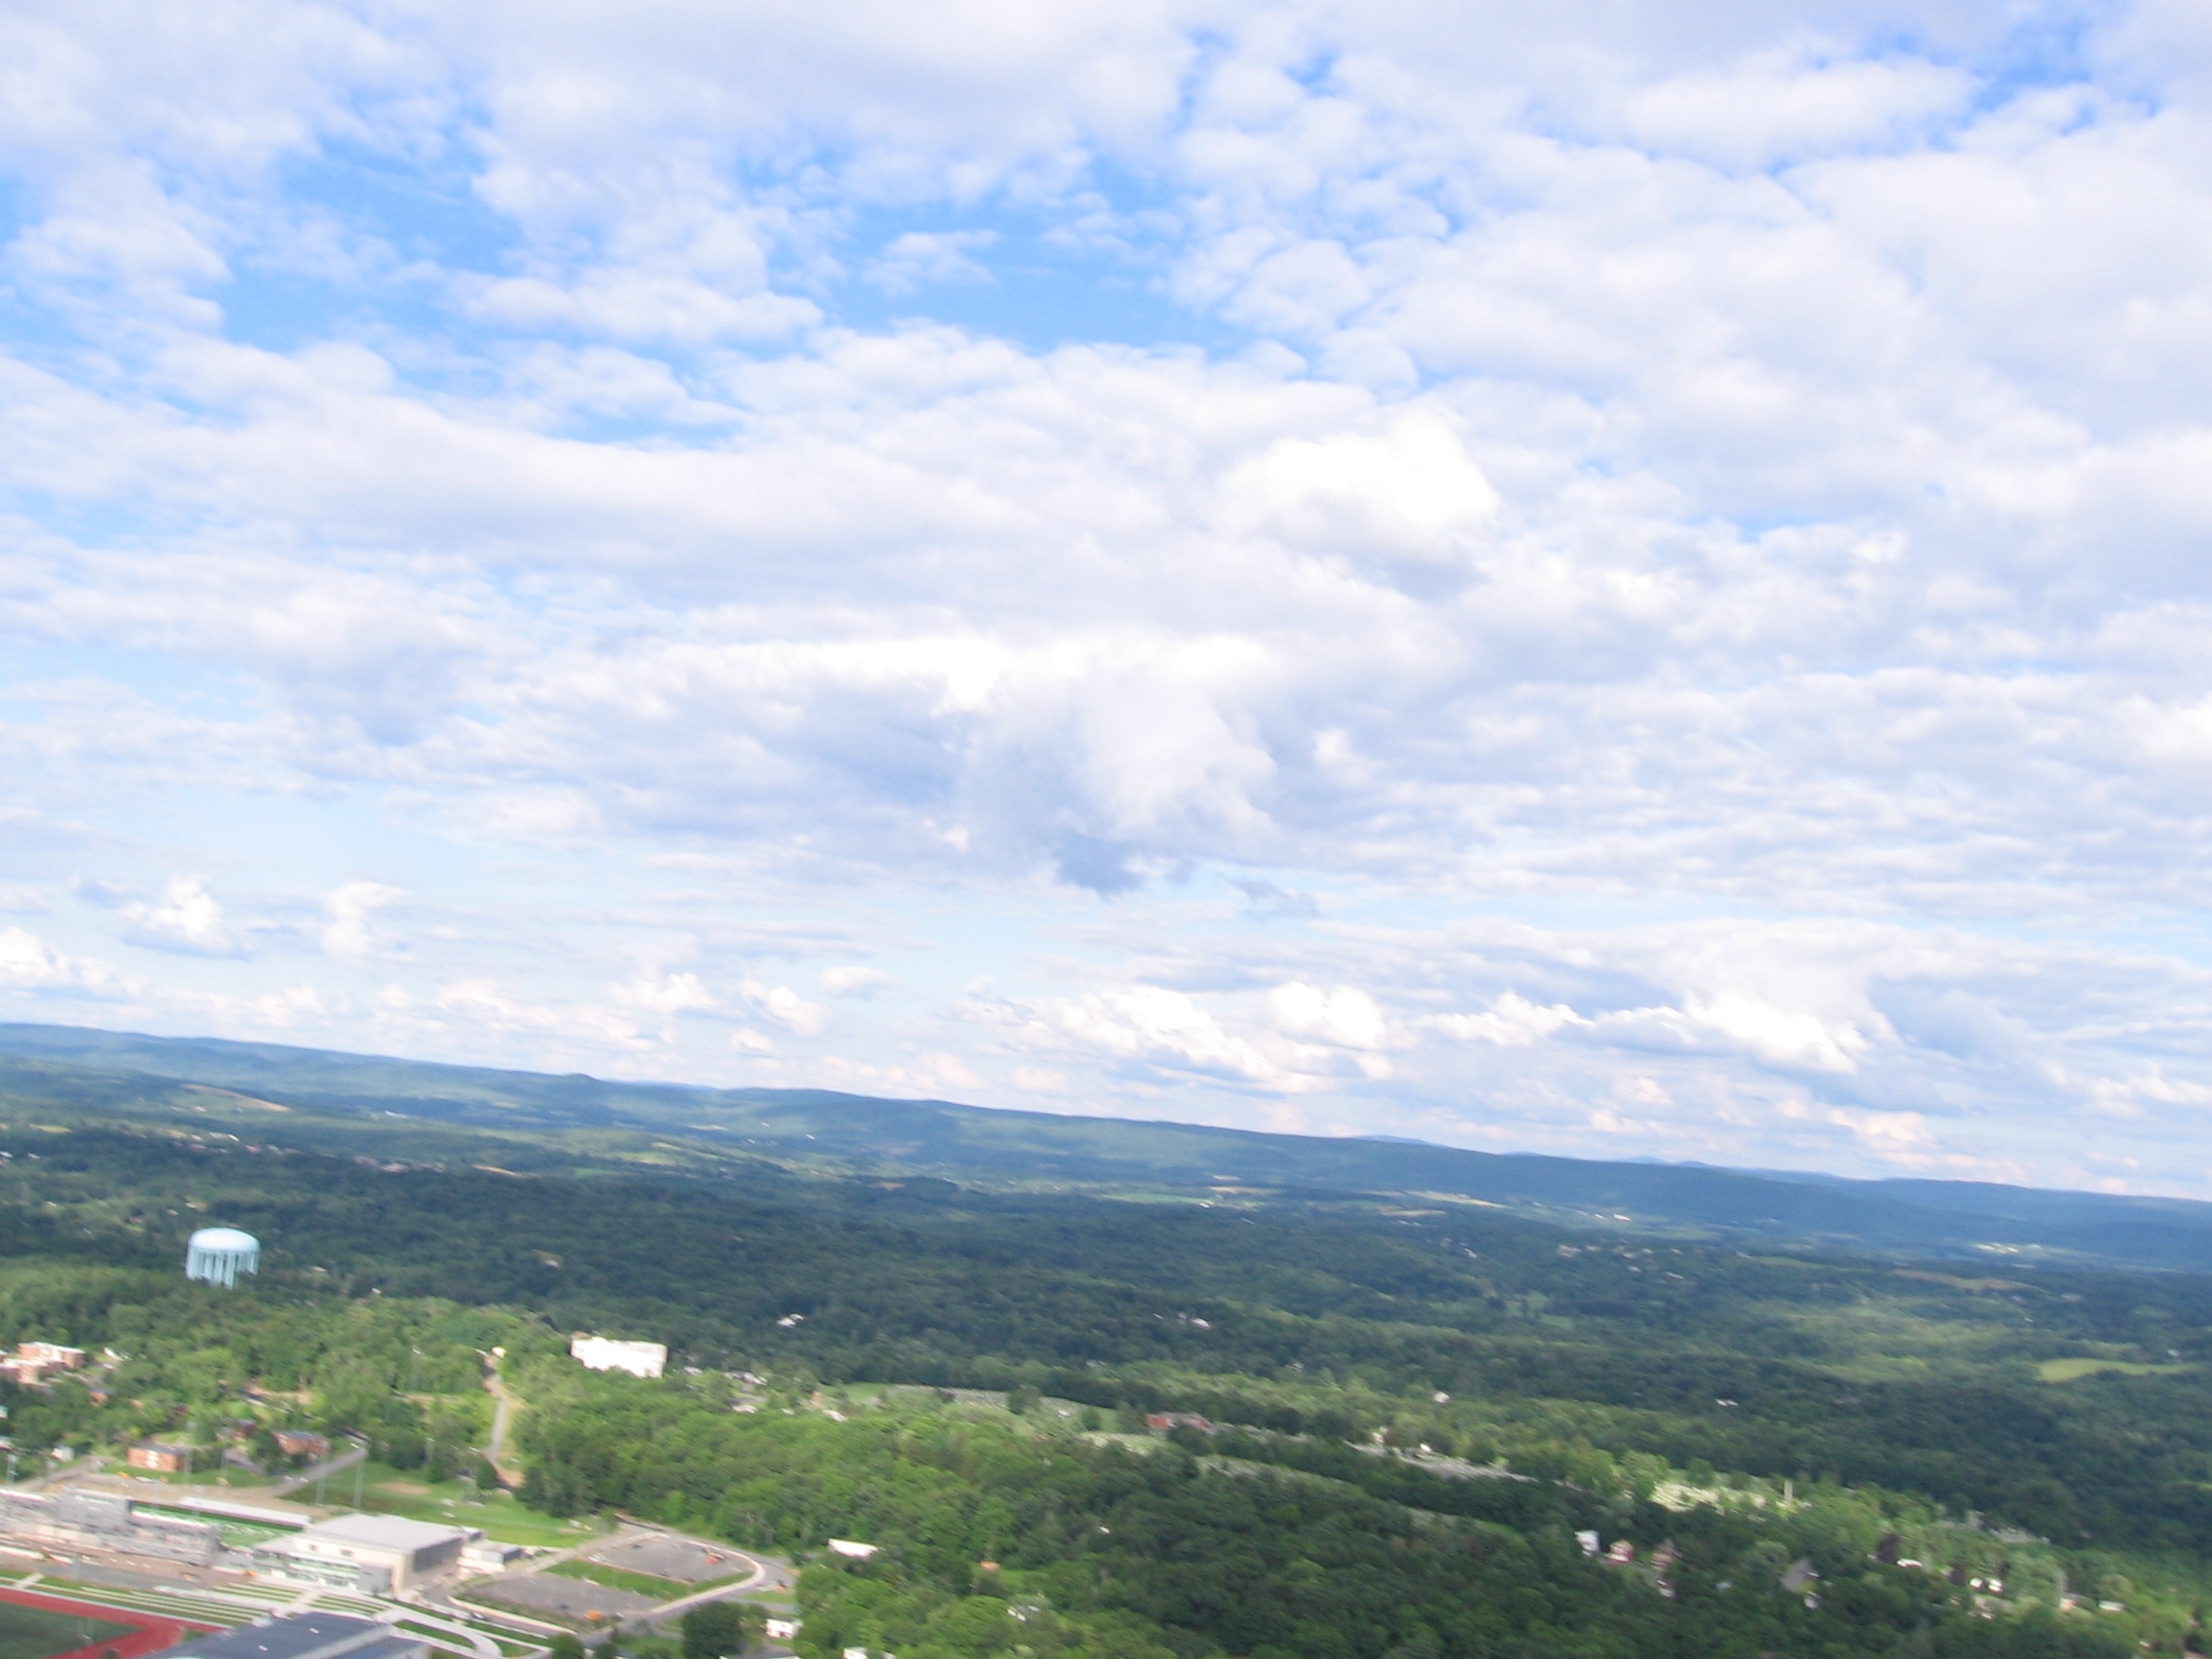
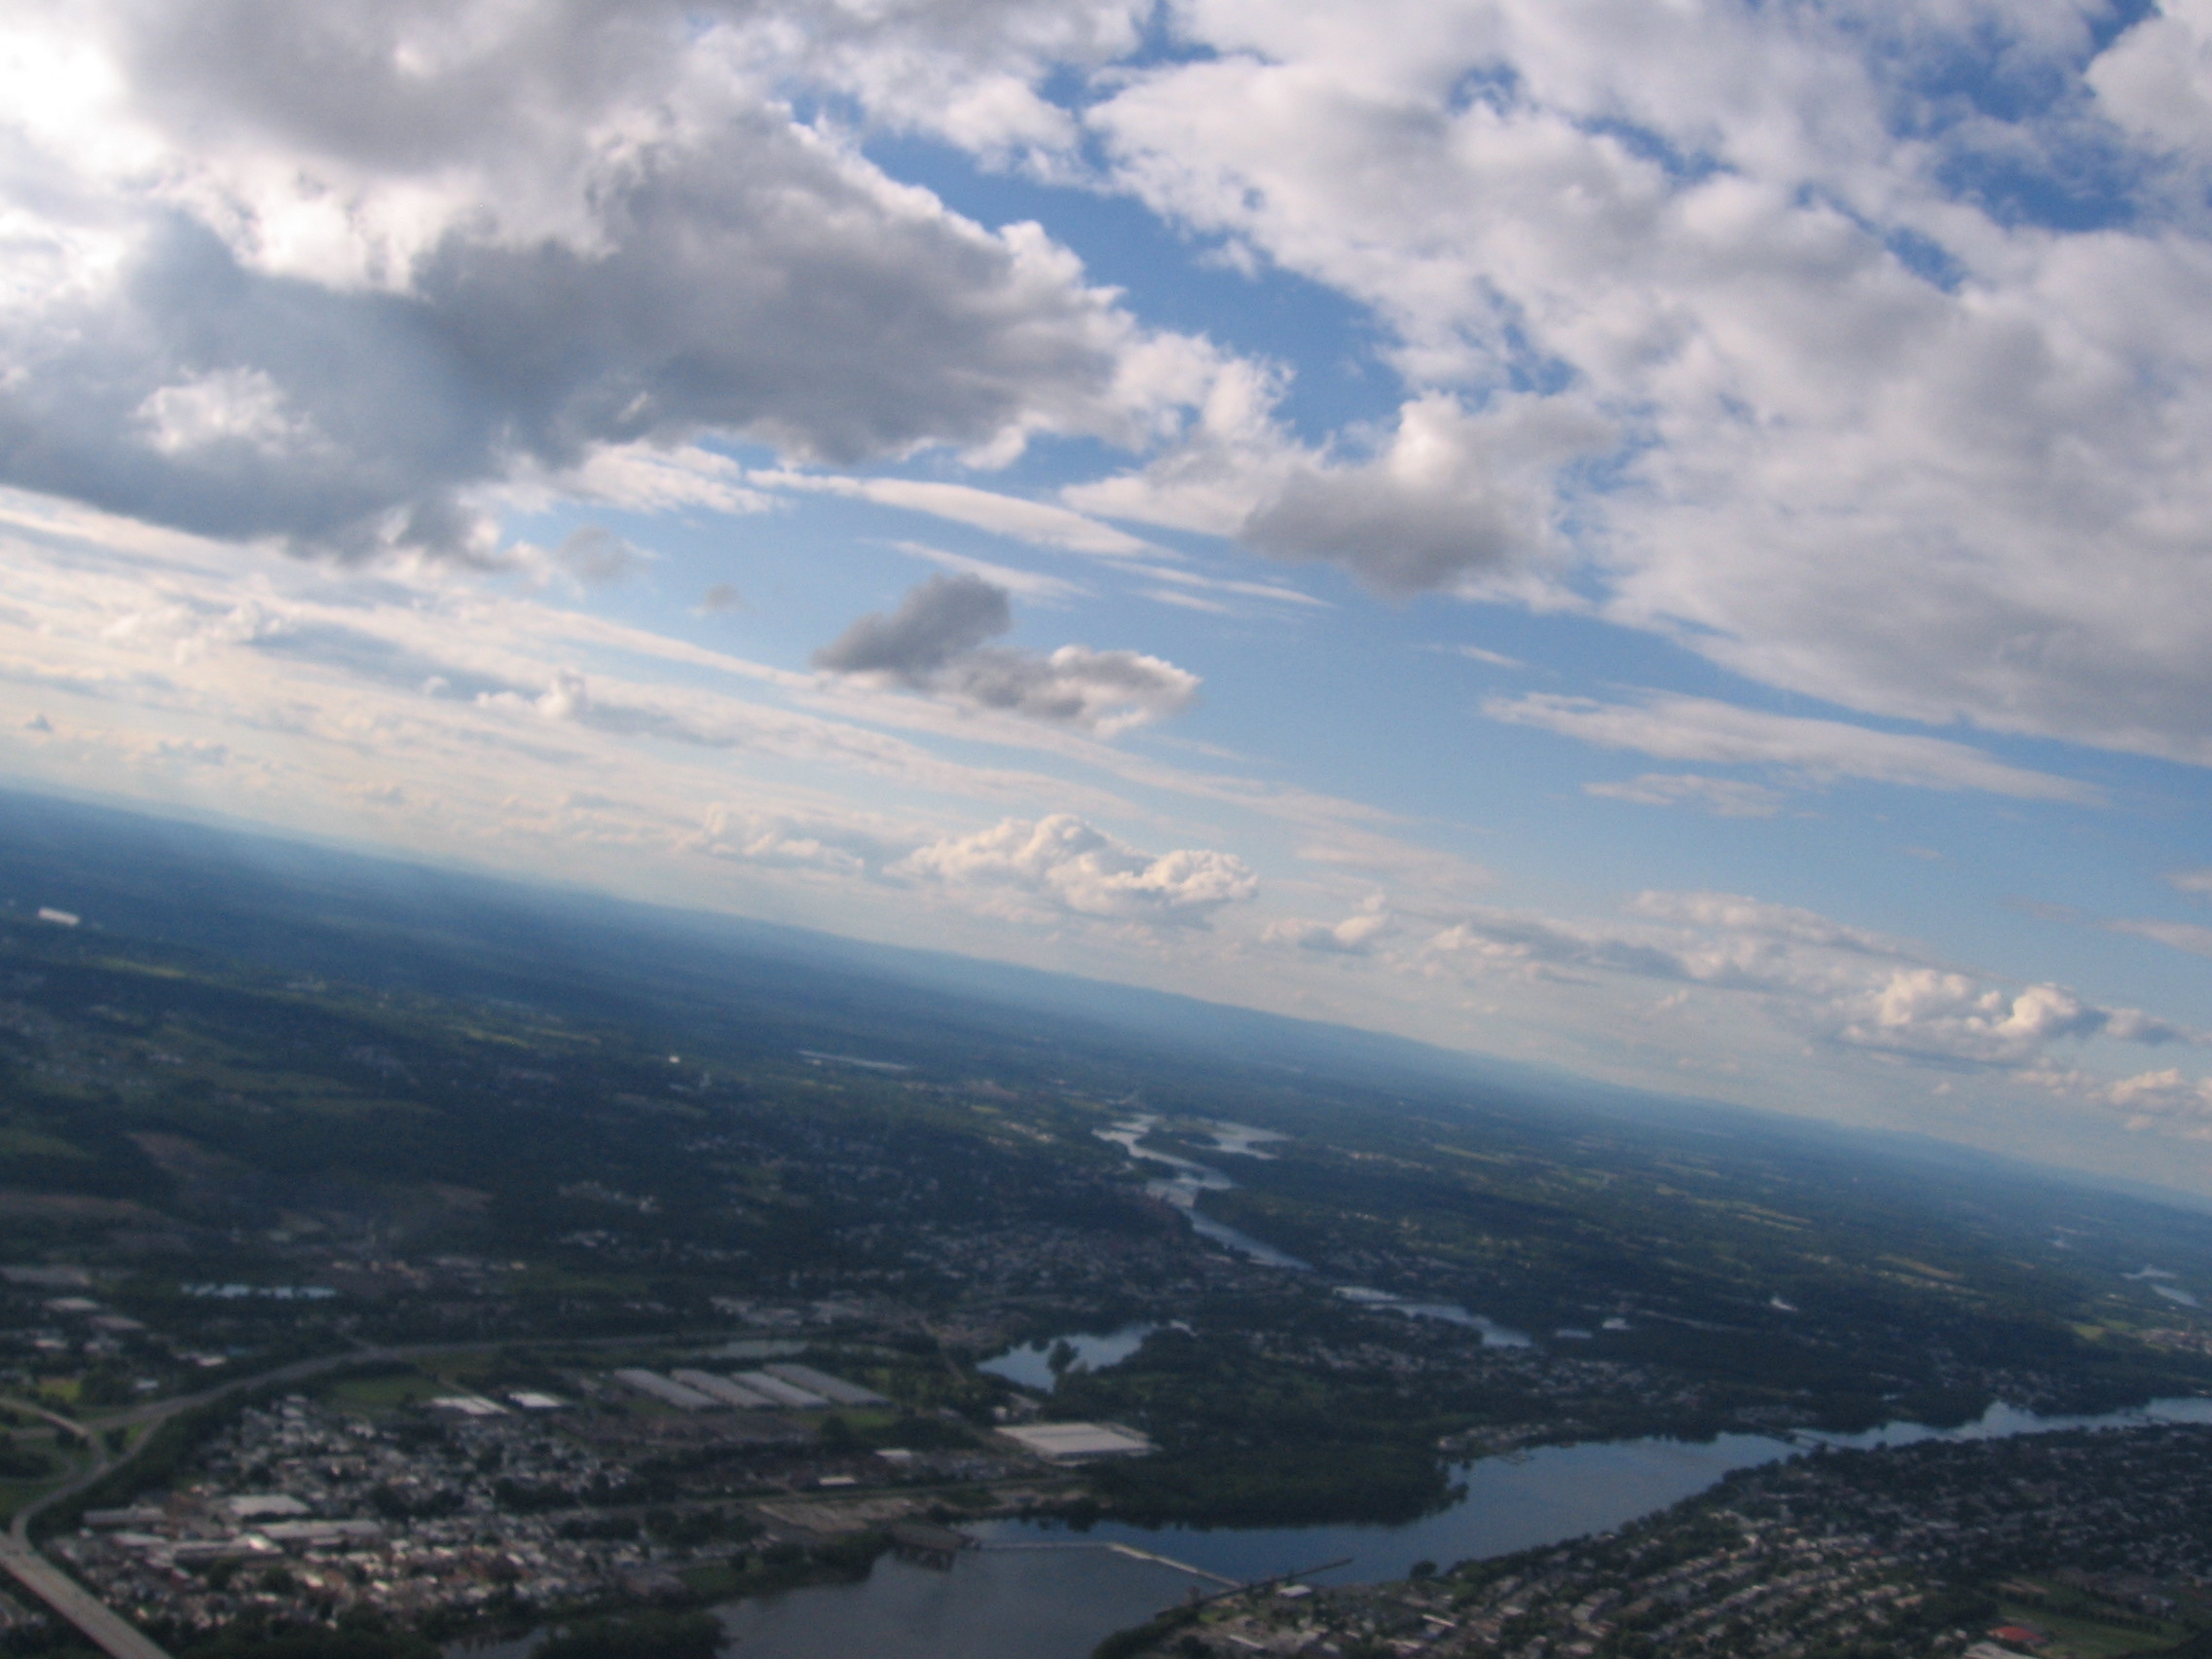
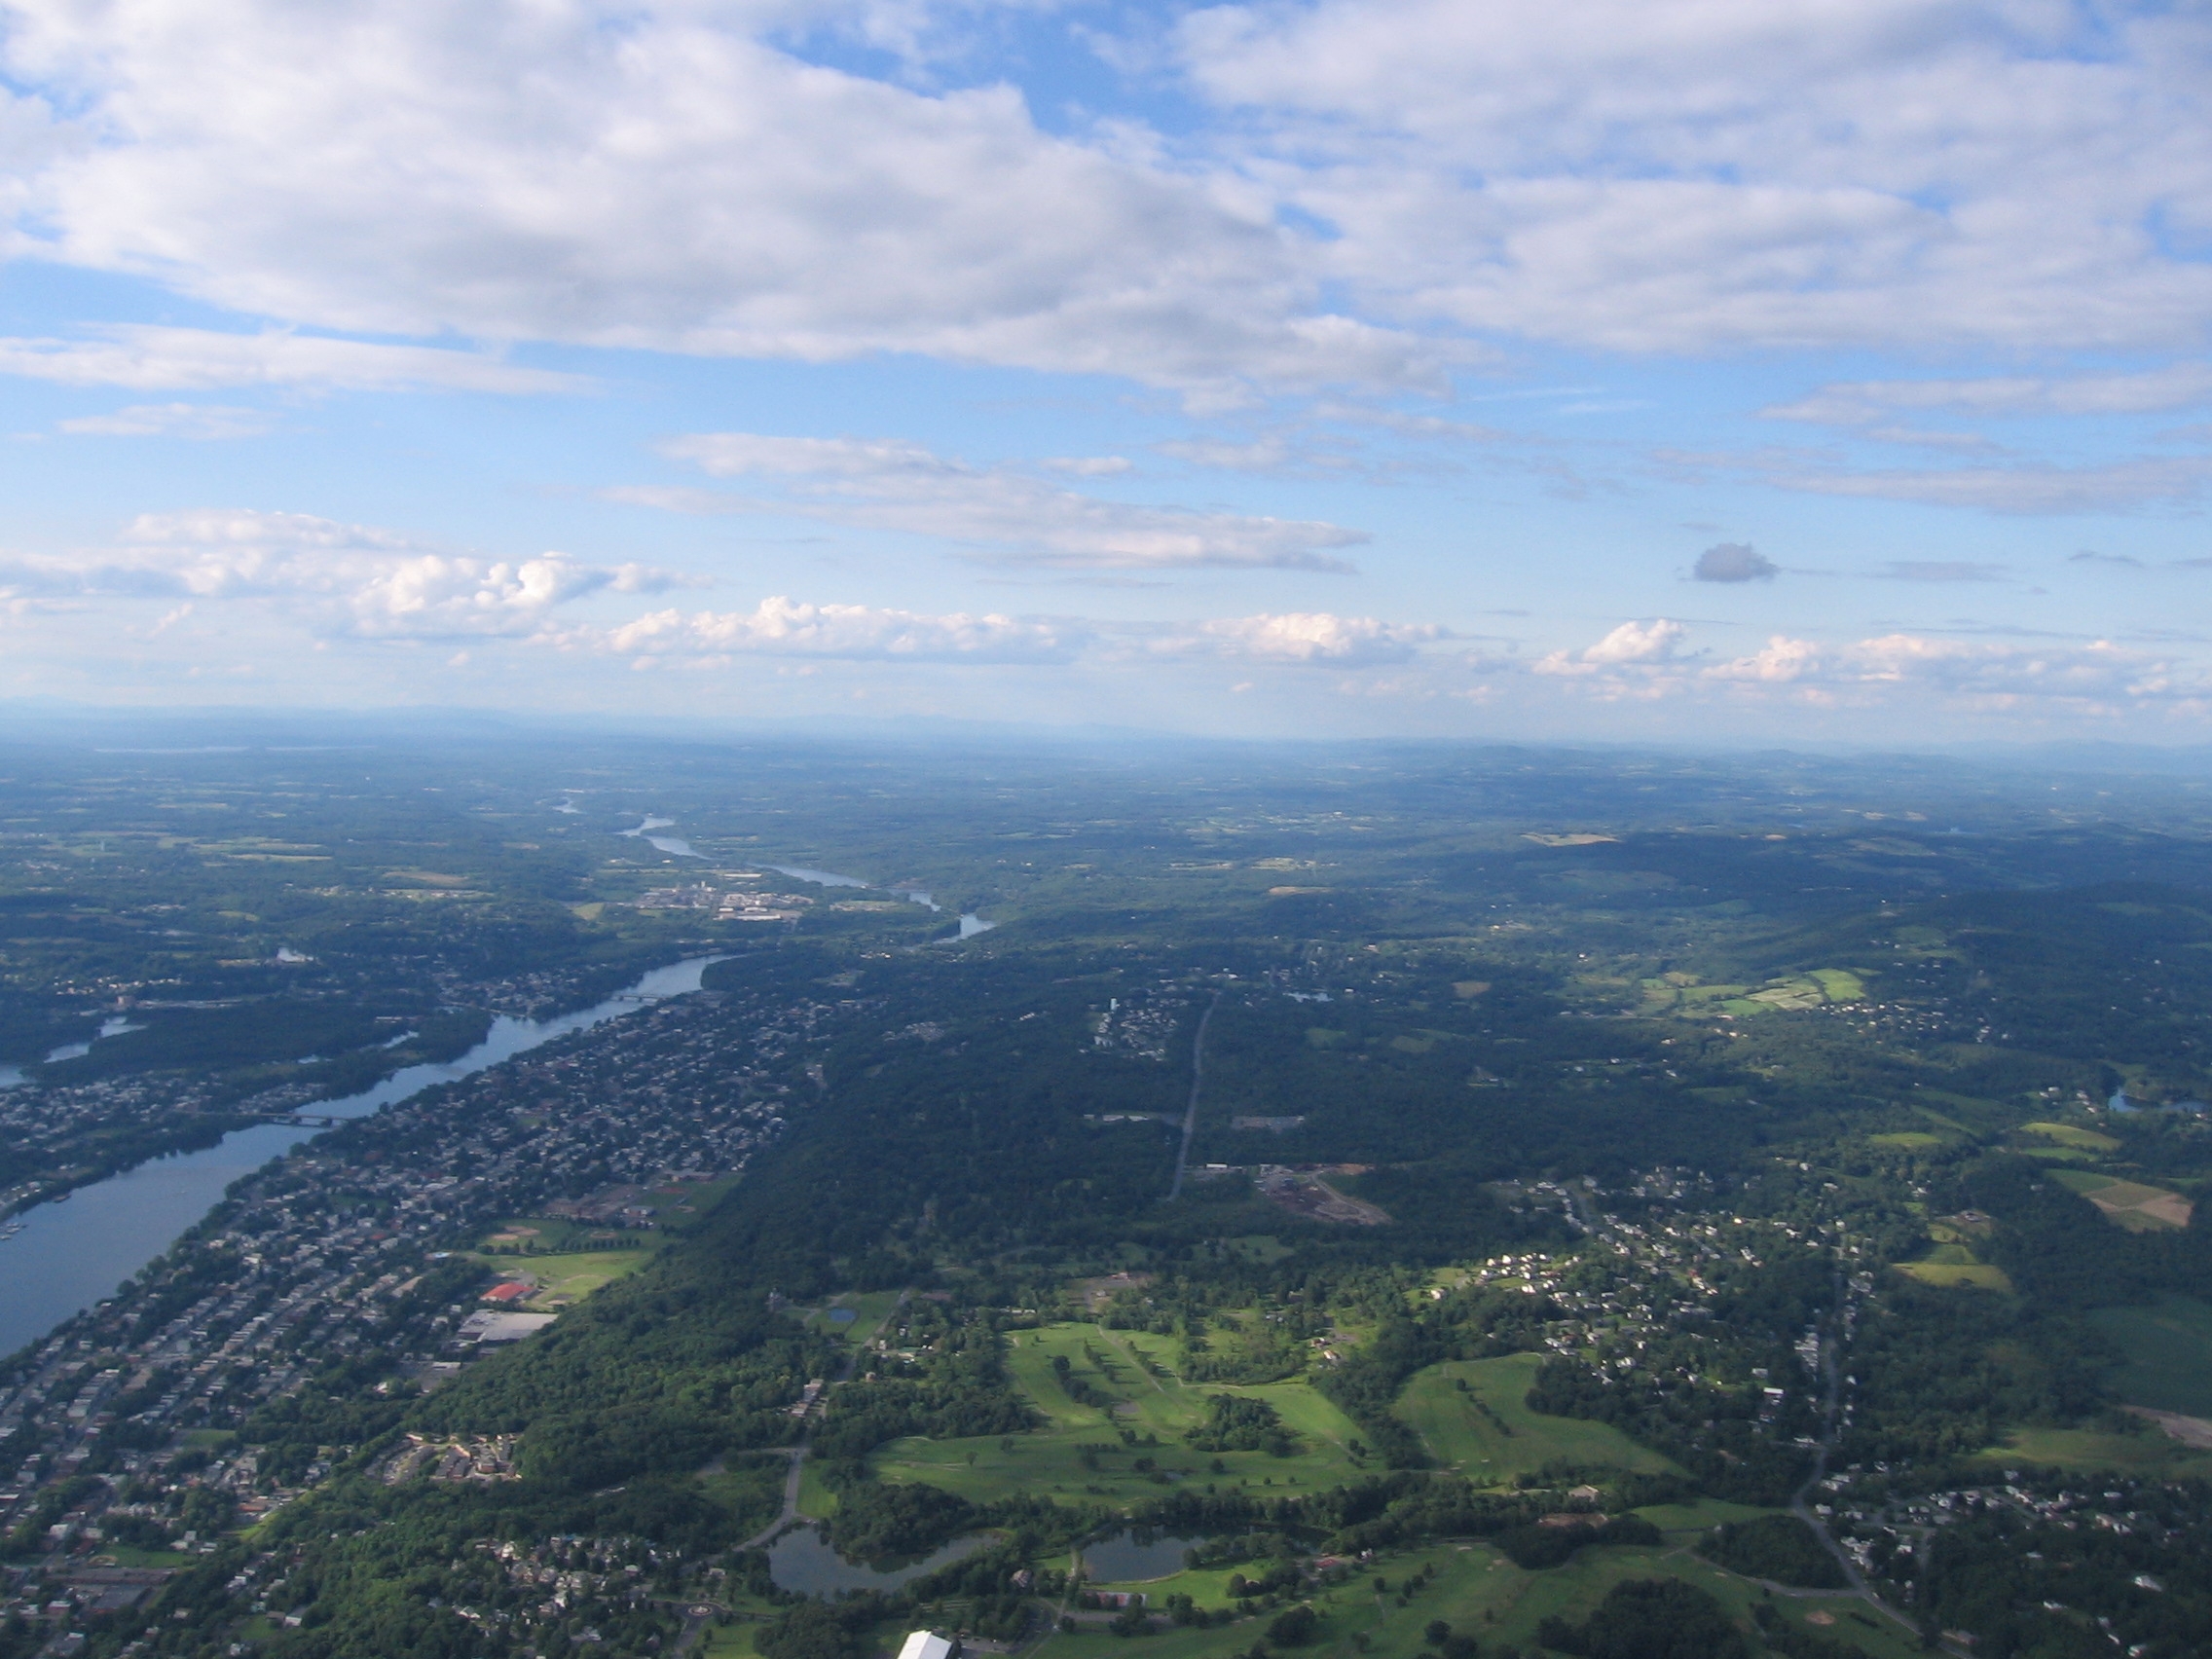
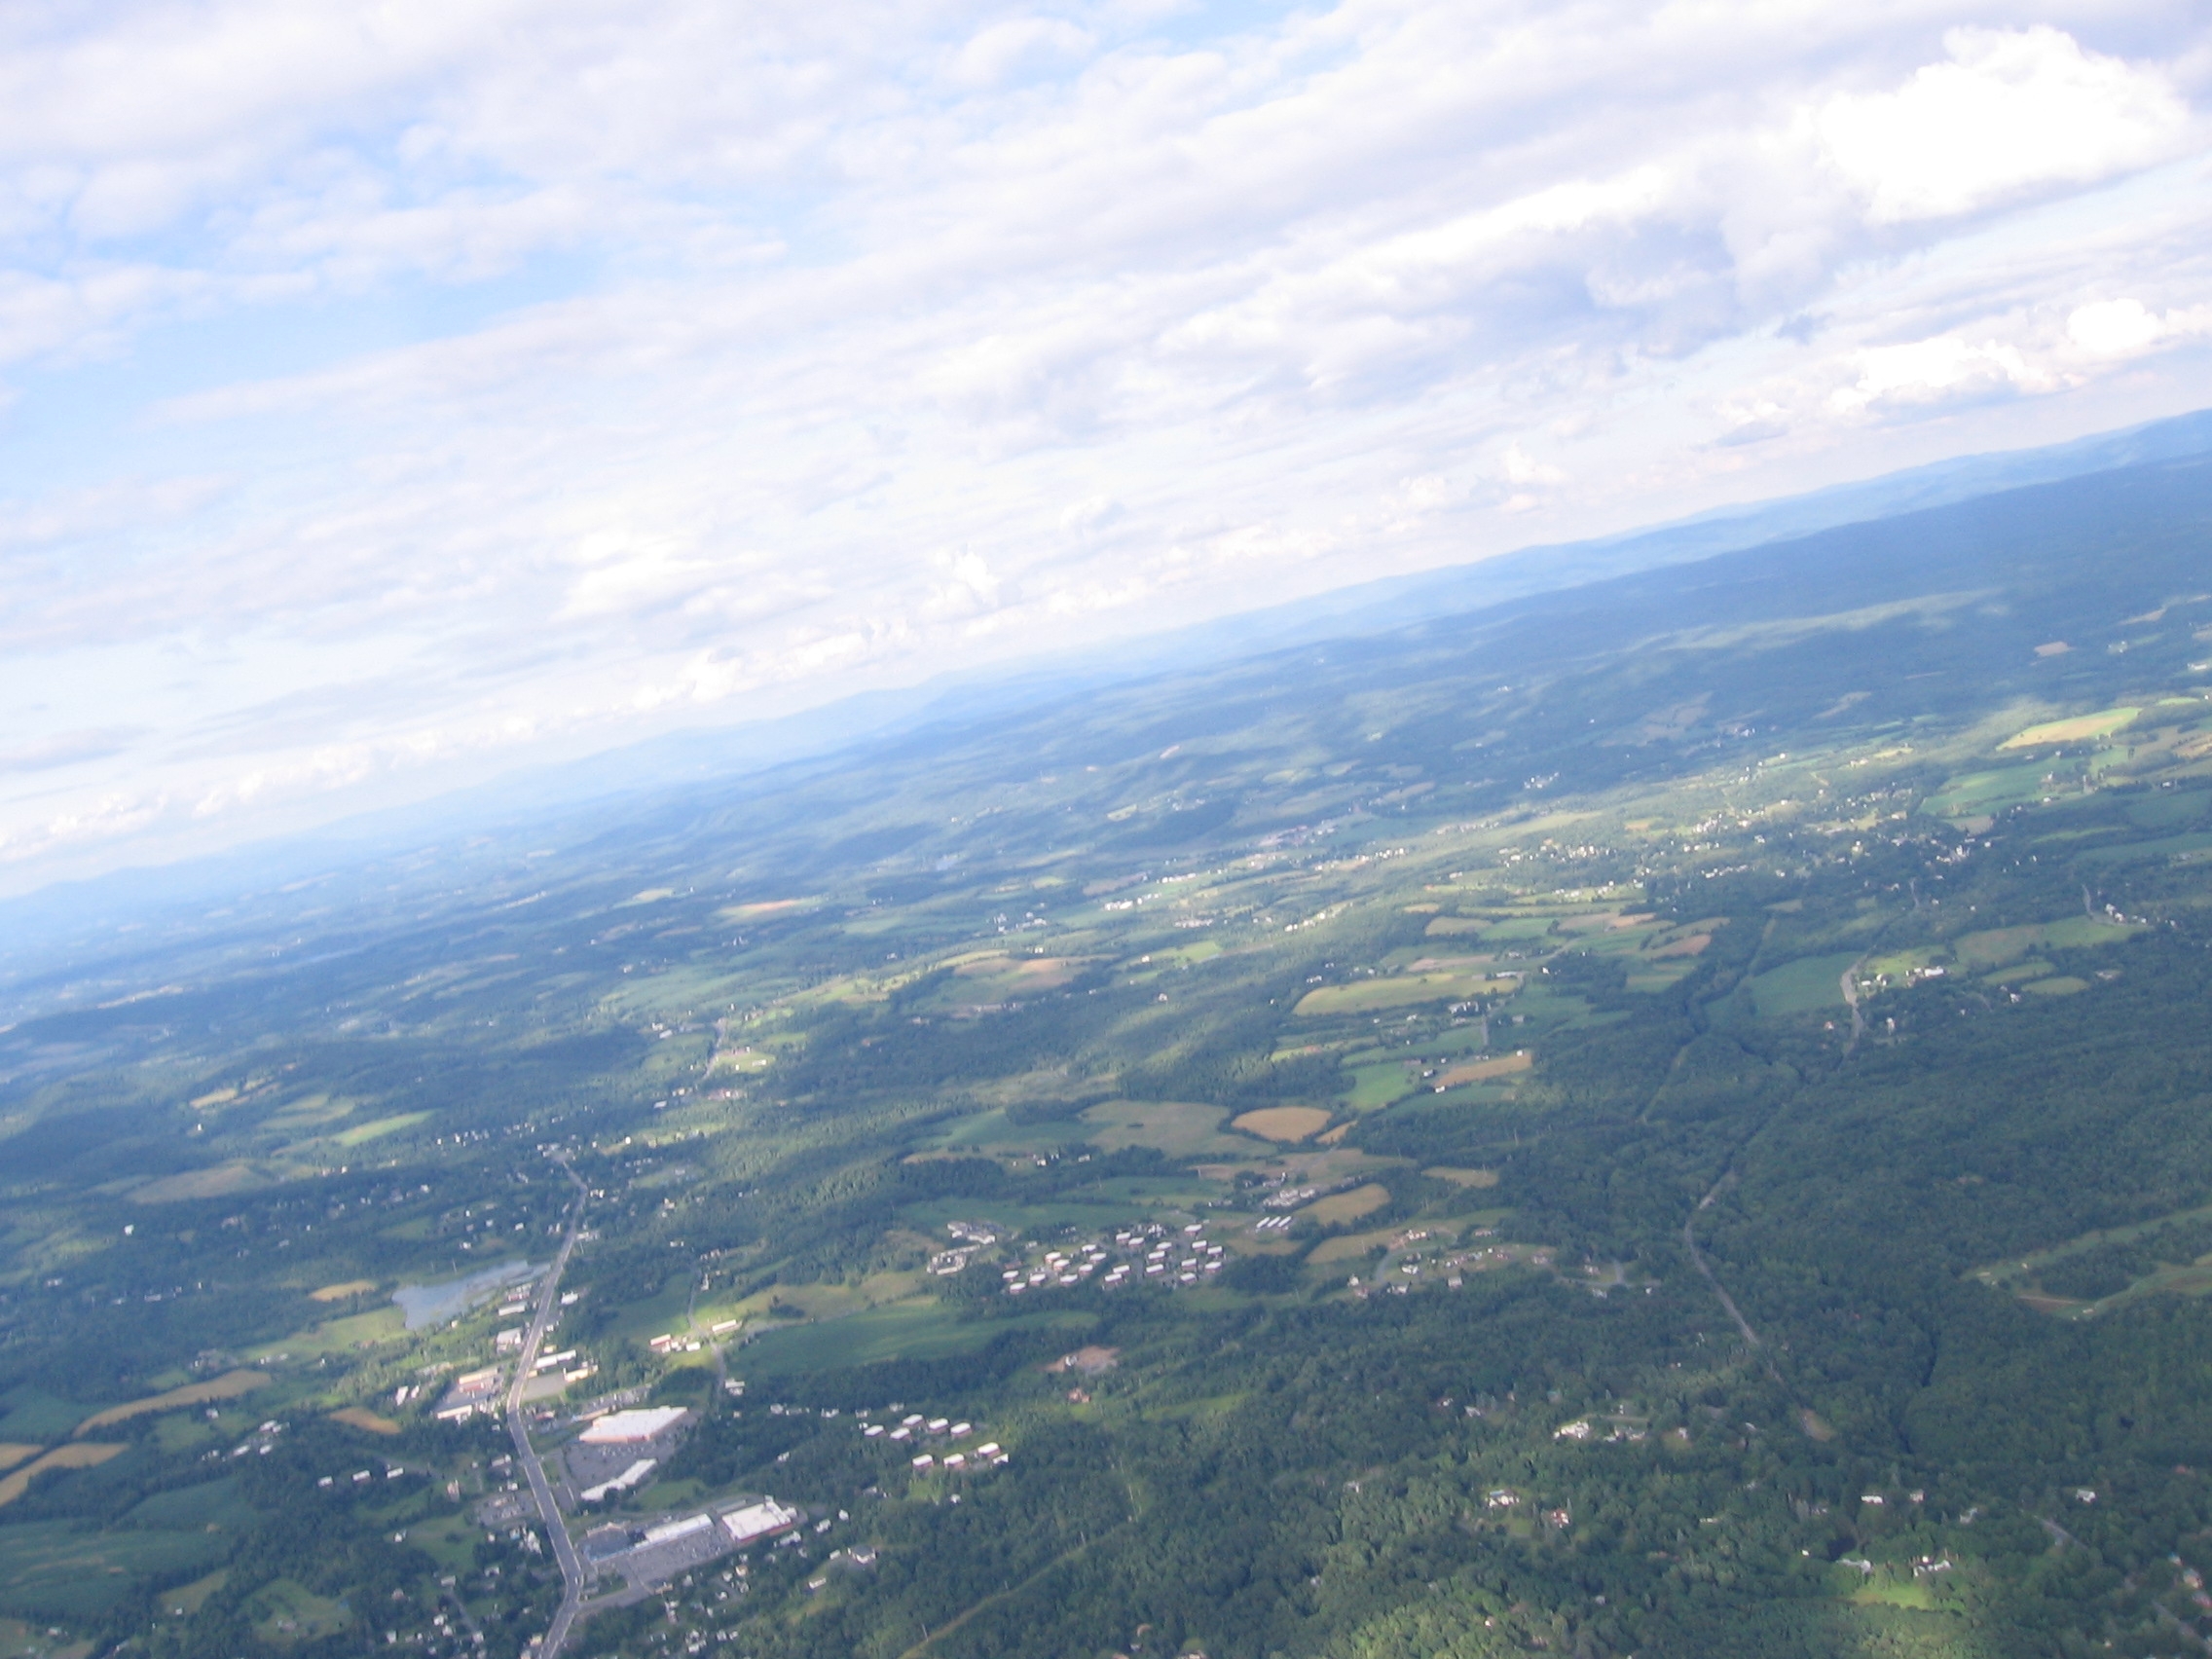
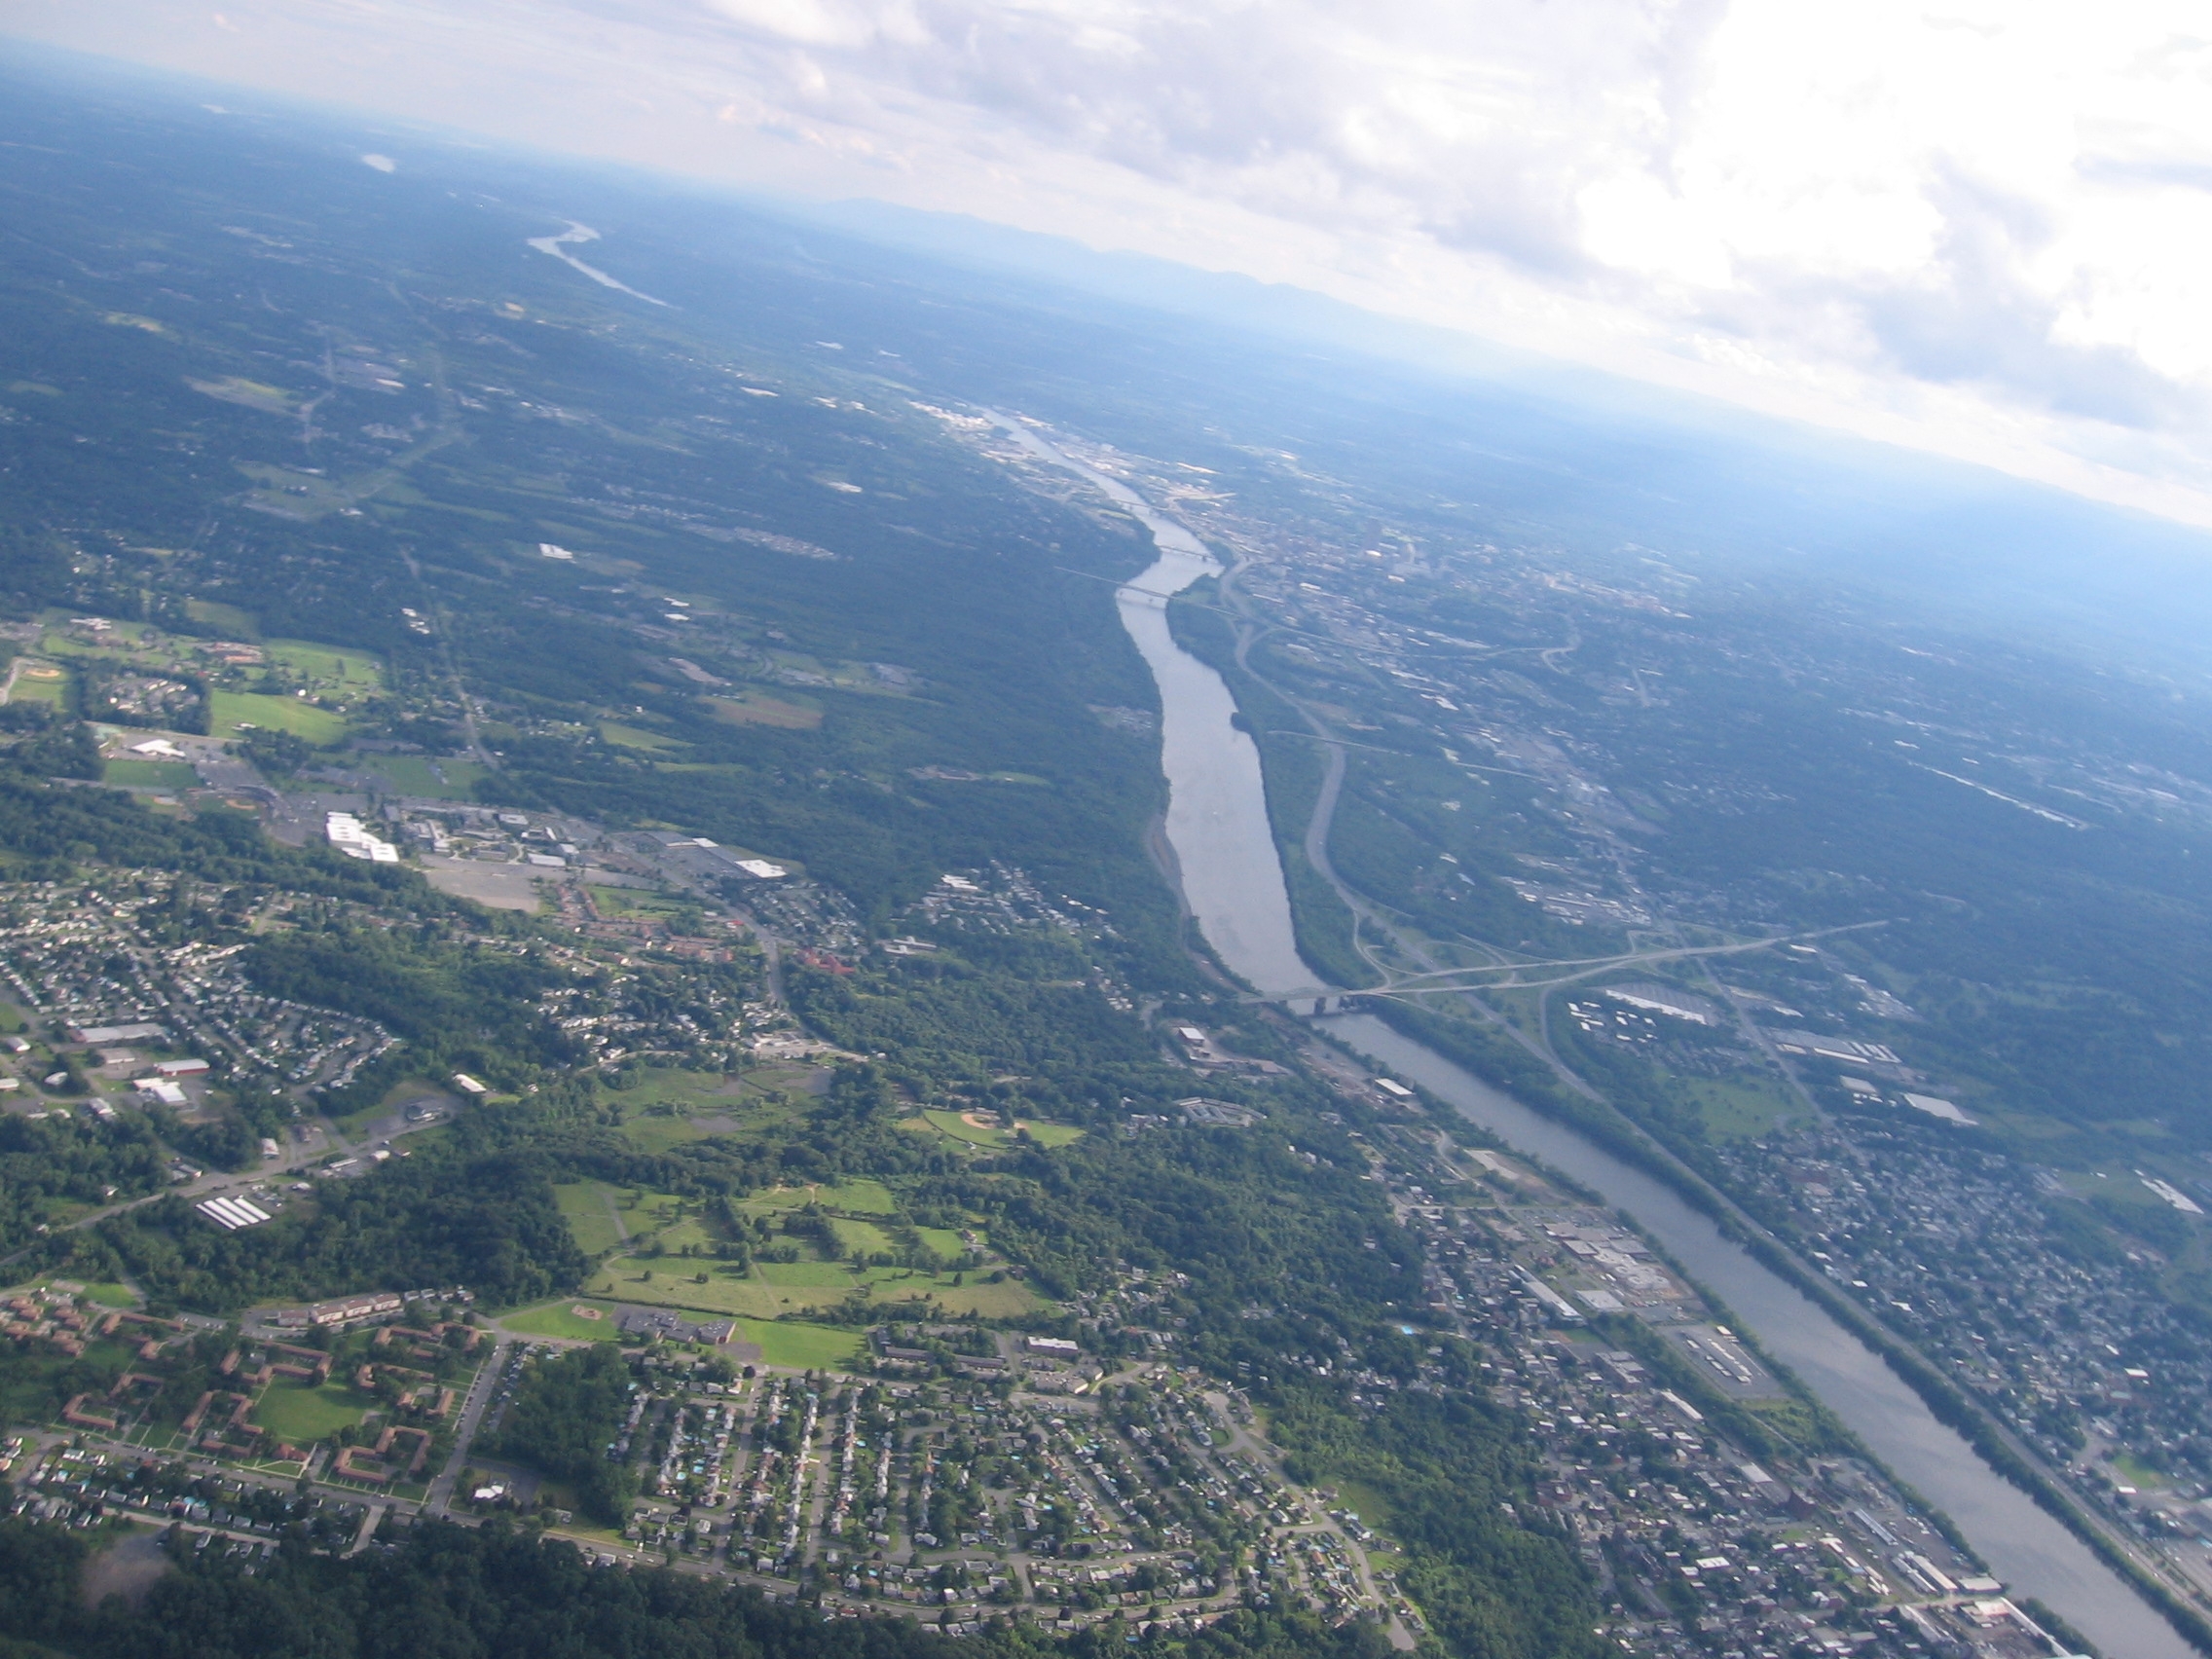
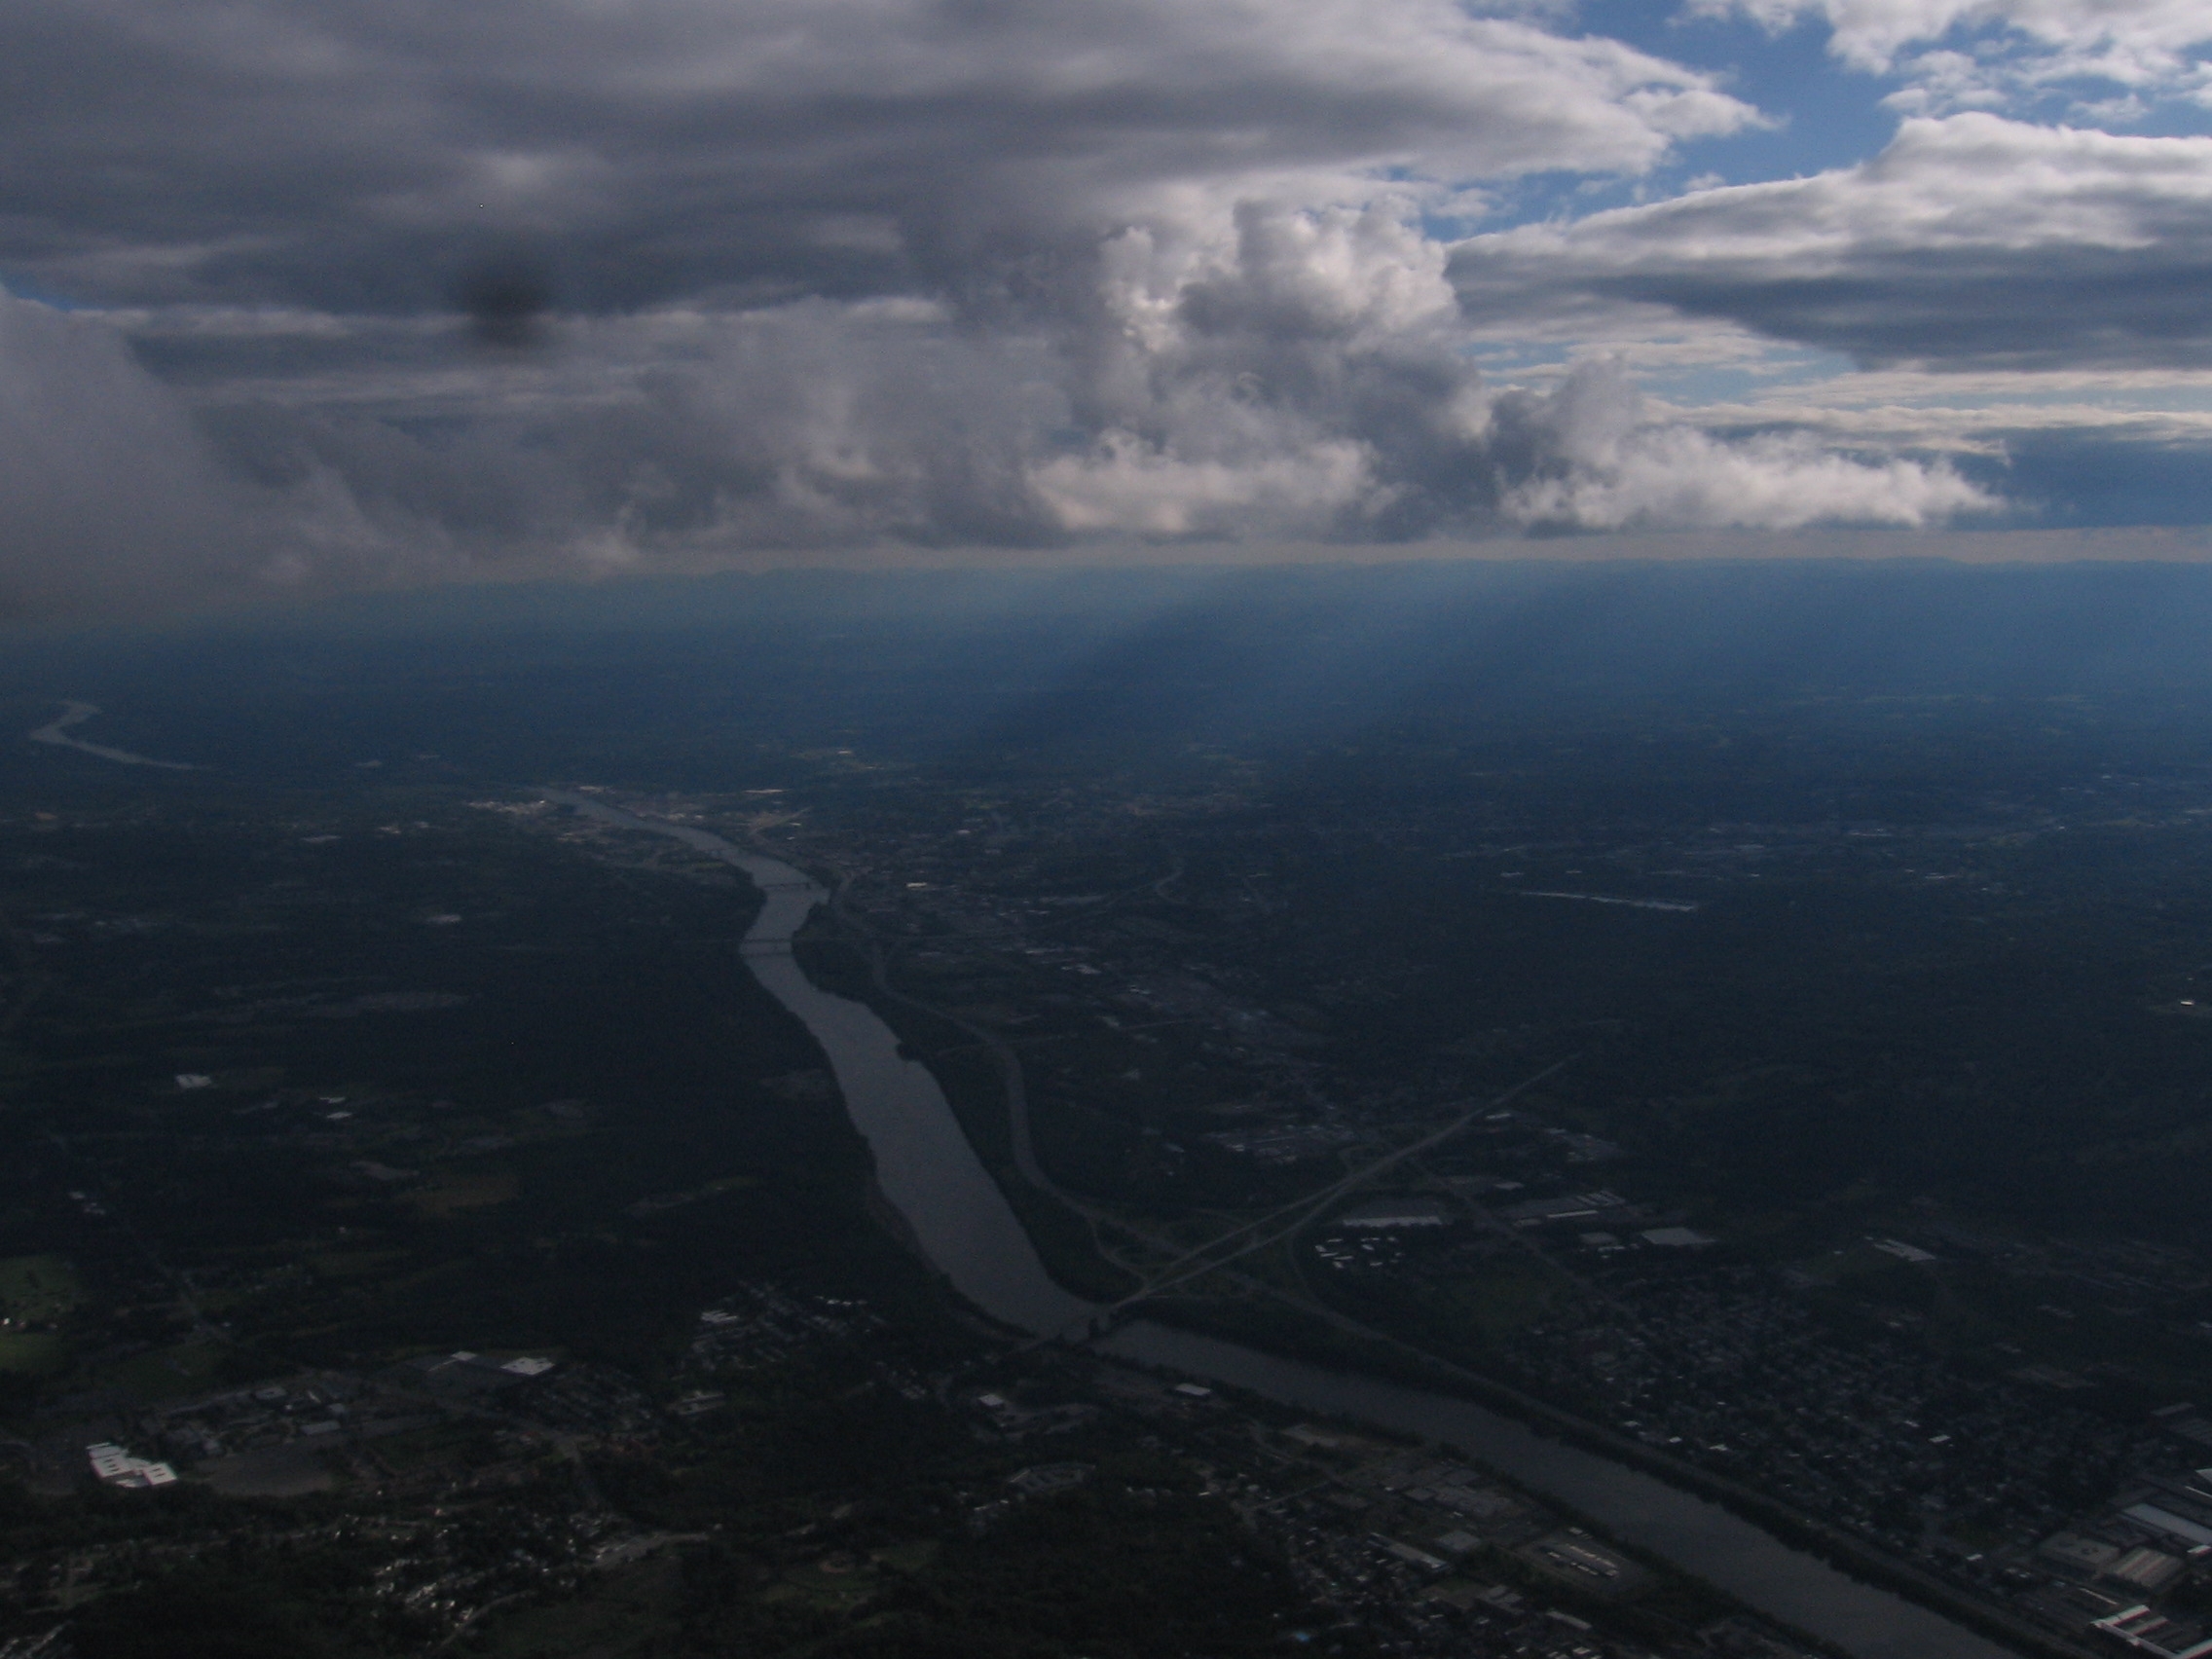
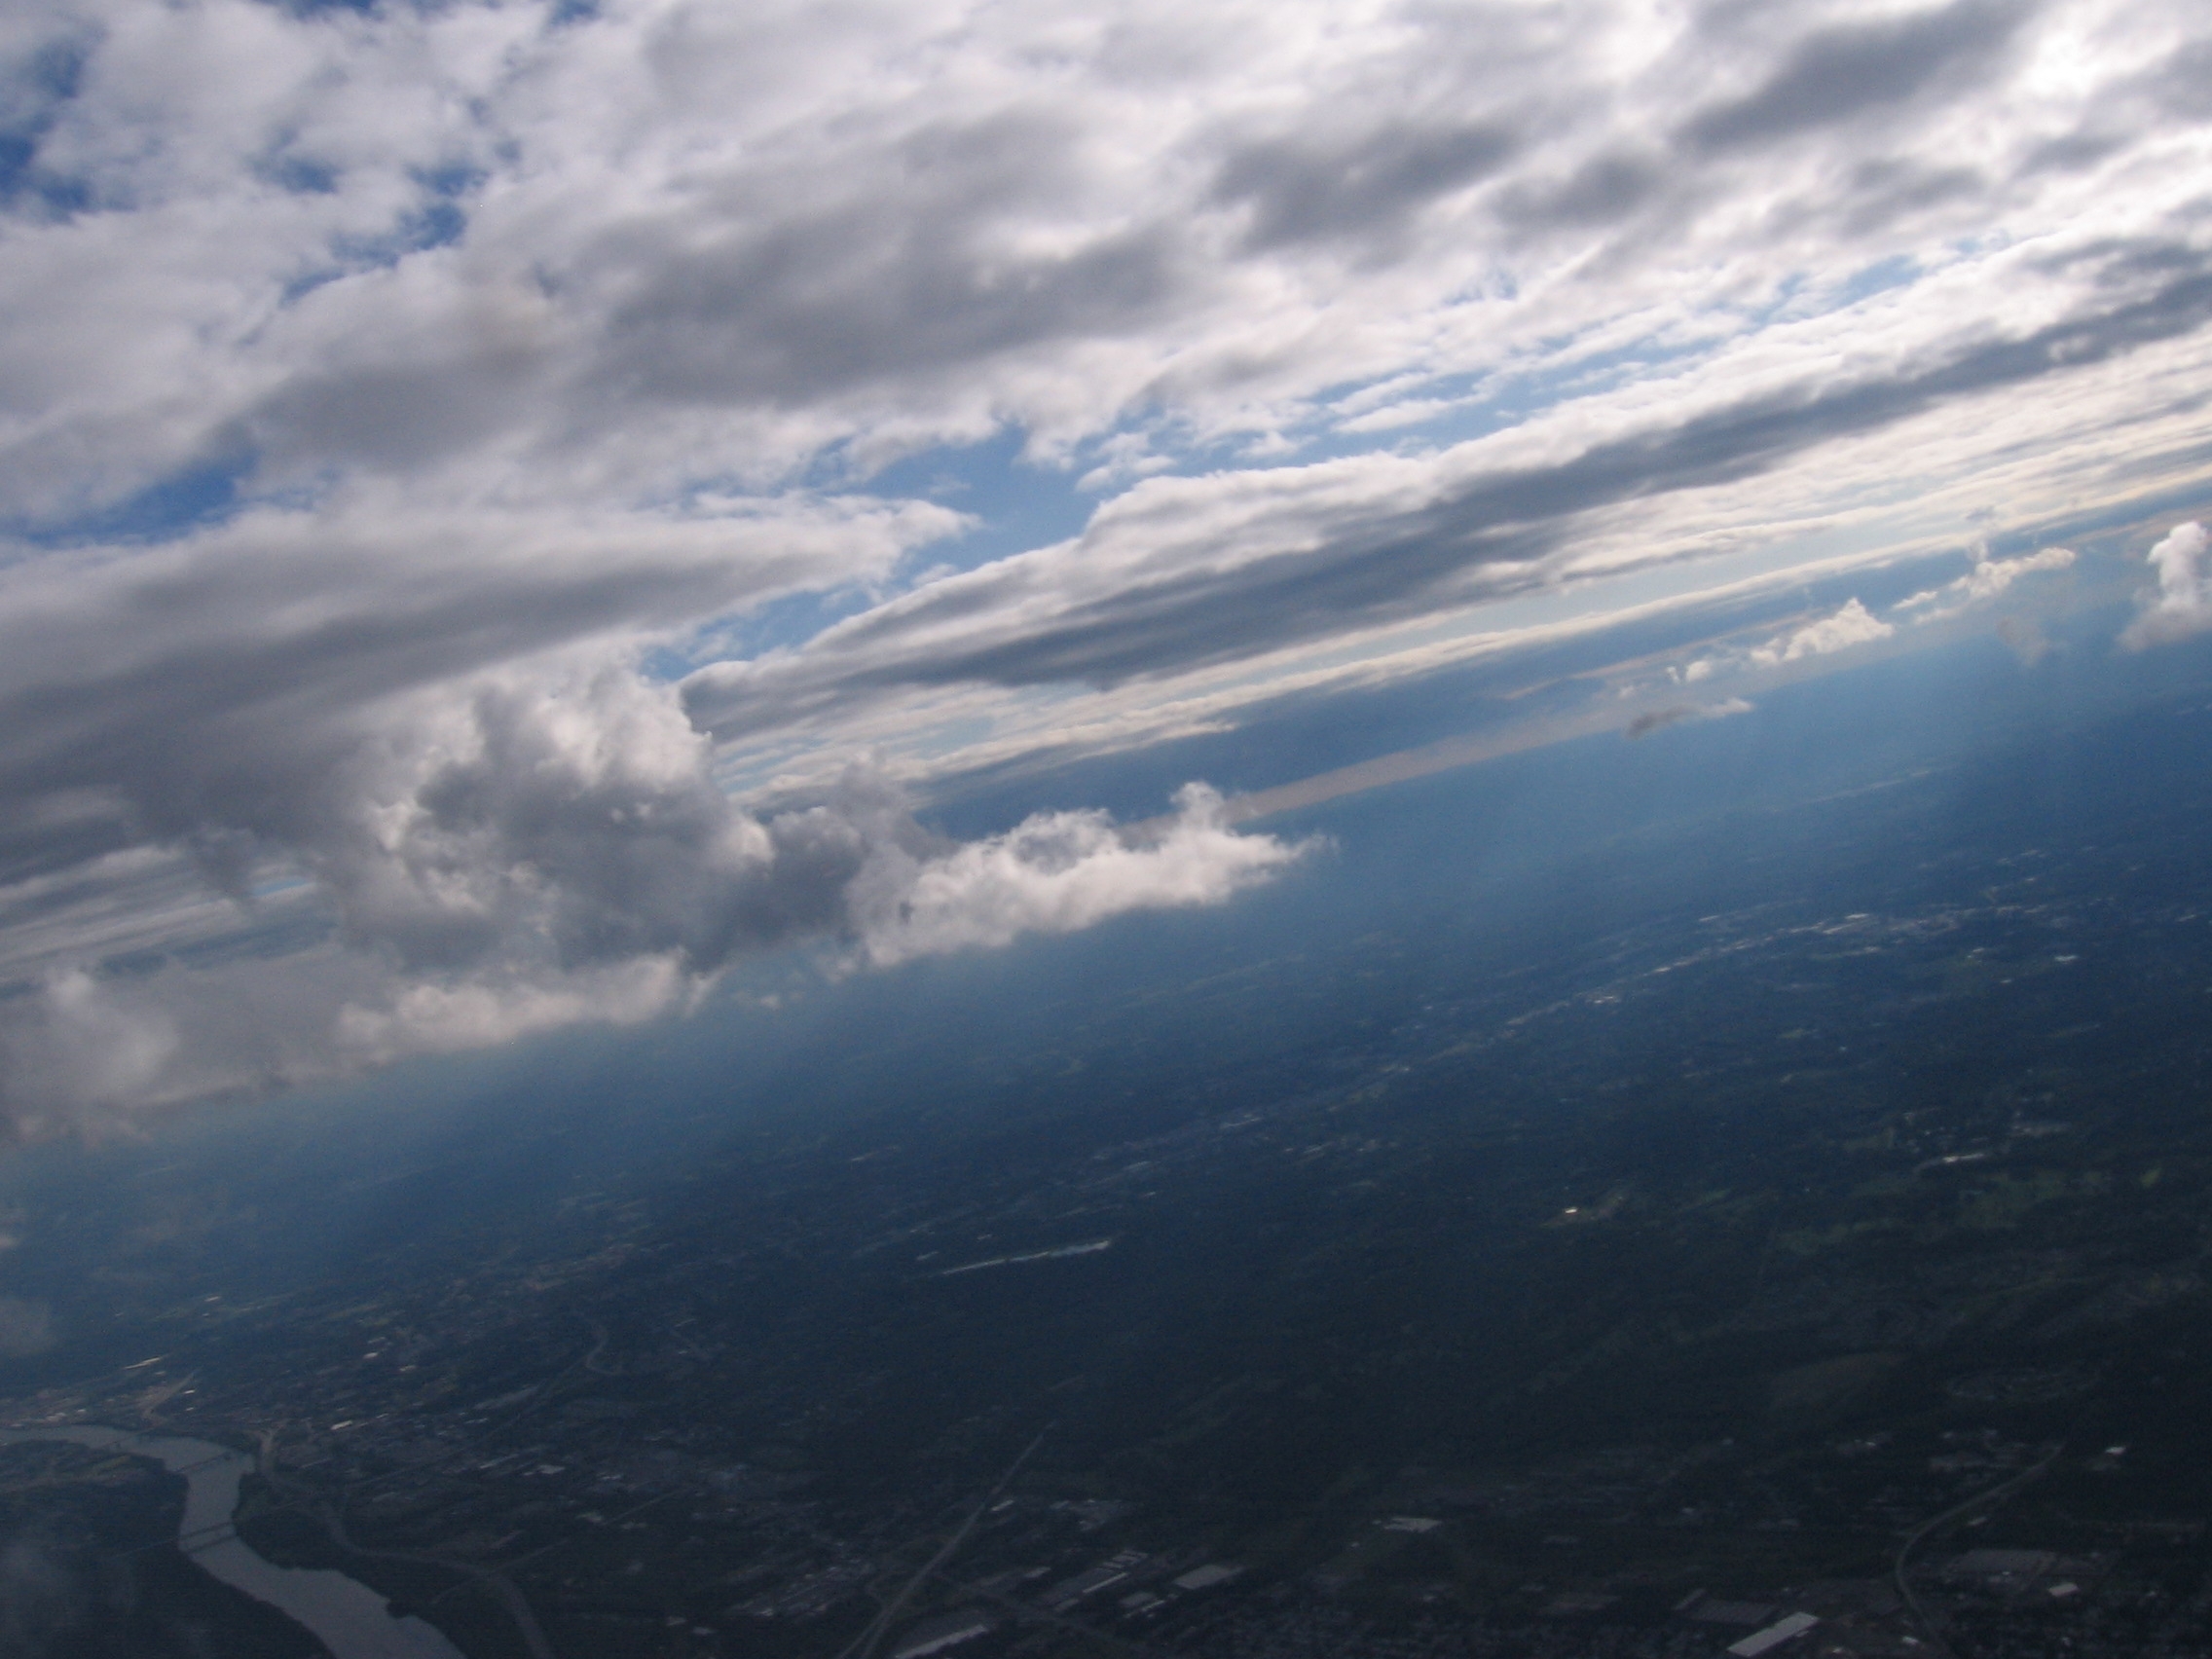
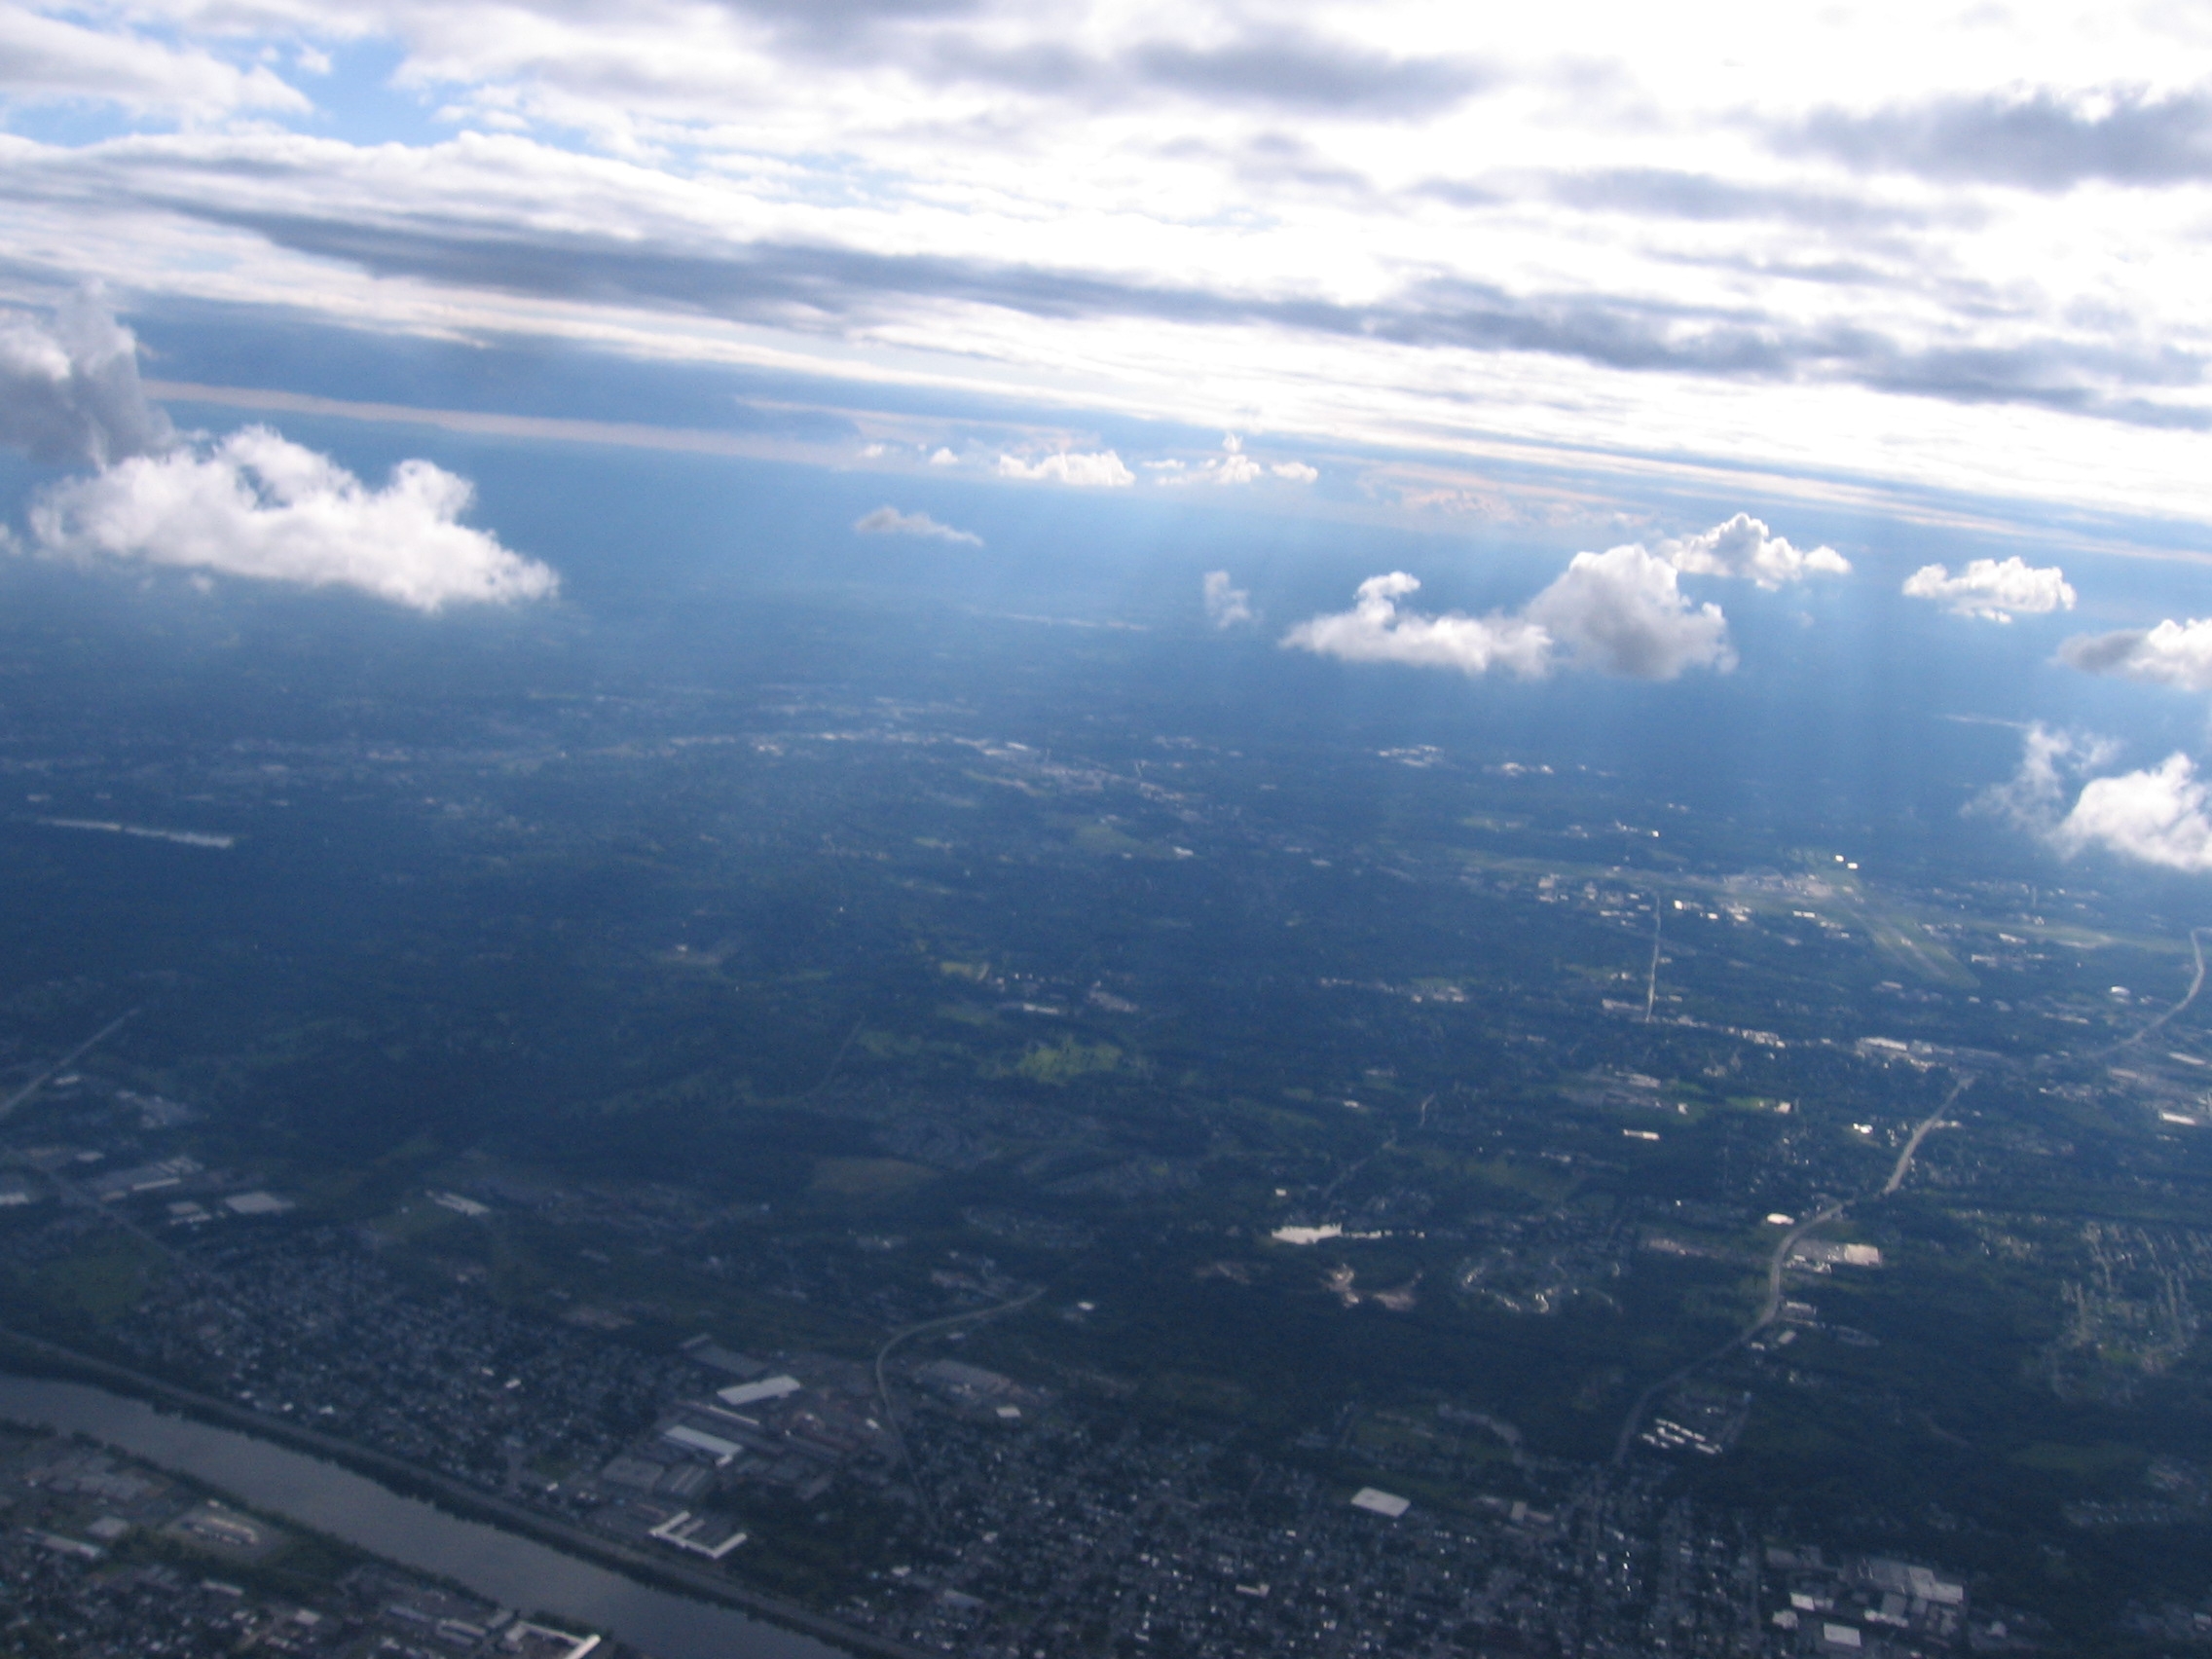
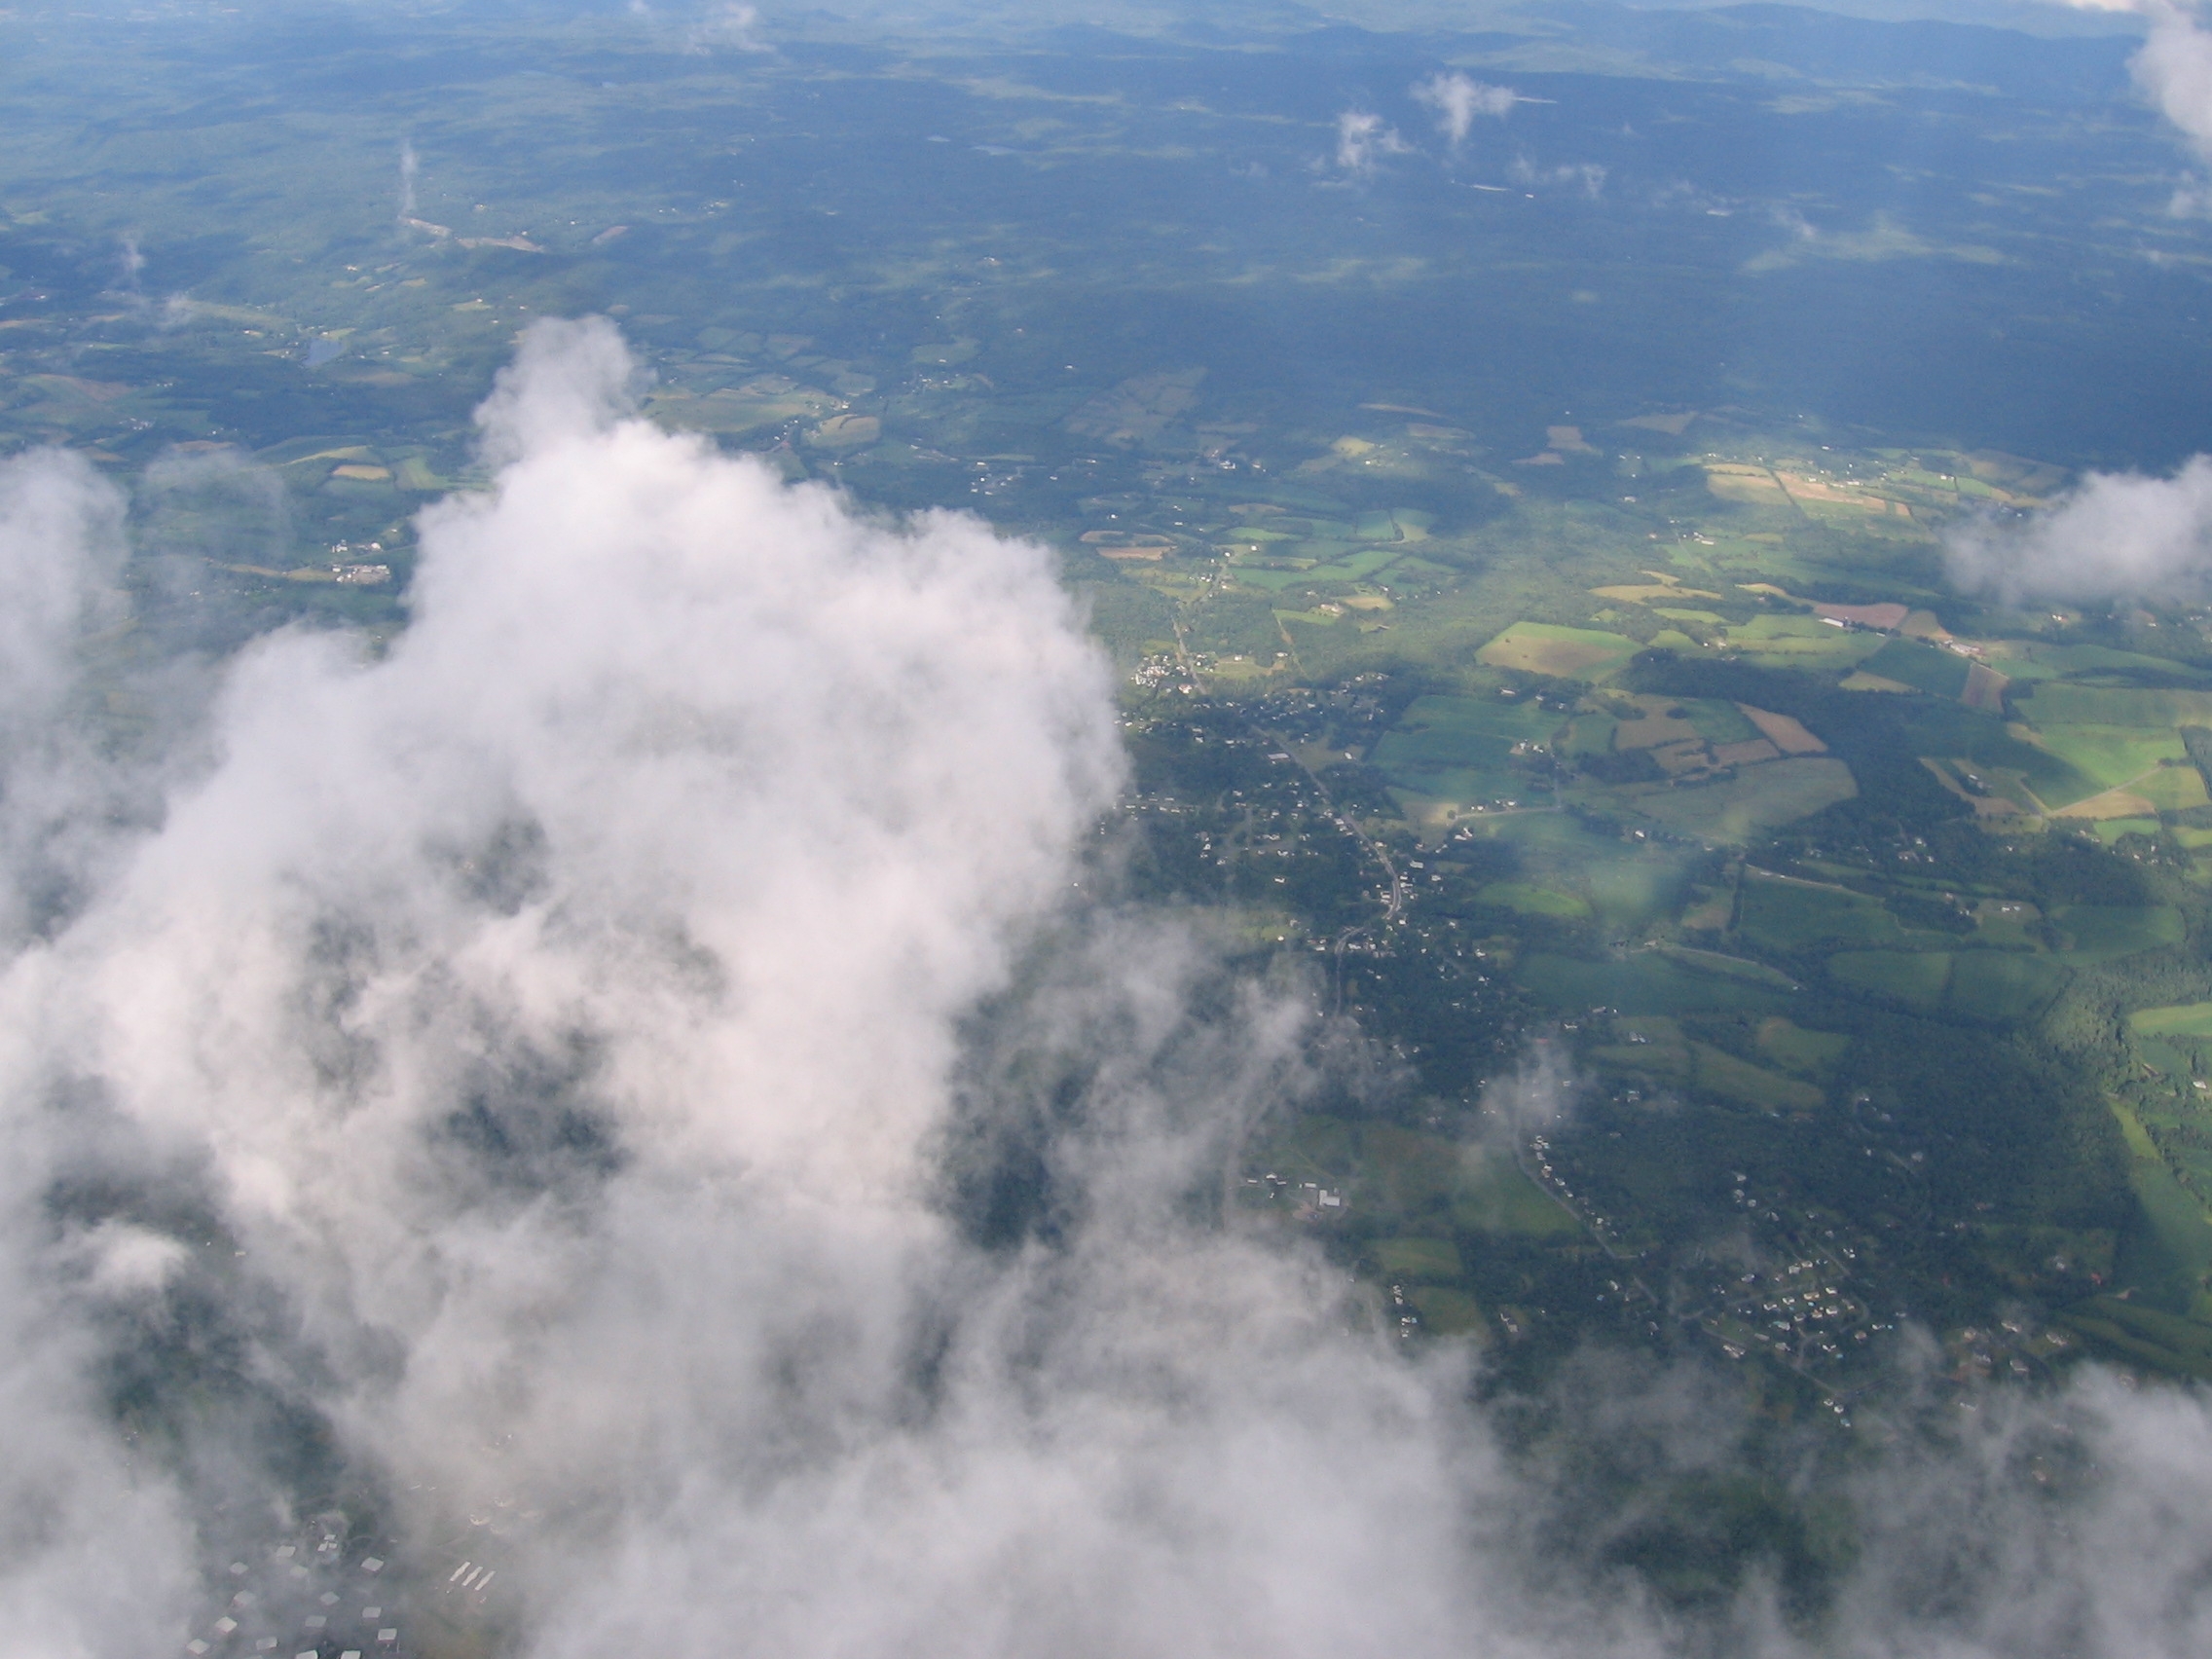
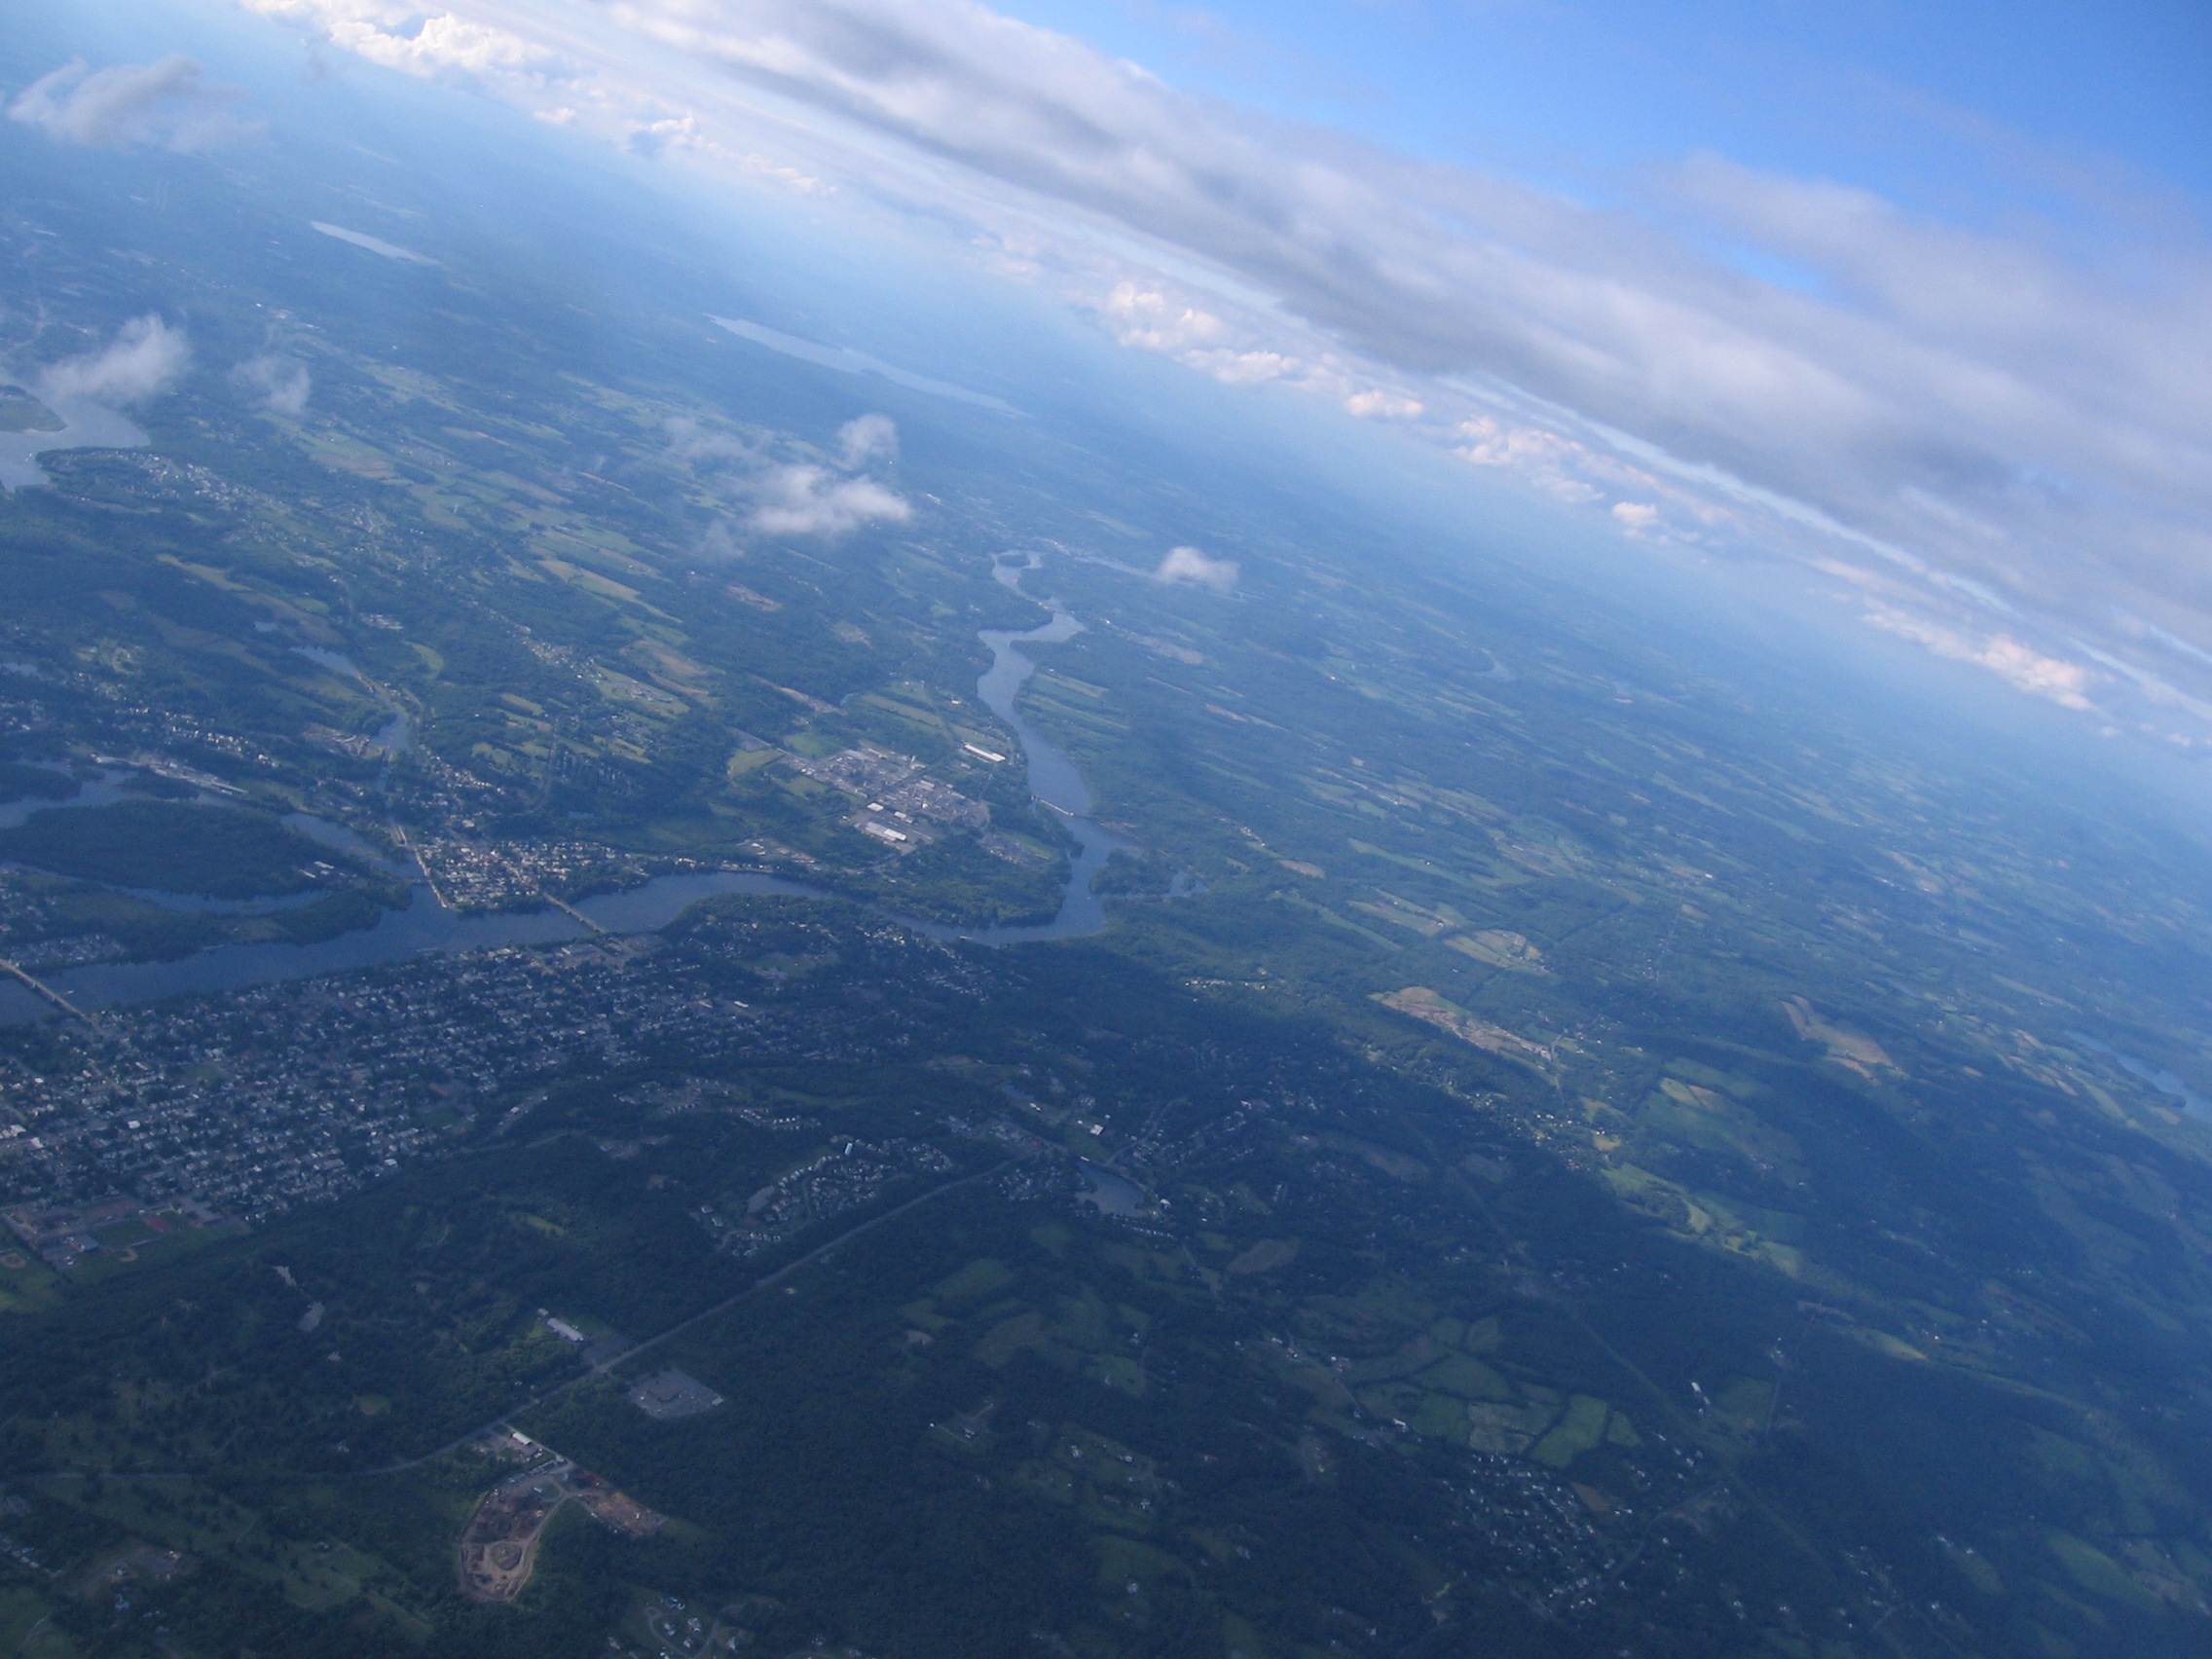
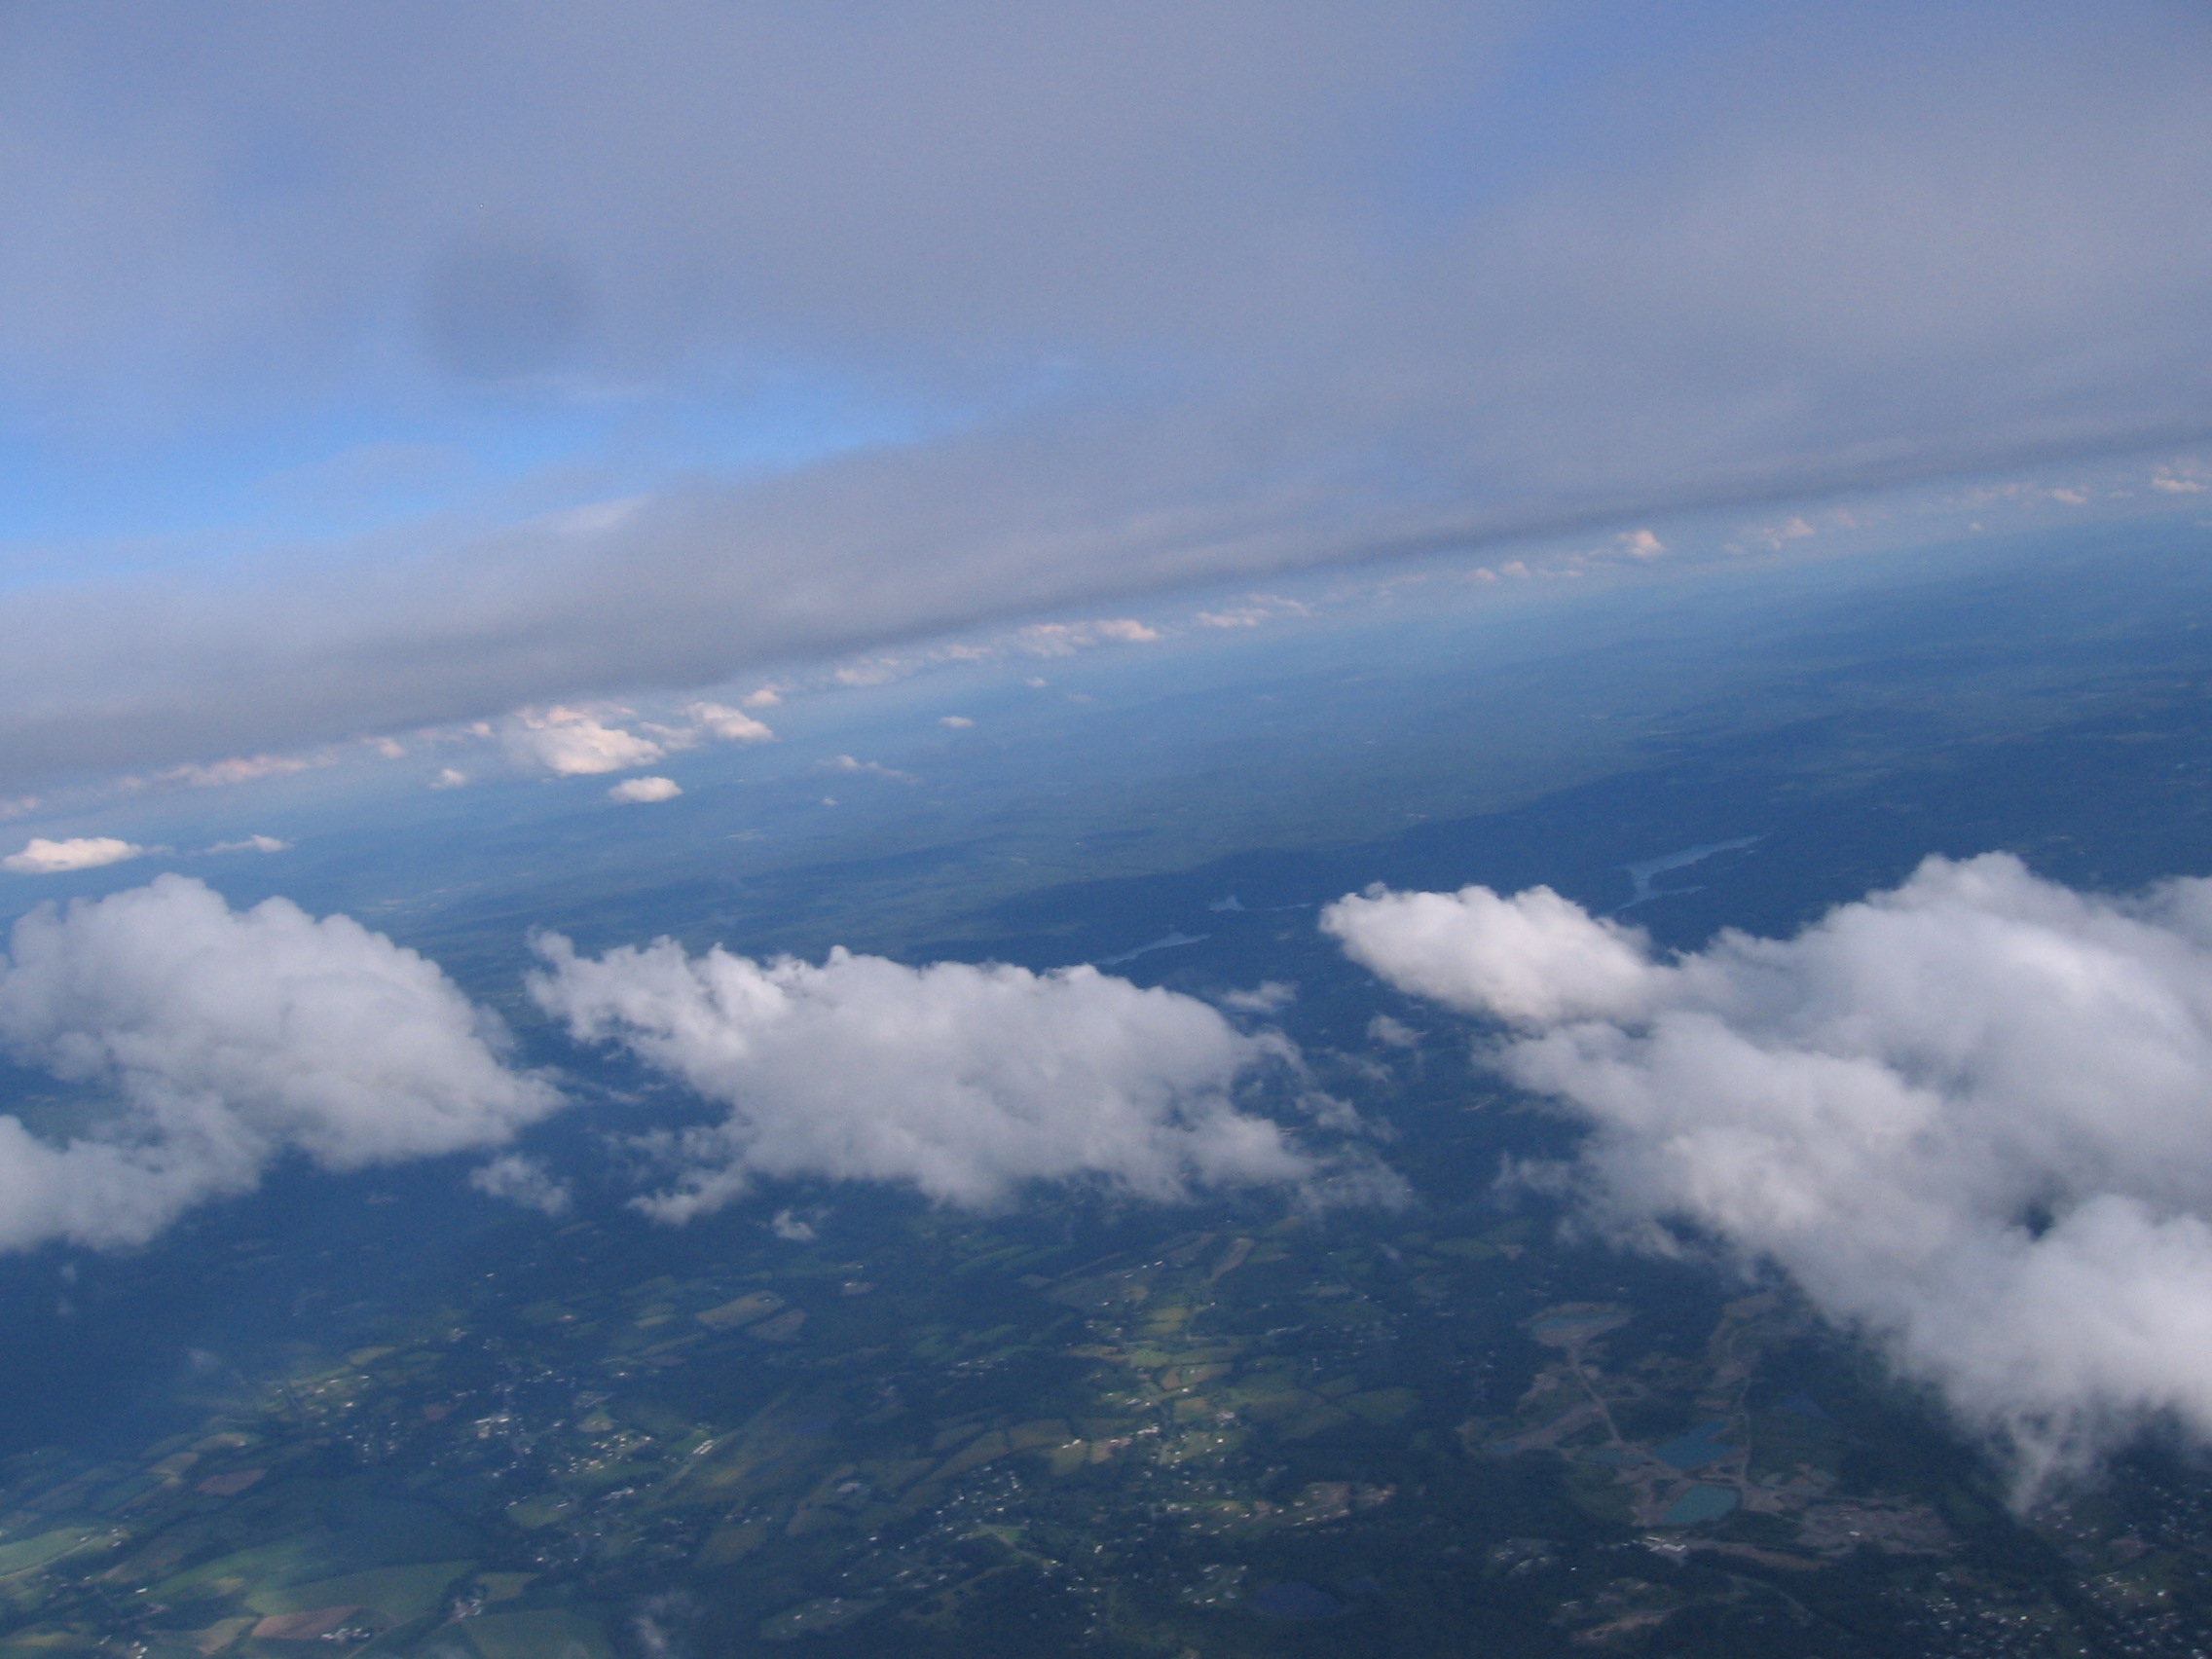
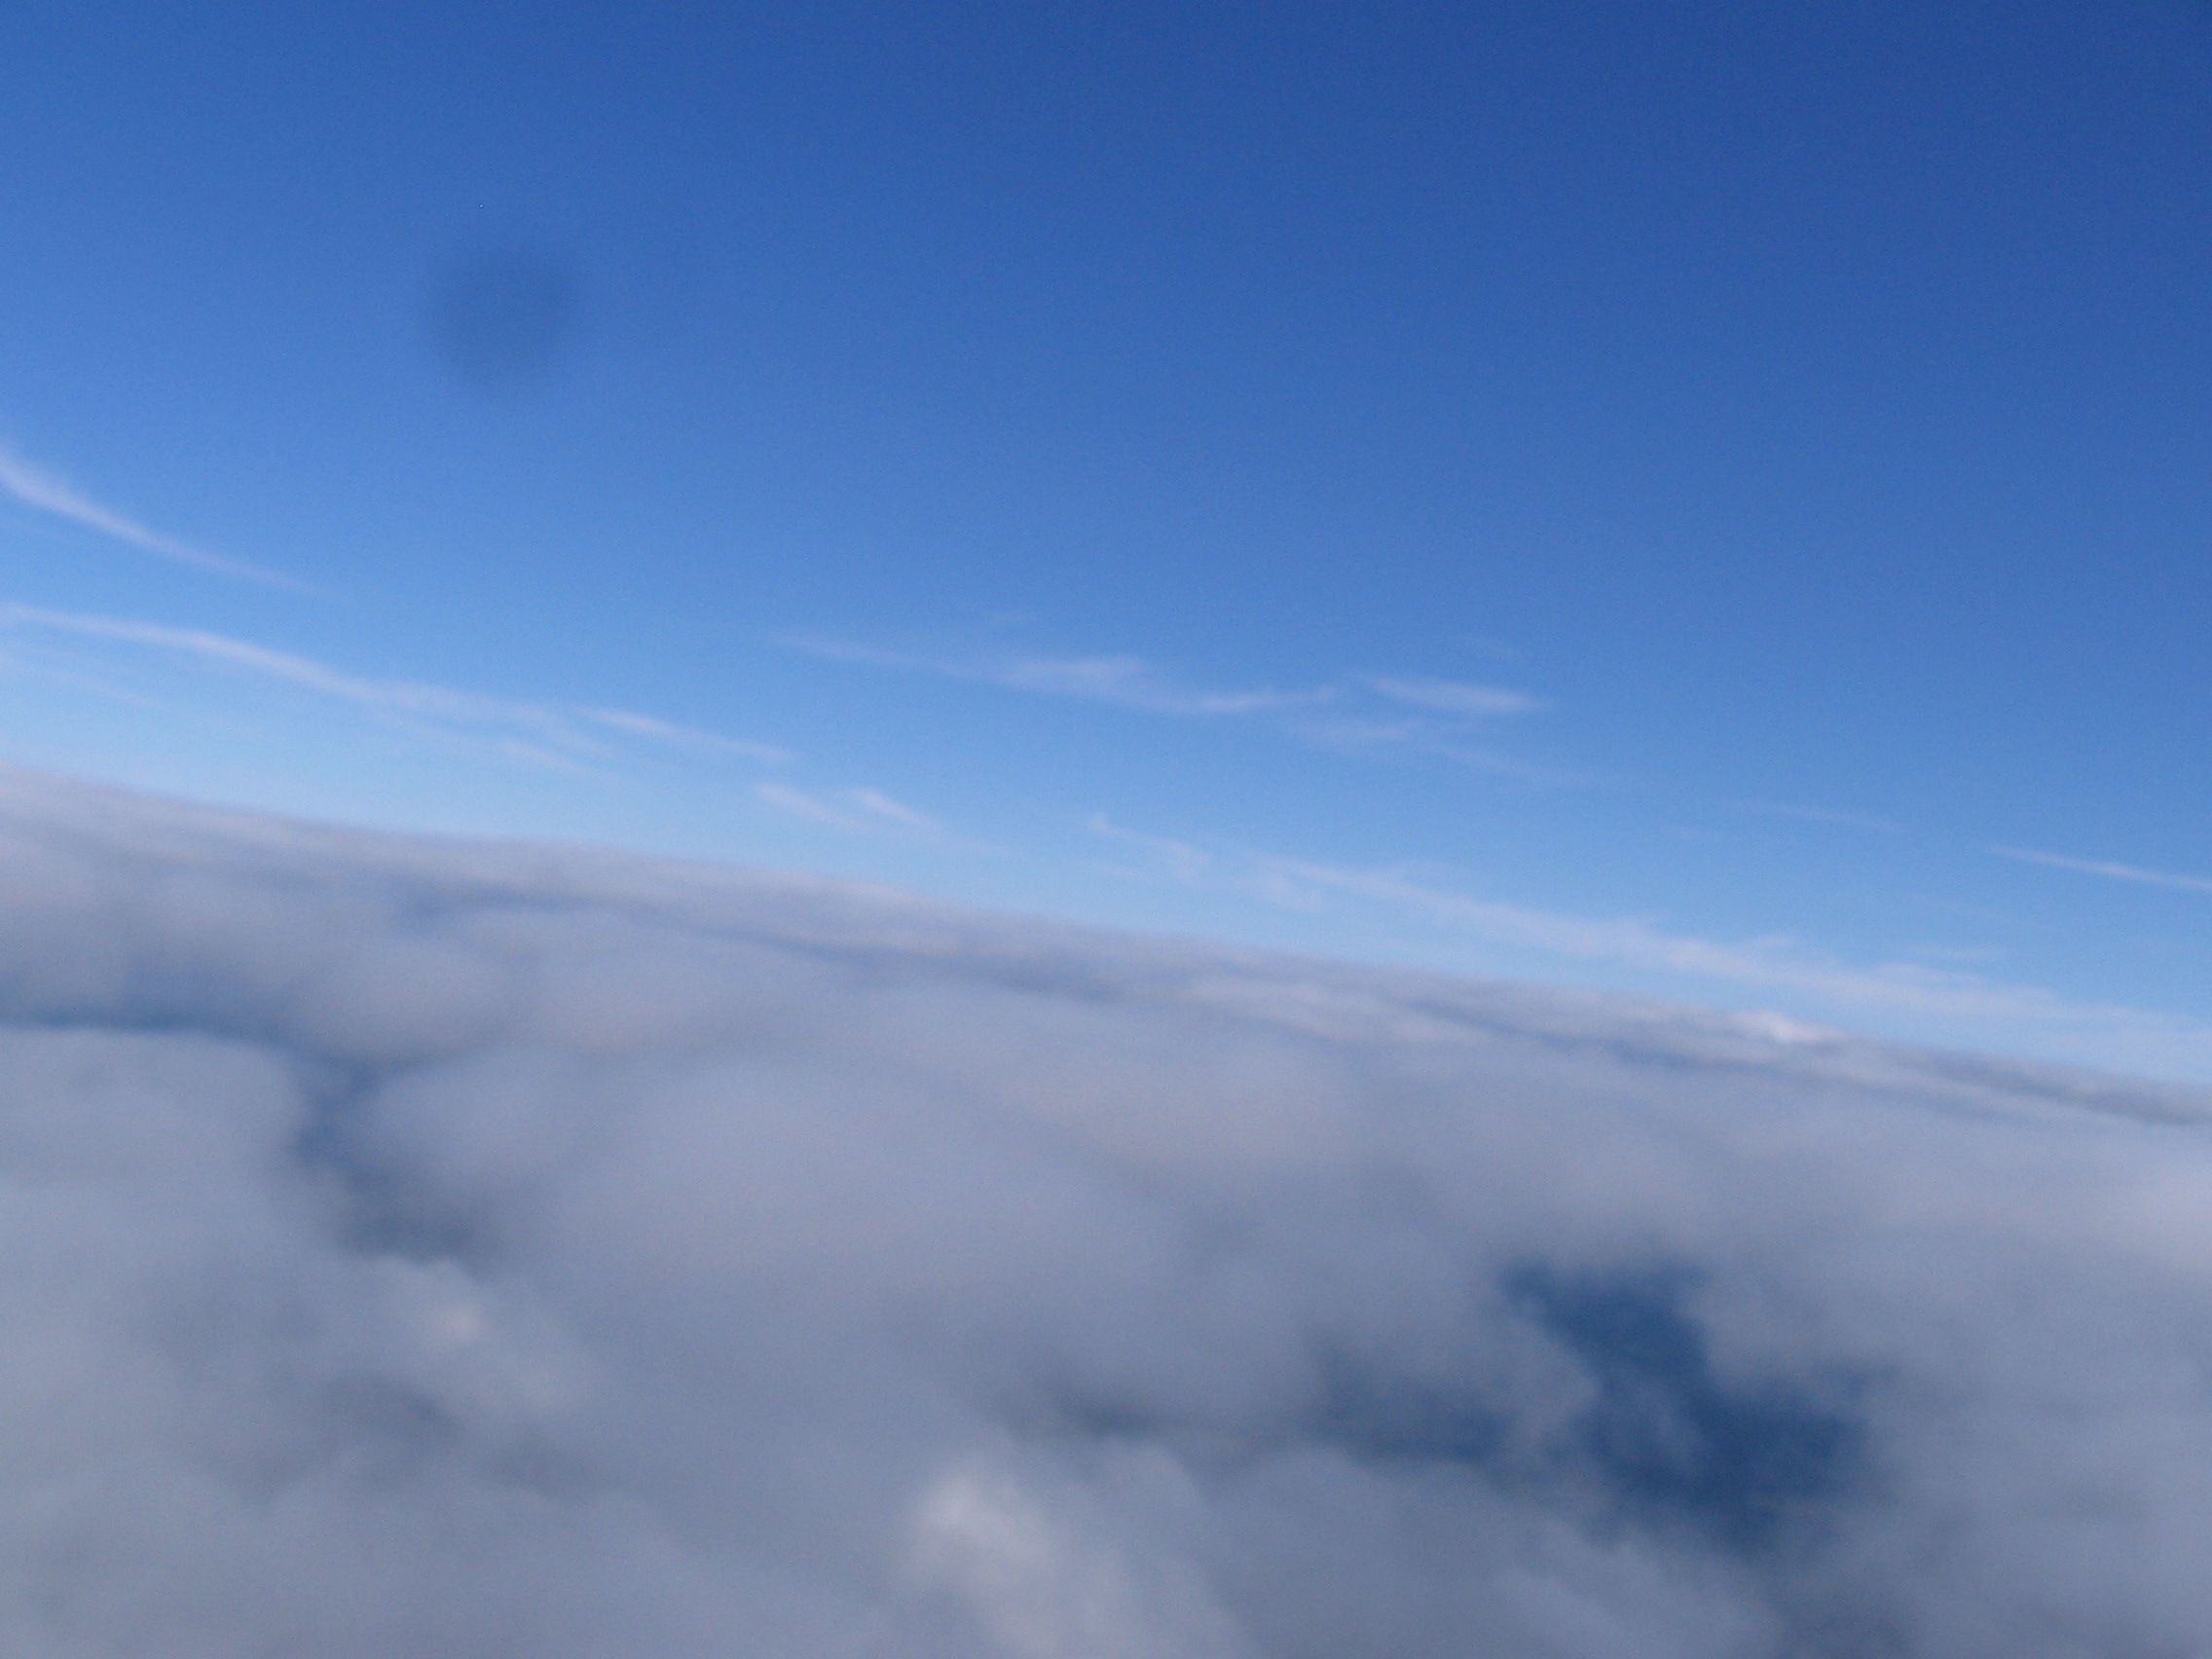
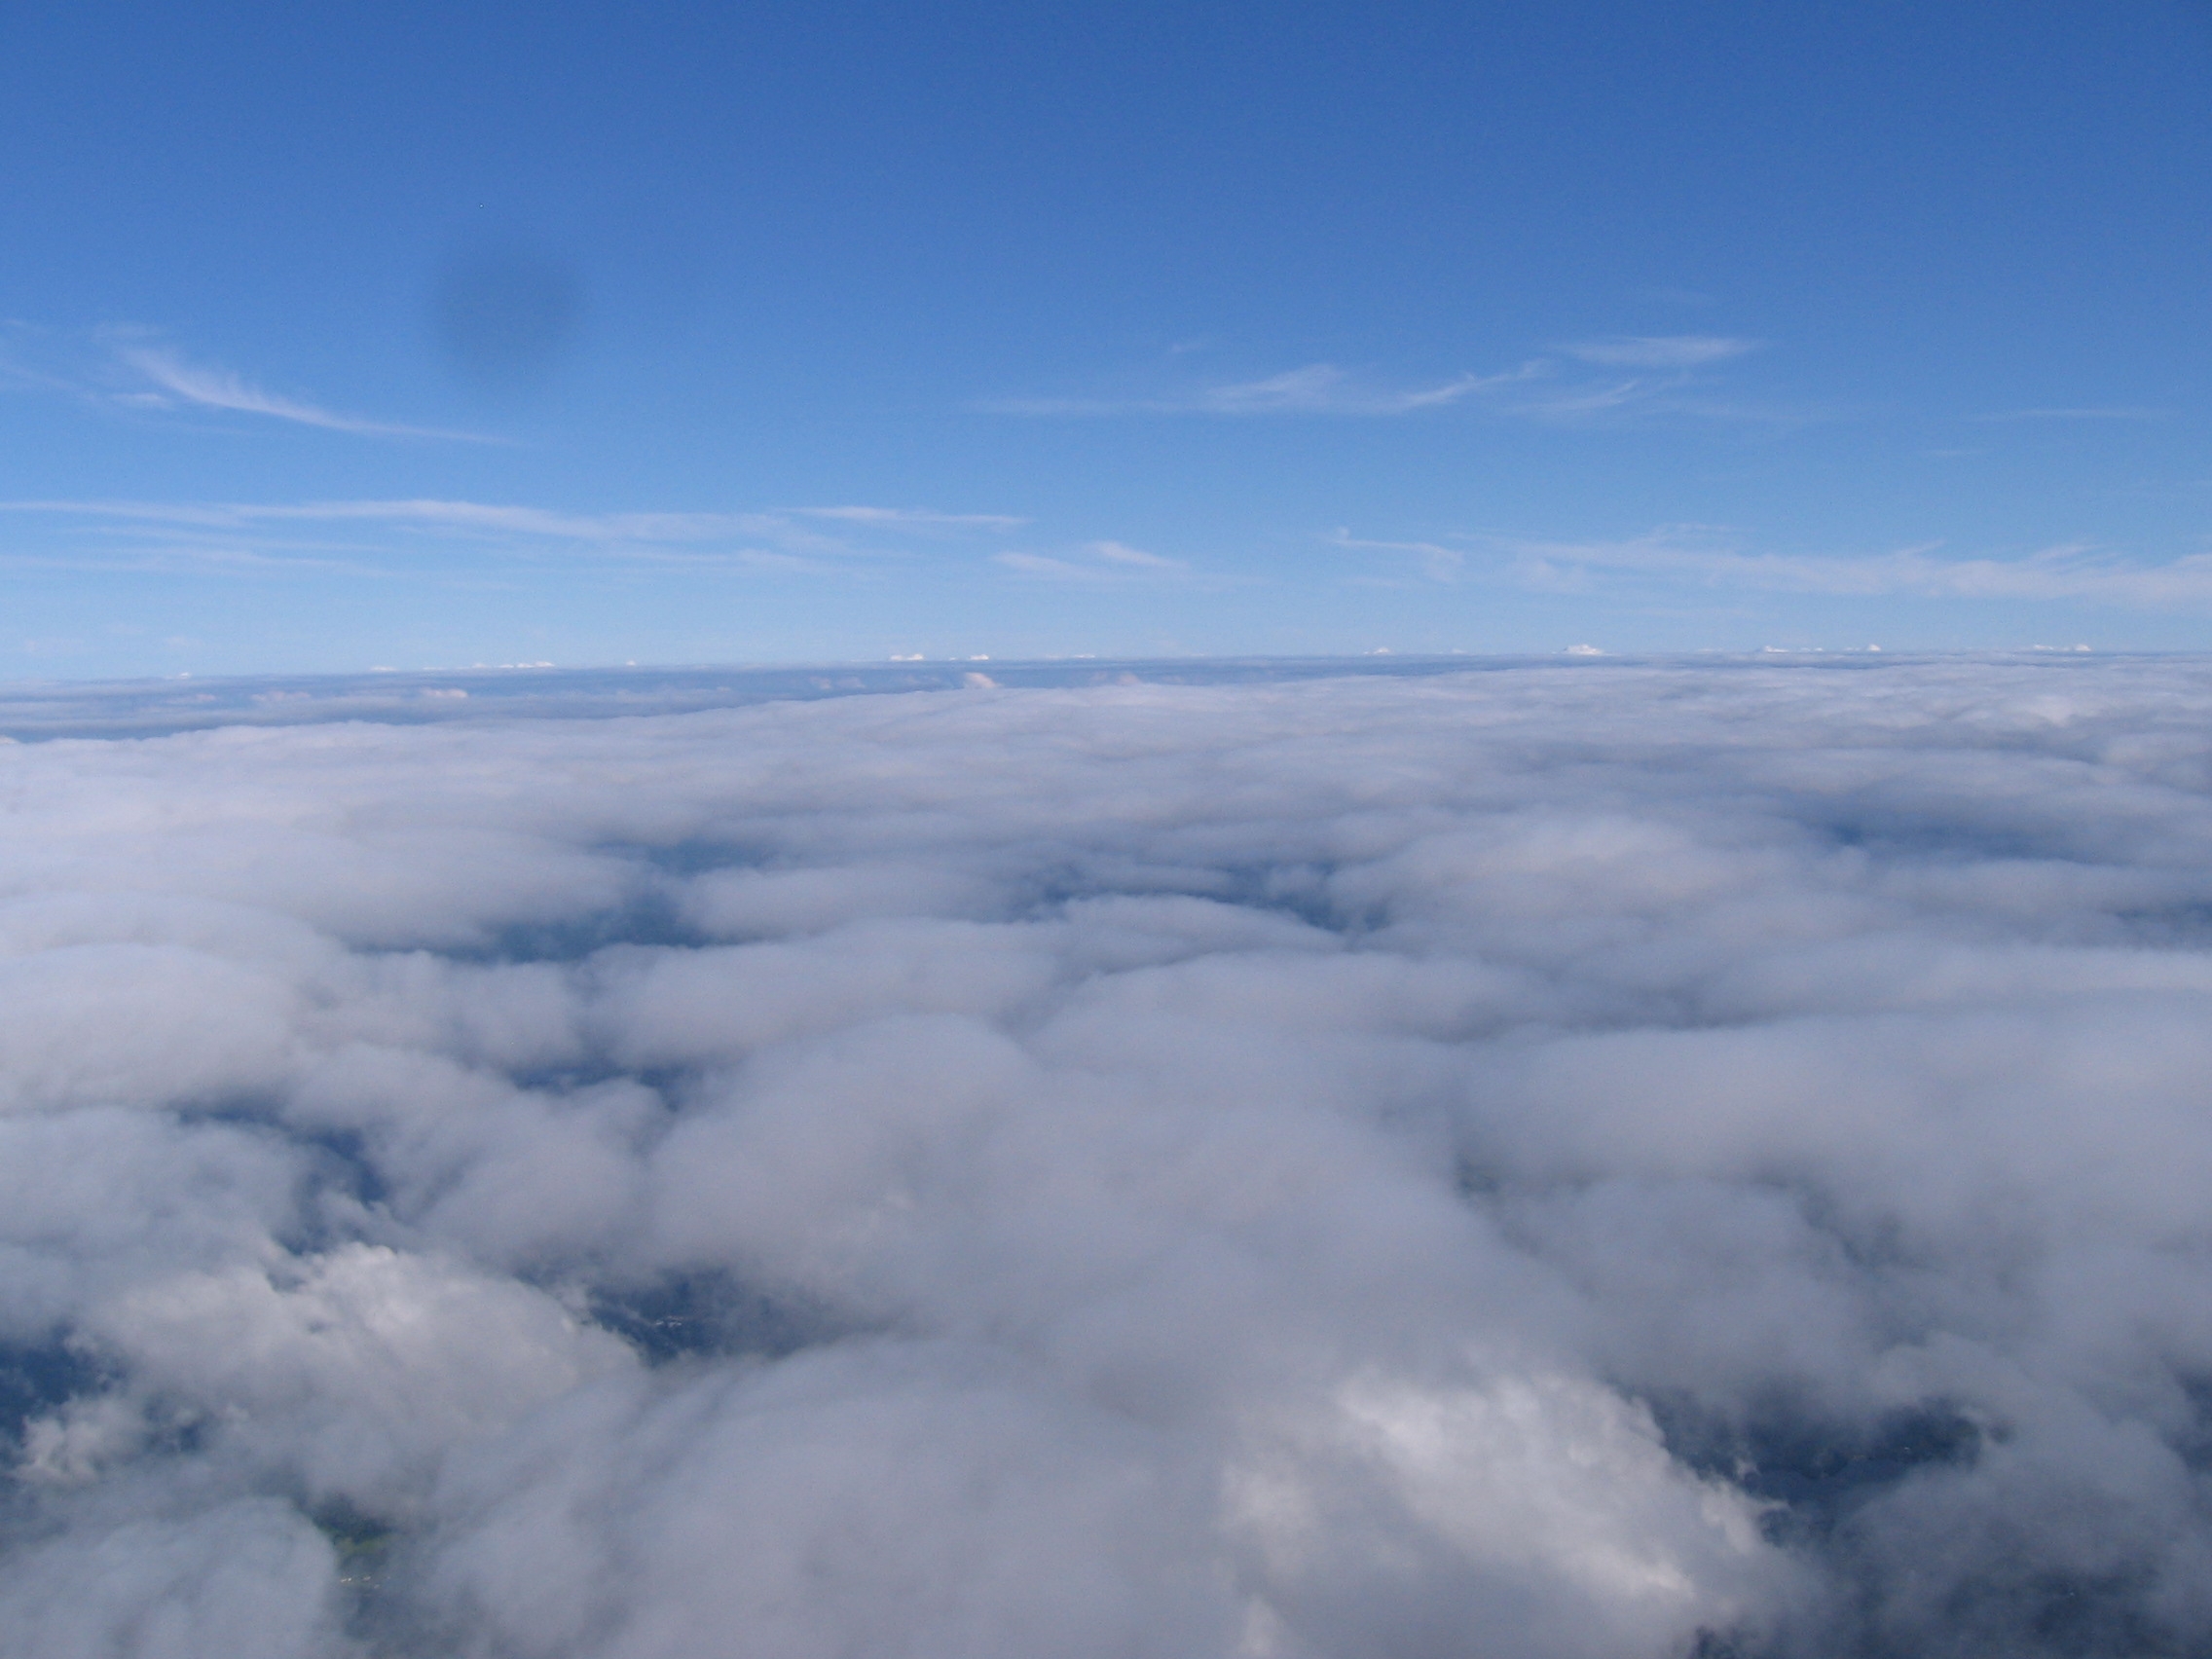
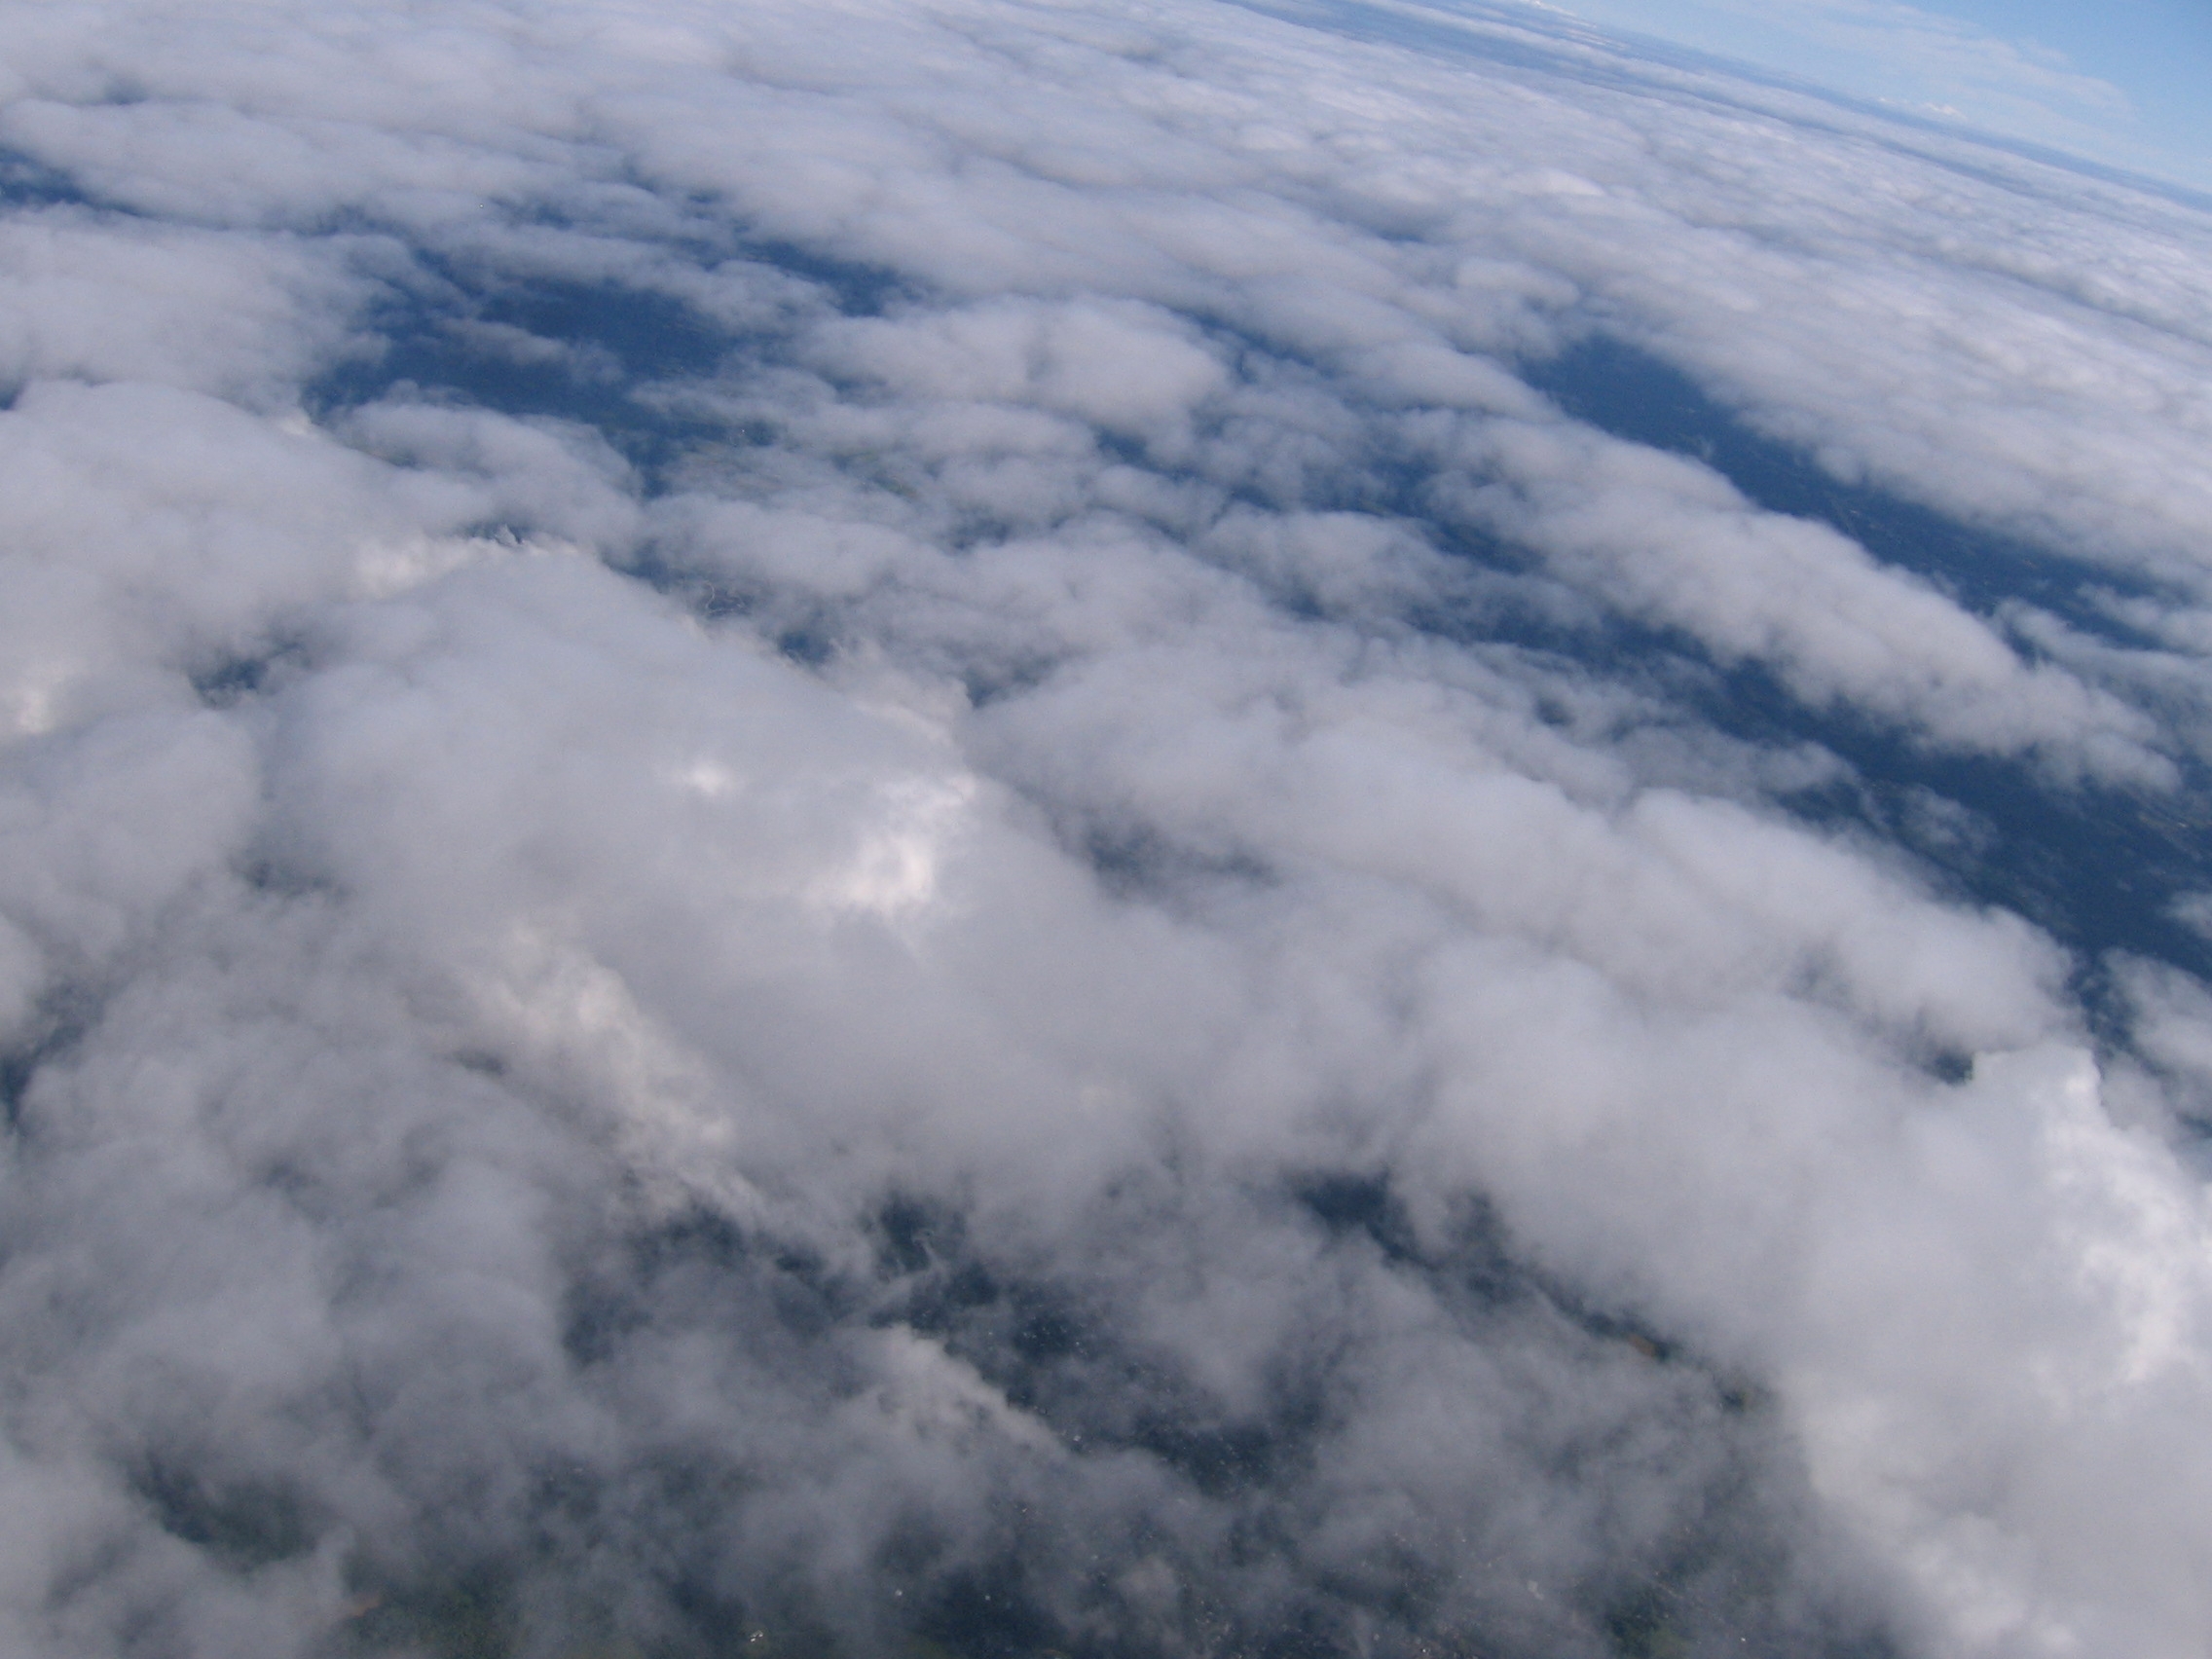
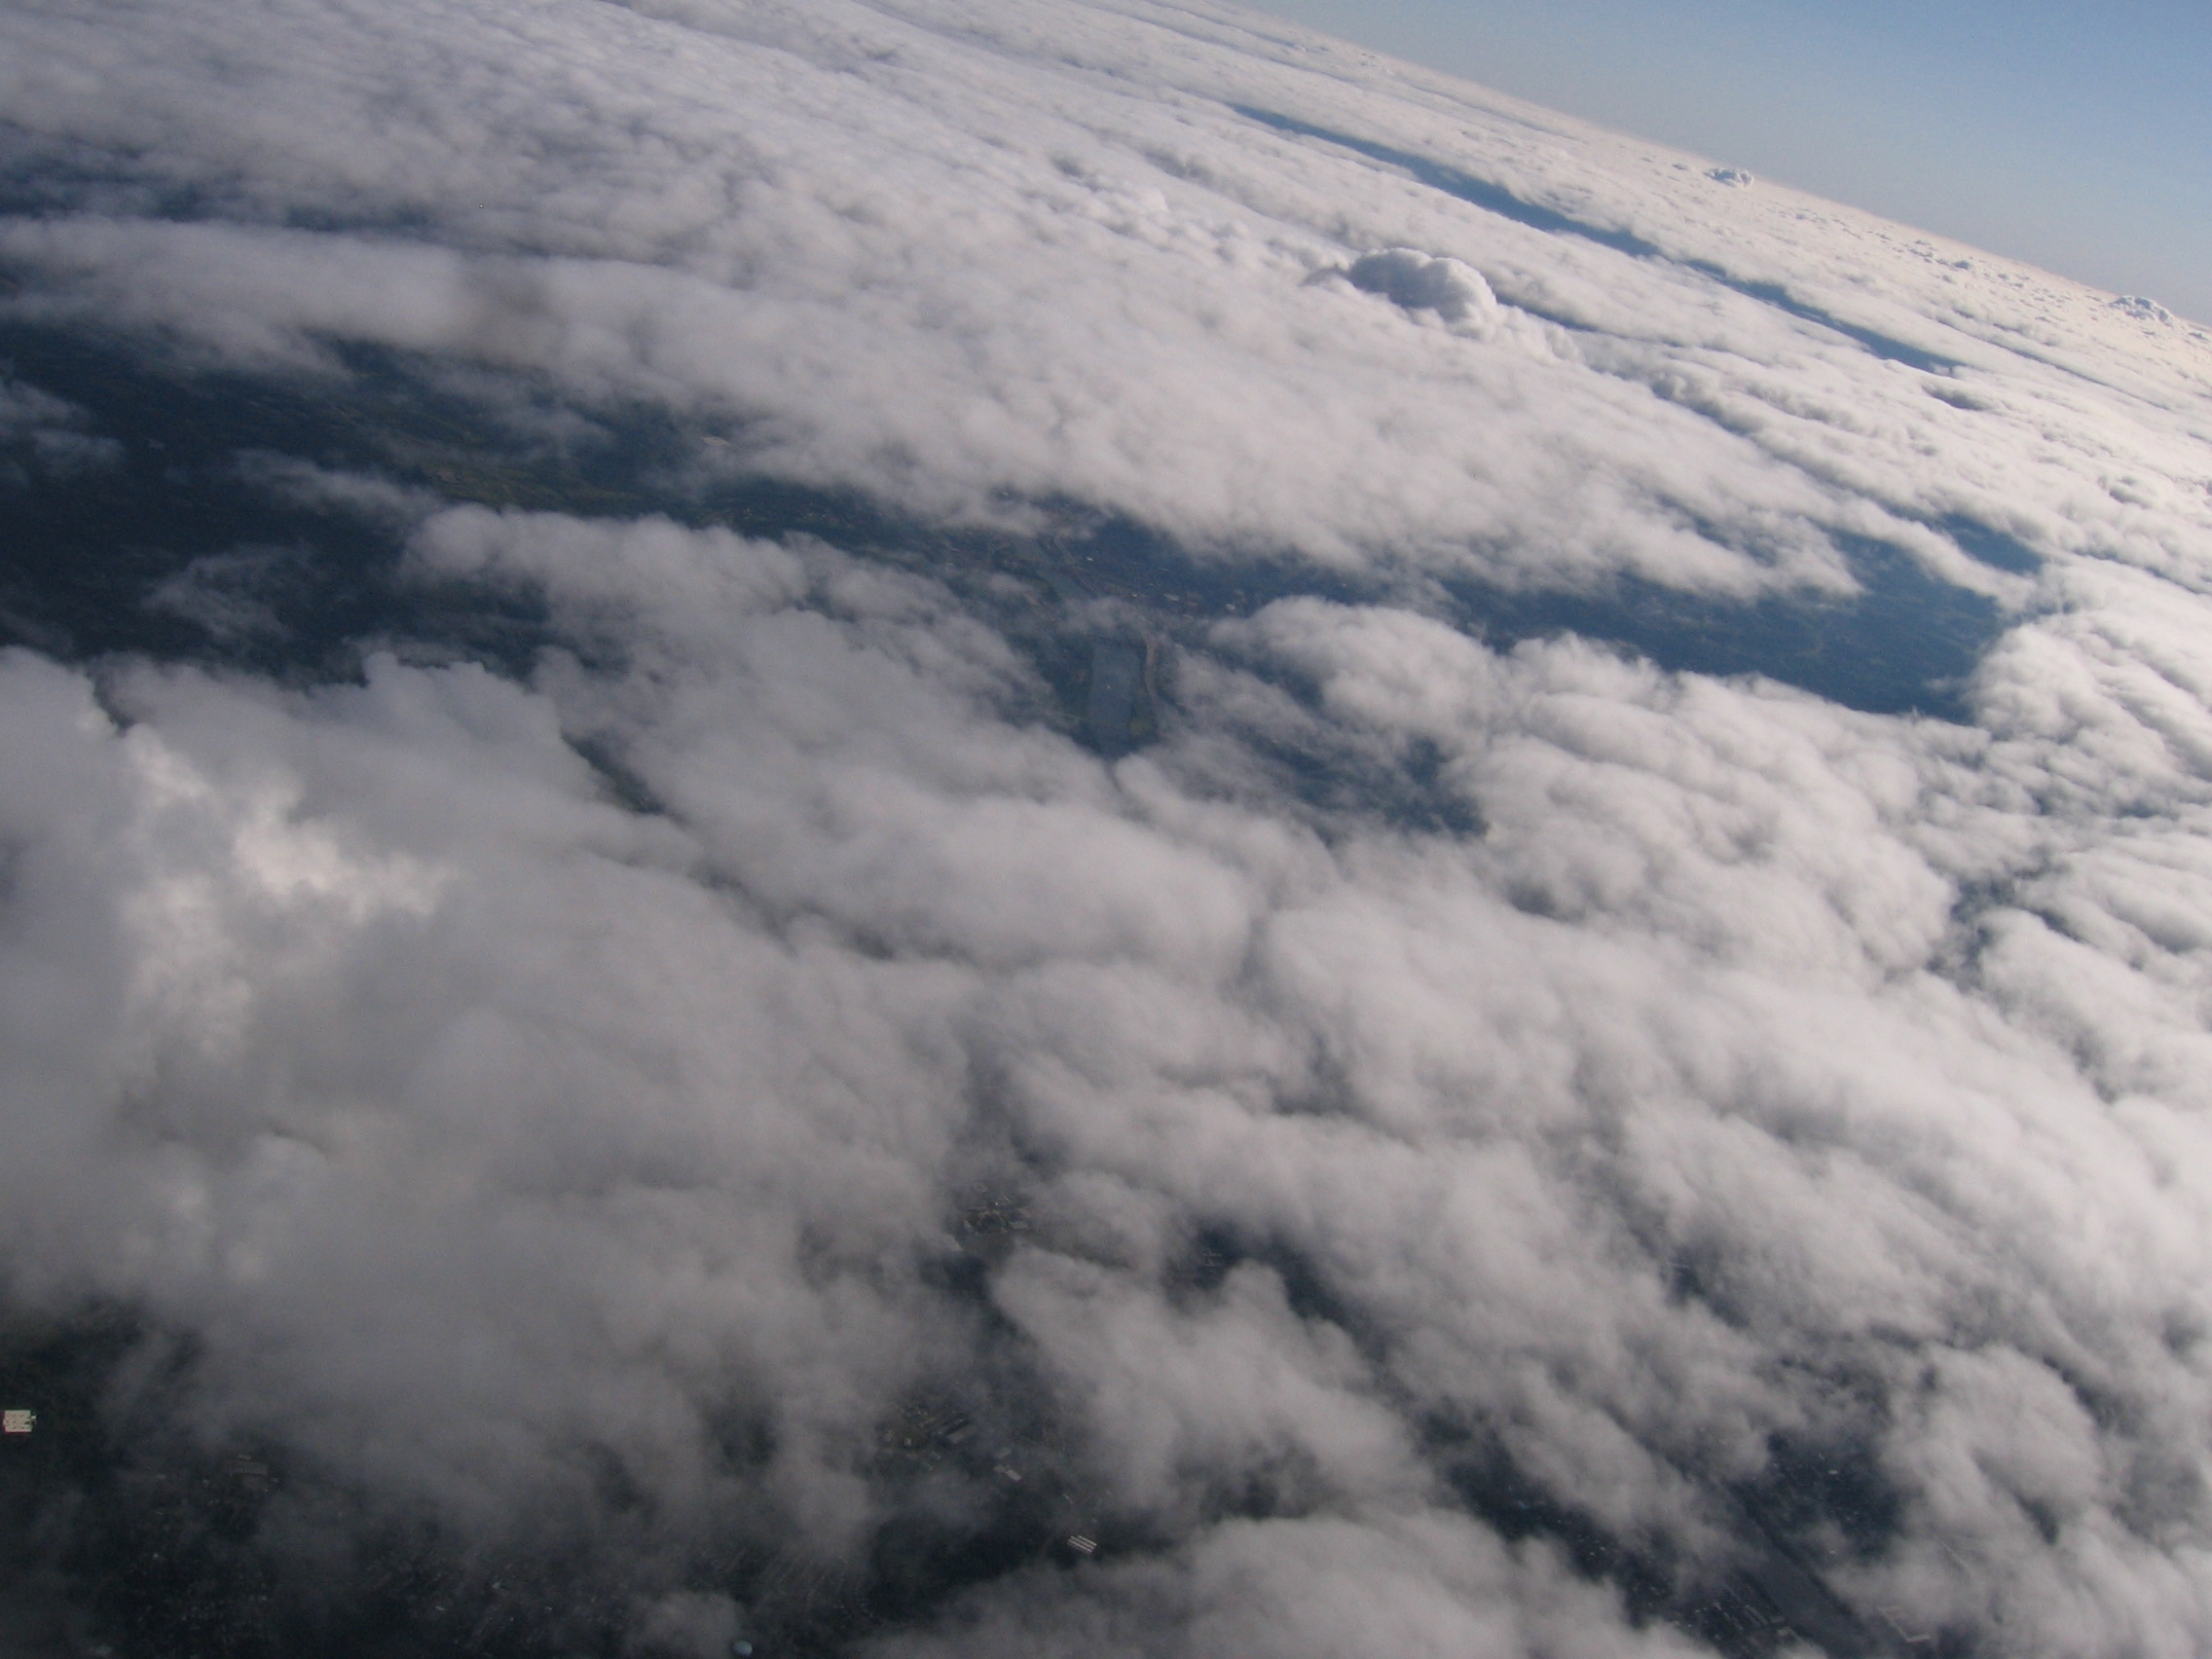
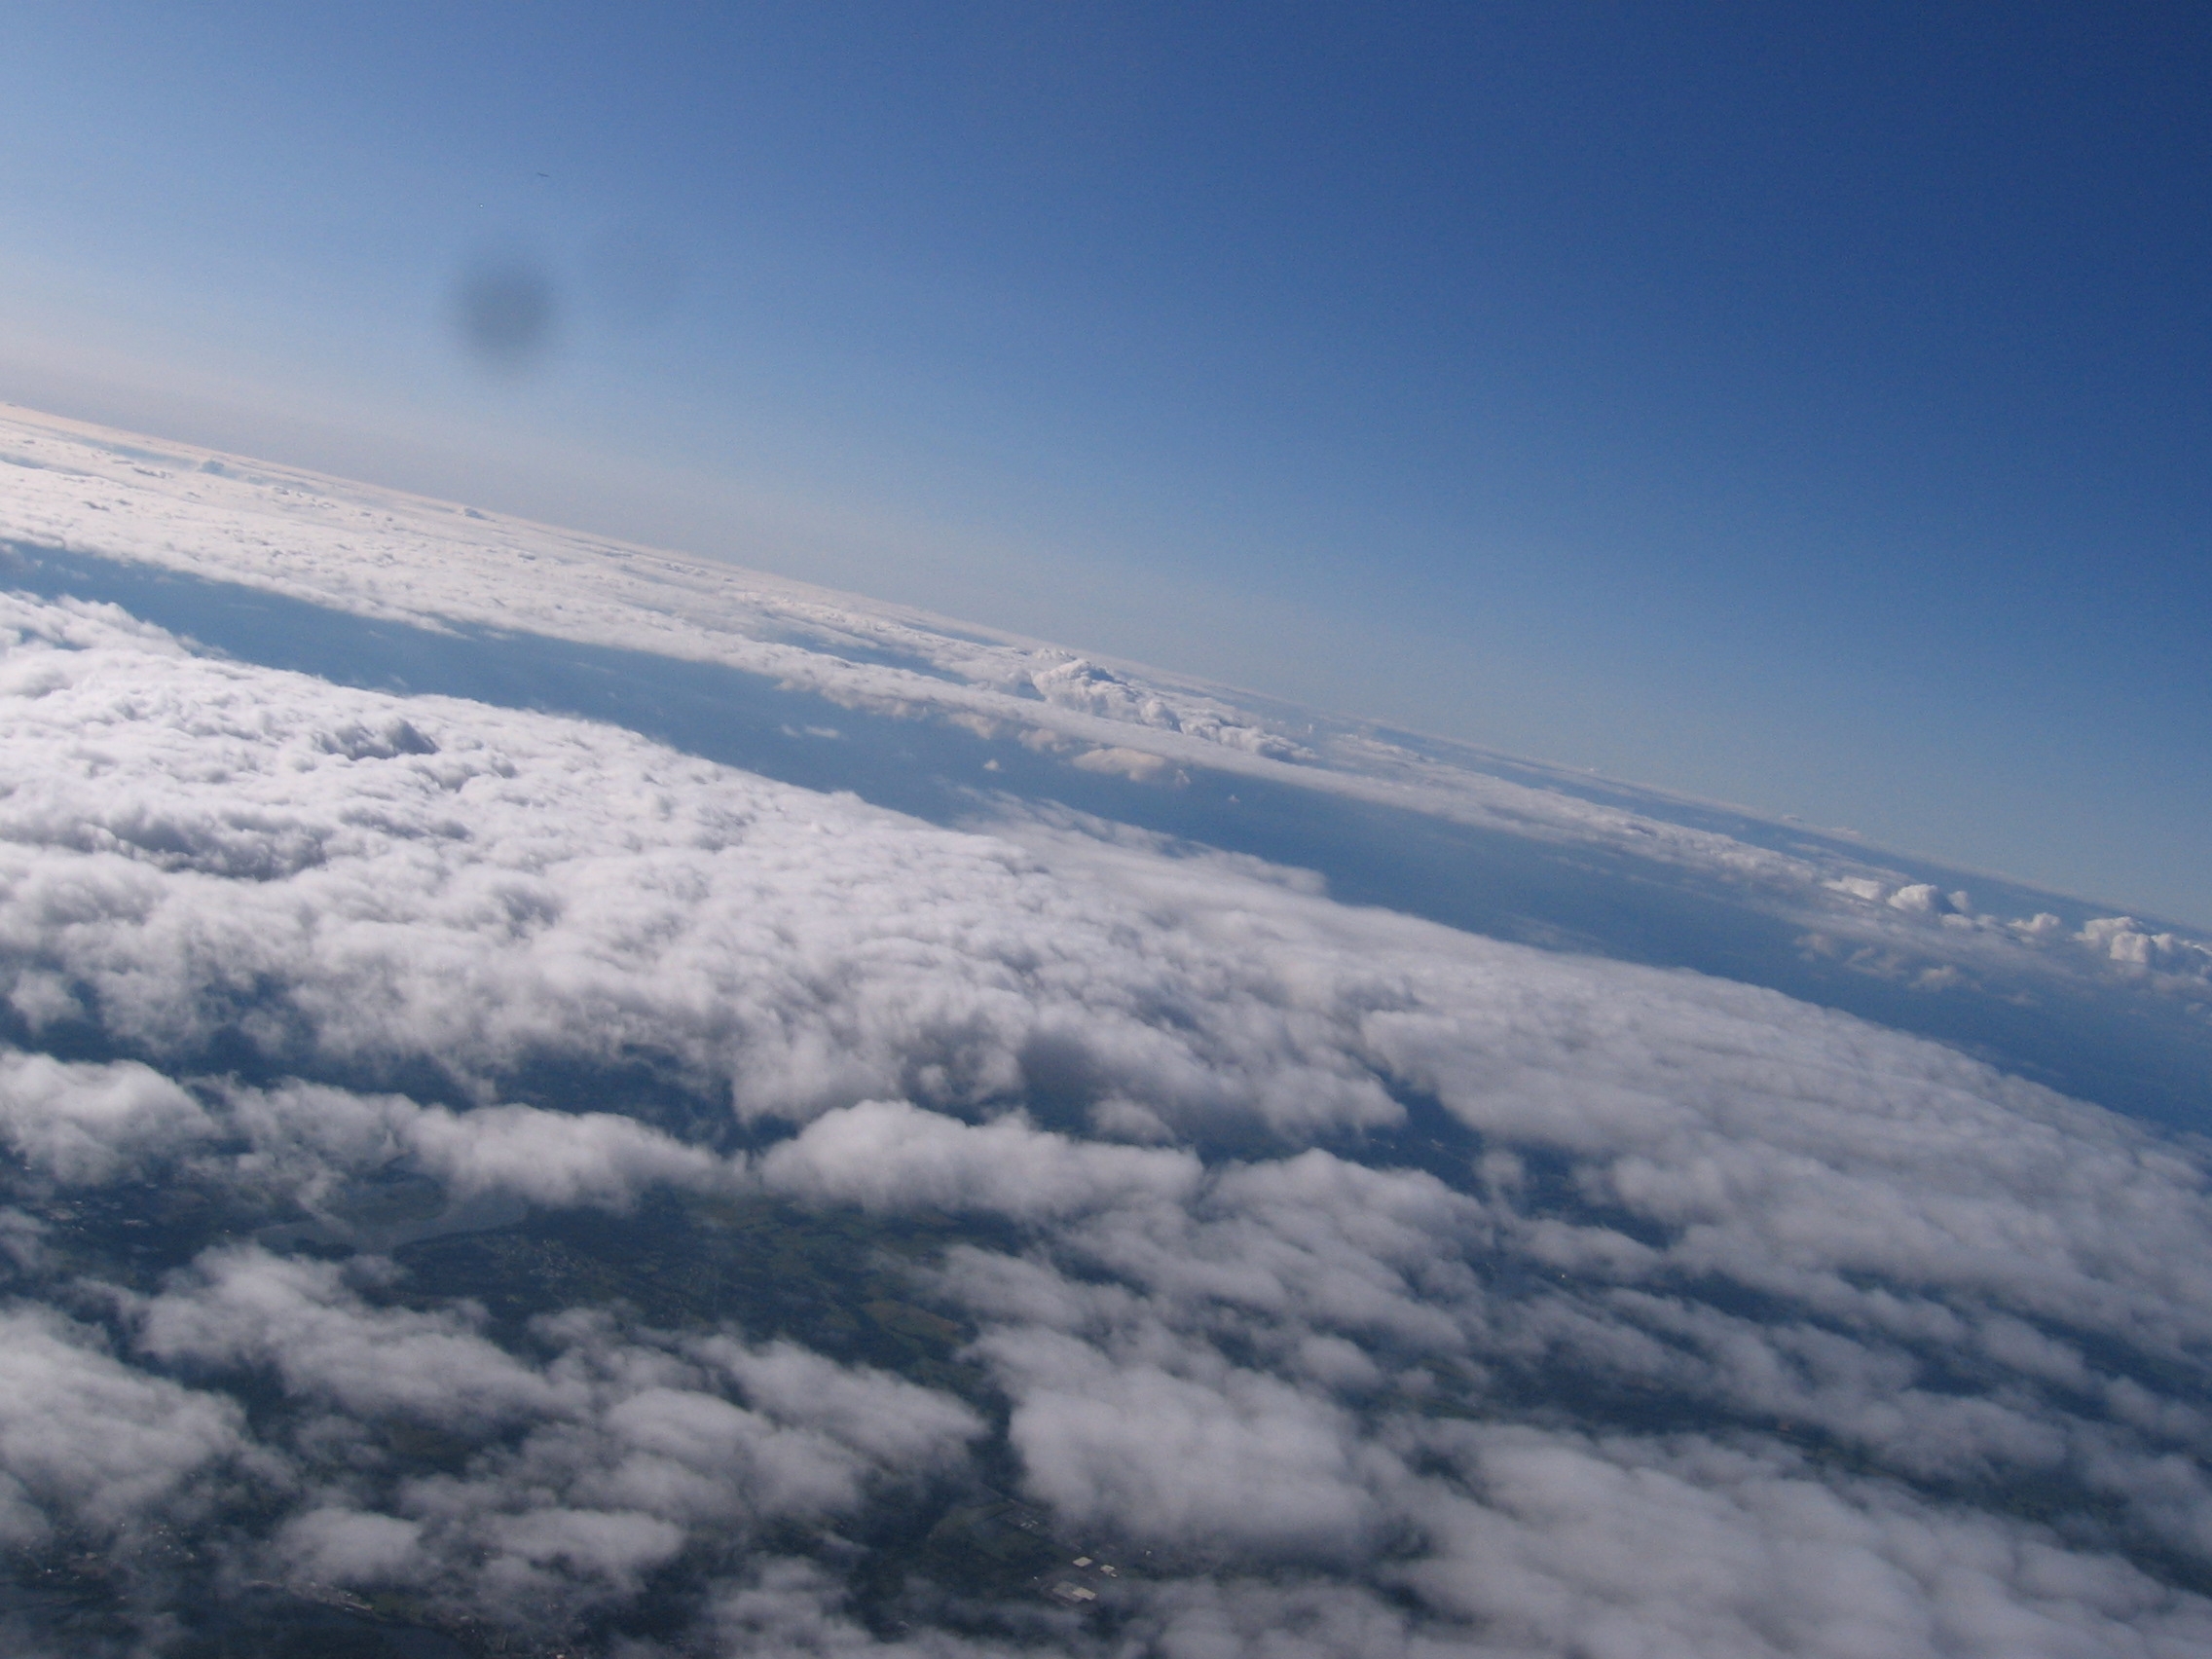
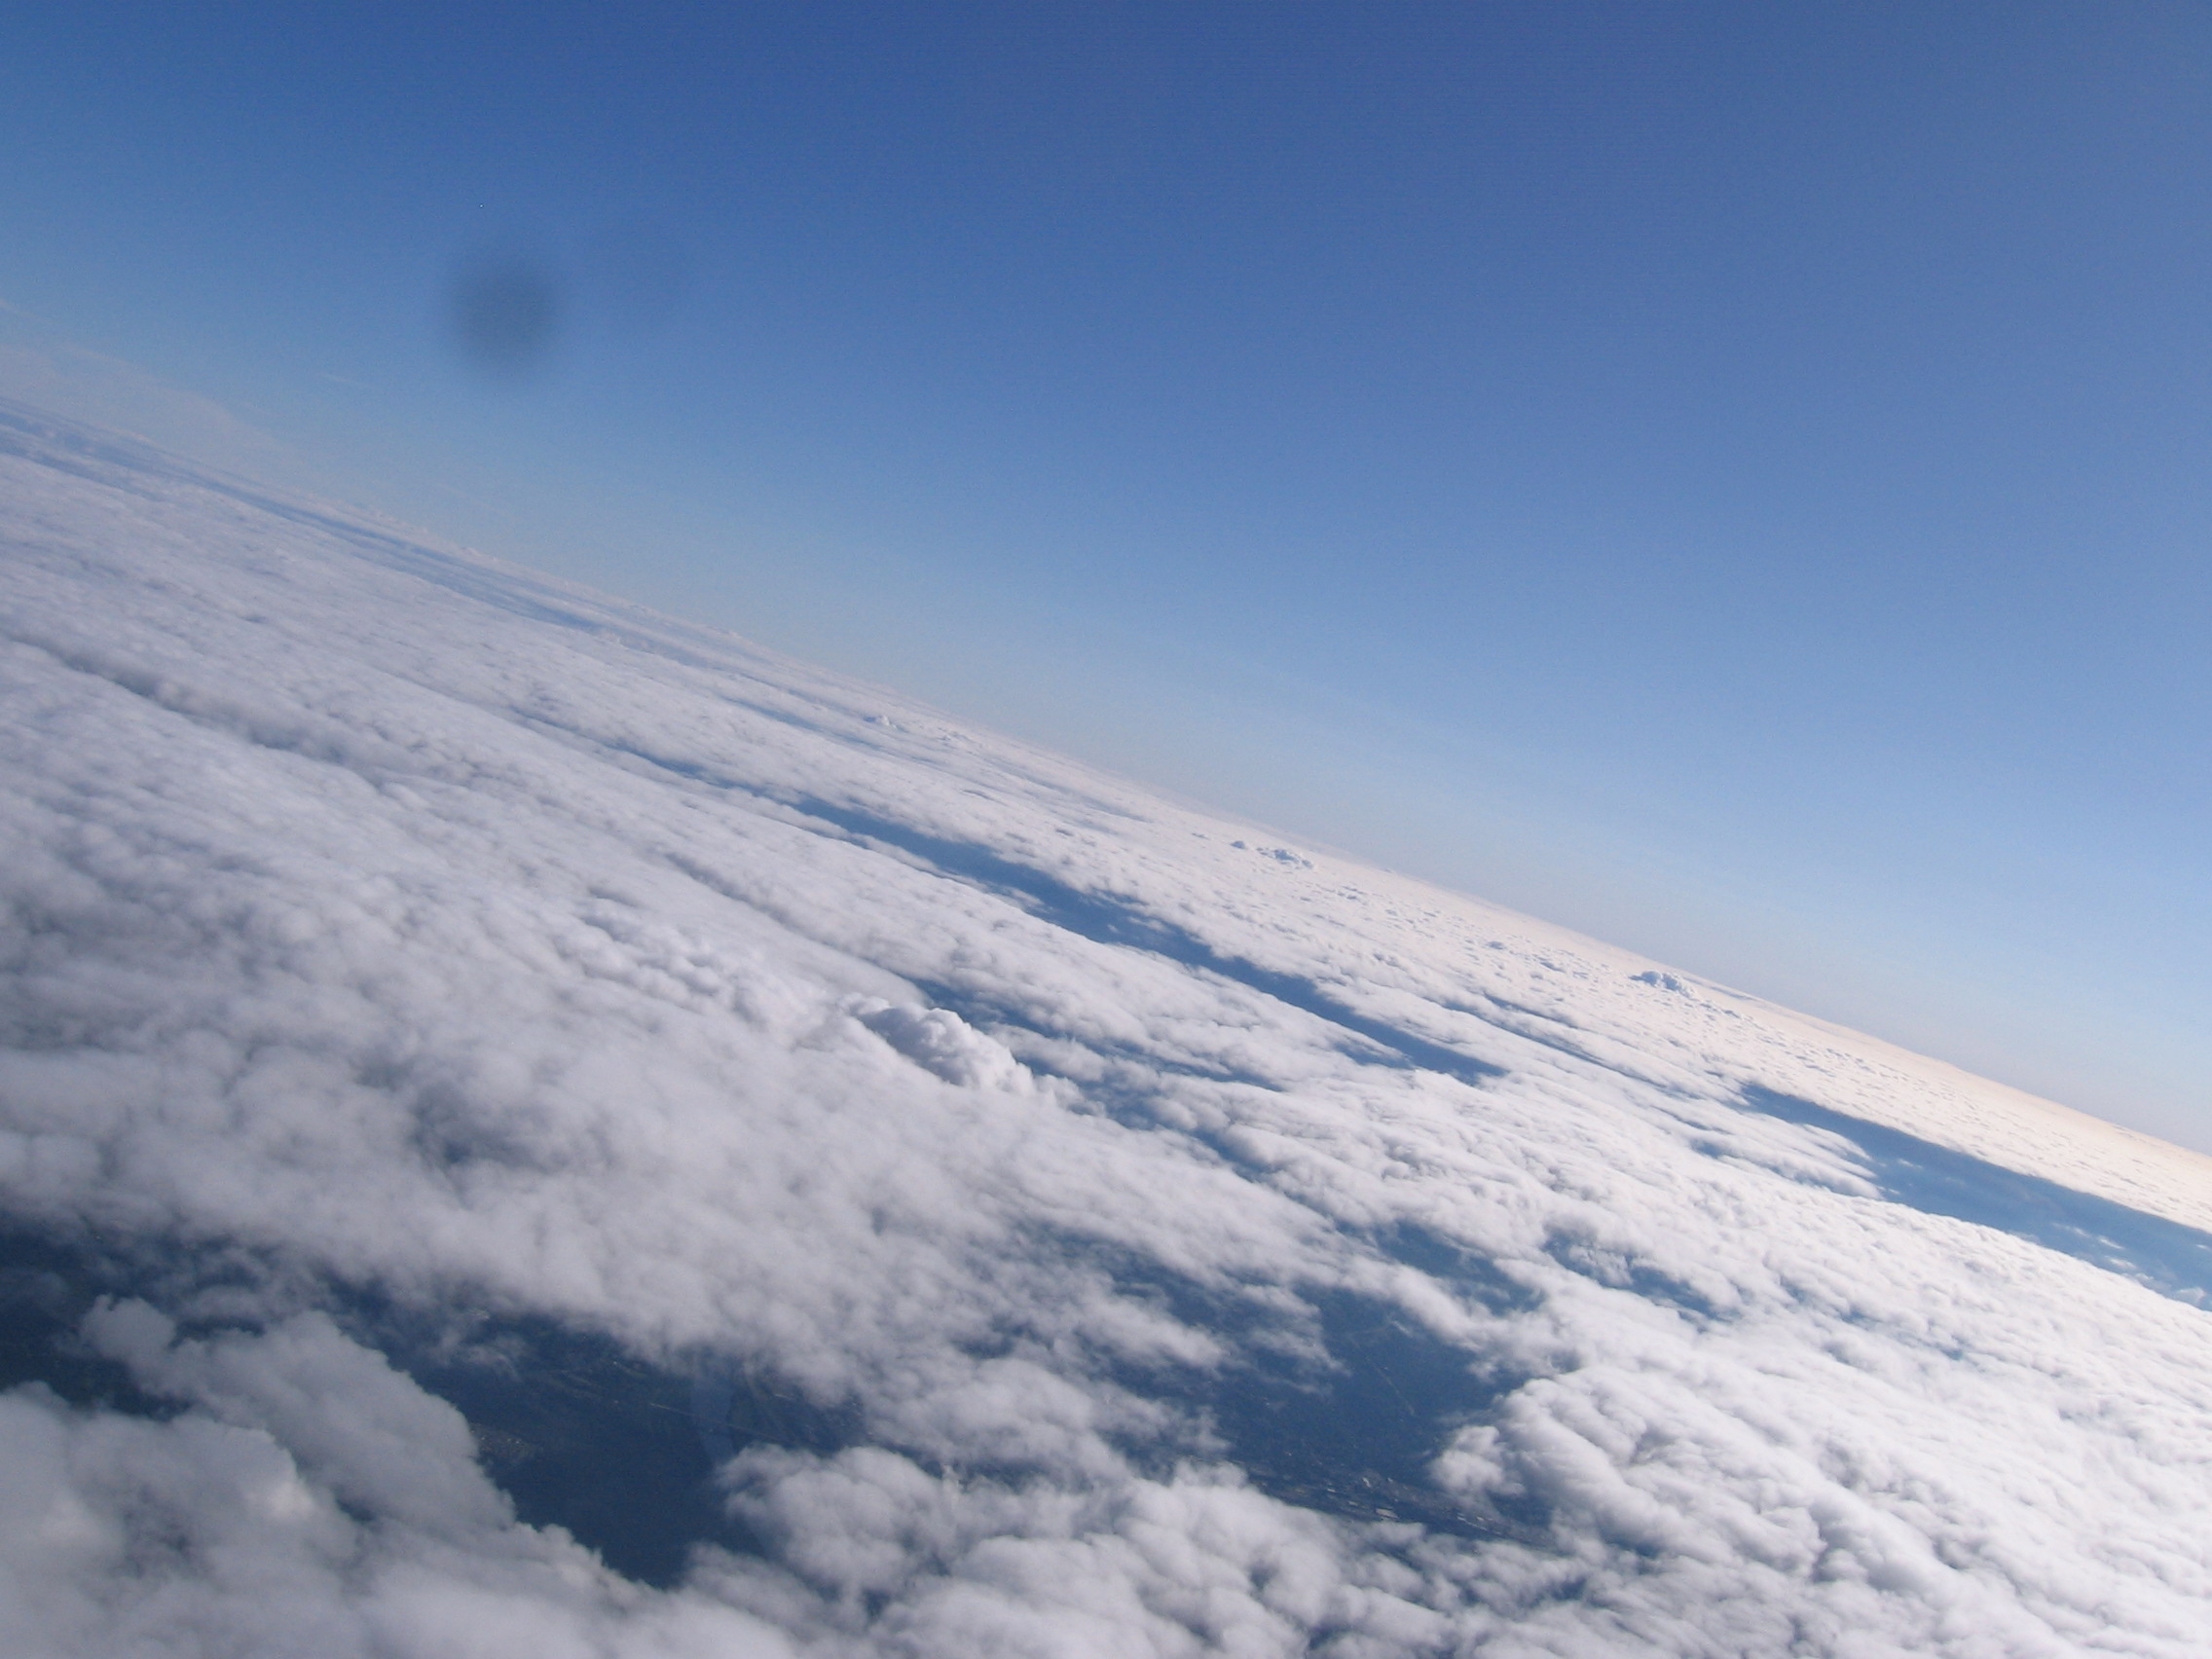
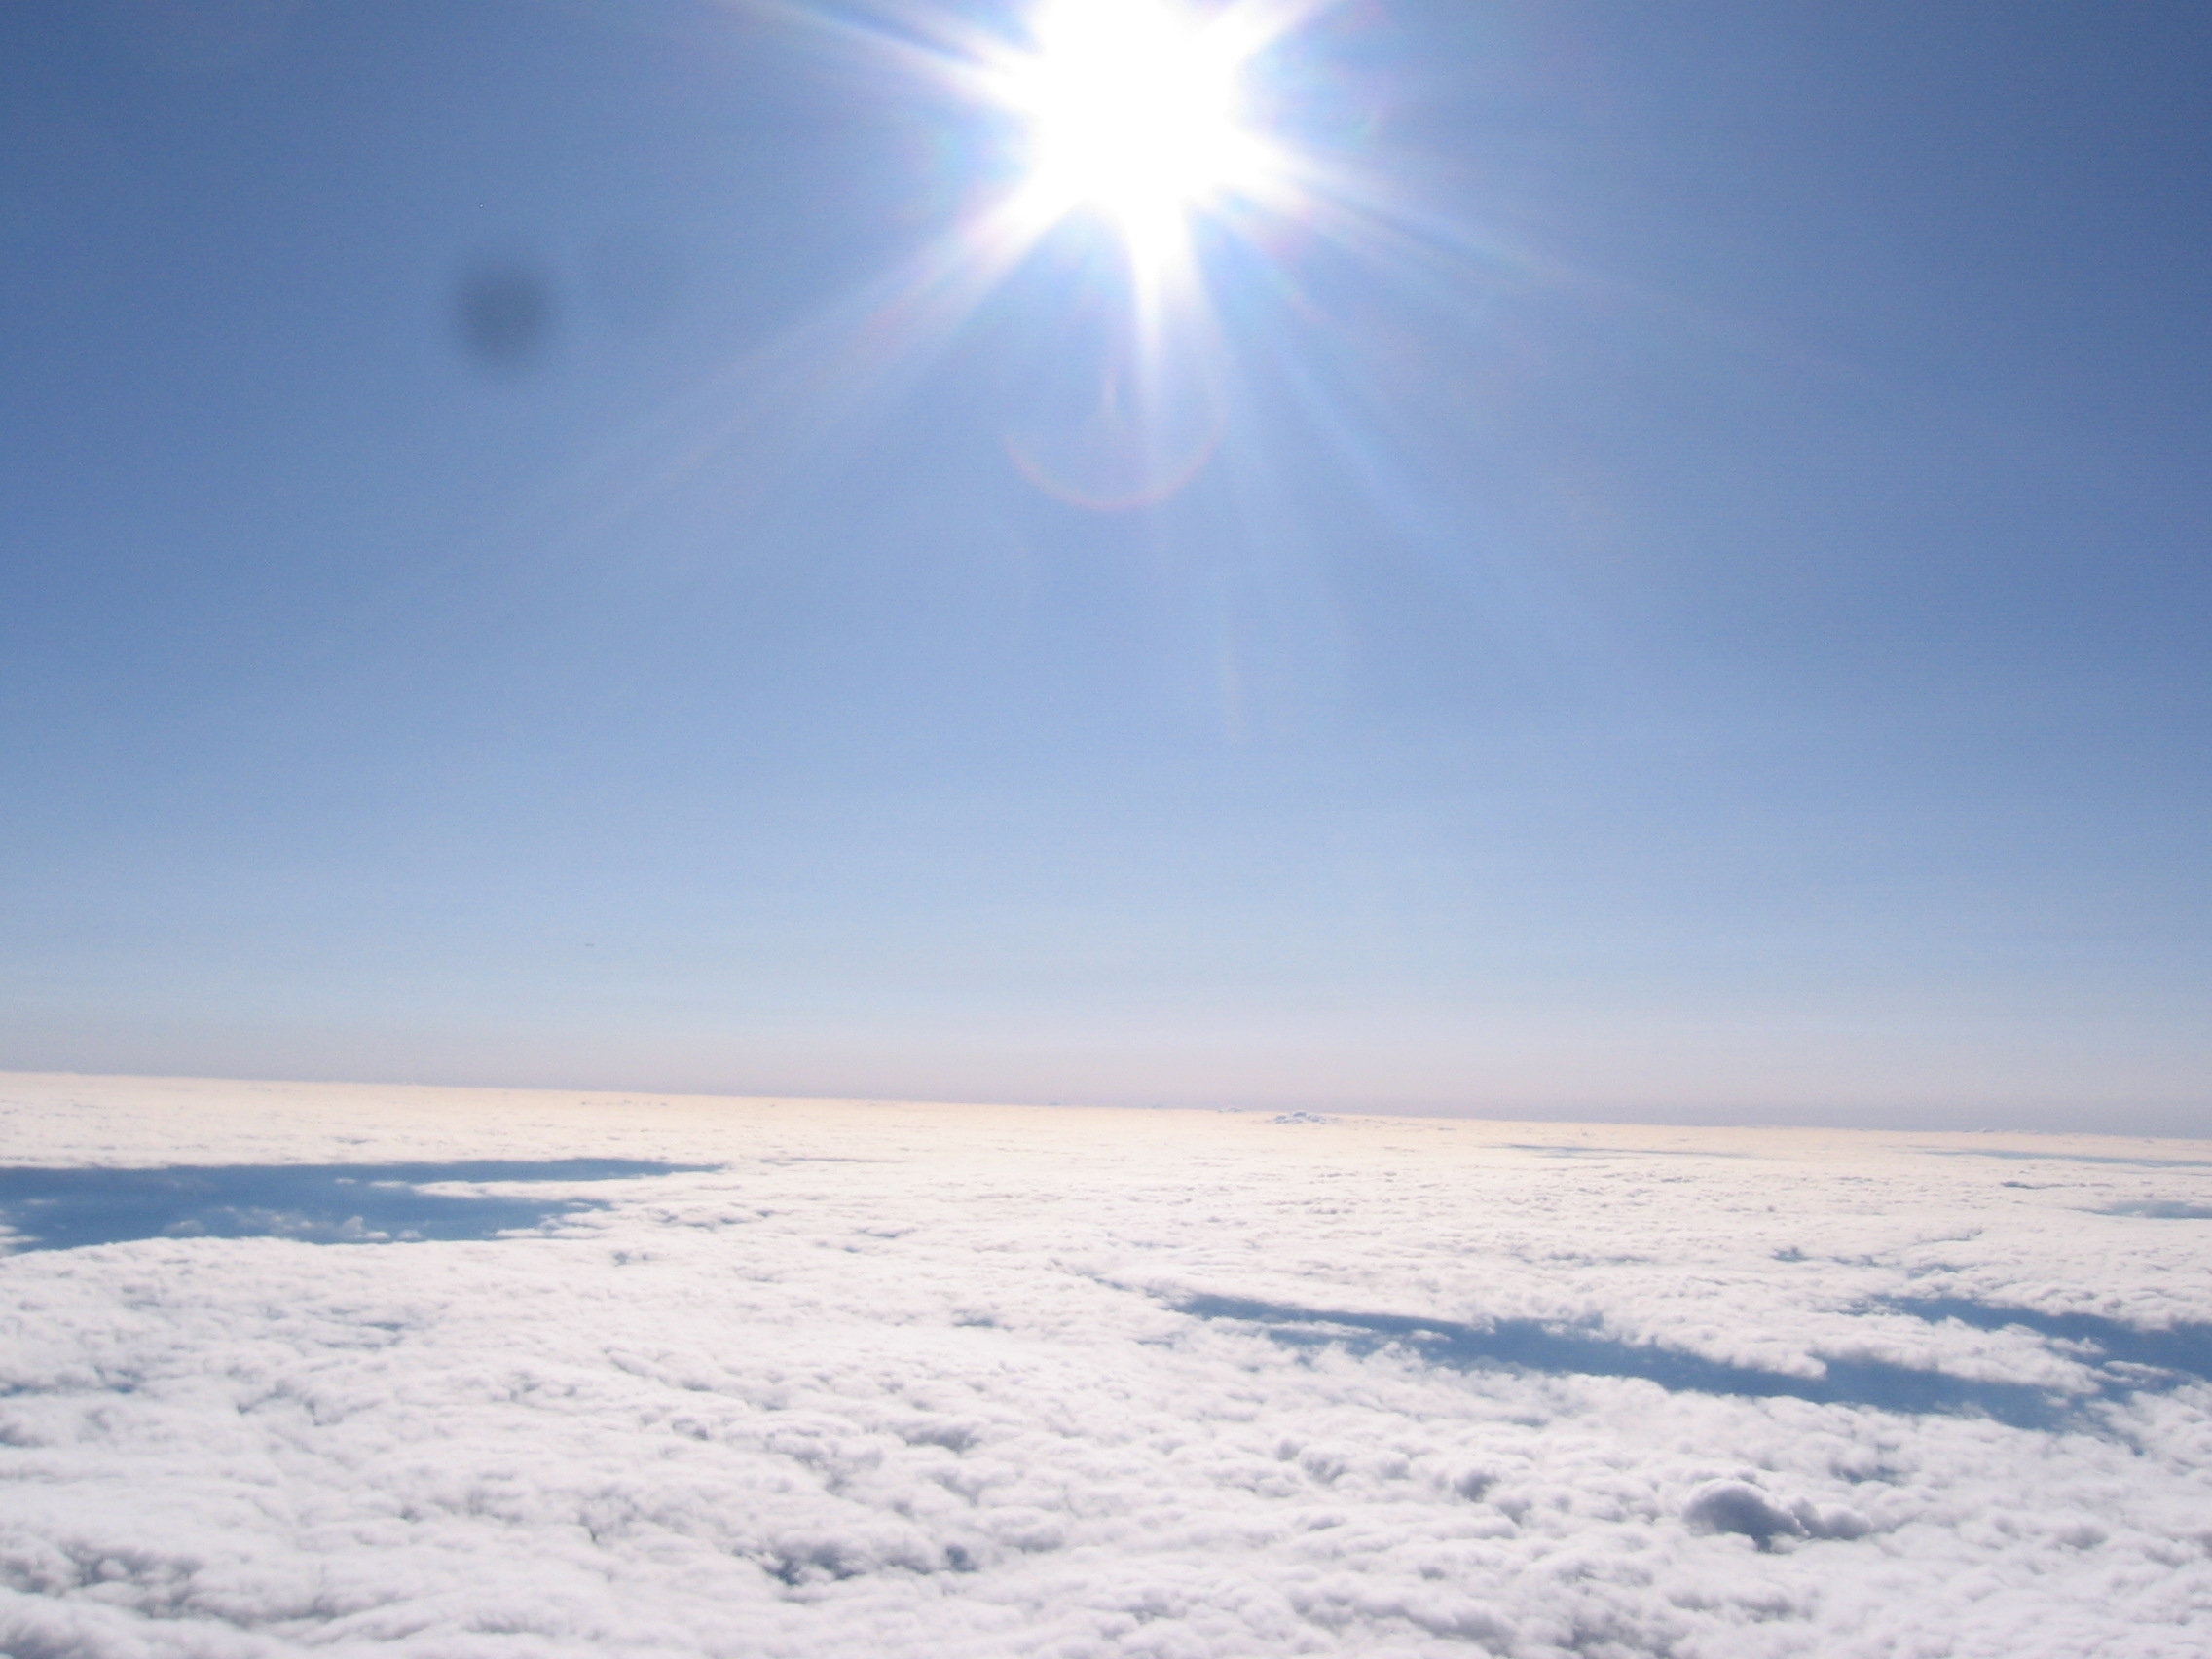
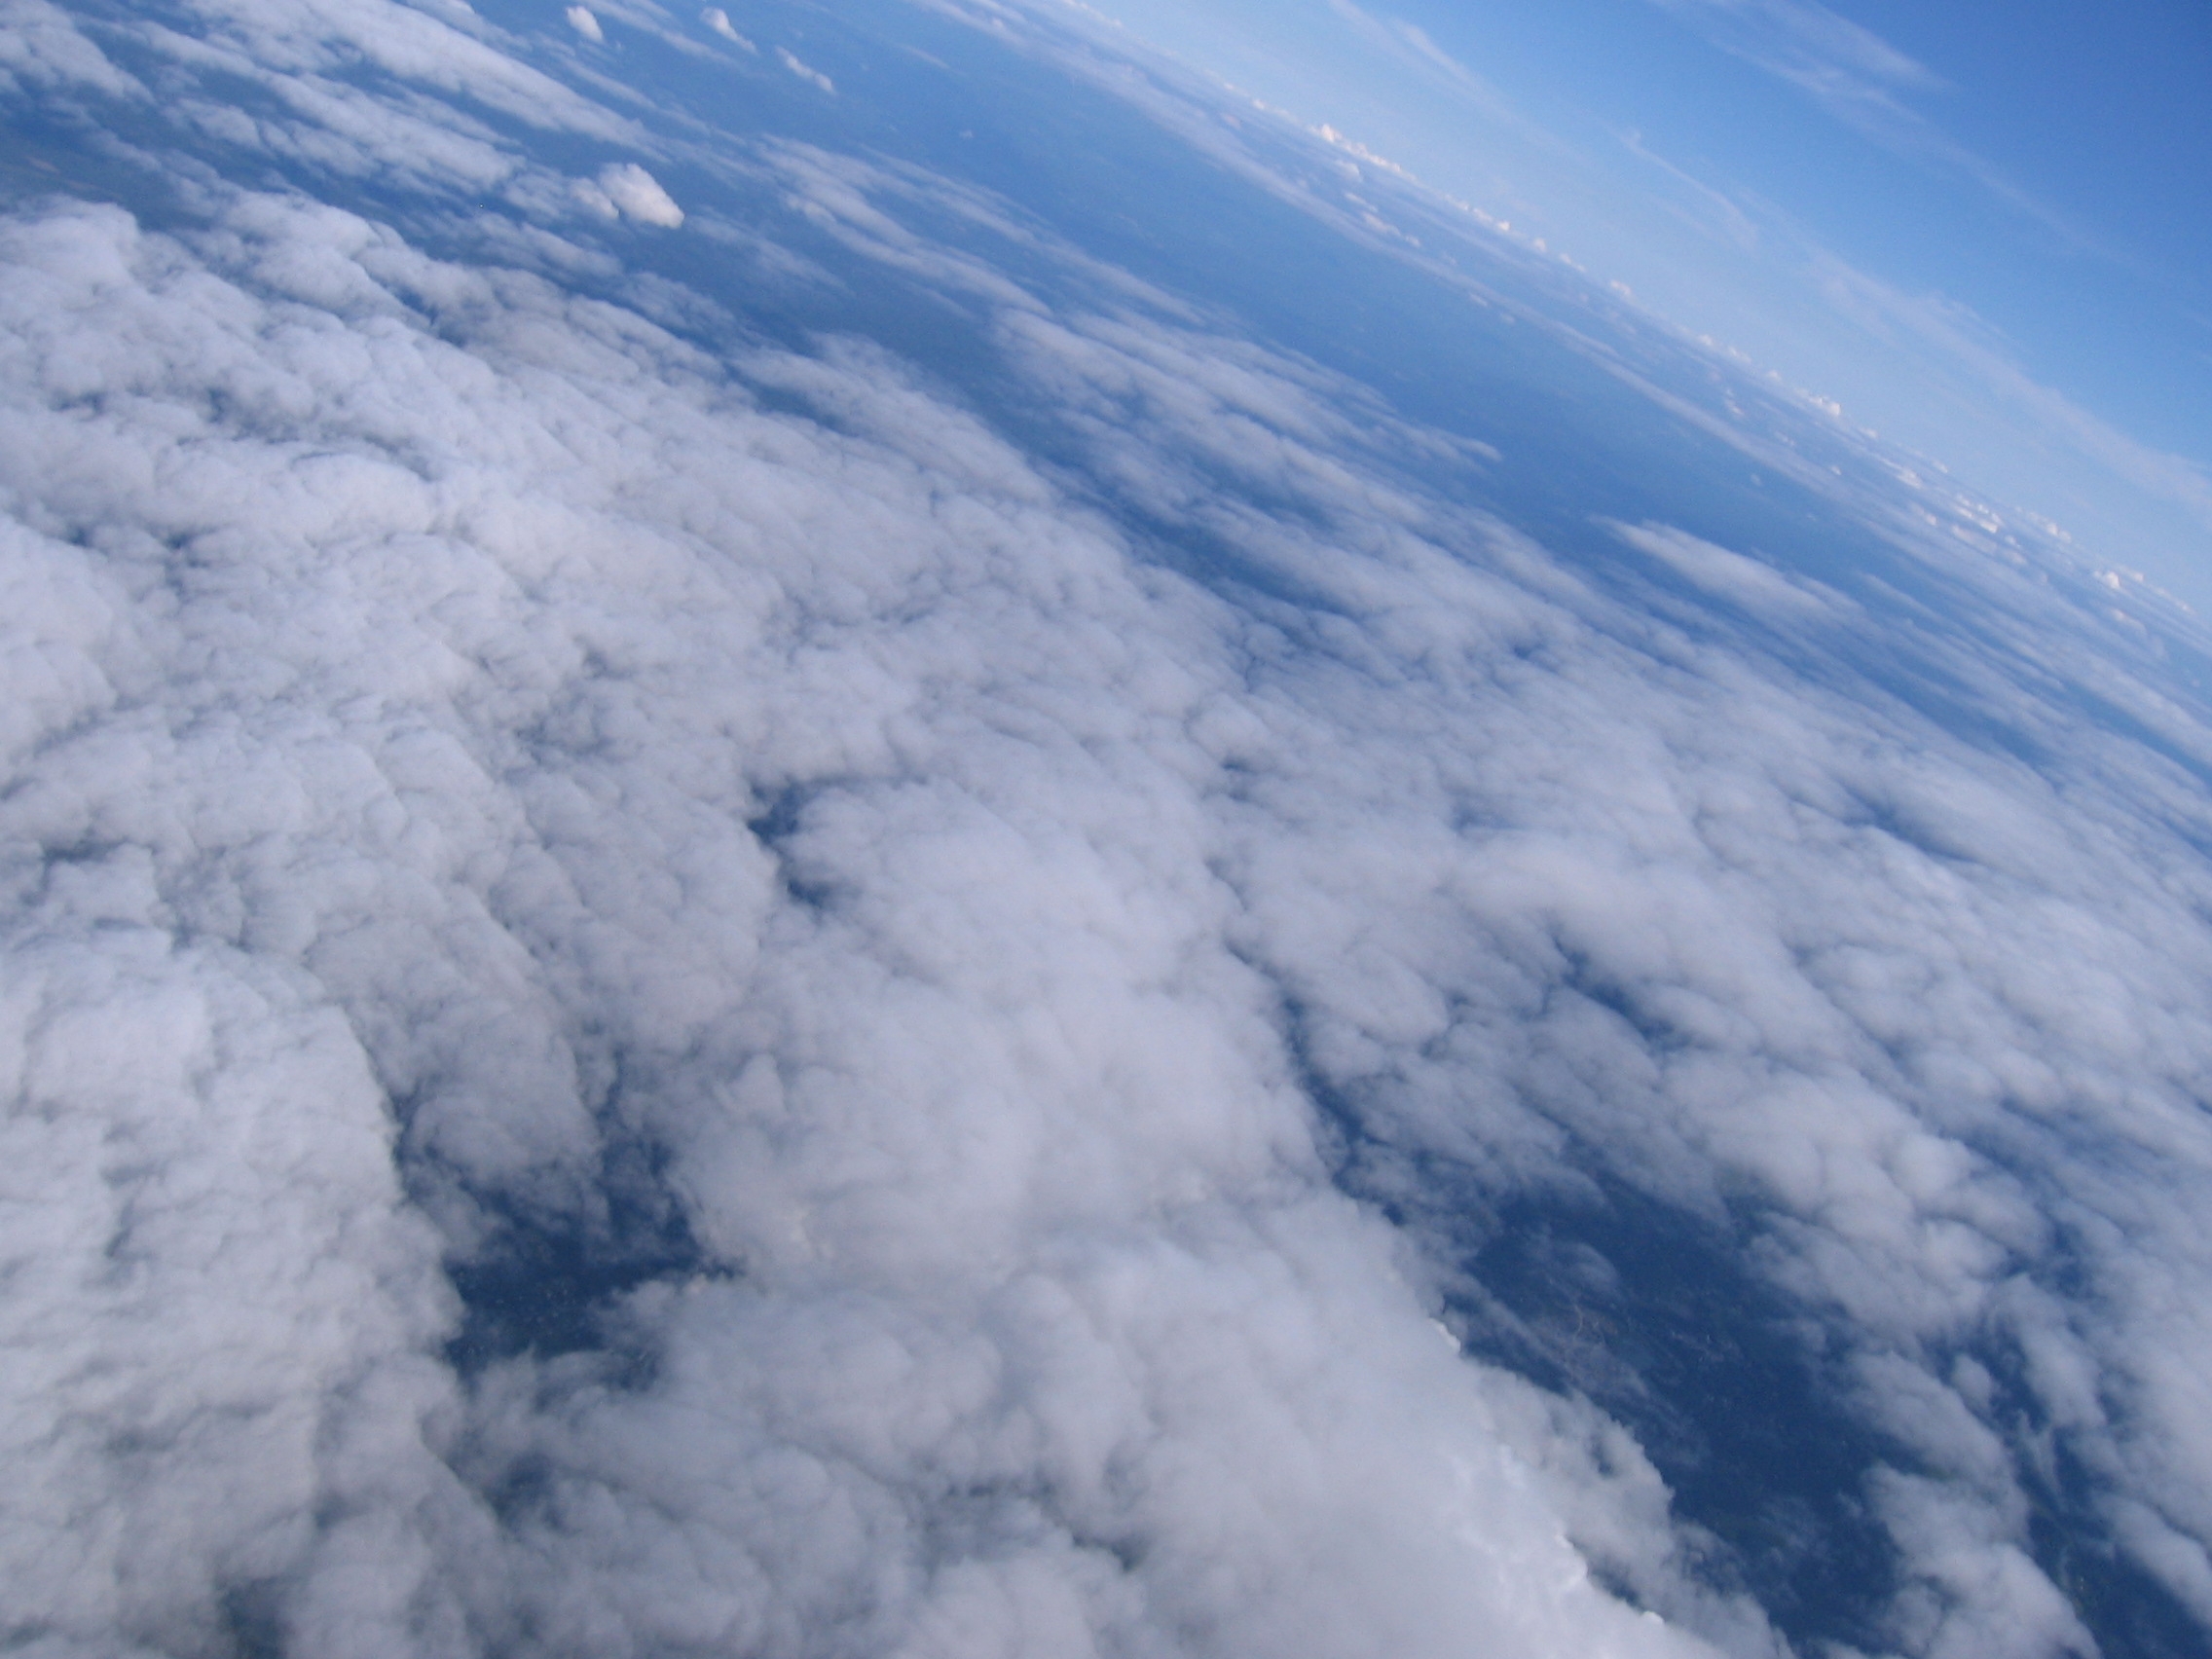
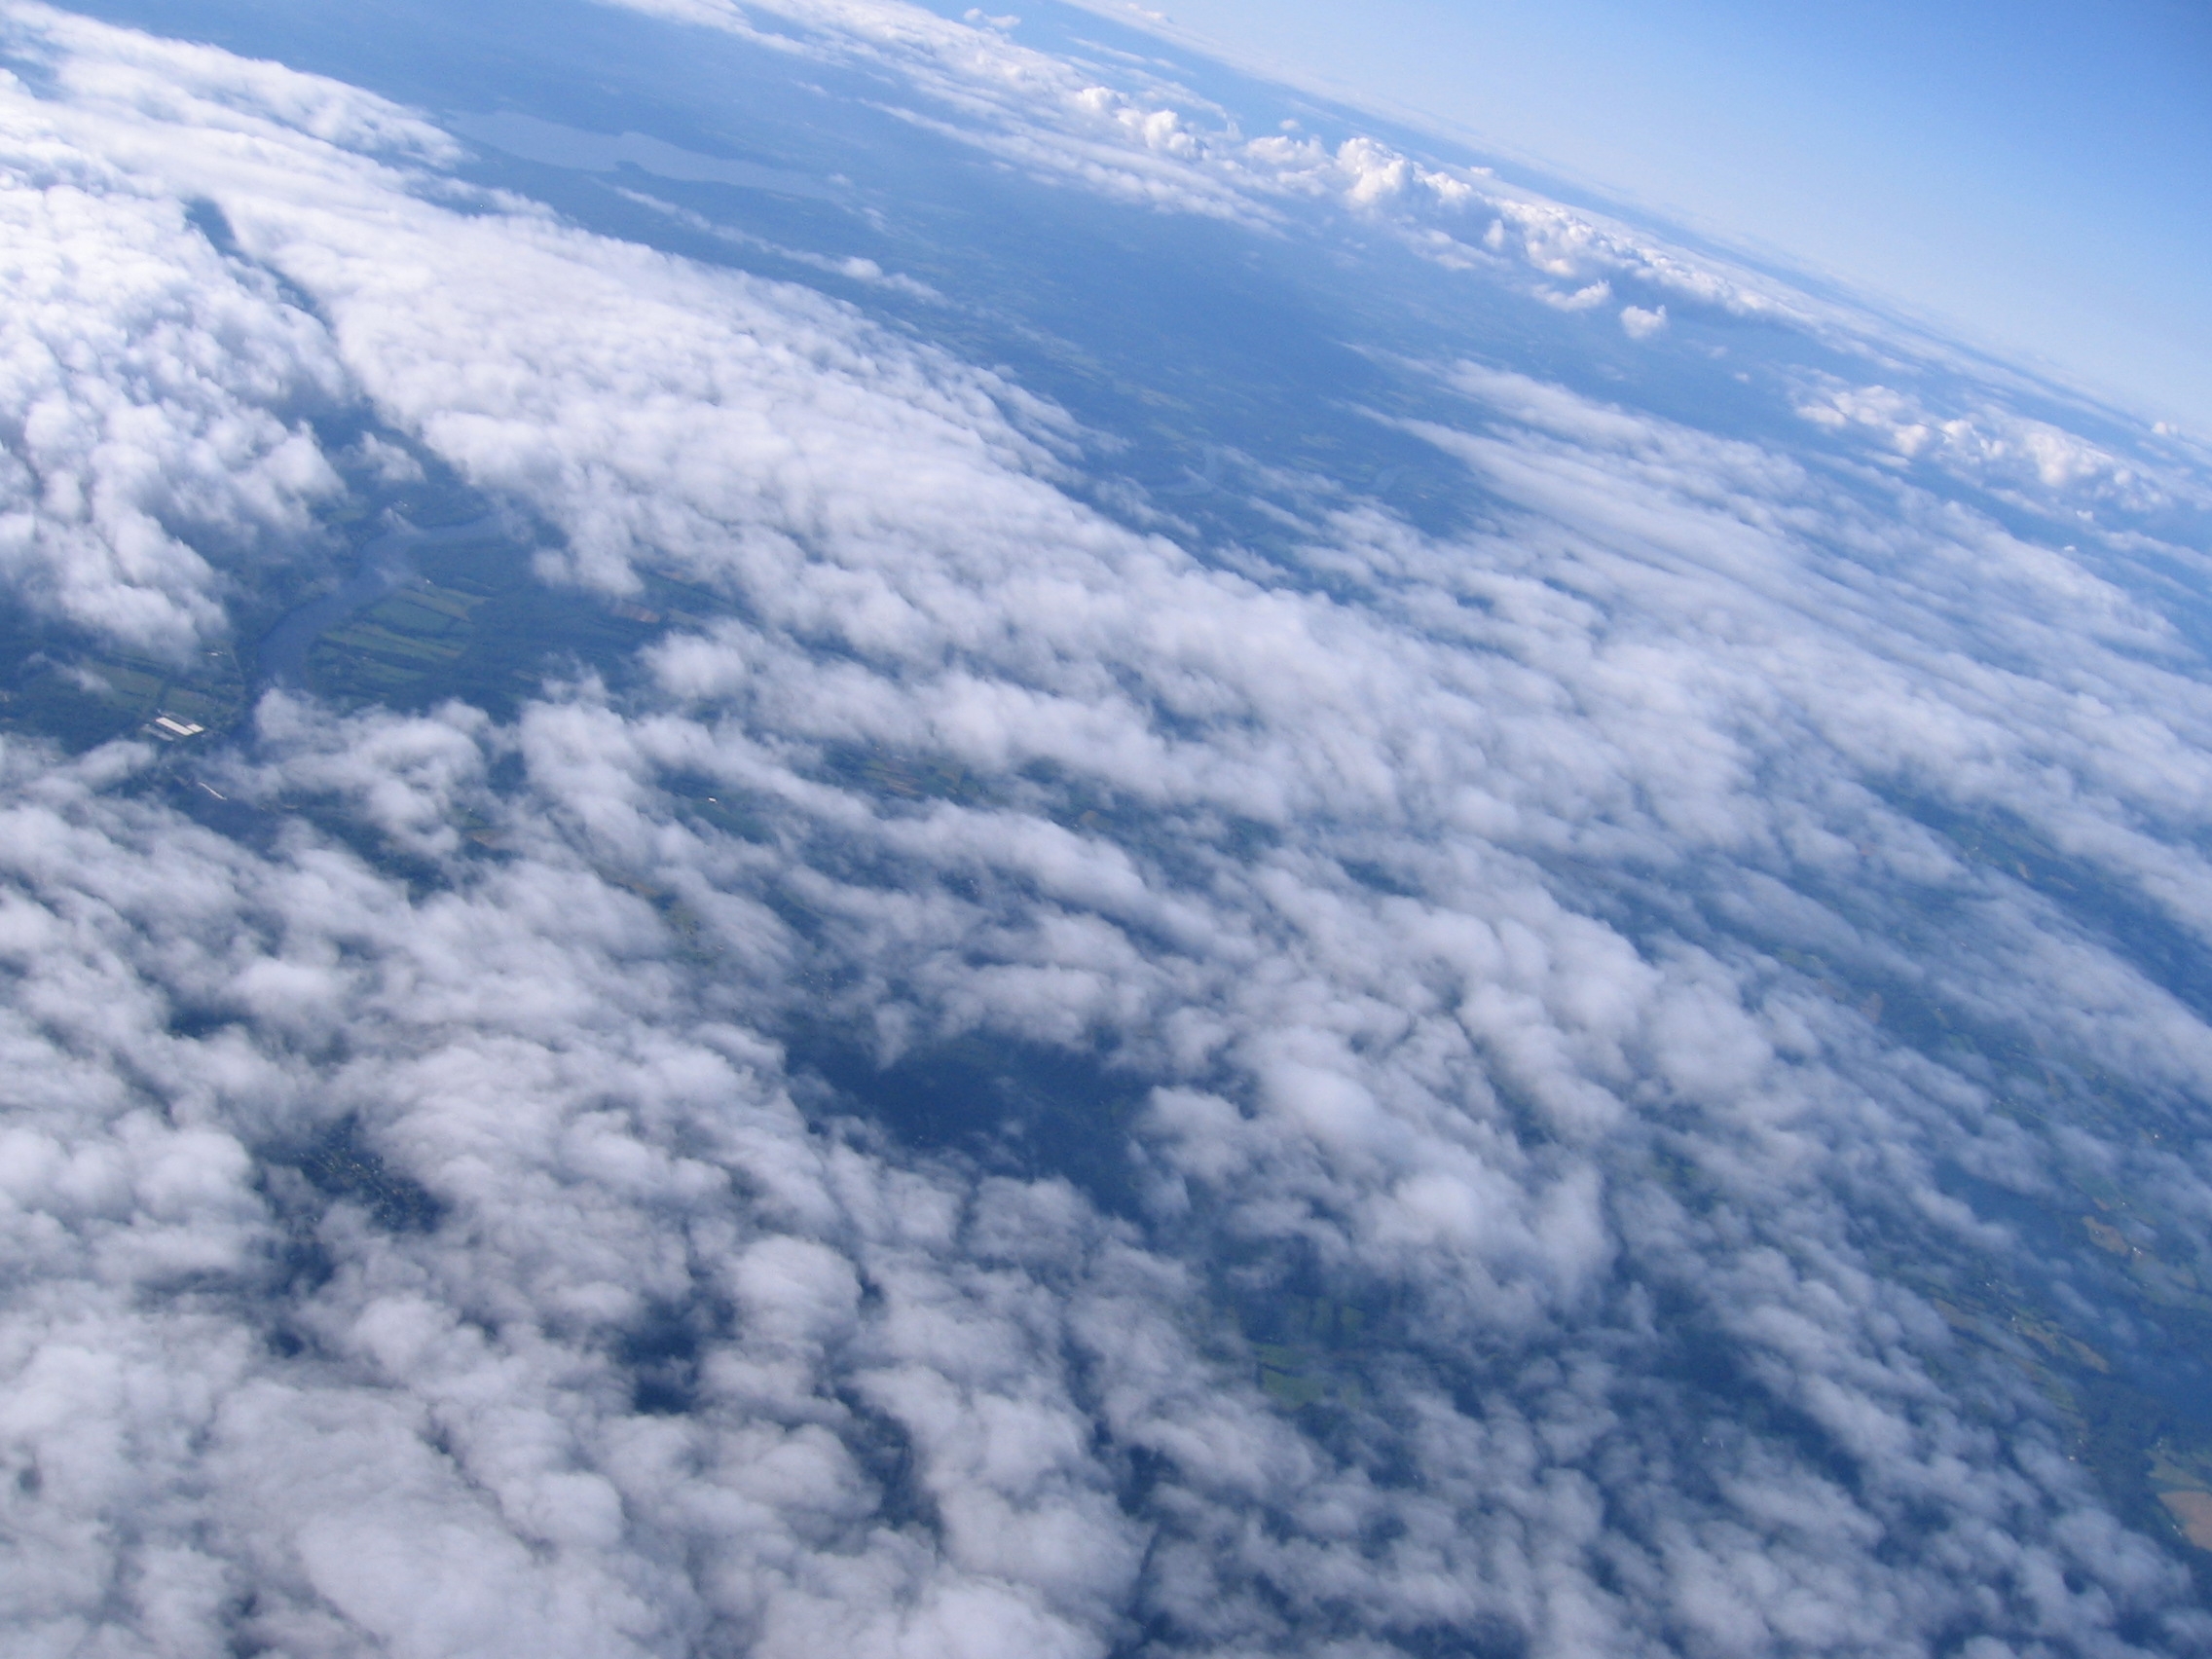
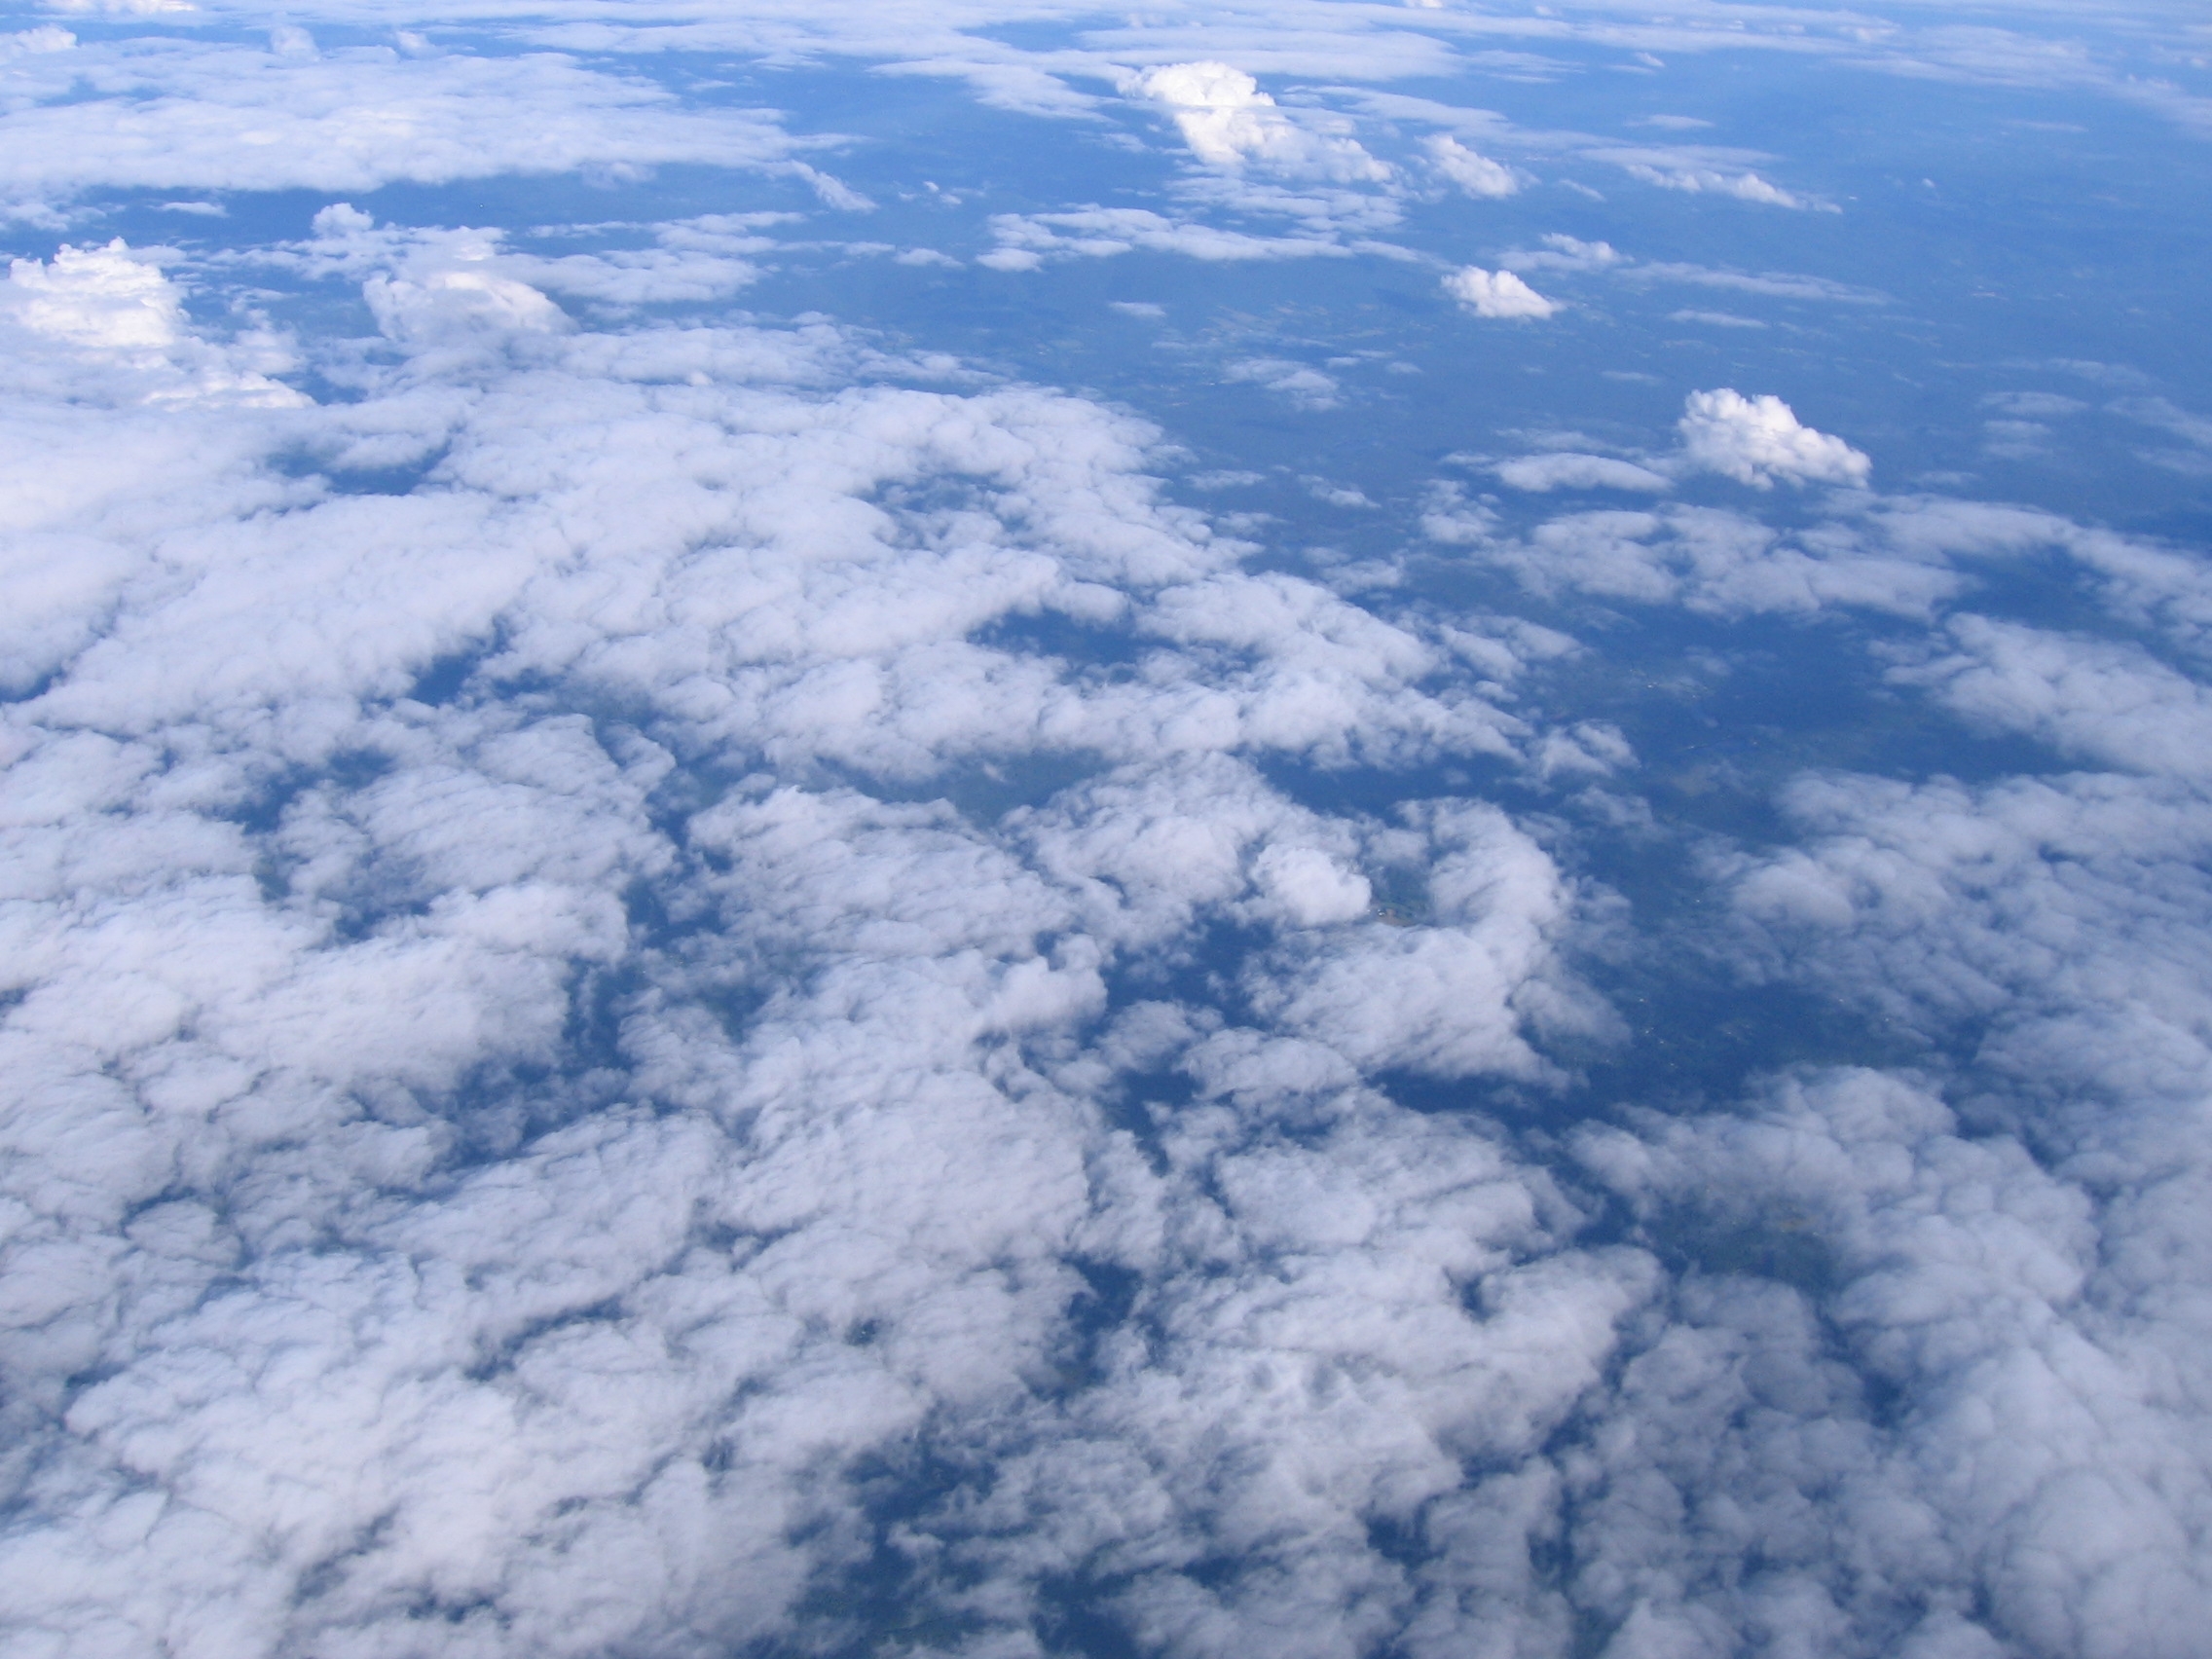
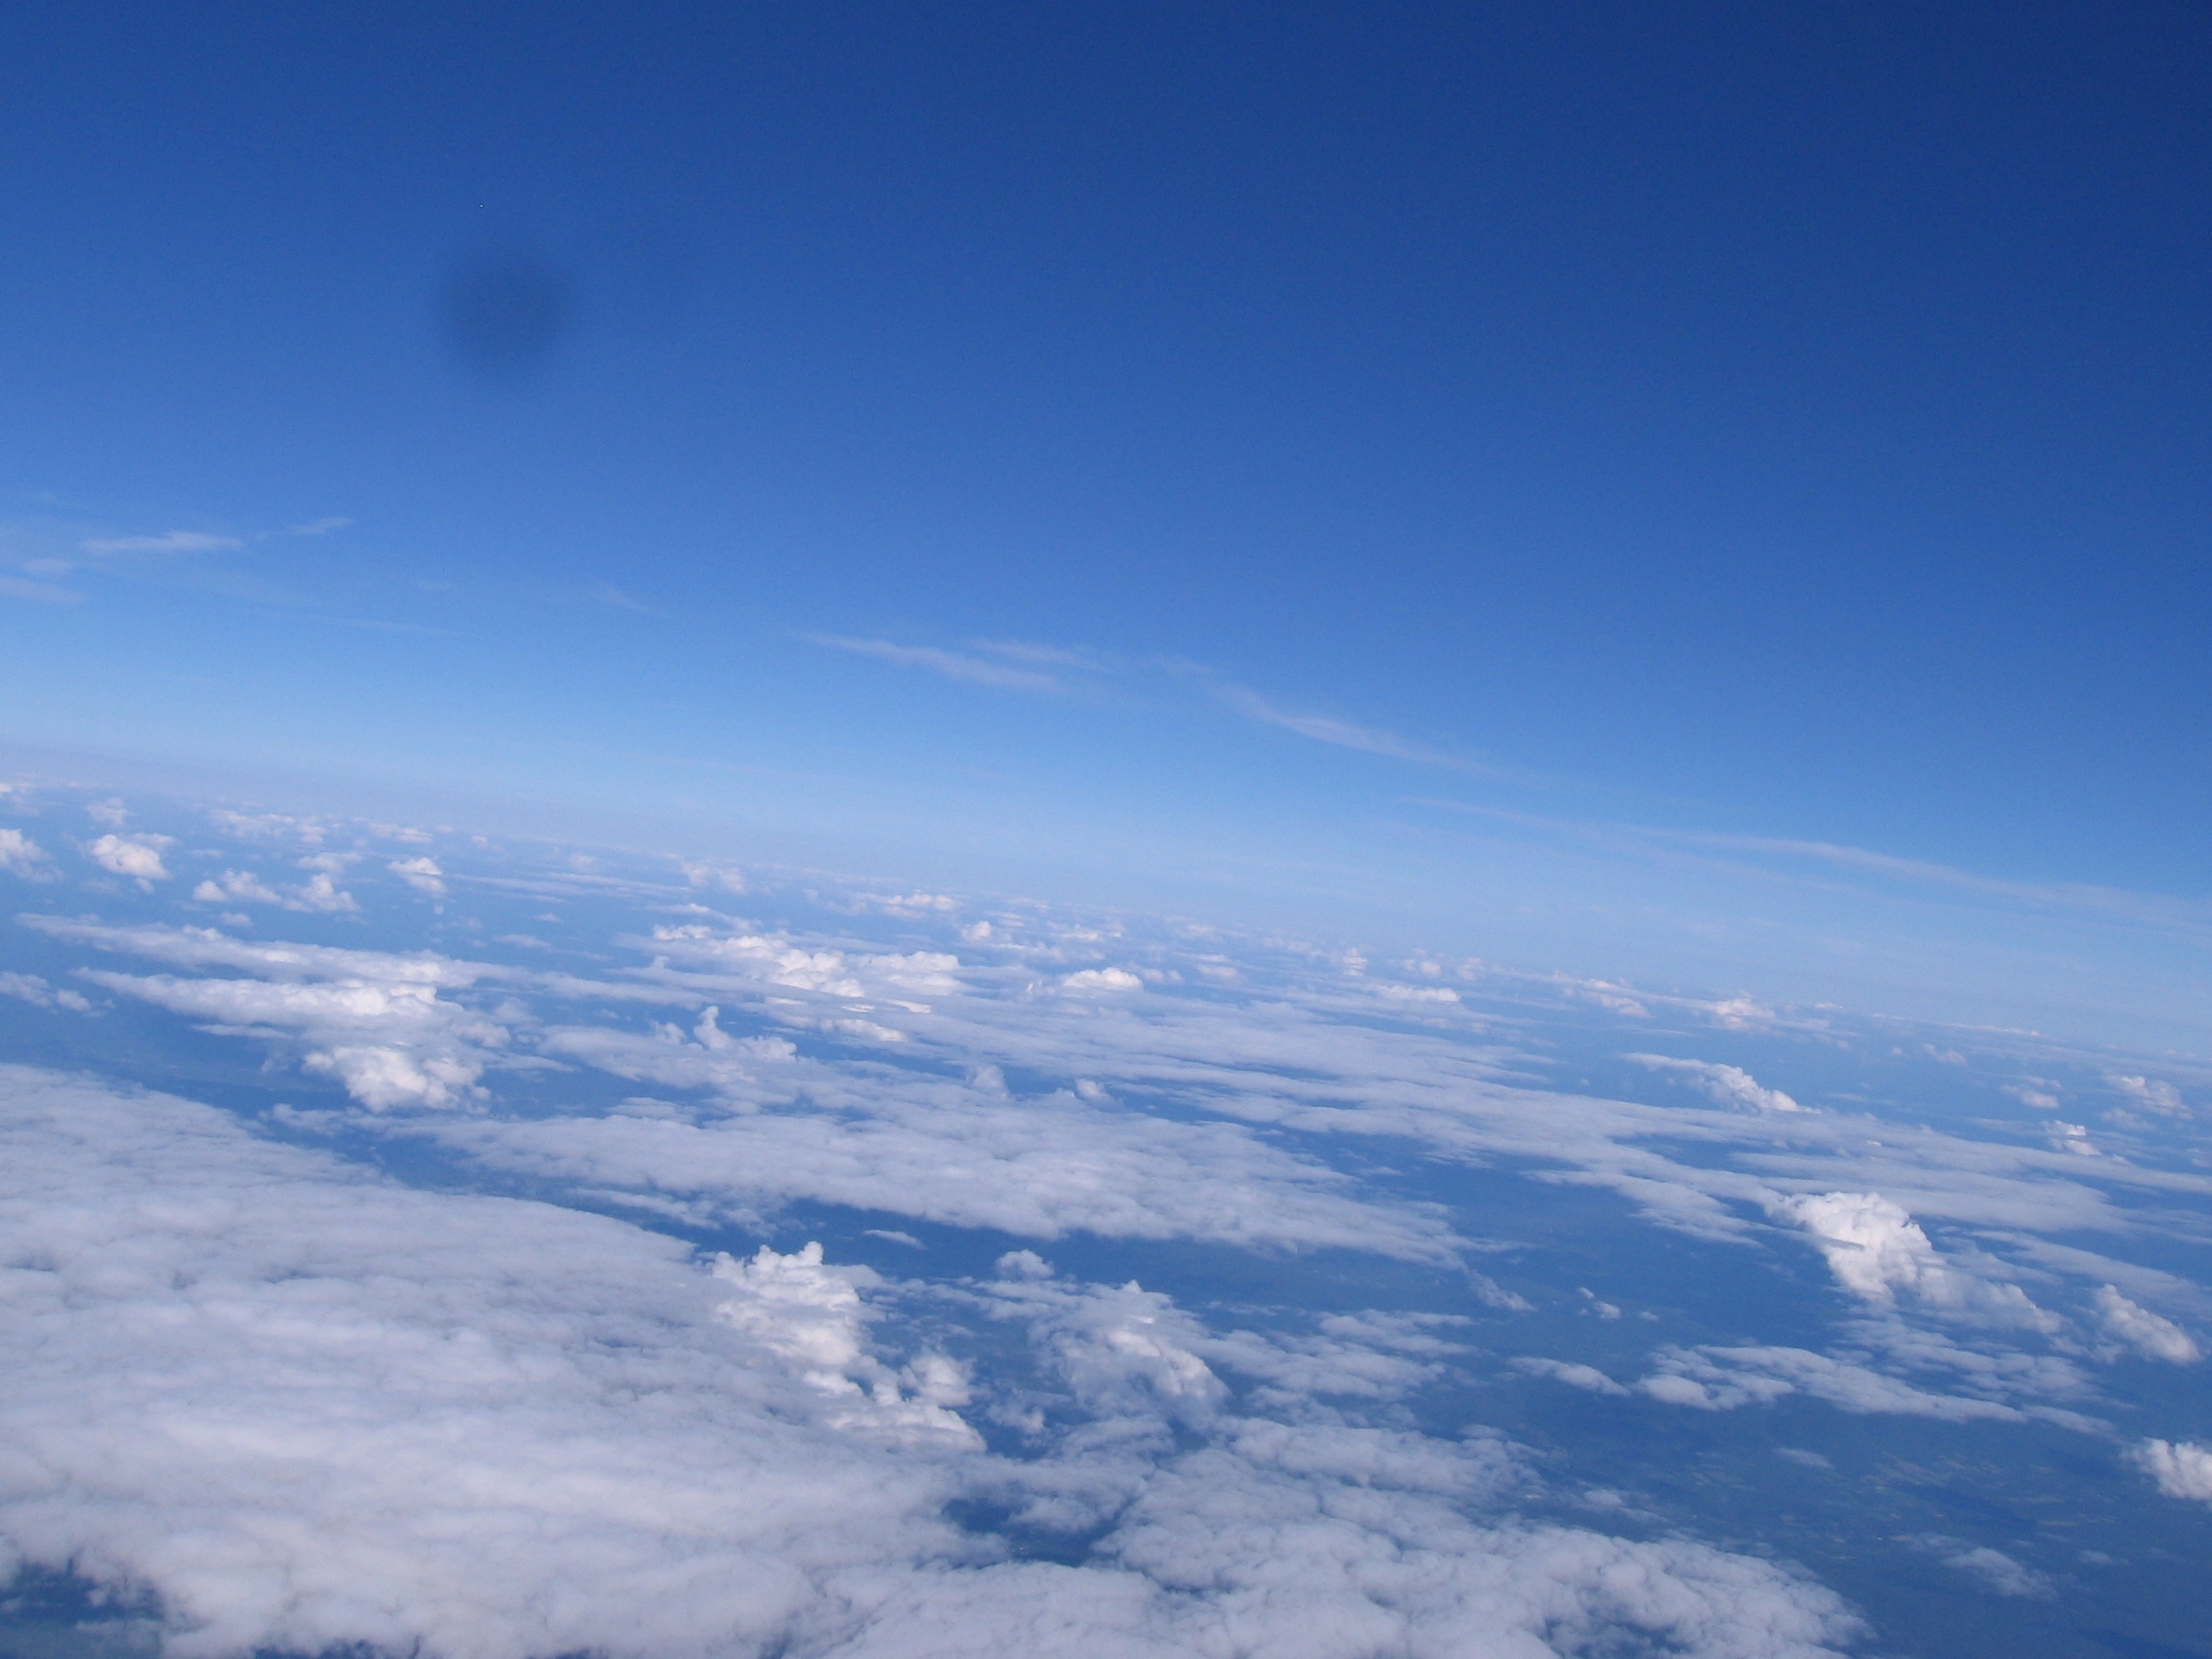
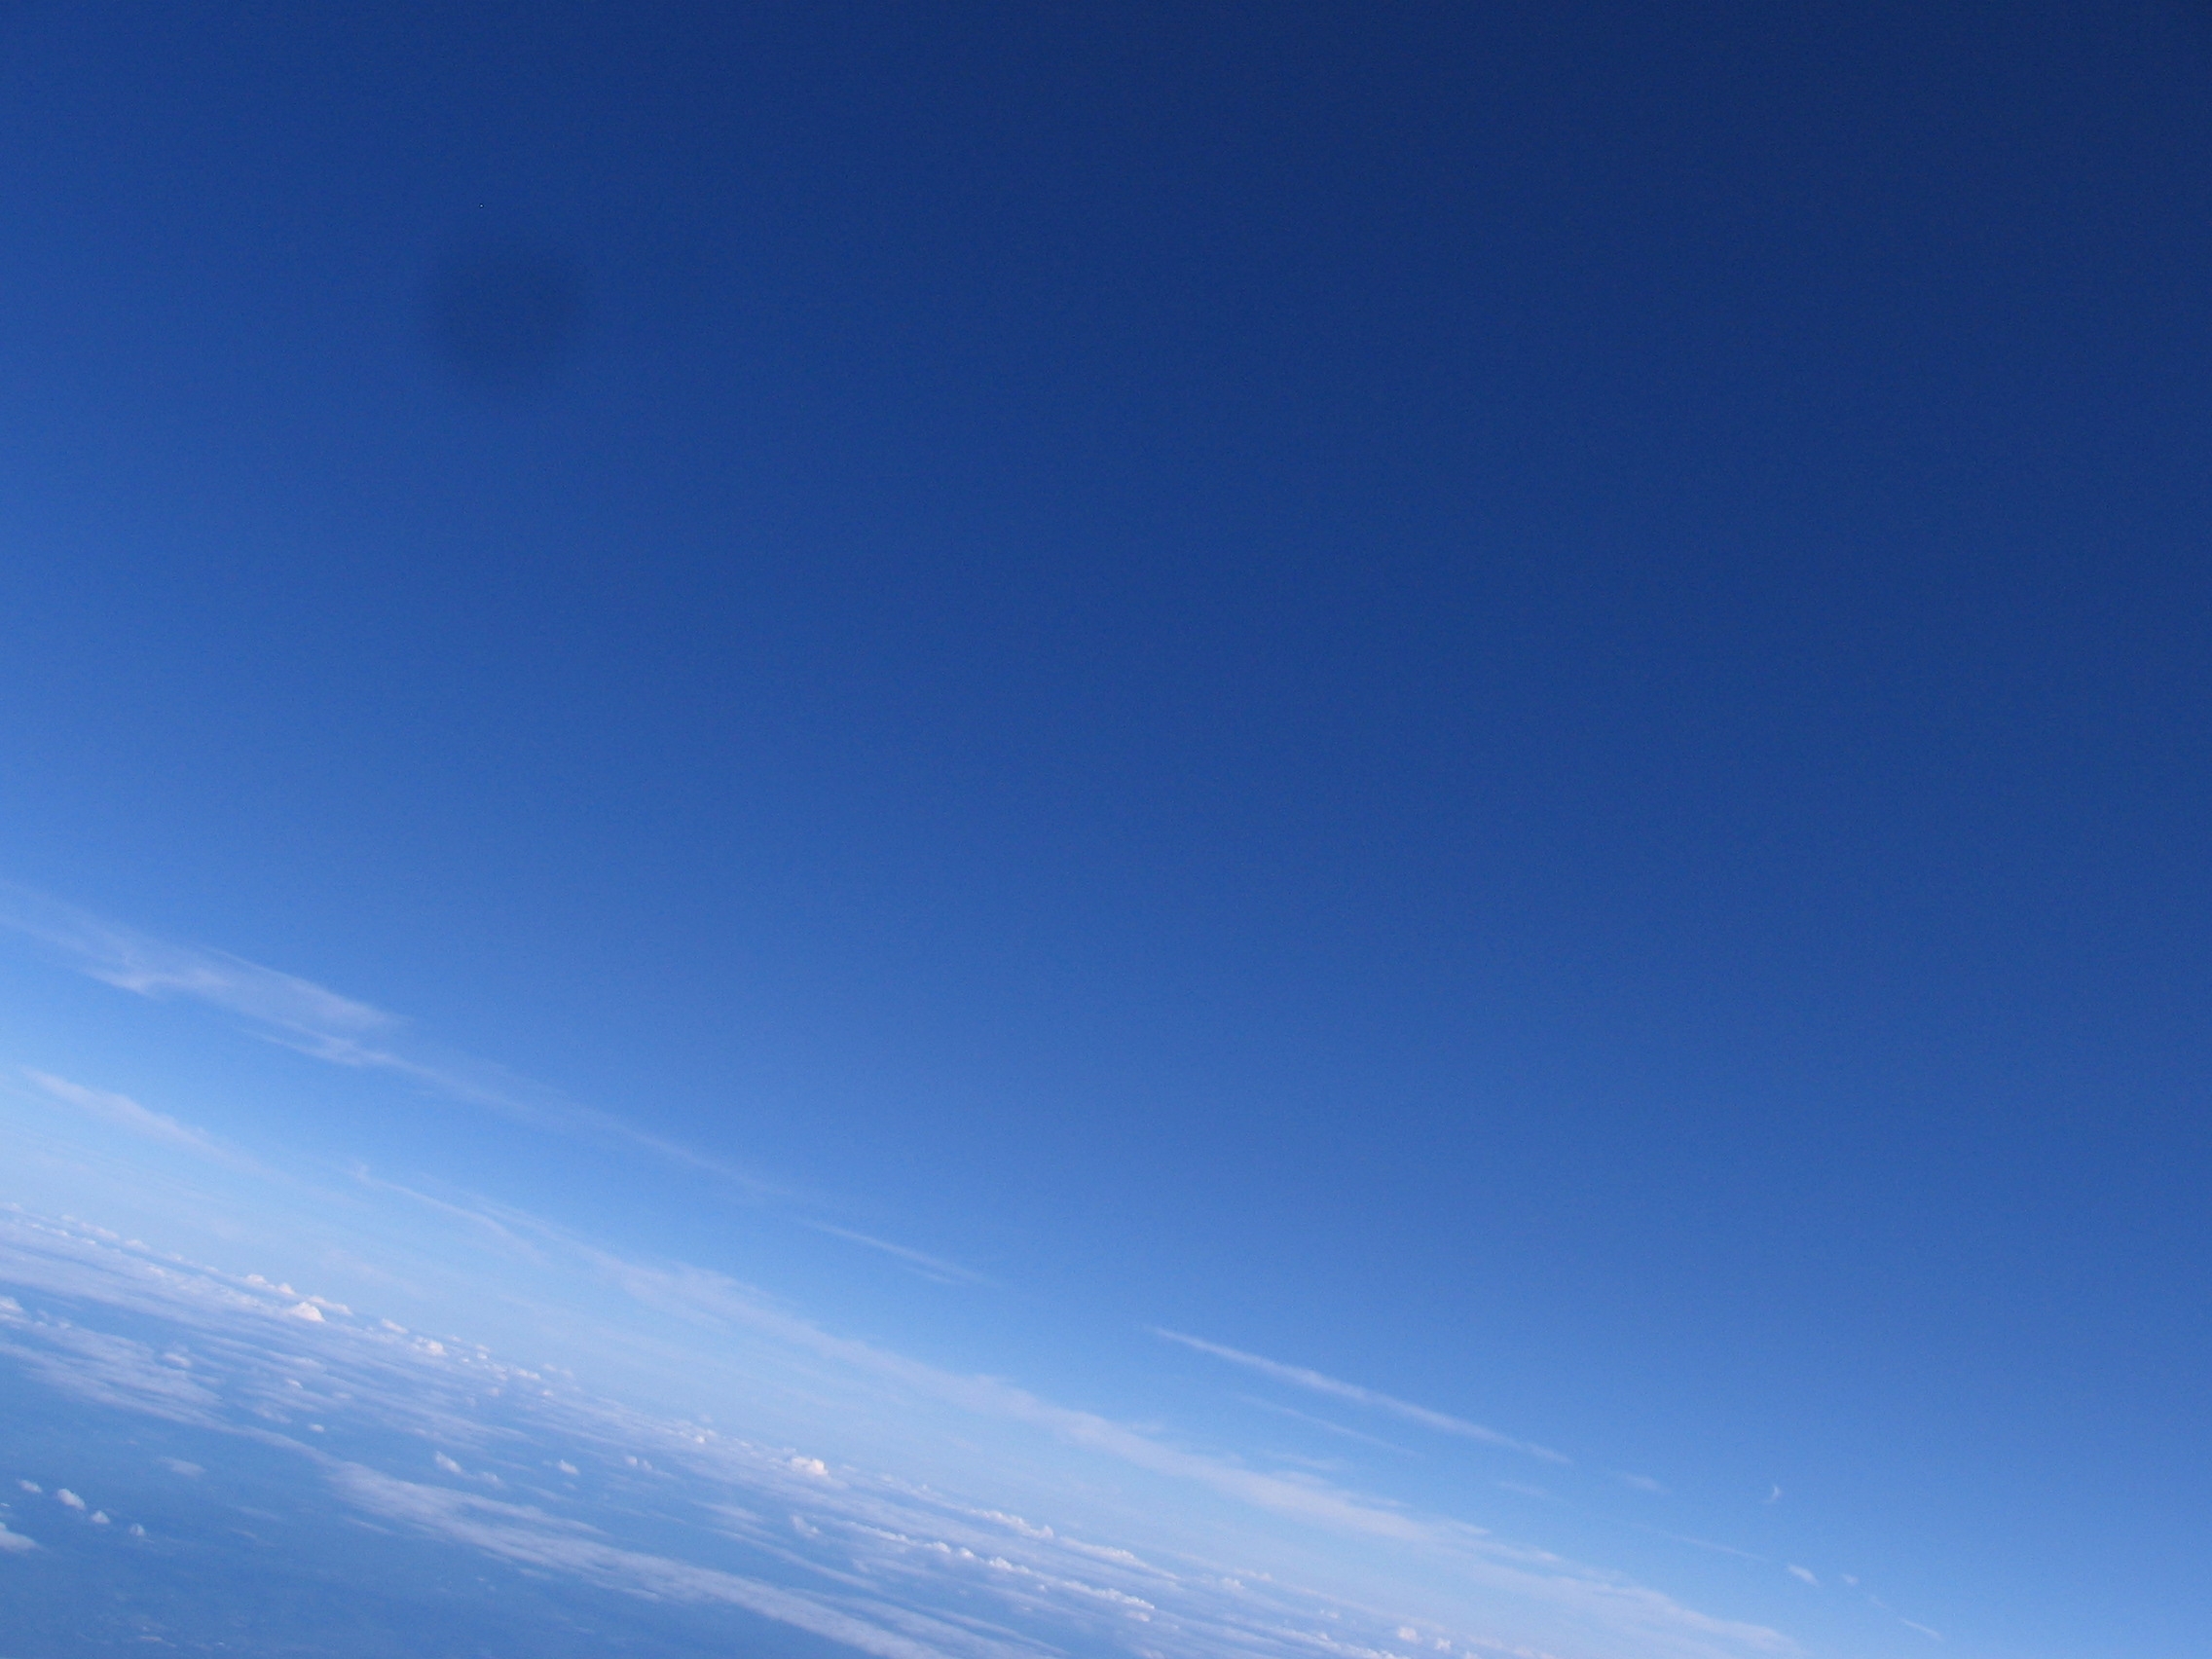
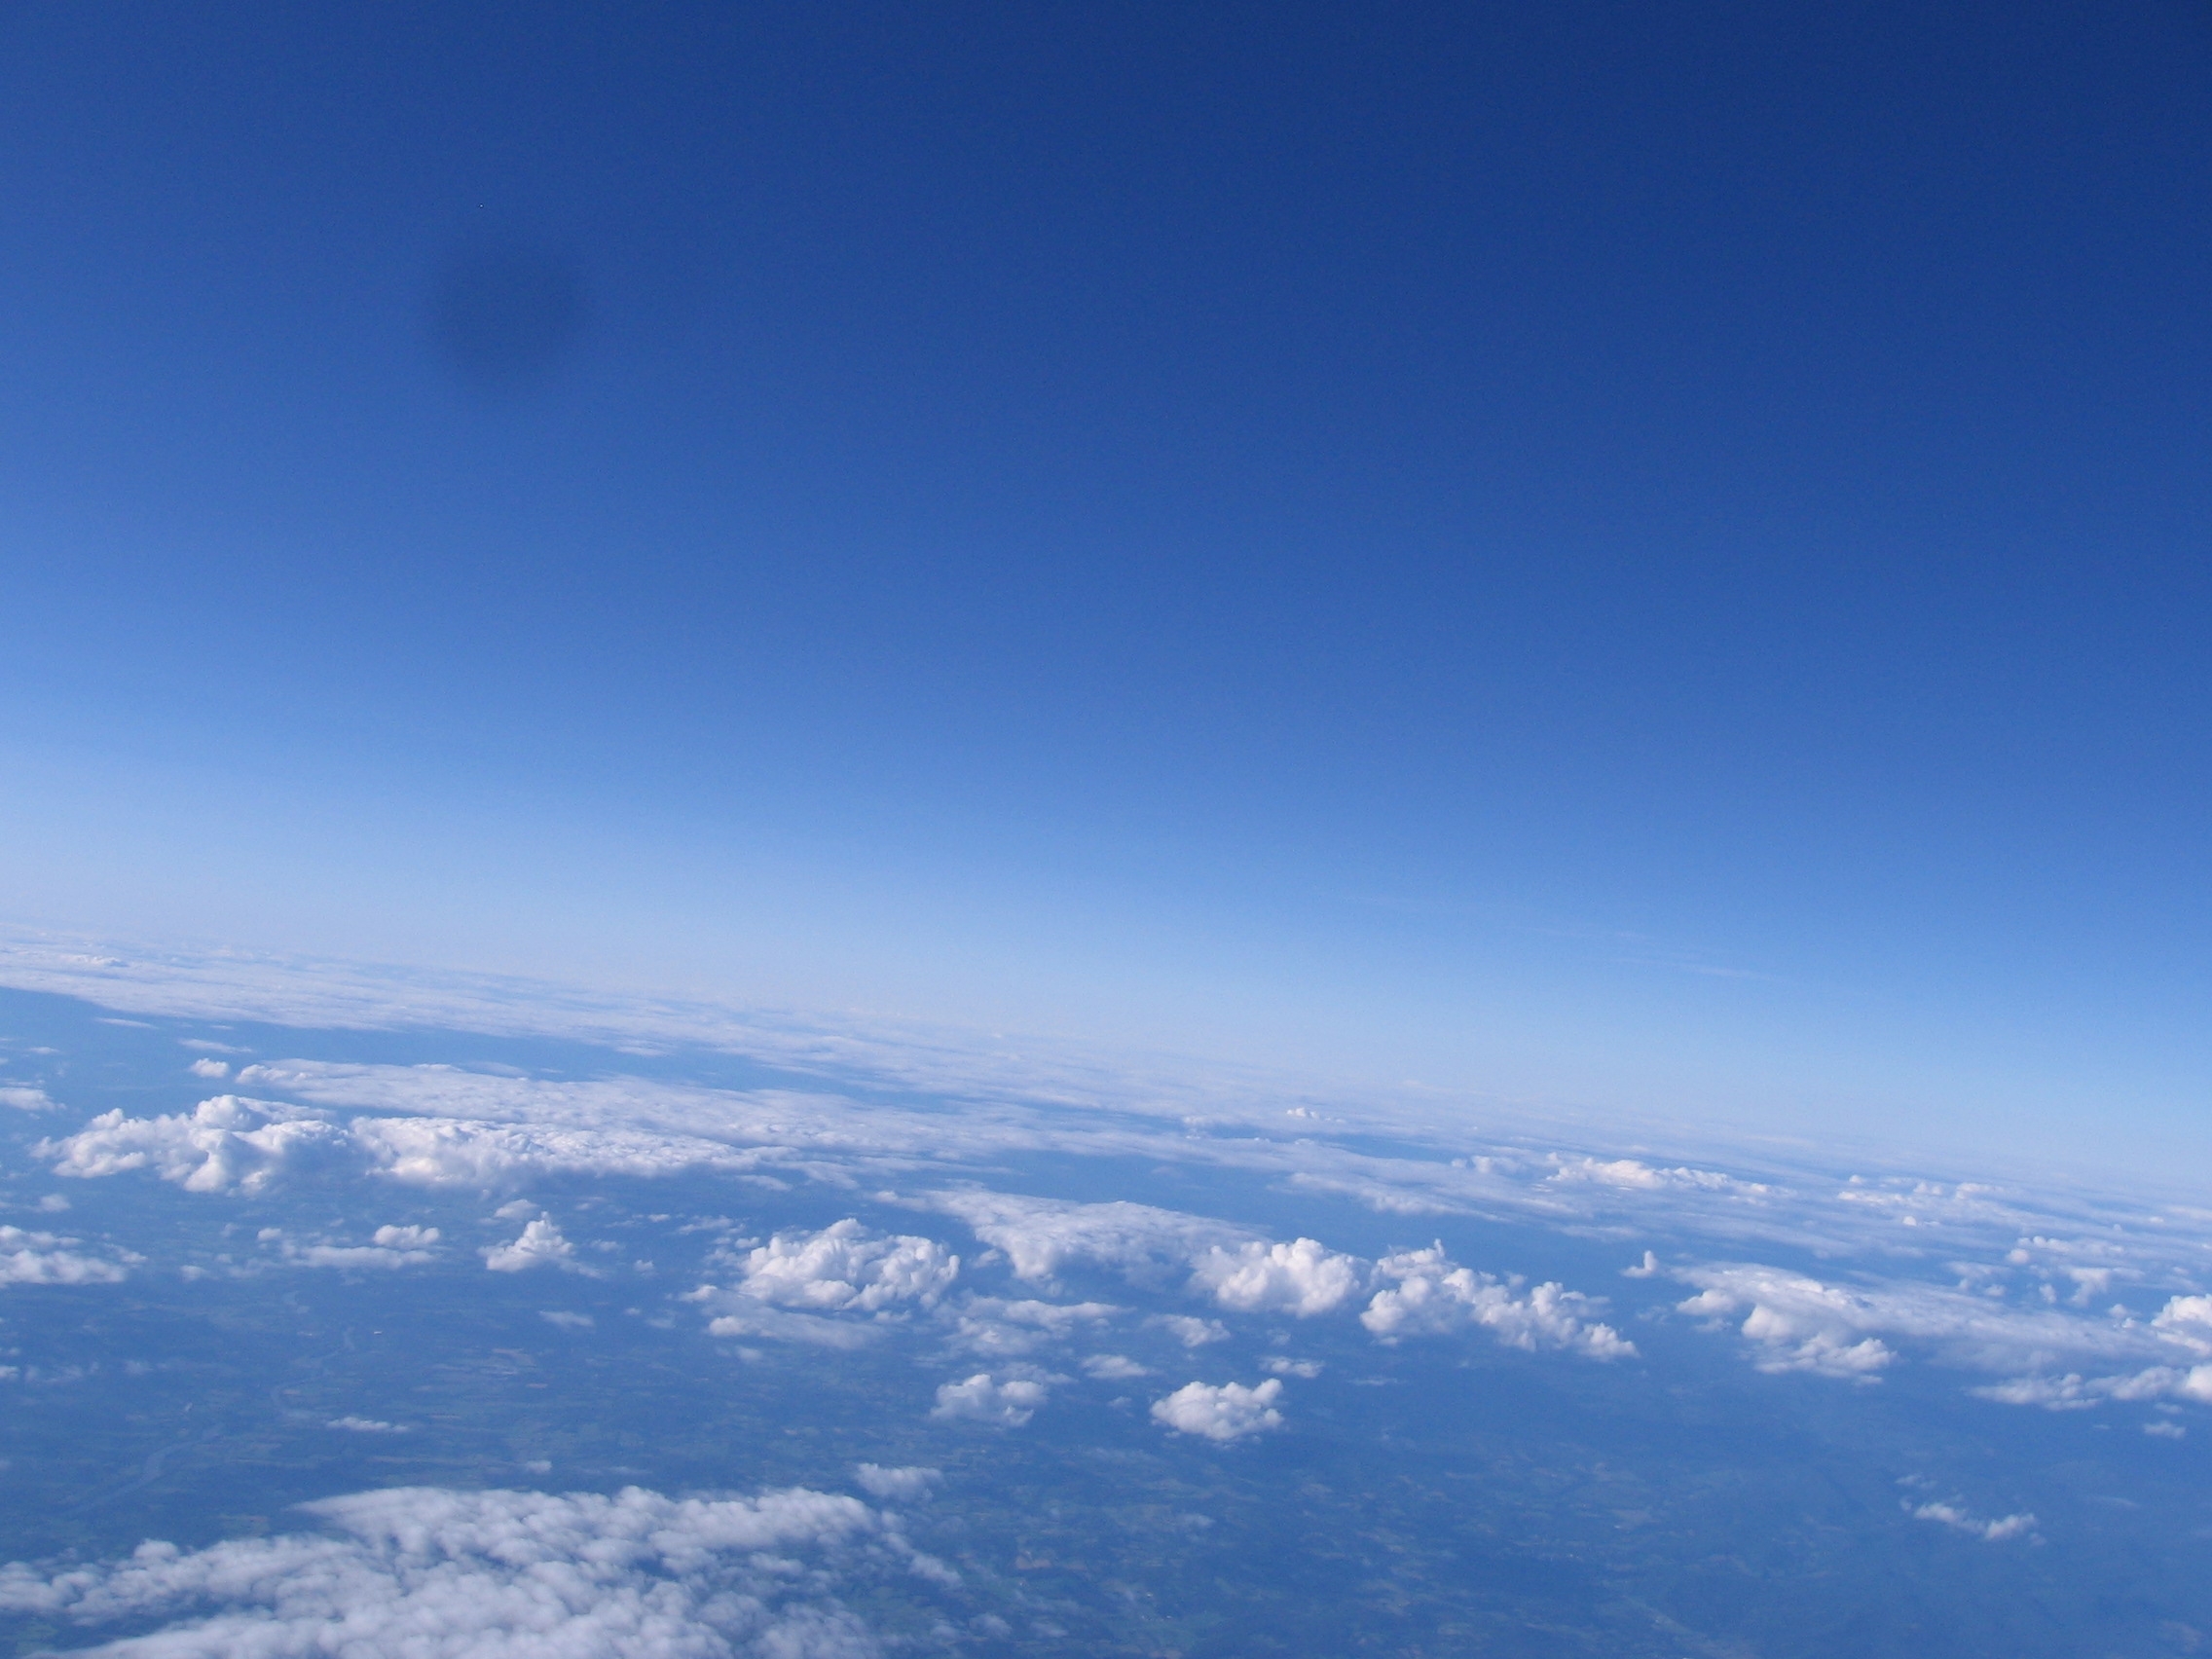
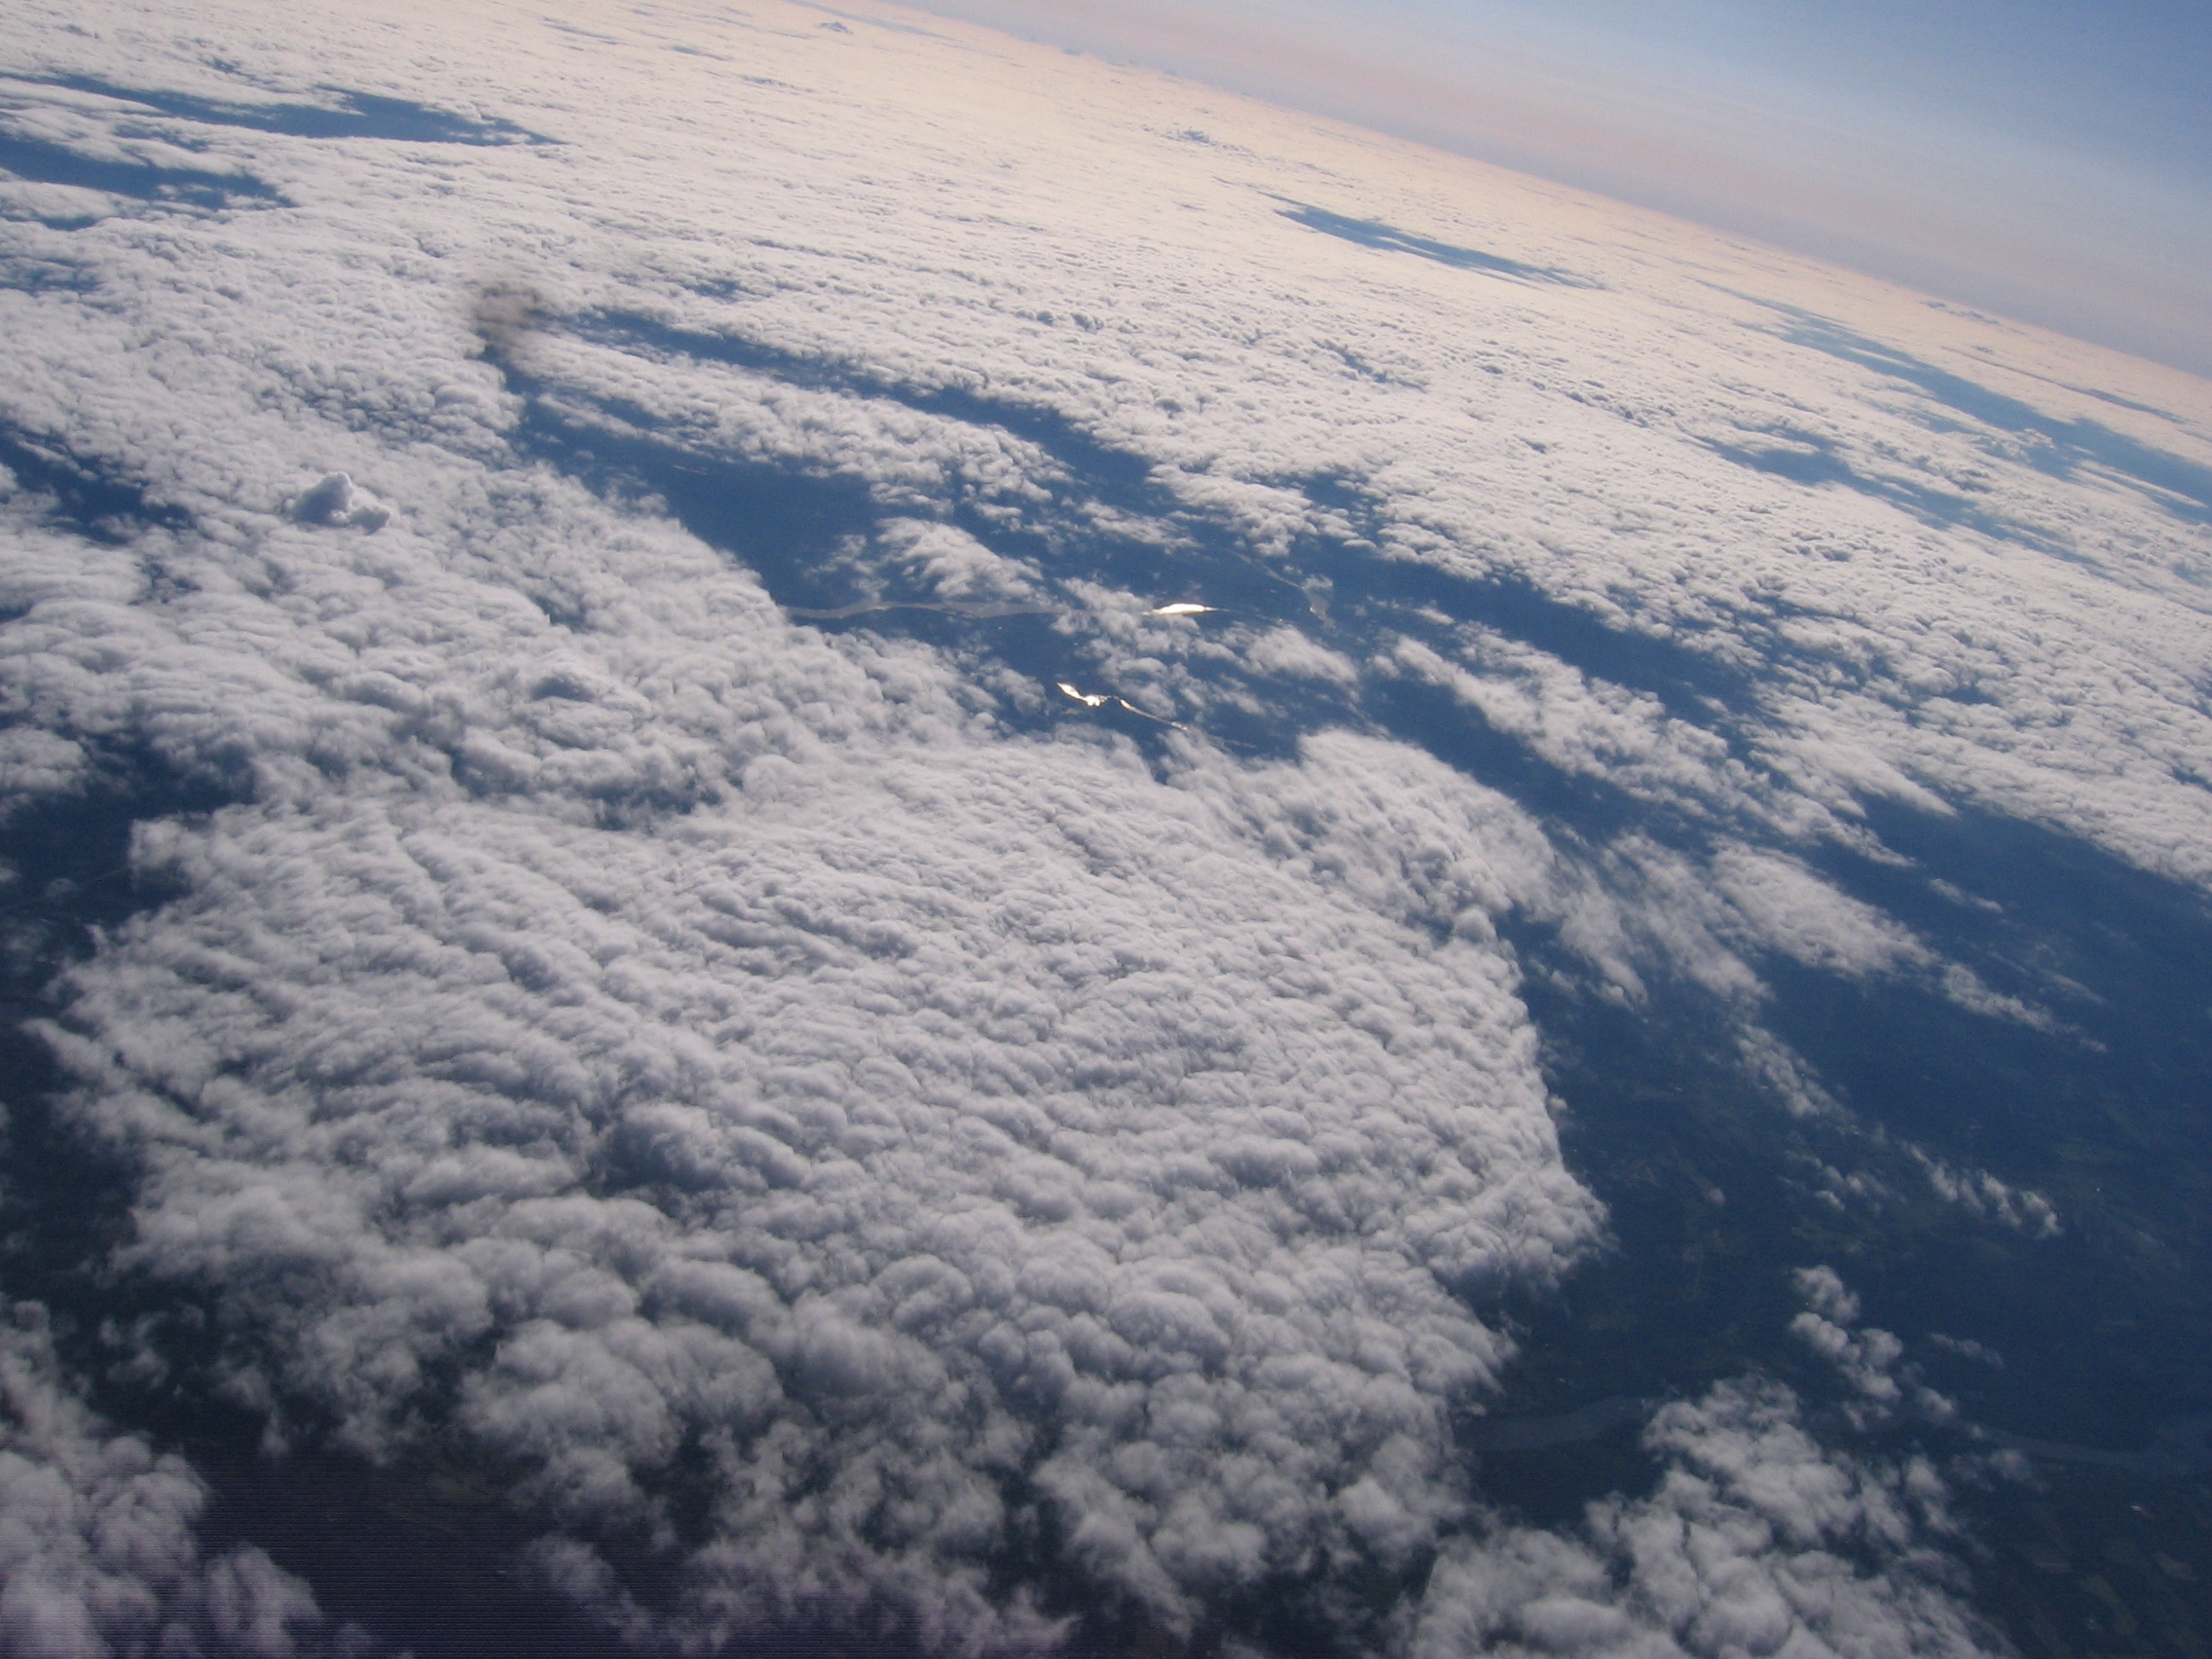
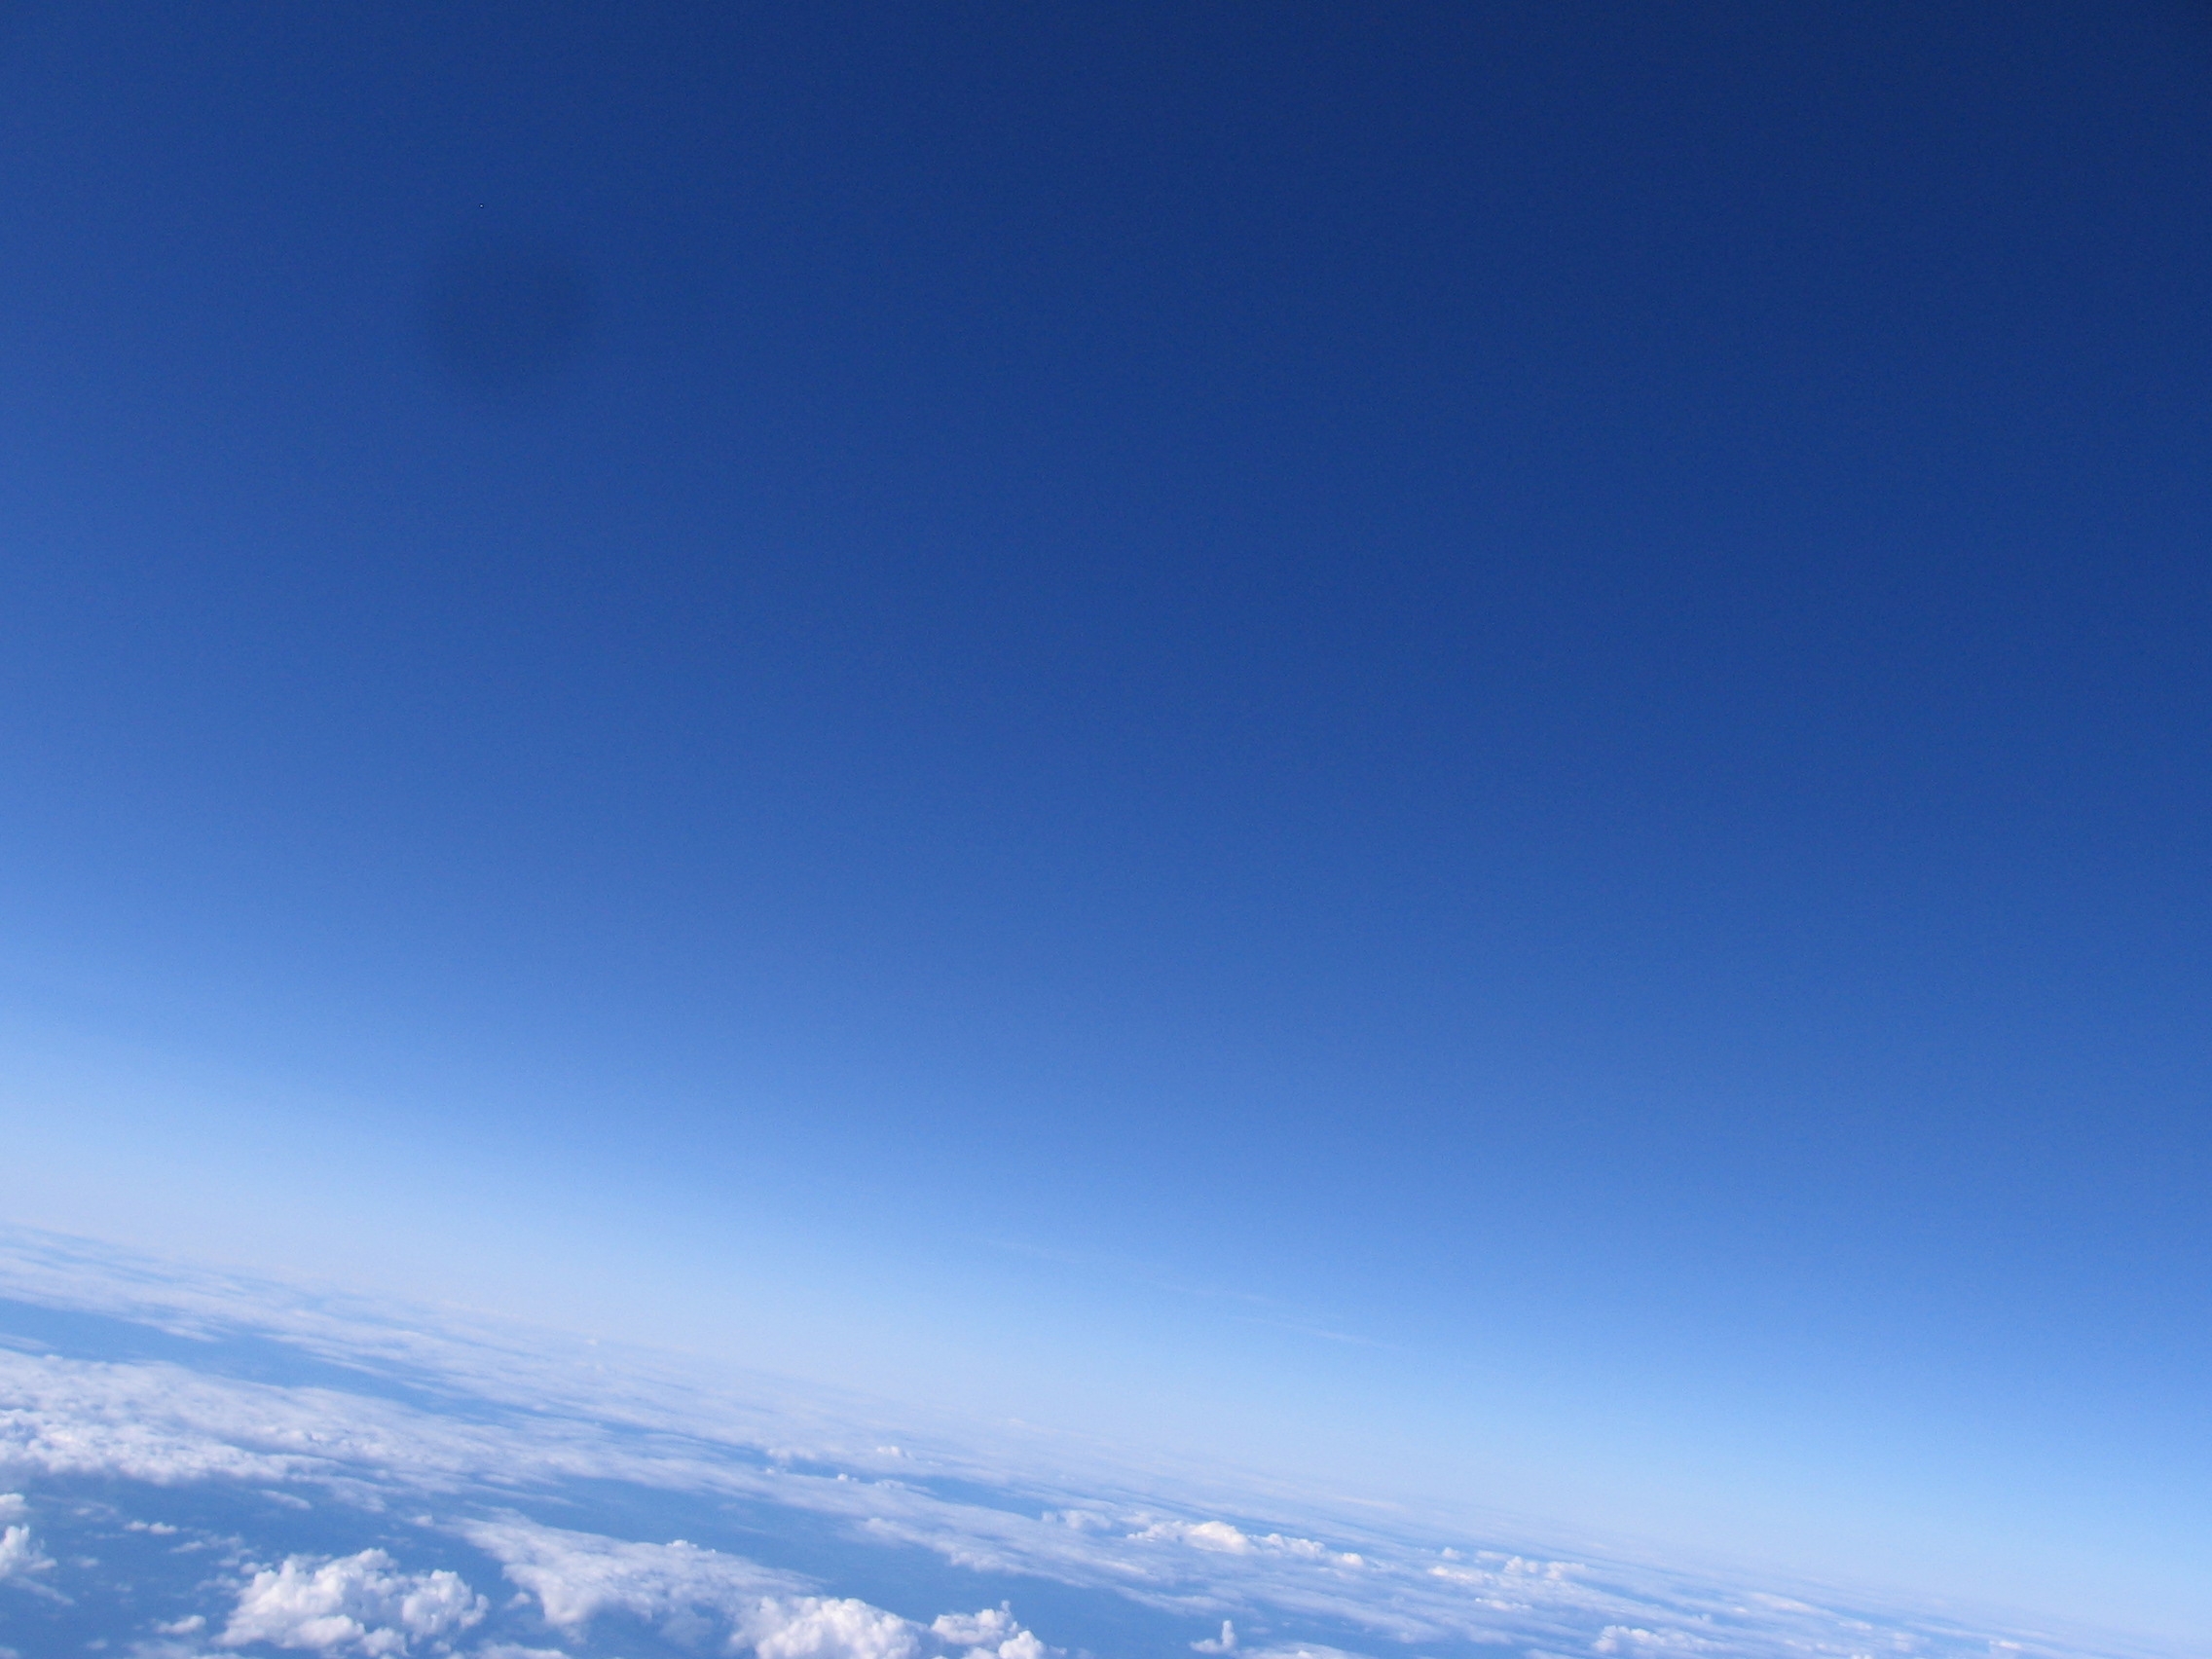
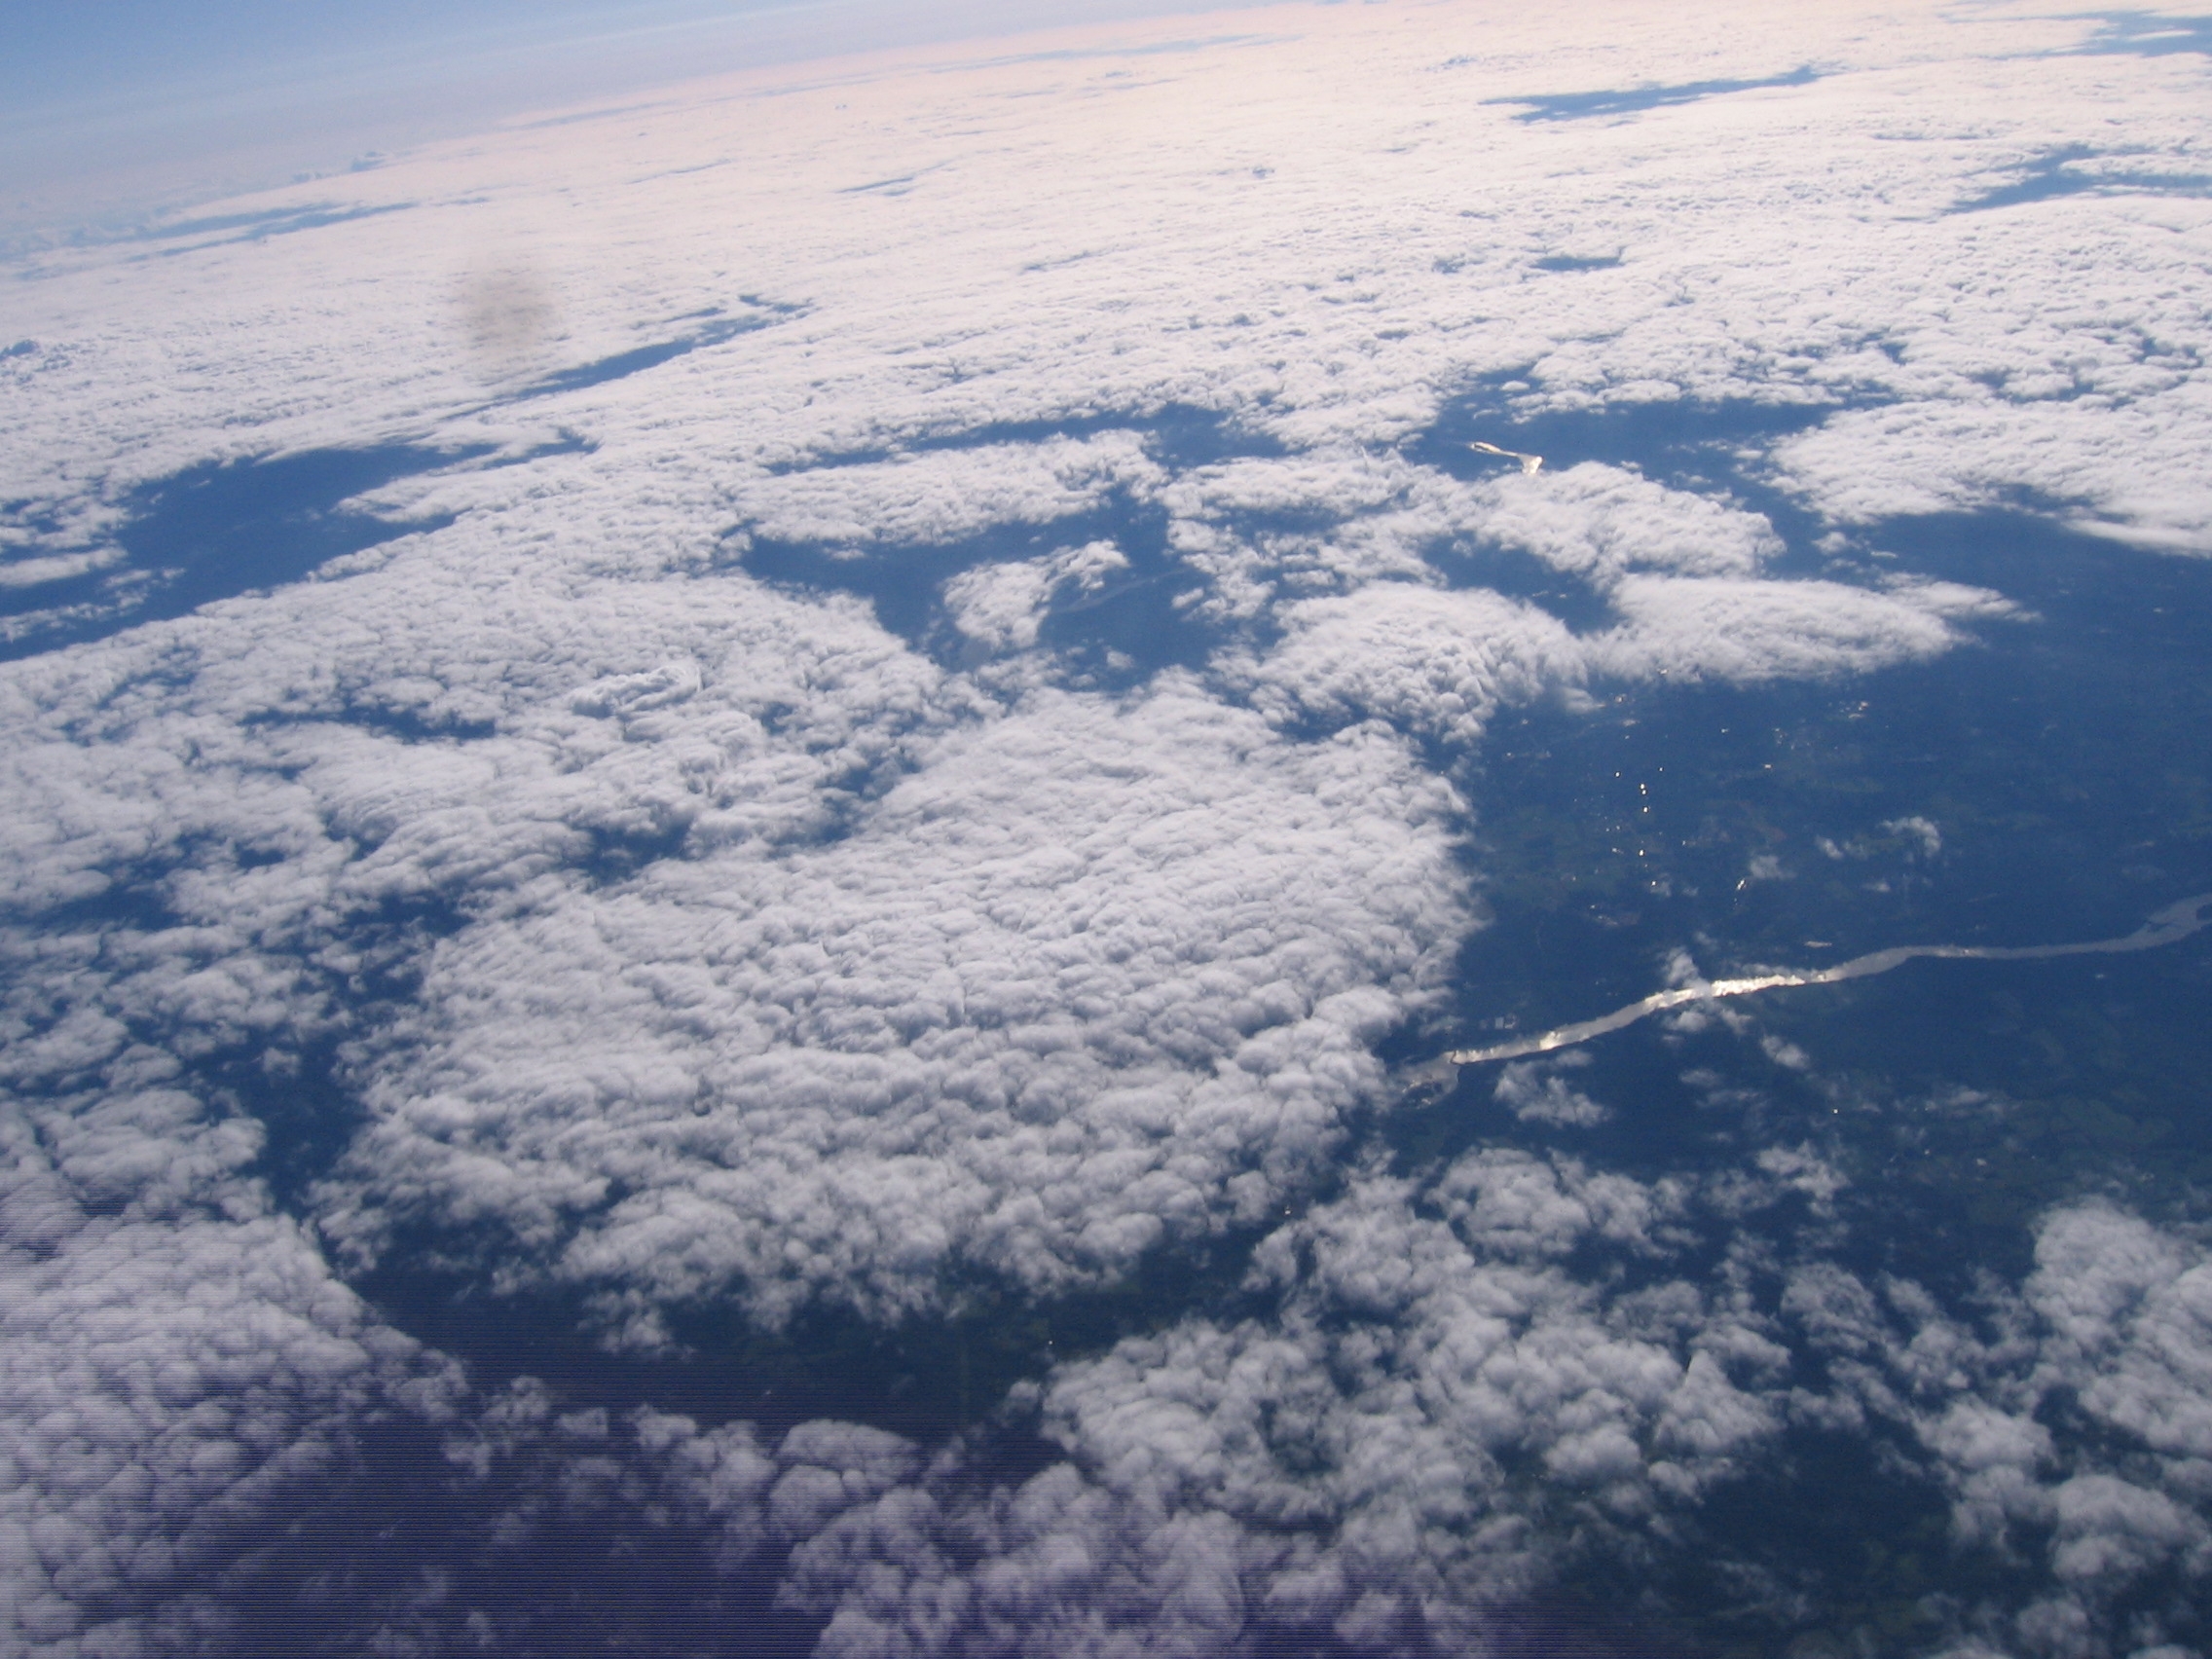
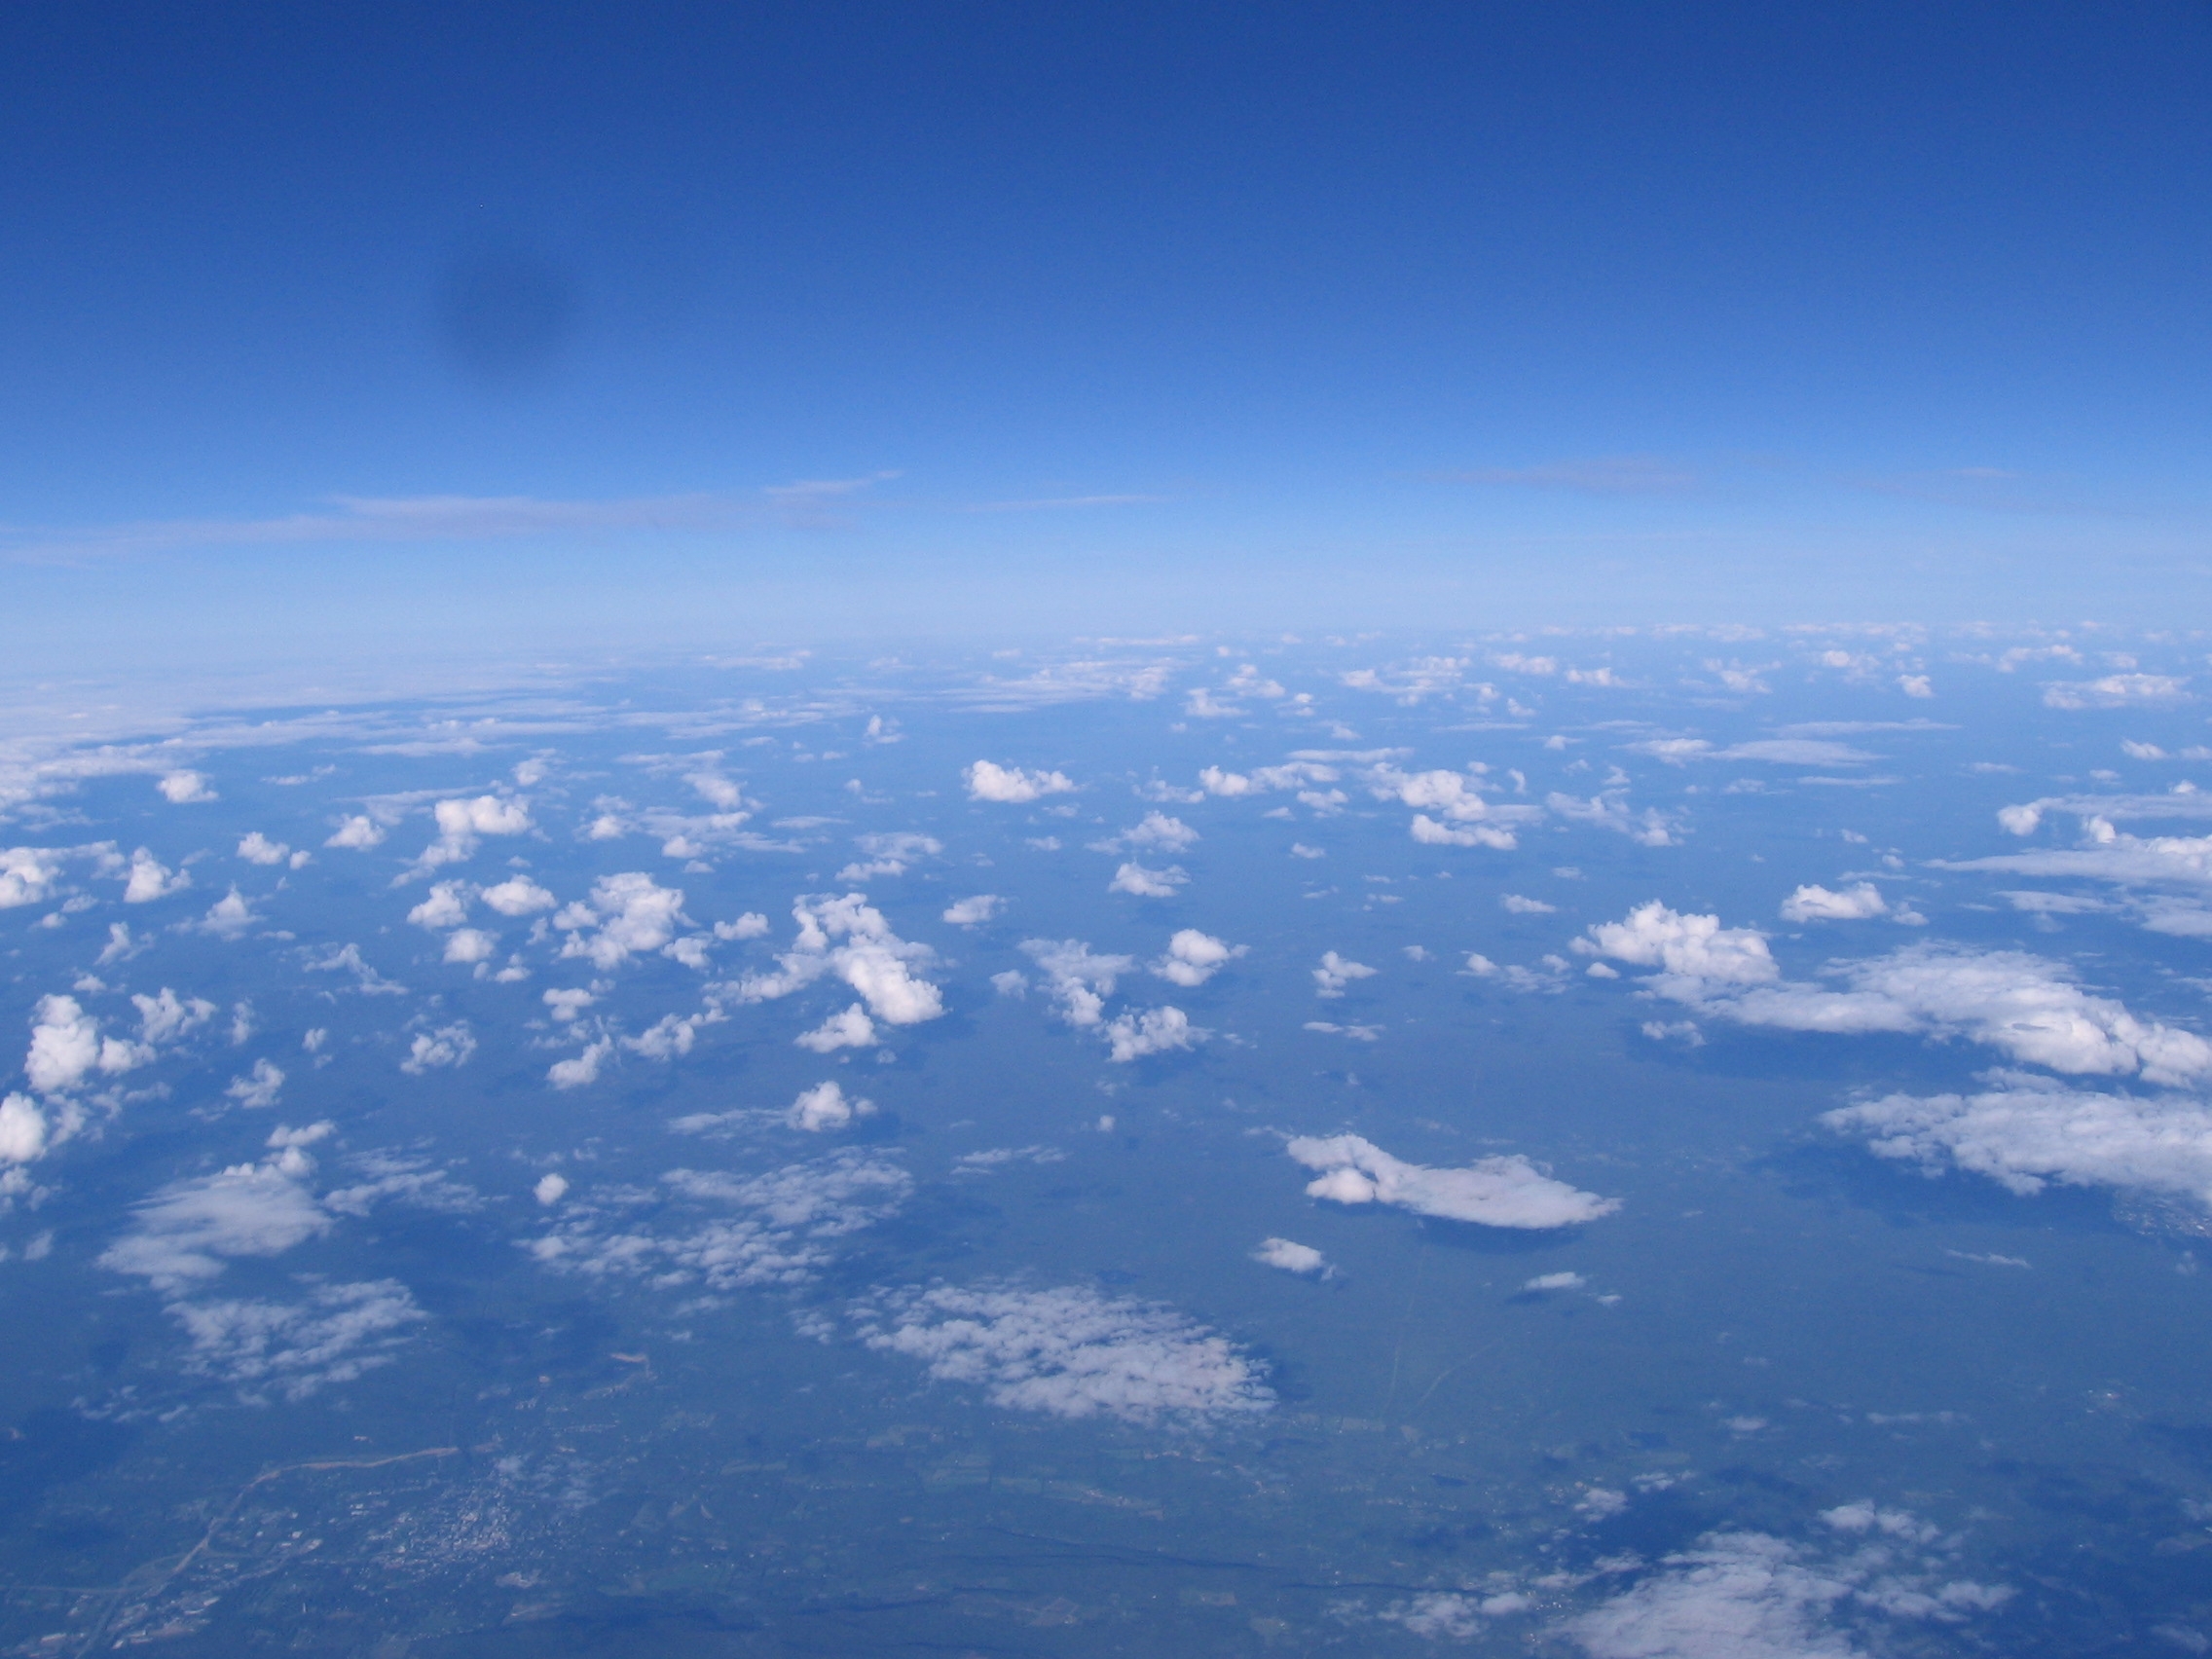
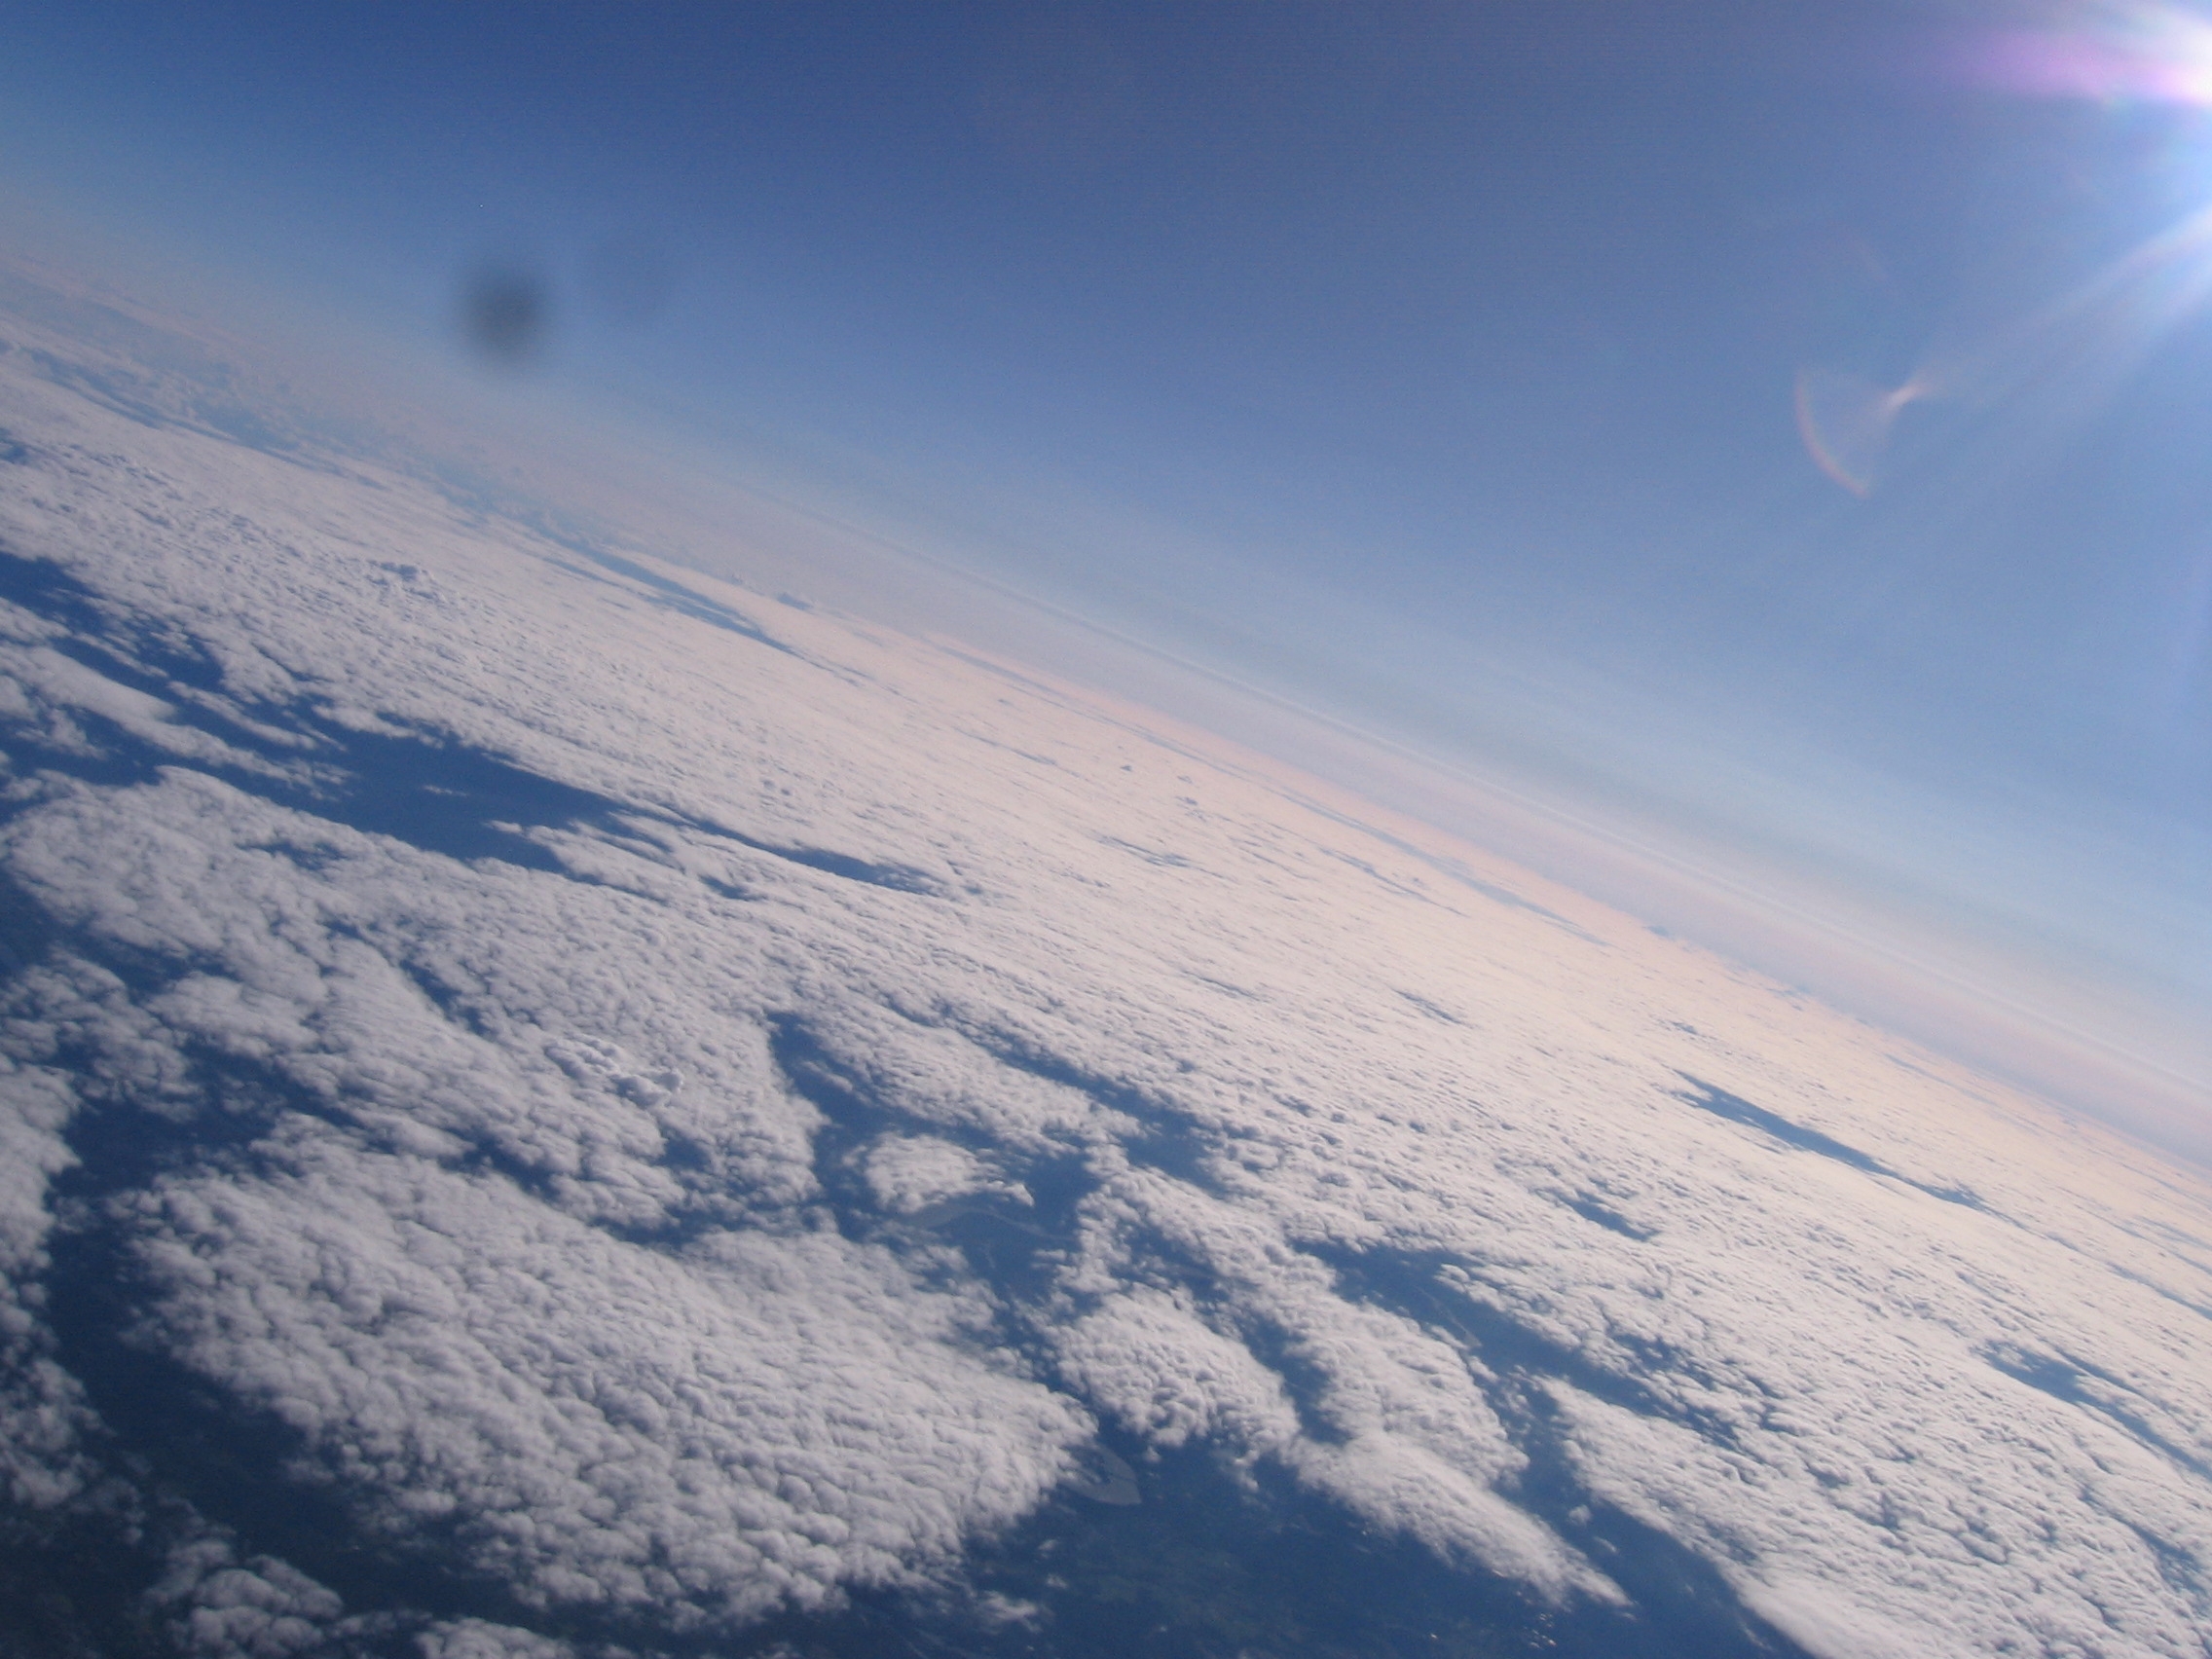
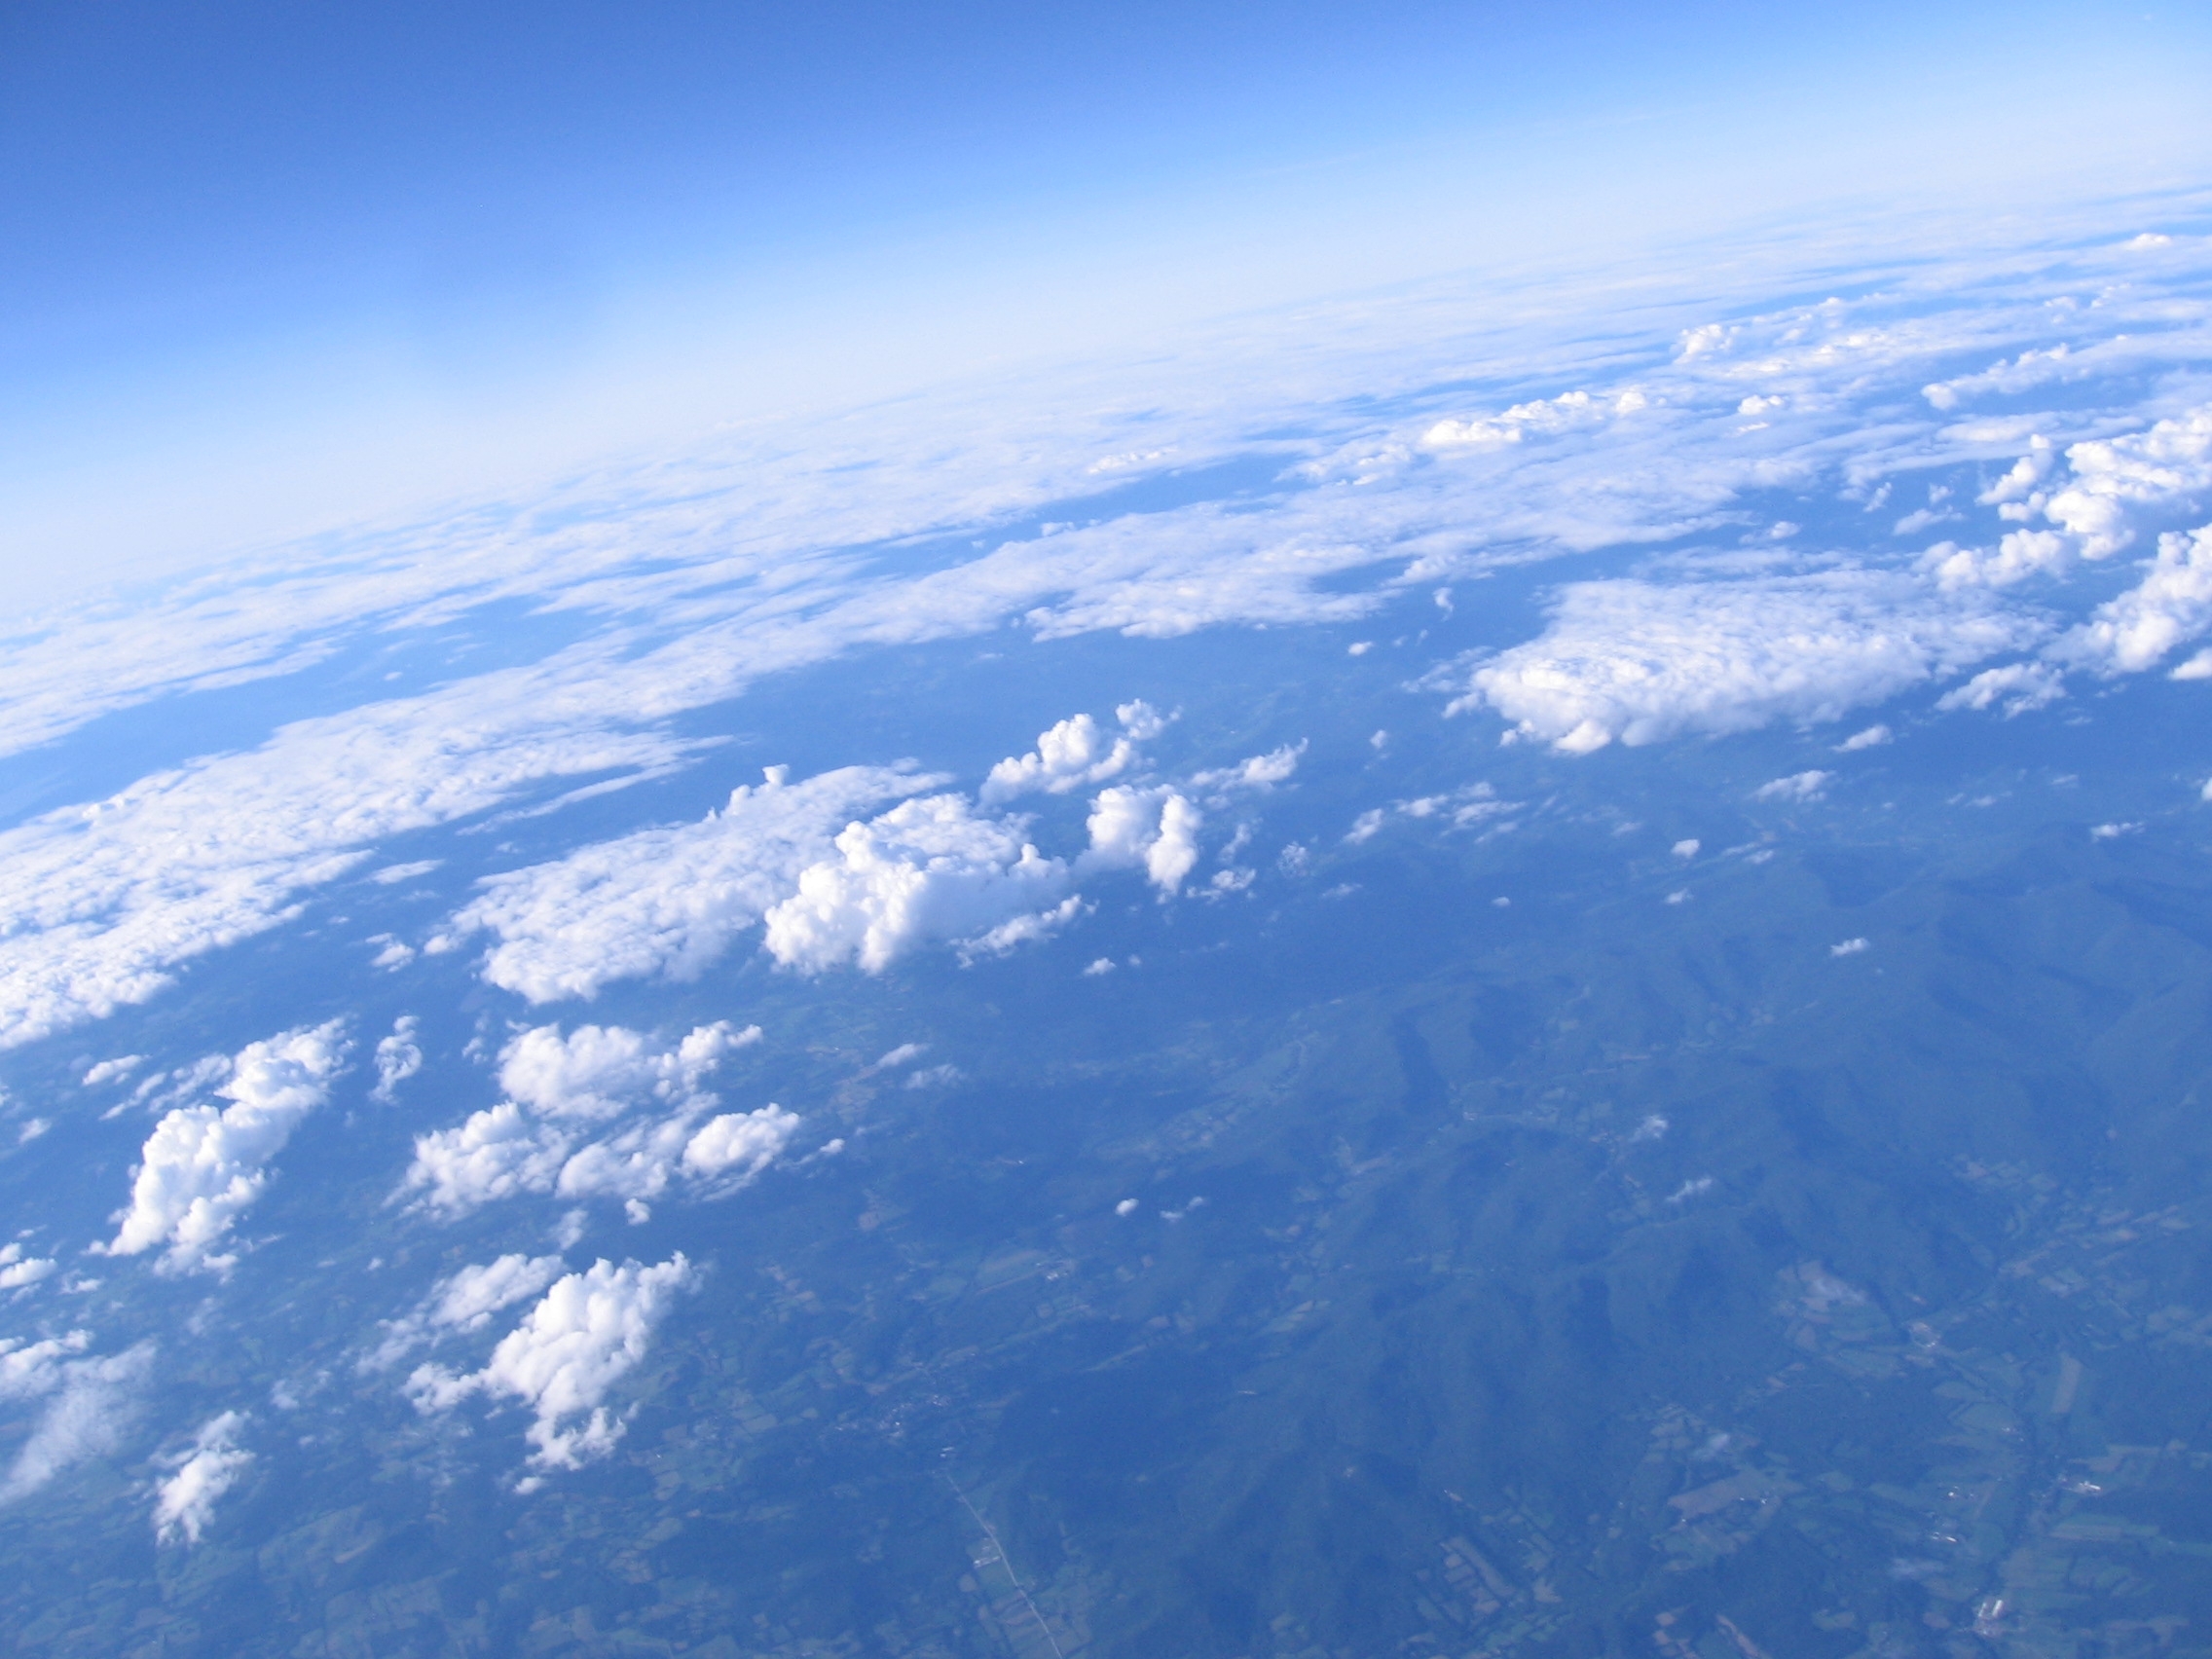
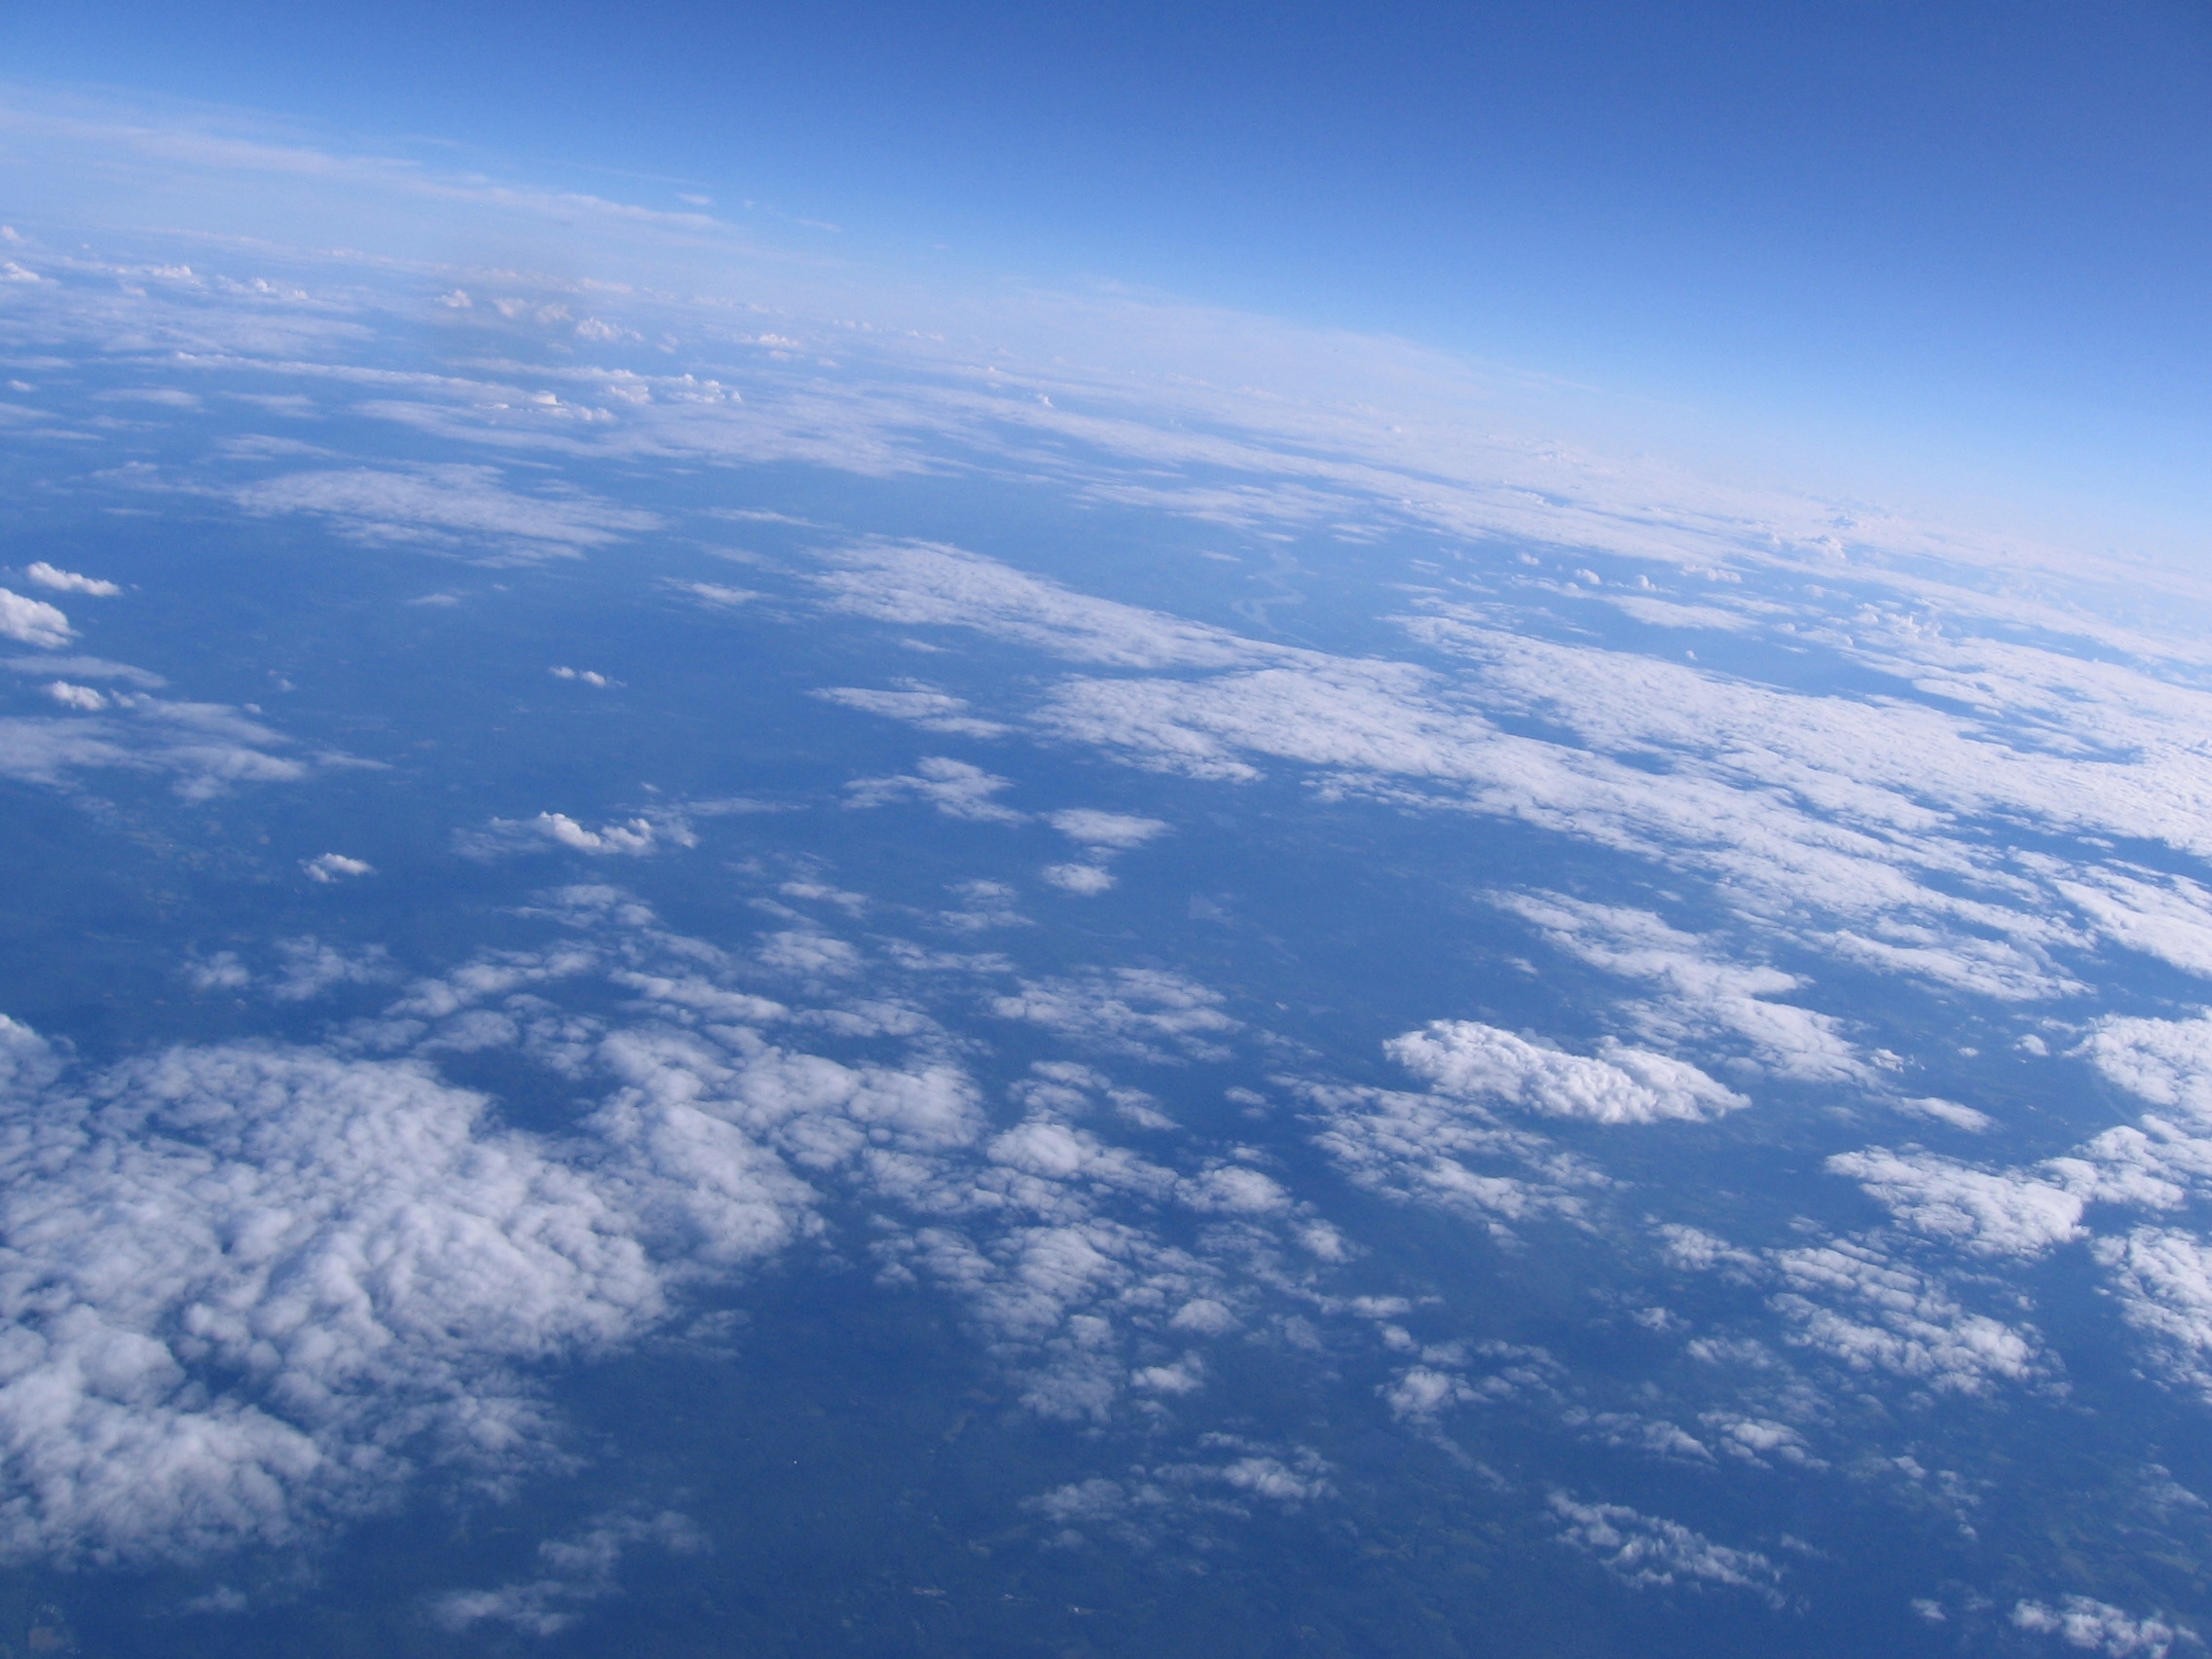
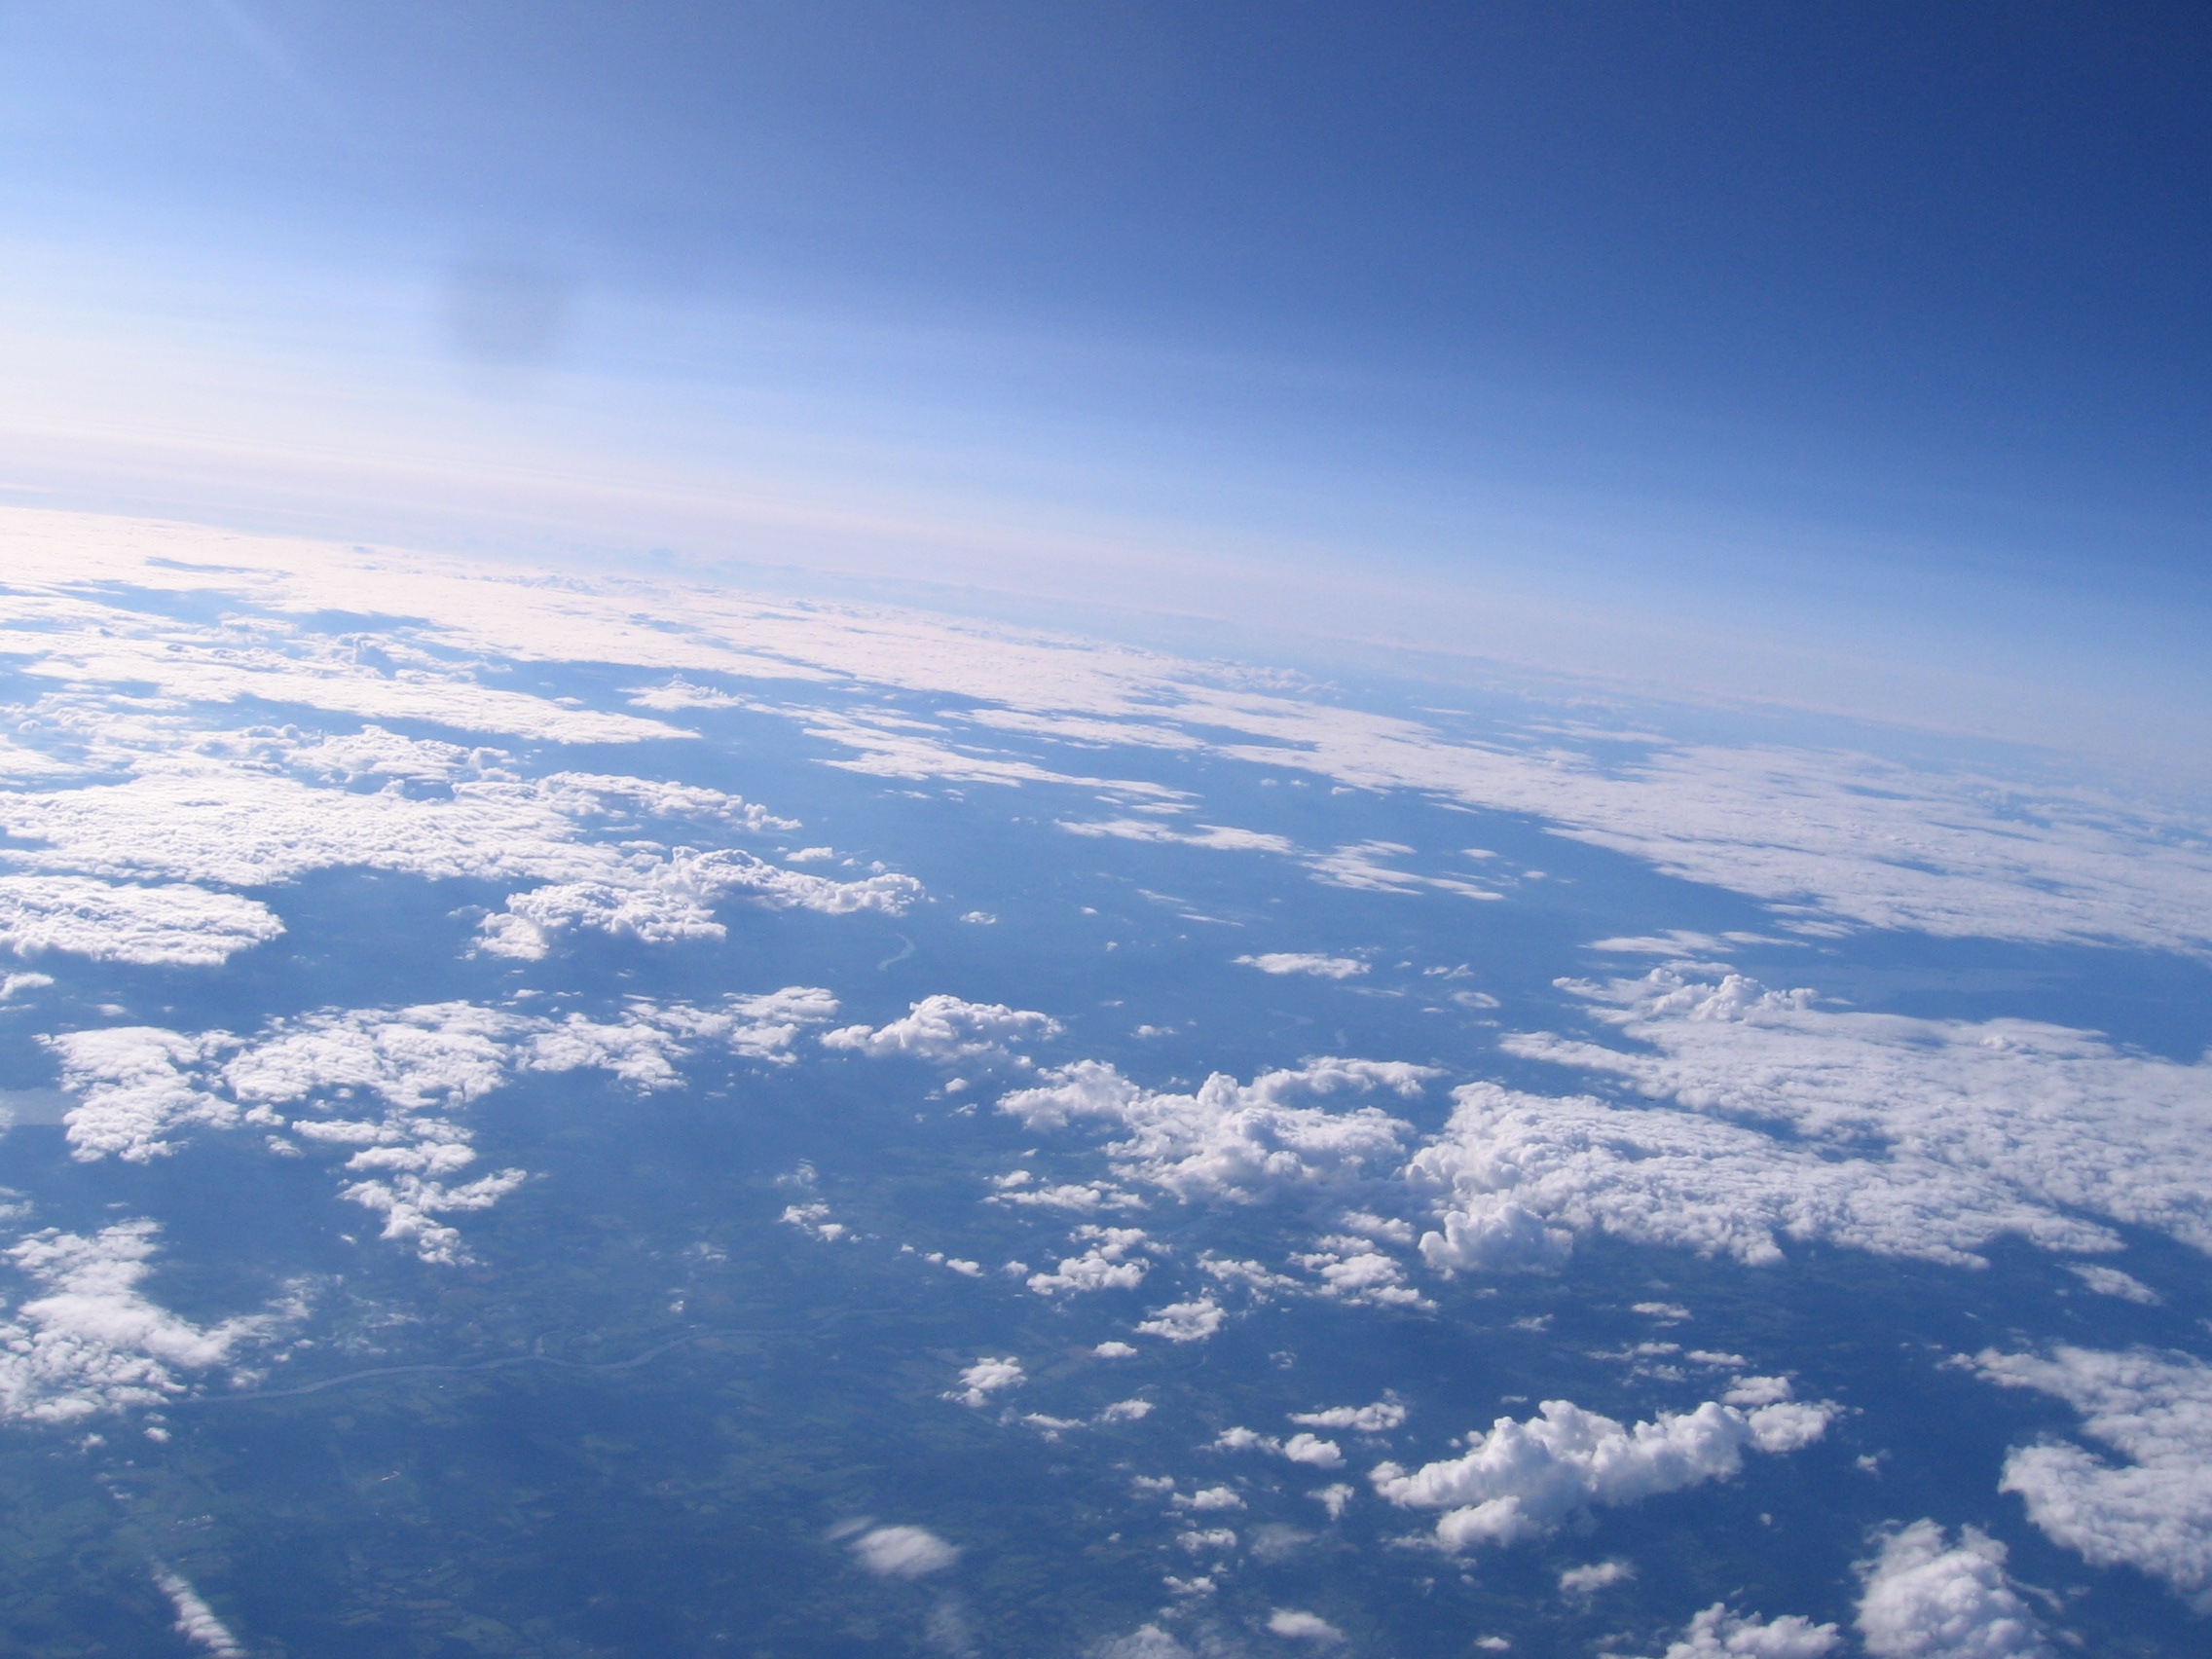
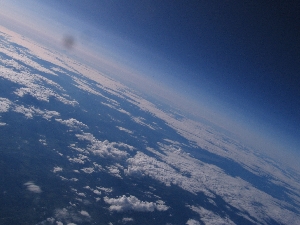
Releasing the beast. LIFTOFF, into the sky it runs. An air of disbelief and joy is awash everywhere. Note the video was rotated while recrding, it starts offset by 90 degrees. How did we not get the RPI TV club involved? That is presently a mystery. Photos From Flight (in order of ascension)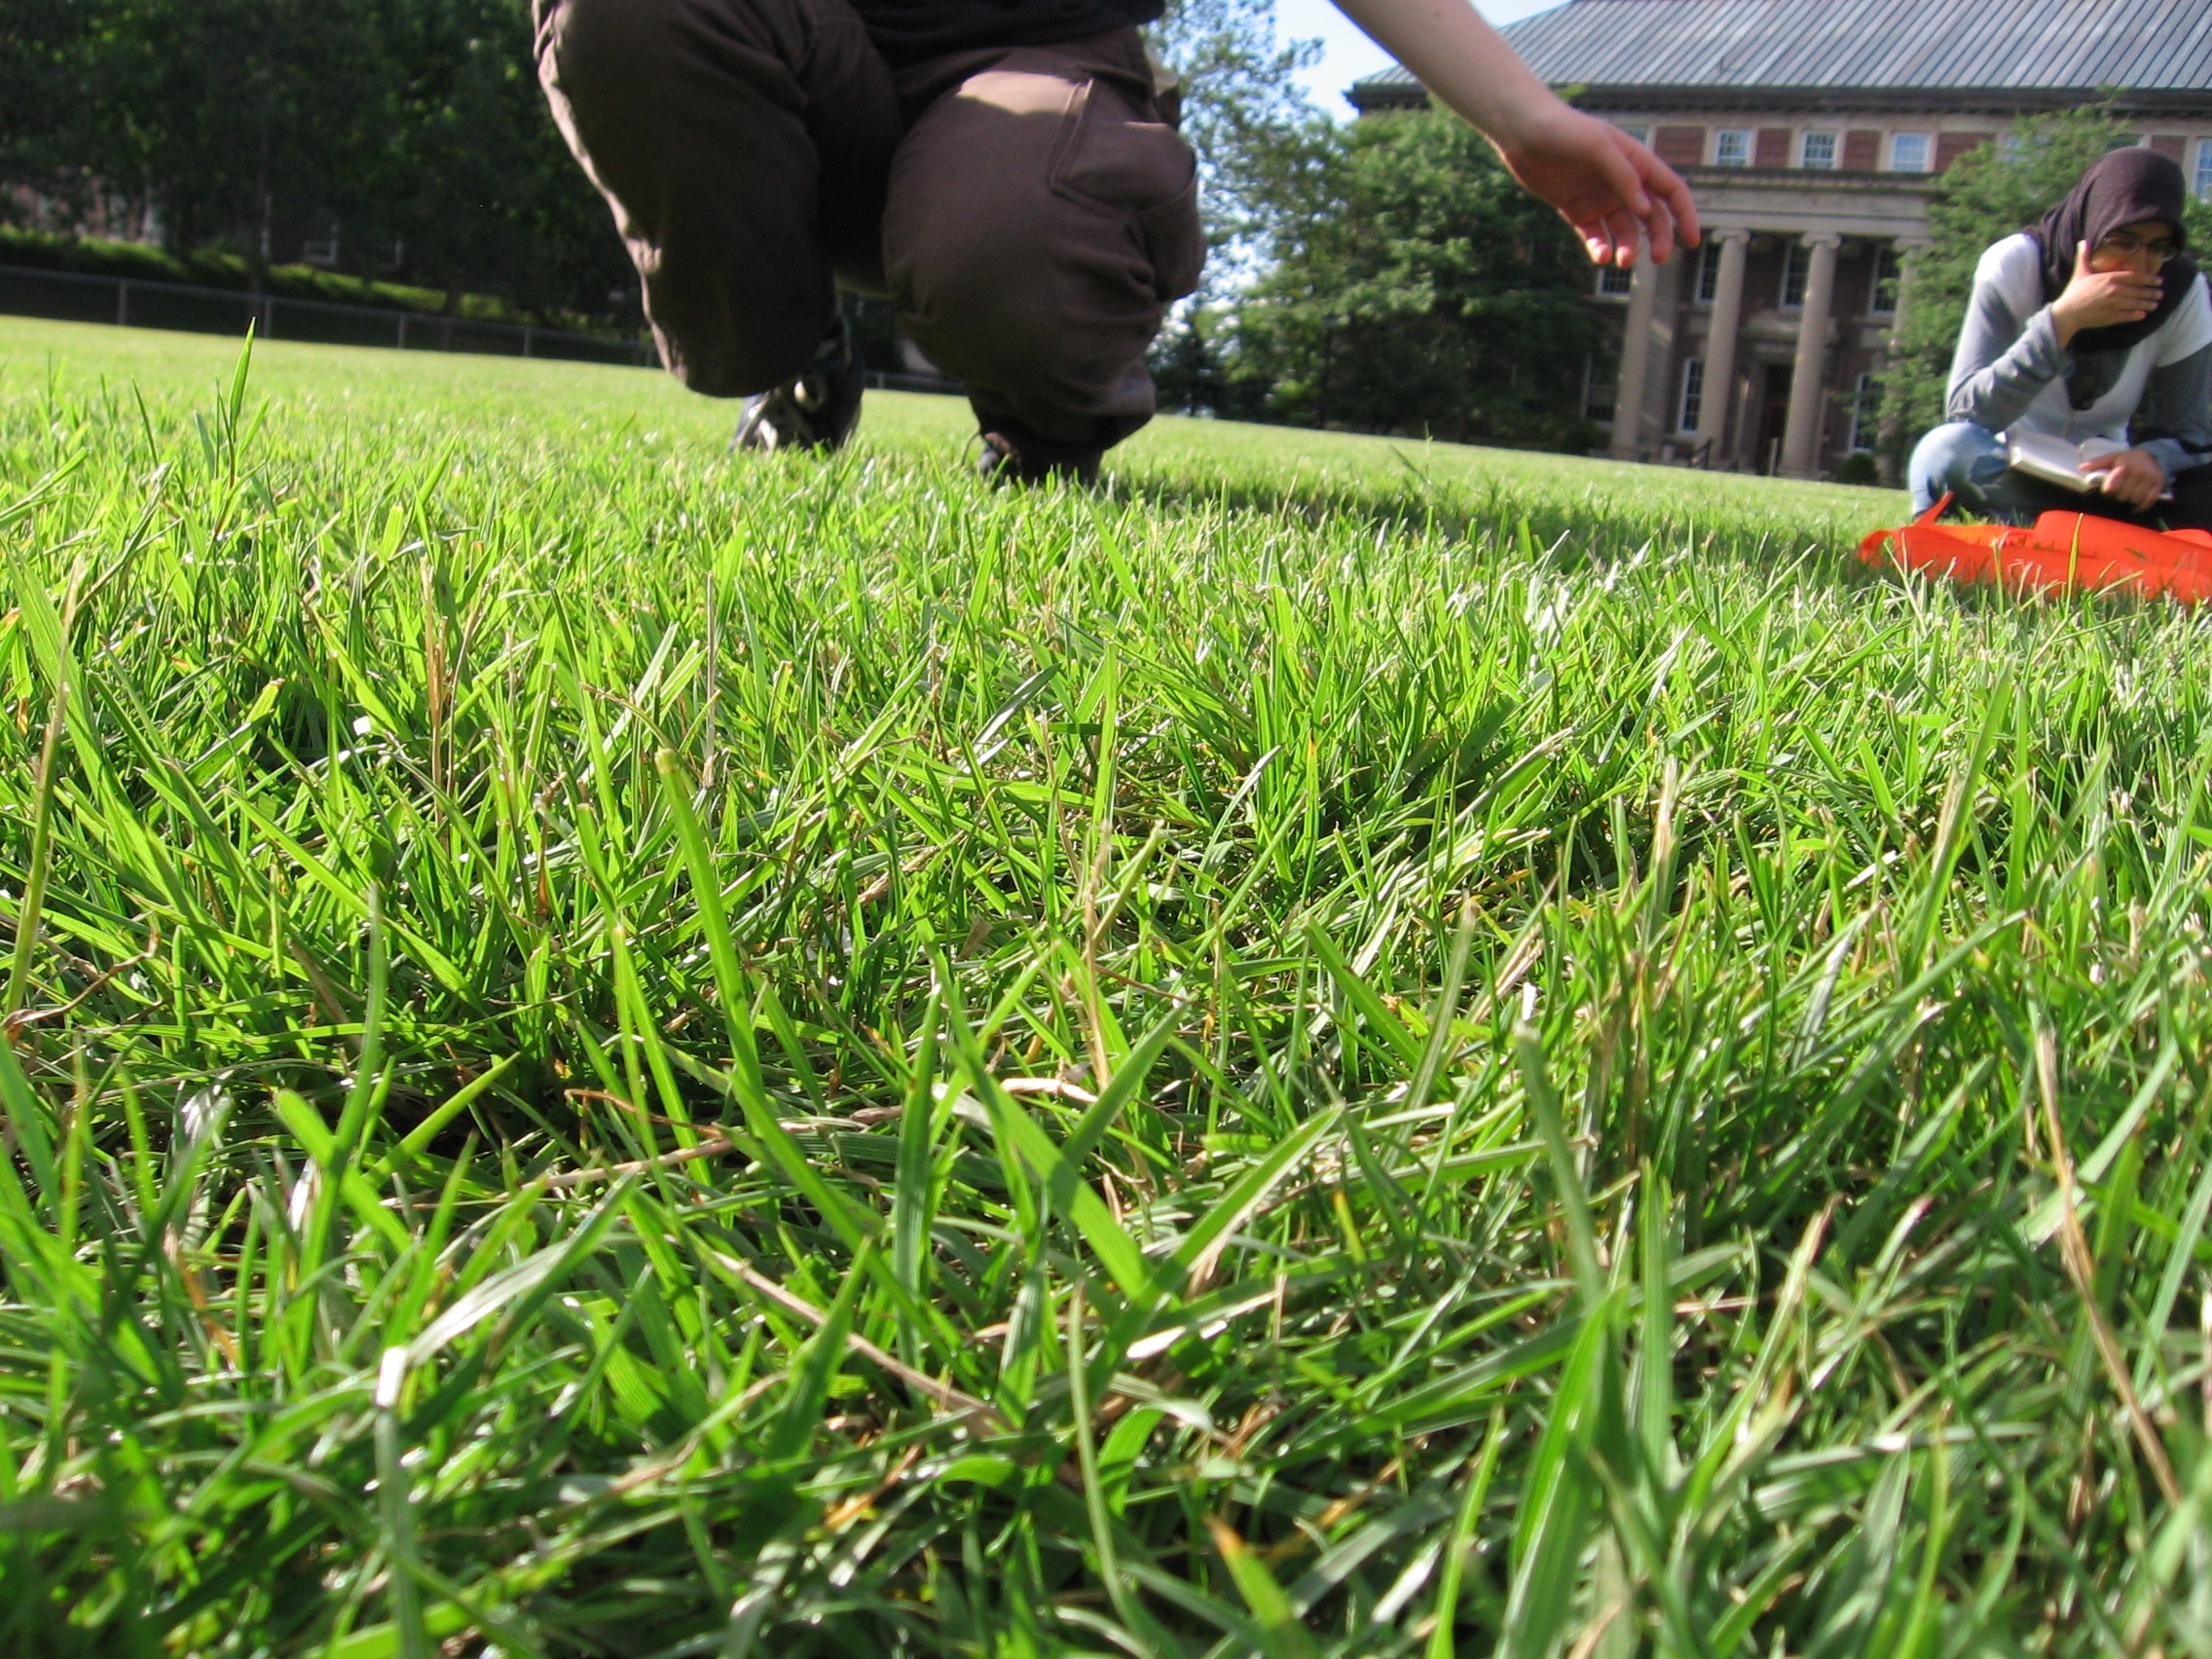


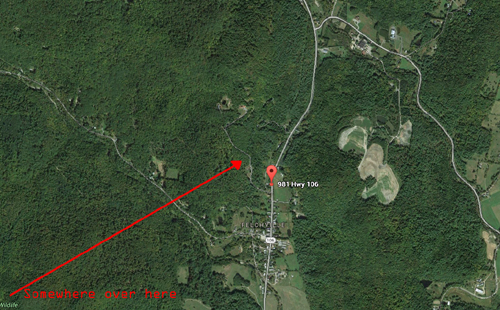
RecoveryA message to anyone that finds the craft. In this case, I used the club's email address. Had we relied on the gps alone, and if it failed, it would have been impossible to track / find. This worked out suprisingly well, after we lost the craft, a very nice couple from vermont reported finding it the 'beer cooler from the space station', and kept a hold of it until i could go and pick it up. We were really fortunate the craft landed so close to their home. 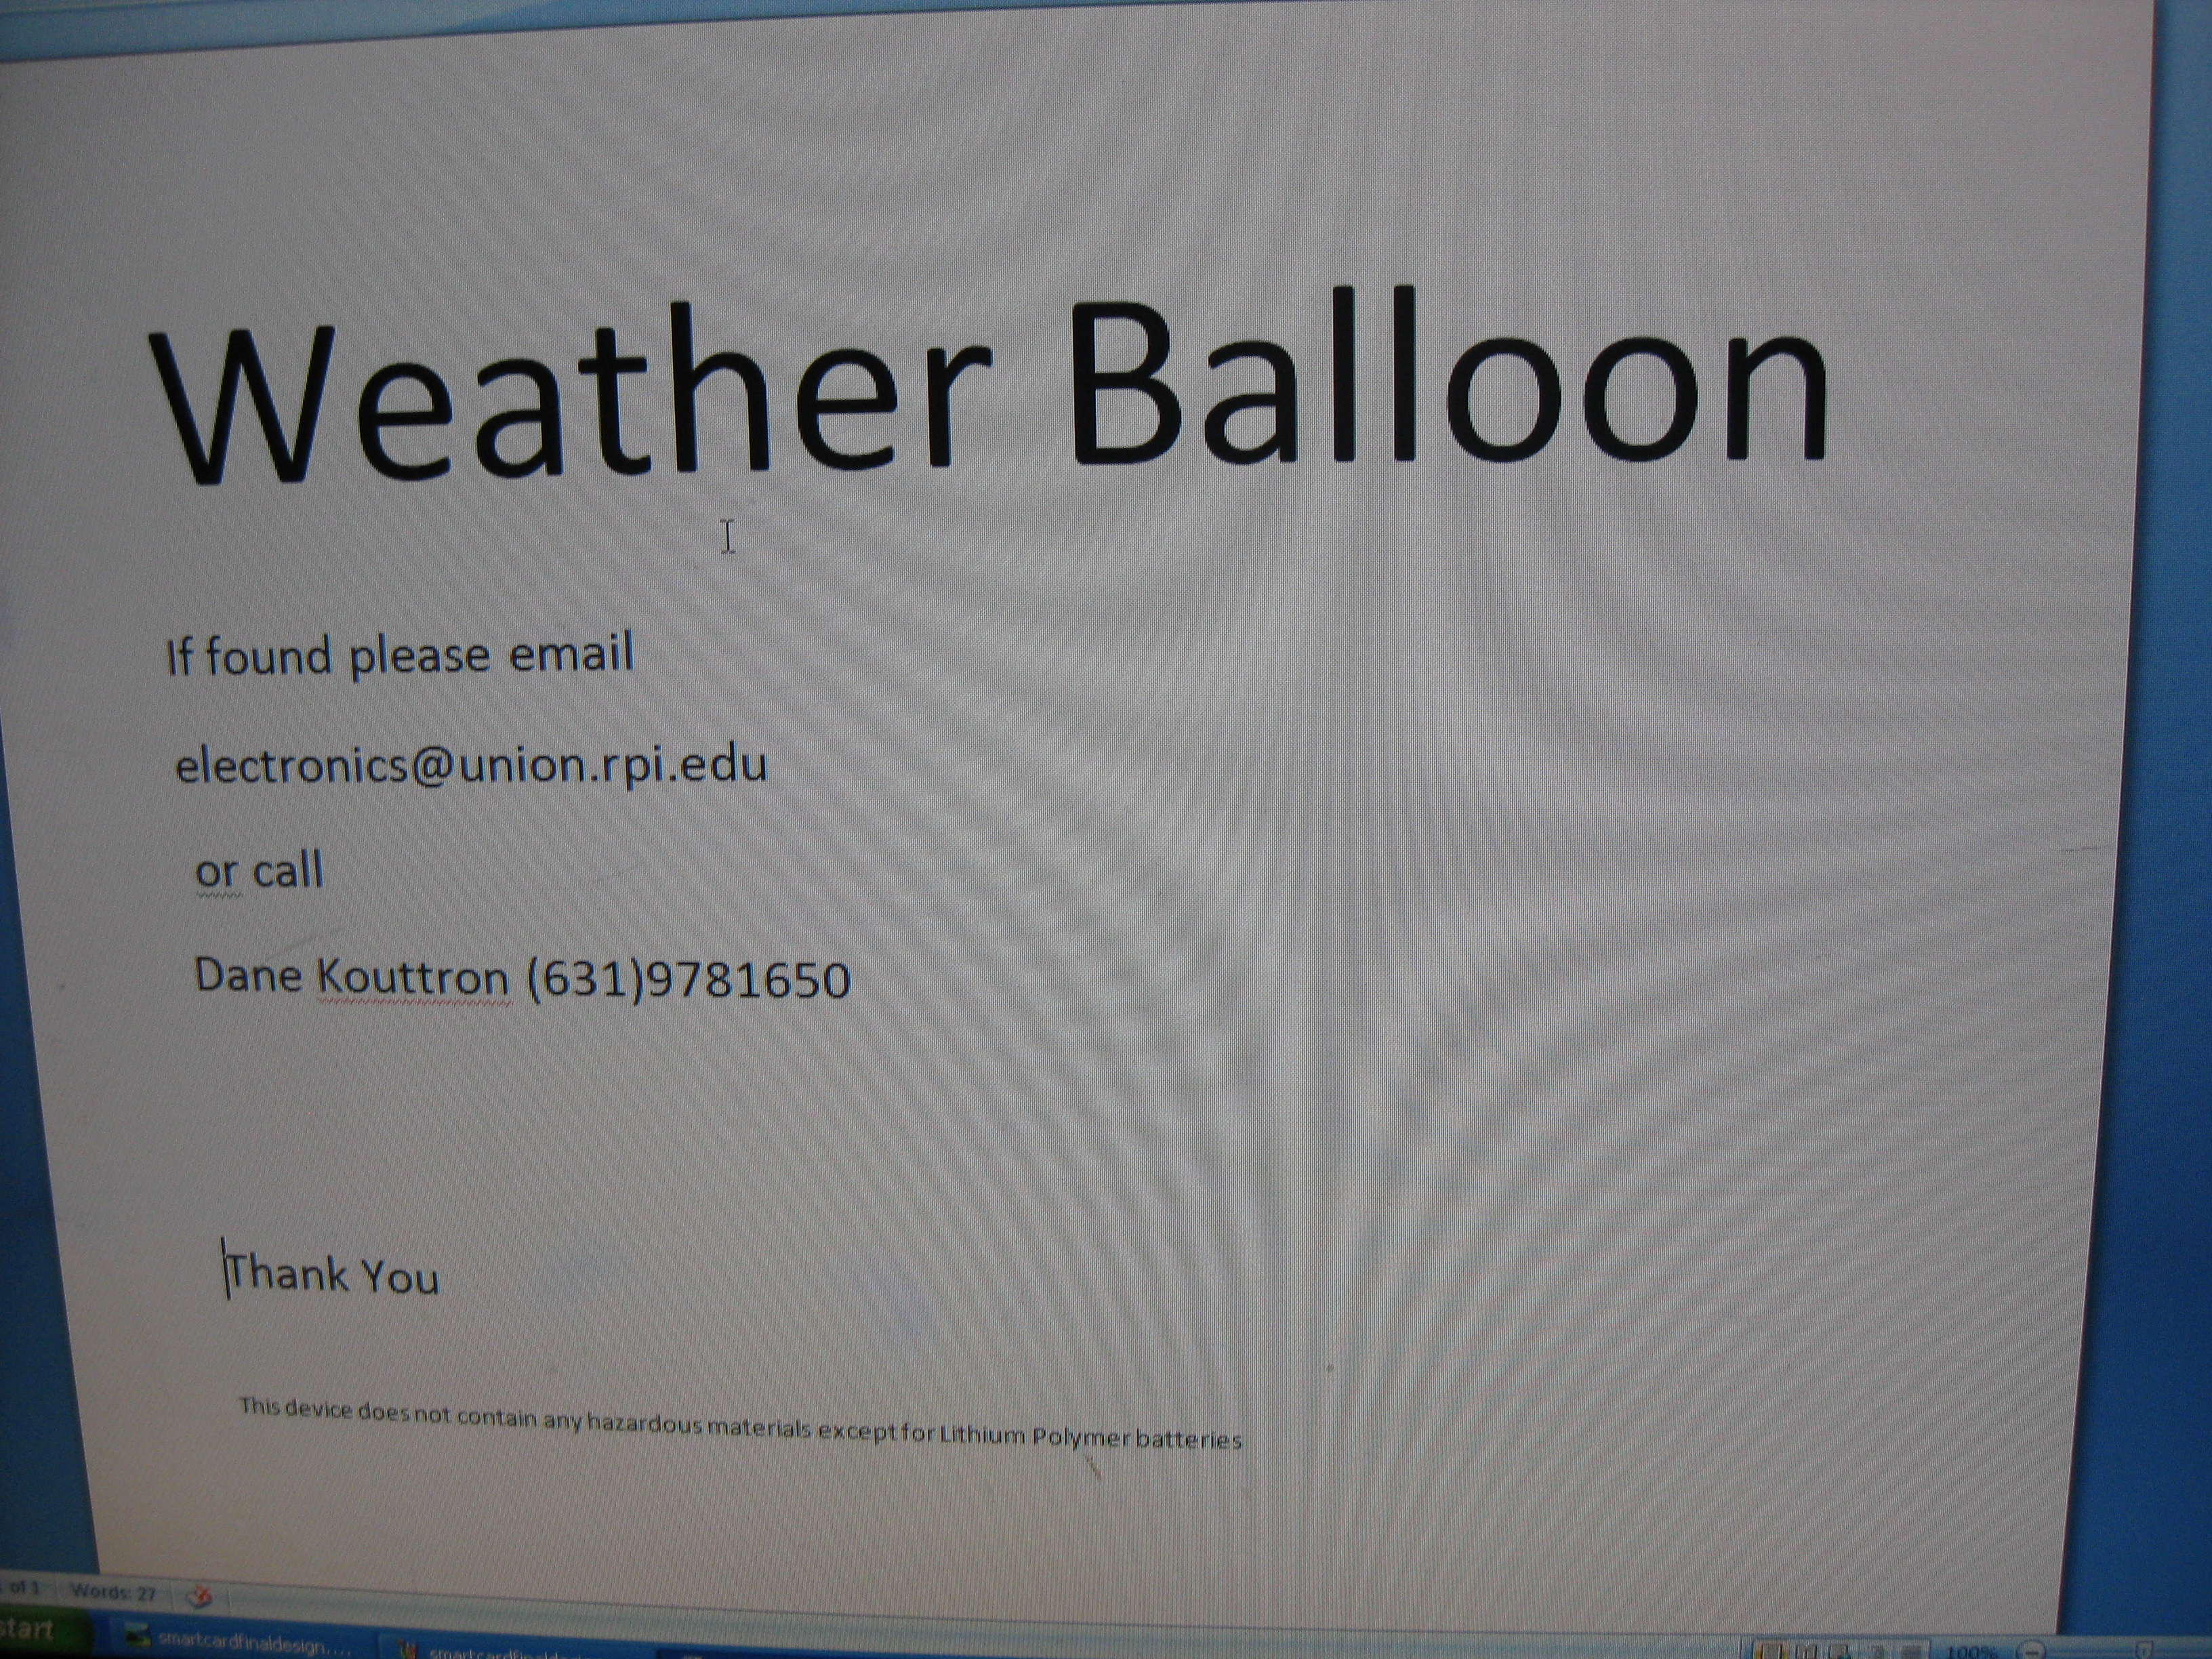
Estimating travel. we used nearspaceventure's baltrack web application to predict landing sight location. It was actually fairly accurate, but made the assumption that our landing would be slow and have a high glide ratio. 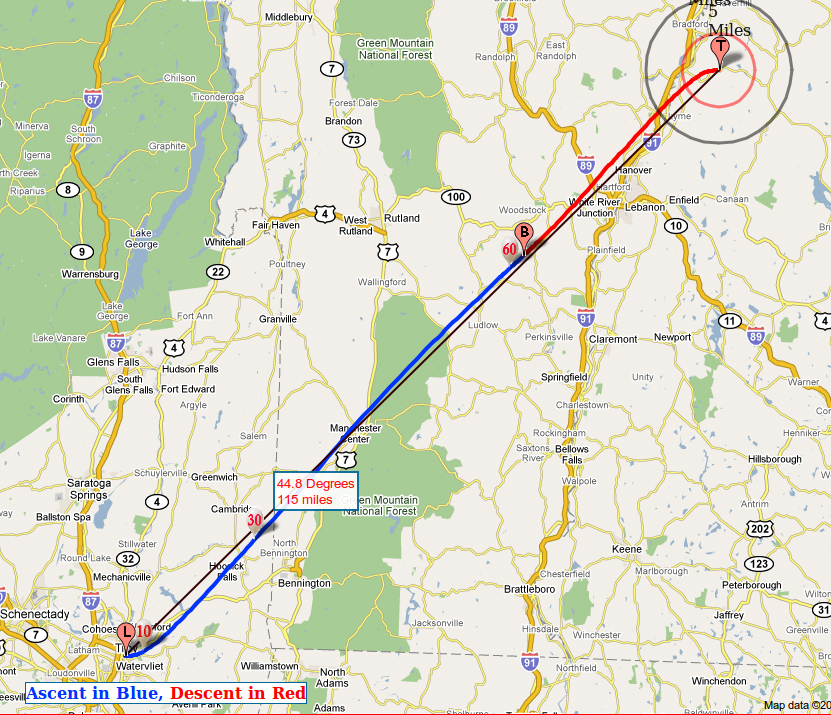
Attempting to hear the beast. Using a reciever and an amplifier the valiant armenia attemped to hear the re-broadcast 433mhz transmitter. Chasing the beast proved difficult, even in an incredibly fast transport vehicle. 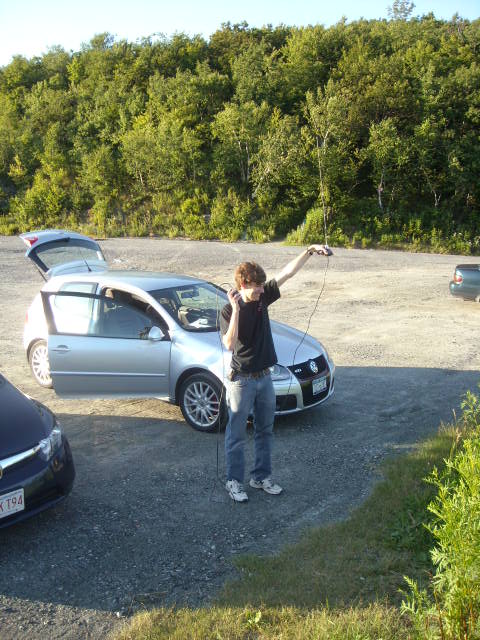
Pickup of the package! this was the email response: 
The balloon took a trip down route 7. The route was roughly 100 miles long, or a 2 + hour drive into vermont, and our fateful little craft managed to scoot all the way over there by itself. I drove from Manchester NH to pickup the payload from the very, very nice couple who lived out there. It was very sparsely populated. The last 2 miles of the trip were on gravel roads, buried in a forrest of trees. It was very lucky that the craft even landed within a mile of another human, let alone next to their porch! 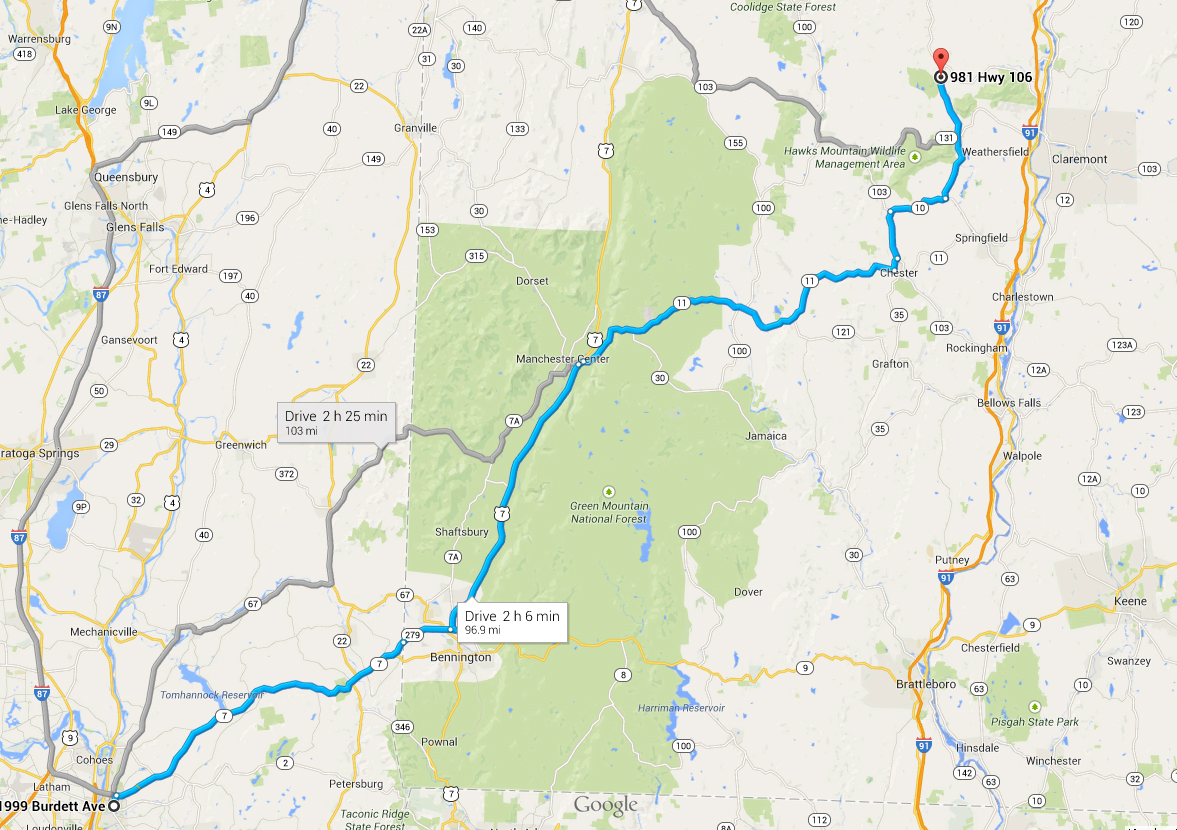
The recovered craft! This is a quick view ofthe recovered craft. It landed in one piece, a bit dinged up but for something that fell from ~40,000 ft up, using a tablecloth, in excellent shape! 
The Team

Dane Kouttron • Jeff Chagnon 

James Streitman • Andrew Tamoney 

Emily Krupczak • Charles Emala

Andrew Armenia • Eric VanWyk 
THE BALLOON
Have you noticed that there are no advertisements or ridiculous pop ups?
Want More?


|
Concluding Remarks: |
|
What a blast! This was, by far, the most beautiful summer day I had ever experienced in Troy Ny, and an excellent time with a group of friends who didnt quite all know each other. We had a premature battery failure for the main CPU, operating at low pressure and low temperature was hard on the lithium pack and the CPU constantly craving 10W didnt help either. Once our CPU power ended, the camera was no longer instructed to take pictures. Our failsafe mechanism, the GPS, transmitted position data at 433mhz by a microcontroller, and operated throughout out flight. The CPU was nice, being able to ssh into a FRIGGING Balloon is pretty excellent. As our chute system was purely mechanical, and didnt require CPU intervention. The craft landed unscathed in Vermont. After a quick retrieval, and grabbing of the data from the system's SD card, we were able to retrieve images up until 32 minutes into flight (based on the camera's internal clock). in hindsight we should have kept logs onboard of GPS data. Again, the craft was built in 28 hours, from the ground up. thats a functioning linux box, power supplies, usb communications, backup communications, landing gear, and many other intracies. There are ways of doing this cheaper, and quicker. Sure you could glue a smartphone to a balloon, however that isn't how we folks rolled.
Things we learned: Thinkers' like challenges. Building a near-space vehicle in a weekend, launching and retrieving images is, a challenge. We rocked that challenge, had a blast, fended off sleep, soldered until the last second, communicated over radios, drove across 3 states and had wonderfully in-depth conversations, all on one of the nicest day's Troy NY has ever seen. Thanks to all who contributed. Thanks Deka'ns for your insight.
Special Thanks: As an aside: we somehow managed to burn through 4 lieters of mountain dew to make this happen, plan ahead if you're doing the same! 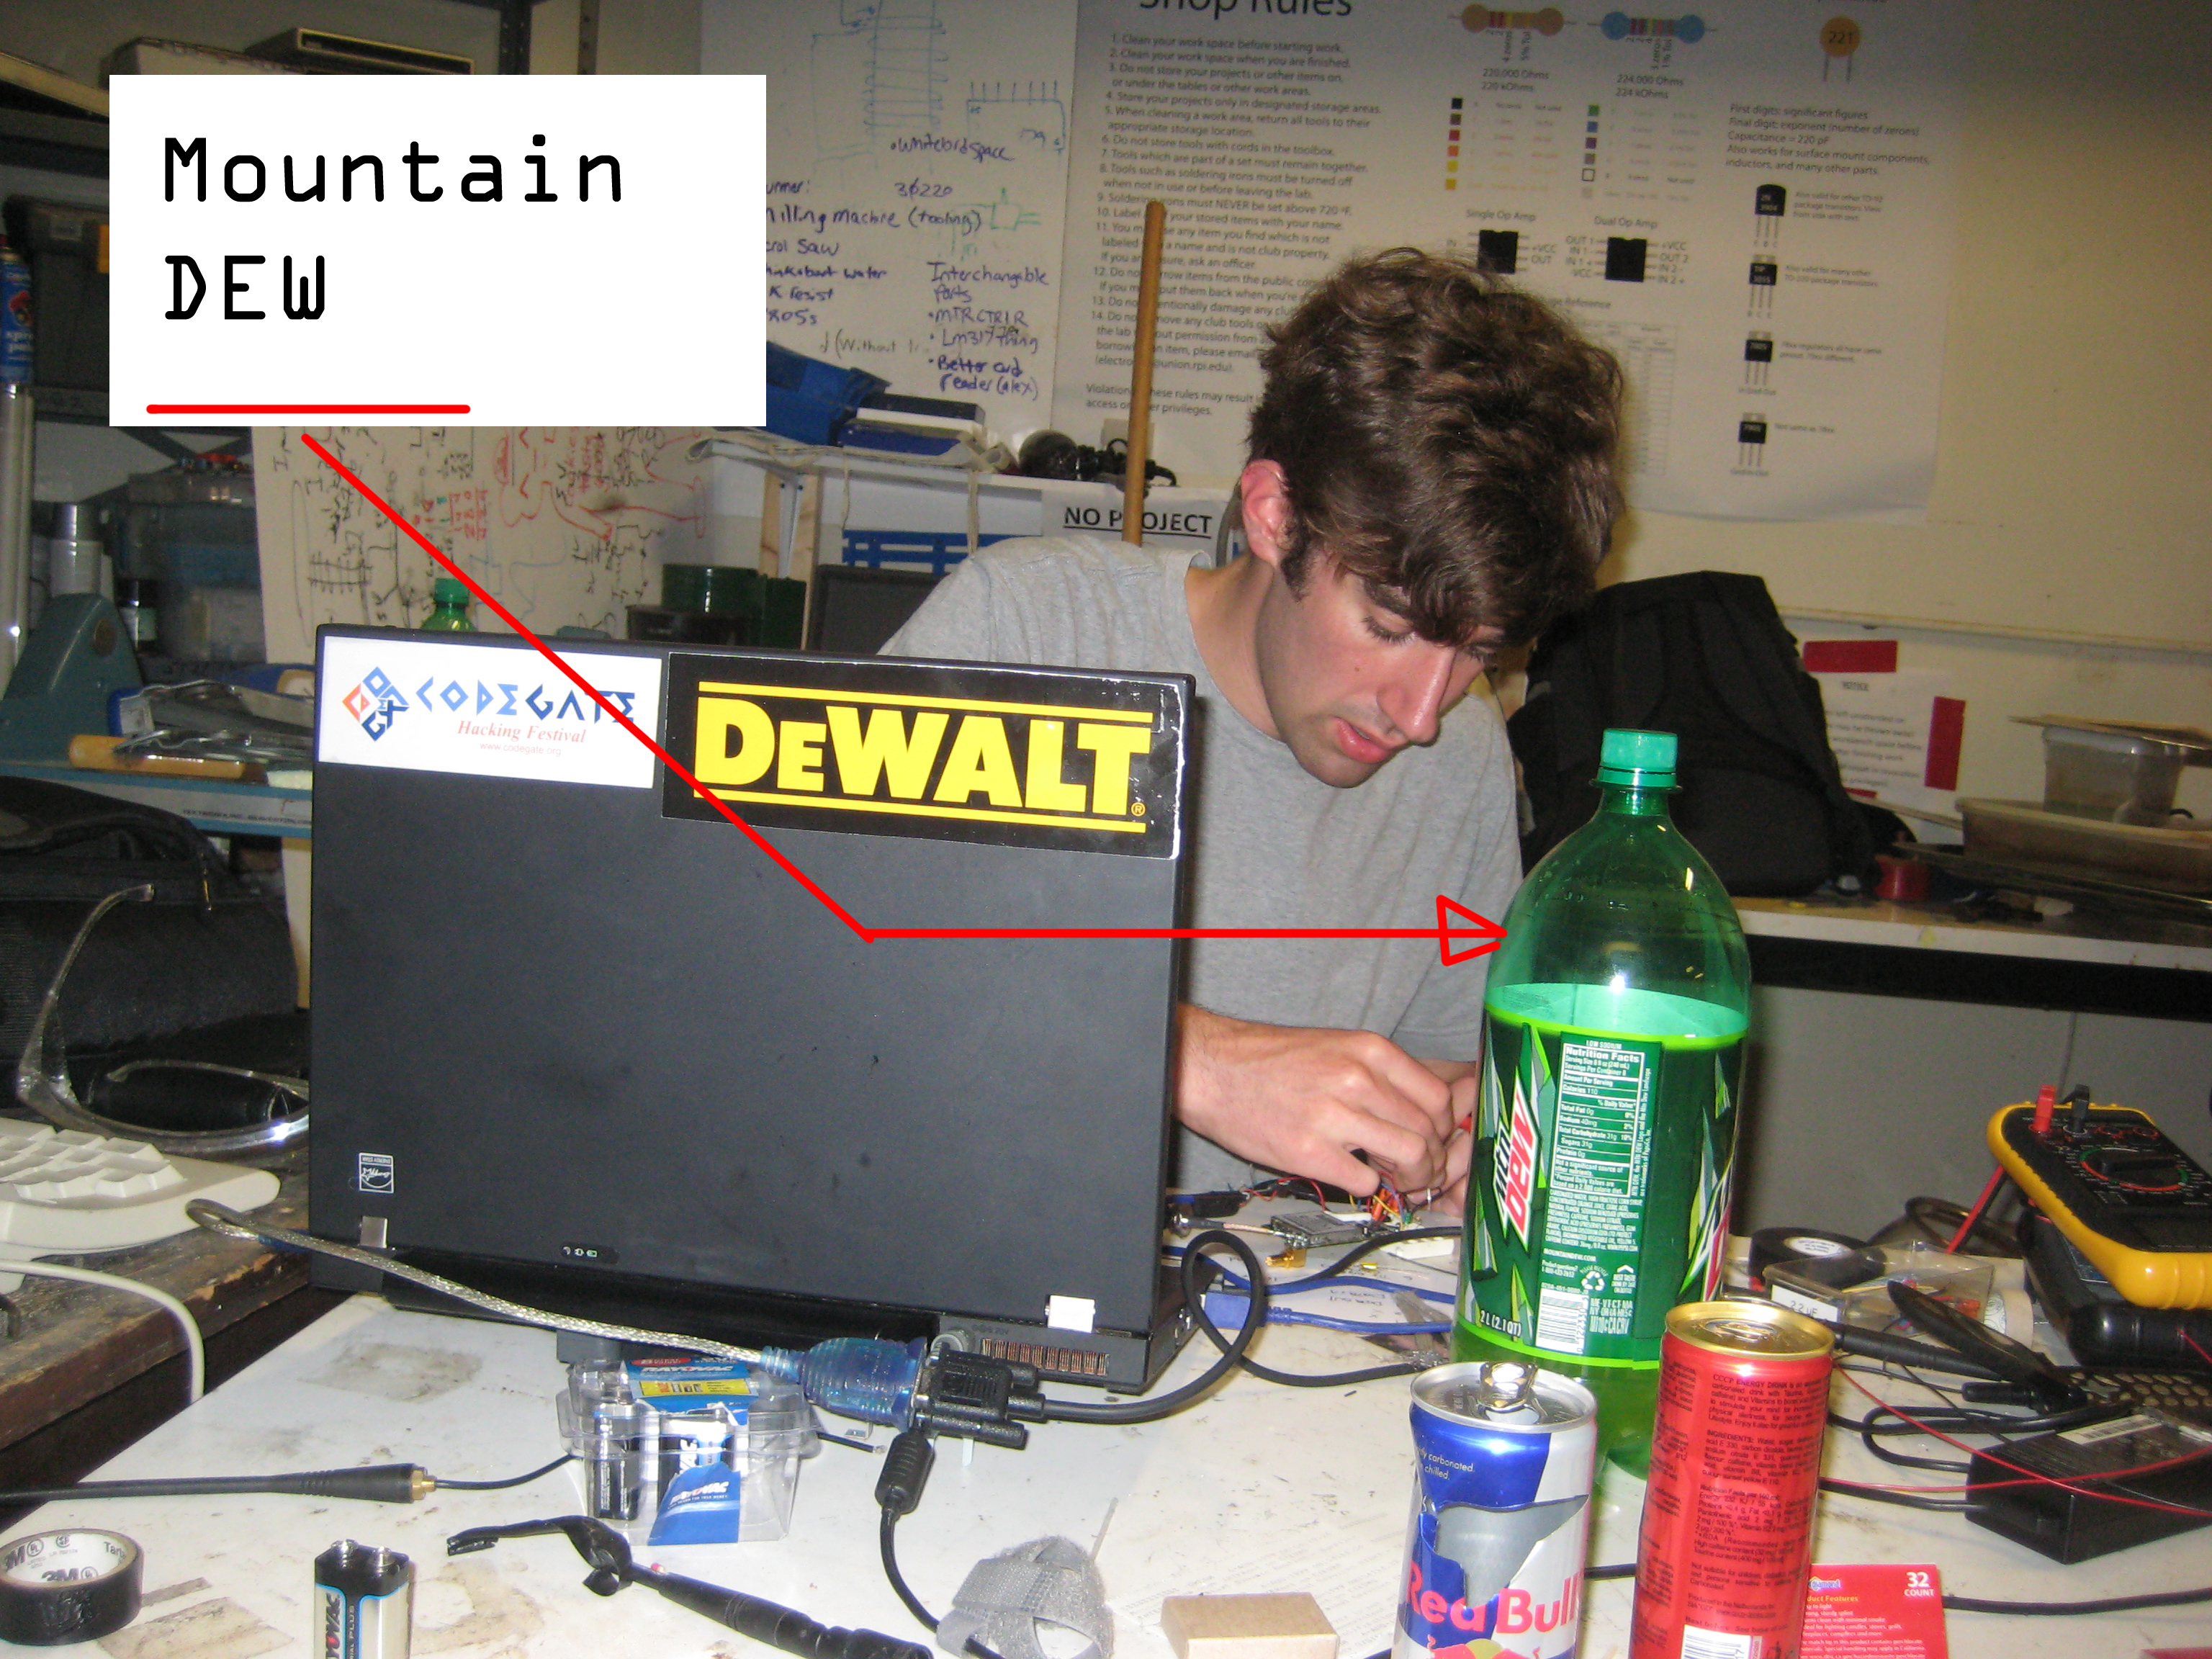
References: If you have questions or comments, ask below or send over an email. (be careful, im not responsible for FAA cease and desist letter)
|
Post your comments! |
|
Comment Box loading
|