Dane.Kouttron
[3.20.10]
Dyeing
Printed Circuit Boards
[OPERATIONAL]
What?
DIY PCB's are wonderful, its an artform any good EE
should
know. Its great for prototyping, but what about when the prototype is
the final product?
Dingy pale brown material isnt terribly attractive
|
 |
|
| How
much is this gonna cost me? |
Image/
Media |
Very
cheap, I used RIT dye, a common product available at most food stores,
used for dyeing clothes. A standard package of dye is good for coloring
a washing machine full of clothes. After modifying the instructions a
bit, you can dye your pcb just the same.
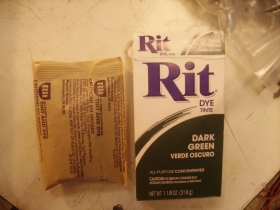
I used 'DARK Green' however, something lighter
might work better, more colors will be posted soon
Total cost, less than $3
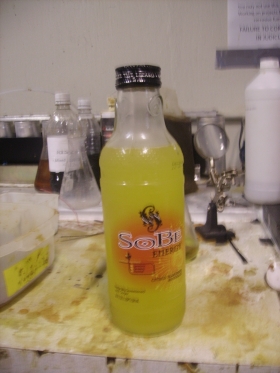
($1.40 for the dye, $1.50 for the SOBE drink) |
|
| What
Do I Need |
Image/
Media |
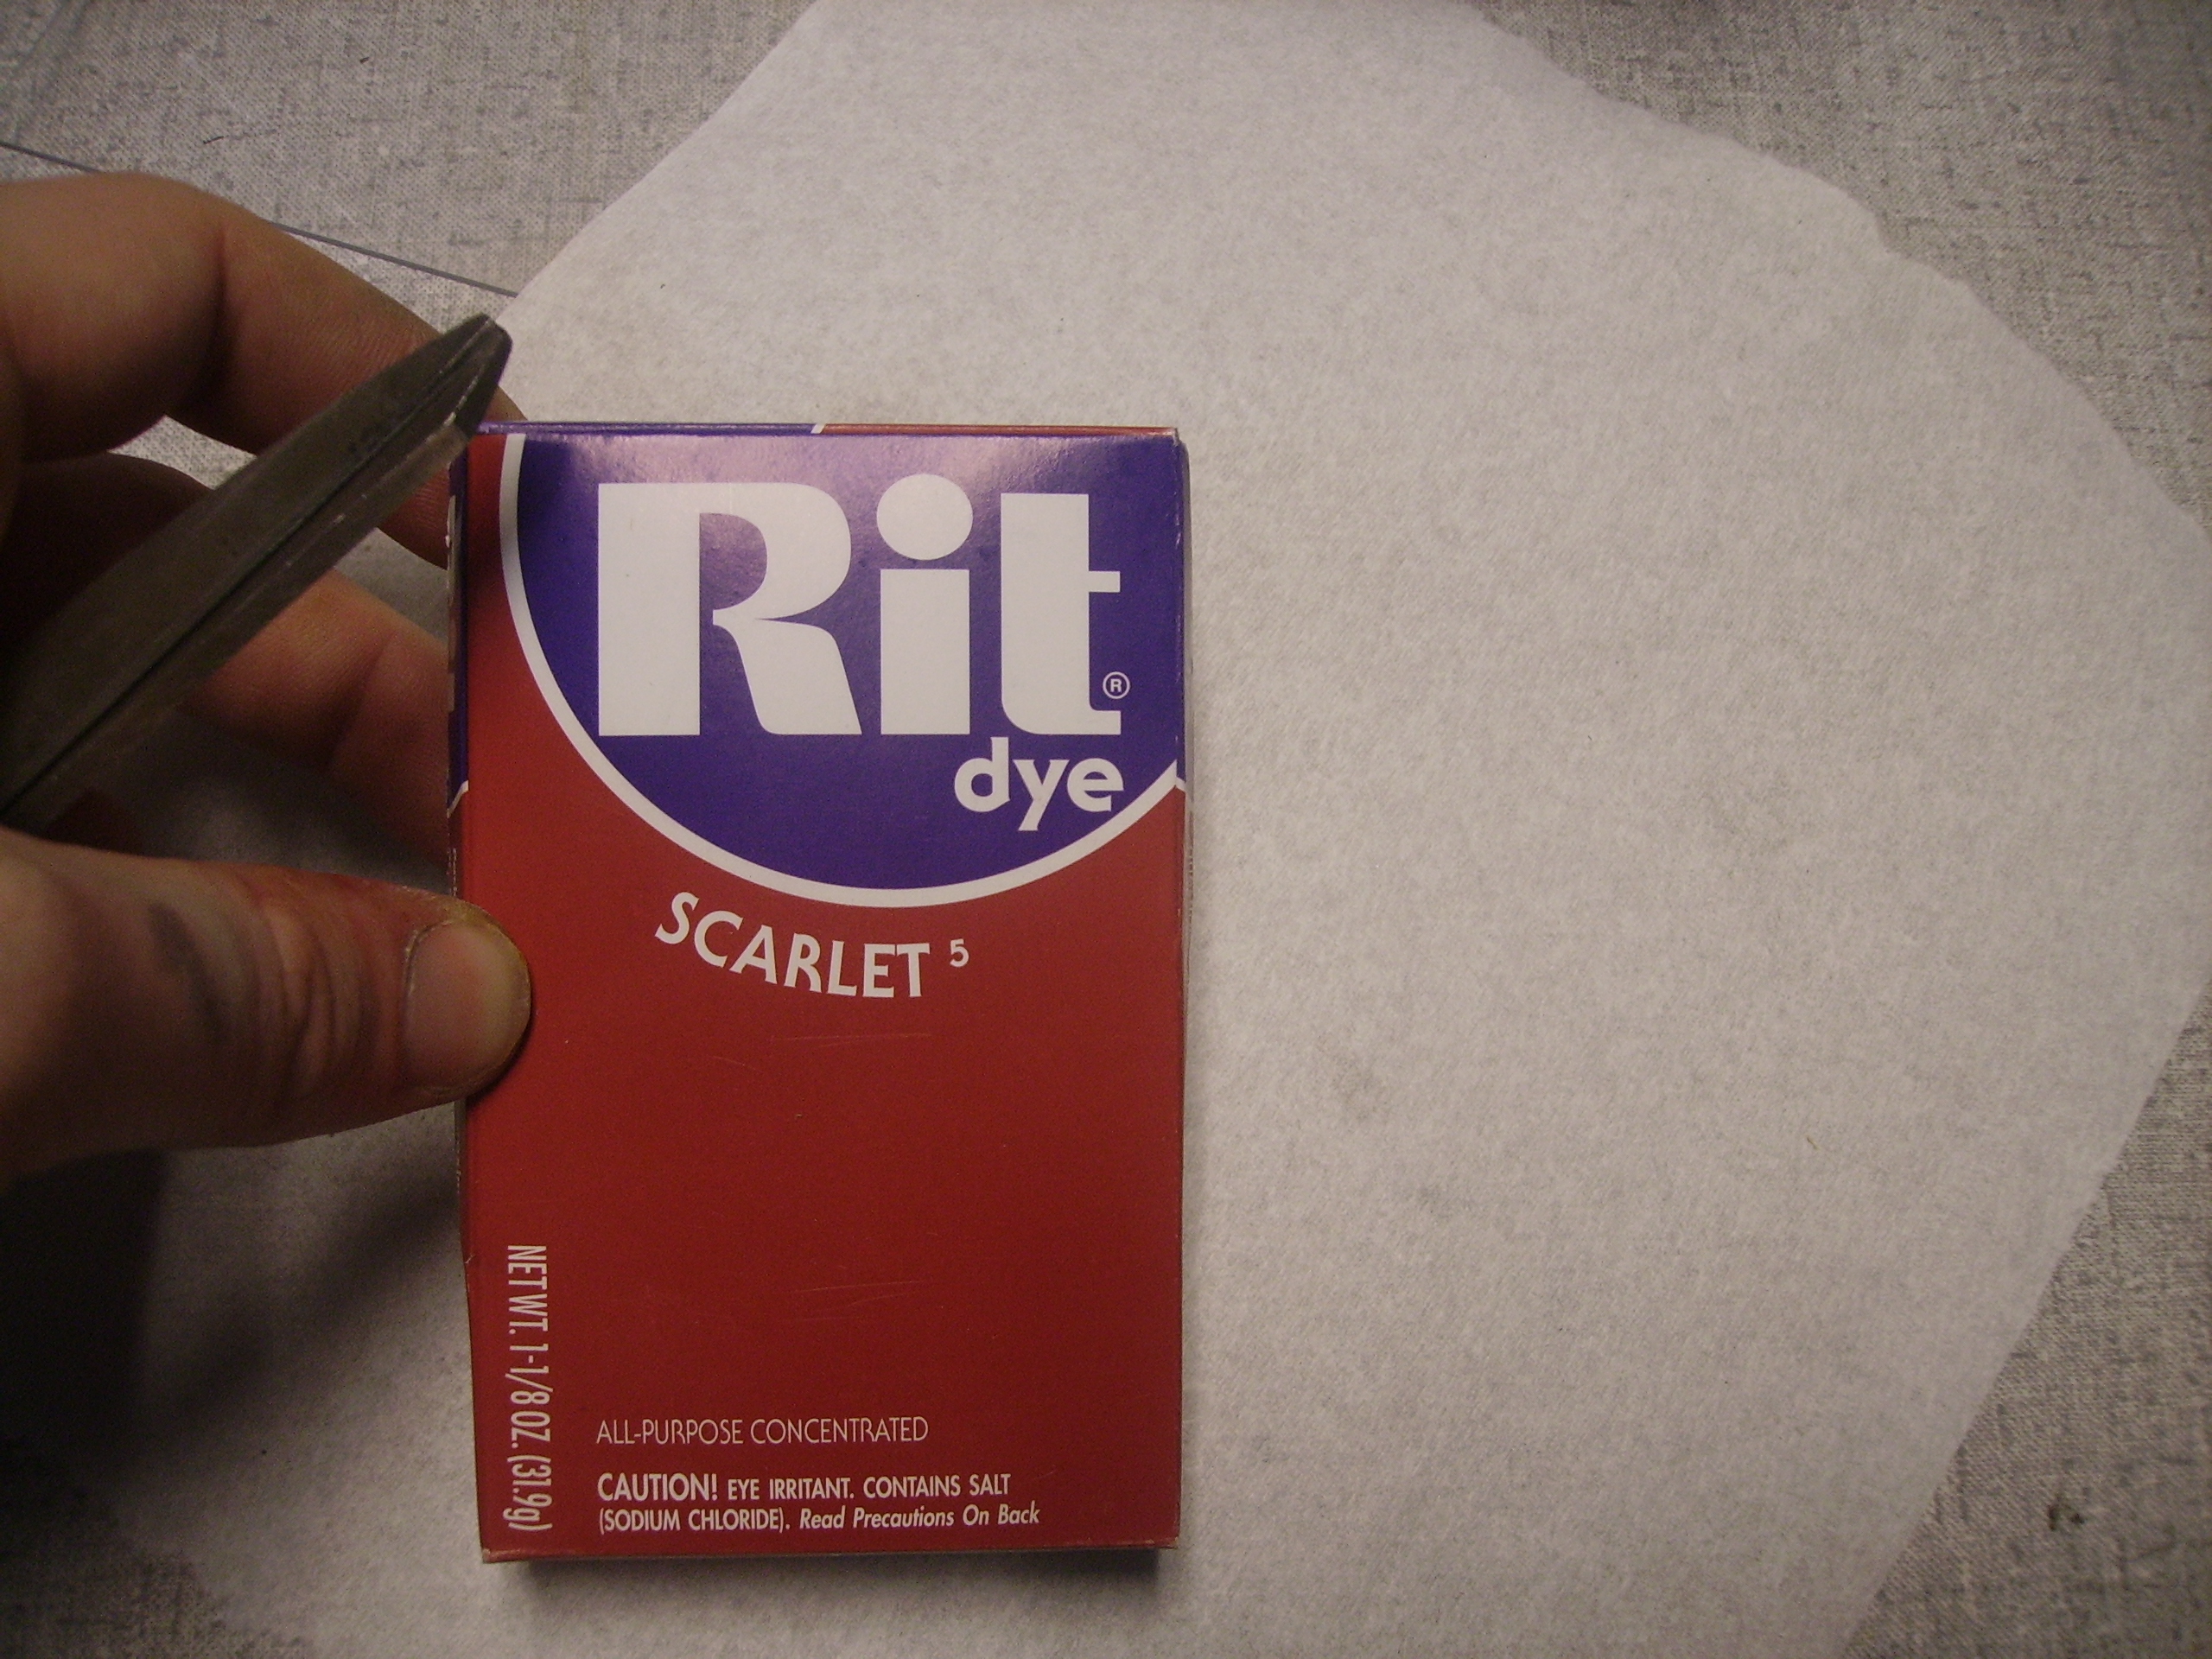
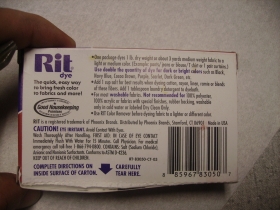
RIT
DYE / Powerful Clothing DYE:
(image above is of rit dye container. They are available at food stores
(price
chopper / wegmans / whatnot). This was in the Tea isle. Its generally
used for dying large batches of clothes. Its a salt-based mixture, that
is safe for a washing machine.
(I mixed it in an erlenhymer flash, for the sake of science)
|
|
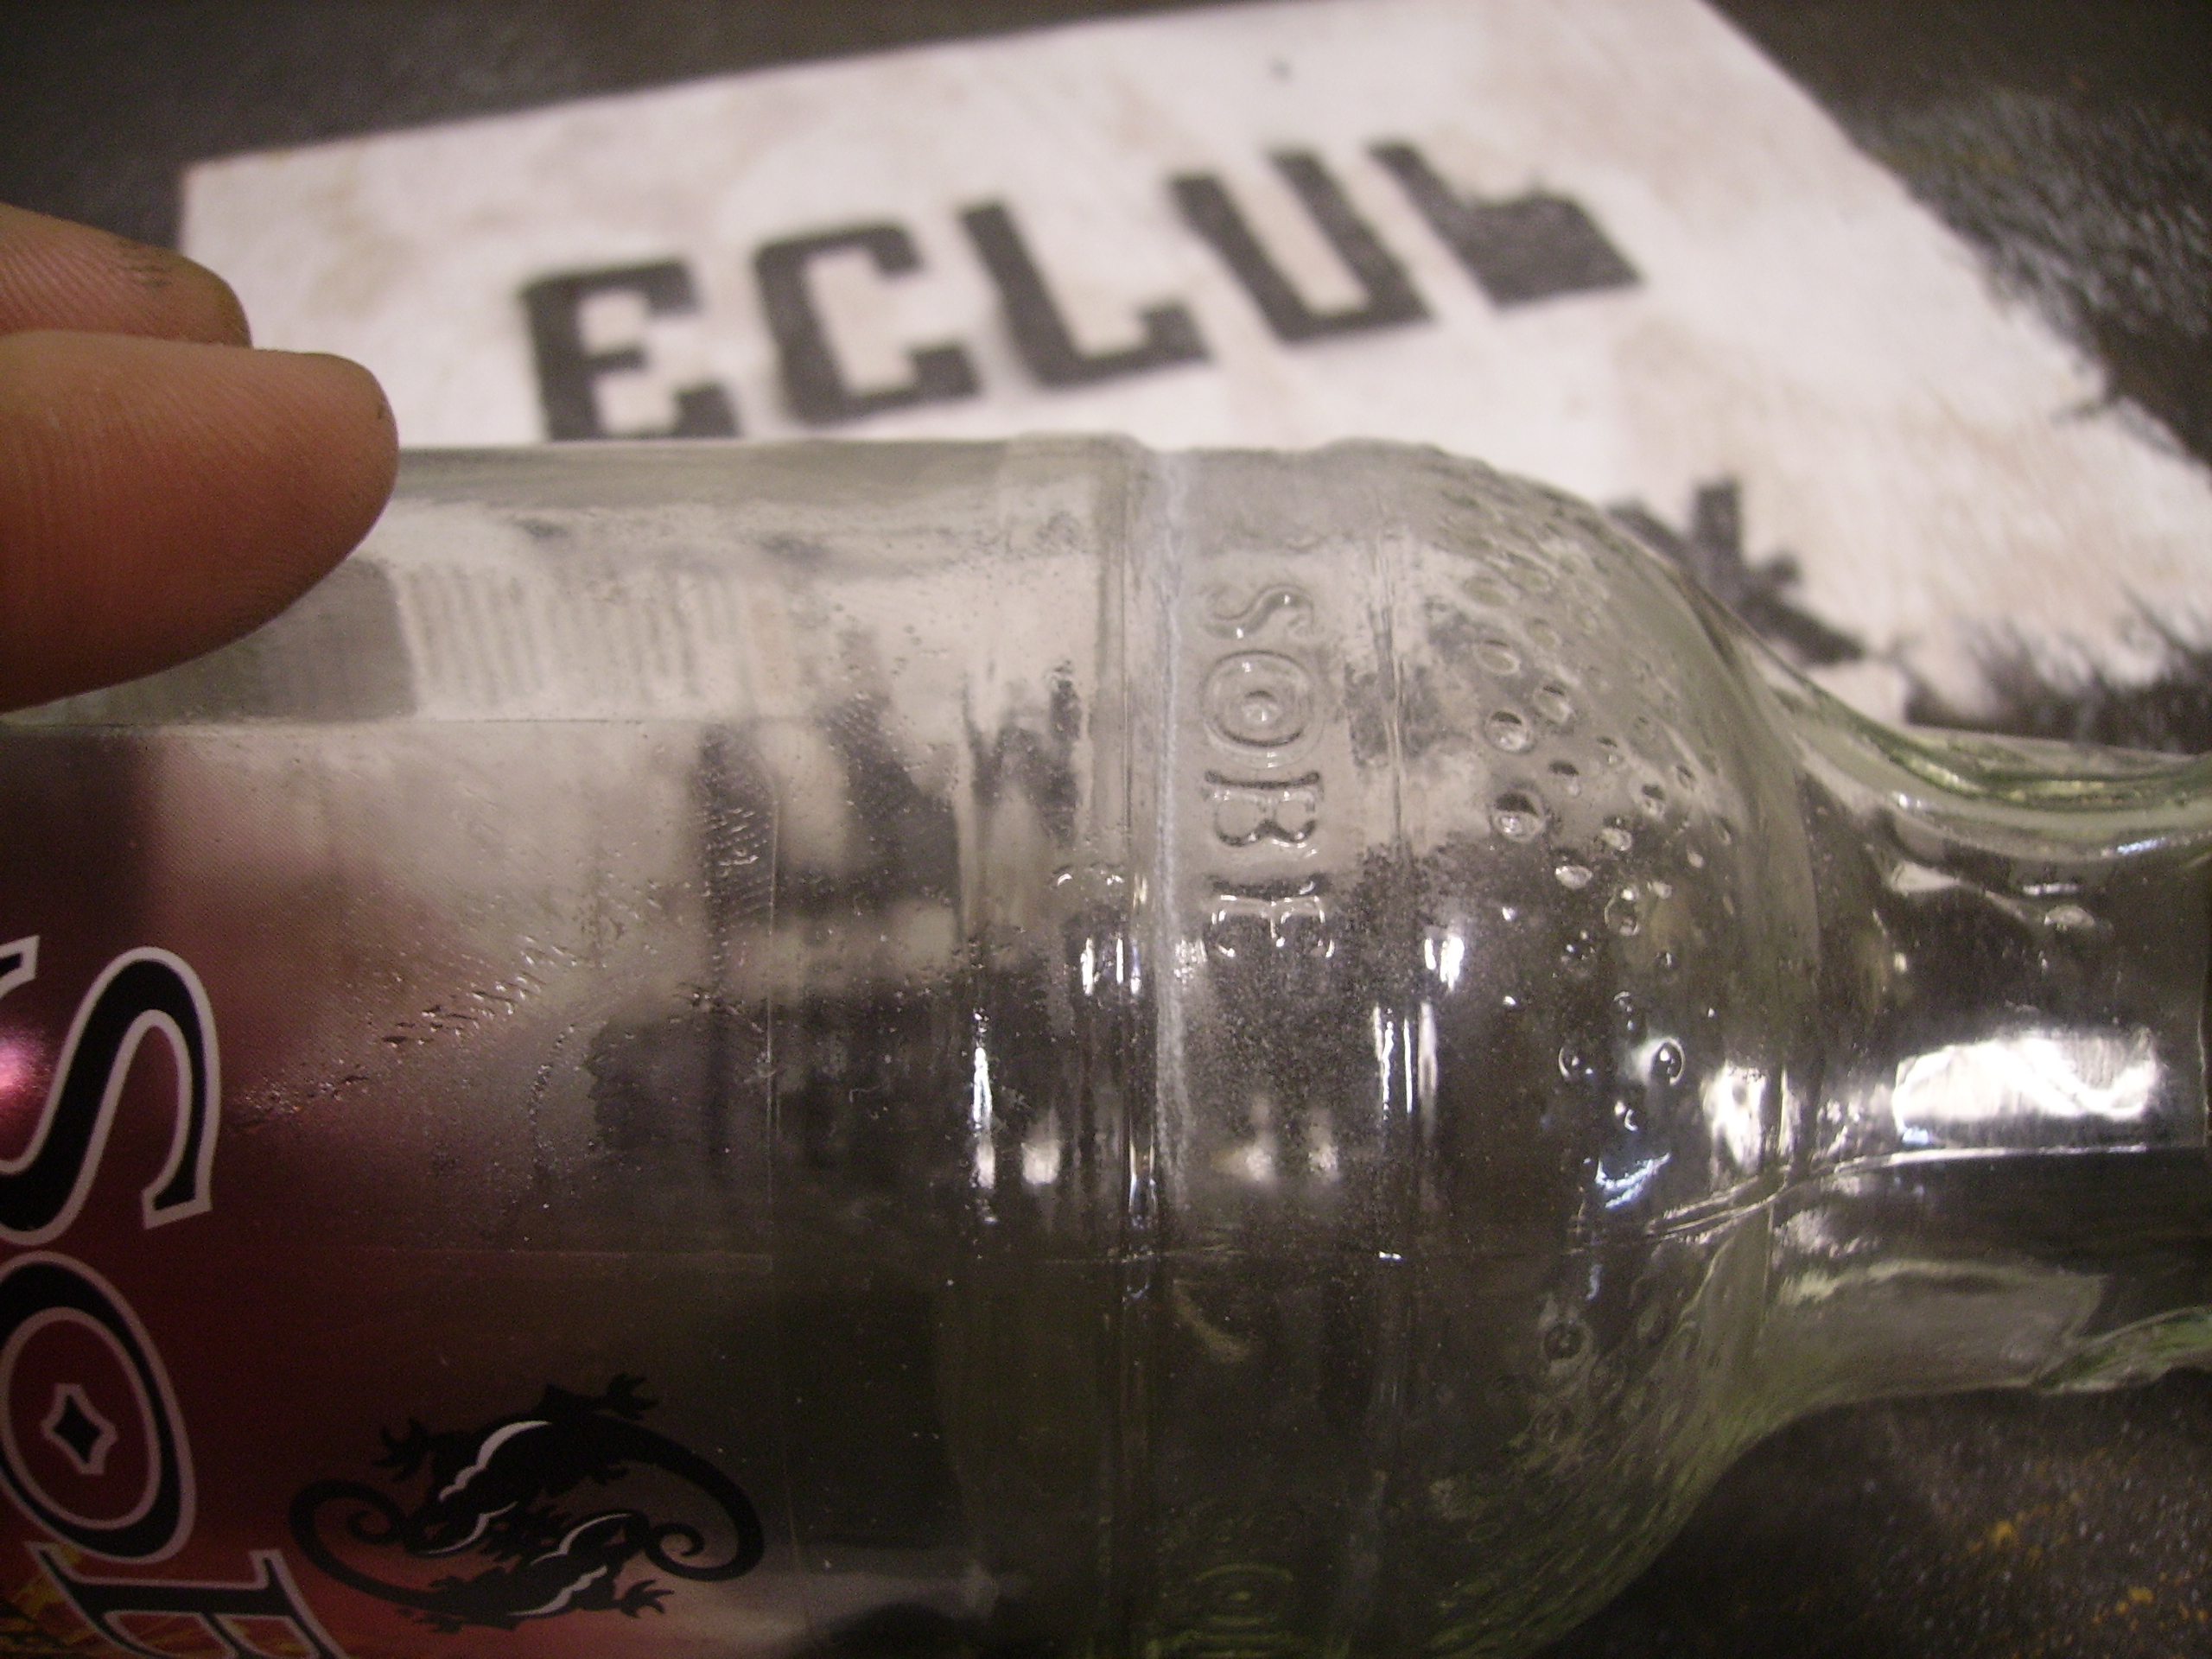
A Glass Contiainer
that you wont mind ruining: I used a SOBE Bottle
(i was in a rush, and didnt have an appropriate container)
realistically, a large glass jam jar would have worked perfectly.
Other
acceptable containers would be glass measuring cups or any other large
mouthed glass jar / beaker. (larger than the size of the pcb) |
 |
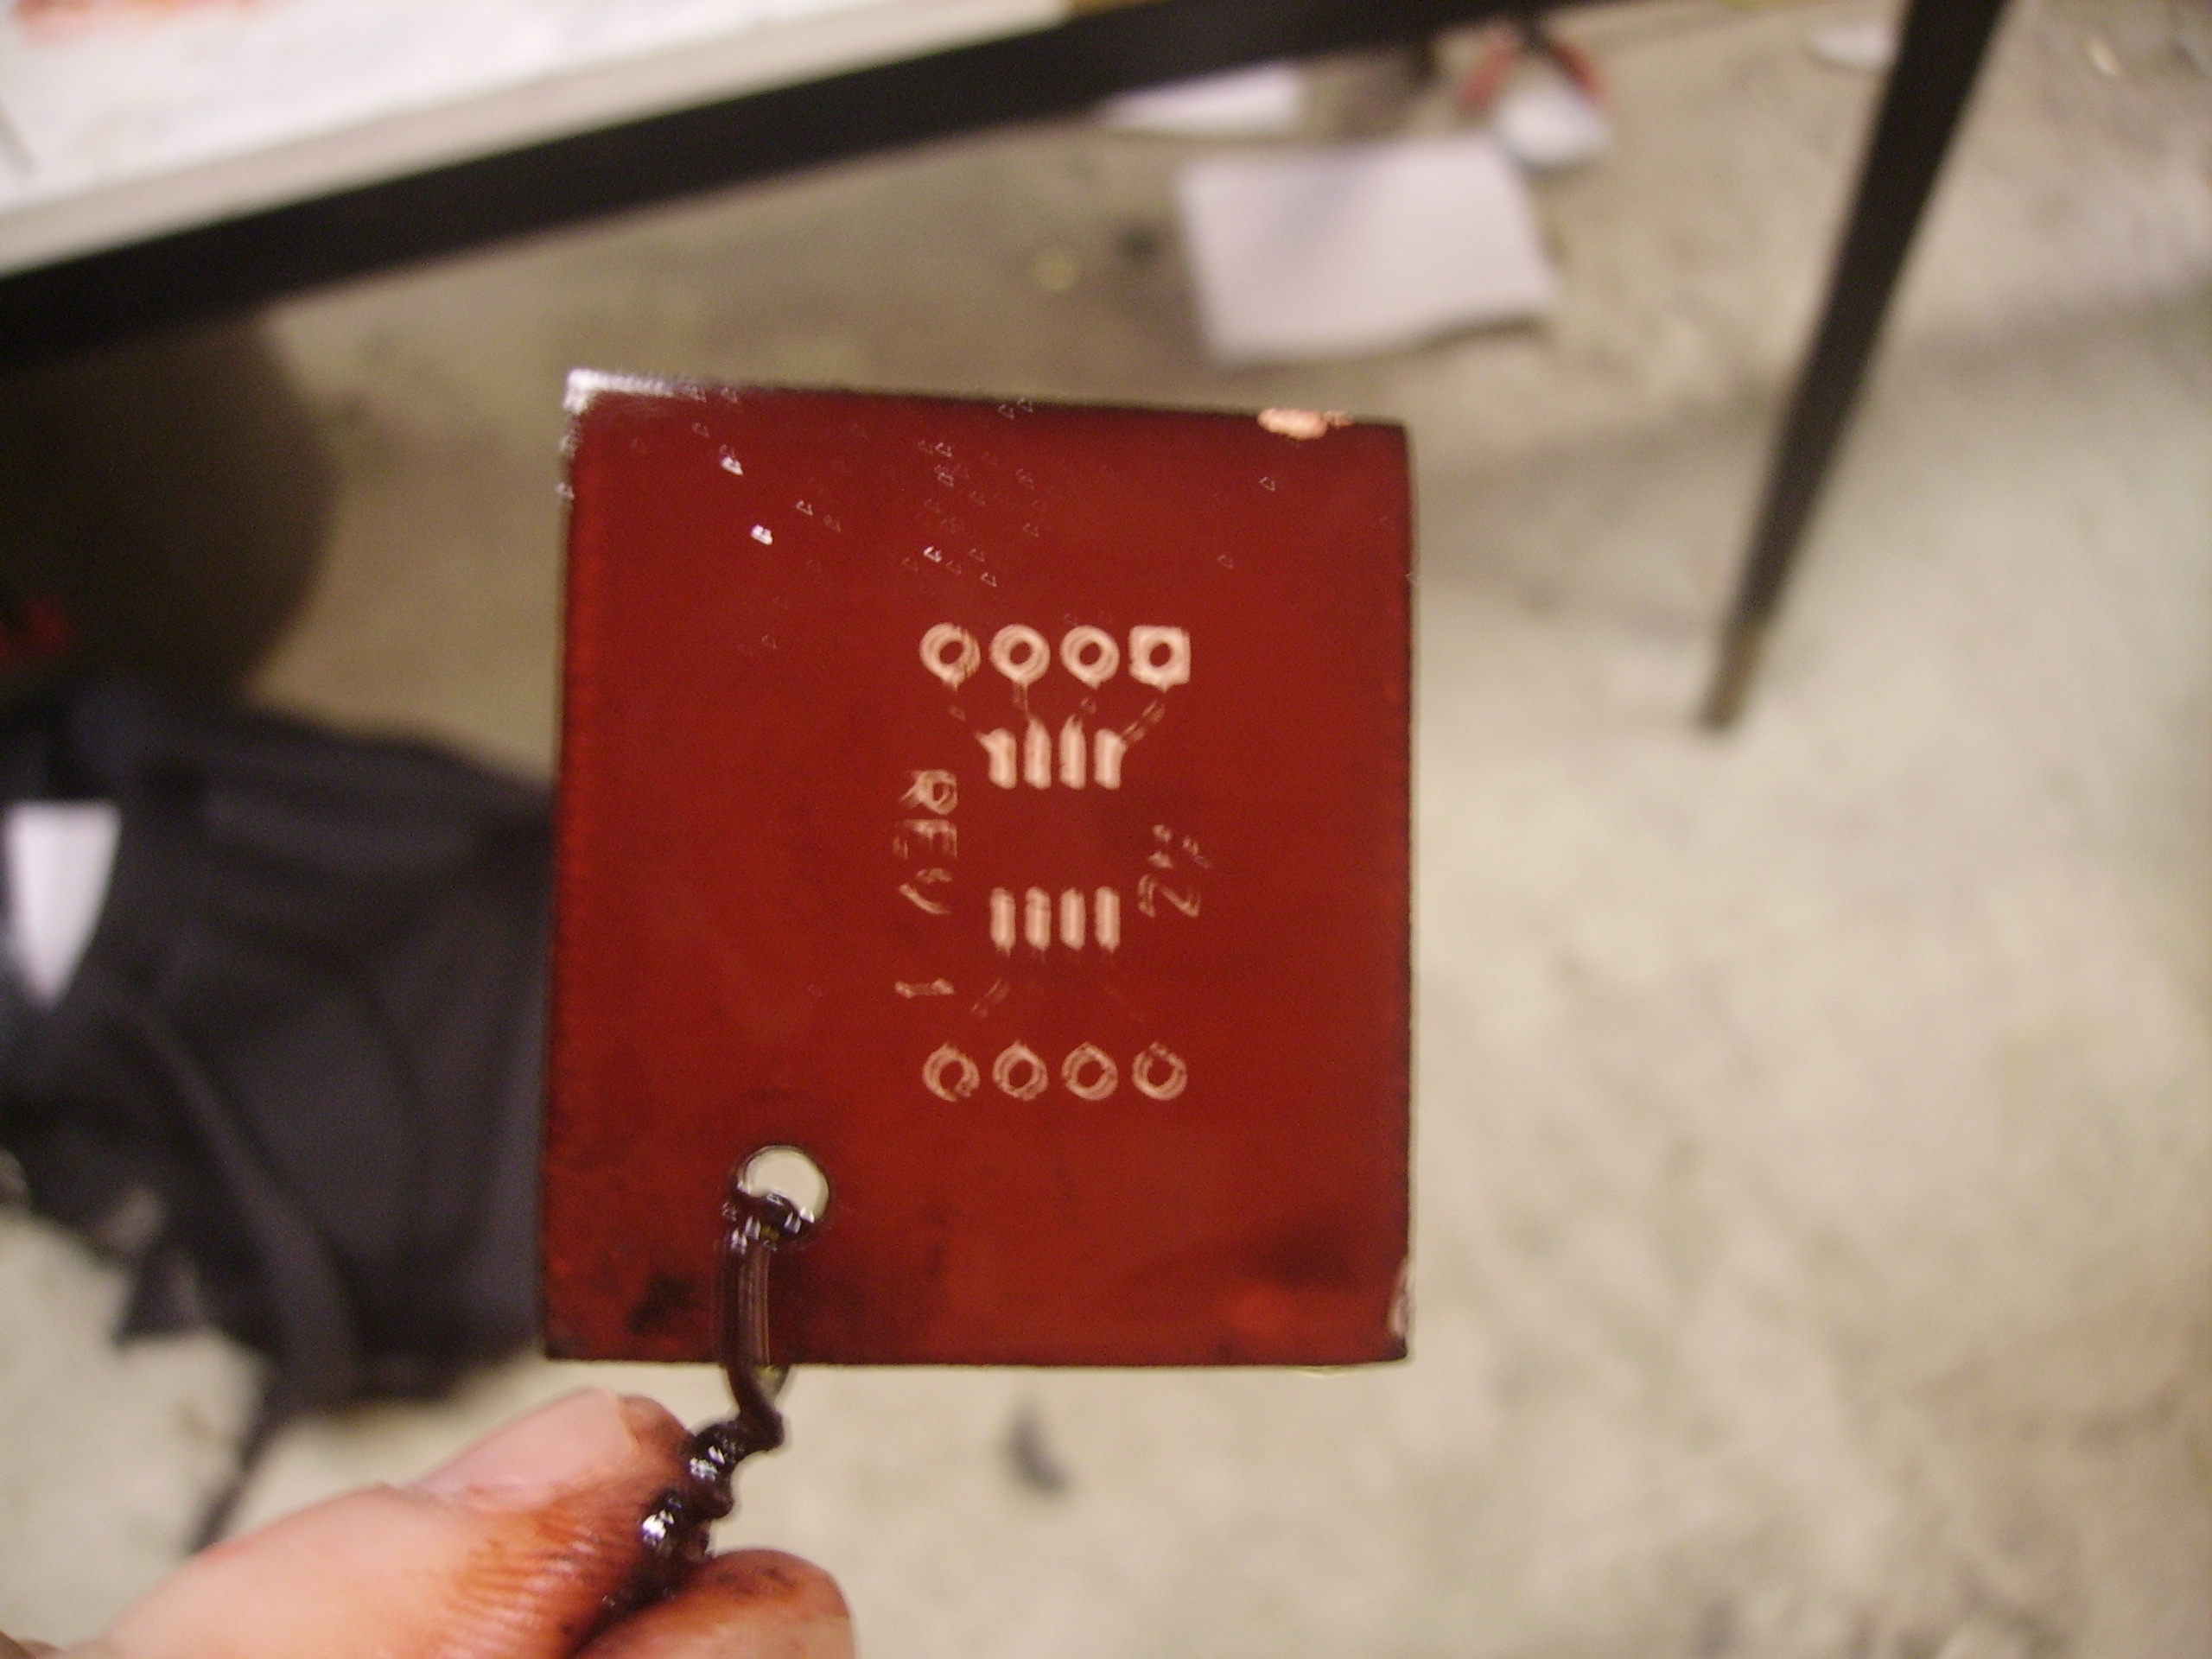
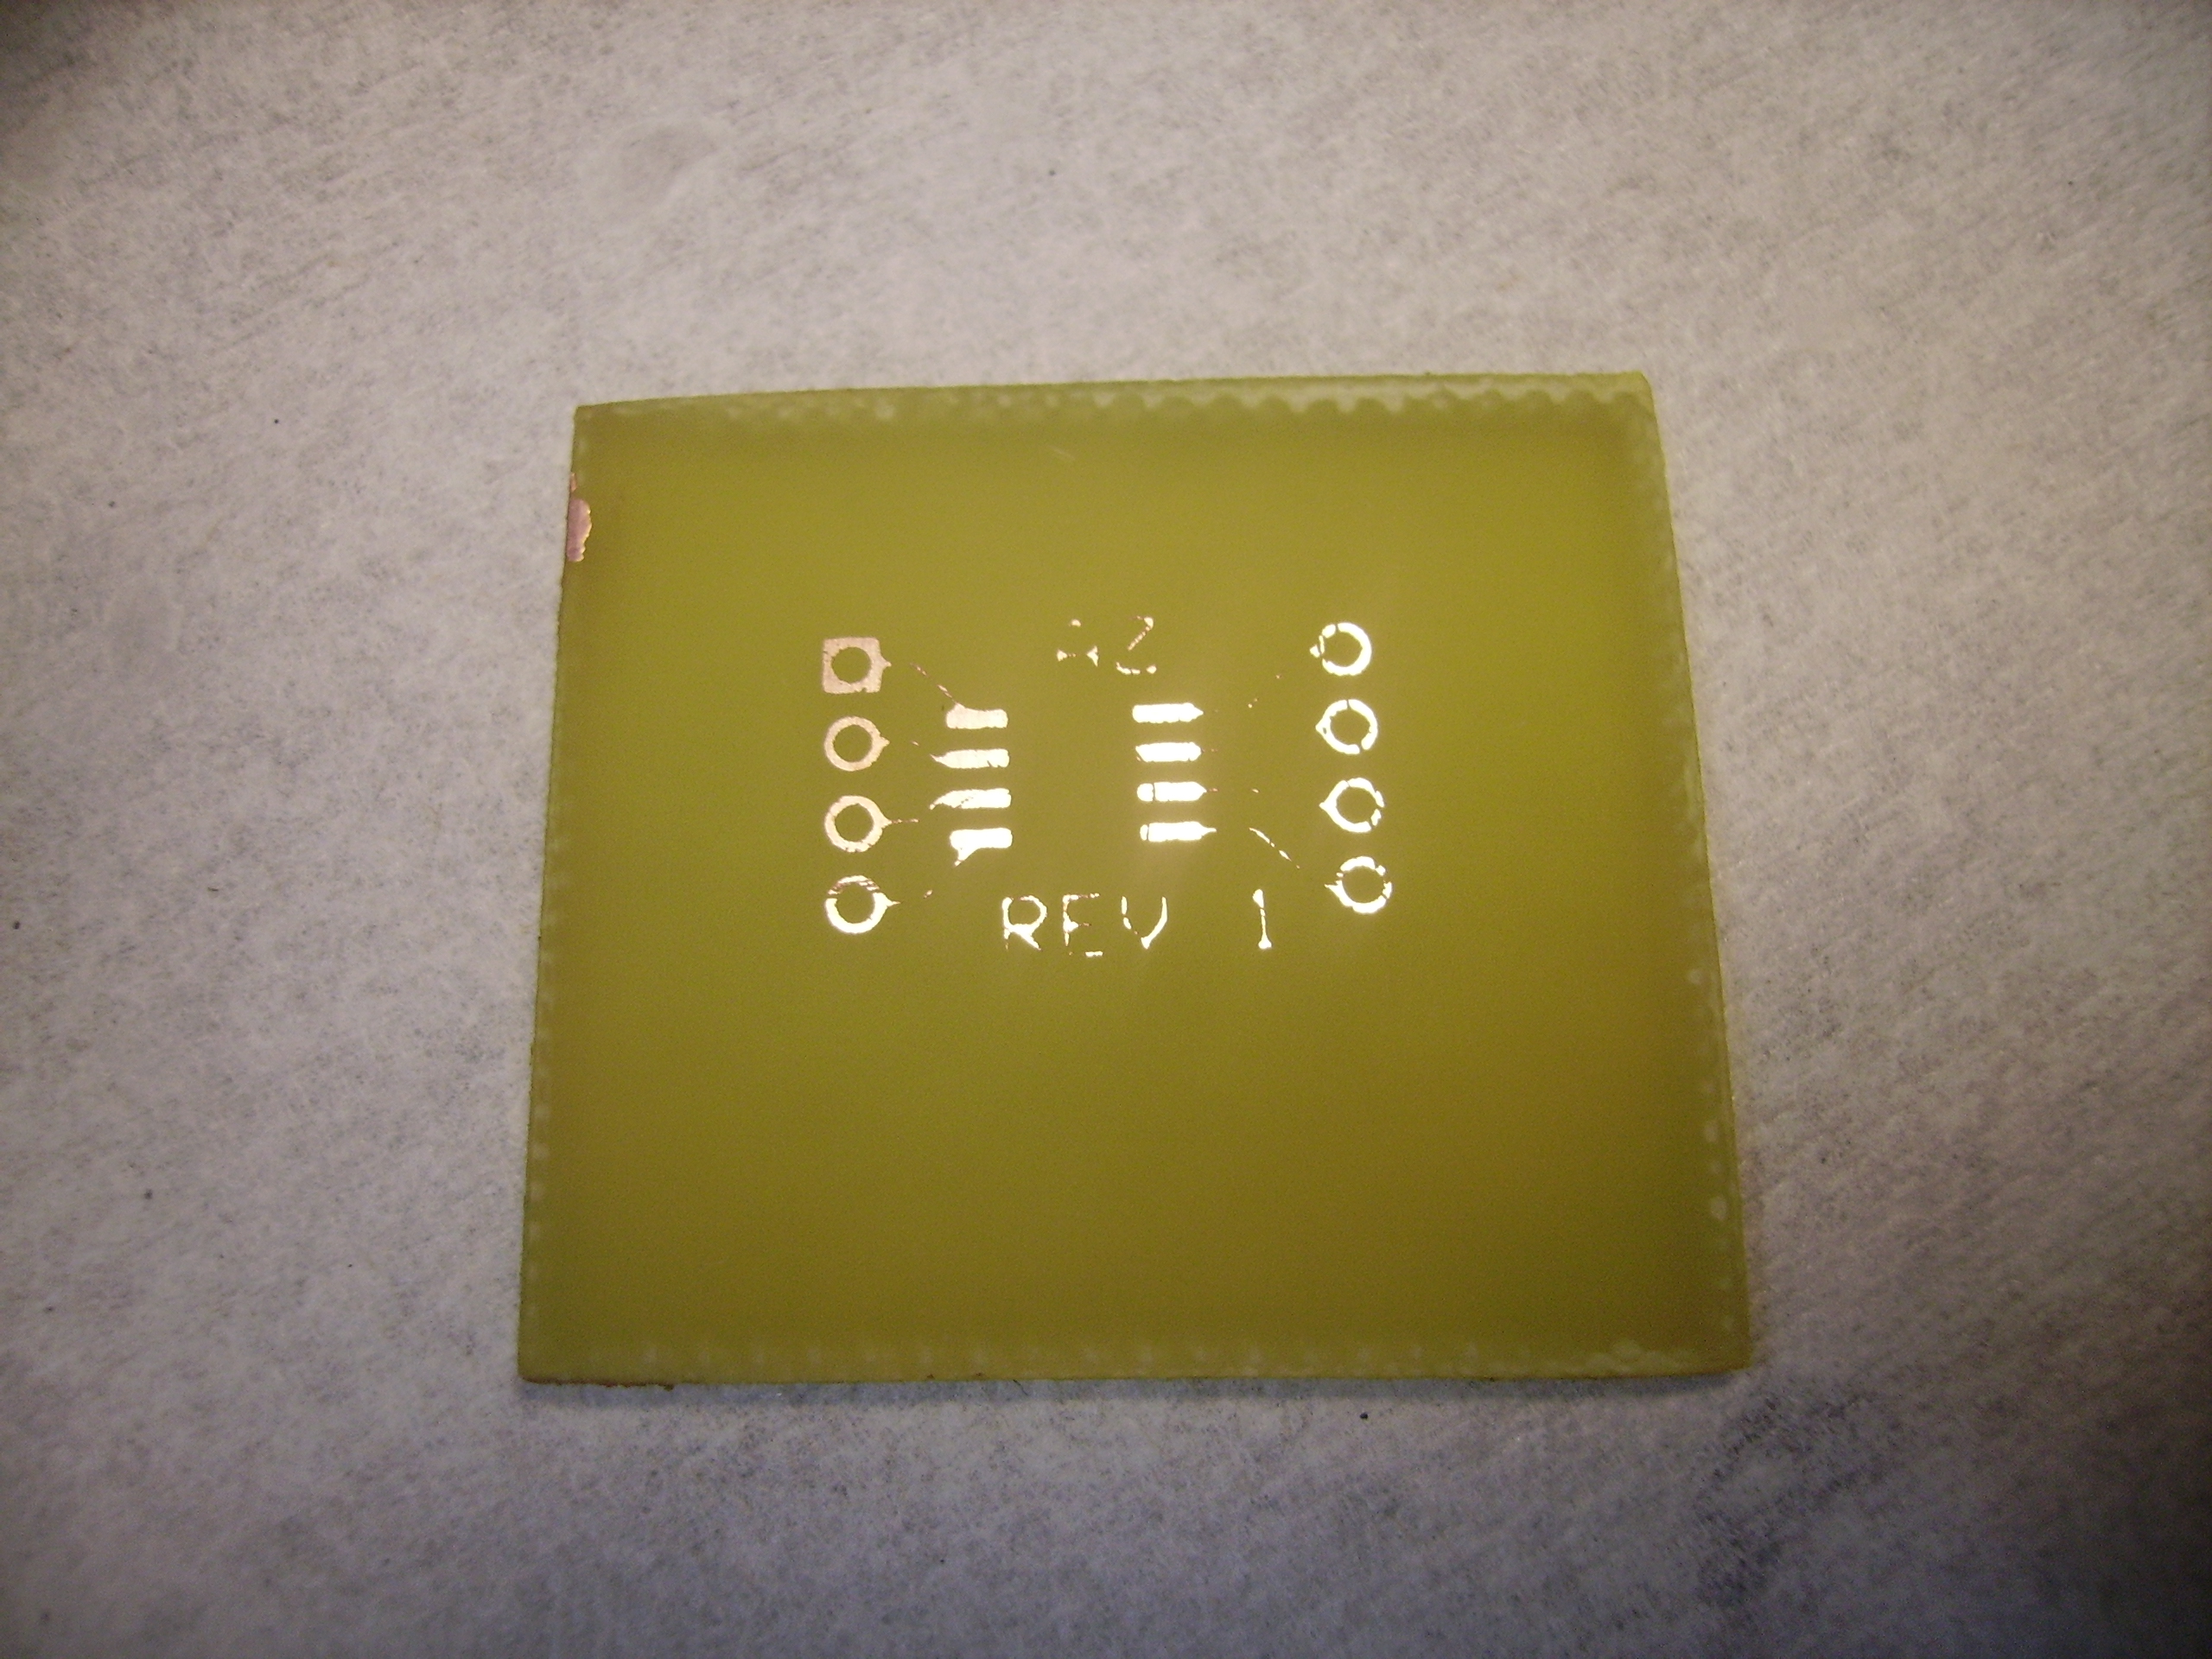
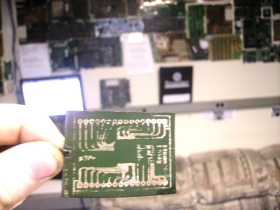
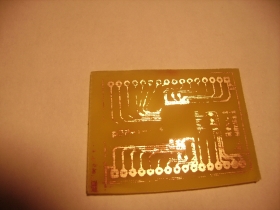
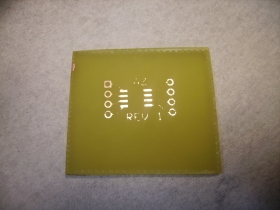
A Board, I used one
that over etched / came out bad
This is a standard etched pcb, on FR4 style material. tandard single
sided copper on fiberglass.
Yep it came out bad. I know. Keep in mind, this was a test :)
|
 |
A Hot Plate /
something that can heat to 200 F
(heater plate is below)
Doing
this on a stove that food is cooked on, or will be cooked on, isnt
advisible. The dye isnt terribly dangerous, but it can bubble over and
leave odd marks.
Also, its best to heat in a ventelated area. The cardboard was to
shield if any spillage happened.
|
 |
String / Wire /
Safety Goggles
|
[image
not needed] |
| How
to pull it off in under 2 hours |
Image/
Media |
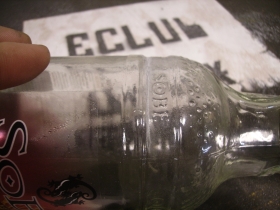
Get a container thats
expendable, preferably a glass one. Jam Jars would be great
If you
dont have one, make one, if you do have one, skip ahead
I didnt have one that a pcb would fit in, so i made one.
Here's how to cut a Sobe Bottle. Score around bottle with a dremel
(WEAR SAFETY GOGGLES)
|
|
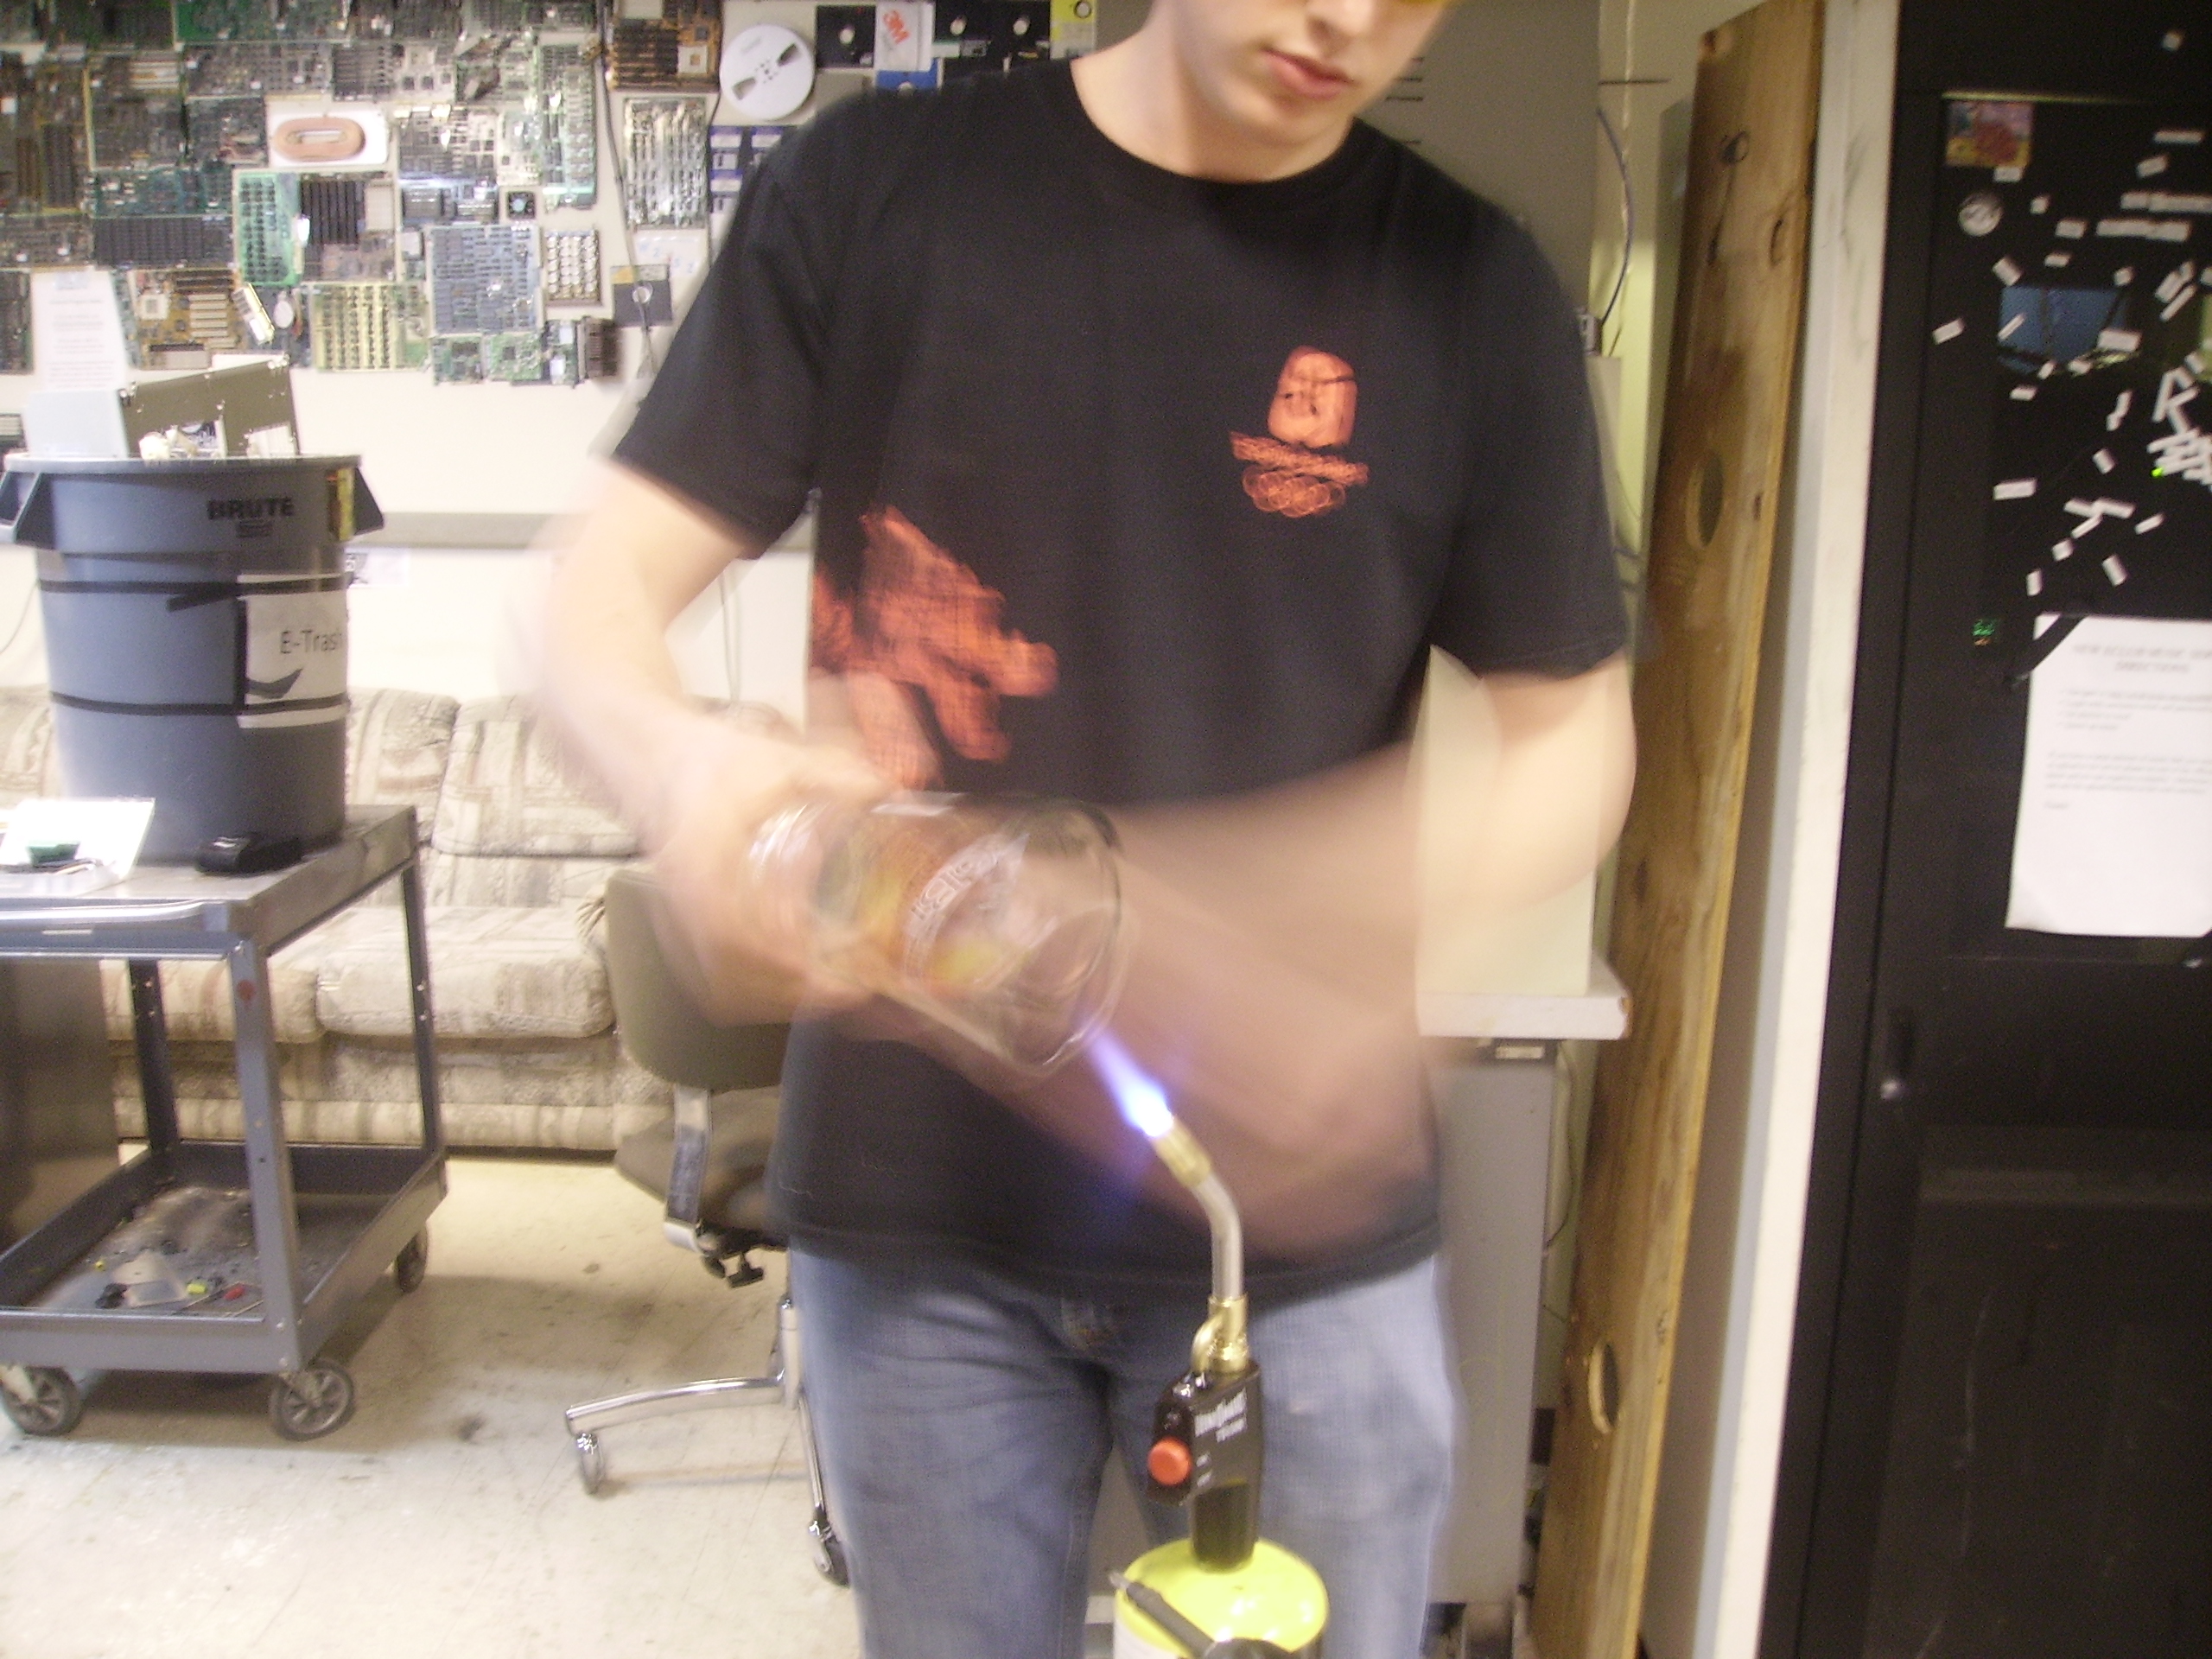
BREAK THE BOTTLE (WEAR SAFETY
GOGGLES) then heat treat the edges.
heat treating, melts the top edge just a bit, enough to prevent
fractures later on.
Just use a recycled jam jar if you have one. |
 |
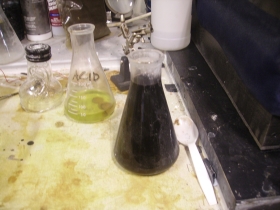
You now have some kinda
expendable glass container, now mix the dye packet into some warm water
i mixed half of the packet into ~300ml of warm water (heated from a
microwave)
So it was basically SUPER concentrated Dye mix.
Wear appropriate splash prevention gear (goggles / lab coat / gloves)
Also, make sure to have Ventilation! |
|
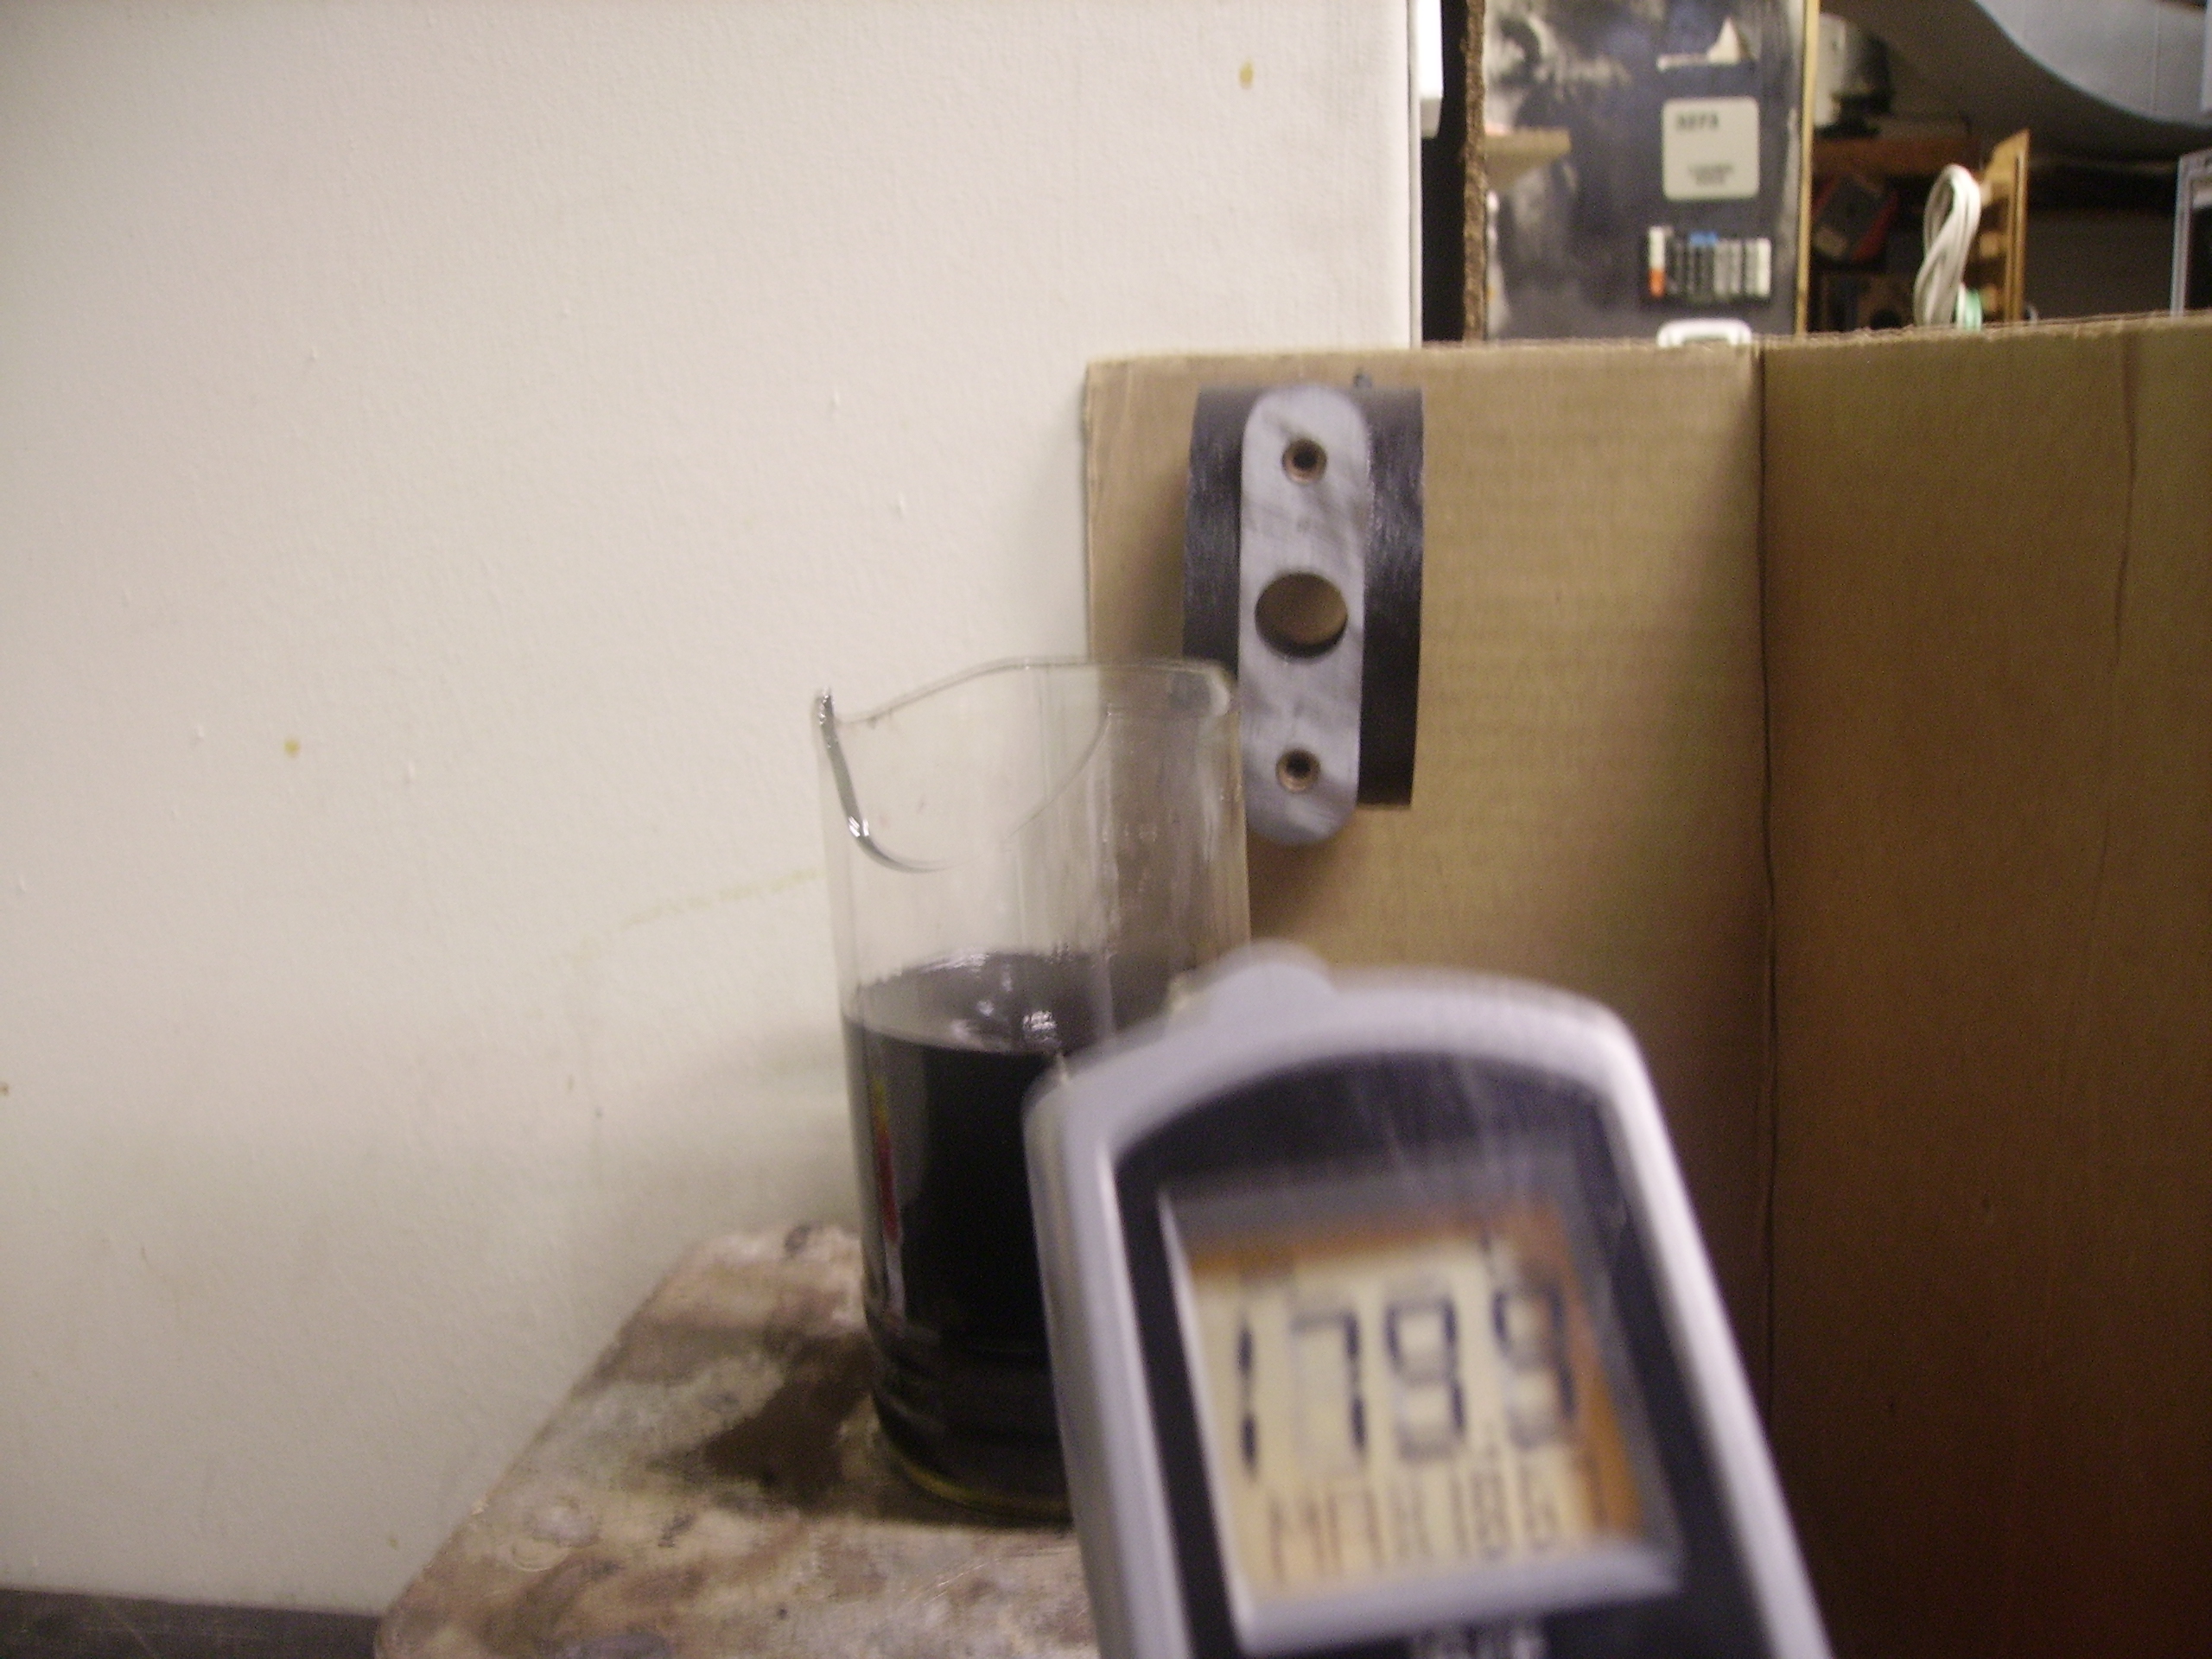
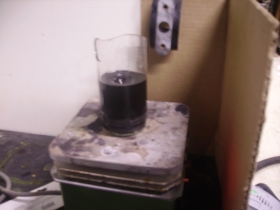
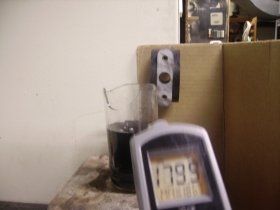
Next
up, heat the solution and stir it. My hot plate has a stirring rod
function (which is awesome) if you dont have one, just dye it longer
and agitate it every few minutes. If you've got a non-contact
thermometer, you want the solution to be nearly boiling. Boiling
results in bubbling, and bubbling overflowing dye is A MESS avoid overheating at all
costs.
This image was at 179.9 F, eventiually it got to 200F. WEAR
GOGGLES |
 |
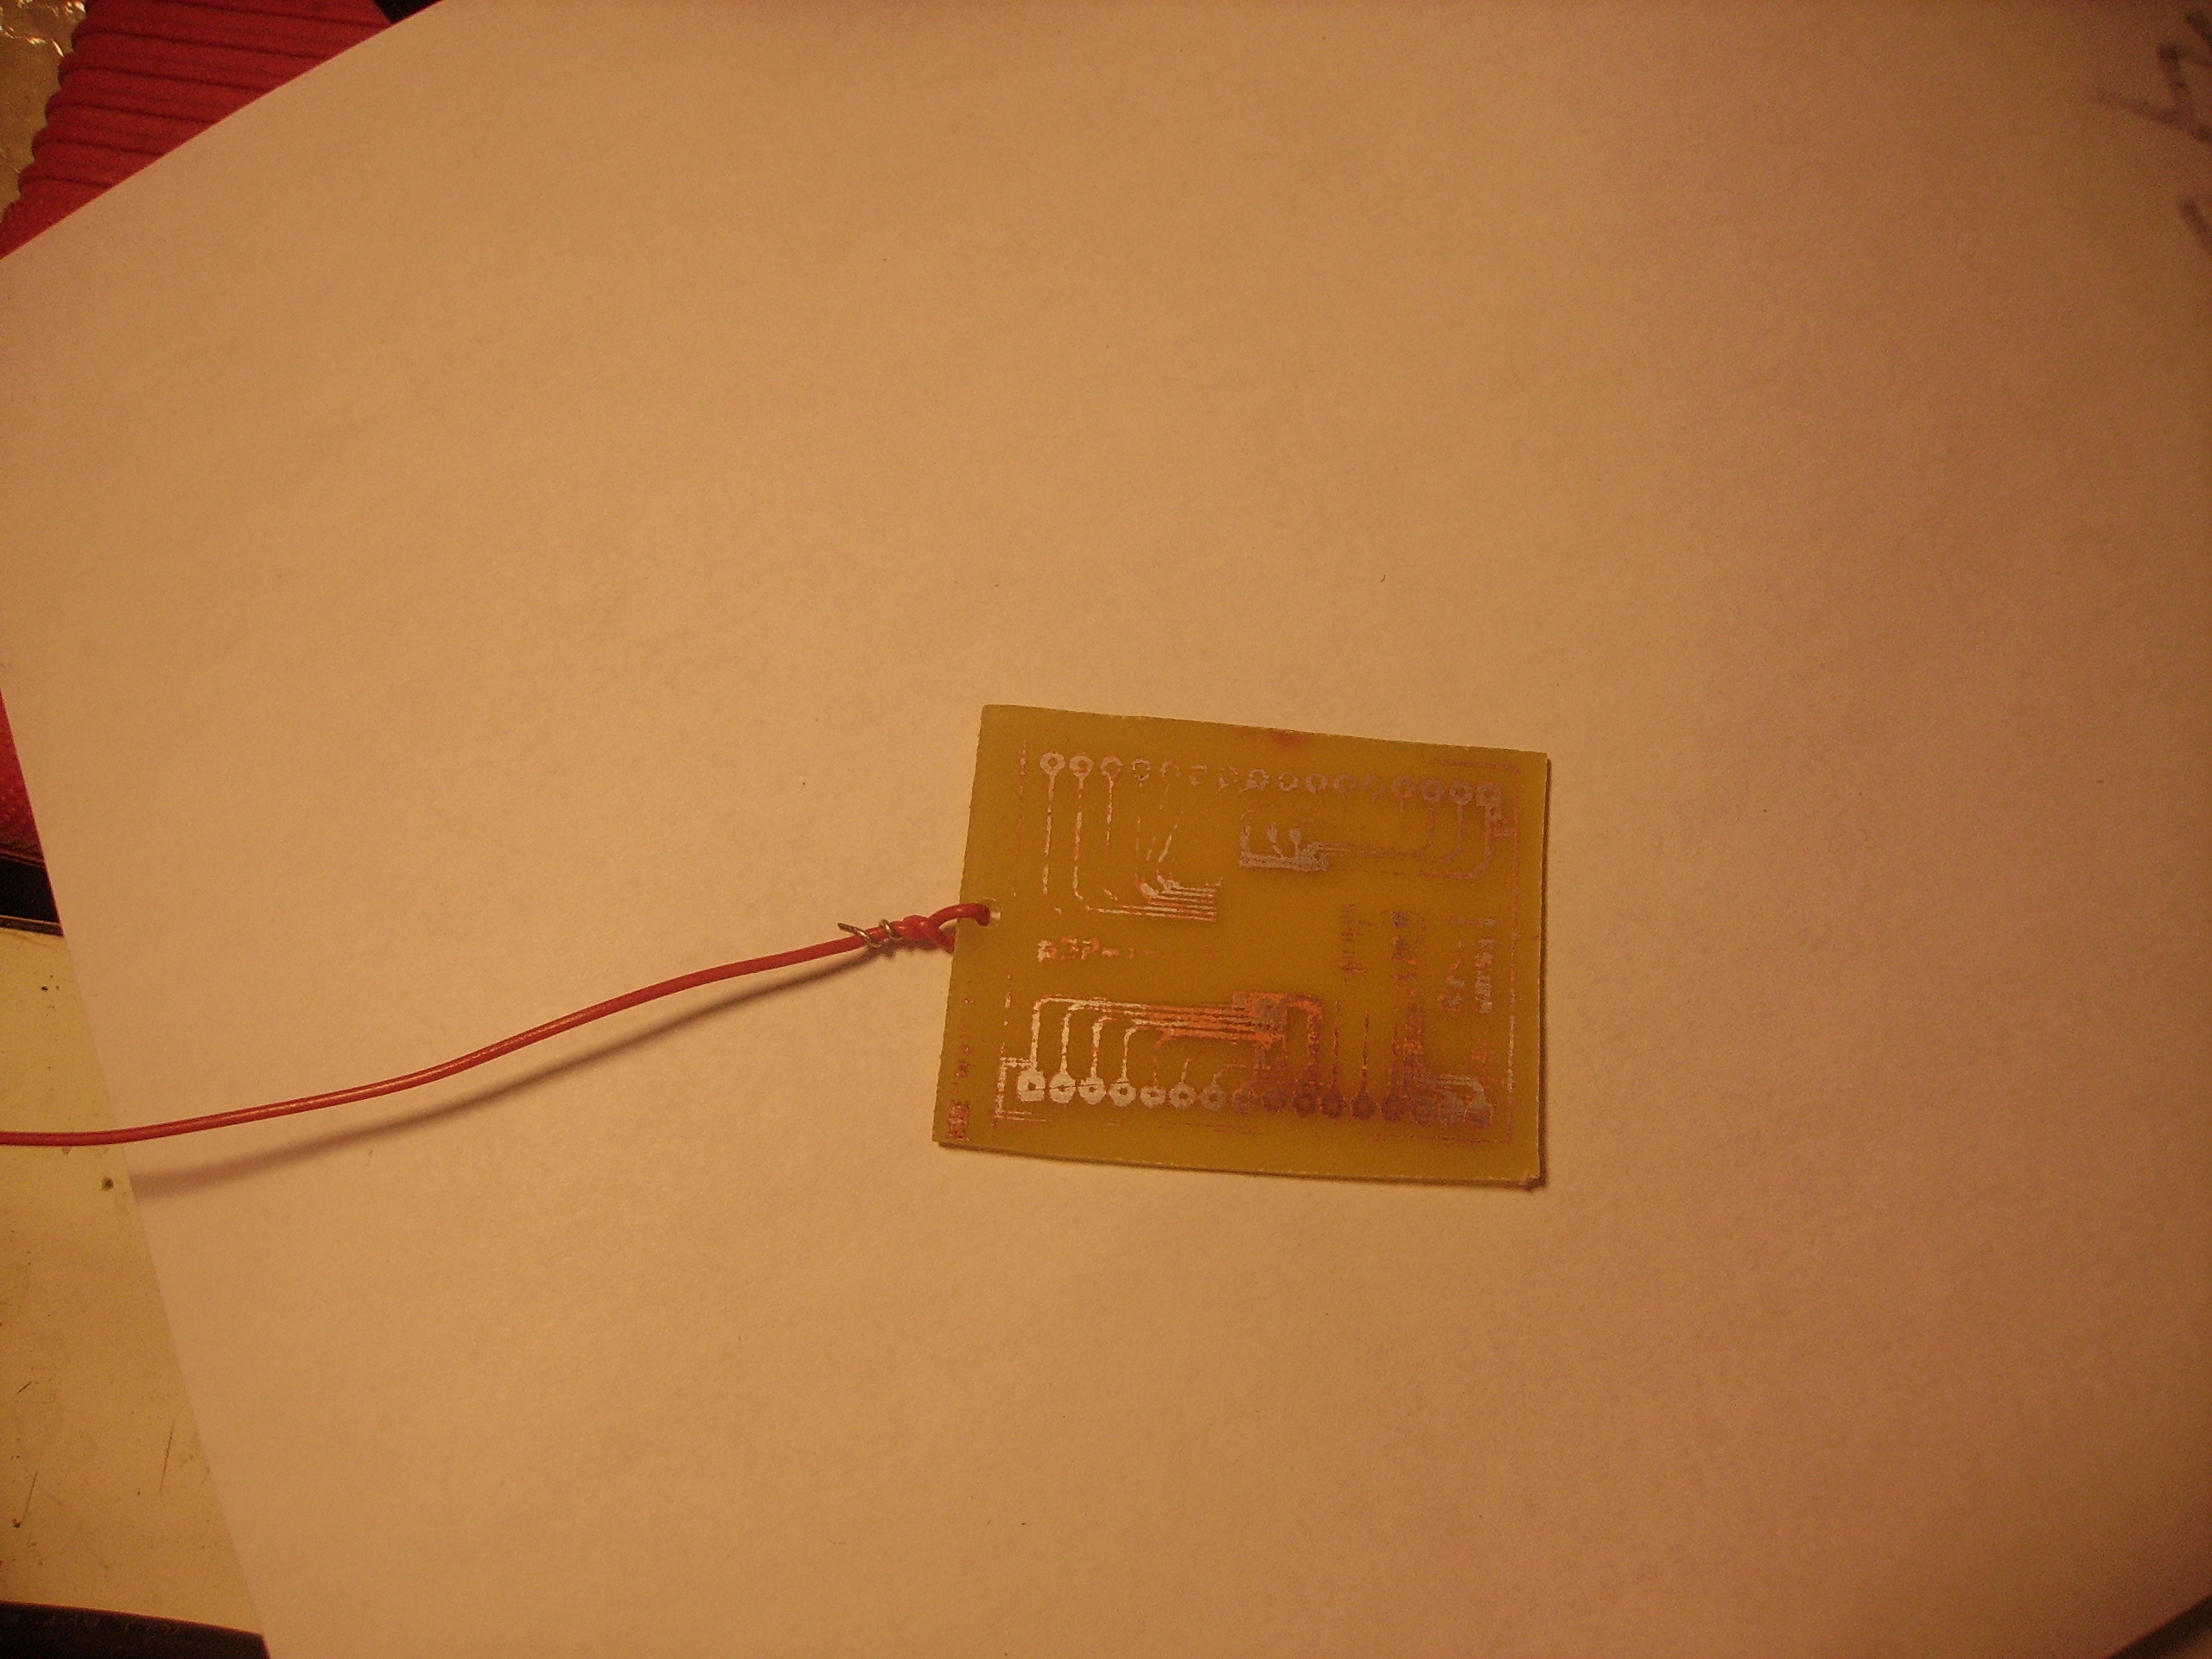
So at this point, you have a
hot Dye Solution, time to insert your PCB!
Tye a wire / string to your pcb,
try to avoid taping the wire to it, as the tape will melt off.
|
 |
Wait
an hour, add water to the mixture regularly, it should be nearly
boiling for the whole time.
As a rule of thumb, (longer in the mix = darker, shorter = lighter),
Keep
in mind, the substrate started as pale / dark brown, lighter colored
dyes (pink / whatnot) will come out odd. I left mine in for
an
hour and 39 minutes,
(i lost track of time doing a hw assignment) |
 |
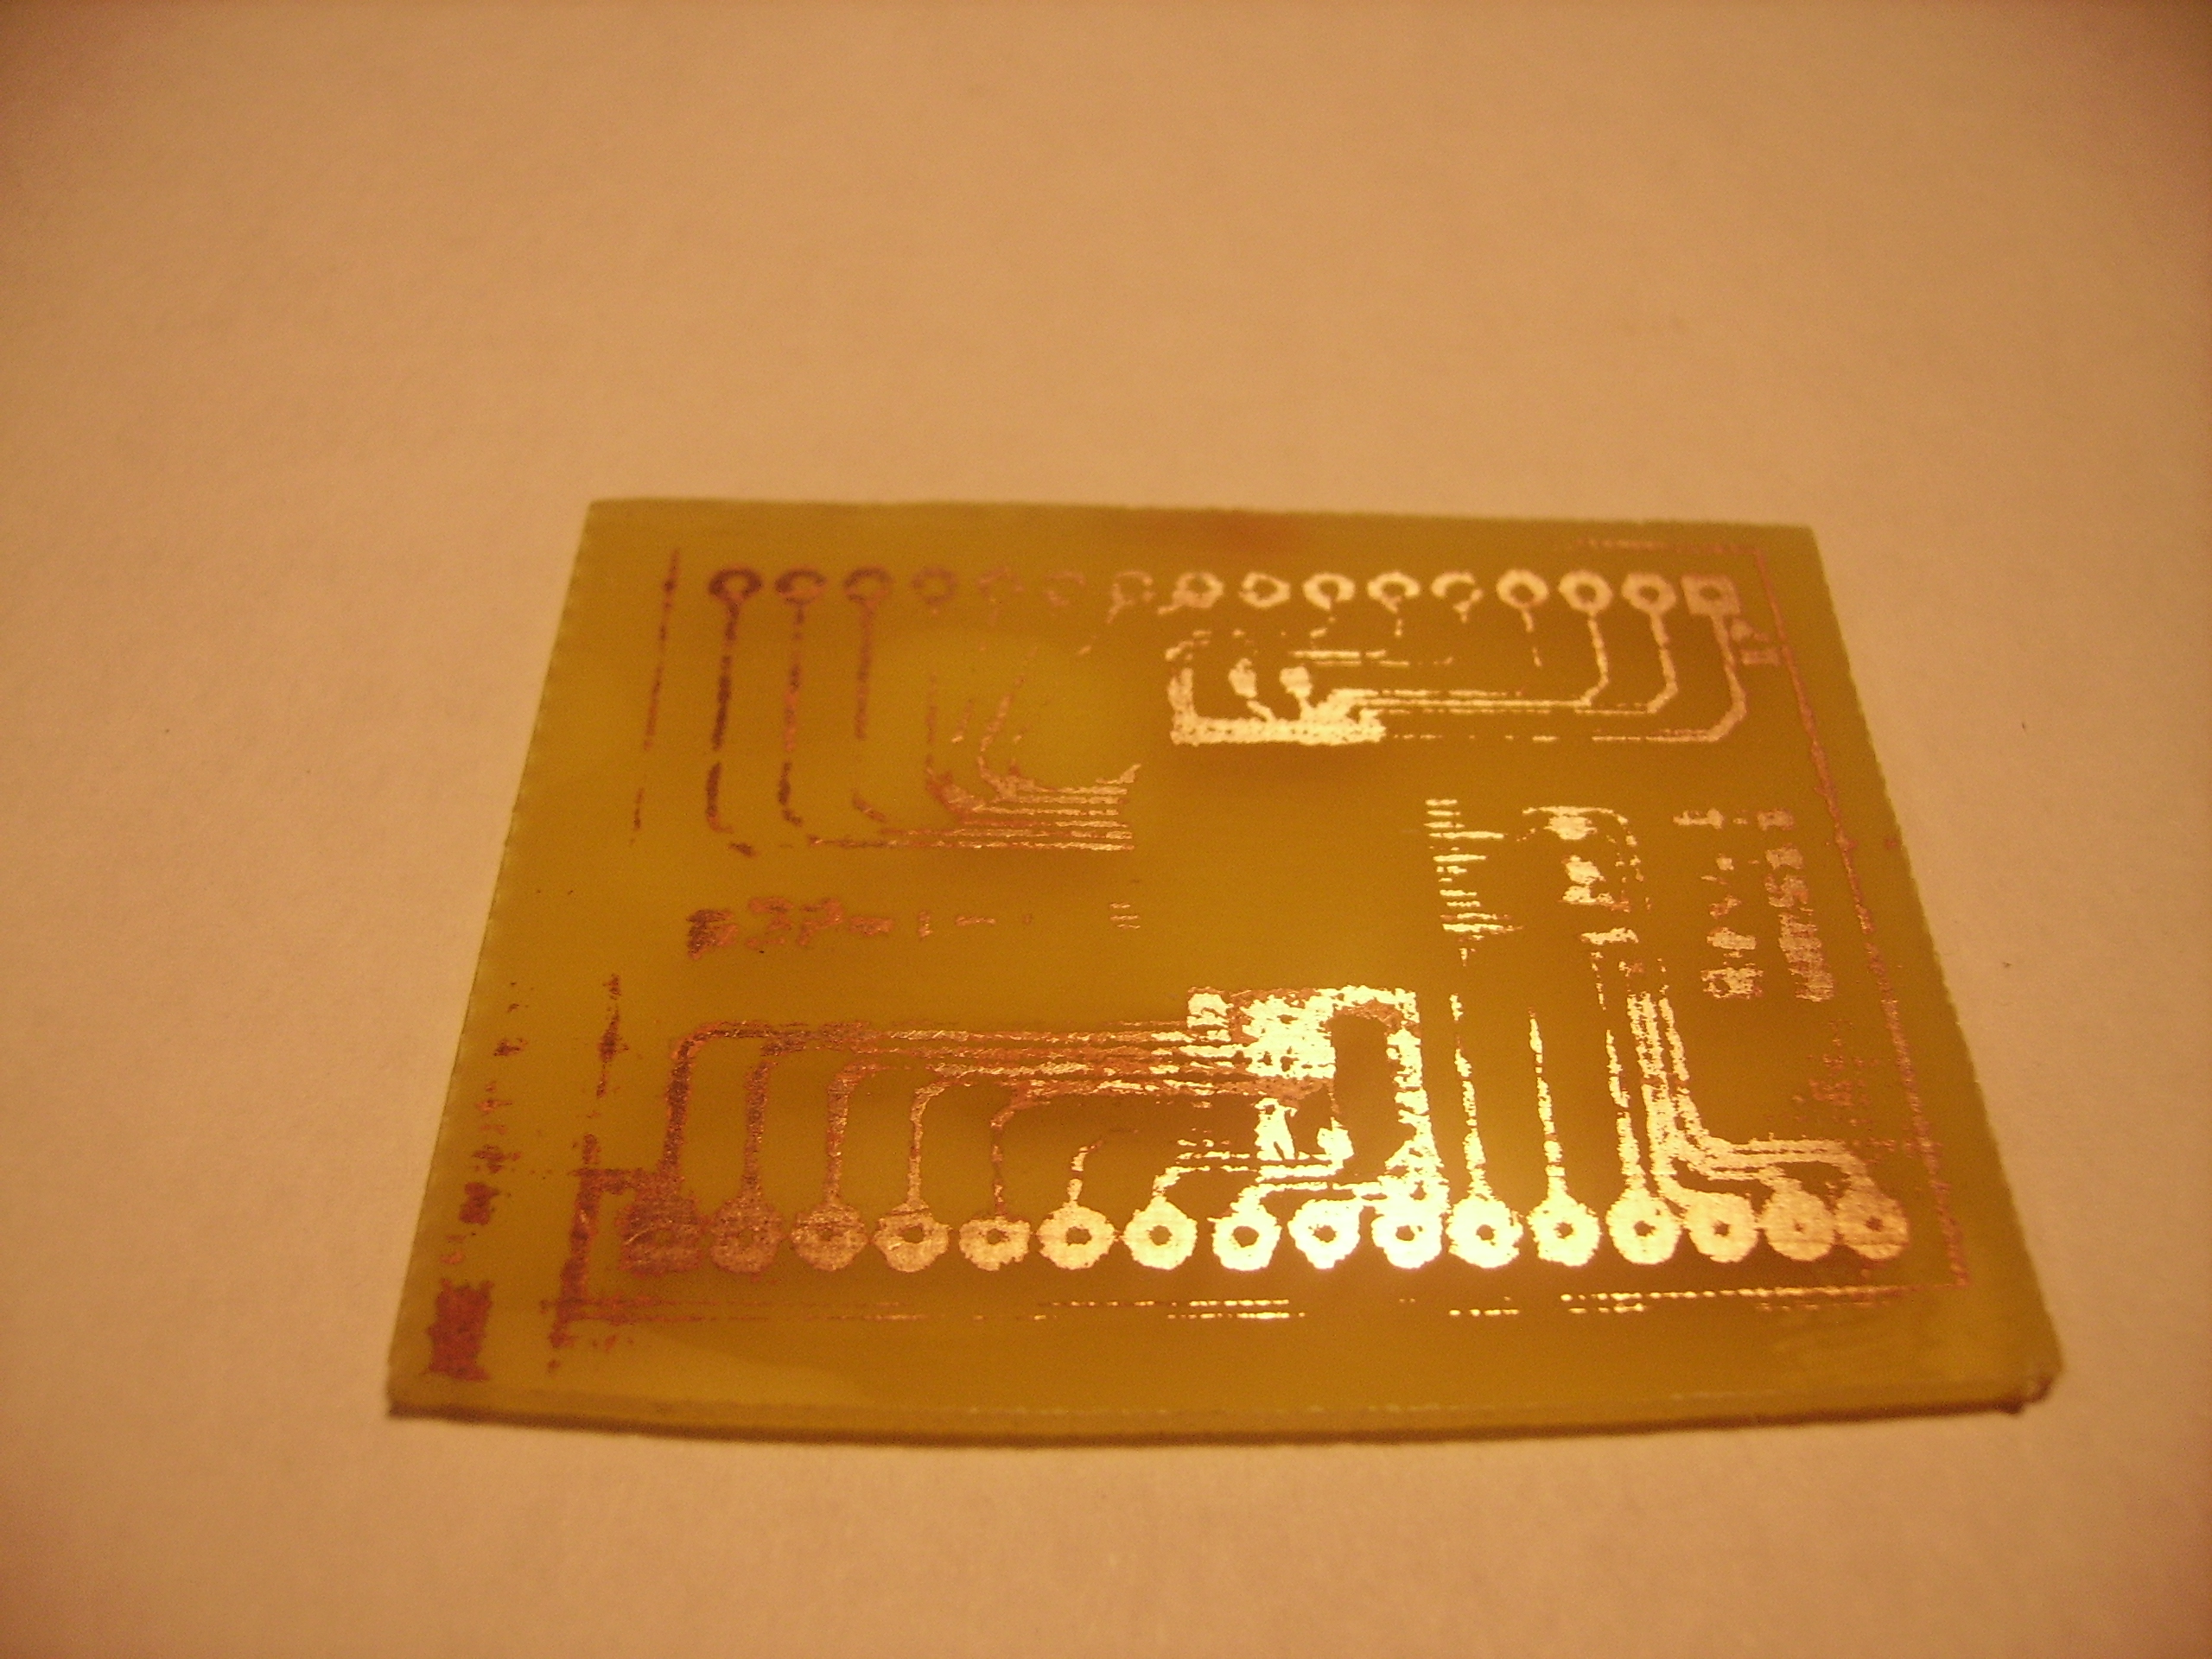
| Before
/ After |
Before |
After |
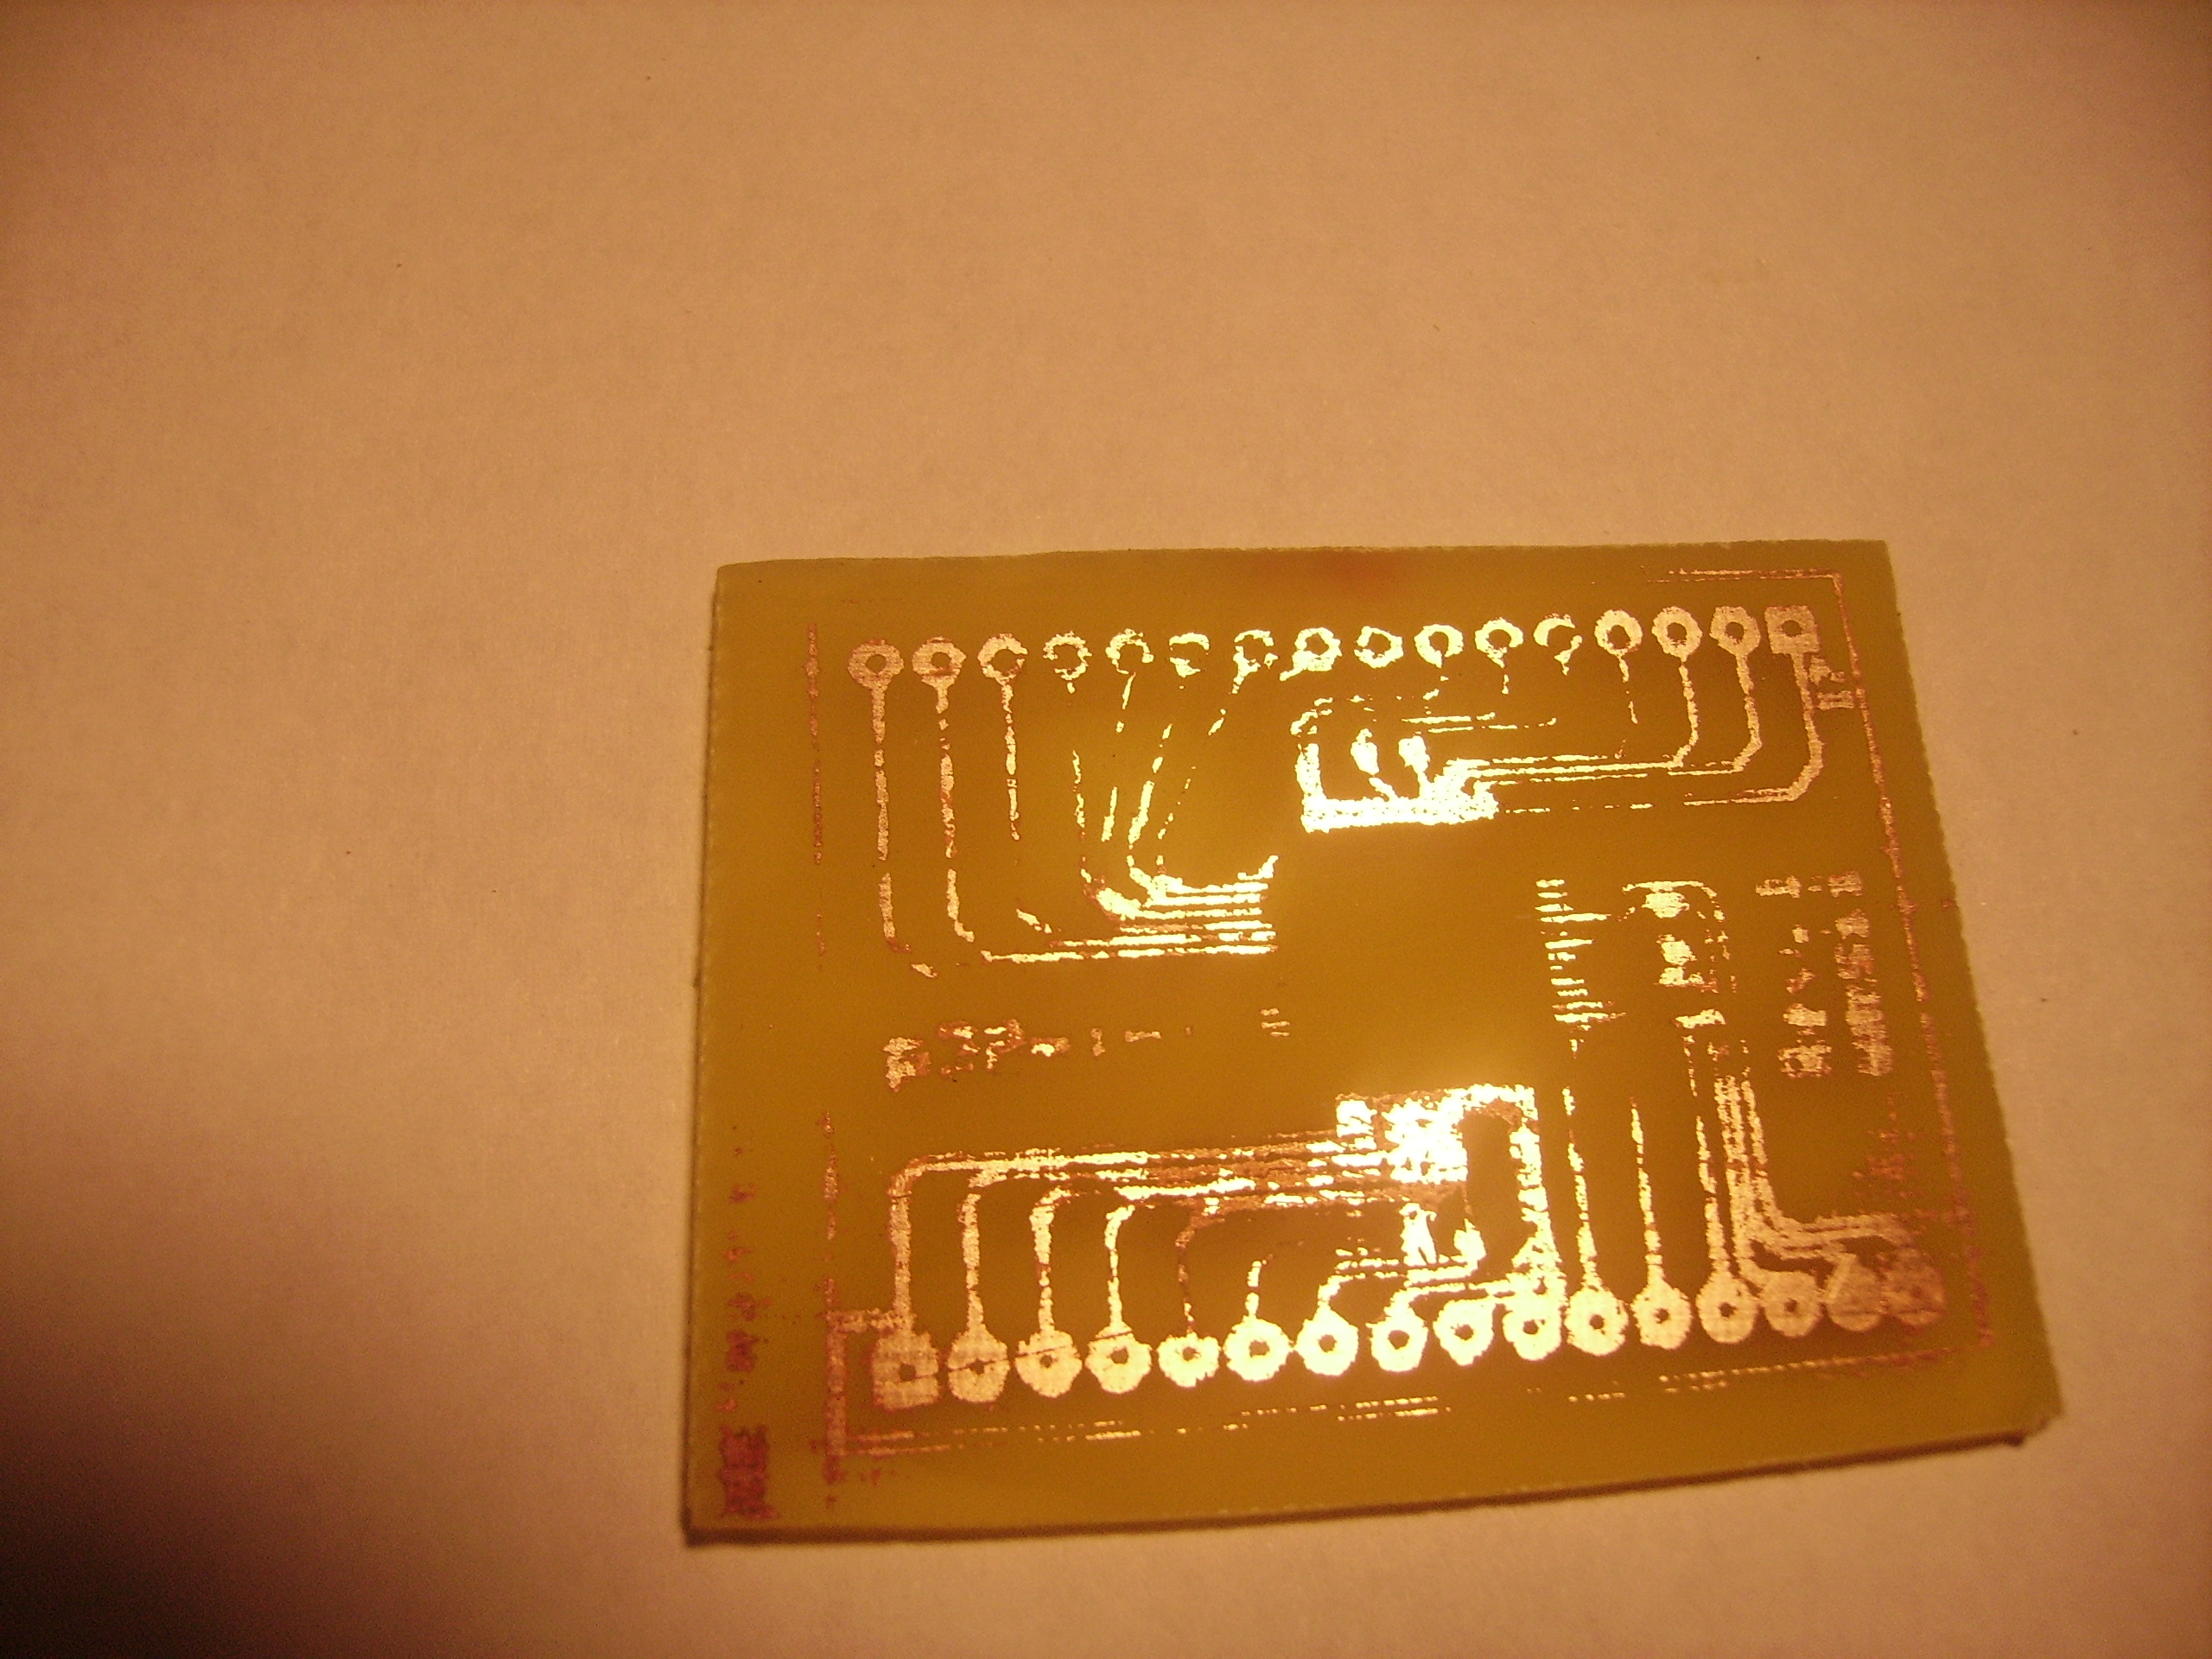
First
off, the board i used was over-etched. The Dying was a test,
to determine if the fiberglass pcb would absorb Dark Green RIT Dye,
IT DID.
|

|
|
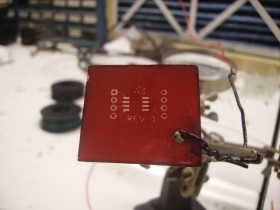
UPDATE [4.5.10] Crimson PCB Dyeing
| Process |
Before
|
After
|
Using
the same dyeing
procedures, another pcb that was left over (over etched / under
exposed) was dyed crimson red. total cost <2$, time = less than
2
hours.
|
|
|
| More info about the Crimson Dye
used |
 |
 |
| More Crimson PCB |
|
 |
More Before / After
images will be posted soon
Concluding
Remarks:
I
was actually suprised this worked. I will test out different colors
later this week, i would surmise darker colors would work better than
lighter ones
Finally, find an appropriate container. Chances are
you have something appropriate, dont use broken glass bottles, they can
be dangerous.
Otherwise, if you try this, and it works out, send me a picture, i'd
love to see what you come up with!
edit:
The origional idea stemmed from a combination of Arron Allai's work on
his business card and some video documentation from
http://www.youtube.com/watch?v=frsDN7usyCs
Check out Aaron's work
http://www.aaronalai.com/pcb-board-dyeing
(be
careful, im not responsible for your newly died clothes / shoes
/ skin)
Dane.Kouttron
Rensselaer Polytechnic Institute
Electrical & Electrical Power
631.978.1650