Dane.Kouttron
[7.10.10] KillerCycle: Excersize Bike Game Controller
[OPERATIONAL]
| What?
Excersize Bike PC Game Controller built over a weekend. |
 |
 |
| This
project documents the building of an exercise bike video game
controller (for pc / mac games). It's intended to be a simple project,
buildable within a weekend with only basic soldering skills. A majority
of the components are recycled and the overall cost is minimal. The
goal was to provide an entertaining method of excersizing for a sibling
while explaining some simple ee things, and logging progress. <Use of a
microcontroller is not needed (explained below) to make the game
controller, but it is a useful add-in>
|
| How Much |
Components | How To | Results (VIDEO) | IMAGE DIRECTORY |
| Video of Operation | Vid |
| Here's a quick video demo of
the exercise cycle in operation. Also, an internal copy if the embedded fails: Link |
KillerCycle Bike Demo from Dane Kouttron on Vimeo. |
| What Do I Need | Image/ Media | Image / Media |
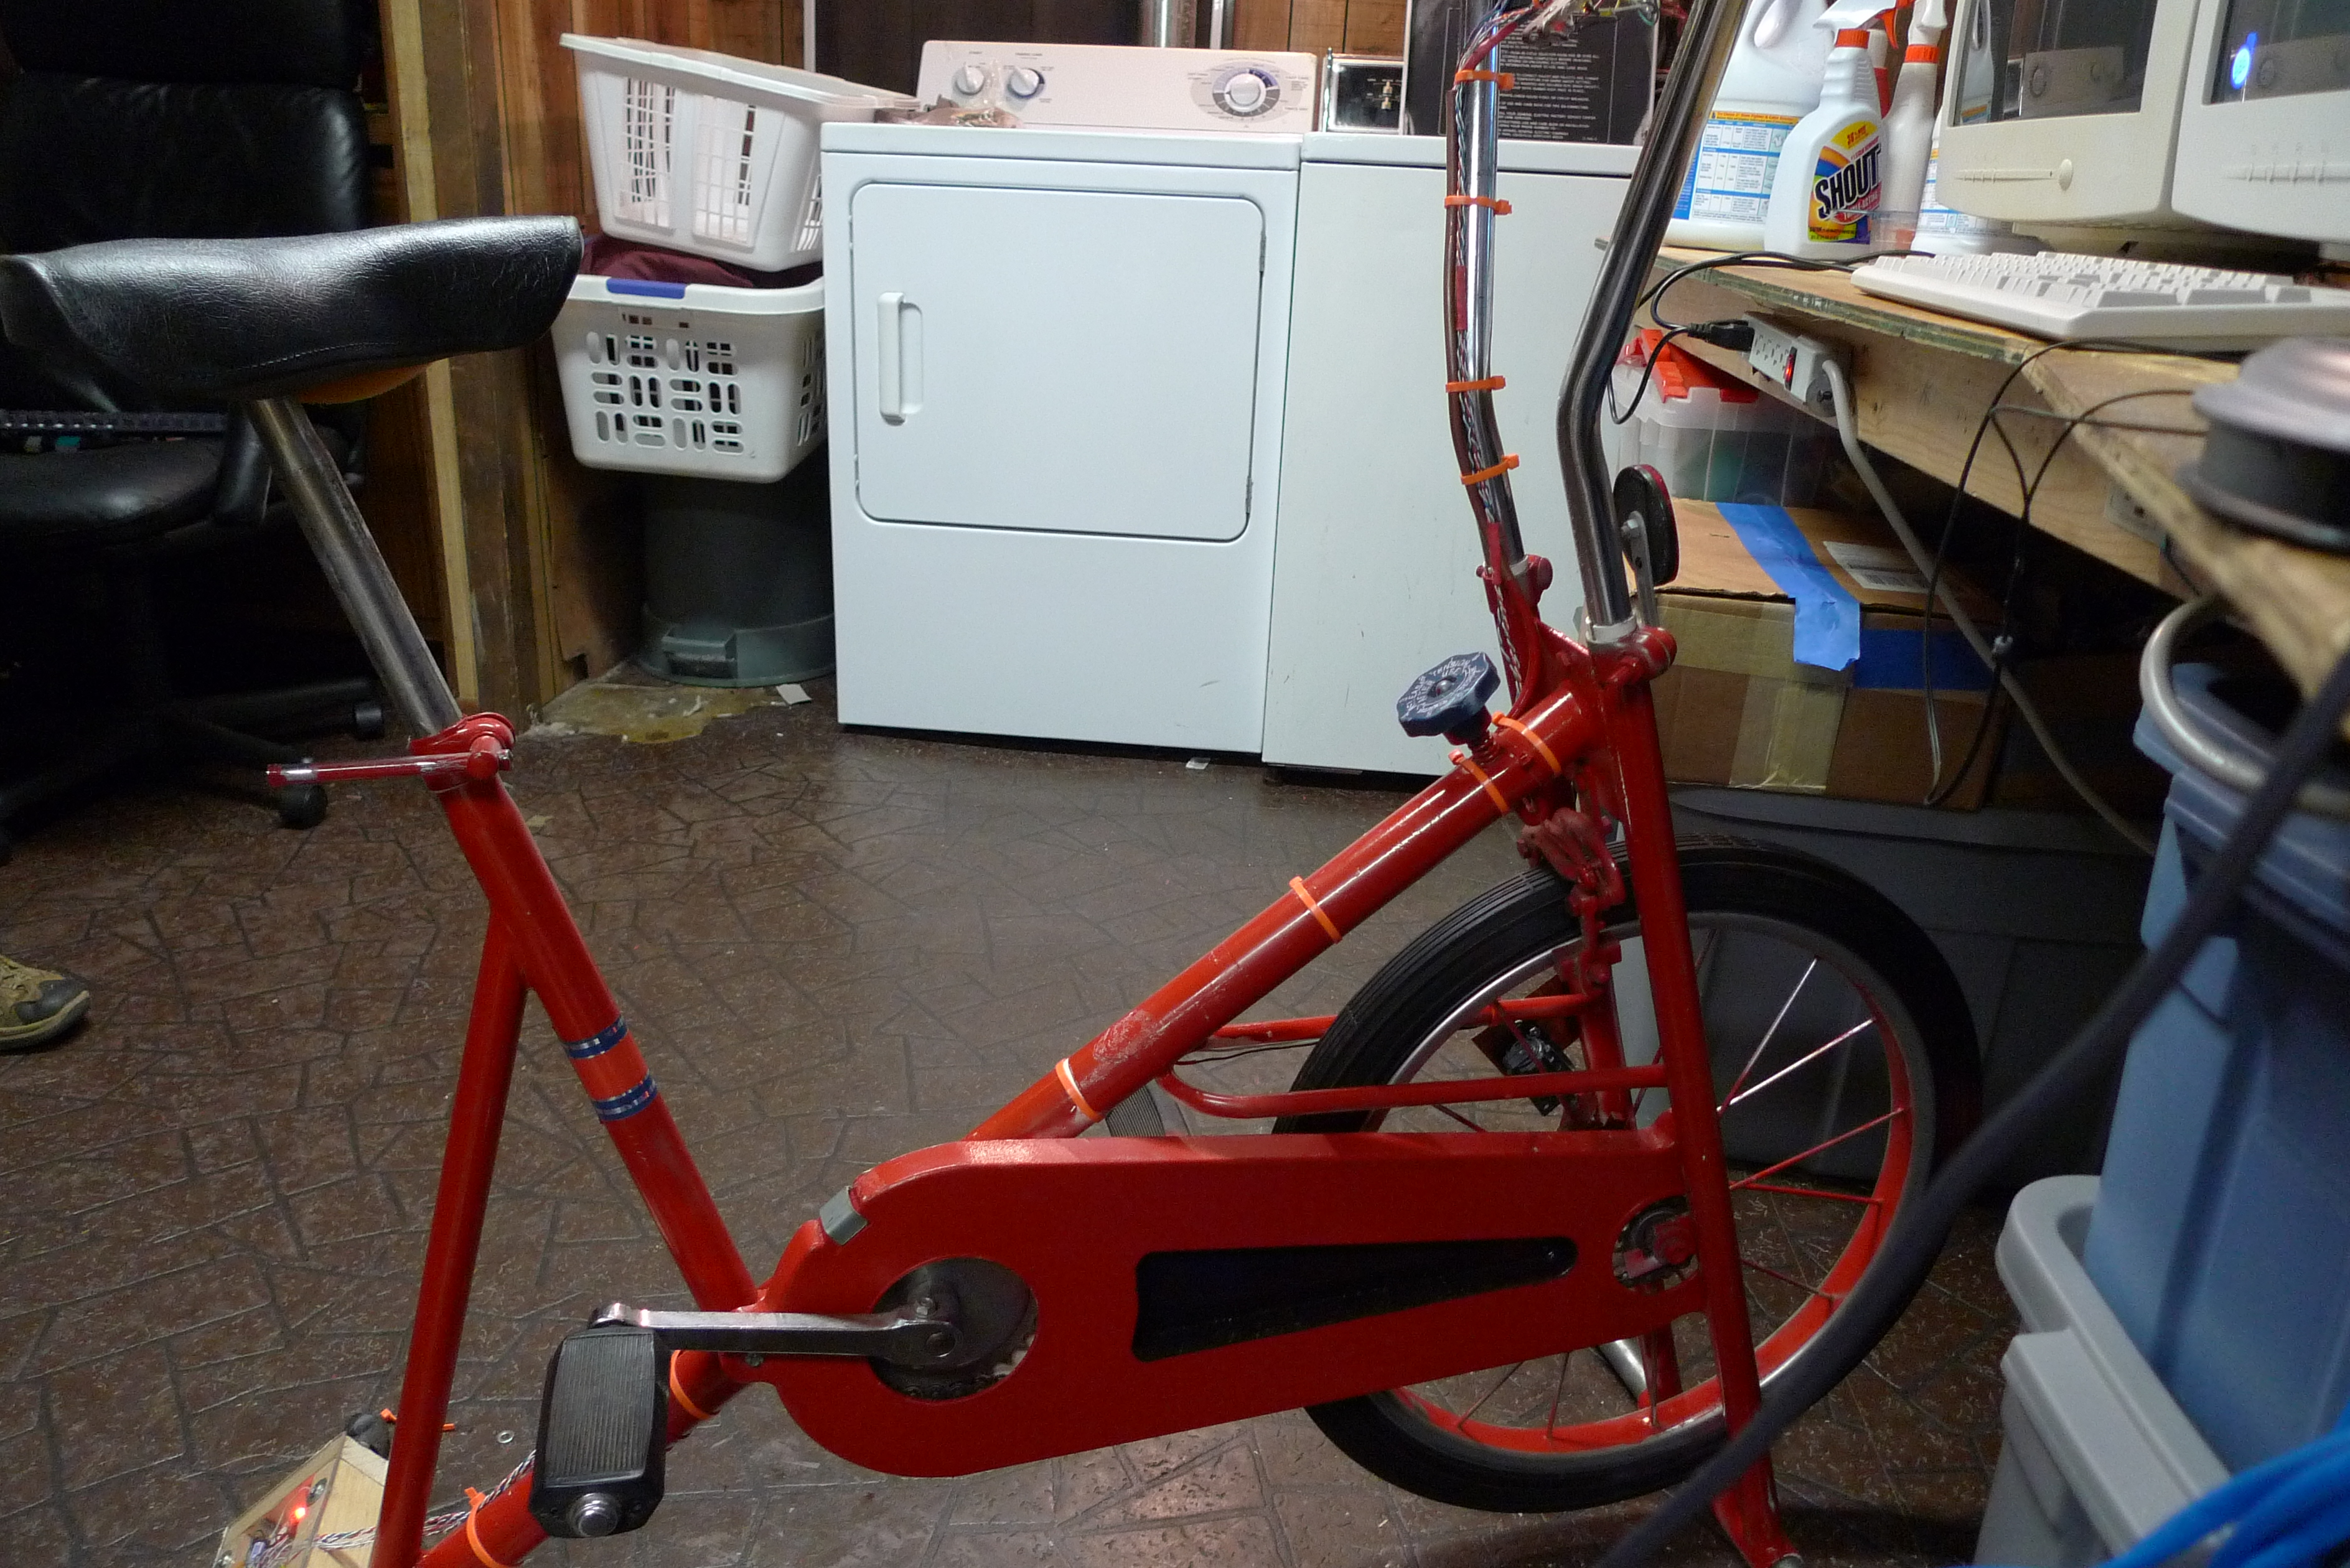
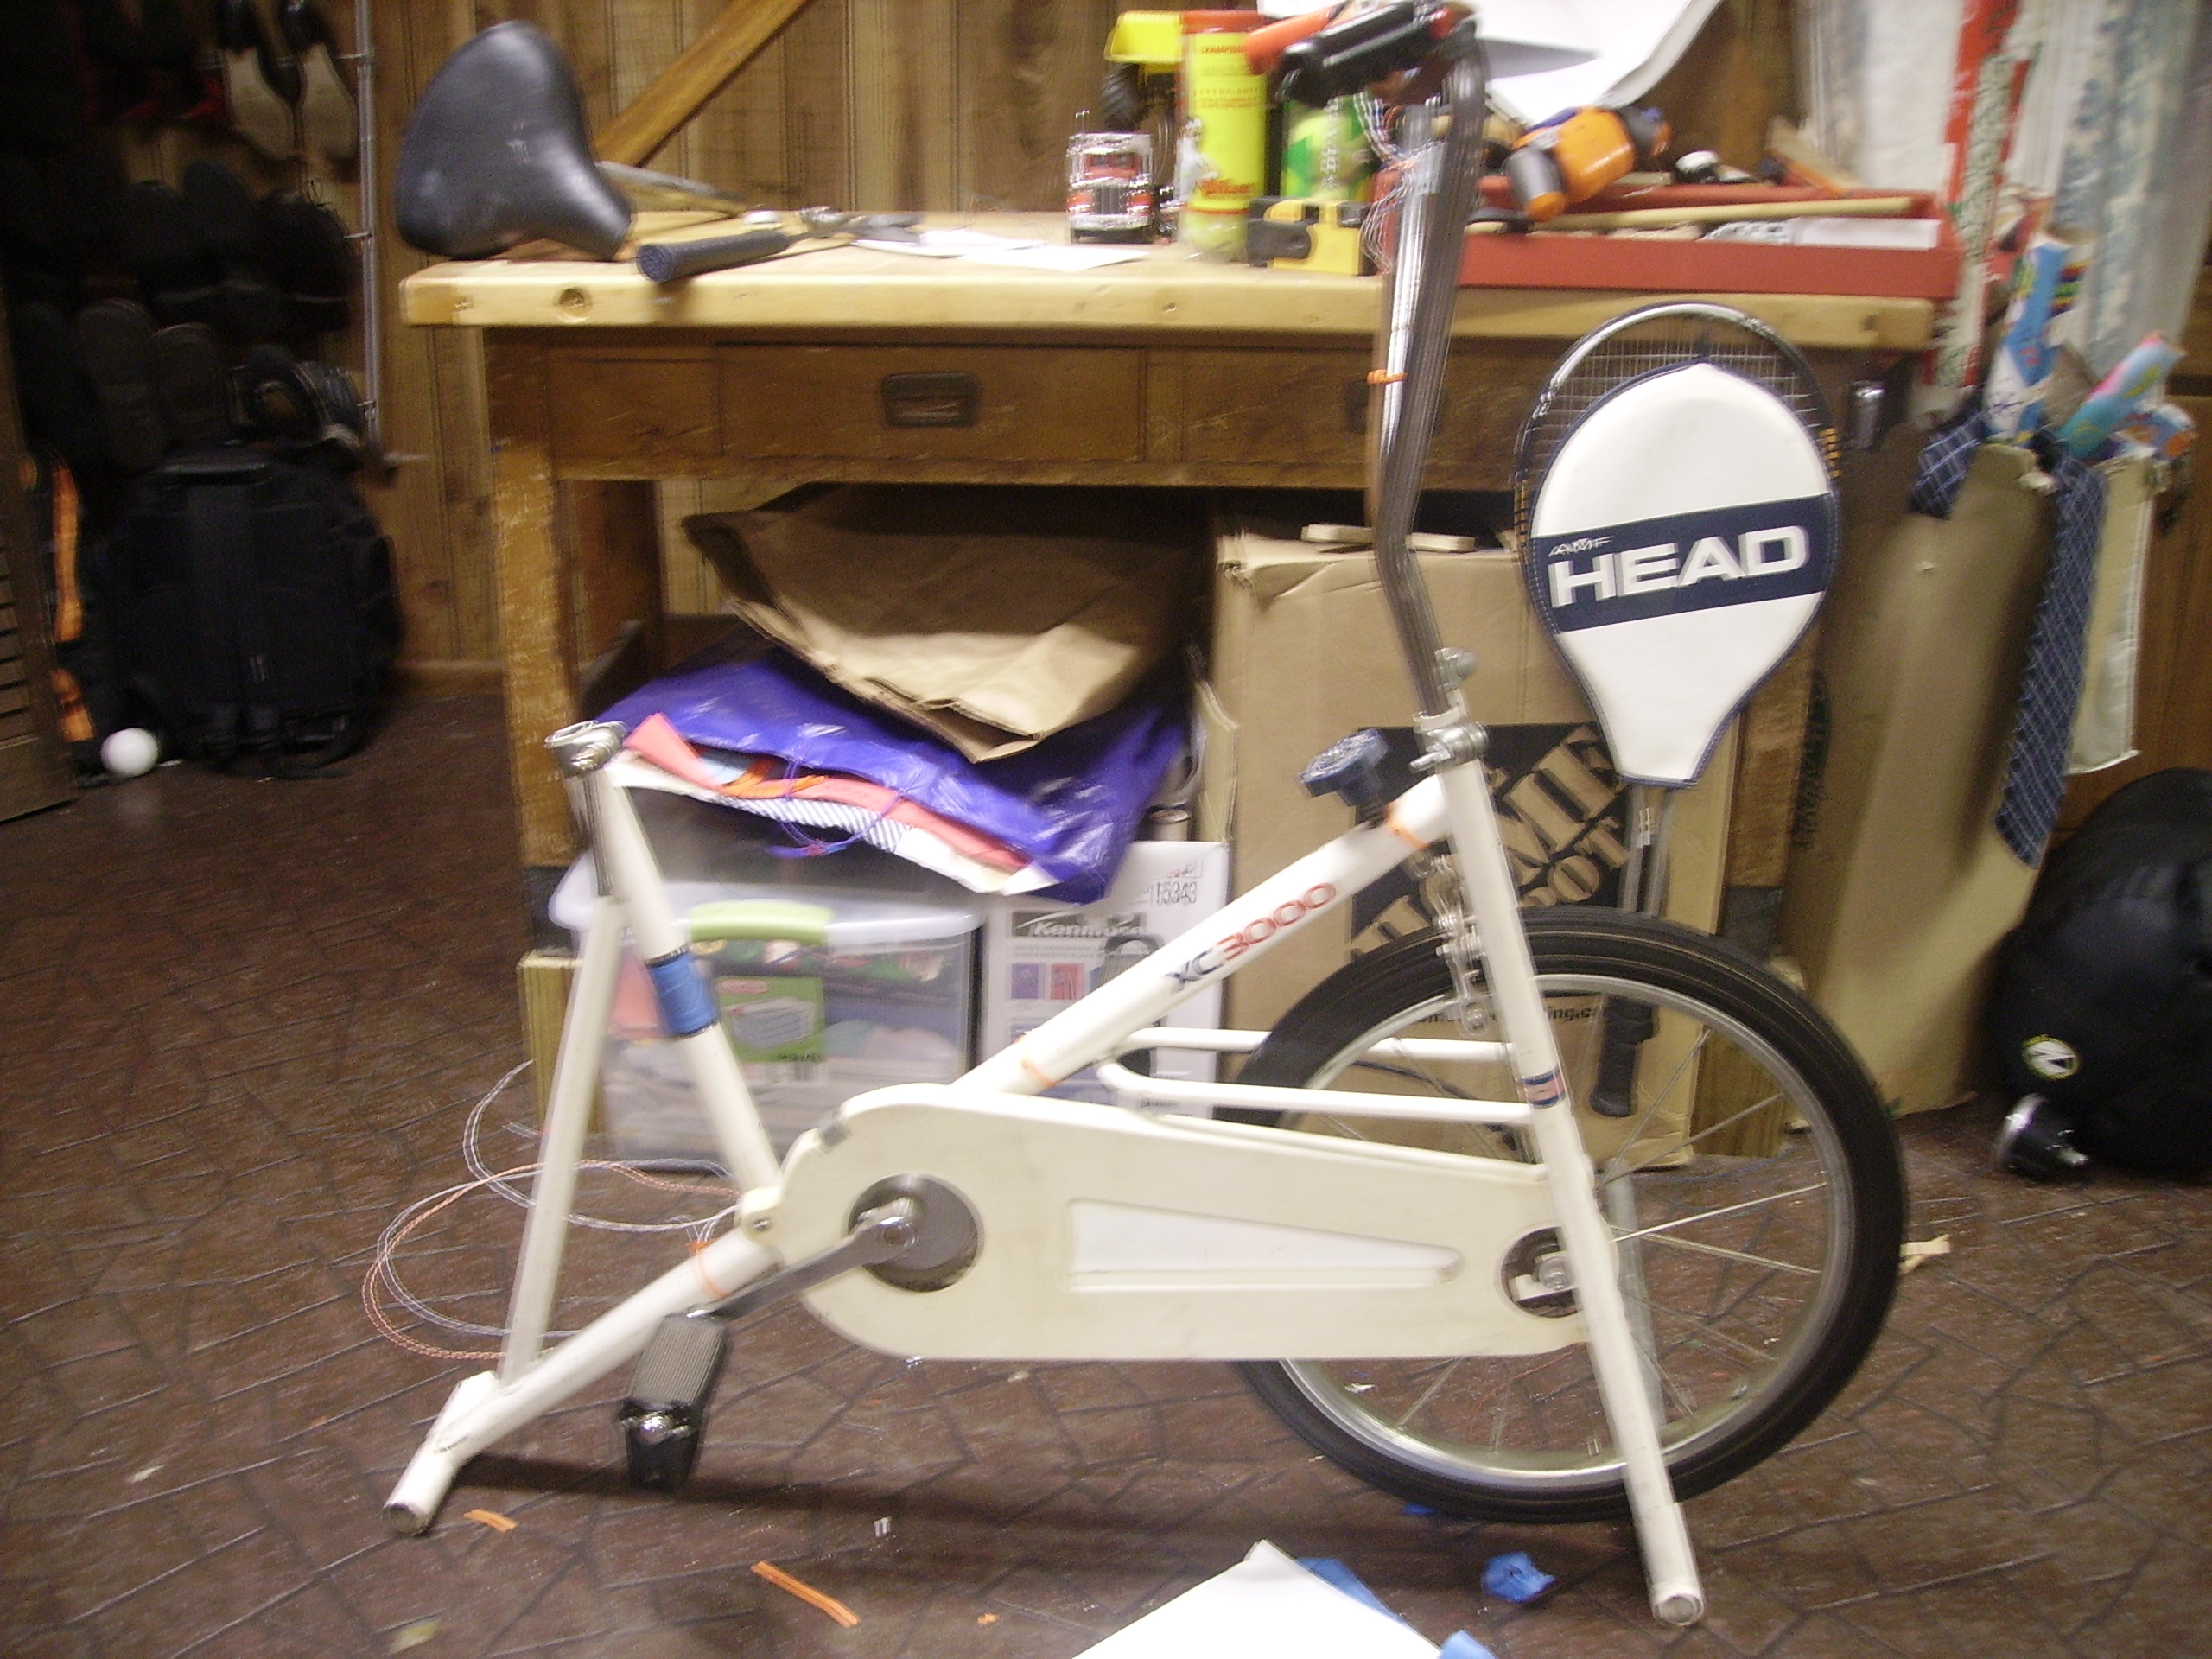
| Excersize bike: Ancient bike, which inhabited our garage for the last decade. Make sure the mechanics are mostly working, or fix them before starting. A rowing machine would also work great for this project, assuming you could find one for cheap. In the case for the rowing machine, a method to average the spinny part would be needed (RC integrator) |
 |
 |
| Microcontroller
& old USB Keyboard innards (explained later on). Method for
building without microcontroller, listed below. <this project was designed to get a 12 year old interested in tinkering, so most parts are kept simple> |
 |
 |
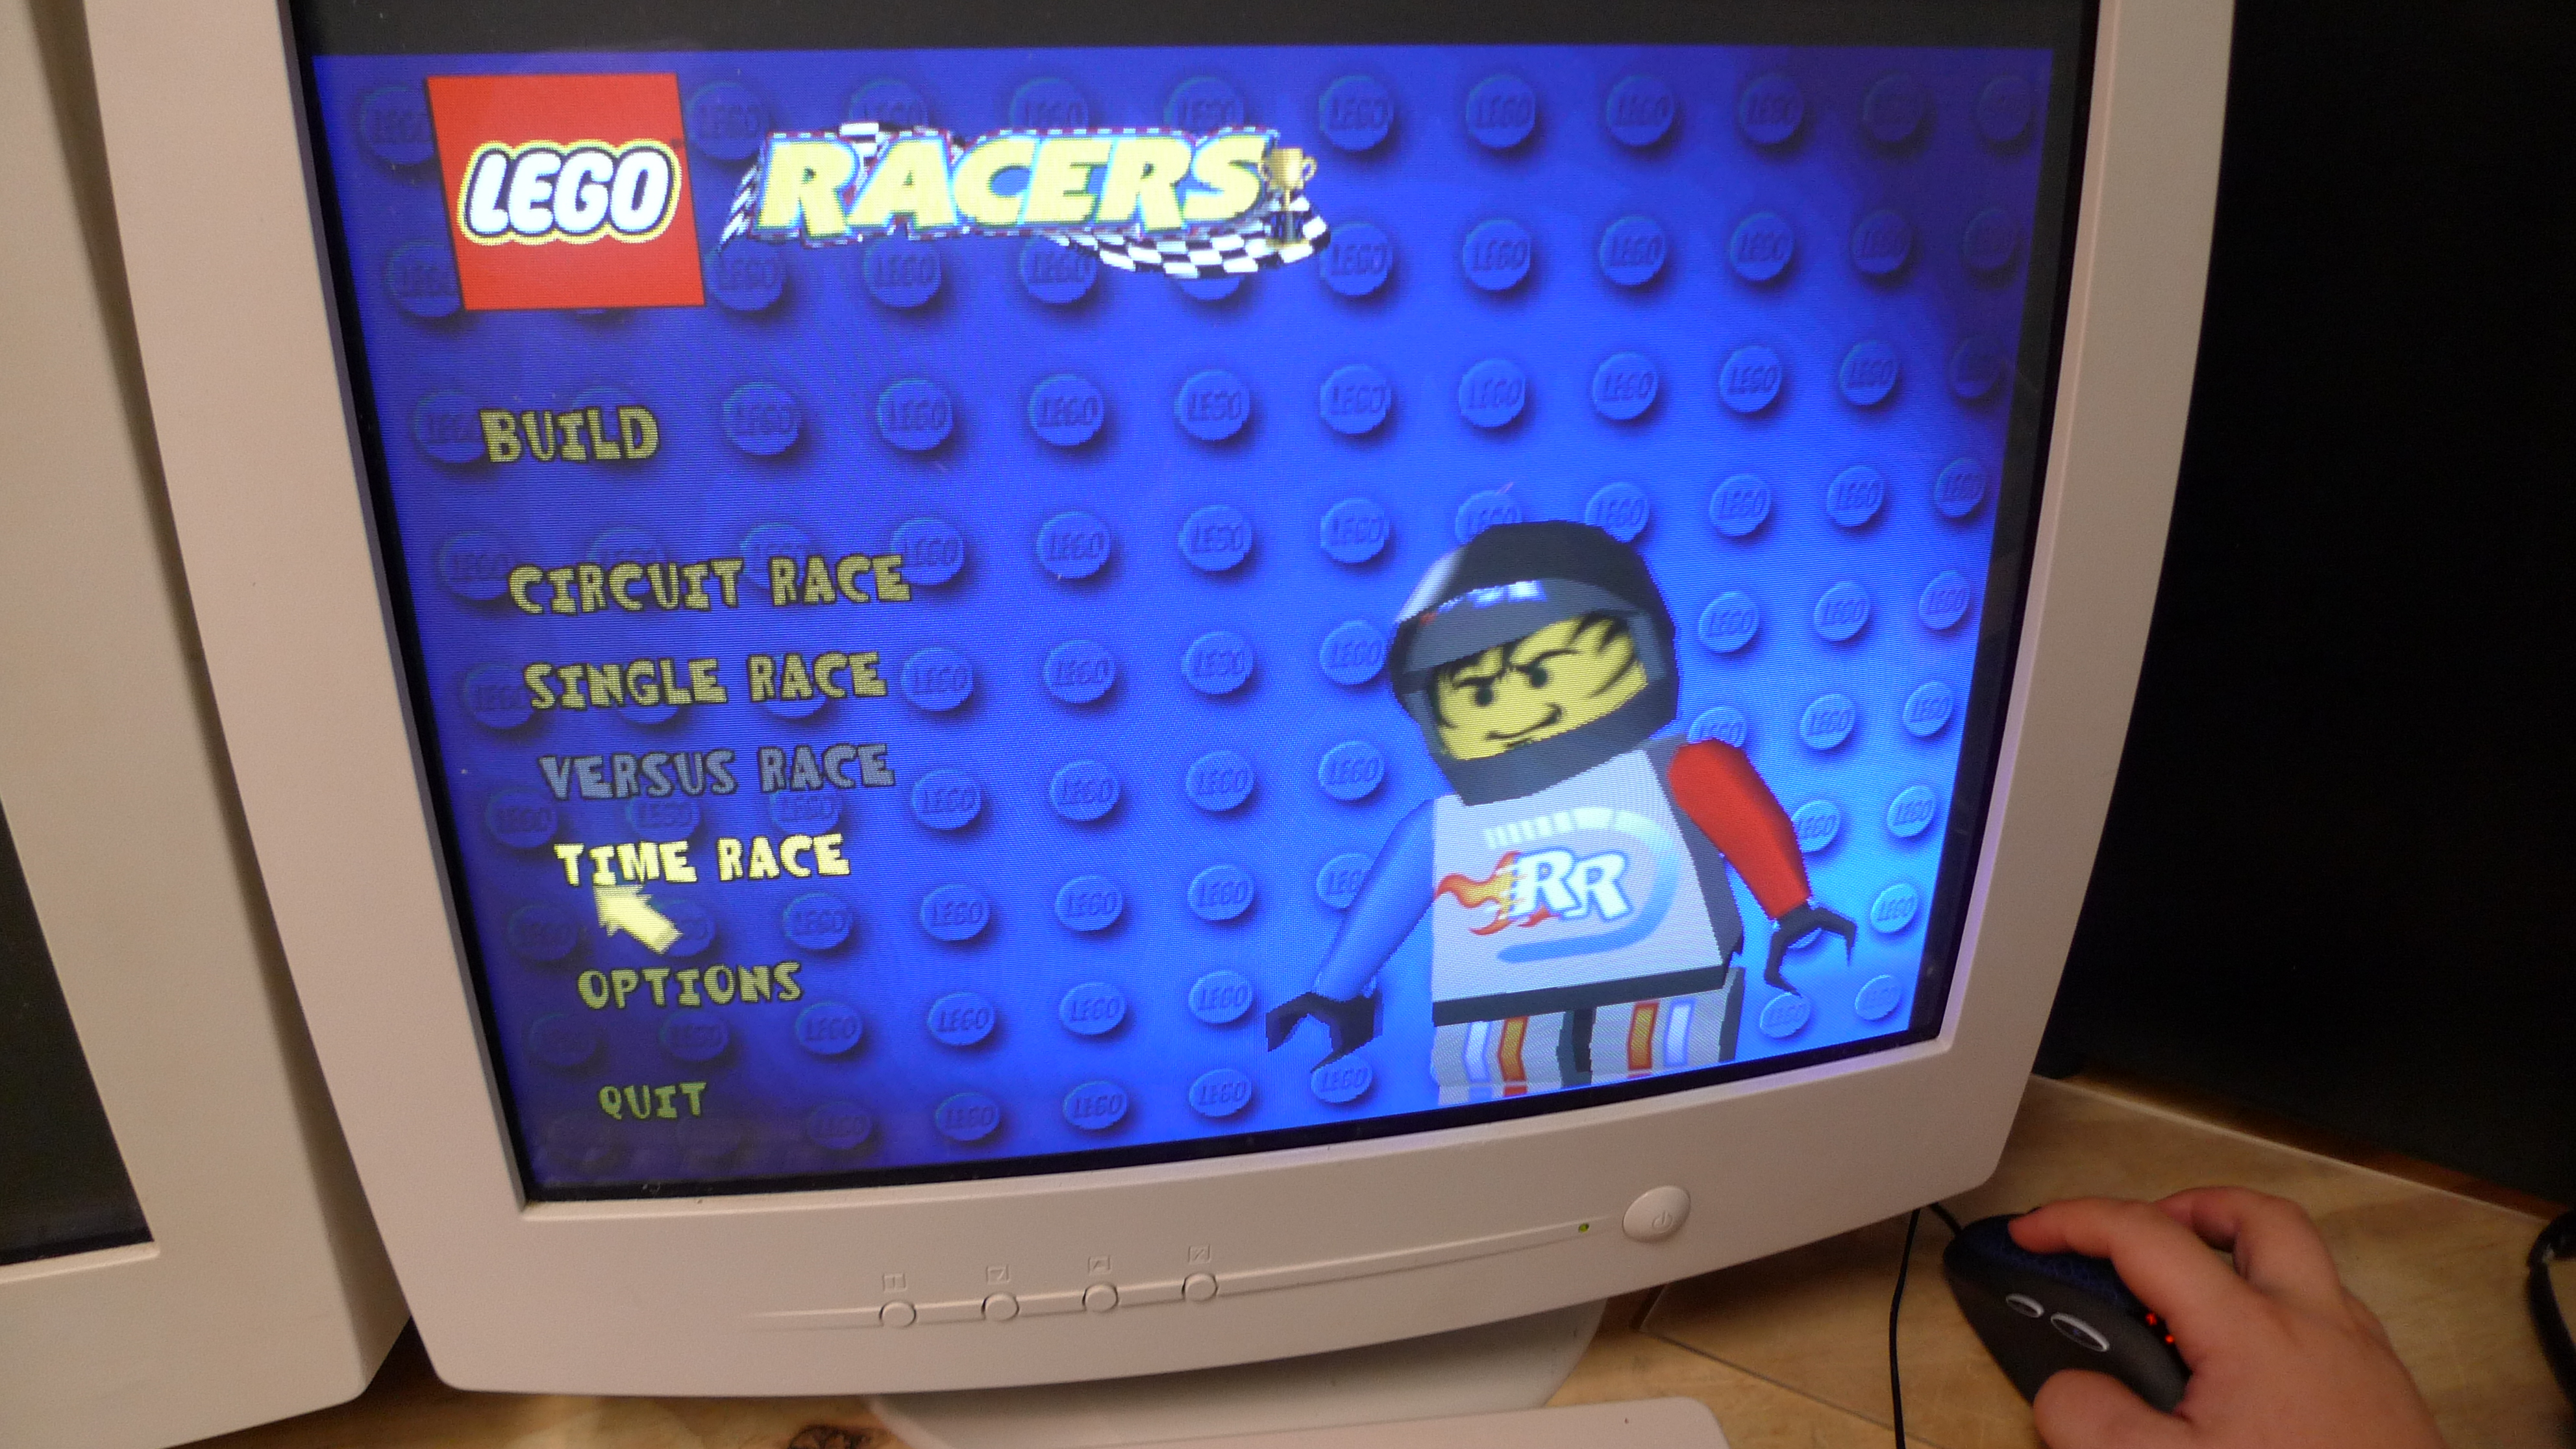
| Computer that can play ancient
games (or emulate older consoles) YEAH THATS RIGHT, LEGO RACERS. <Also project 64 & old motorcycle roms are great> |
 |
 |
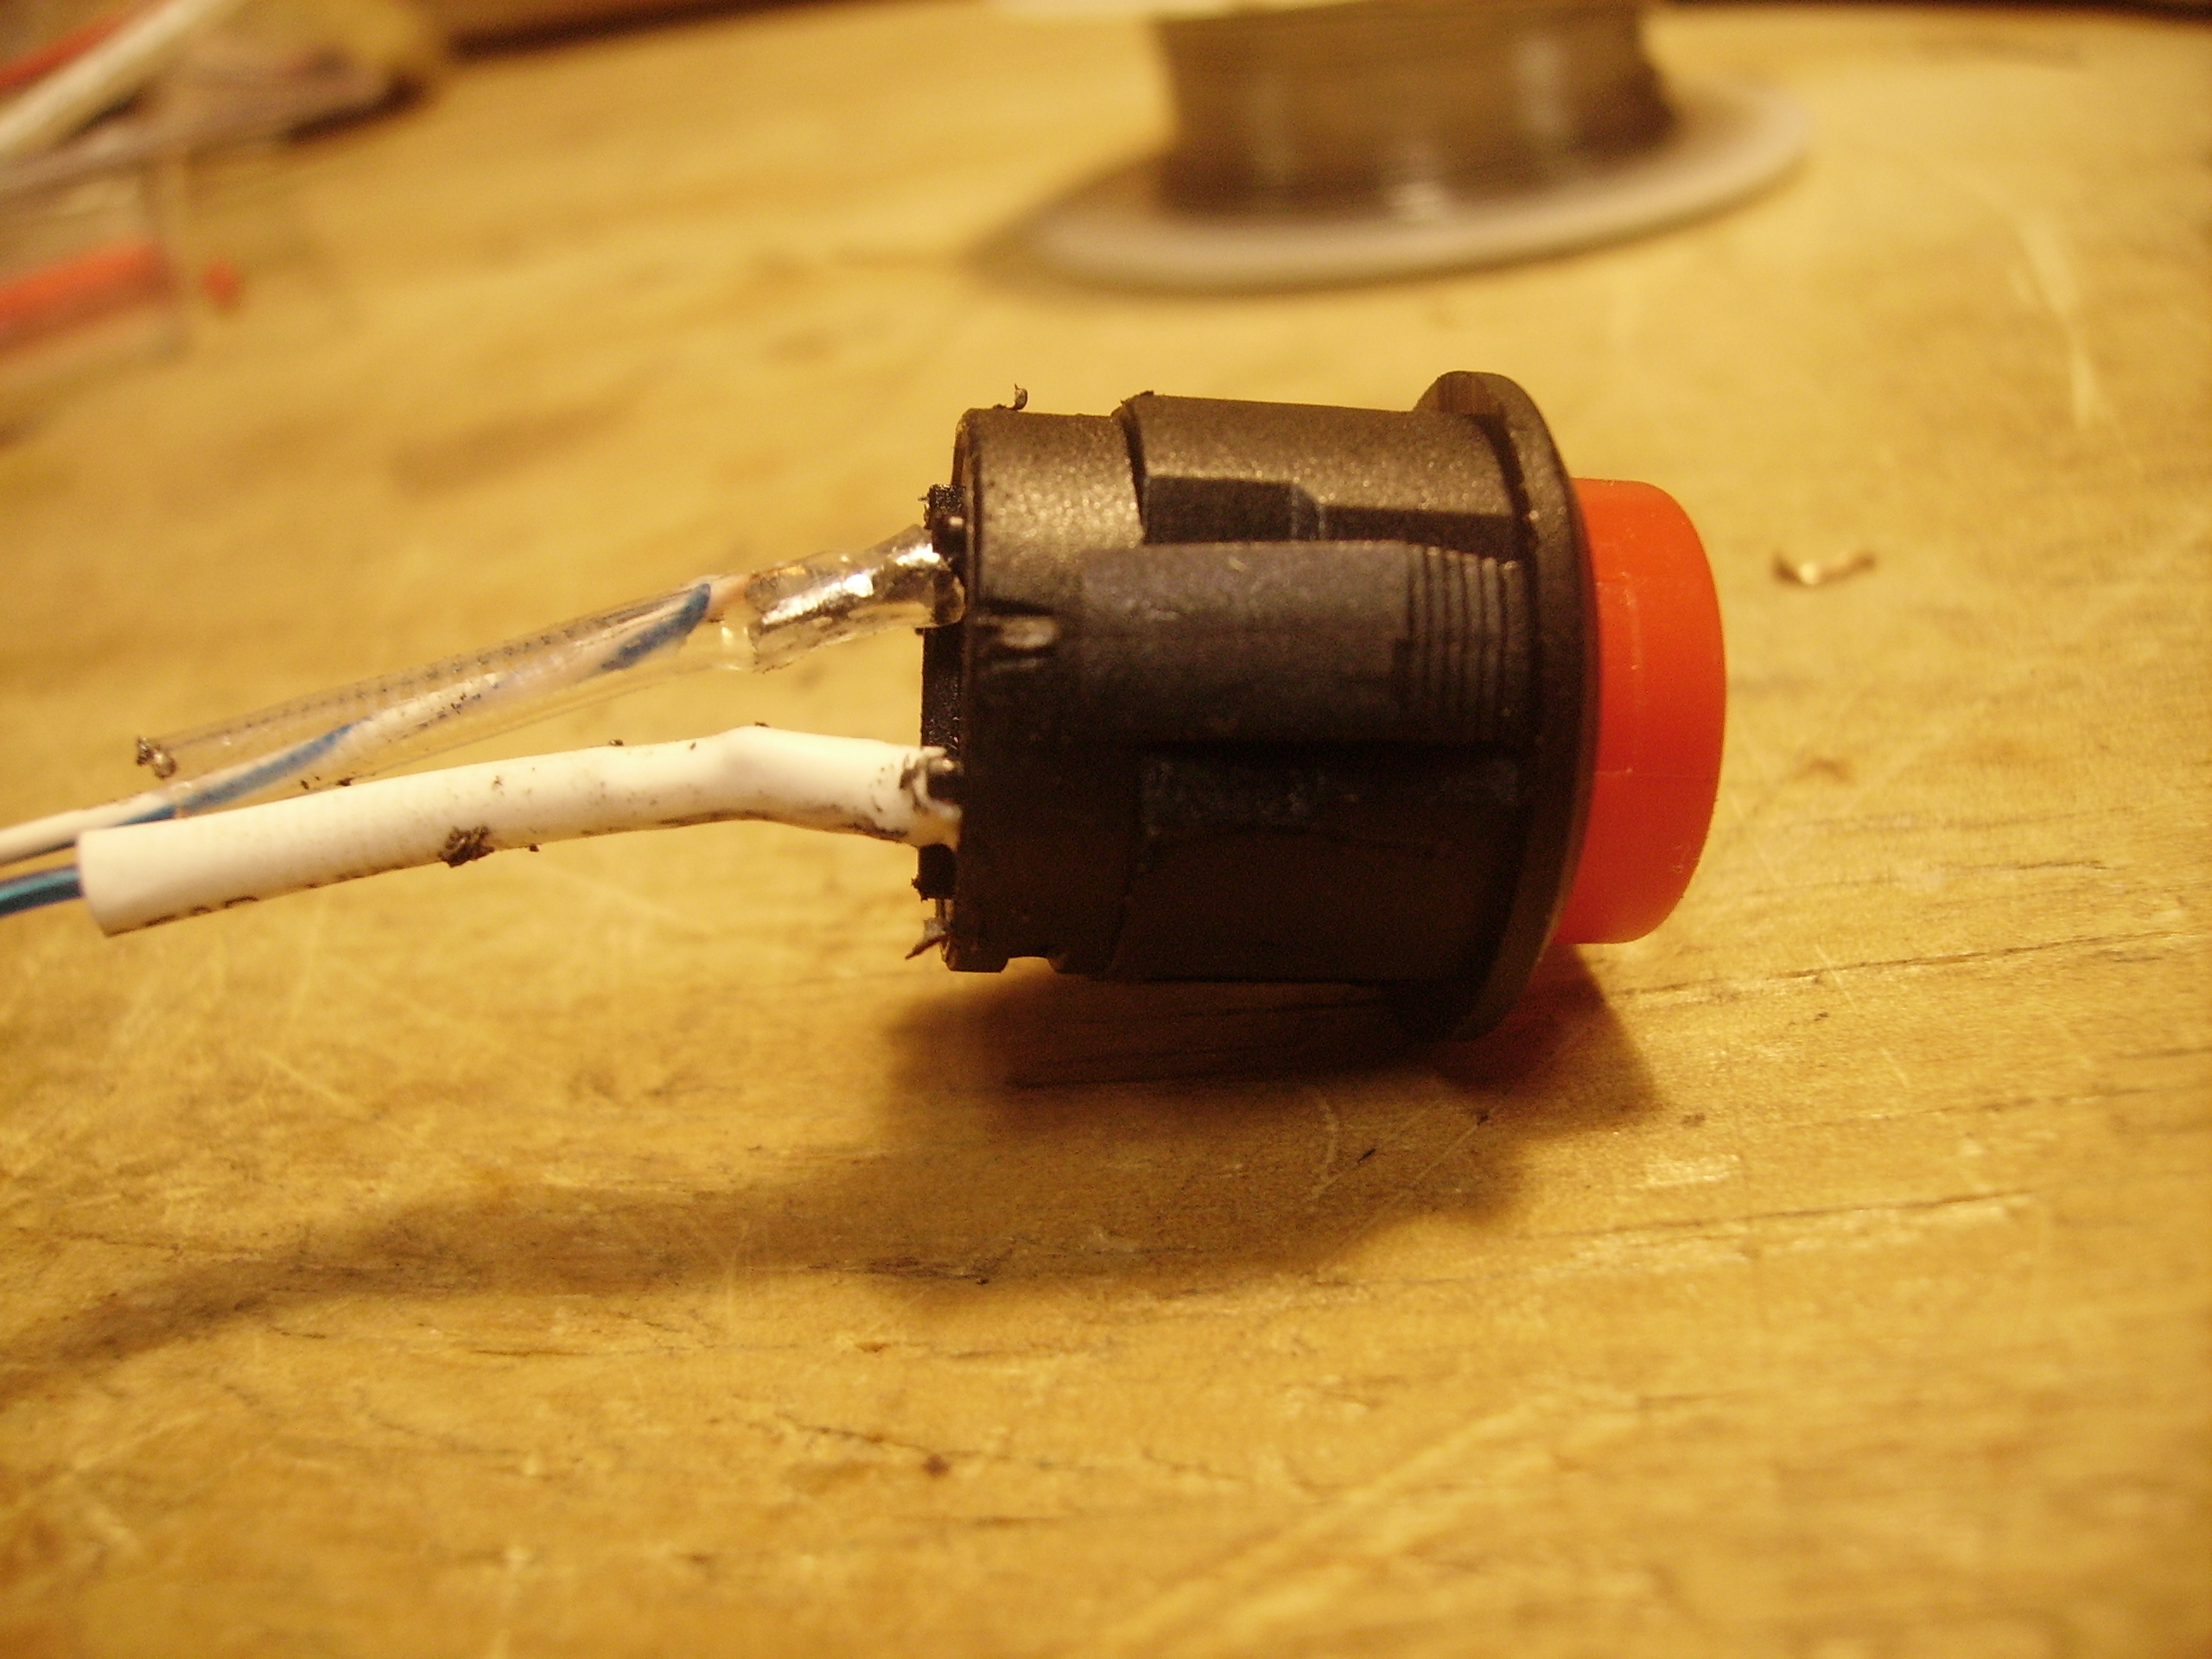
| Good, strong momentary pushbuttons (mouser link) A note, if your going to build this, dont, for any reason use the wimpy 4pack buttons from radioshack, they may be tempting, but they fall apart in hours. Big buttons that can take rough-housing are great. If your scrounging for em, try cutting out buttons from those giant TV remotes |
 |
 |
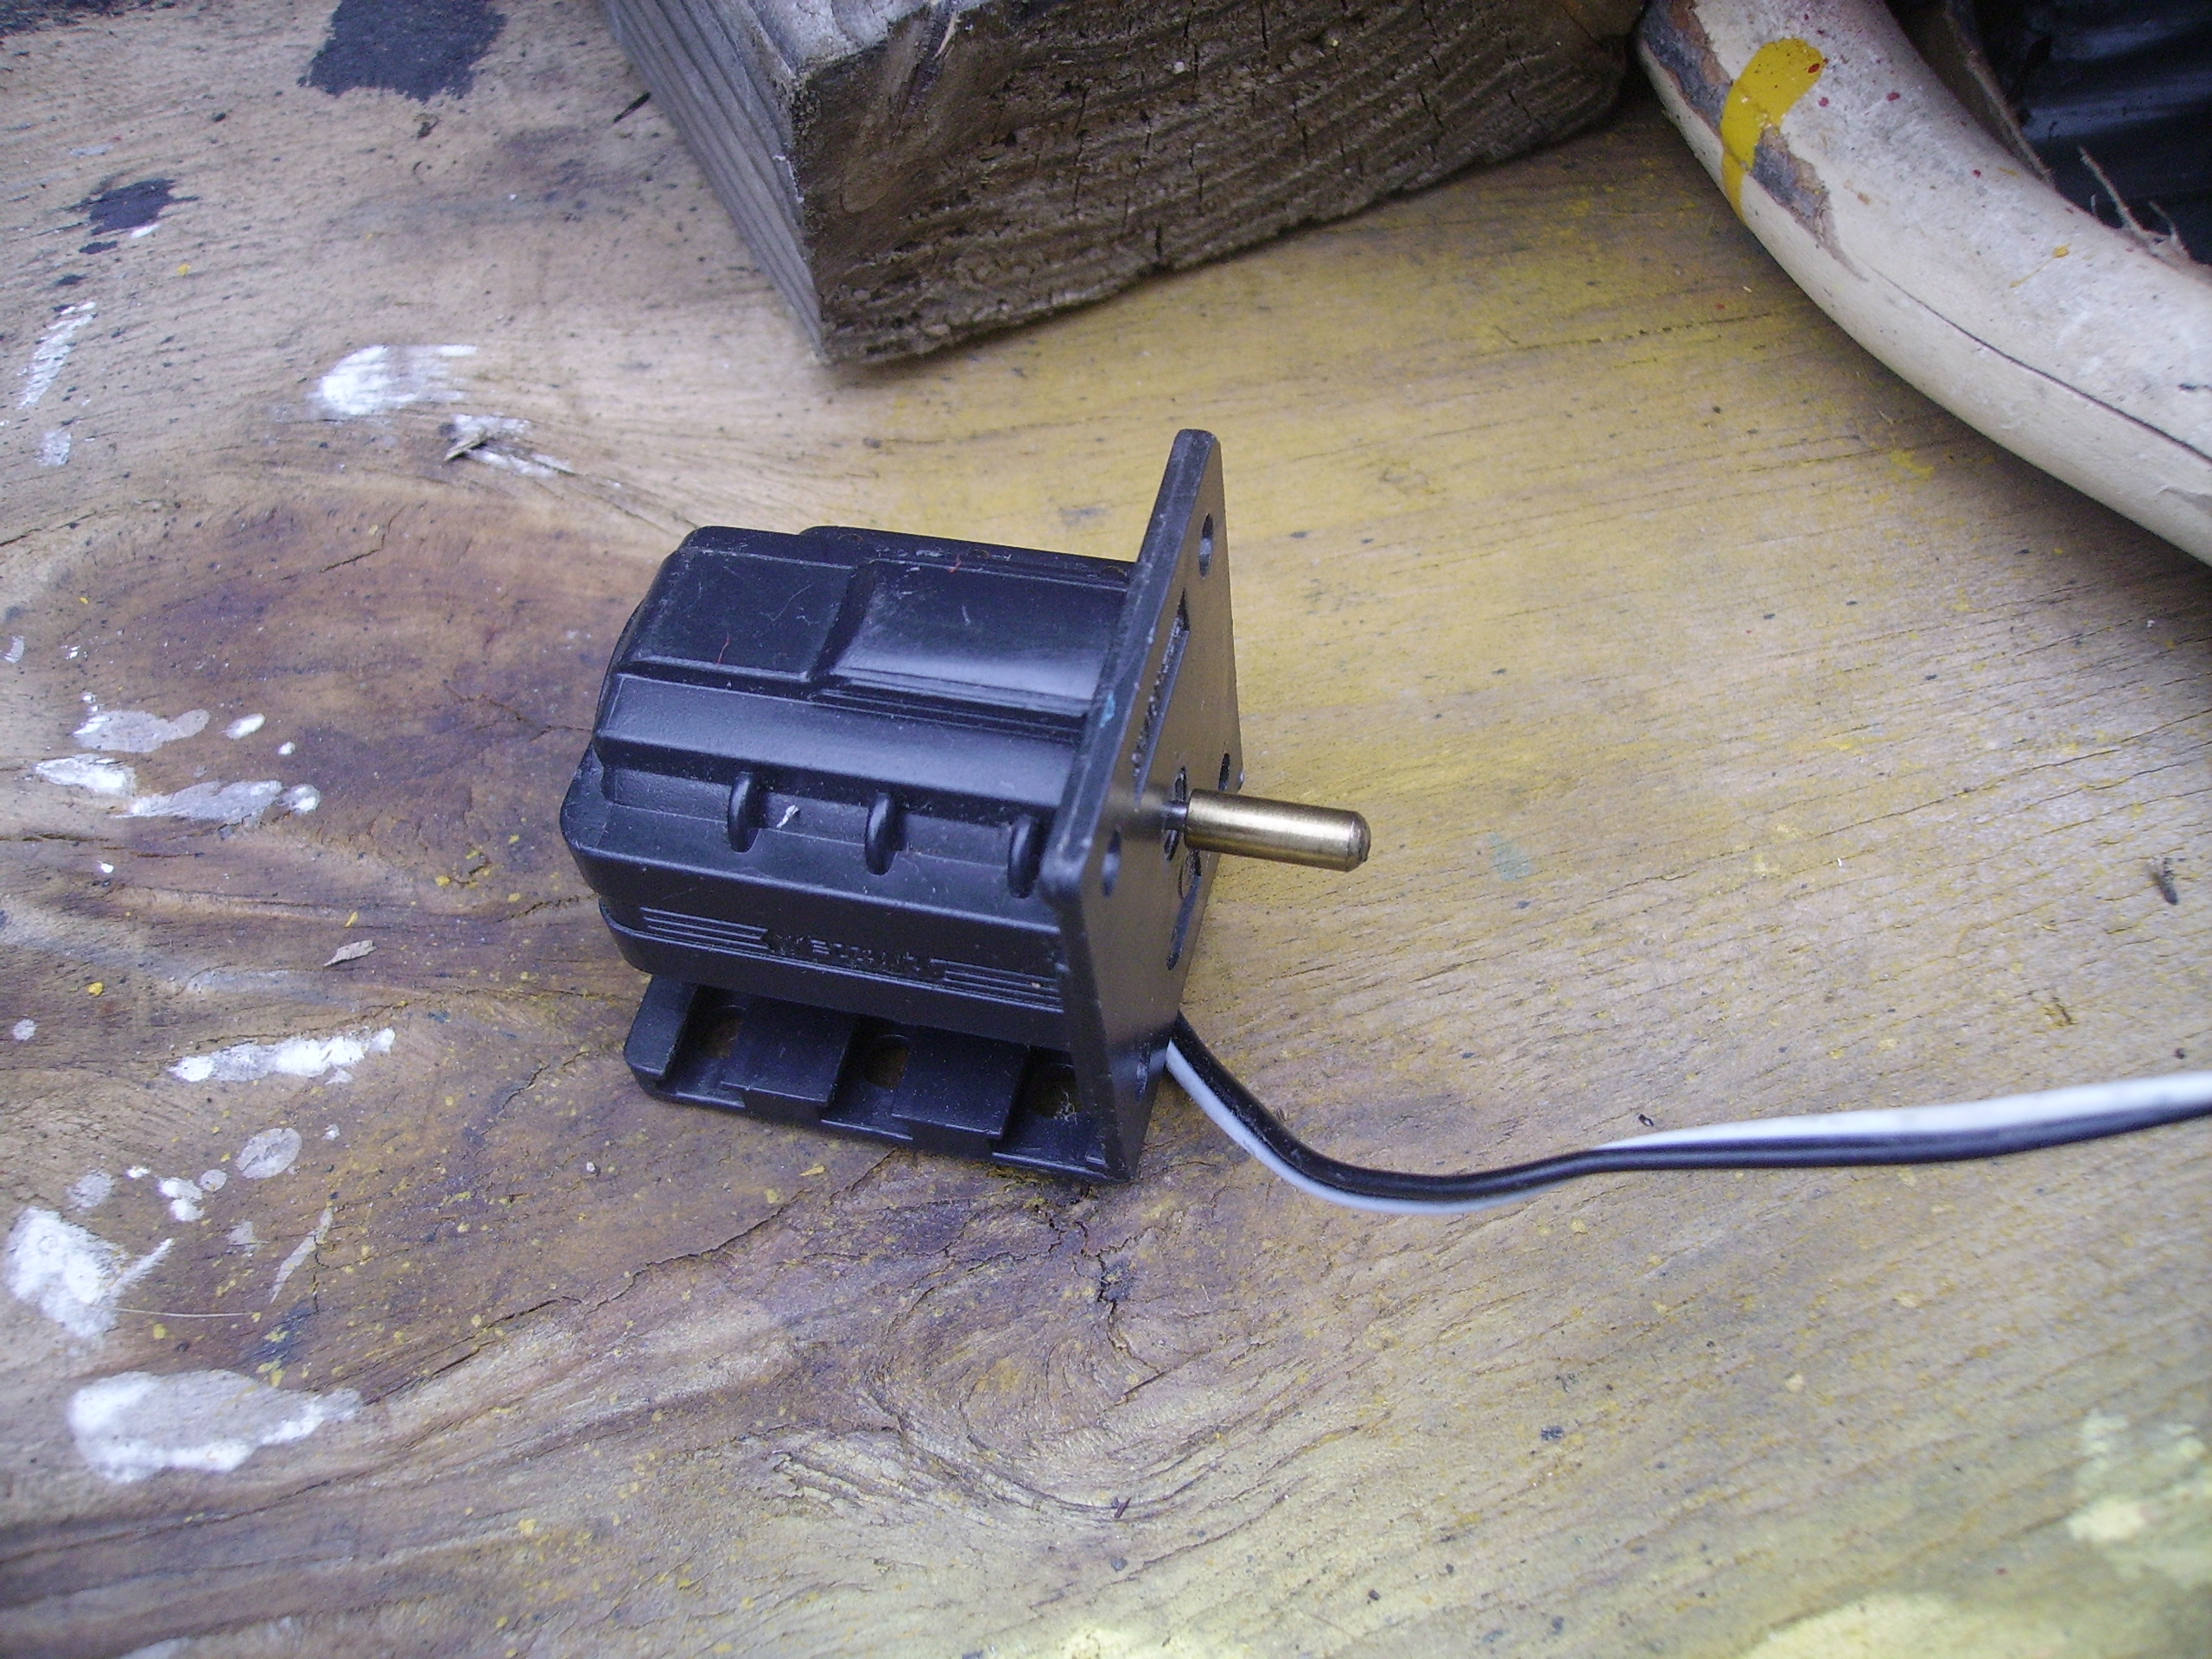
| DC motor Motor operates a a 'generator' producing a voltage mostly proportional to wheelspeed (you could also use a hall effect sensor & magnet) |
 |
 |
| How to: | Image/ Media | Image / Media |
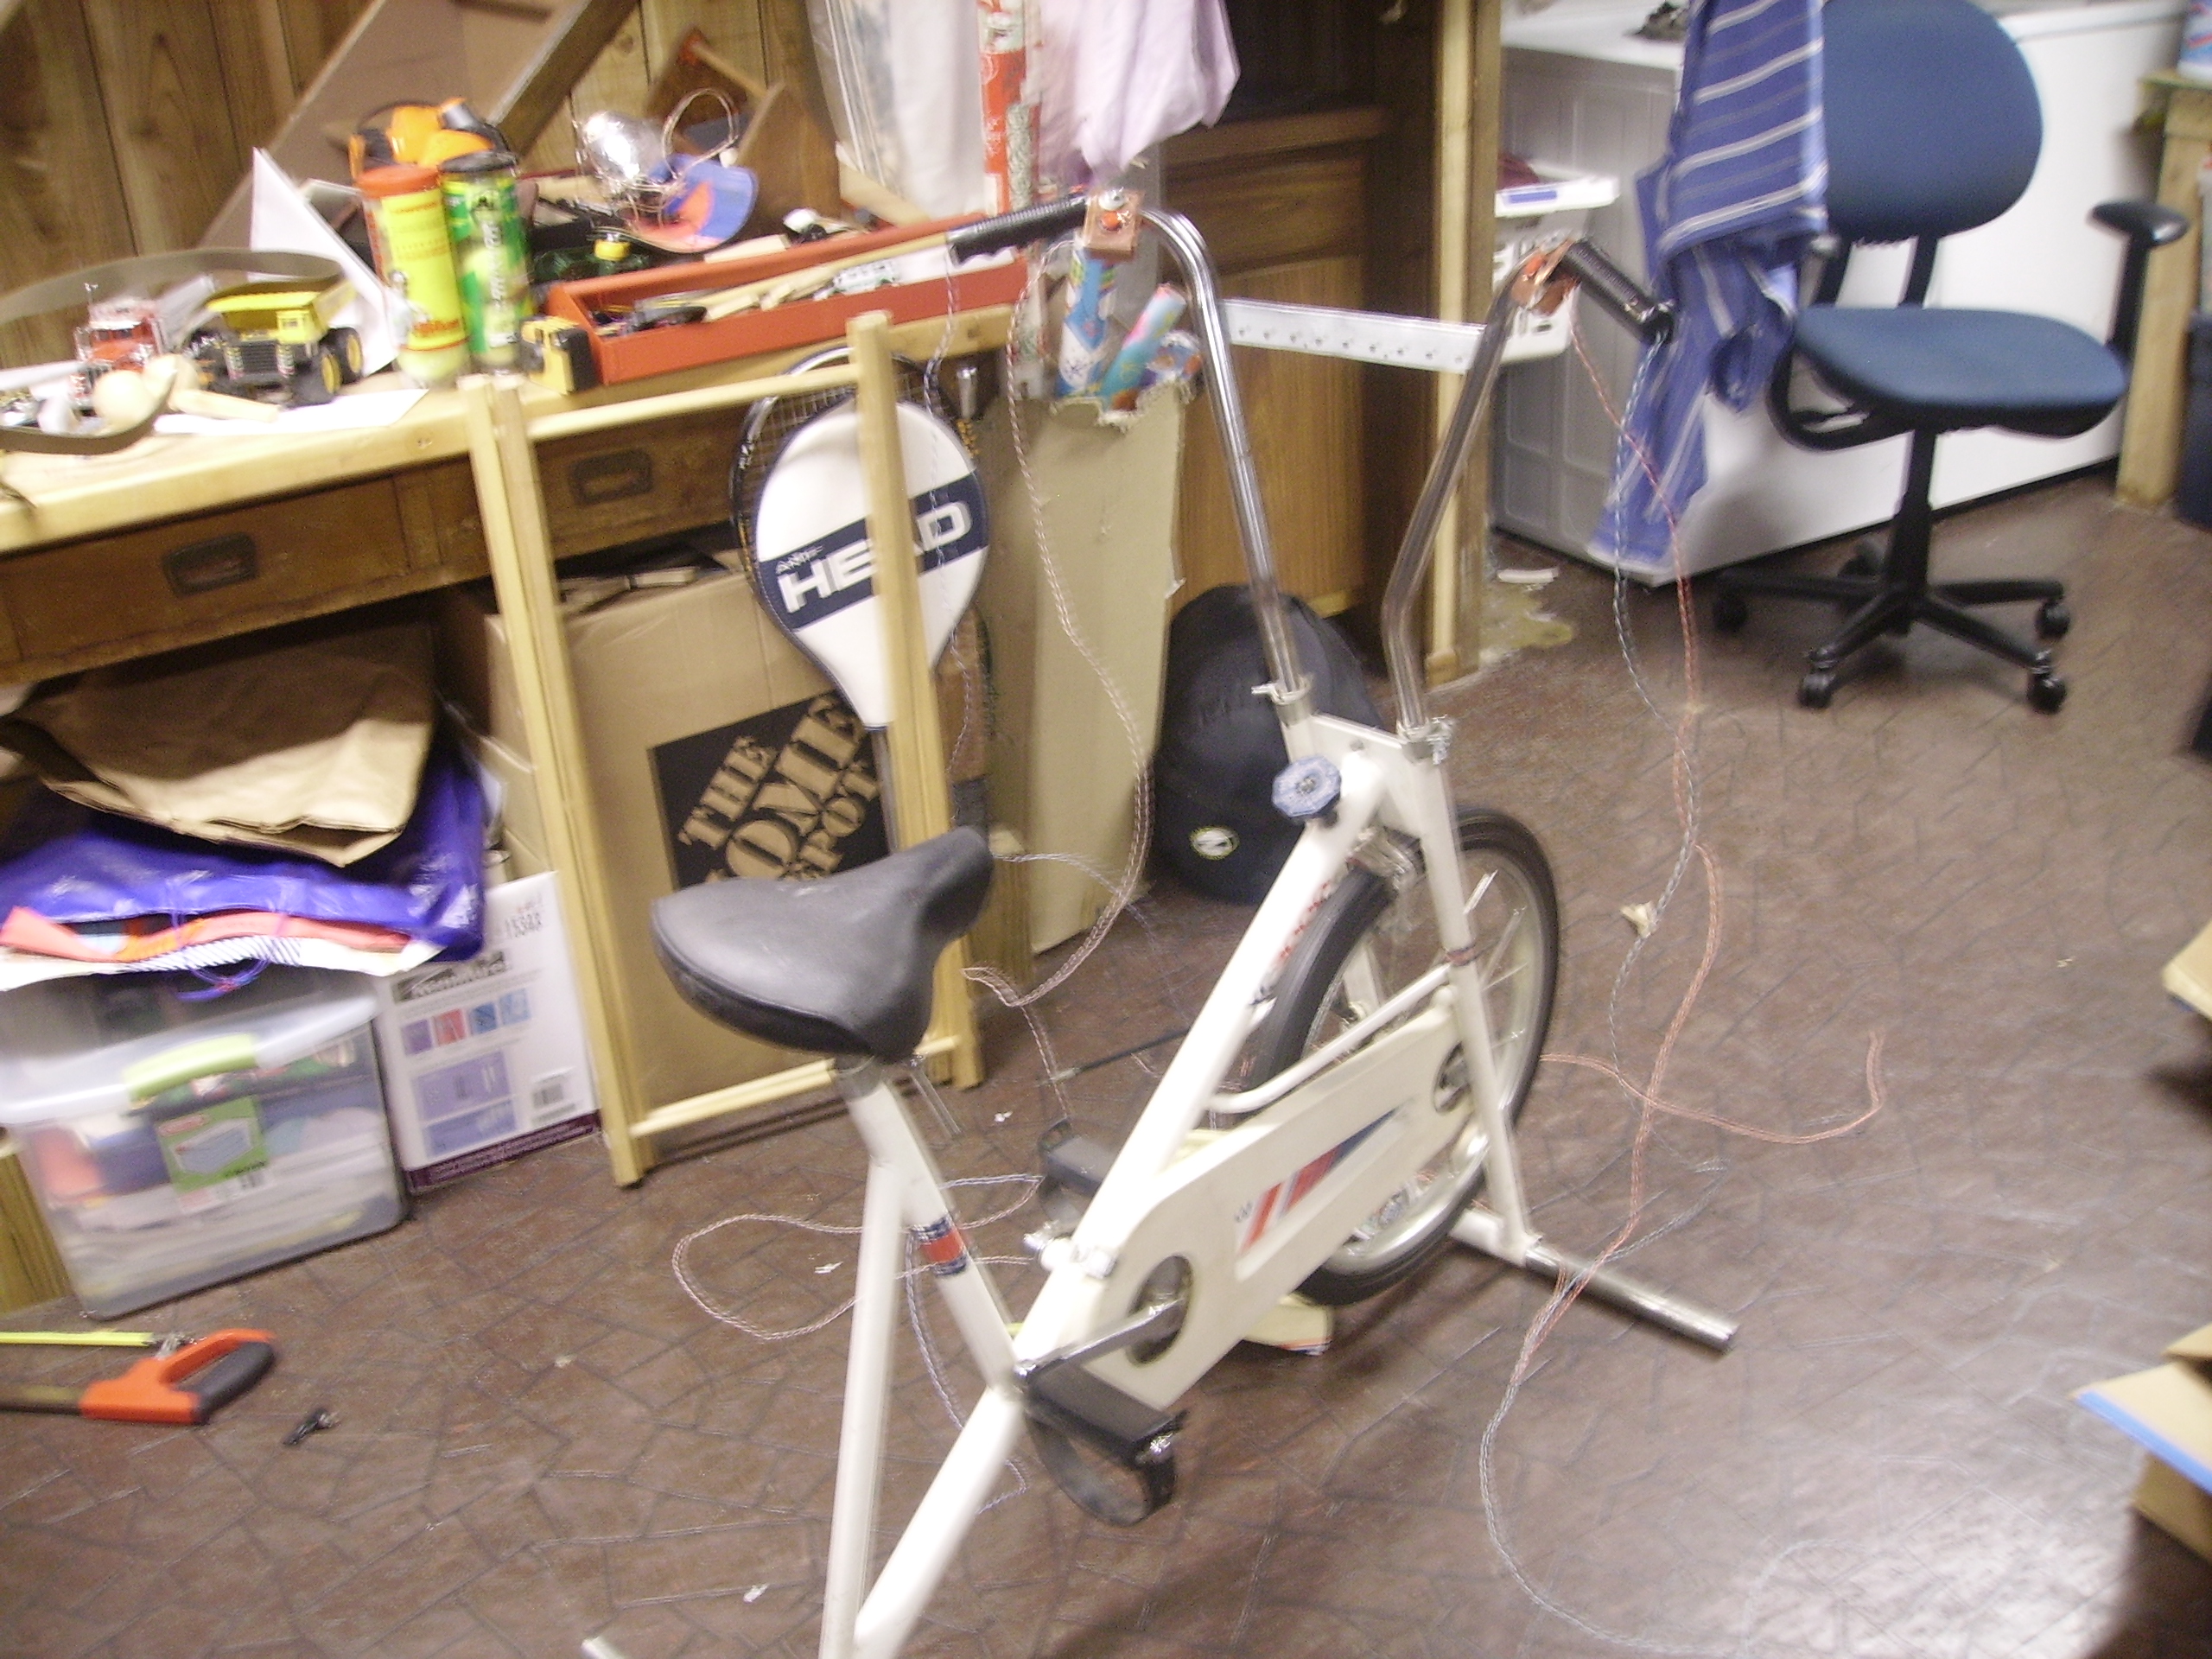
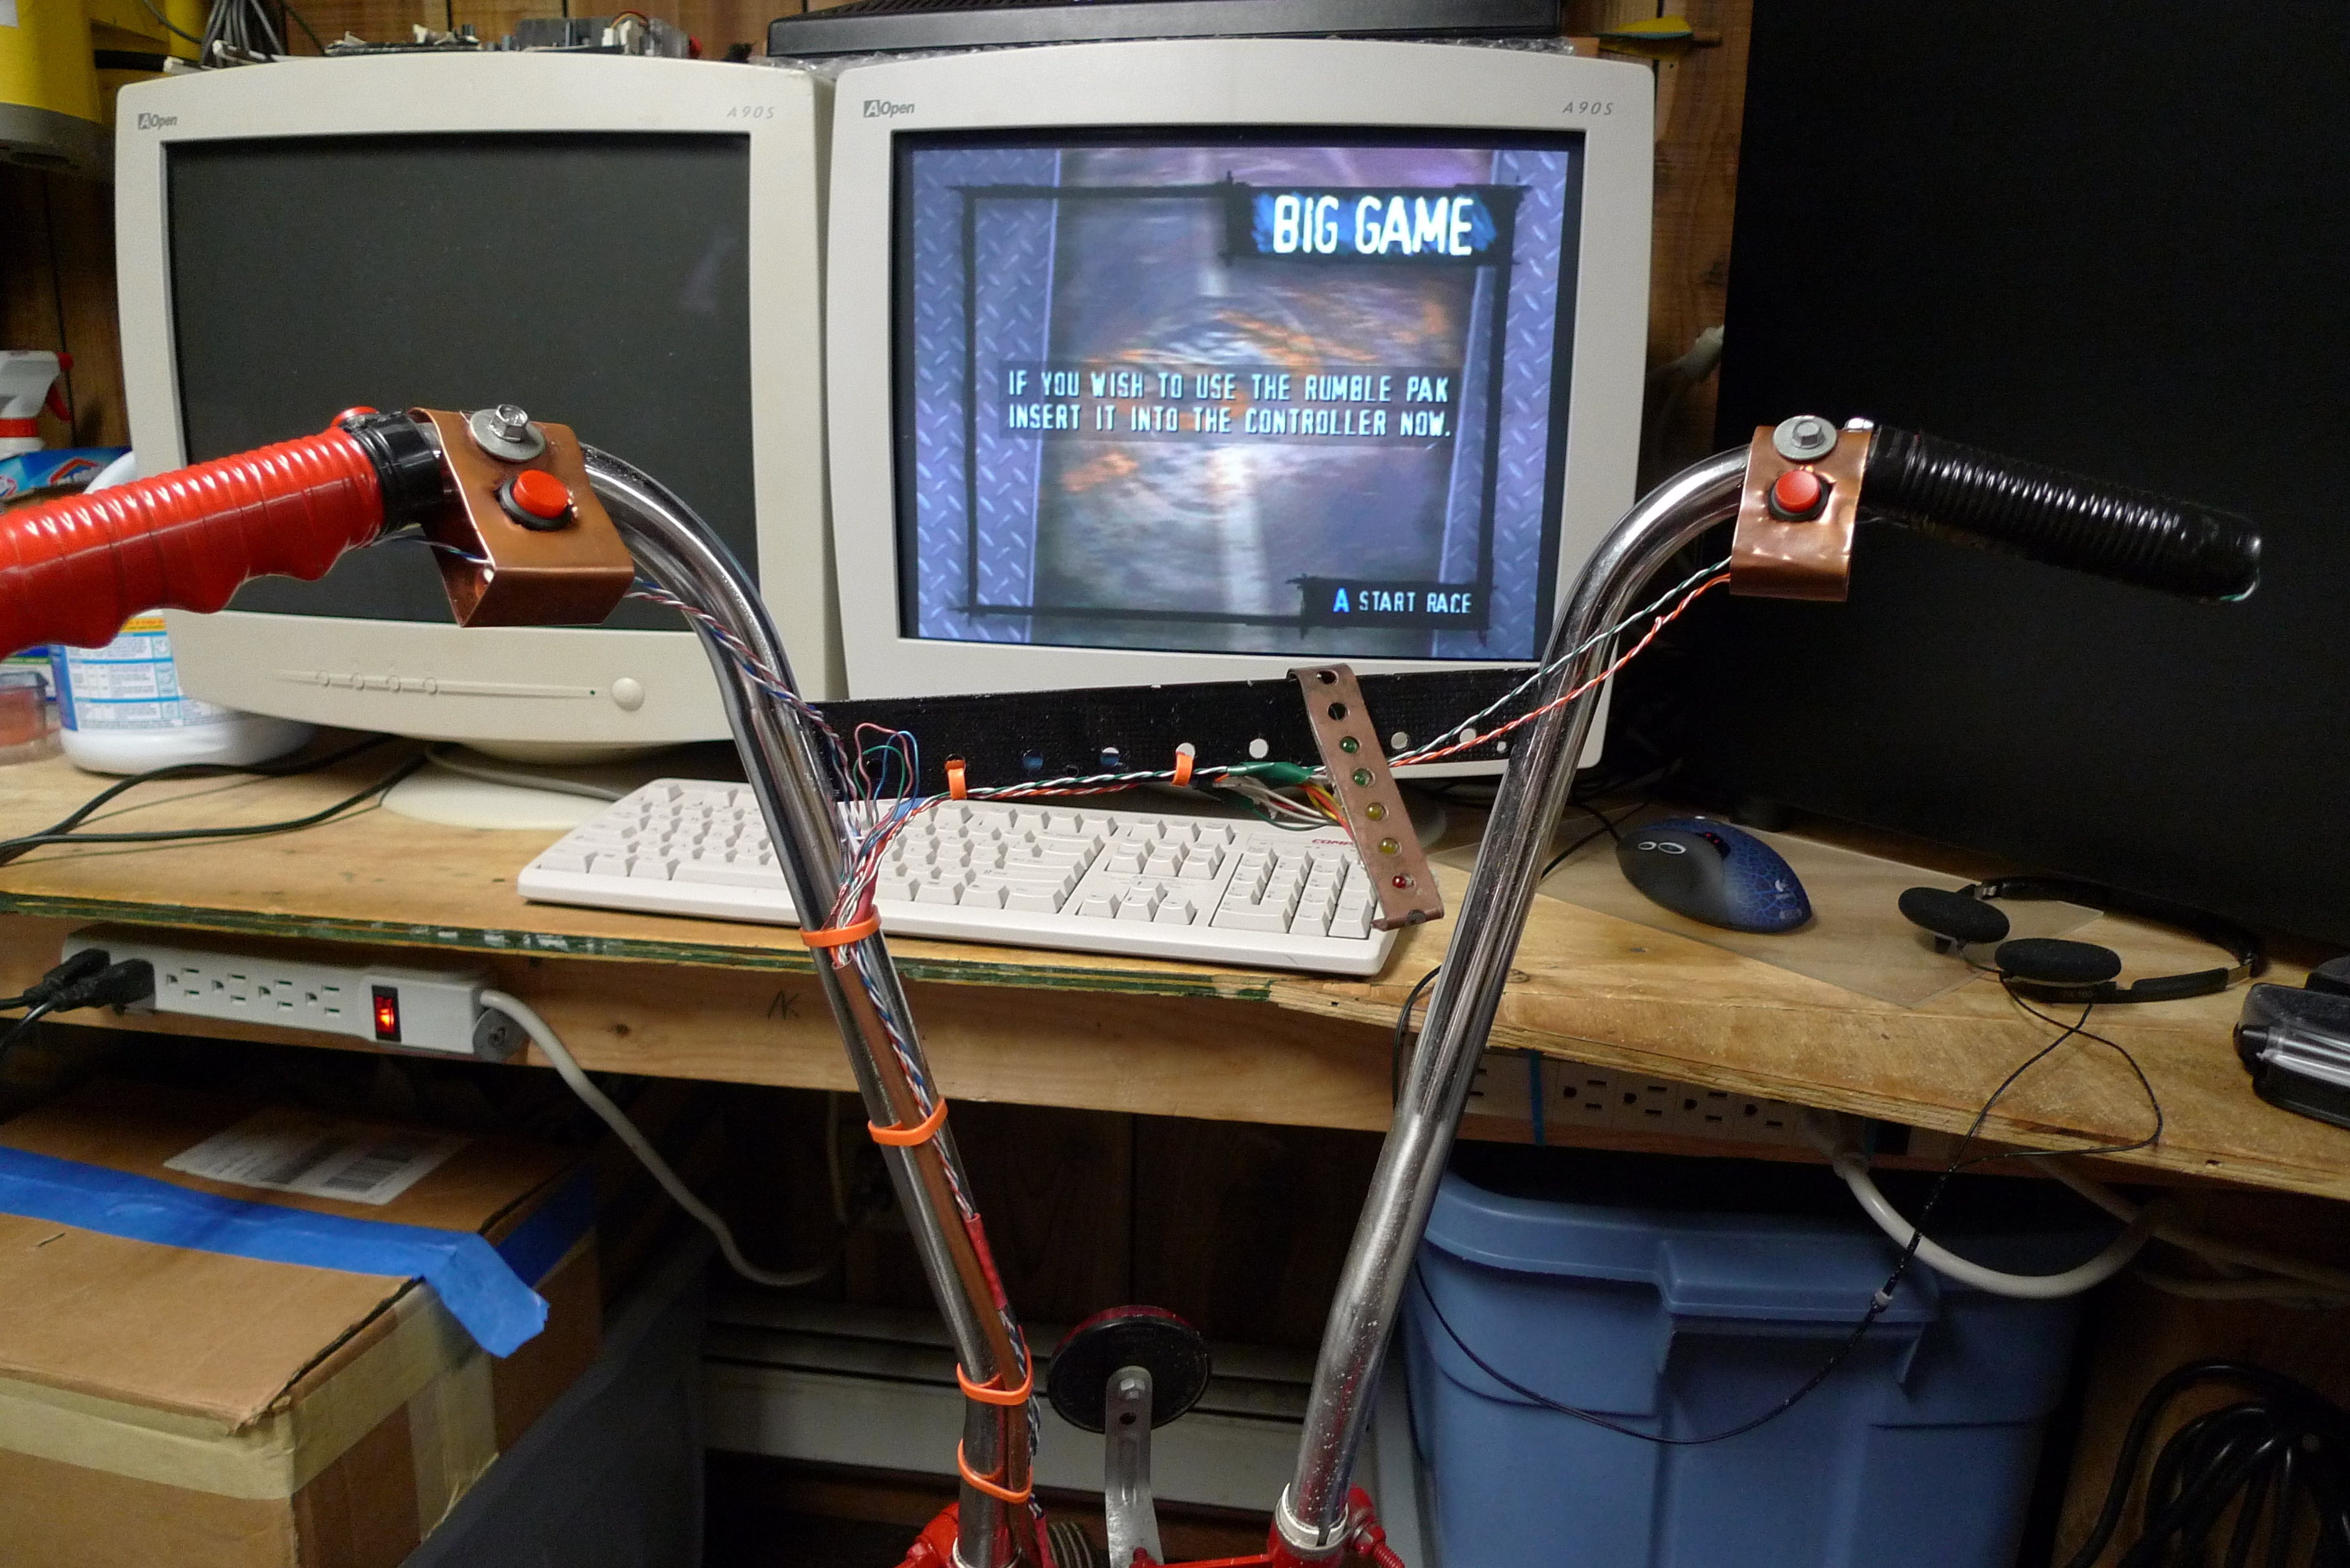
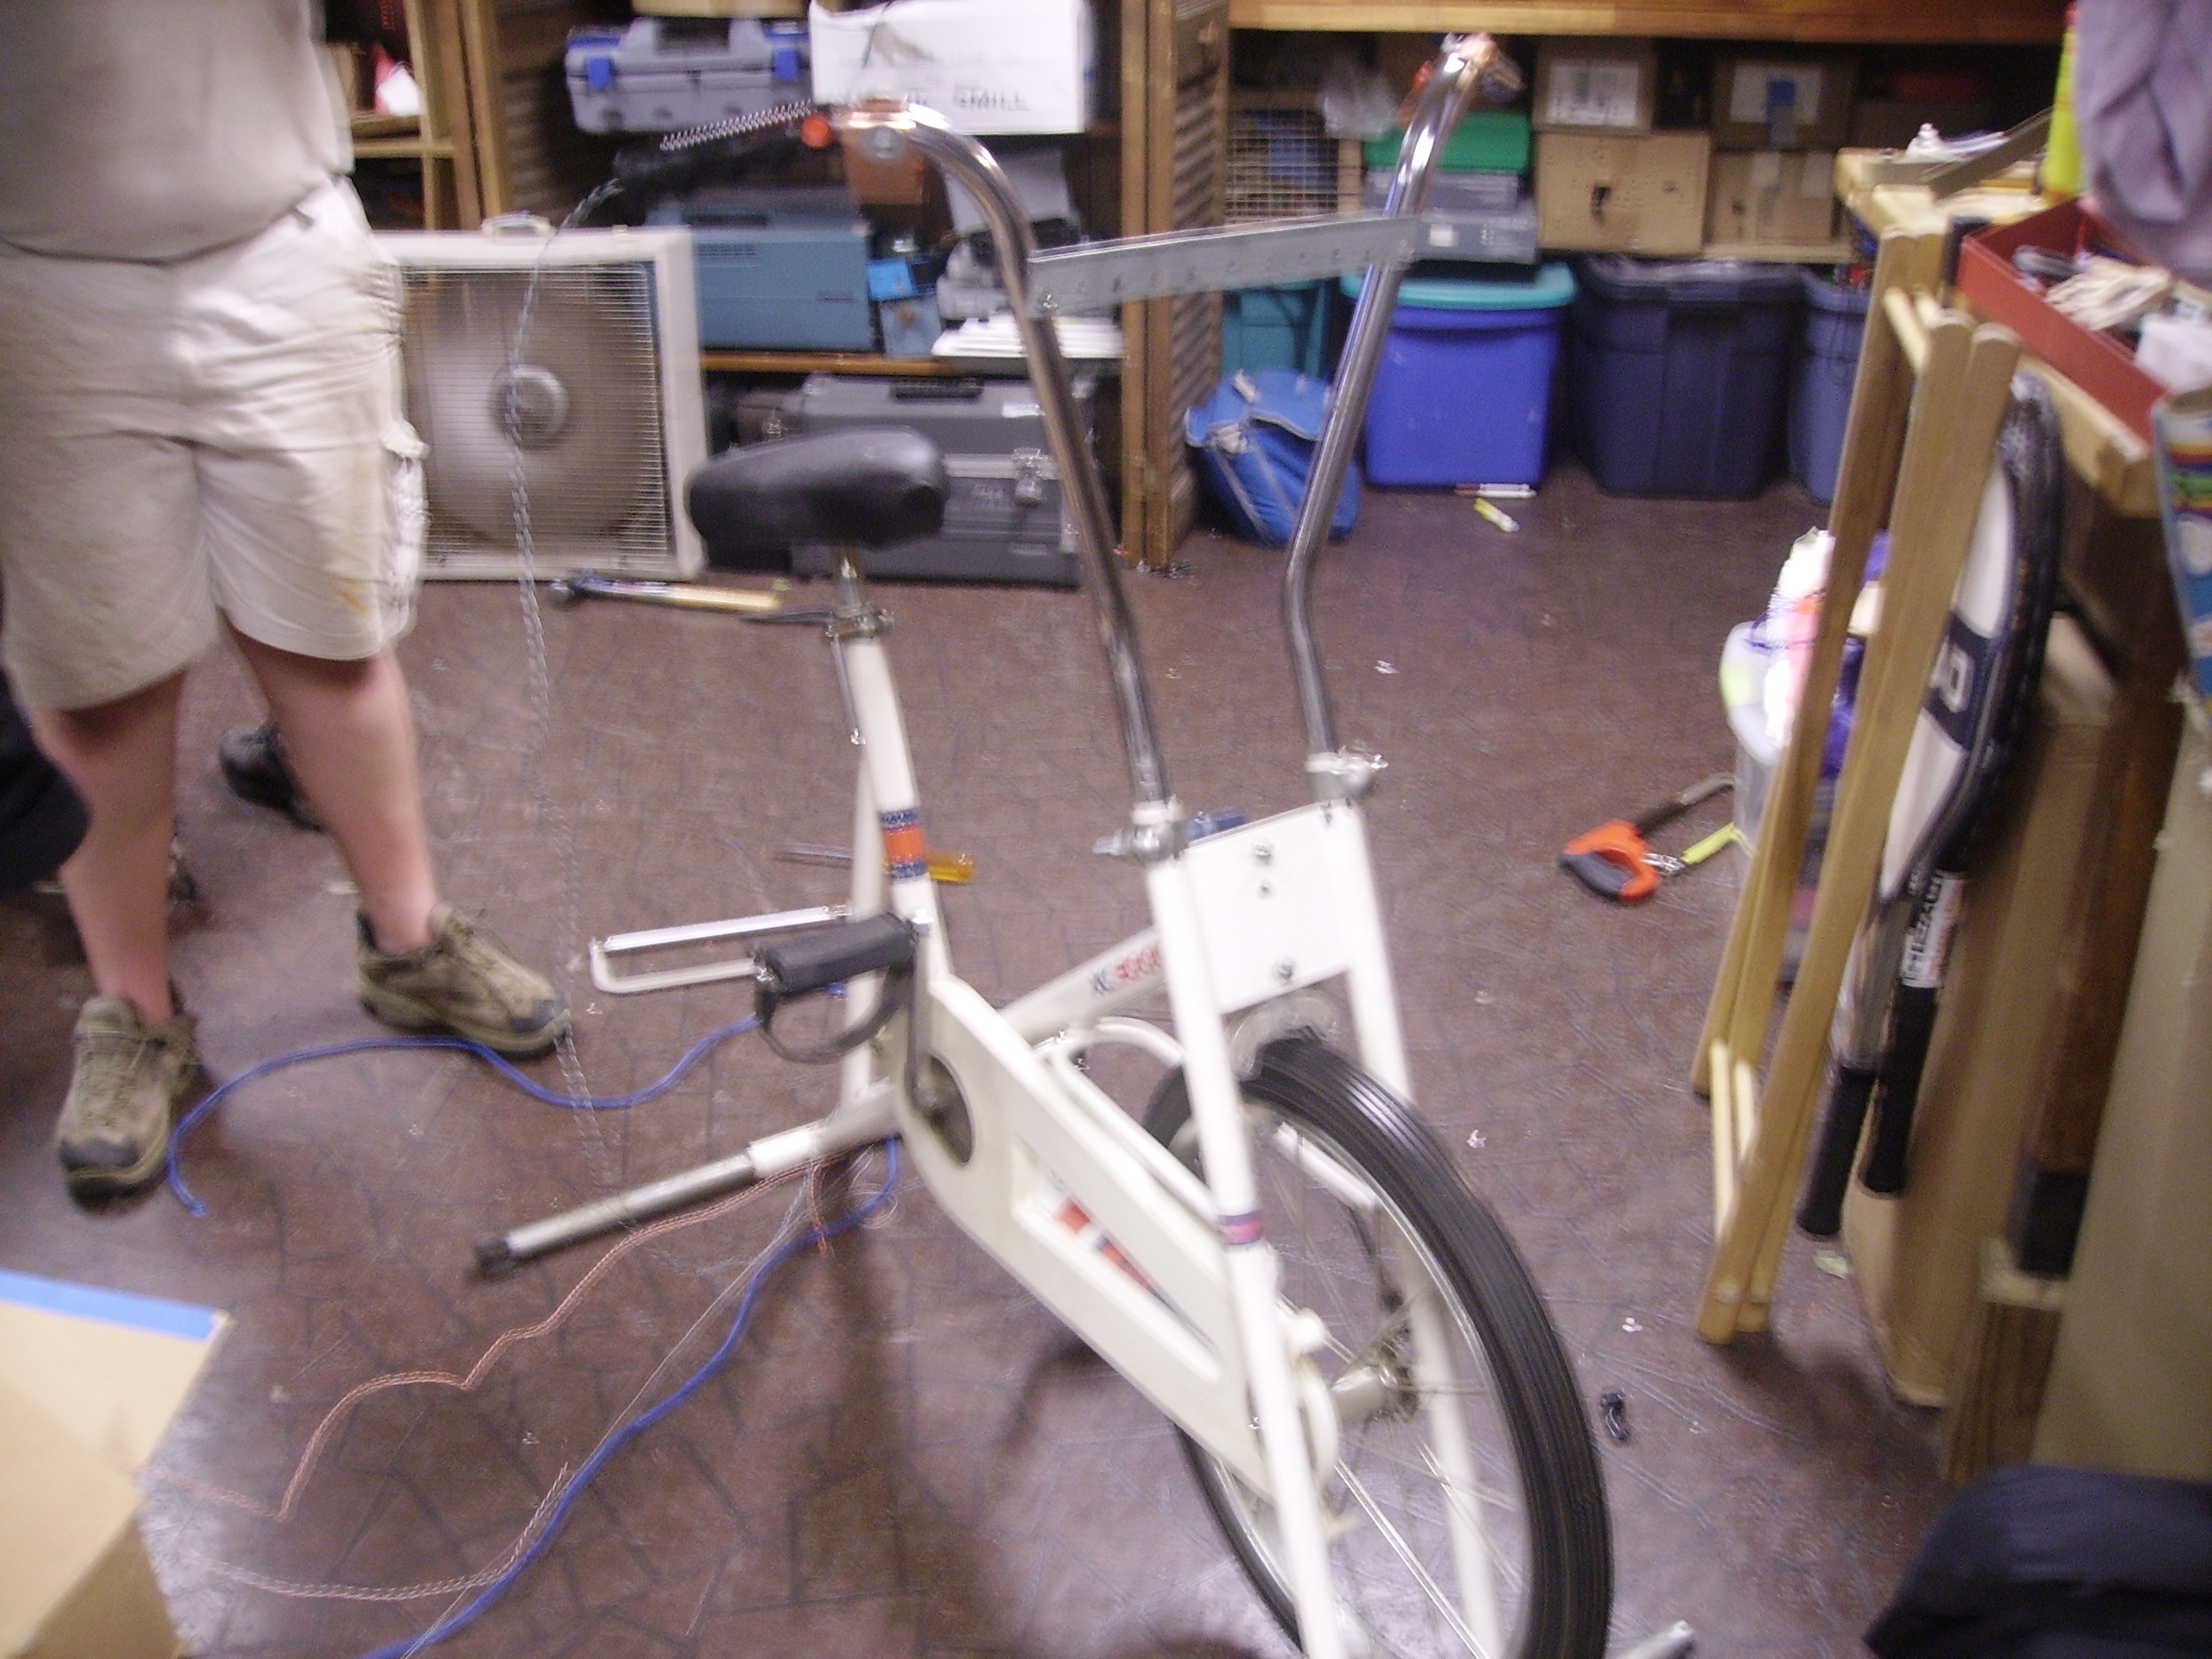
| Start
by taking off non-essentials (buzzer bell timer thing, ancient
speedometers), and repairing any 'wobble' inherent to the vehicle. Brace any less than functional parts and start laying out where buttons / feedback sensors should go |
 |
 |
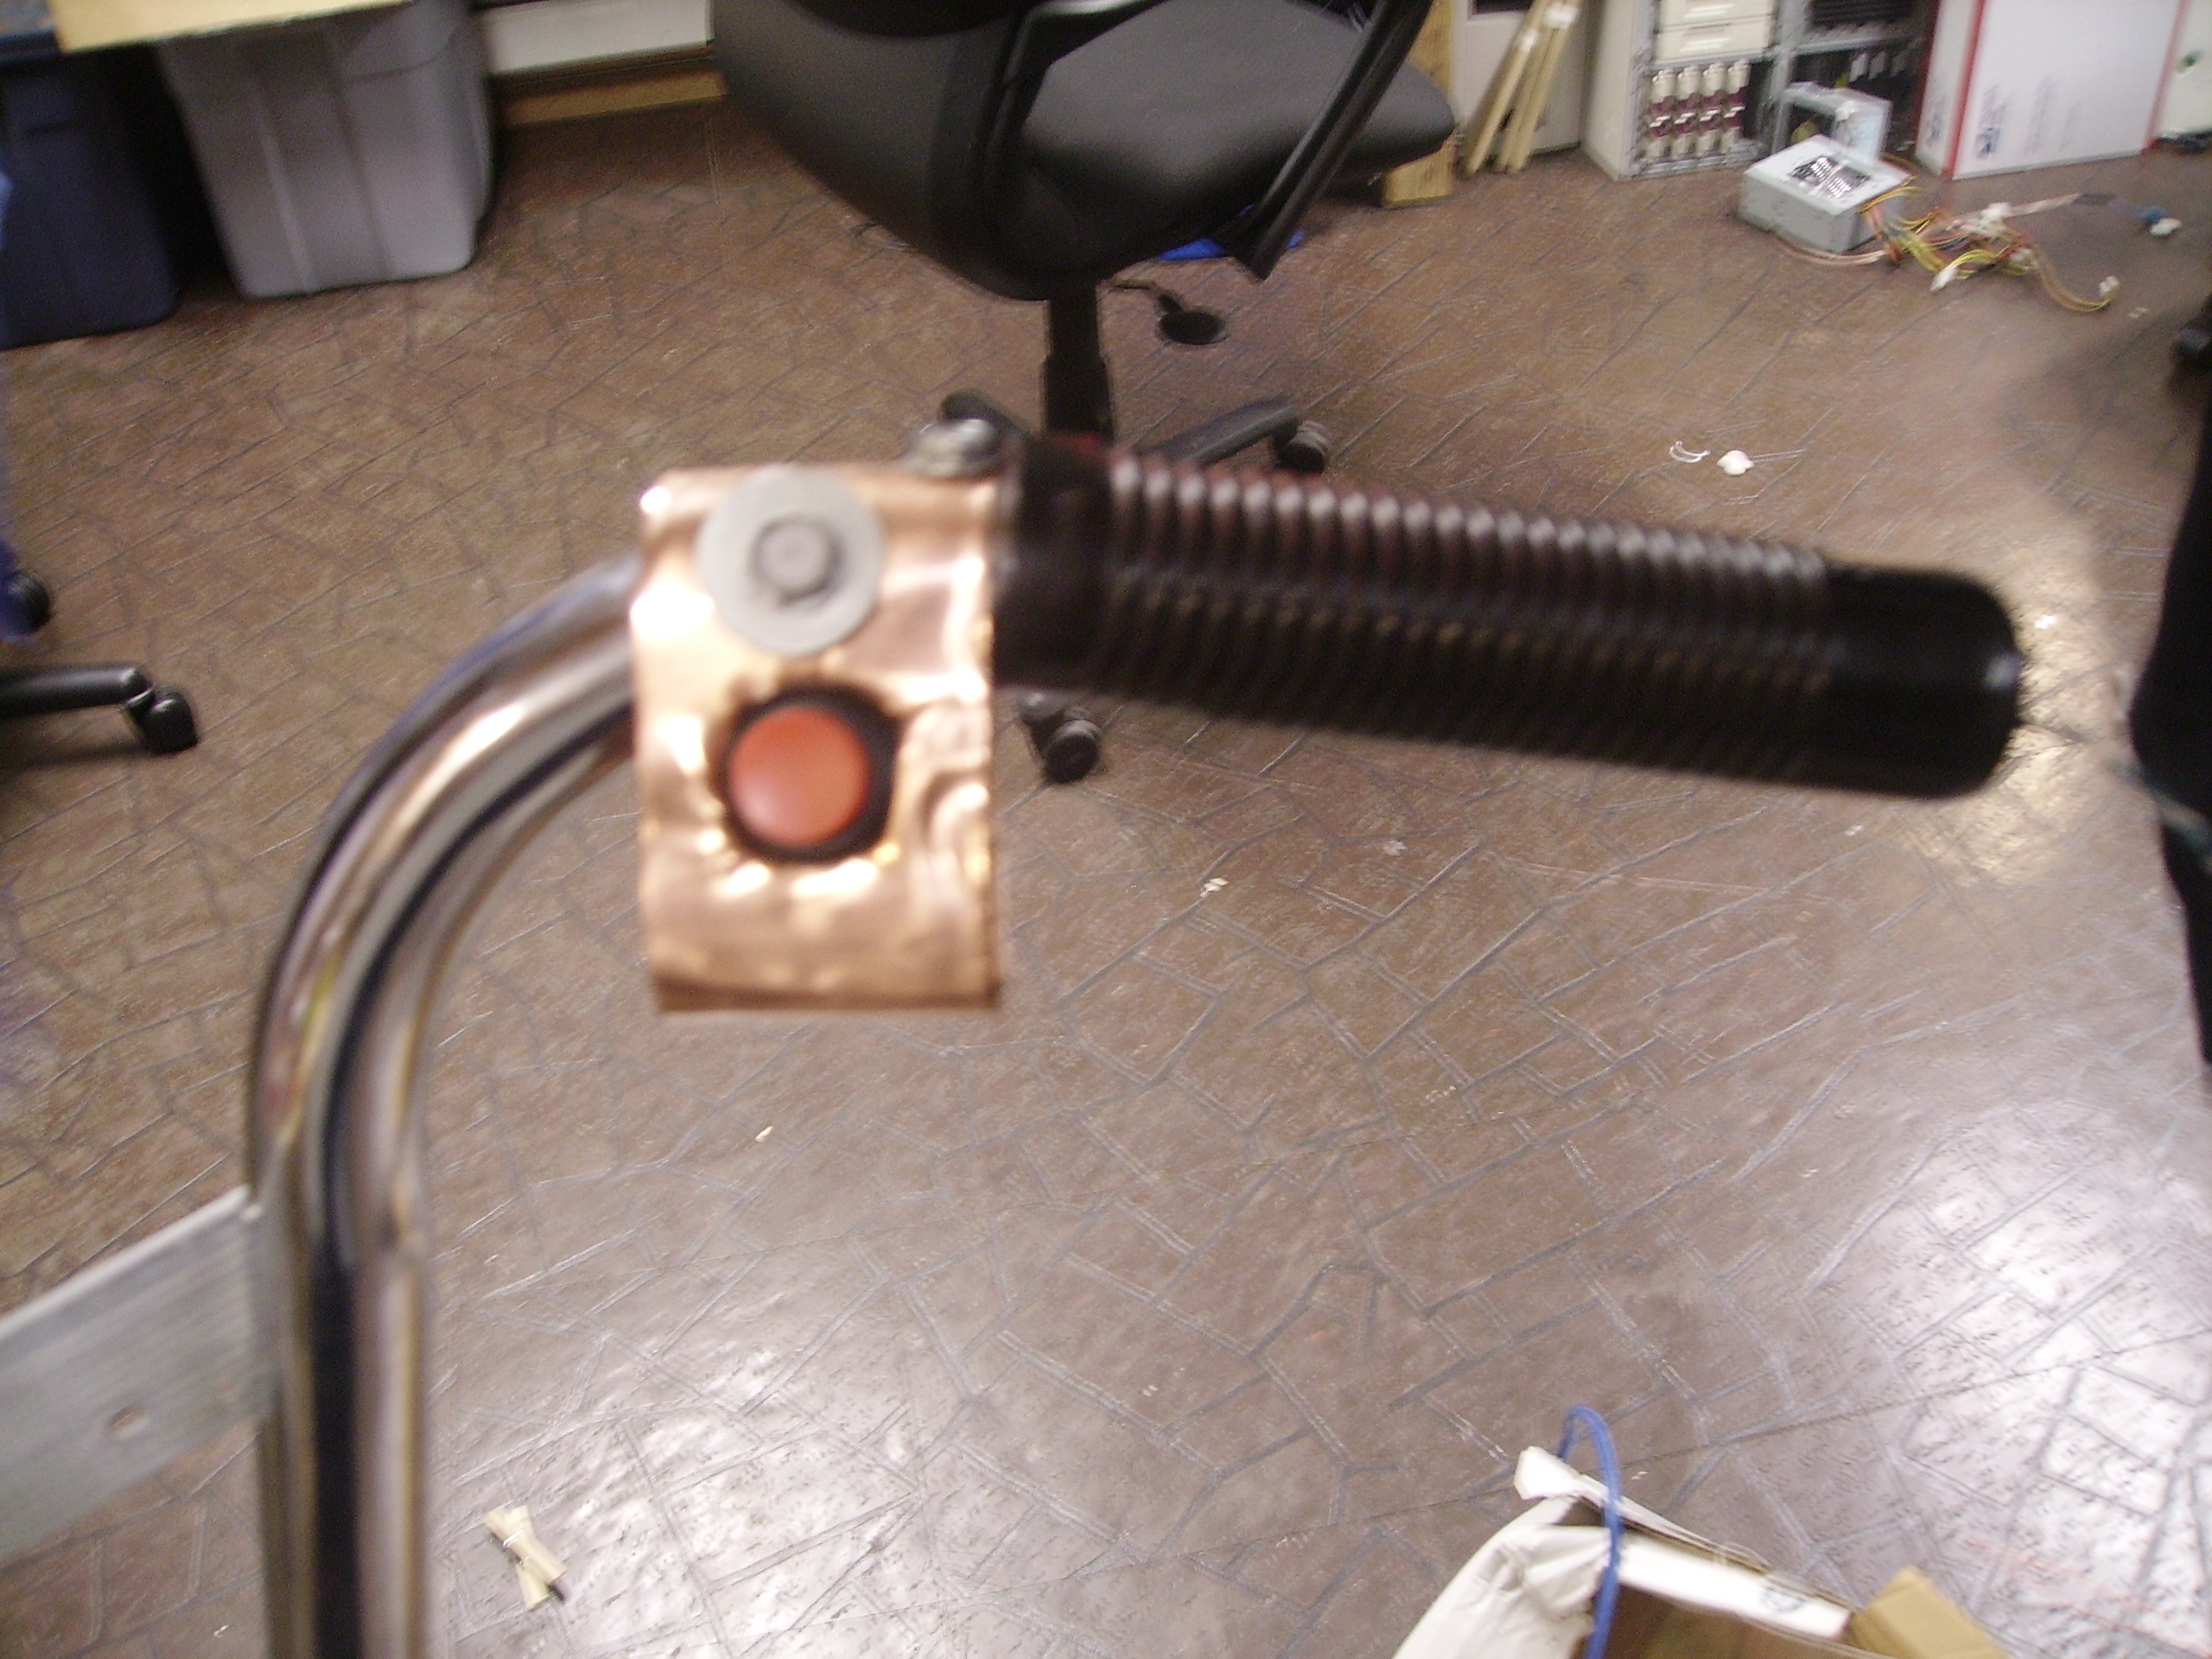
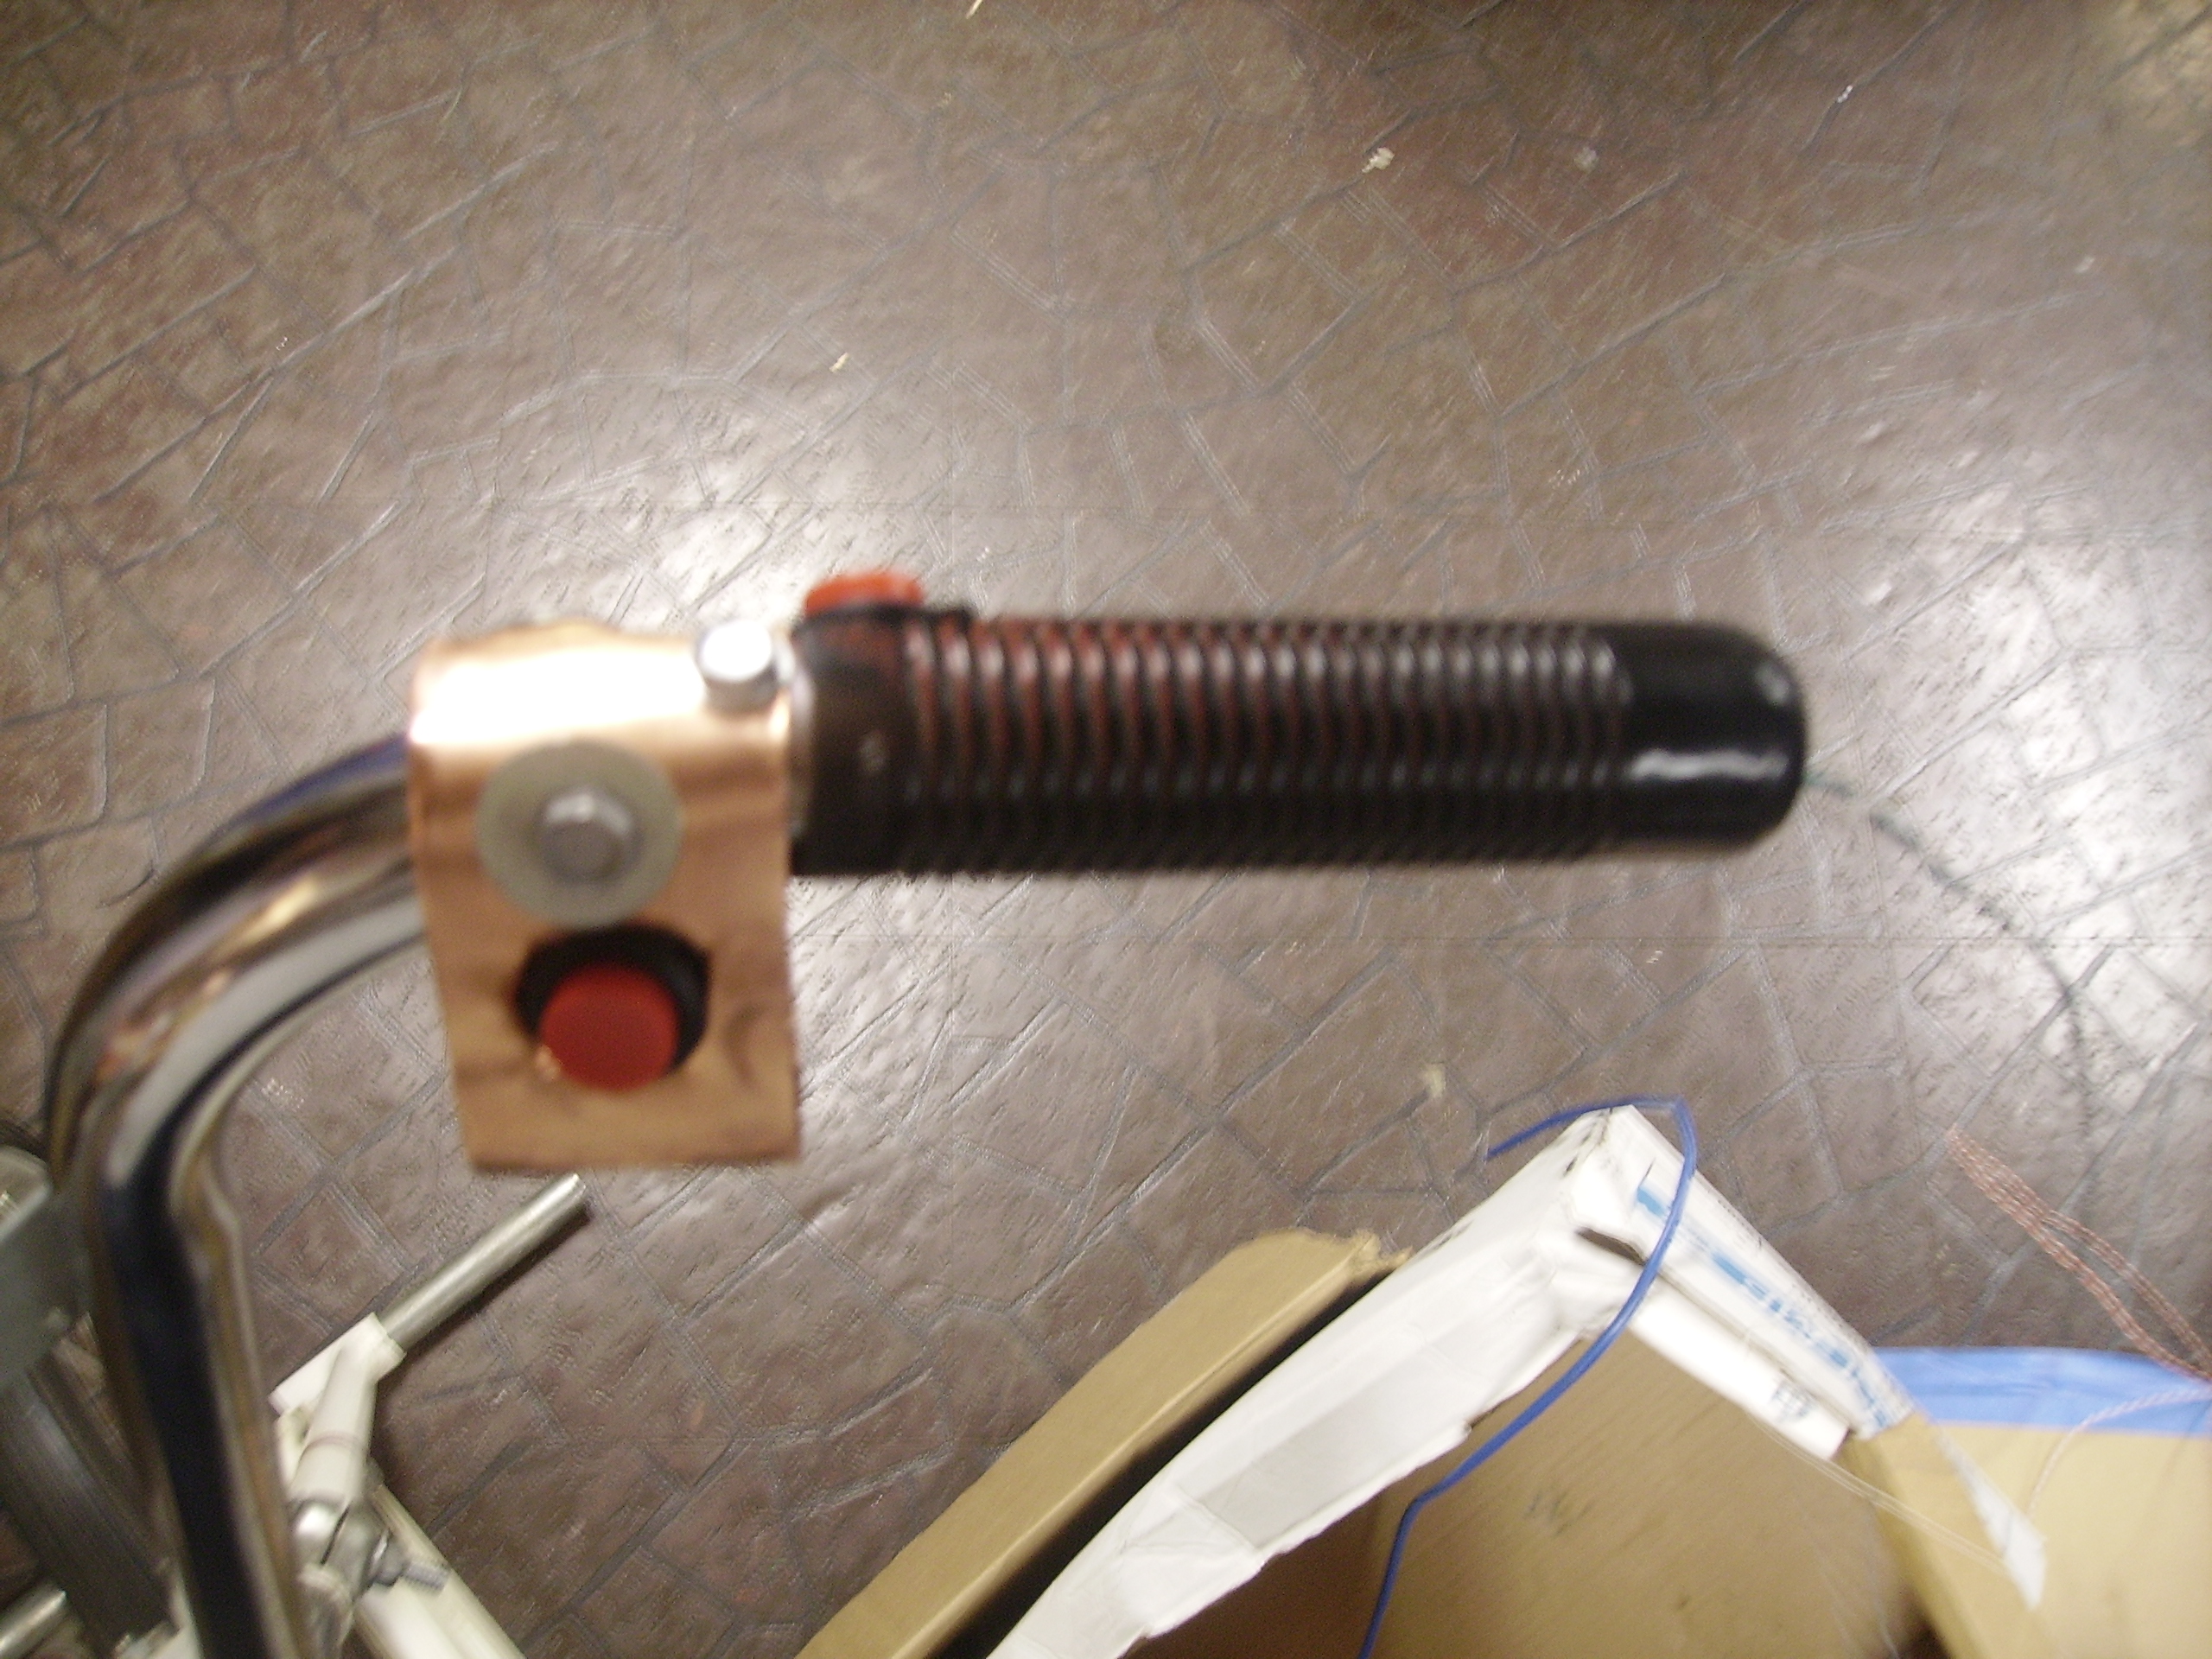
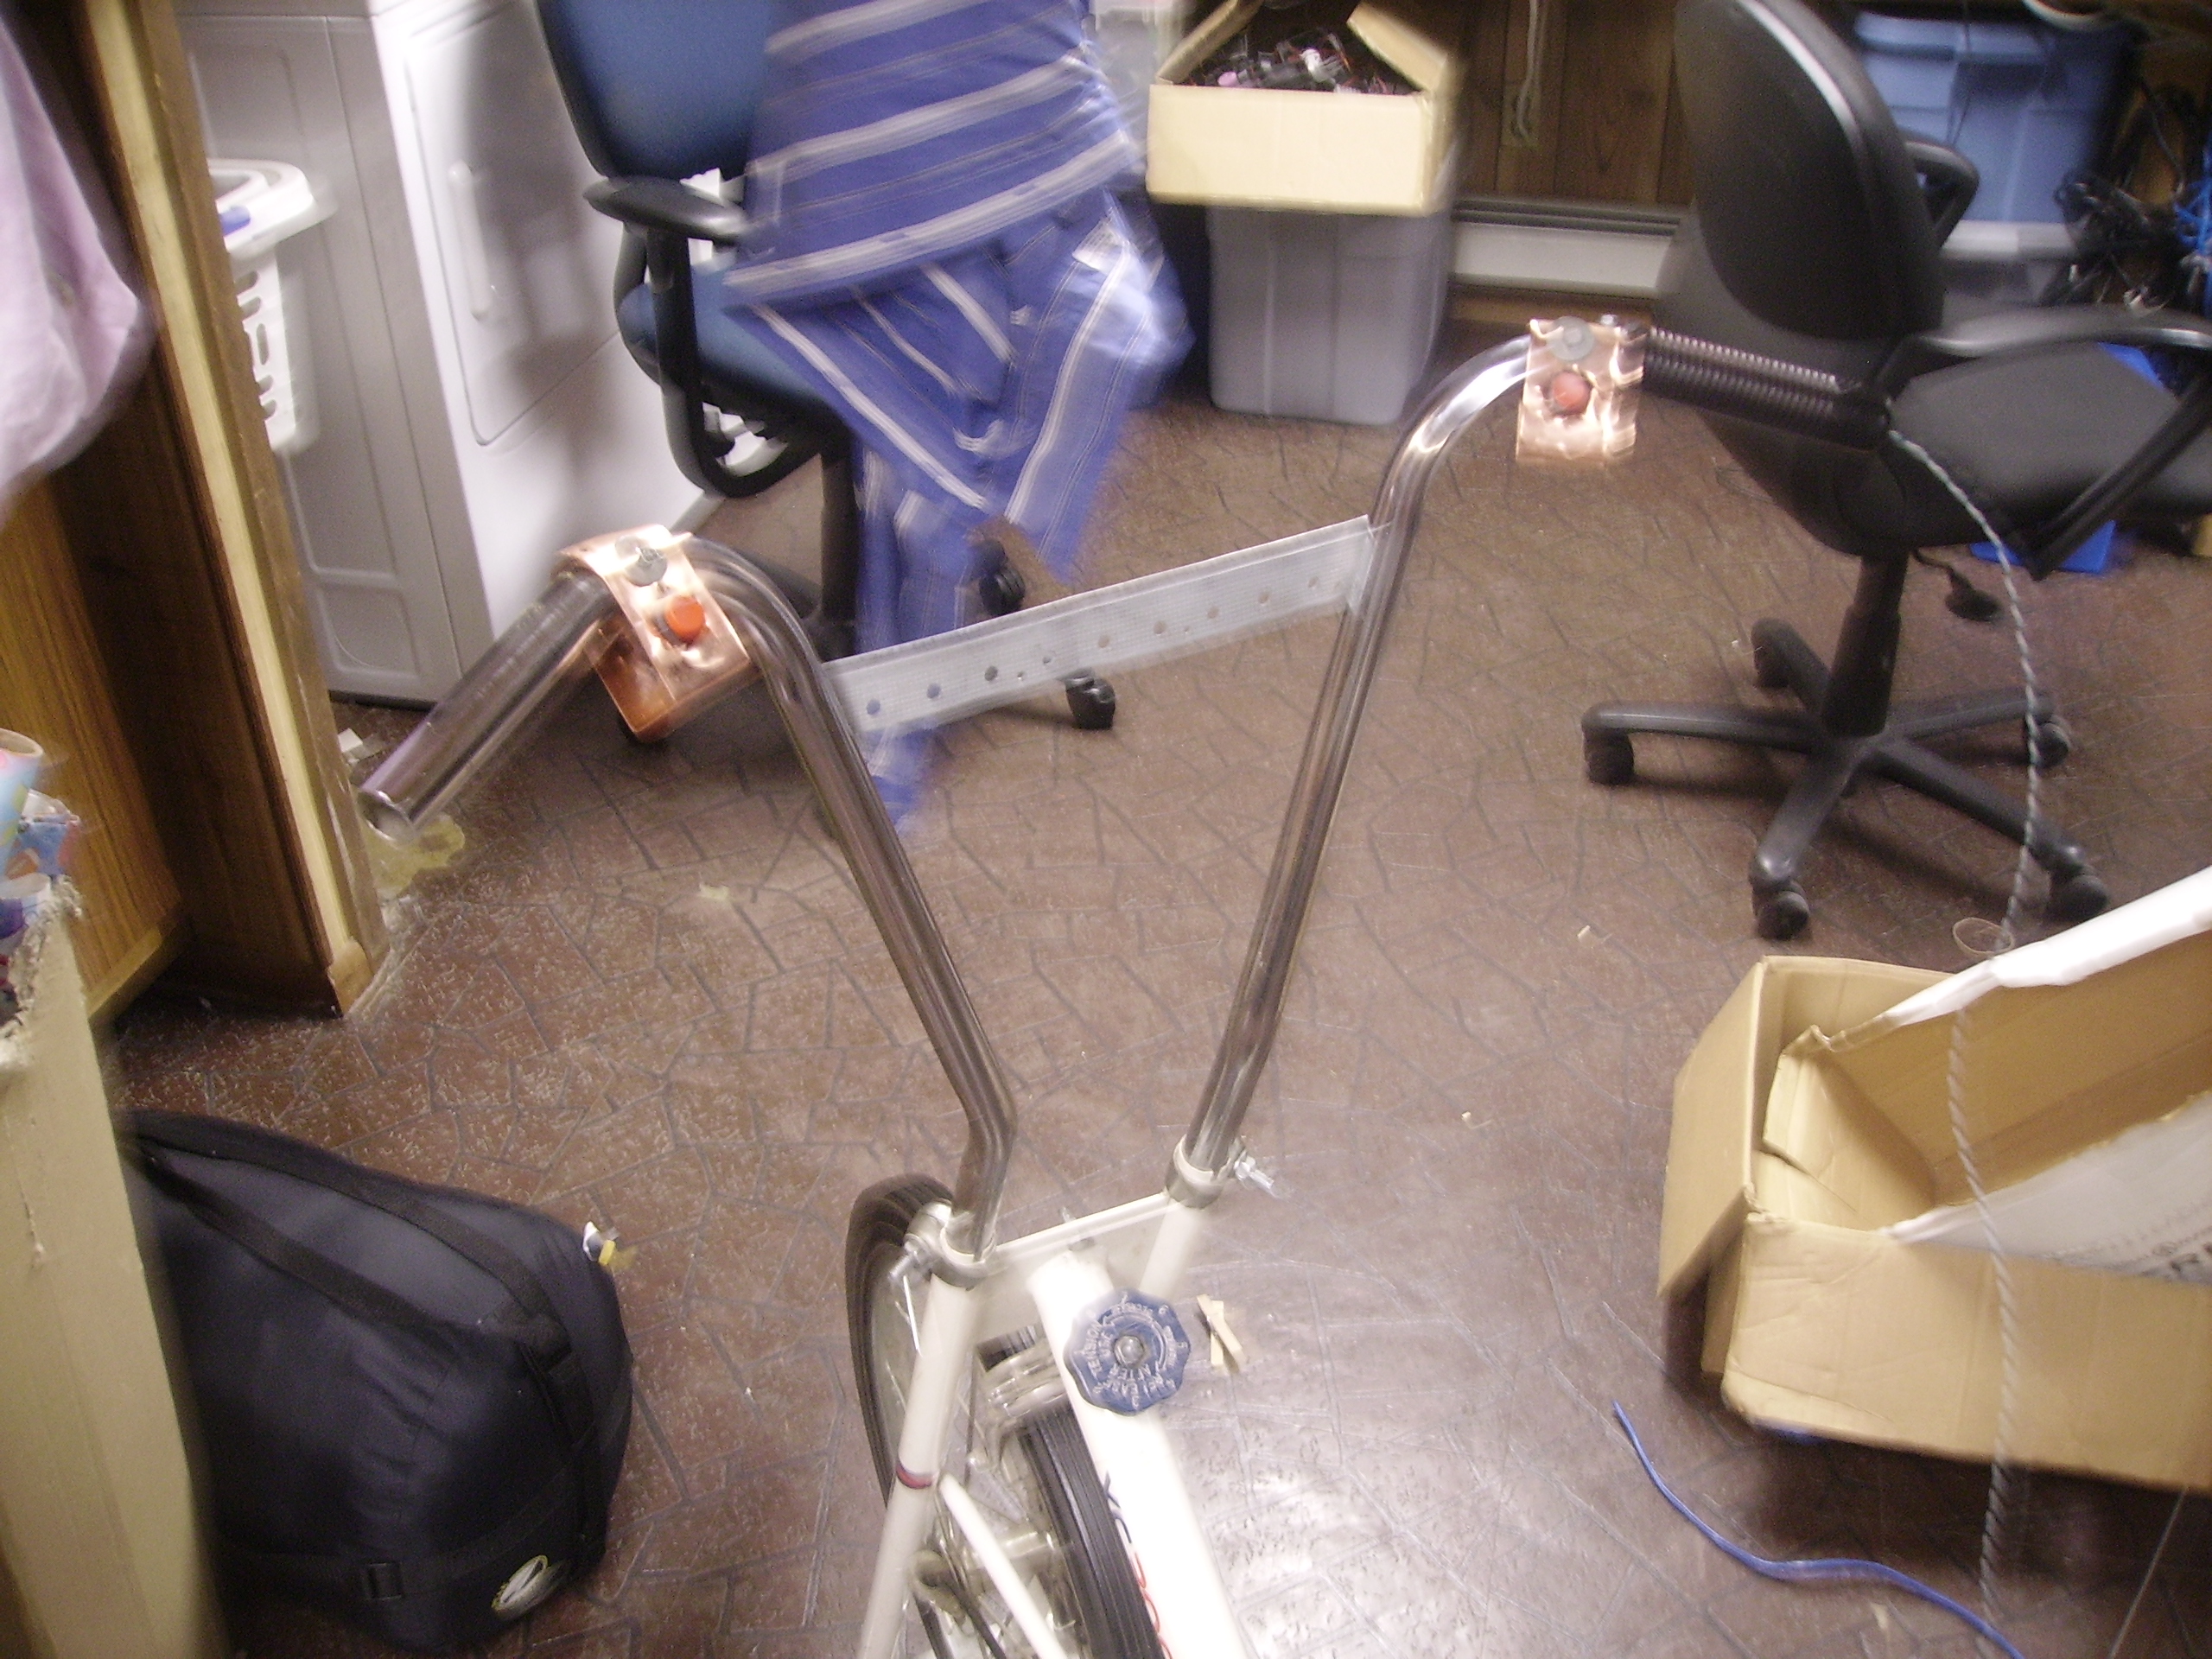
| Start making button mounts. In this case, copper sheet was used, and bolted around the frame. The placement of the buttons were based on a younger siblings hand size. also, hone down any sharp edges. Four buttons were used (as this was designed around the game 'lego racers'. a Left, Right, Shoot and Swerve. Forward is driven by the wheel speed & microcontroller (Discussed later) |
 |
 |
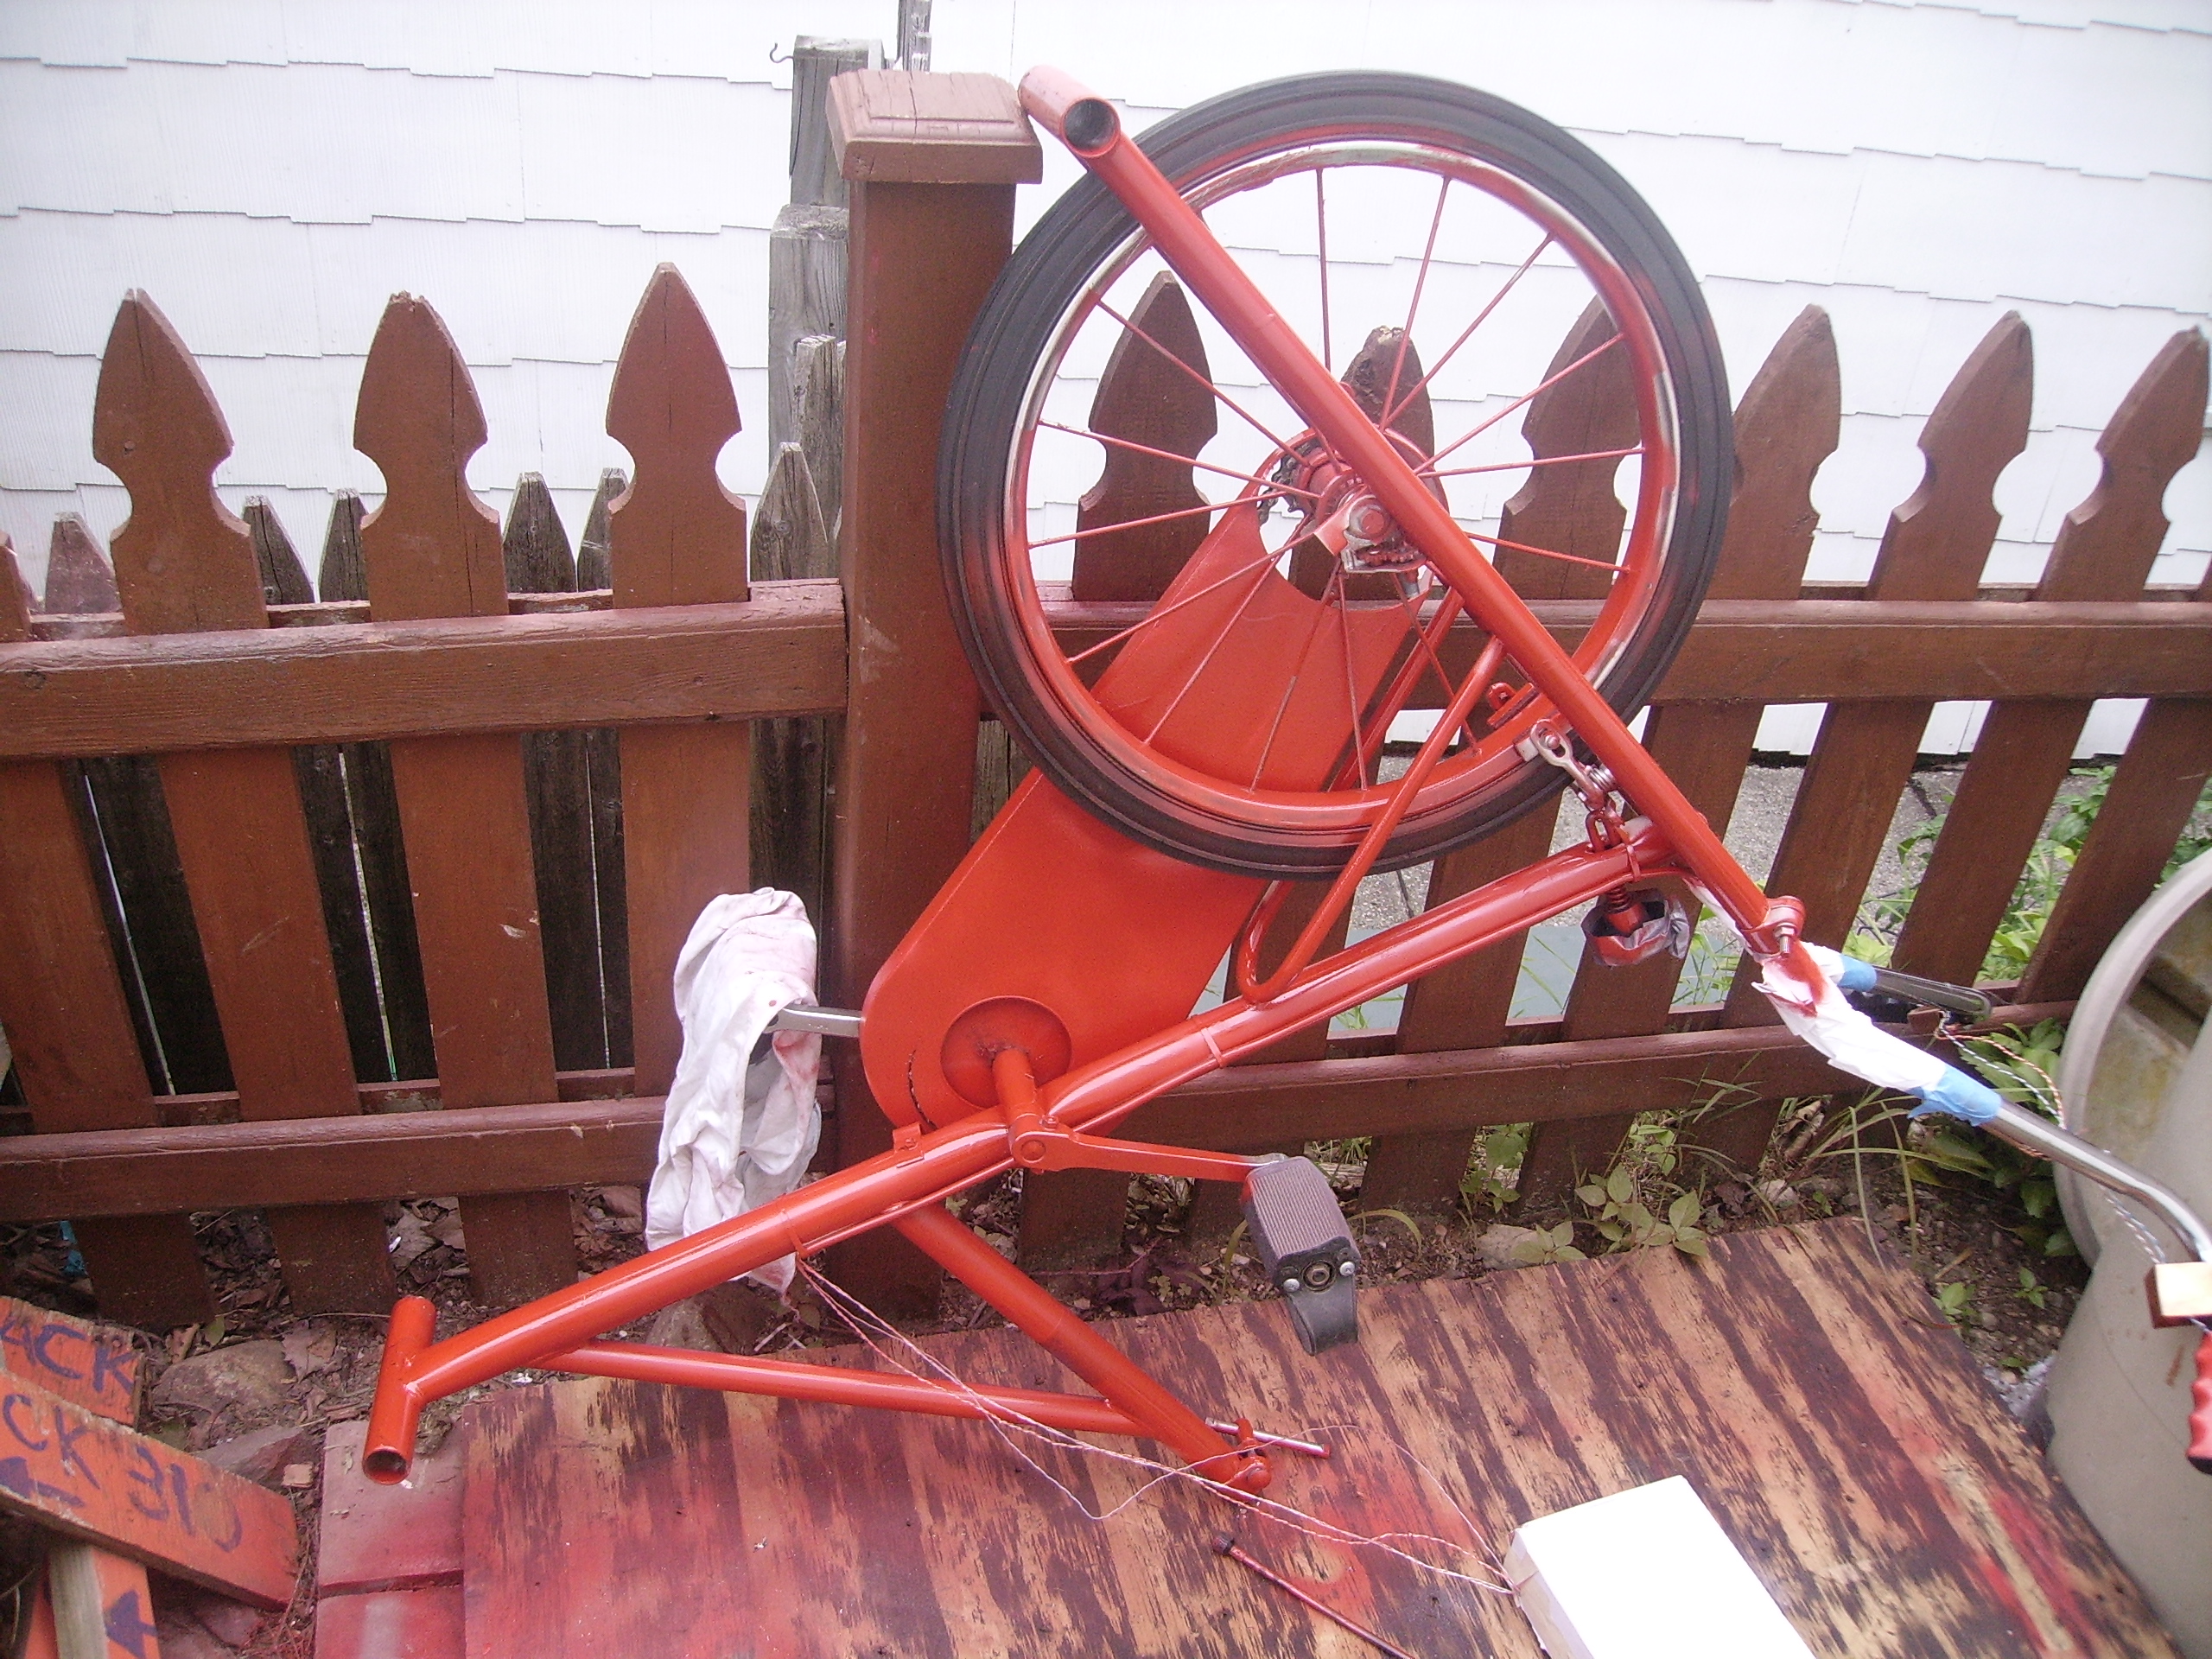
| Make
it look appealing (Paint) Thomas painted the cycle red/black, a bit of an improvement from UV tinged yellow. |
 |
 |
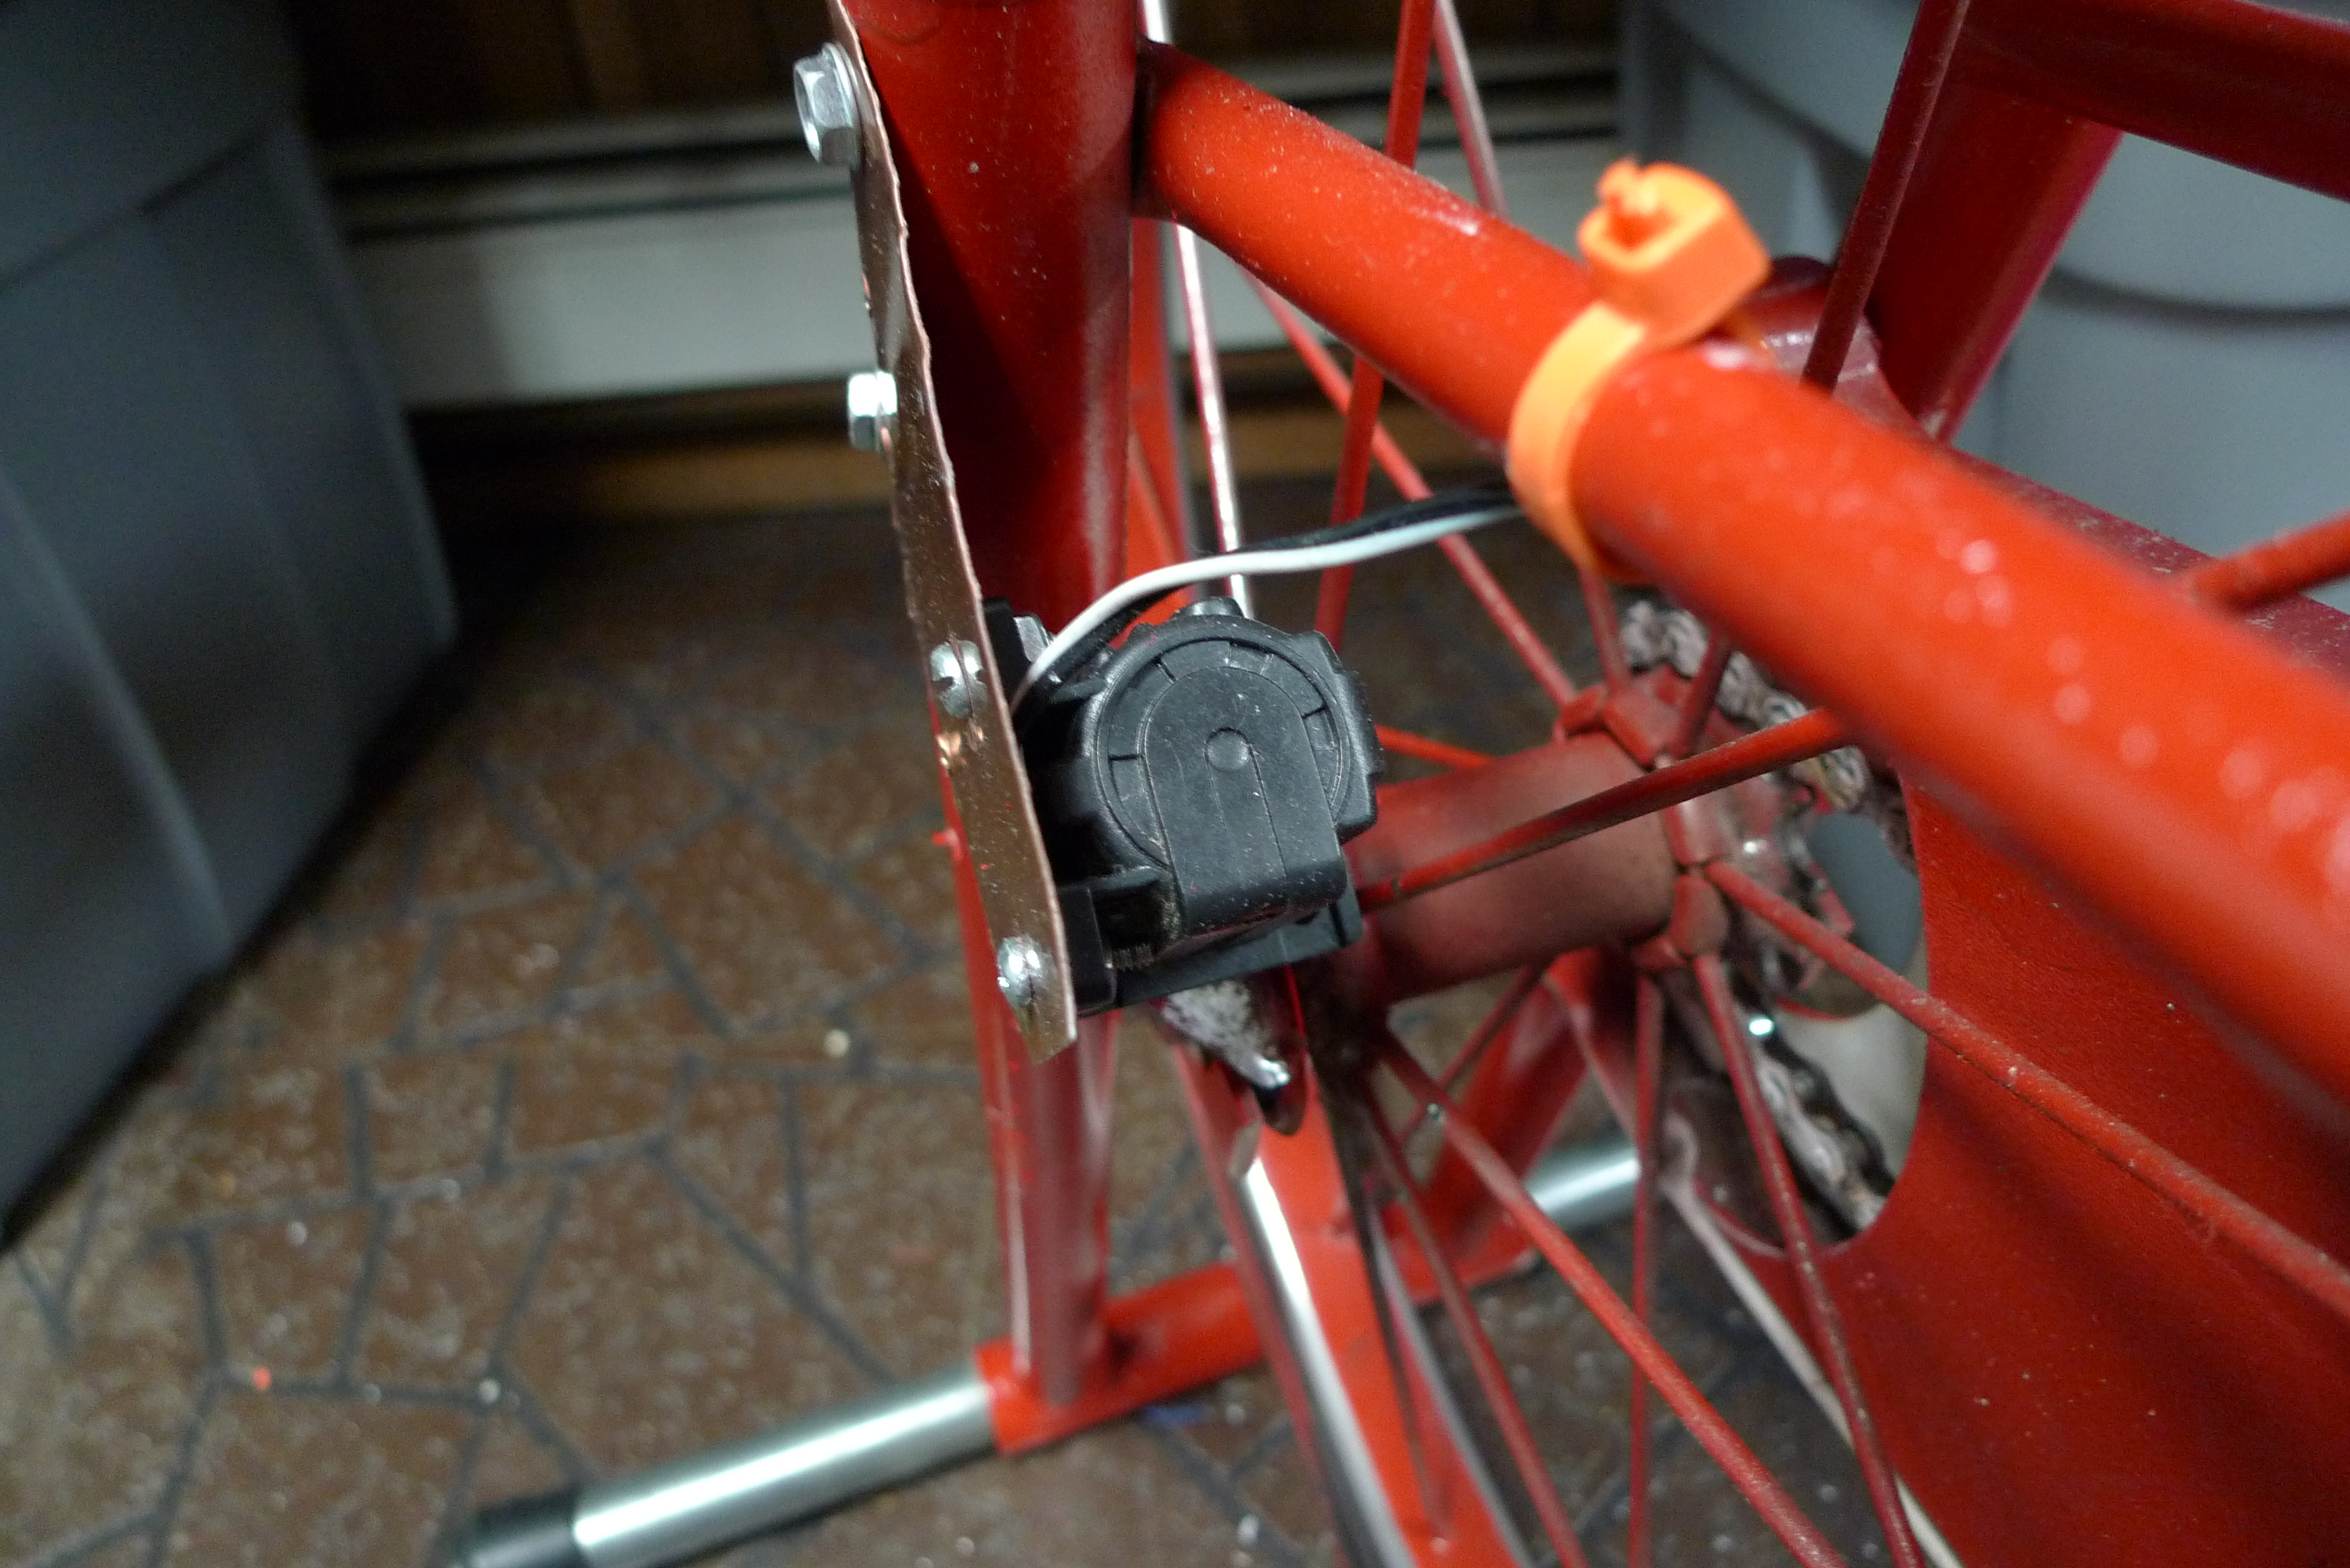
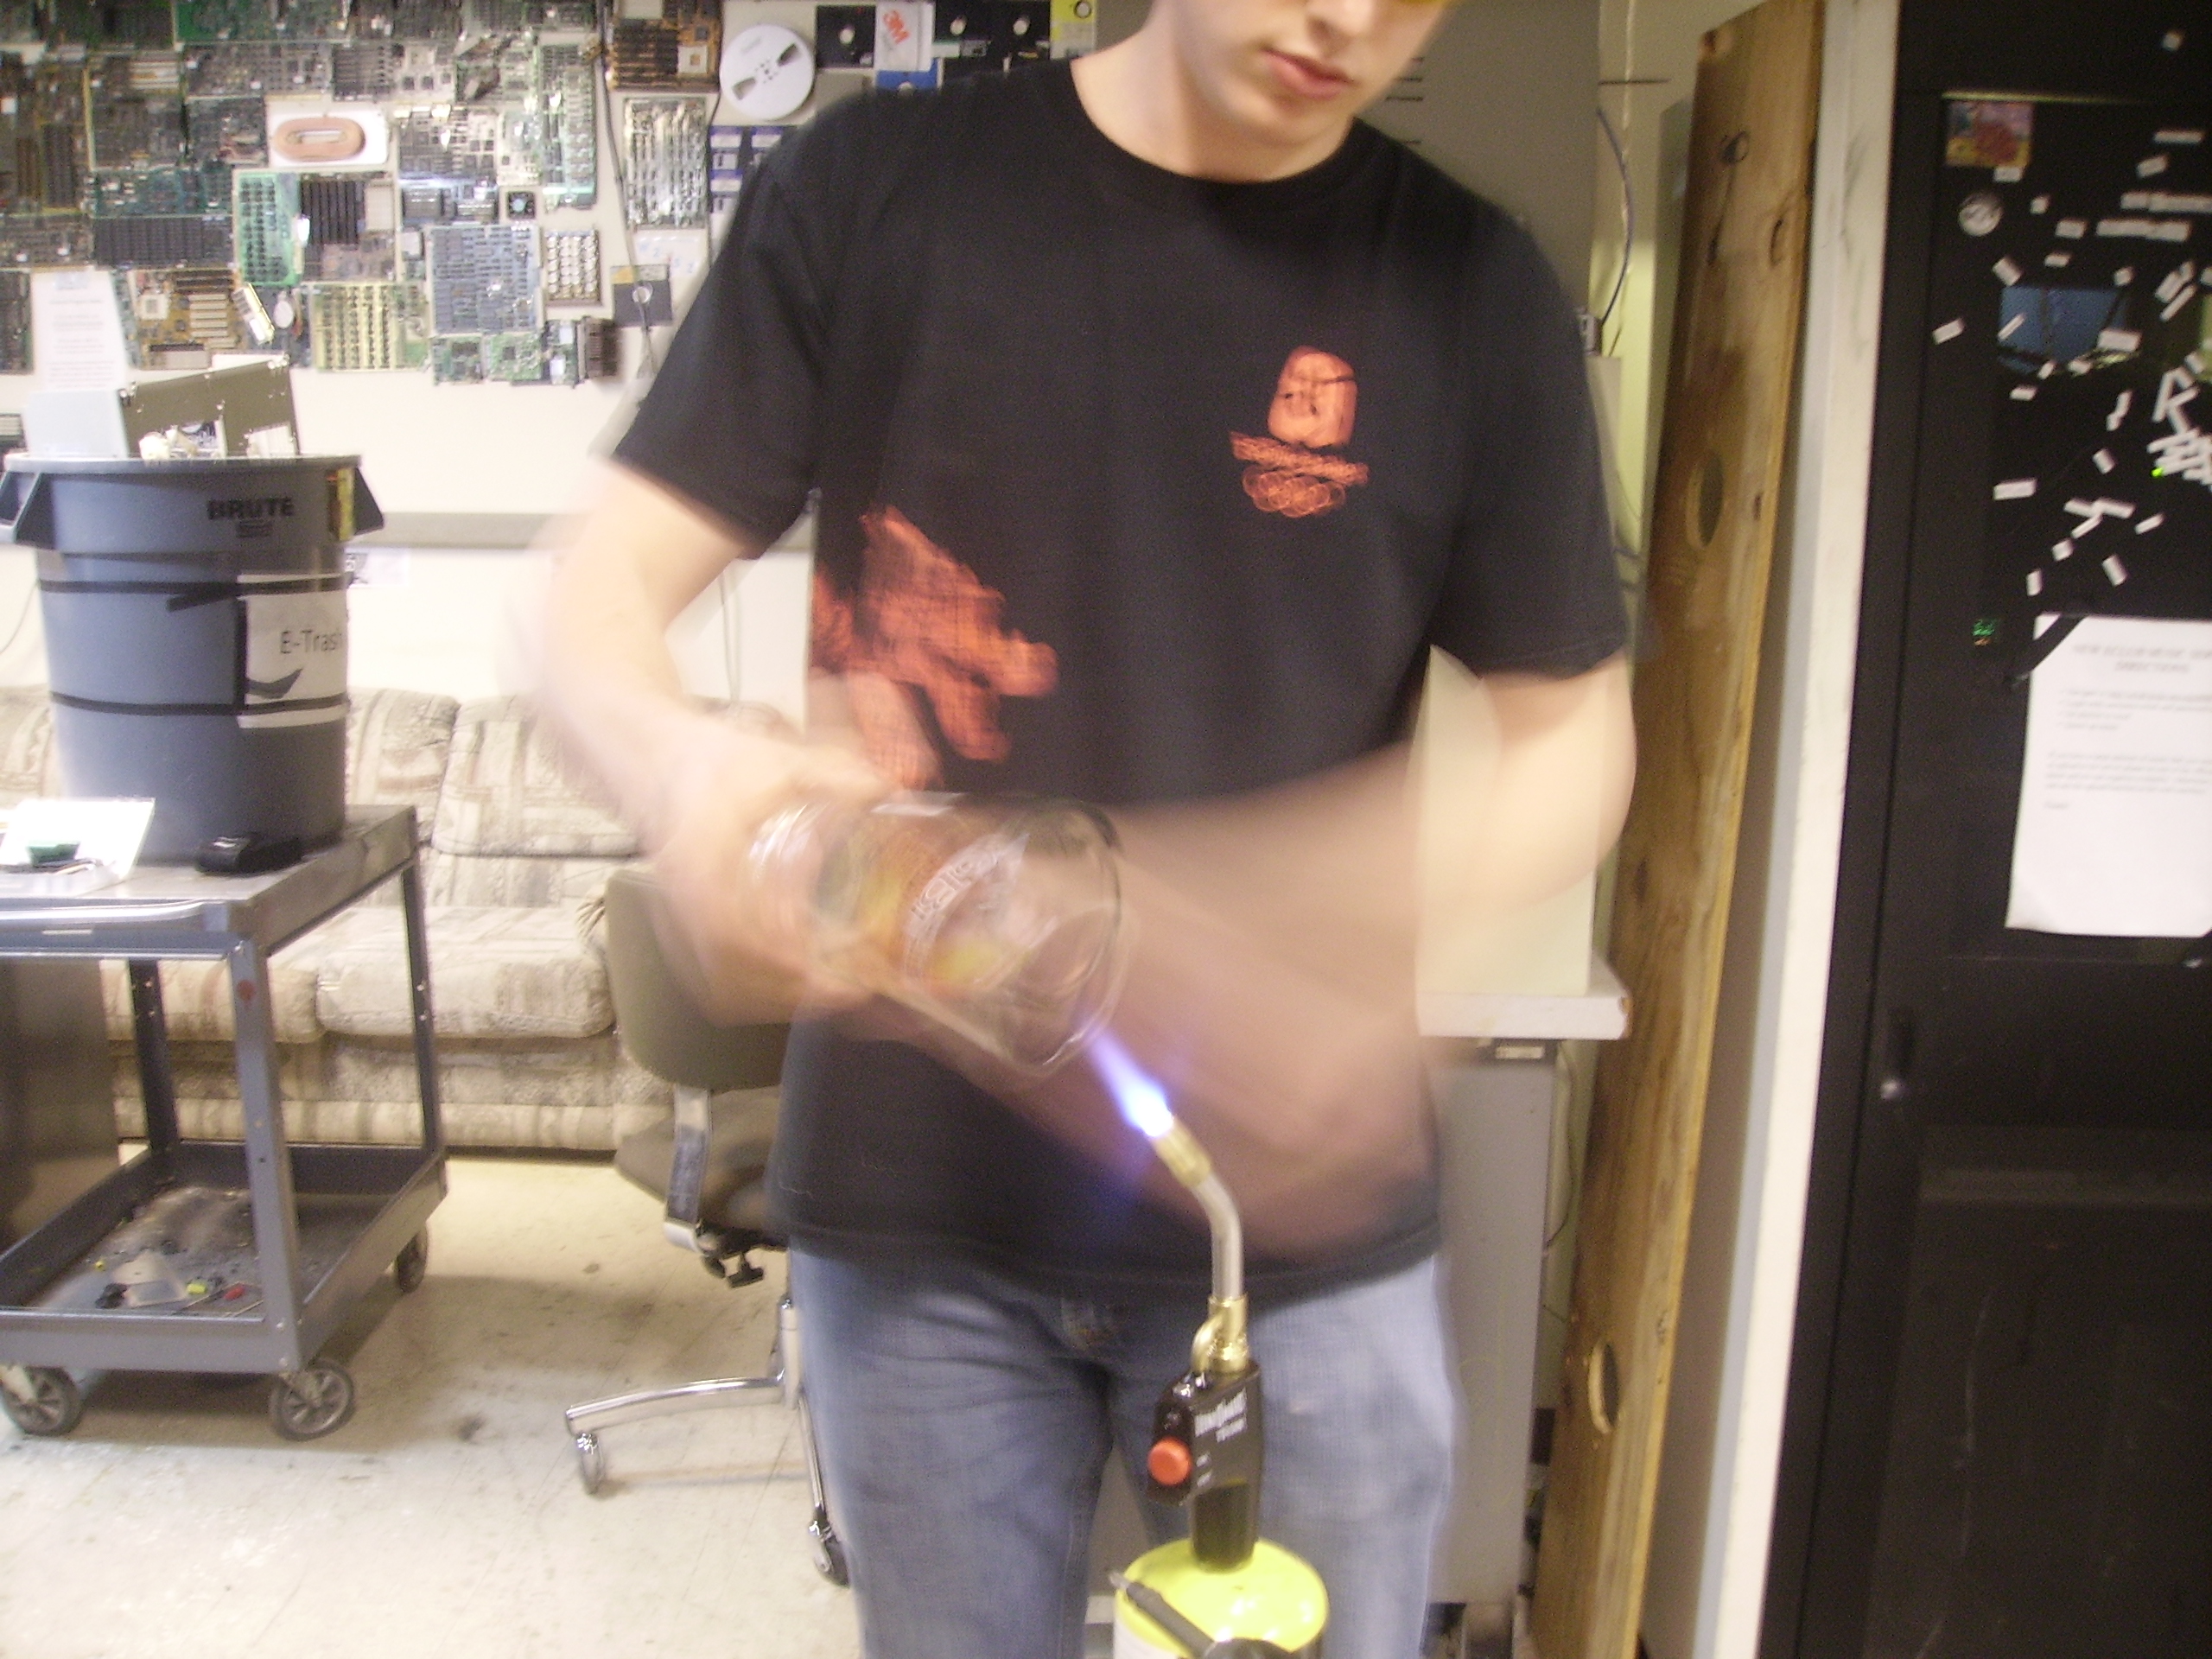
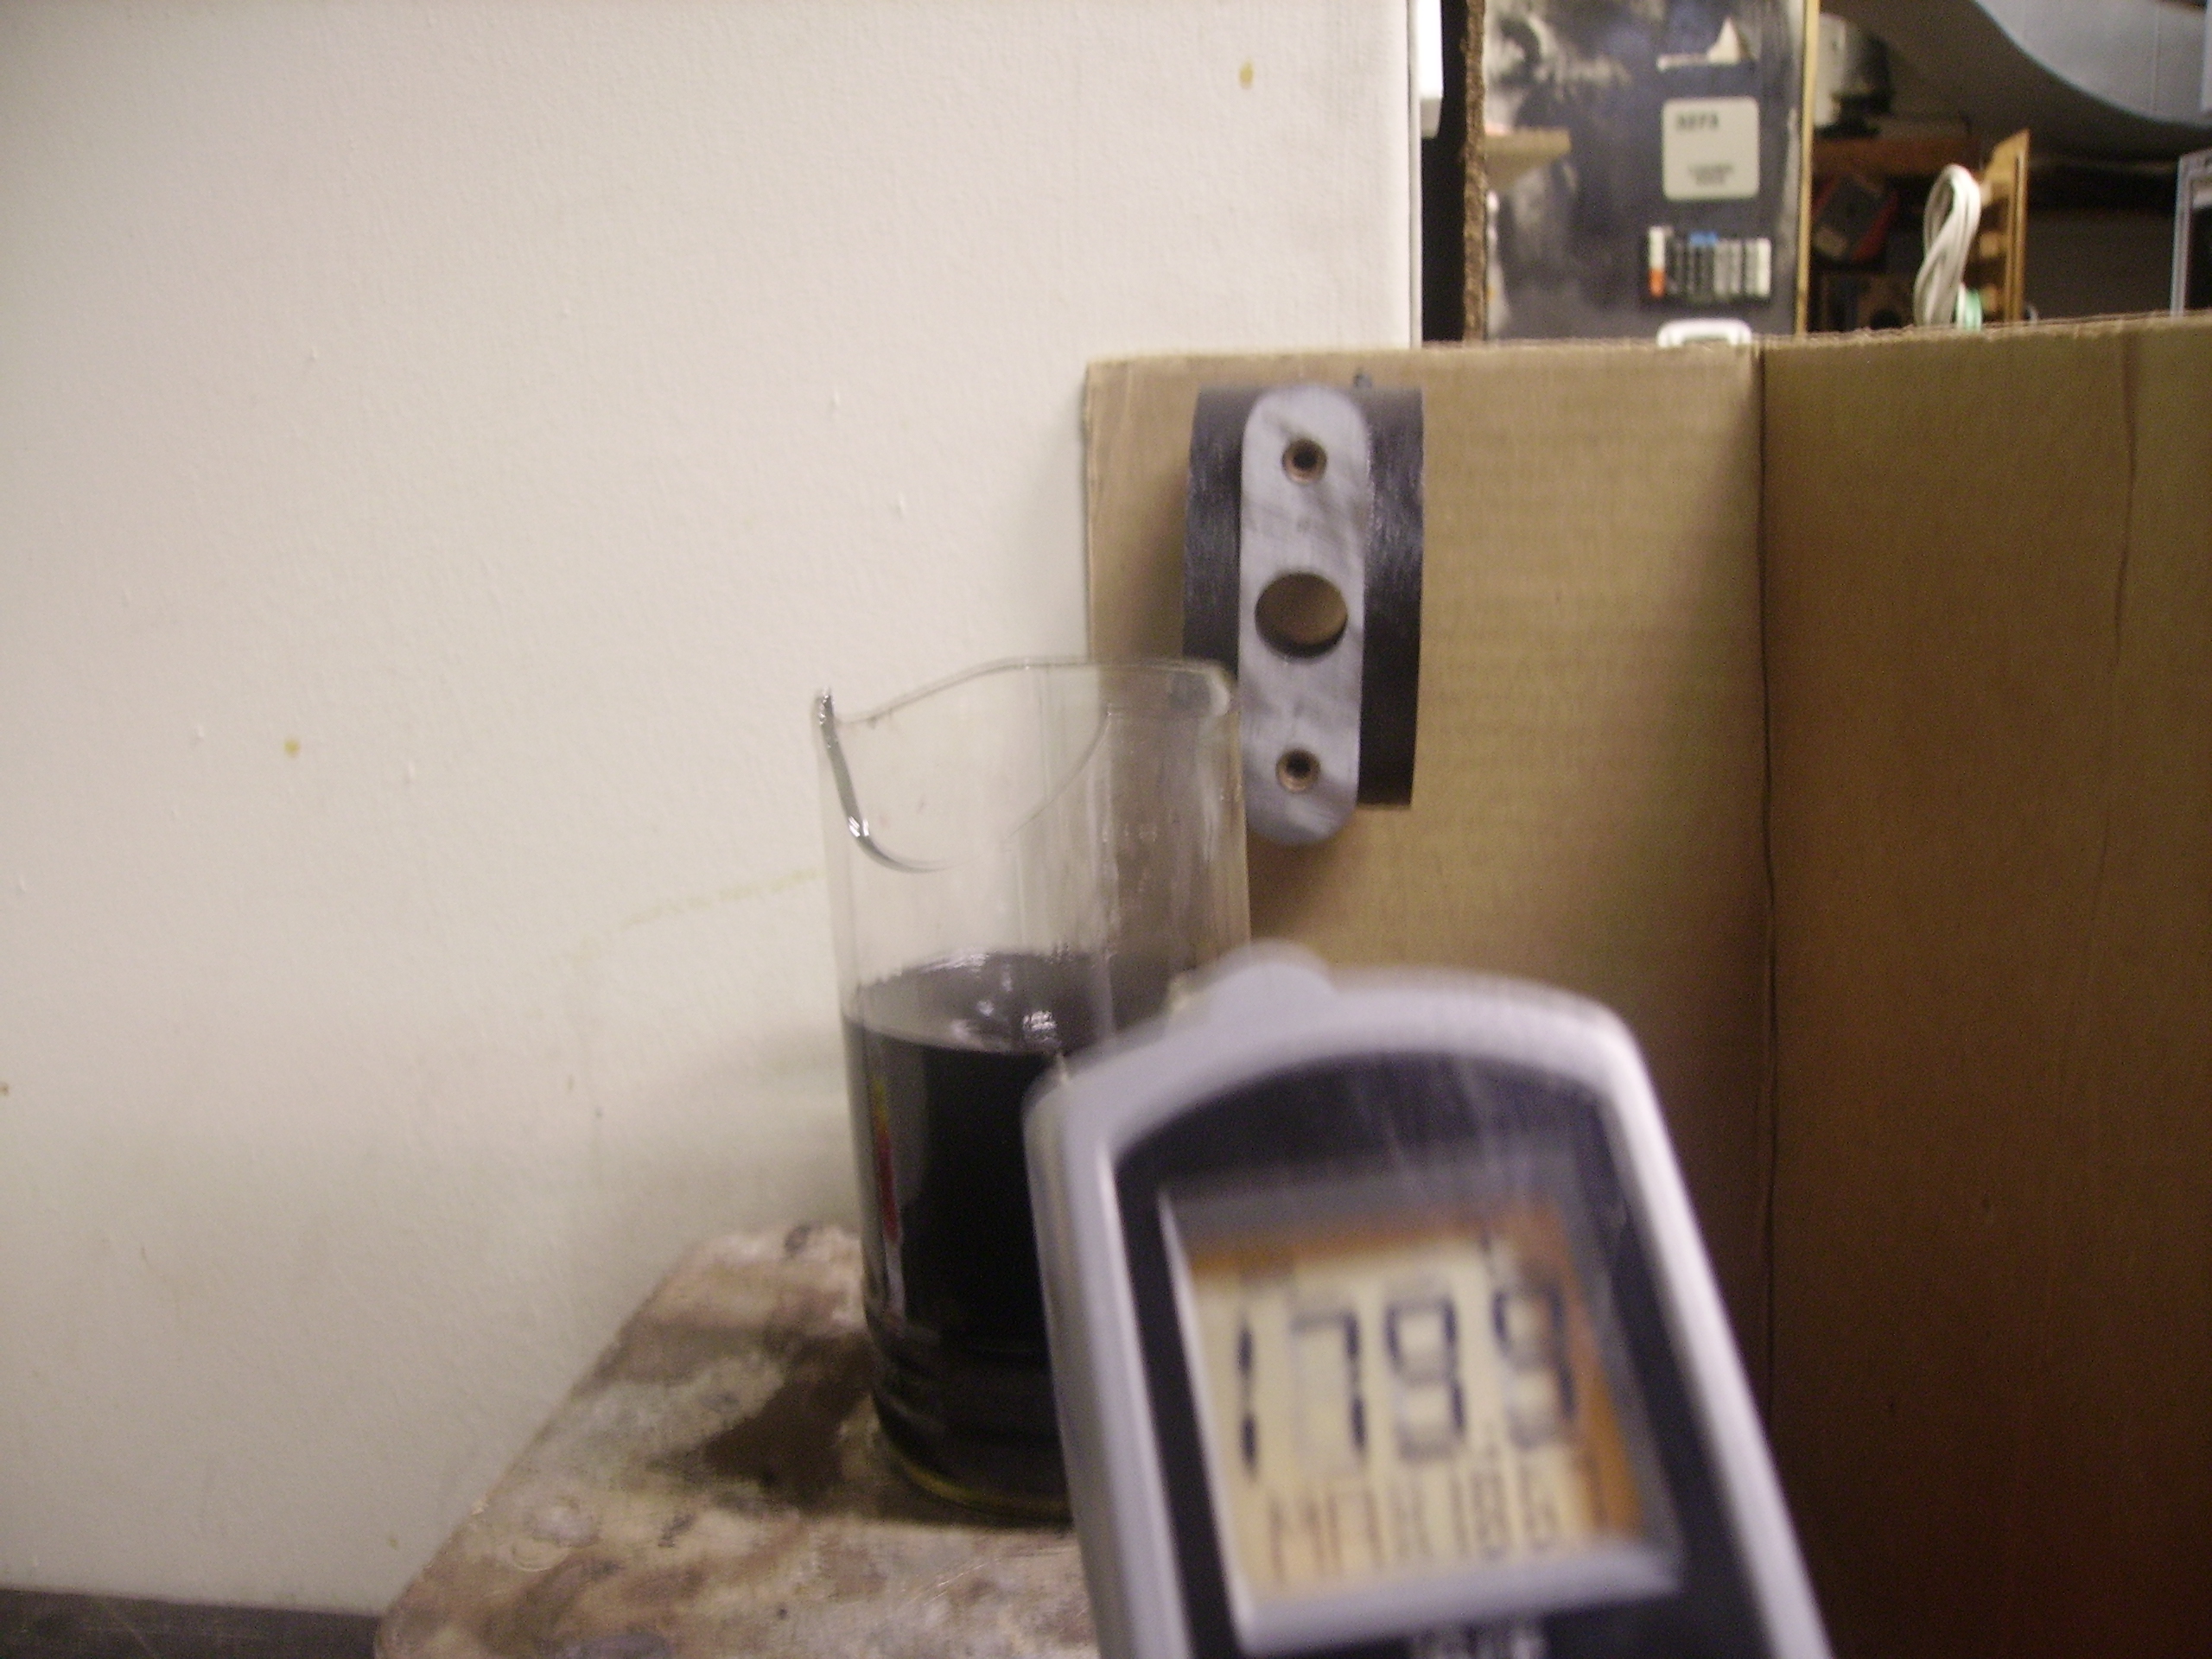
| Wheel
Feedback I didnt have any hall efect sensors floating around, so we opted for a simple motor/generator approach. The bike had a 'speedometer' of sorts that was cable driven. After sanding and shaping the motor (from some toy), it was mounted to the geared wheelspeed apparattus. RPM translated into a voltage produced by the DC motor, readable by microcontroller's onboard ADC. |
 |
 |
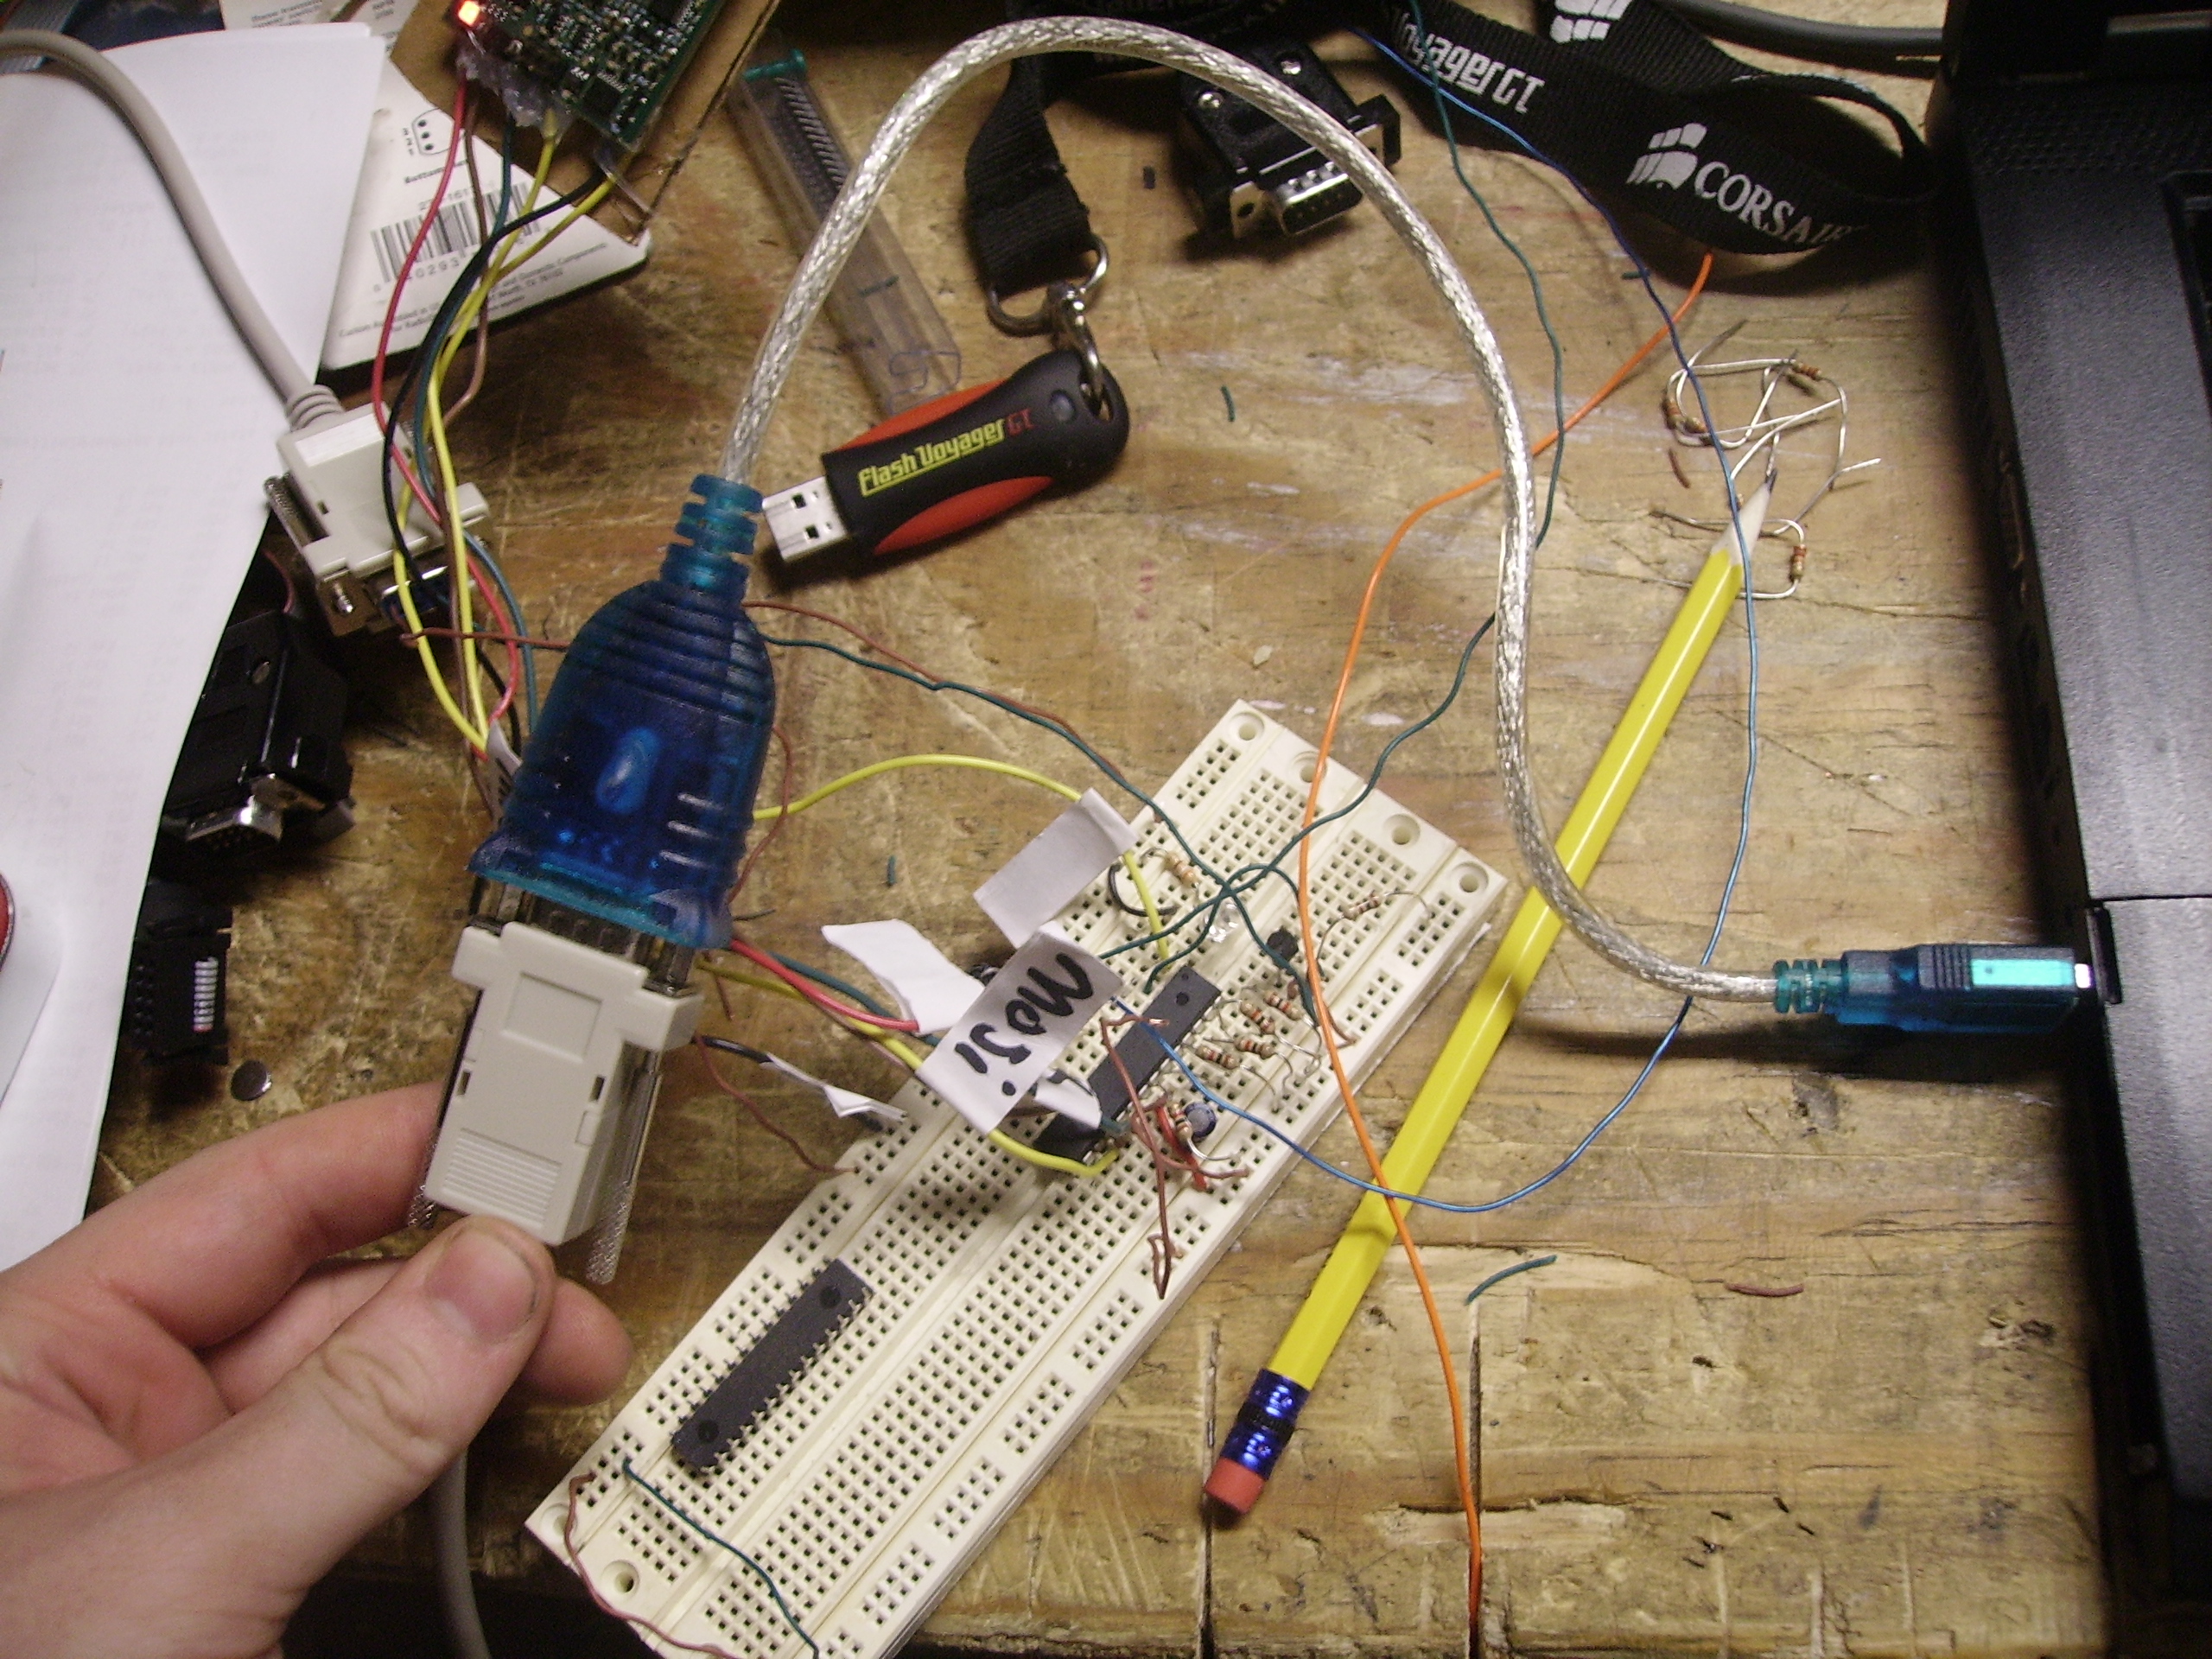
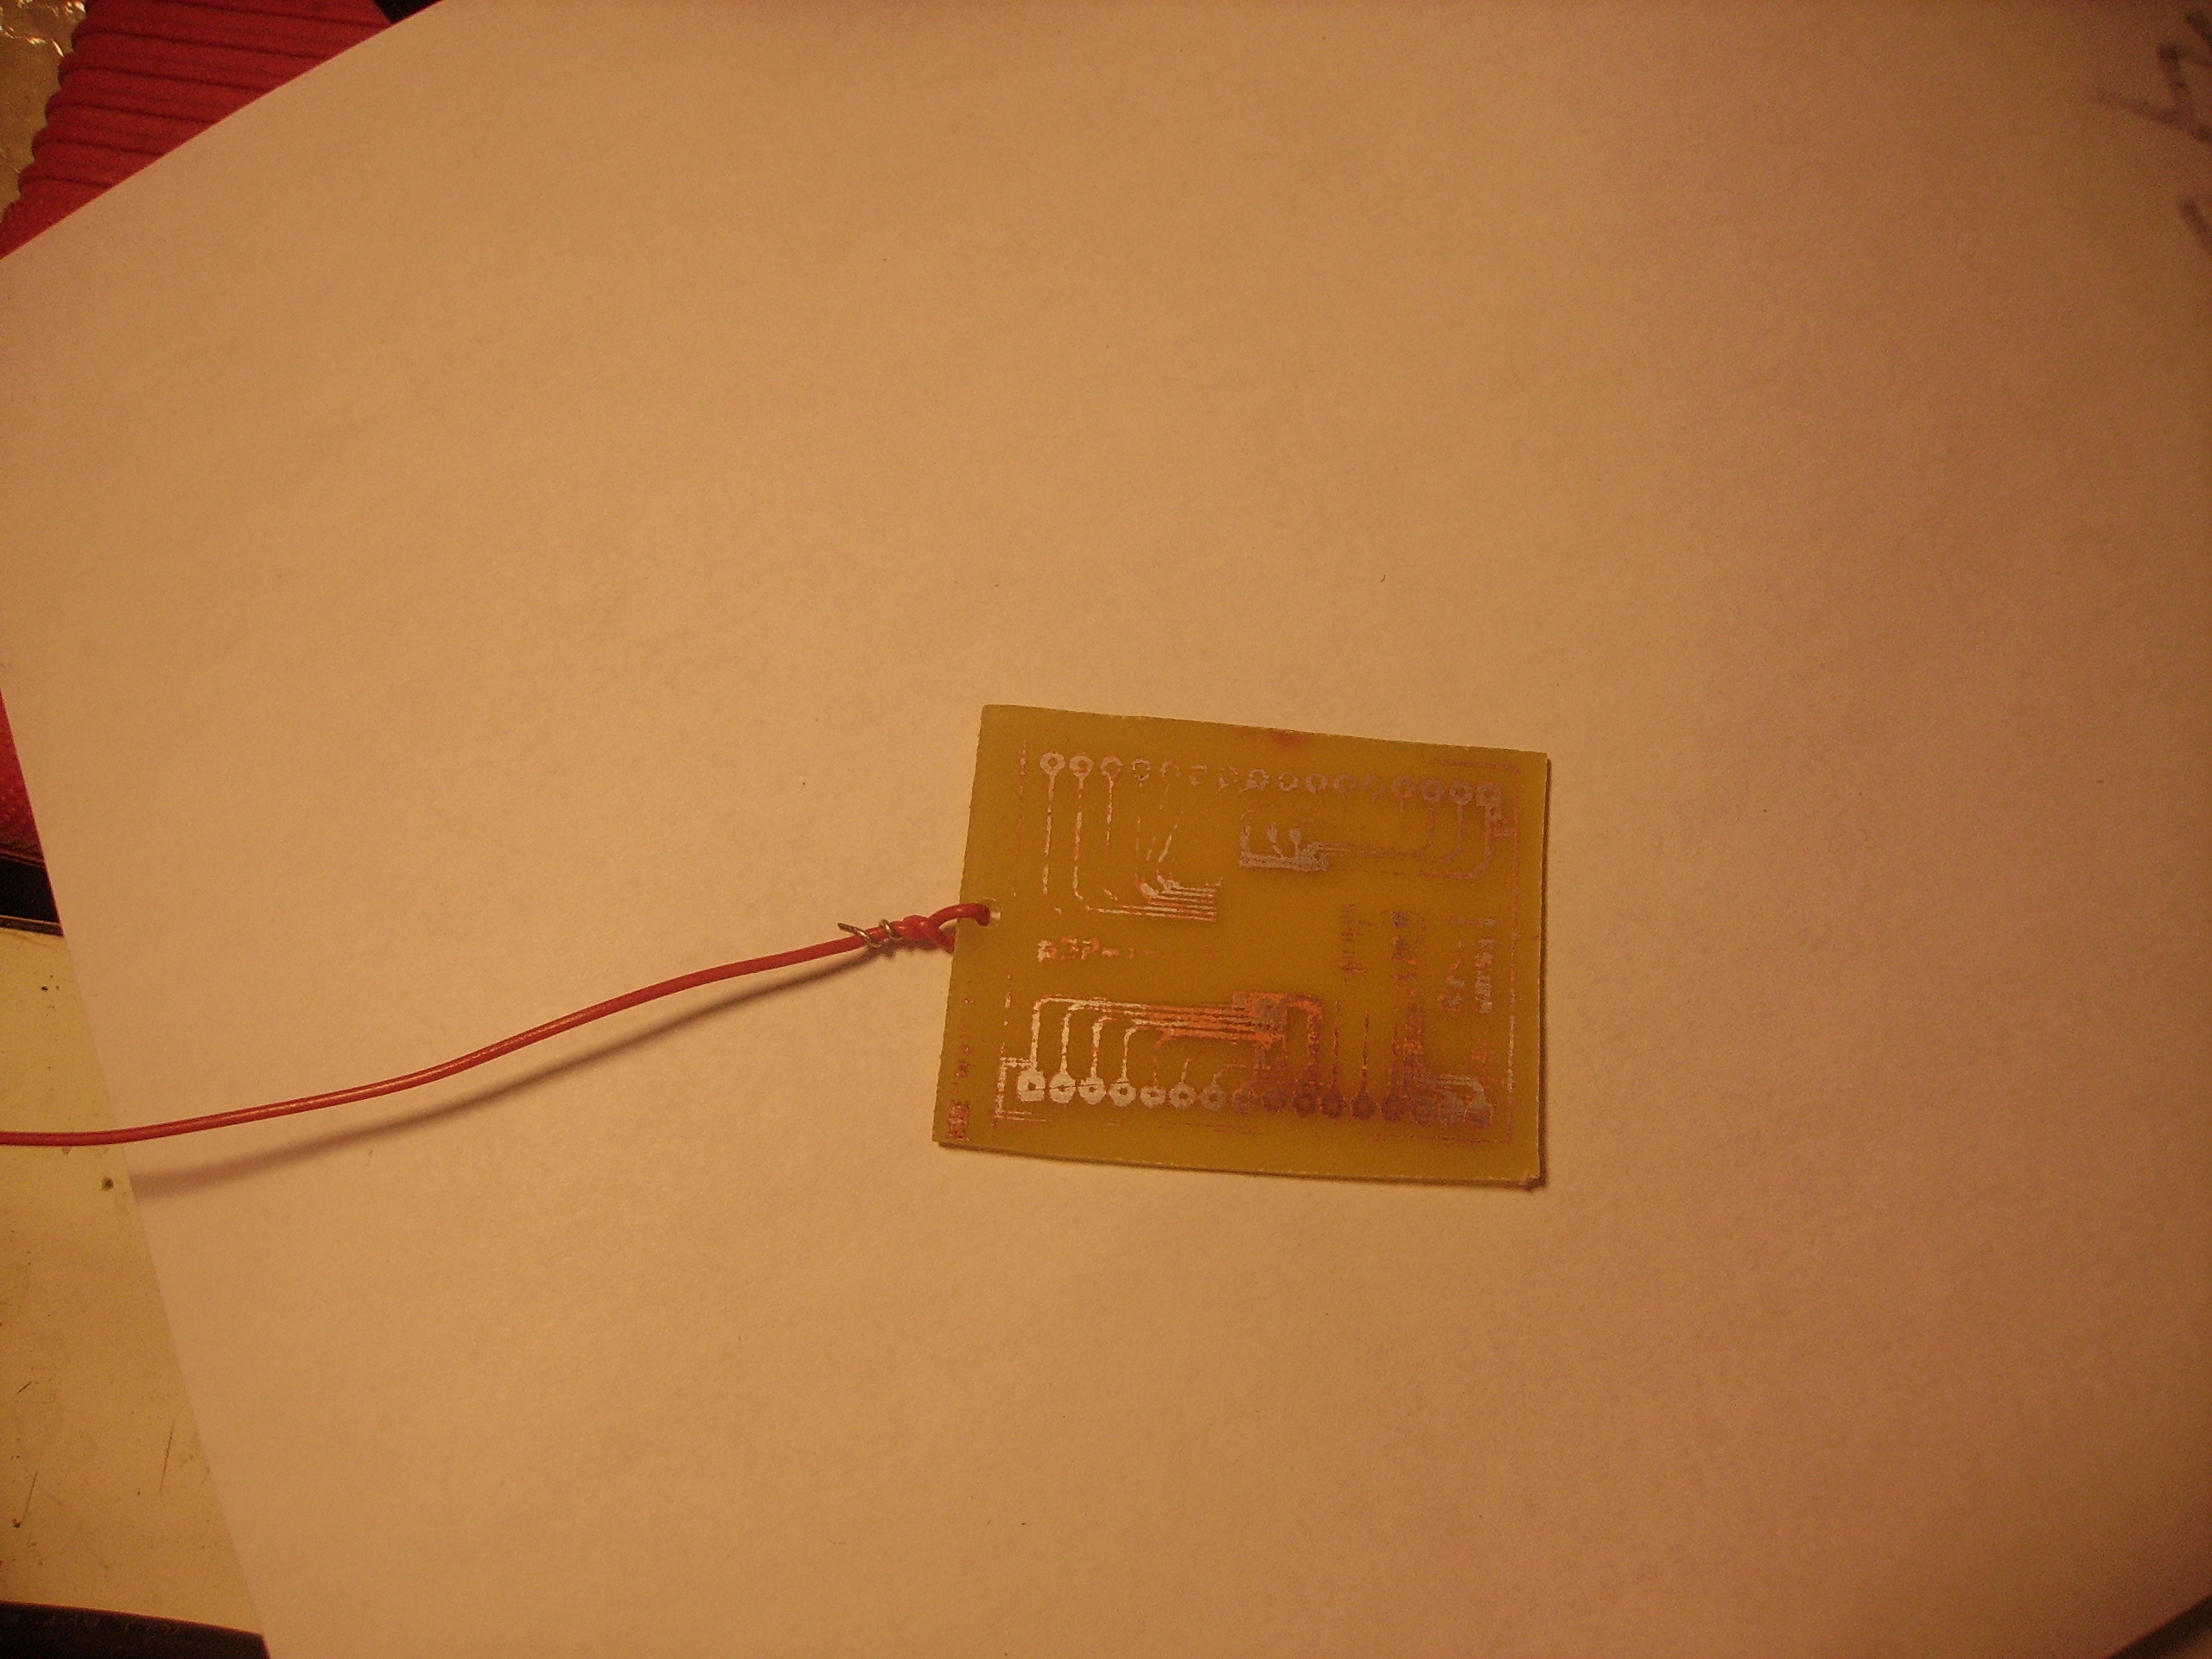
| Keyboard Pinout- ing This was intended to be a quick build, so a working keyboard was used. The row & column IO were identified, and after some quick testing, Mapping of keys was done The first revision of the system didnt actually use a usb keyboard, it used rs232 & a USB adapter. It didnt quite work but it was worth documenting, mabye i missed something. |
<image of keyboard internals> | <image of keyboard internals> |
|
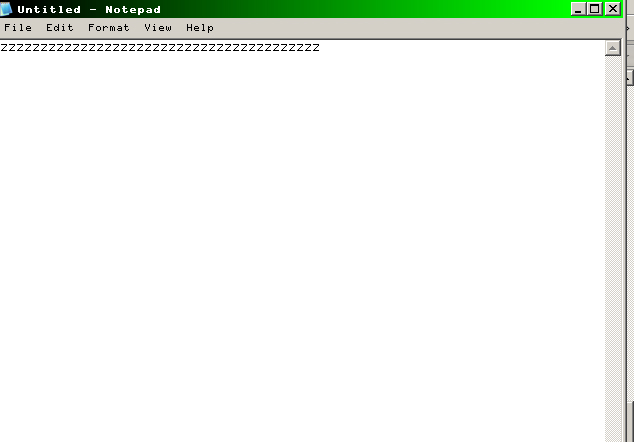
Basically, the 4 keys, Left,
Right, 'Function 1" and "function 2" are wired directly to Row and
Colum connectors from the host keyboard. just as the keyboard expects
the press of one of its buttons to simulate a keypress, the long wire
and buttons do the same, act as a keyboard key. shorting certain
row-column pairs should simulate a certain keypress. A simple test, is
opening notepad / gedit and determining if anything gets echo'd onto
the notepad.
|
 |
|
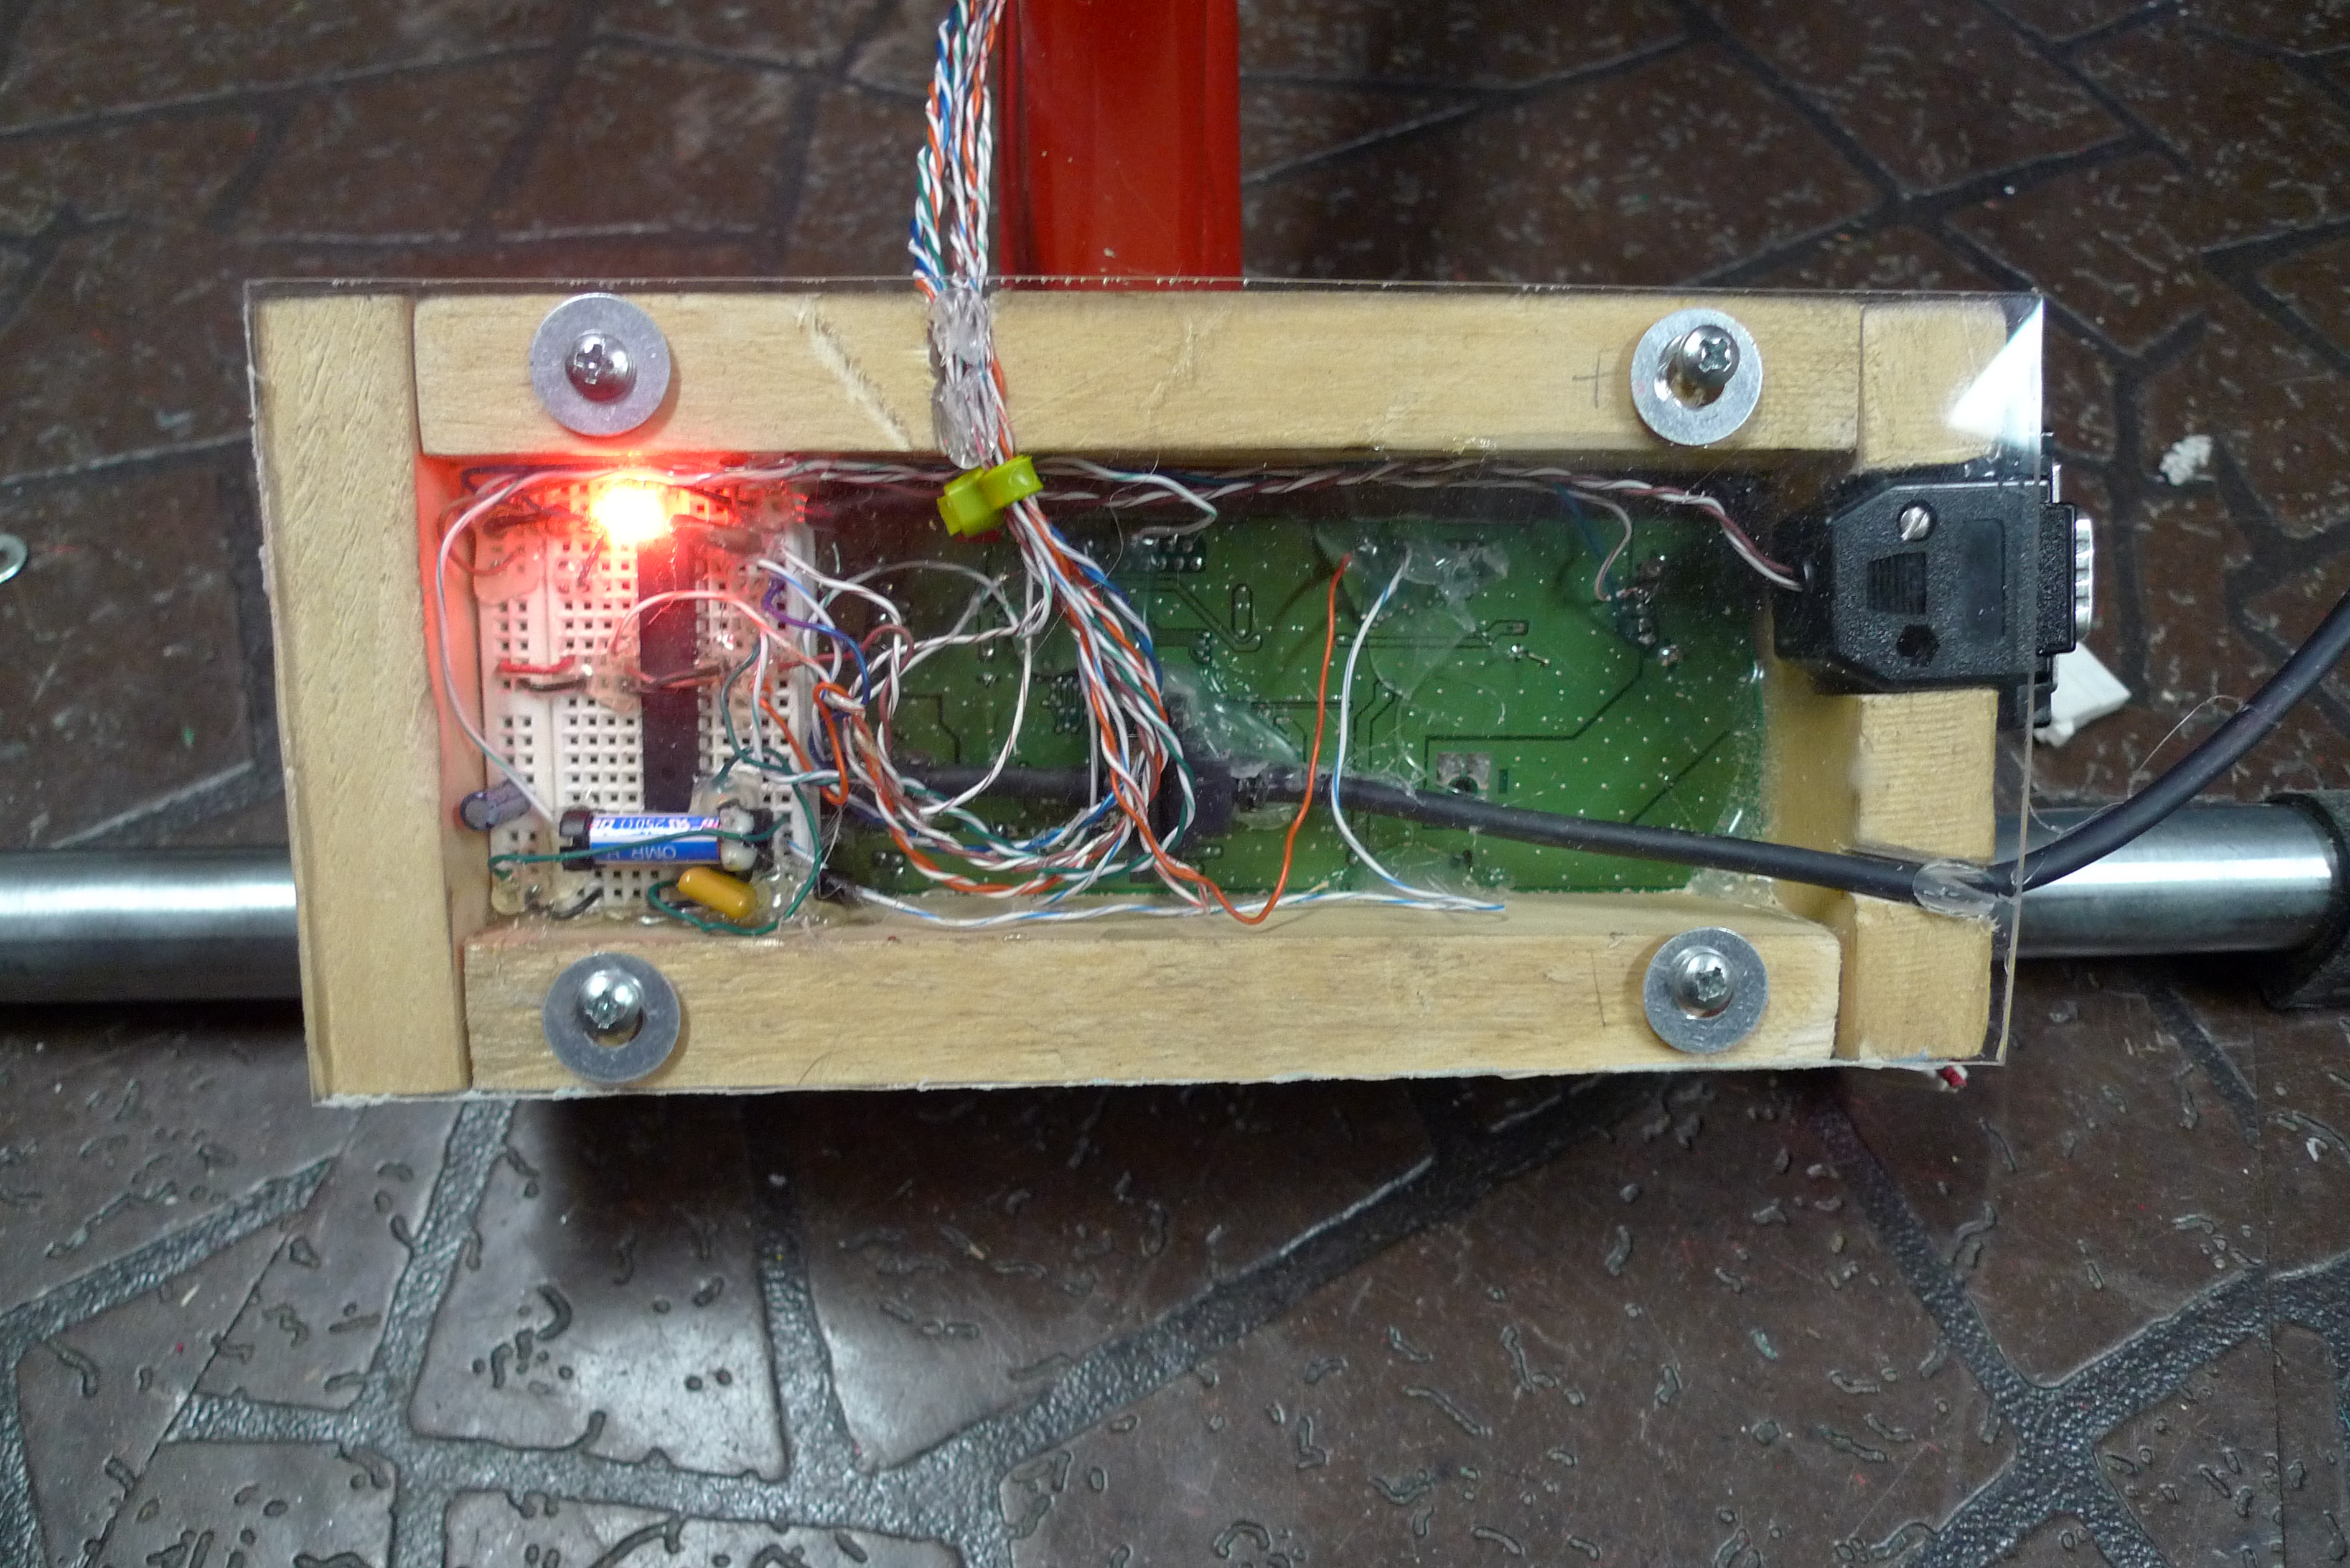
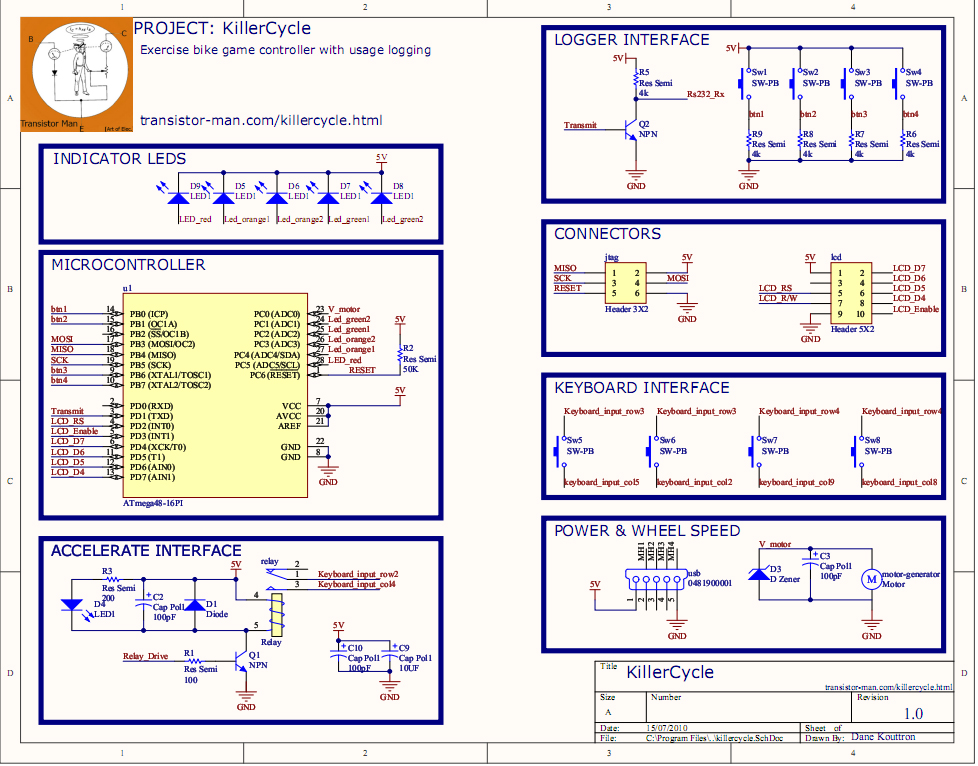
| Microcontroller stuff Why add a microcontroller? To interpret the speed of the cycle, depress a key and display the 'speed' VU-meter style. Its also useful for later additions to the cycle (logging distance, mabye add an lcd) I used a low end avr, namely because 1. i didnt have logic & opamps lying about 2. I thought it would be a good starting place to teach a sibling about the awesome world of mcu's |
|
SCHEMATIC PDF LINK SOURCECODE Link |
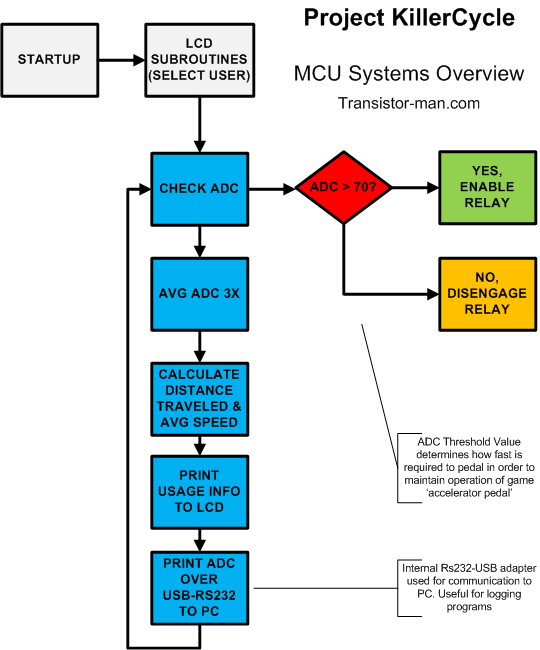
| Overview
of the code: Logging on the internal microcontroller memory is simple, however less visible in comparison to a full sized computer screen. The ADC value captured (proportional to cycling speed) is sent to the computer via an RS232 to USB adapter, connected to the Keyboard's internal USB hub. In this fashion, user data is piped to the computer where a simple graphing program can display usage. Other items, like displaying the speed on the LED array is omitted from the diagram for simplicity sake. |
 |
|
|
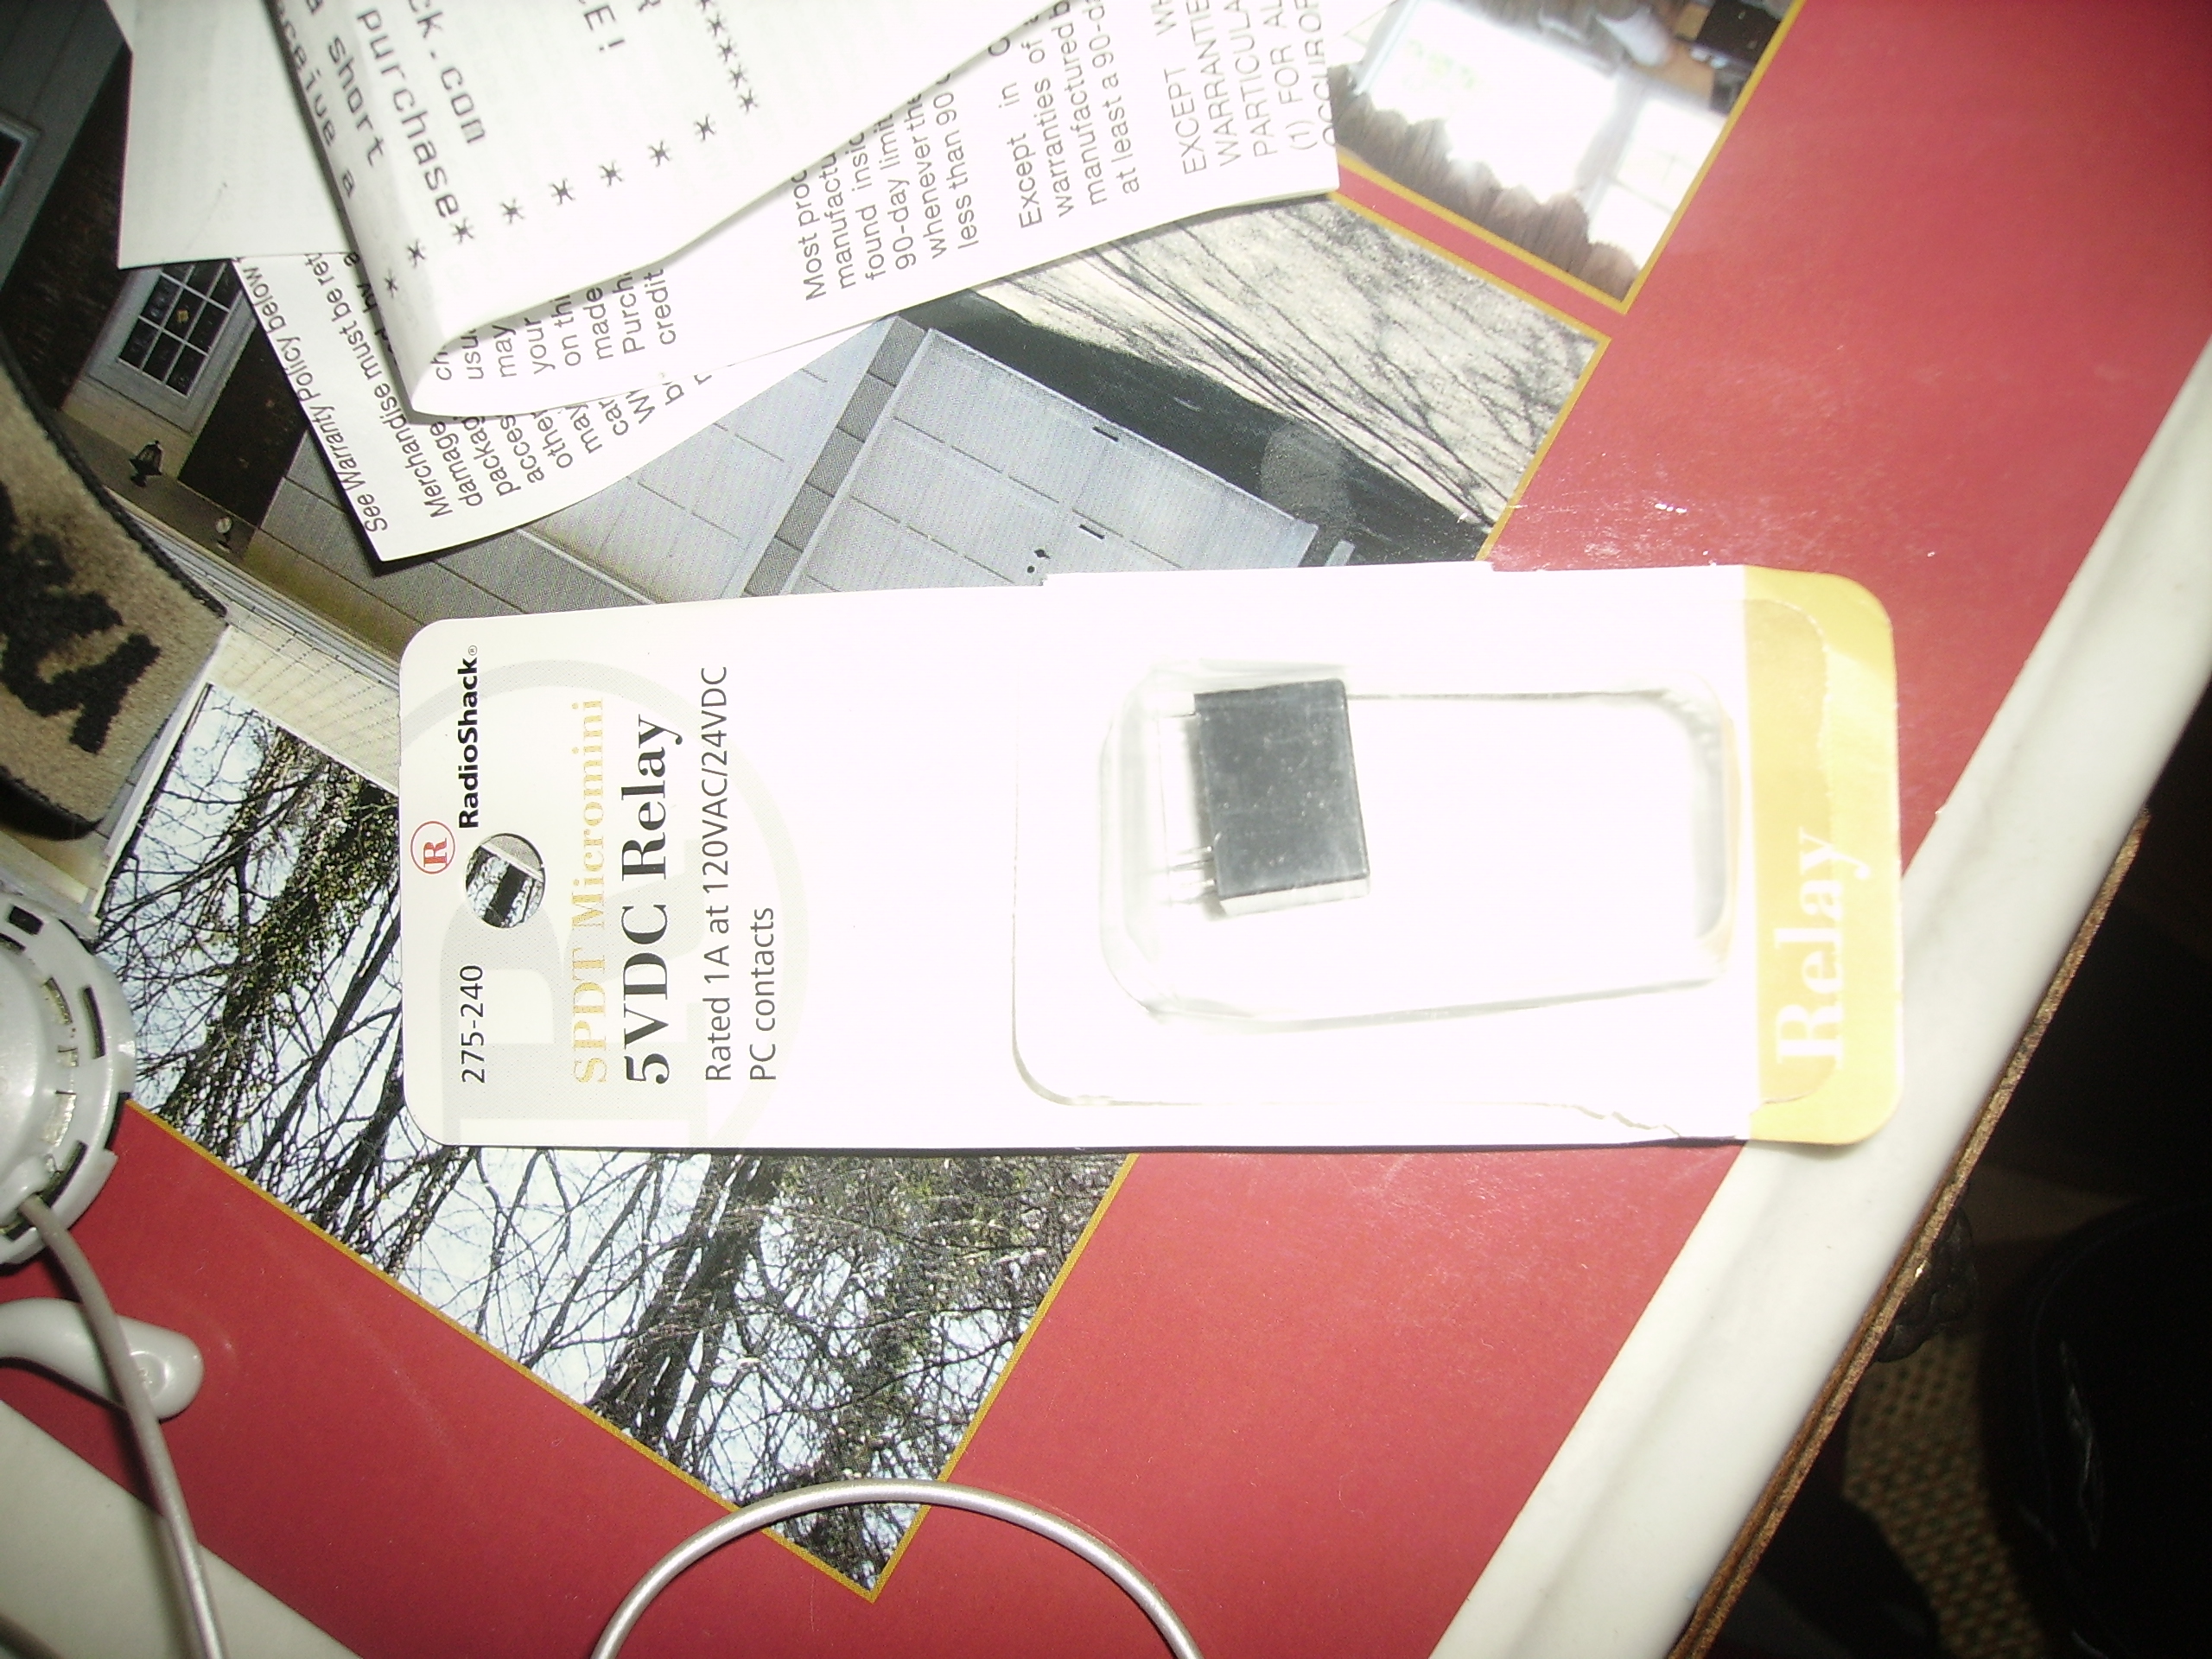
A simple 5v relay was used to
engage / disengage the 'forward' keystroke.
|
 |
 |
| How
to: Without Microcontroller (simple way) So, if your planning on building something similar to this, you could go a simpler route. Here's how: If your using a dc motor (as a generator) to determine wheel speed, here's a simple ckt to translate a desired wheelspeed into a keypress. (voltage produced from generator trips transistor, enabling relay (simulating keypress)) |
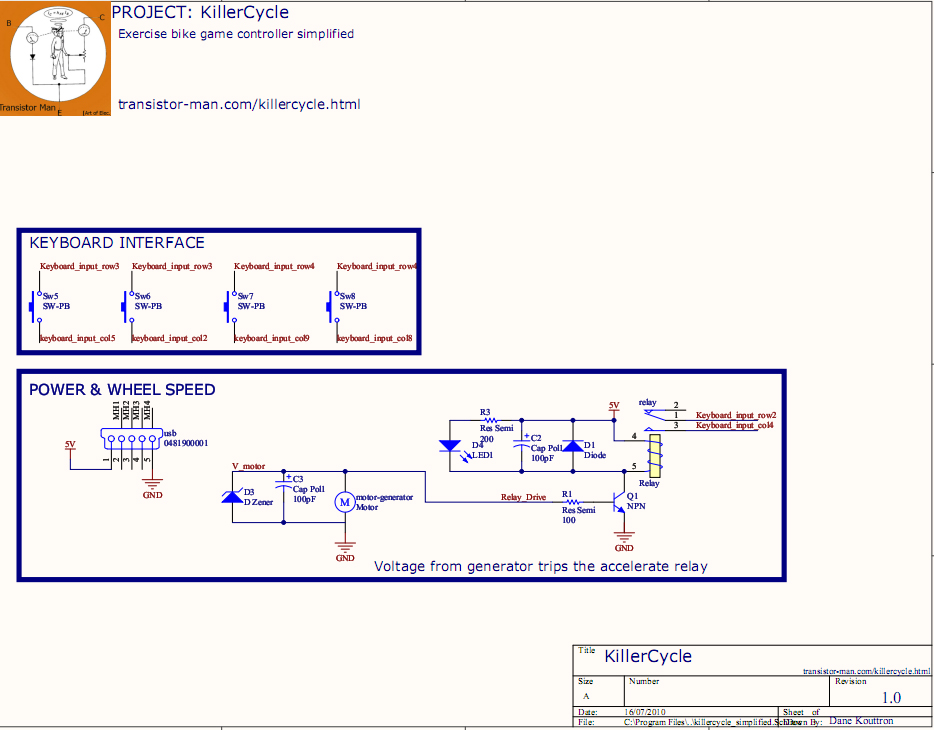 |
SCHEMATIC PDF LINK |
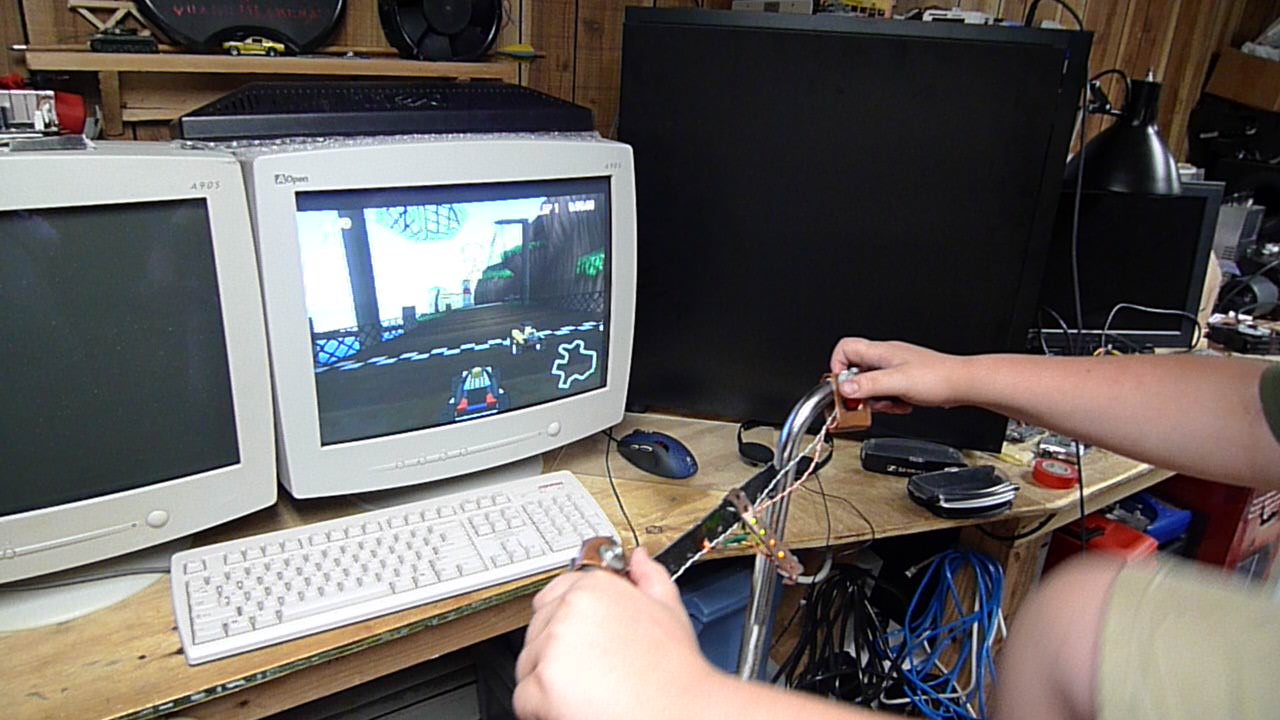
So at this point, you have a bicycle-keyboard combo. You pedal a certain speed, it presses a key, that you've mapped to 'go' in whatever video game you use.
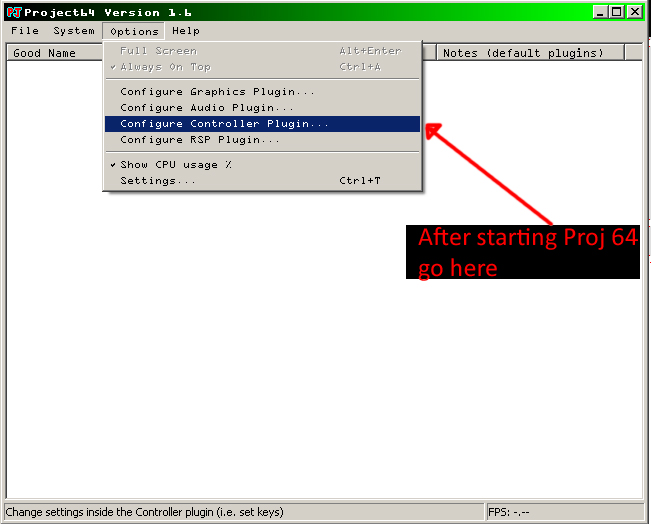
| Project 64 Integration | Images |
| Again, super simple setup: After starting the emulator (project 64, in this case) select 'configure controller plugin' |
 |
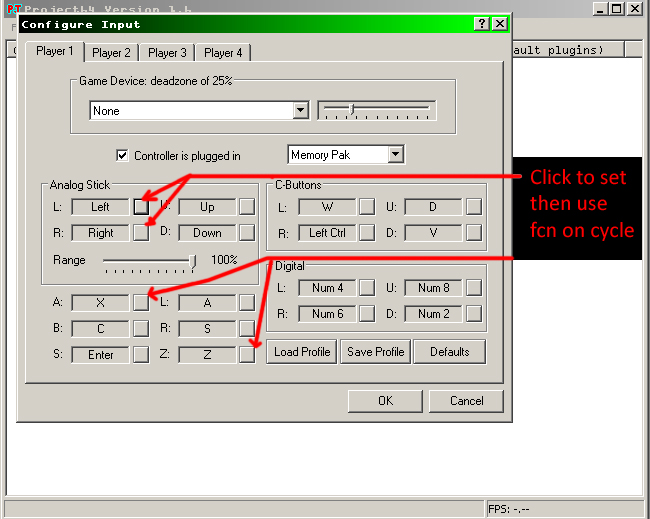
| To
set each key, simply click (mouse) on the left box, and press the
according button on the exercise bike (or pedal up to speed, for the
accelerate command) Bam: and like that the keys are mapped for in-game use If your plan on running multiple games, you can 'save' the keymapping and load key-mapping for seperate games. |
 |
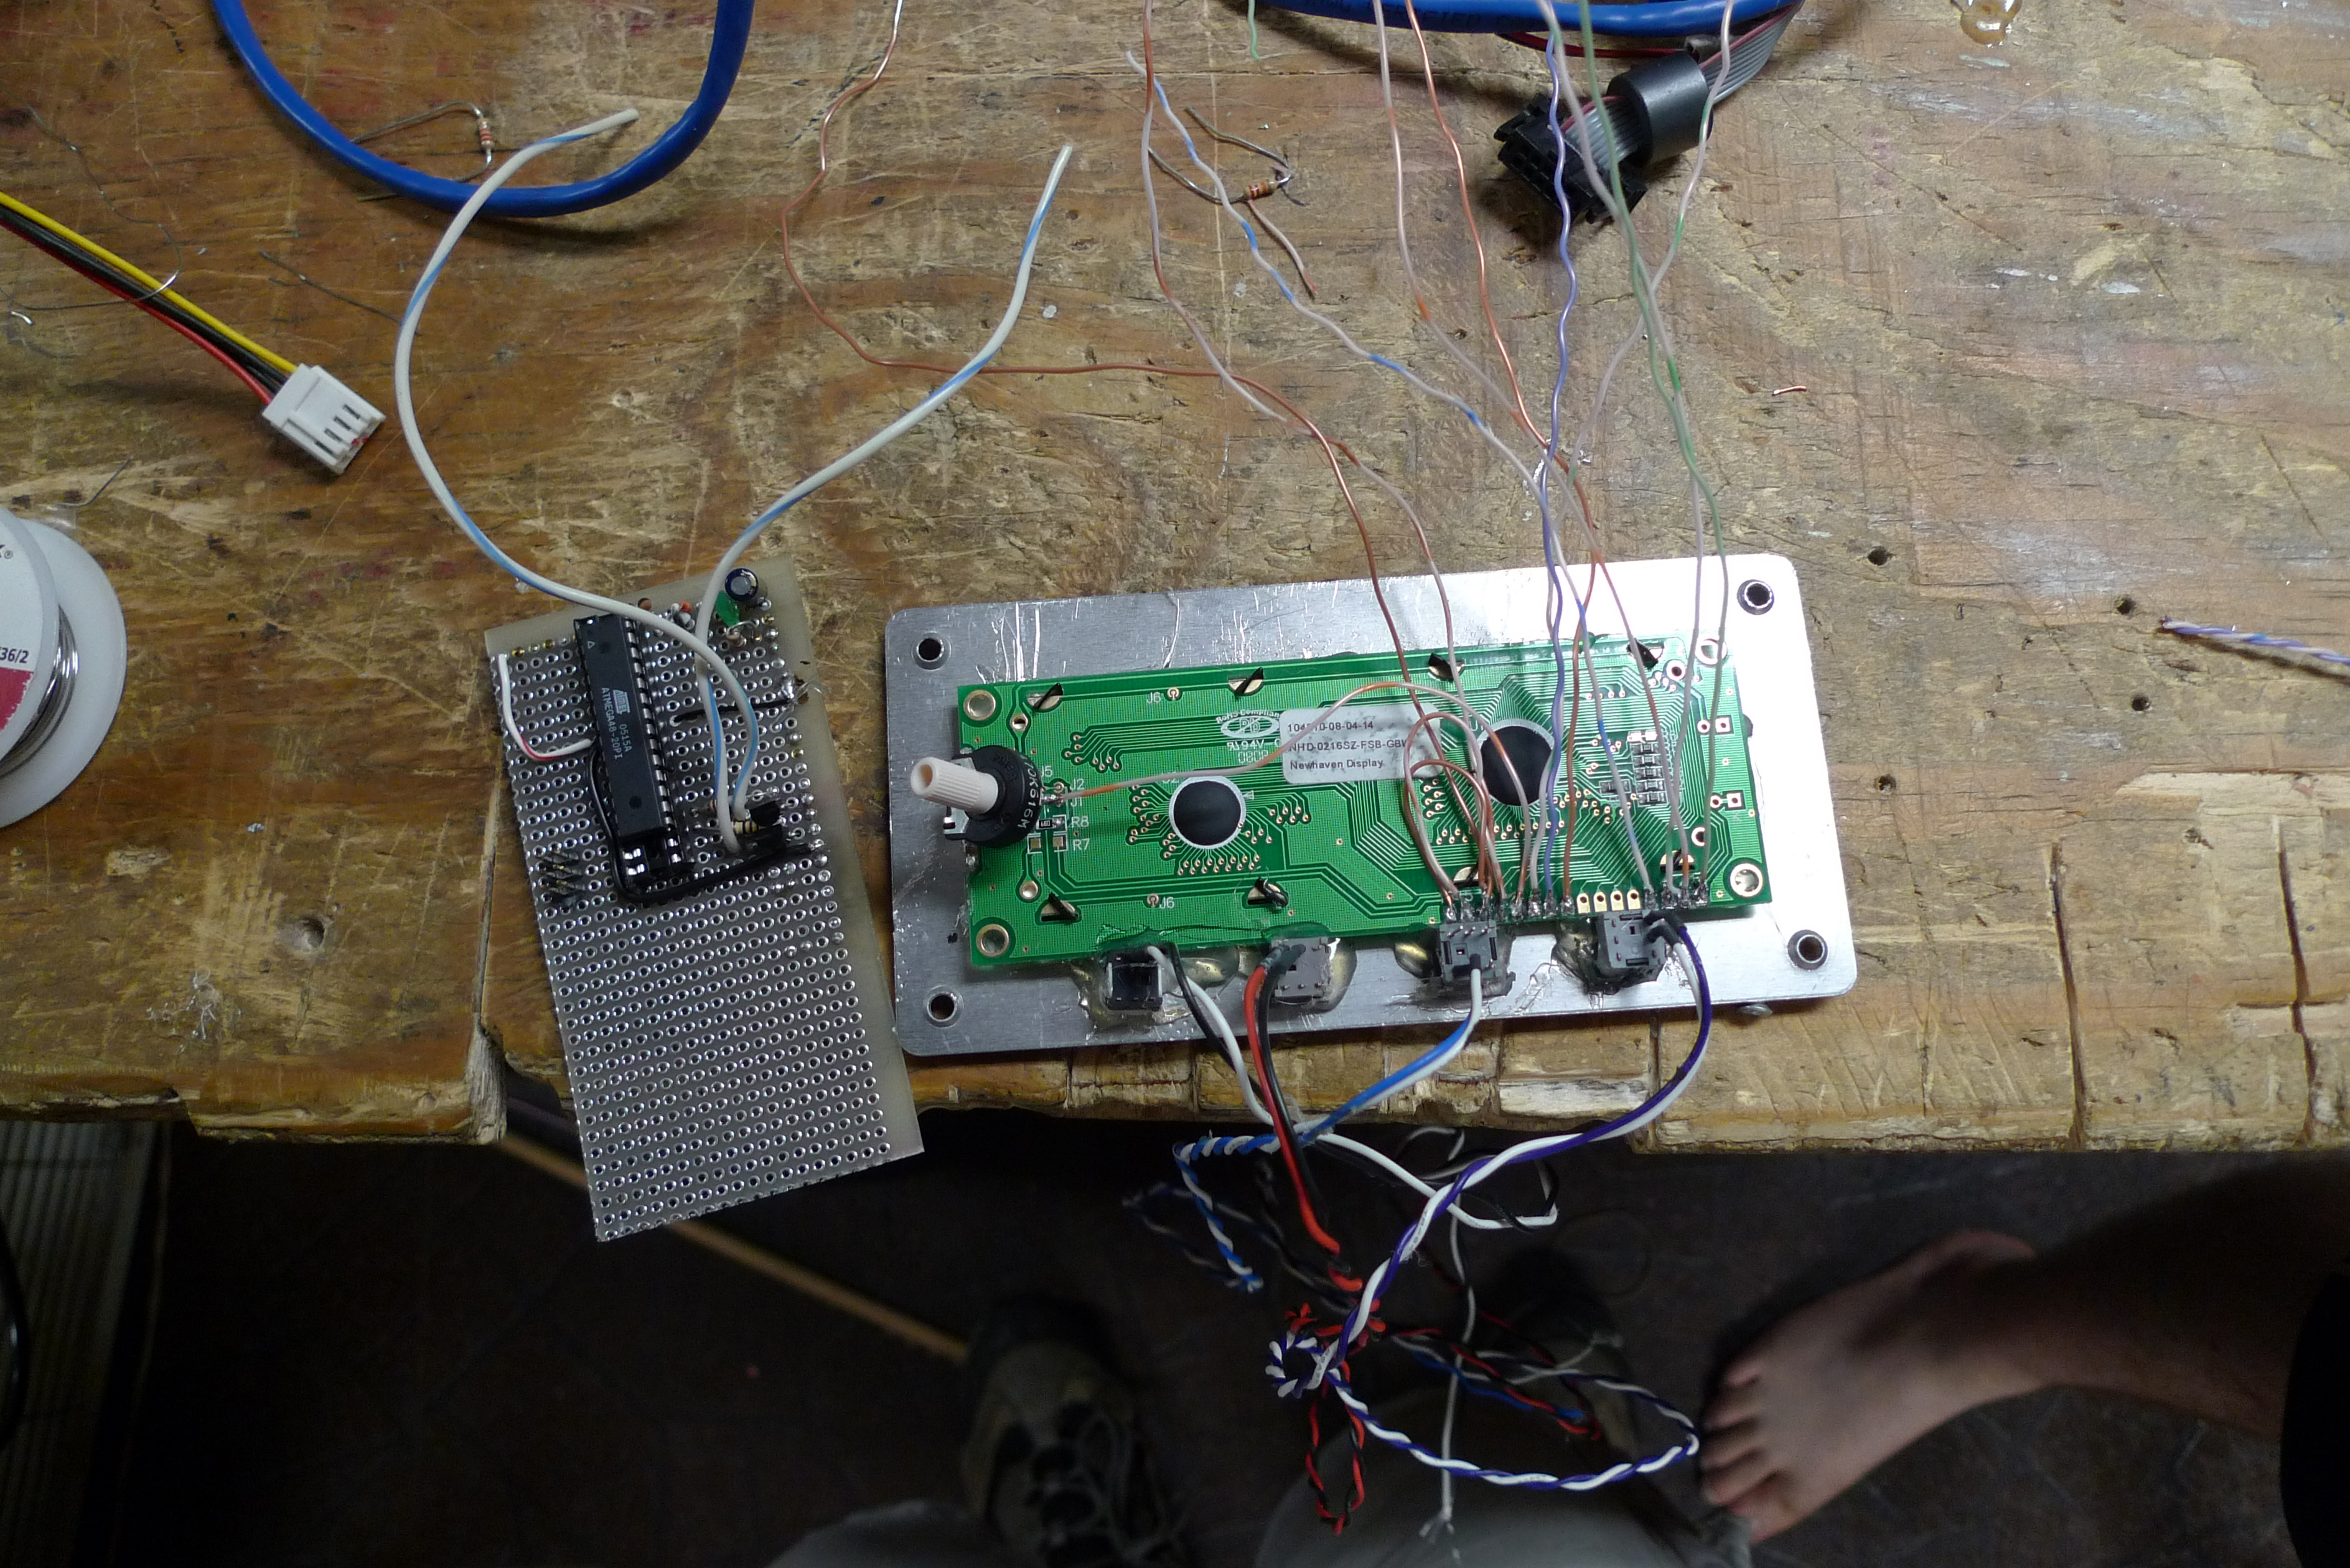
| Adding An Lcd, User Mode, and Logging | Images |
| To
increase the usability of the system, a basic logging system is
implemented, on microcontroller. The voltage output is roughly
proportional to the wheelspeed, and can be used, over a specified time
interval, to determine the distance traveled. The purpose of this is to provide feedback to compare preformance between a previous day's excersizing and the current excersize. |
Basics:
Velocity & Distance
 How far have I gone total?  or a simple example:  |
| For each user (there are 4): Total distance traveled, average velocity, maximum velocity, and time excersizing are recorded, and stored in a 'ring buffer' for 7 days time. The oldest stored data is removed first, to make room for new trial runs. The user can select their name before starting their excersizing, so data is logged for the correct person. Data is also pumped over Rs232 -> USB to the host computer. The lcd used is HD44780 Compatible parallel style |
 |
Who Built it?
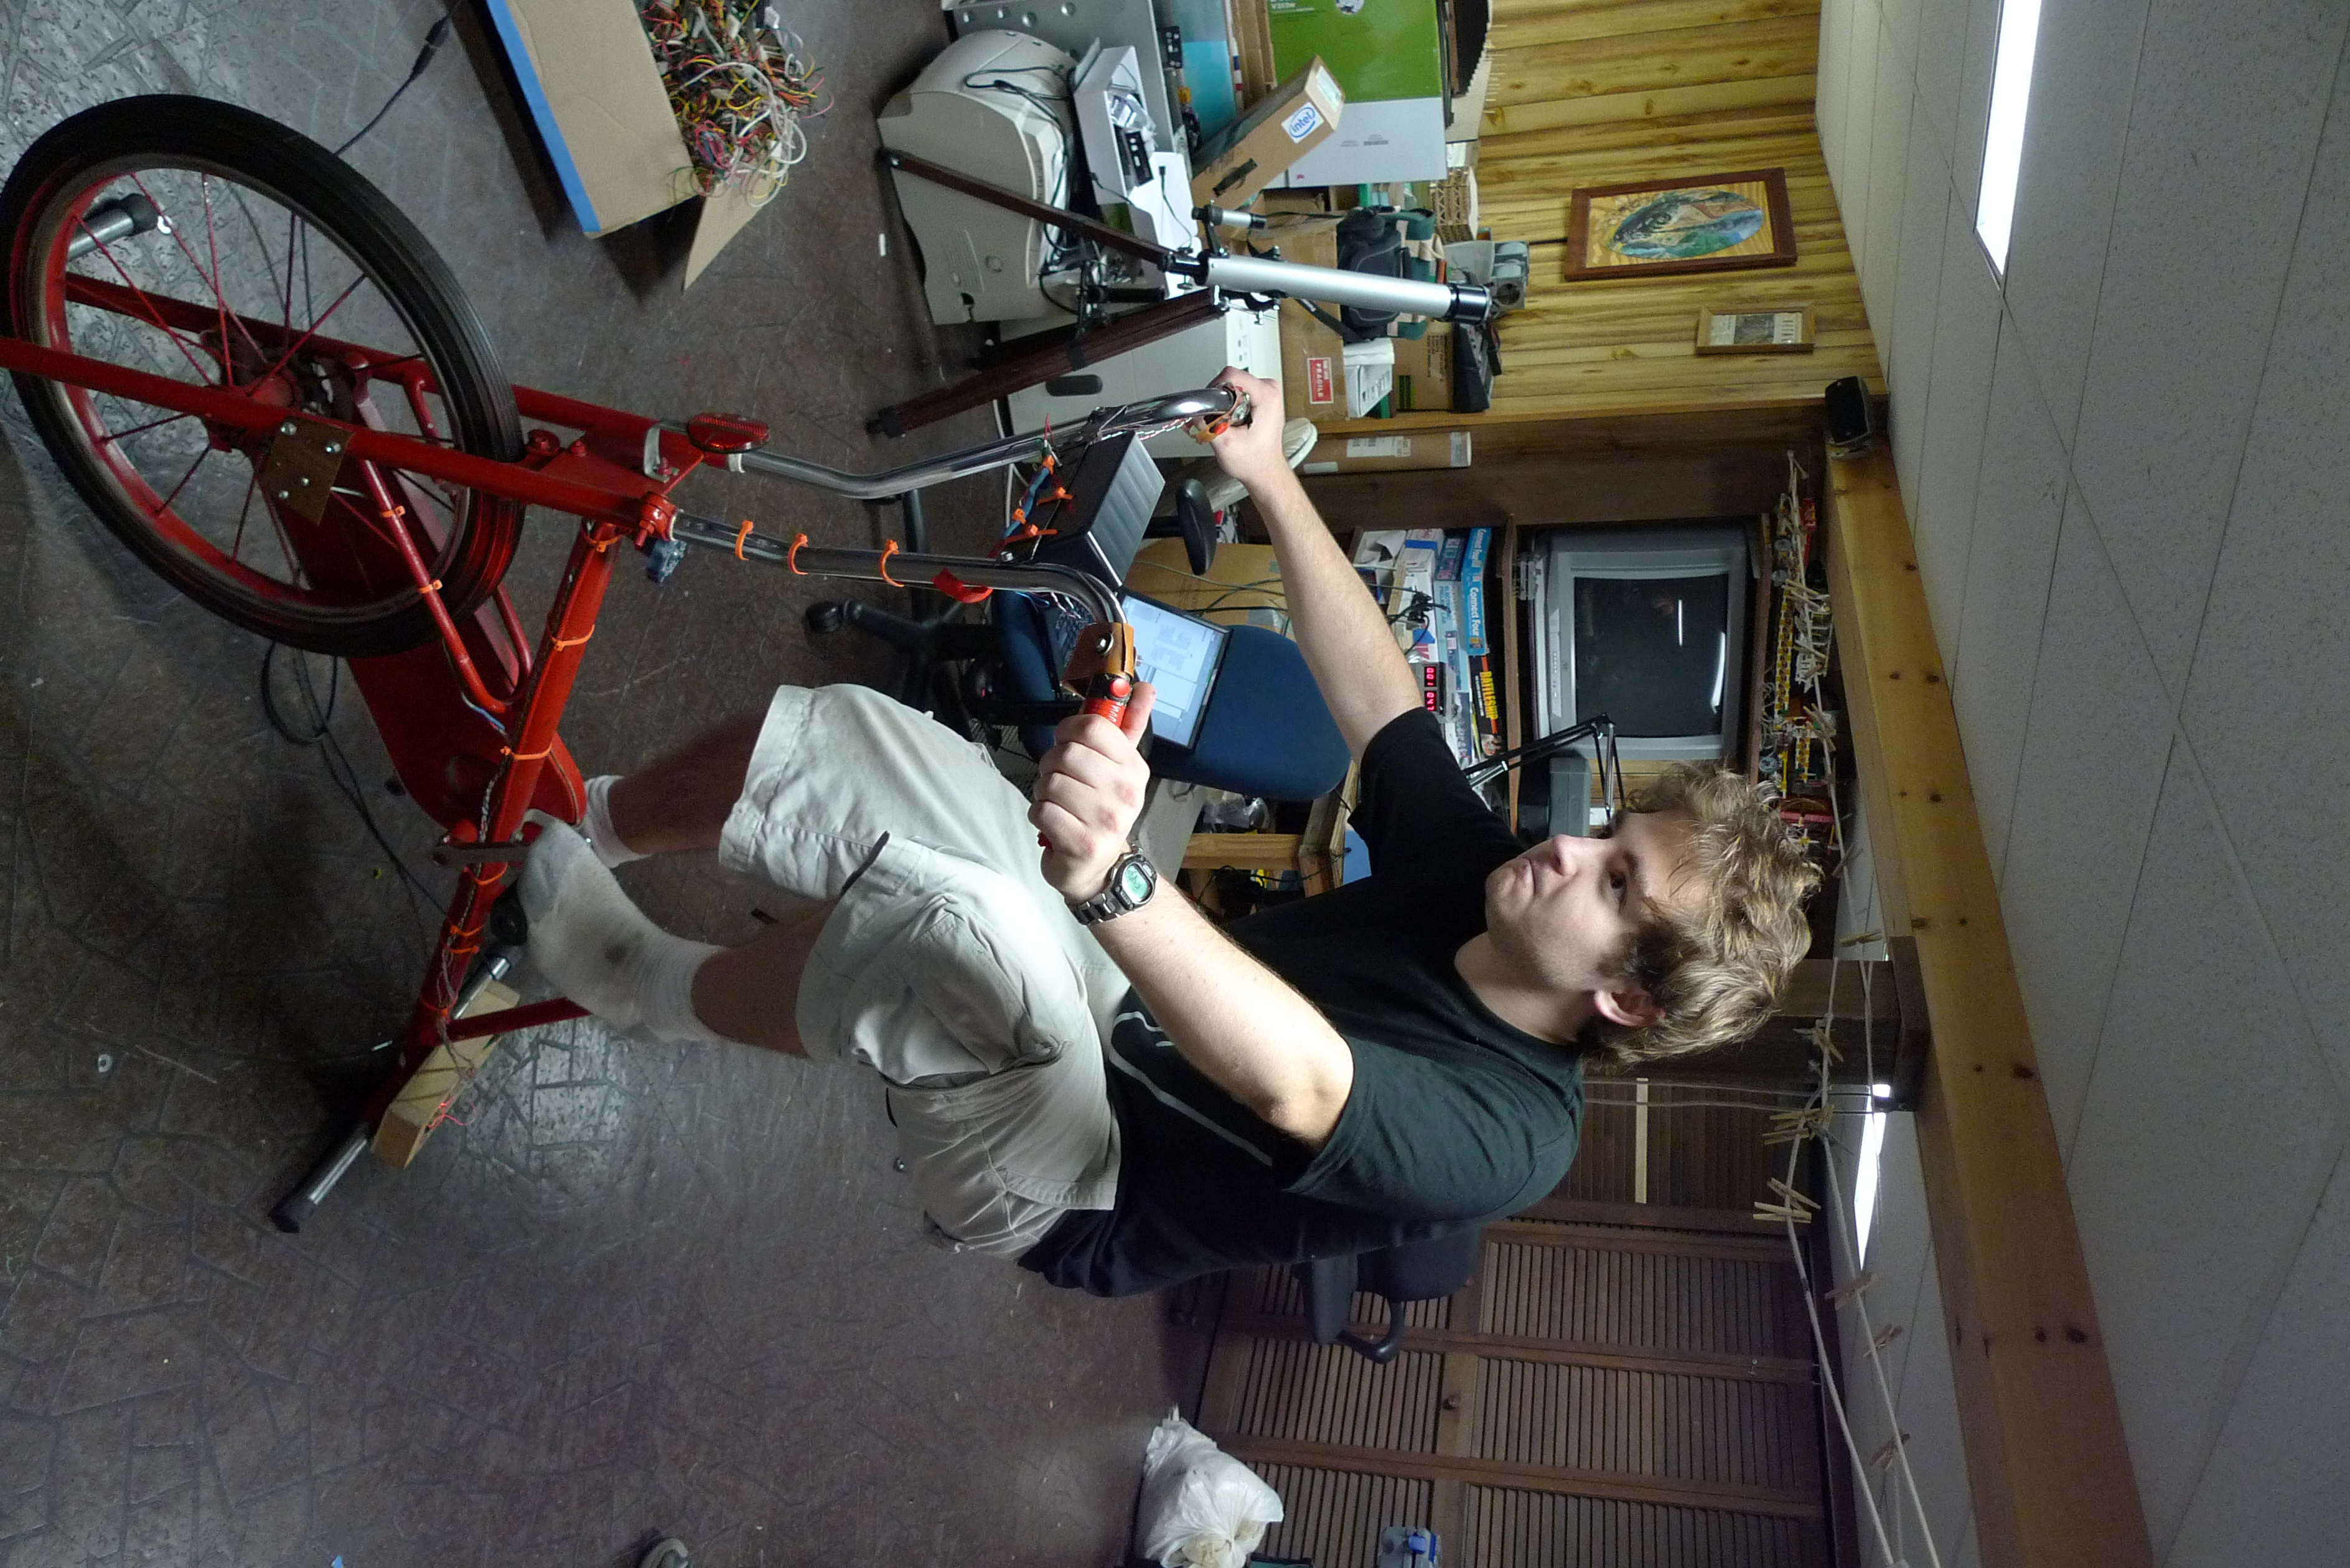
| Thomas Kouttron | Dane Kouttron |
Thomas, grinding the
connector for the wheelspeed indicator. |
 |
(There's
other photos in the photo gallery)
Concluding
Remarks:I was actually suprised how well this worked. If i did this again, i wouldve just found a wireless keyboard (if the wireless keyboard worked for at least 20ft), instead of wired, and run the bike logic on rechargeable AA's / pedal powered generator
if you have questions or comments, shoot over an email.
| Comments: |
|
HTML Comment Box
is loading comments...
|
(be
careful, im not responsible for your exploded computer, or newly
chisled legs)
Dane.Kouttron
Rensselaer Polytechnic Institute
Electrical & Electrical Power
631.978.1650