Dane.Kouttron
[12.10.12] Macbook Pro GPU Reflow [Fixing a 'blank screen' macbook]
| What?
Repair a macbook with a non-happy GPU on the cheap, using low cost fairly easy to find tools. |
 |
 |
| This is a simple walk through on attempting to reflow the gpu on a monsterously large 17 inch ~2009 macbook pro, using only a Harbor Freight grade heatgun, appropriate screwdrivers, a mechanical vice and patience. |
| What? |
Getting it to work | Conclusion | Image Directory |
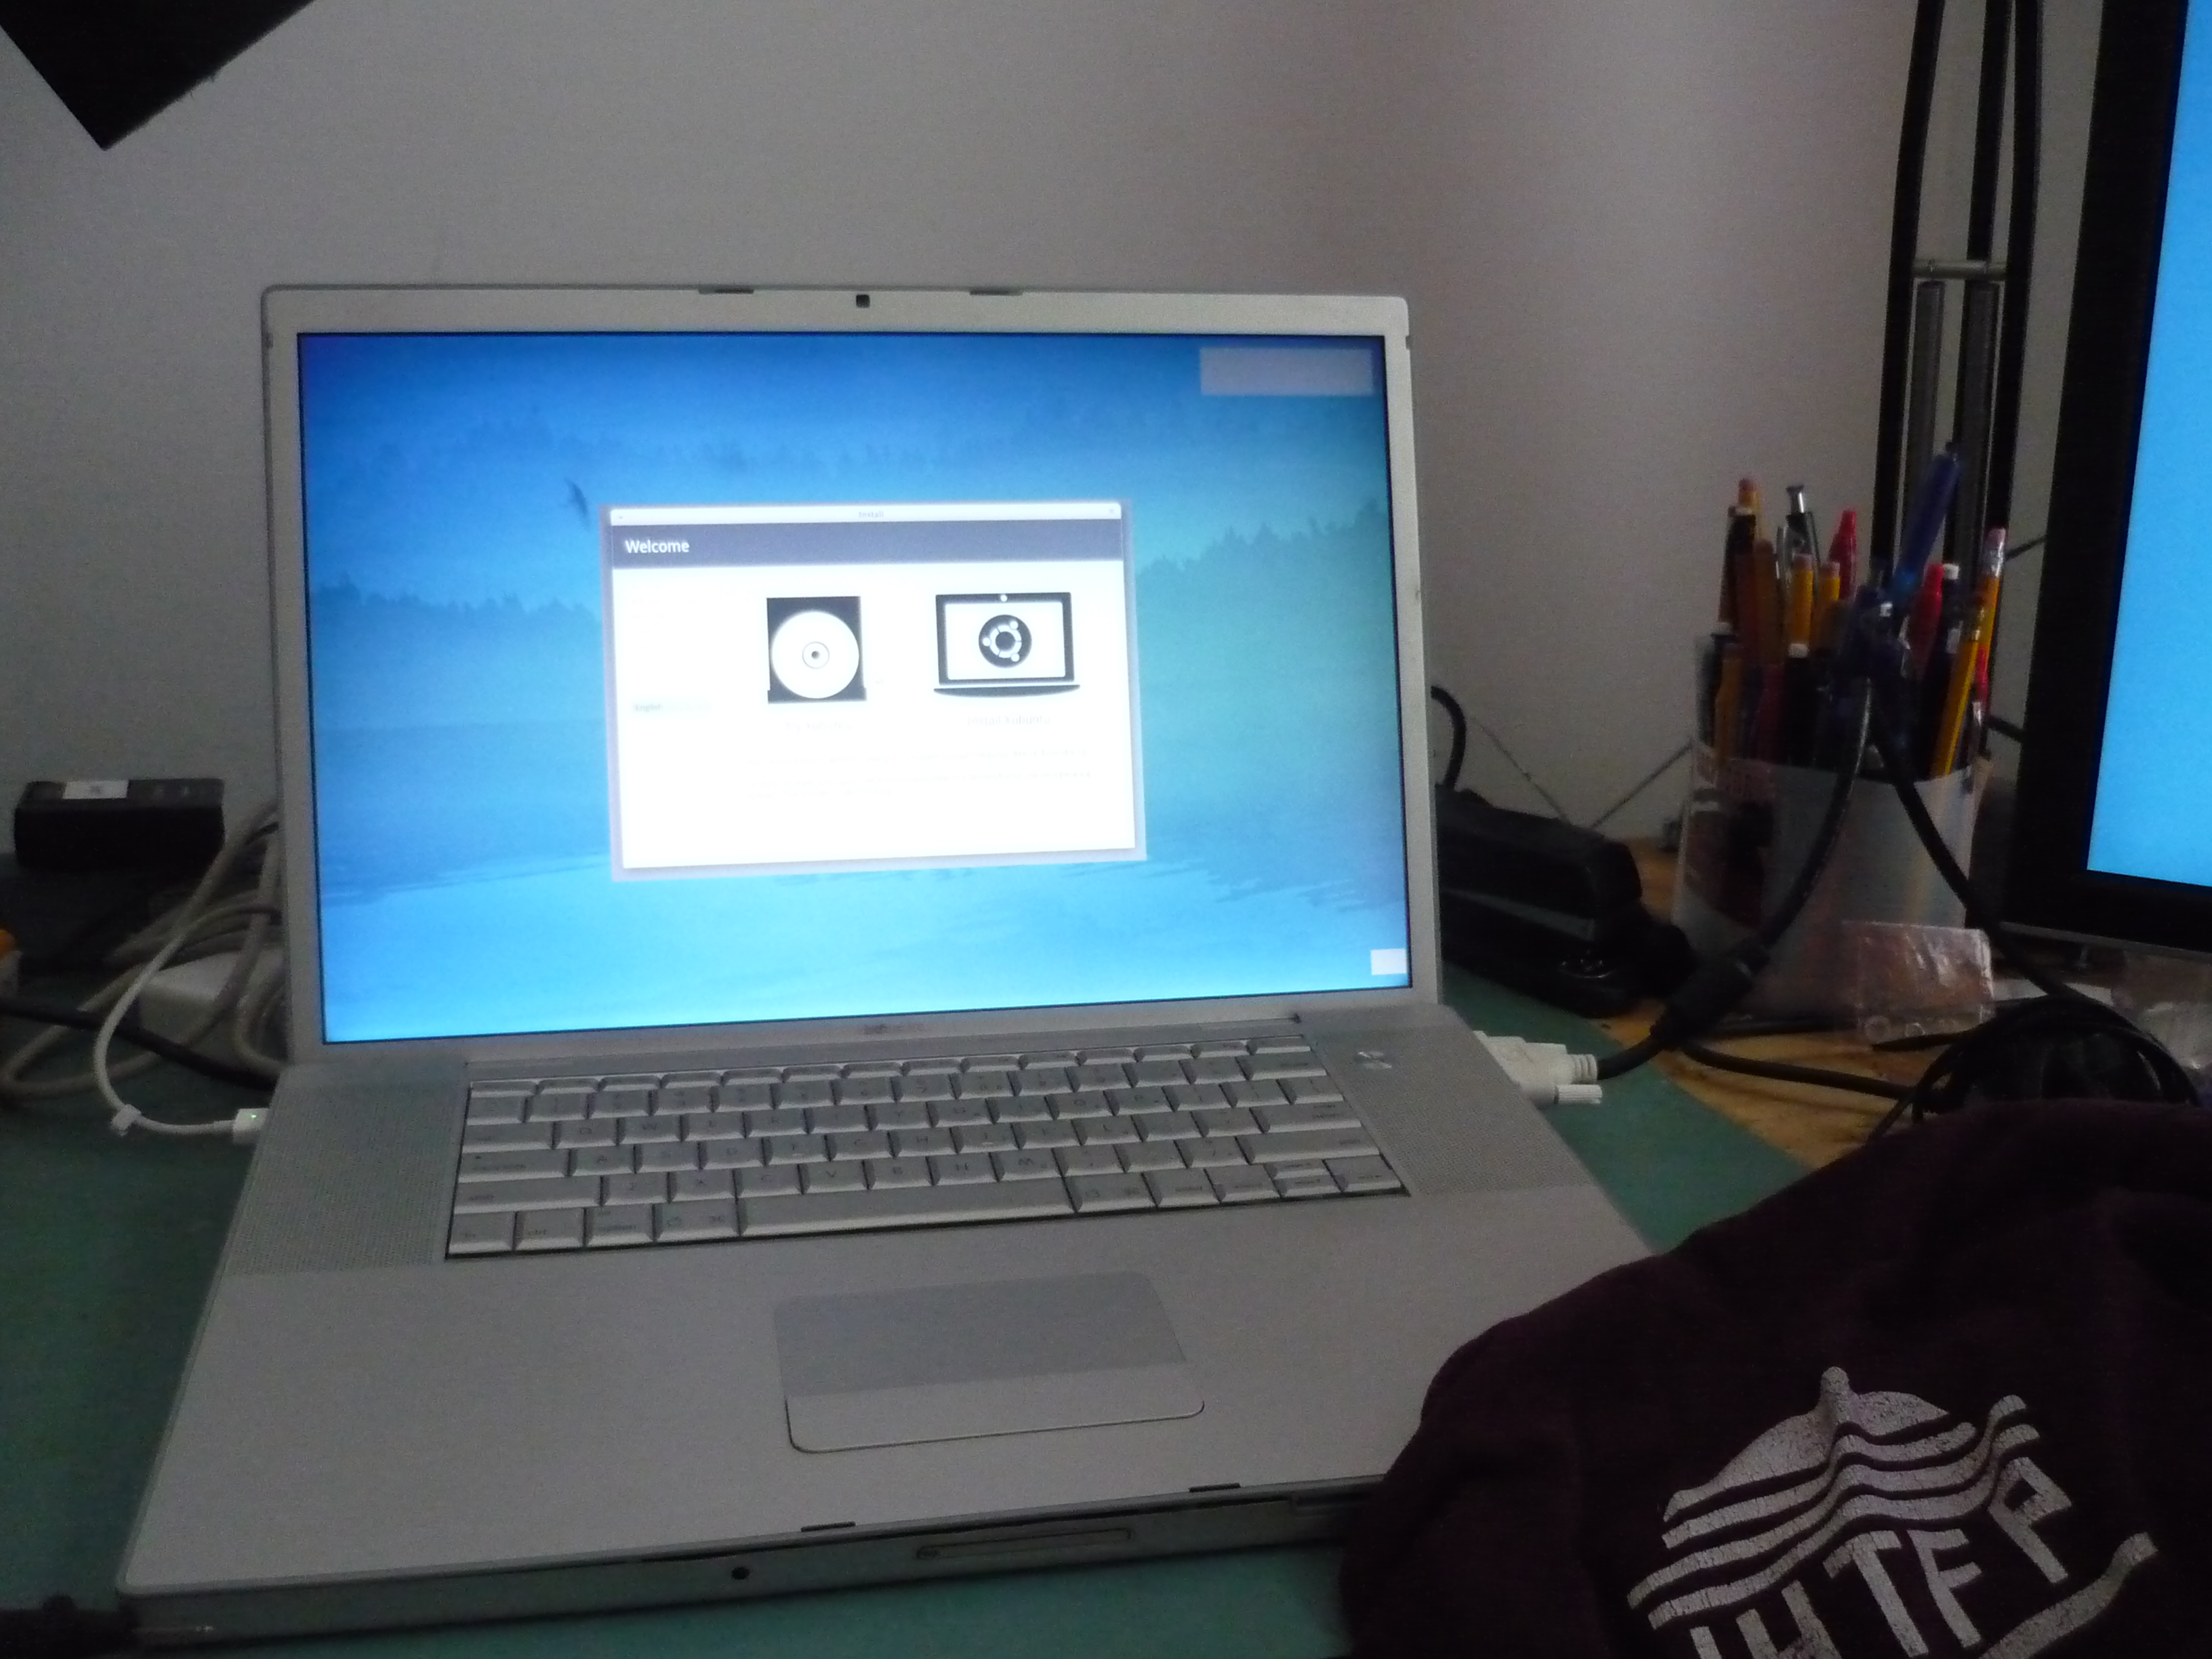
Open Box Test
| First Pass: | |
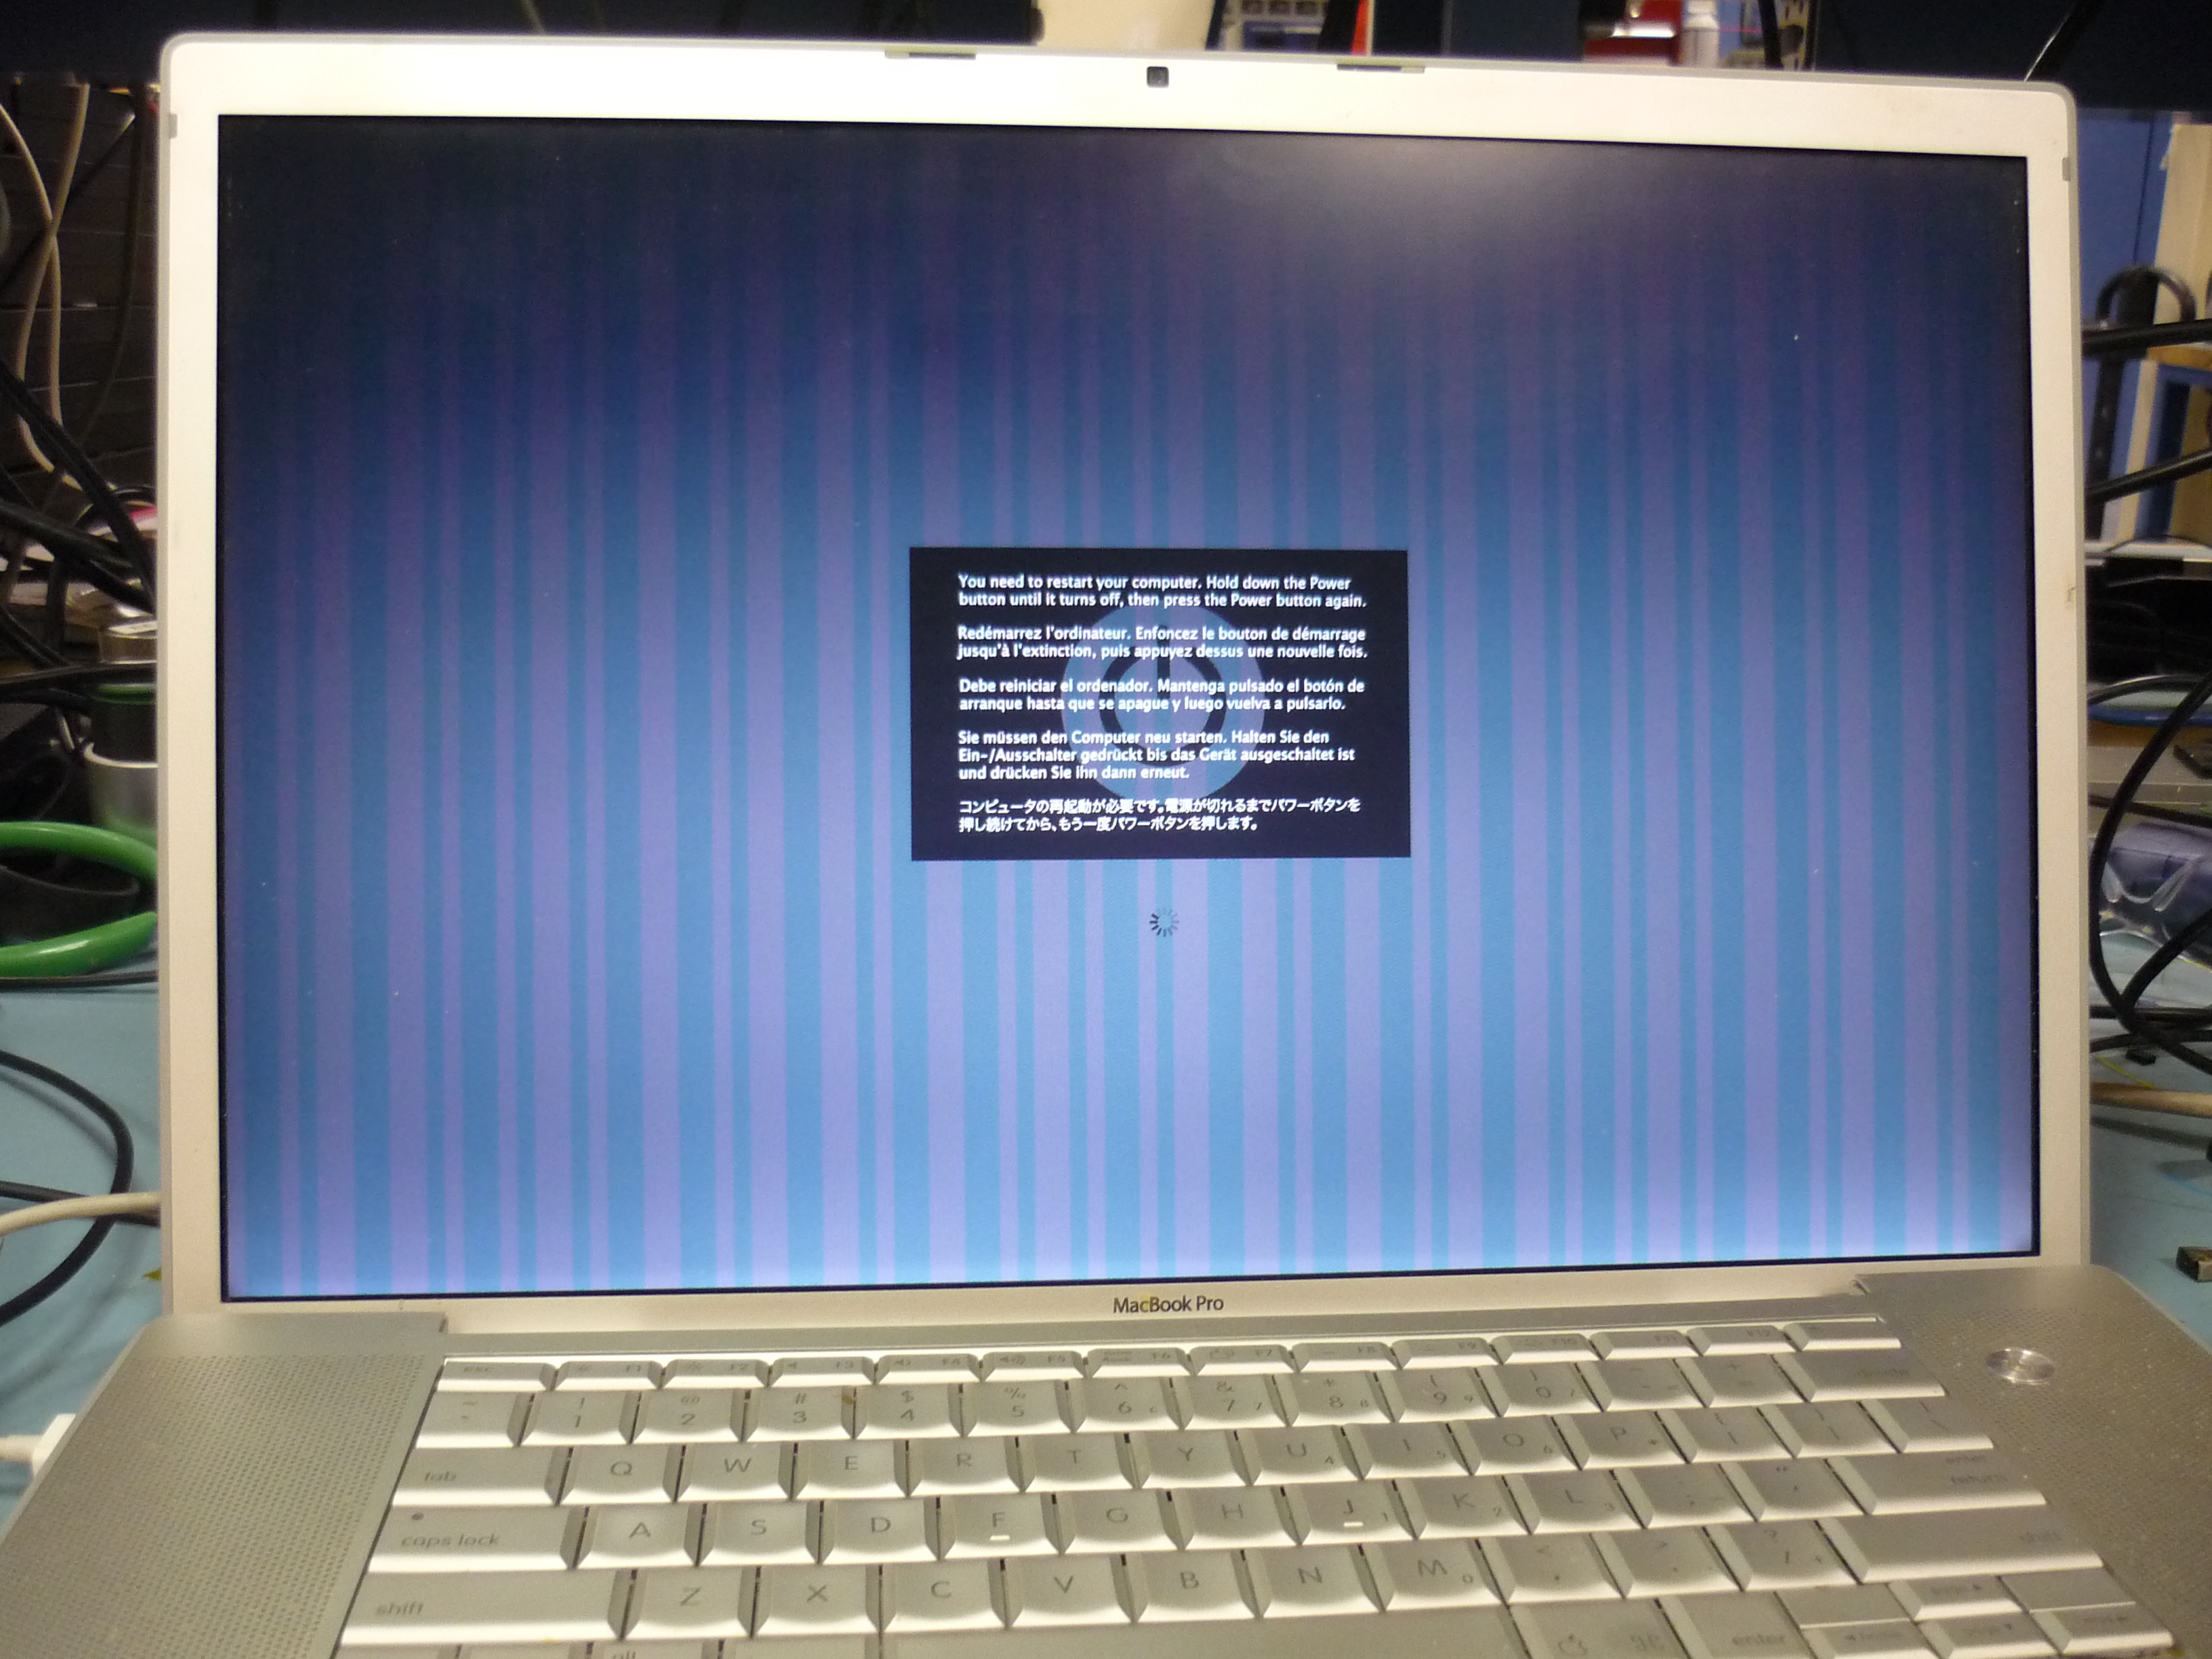
The device under test boots, but does not output anything on either the laptop display or externaly connected display. I left the device powered up in this state for a few minutes and ran an nmap scan from another computer, there were no open ports and it stopped responding to pings after ~2 minutes. After some quick reviews online this is a more common problem than initially thought of, its actually due to a manufacturing defect on the reflow process for the laptop GPU. This is a documented problem [link] [link], the friend who donated this device went through apple's services to try and get it repaired, unfortunatley it was out of waranty / whatever the snazzy name apple folks have for it. |
 |
| From the sponsors: |
Getting it to work
| How to | Image / Media | Image / Media |
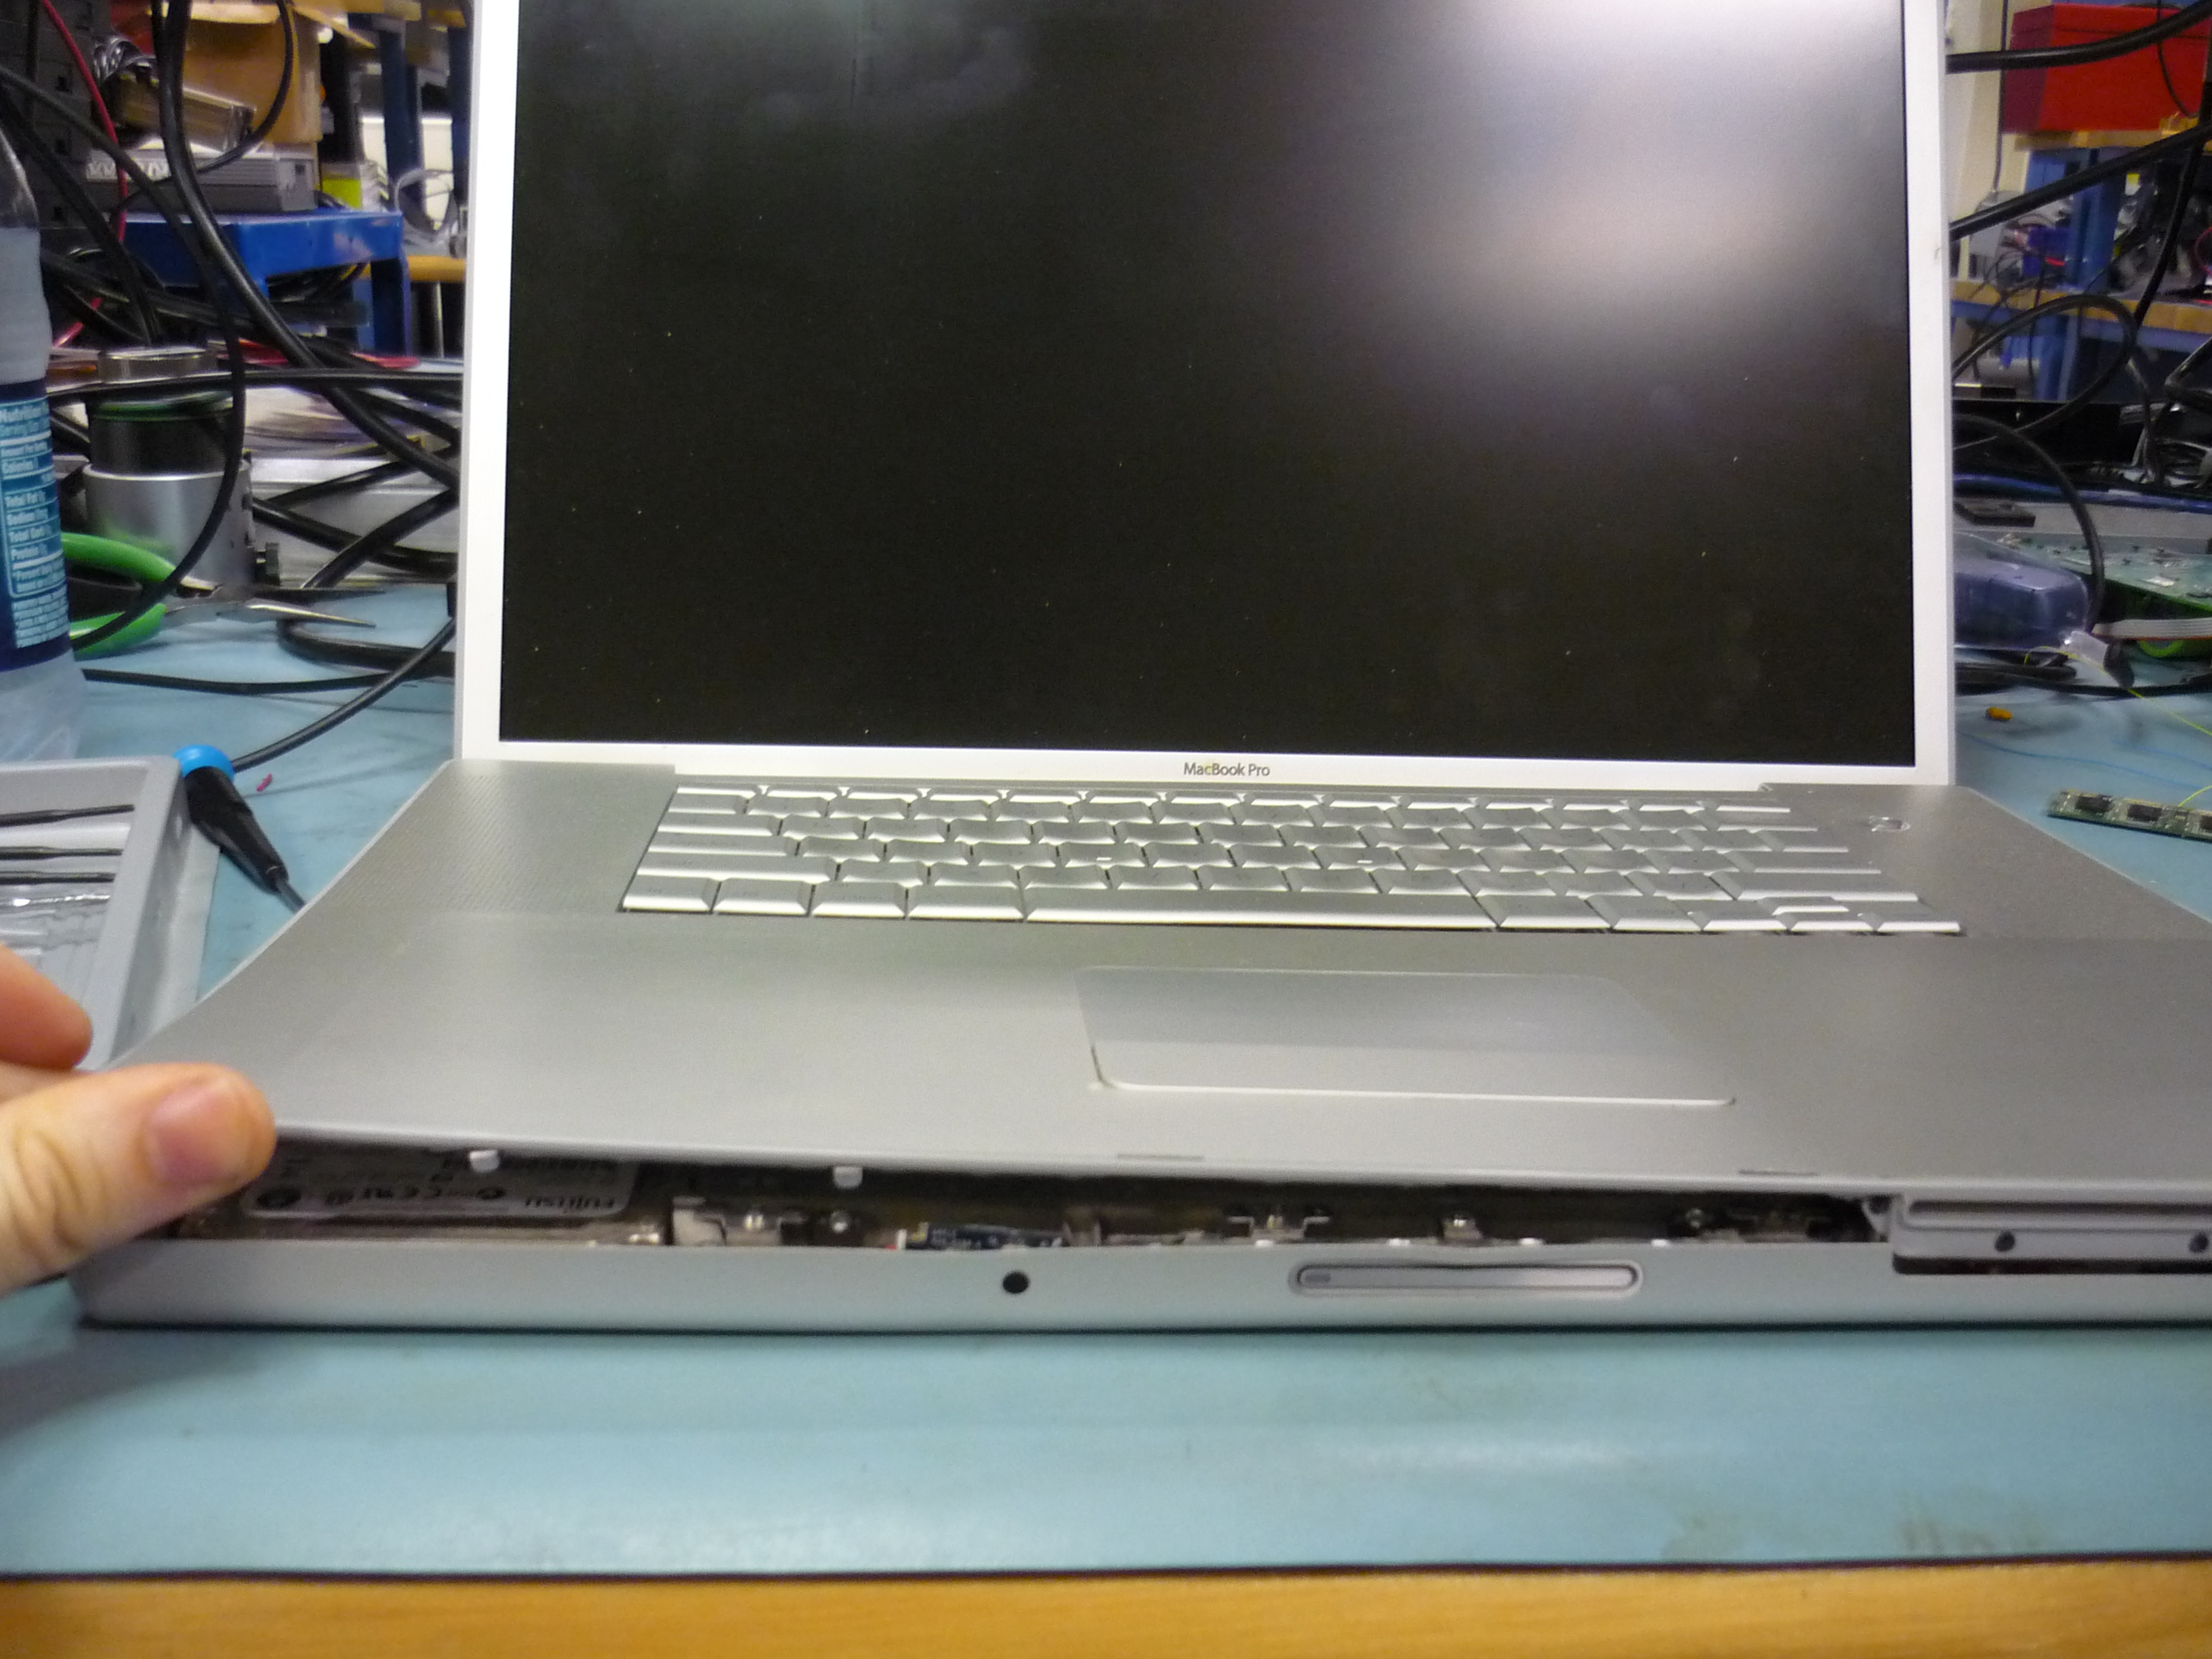
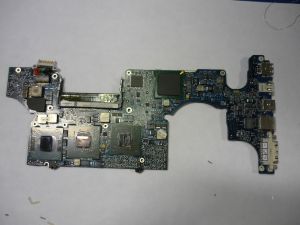
| The
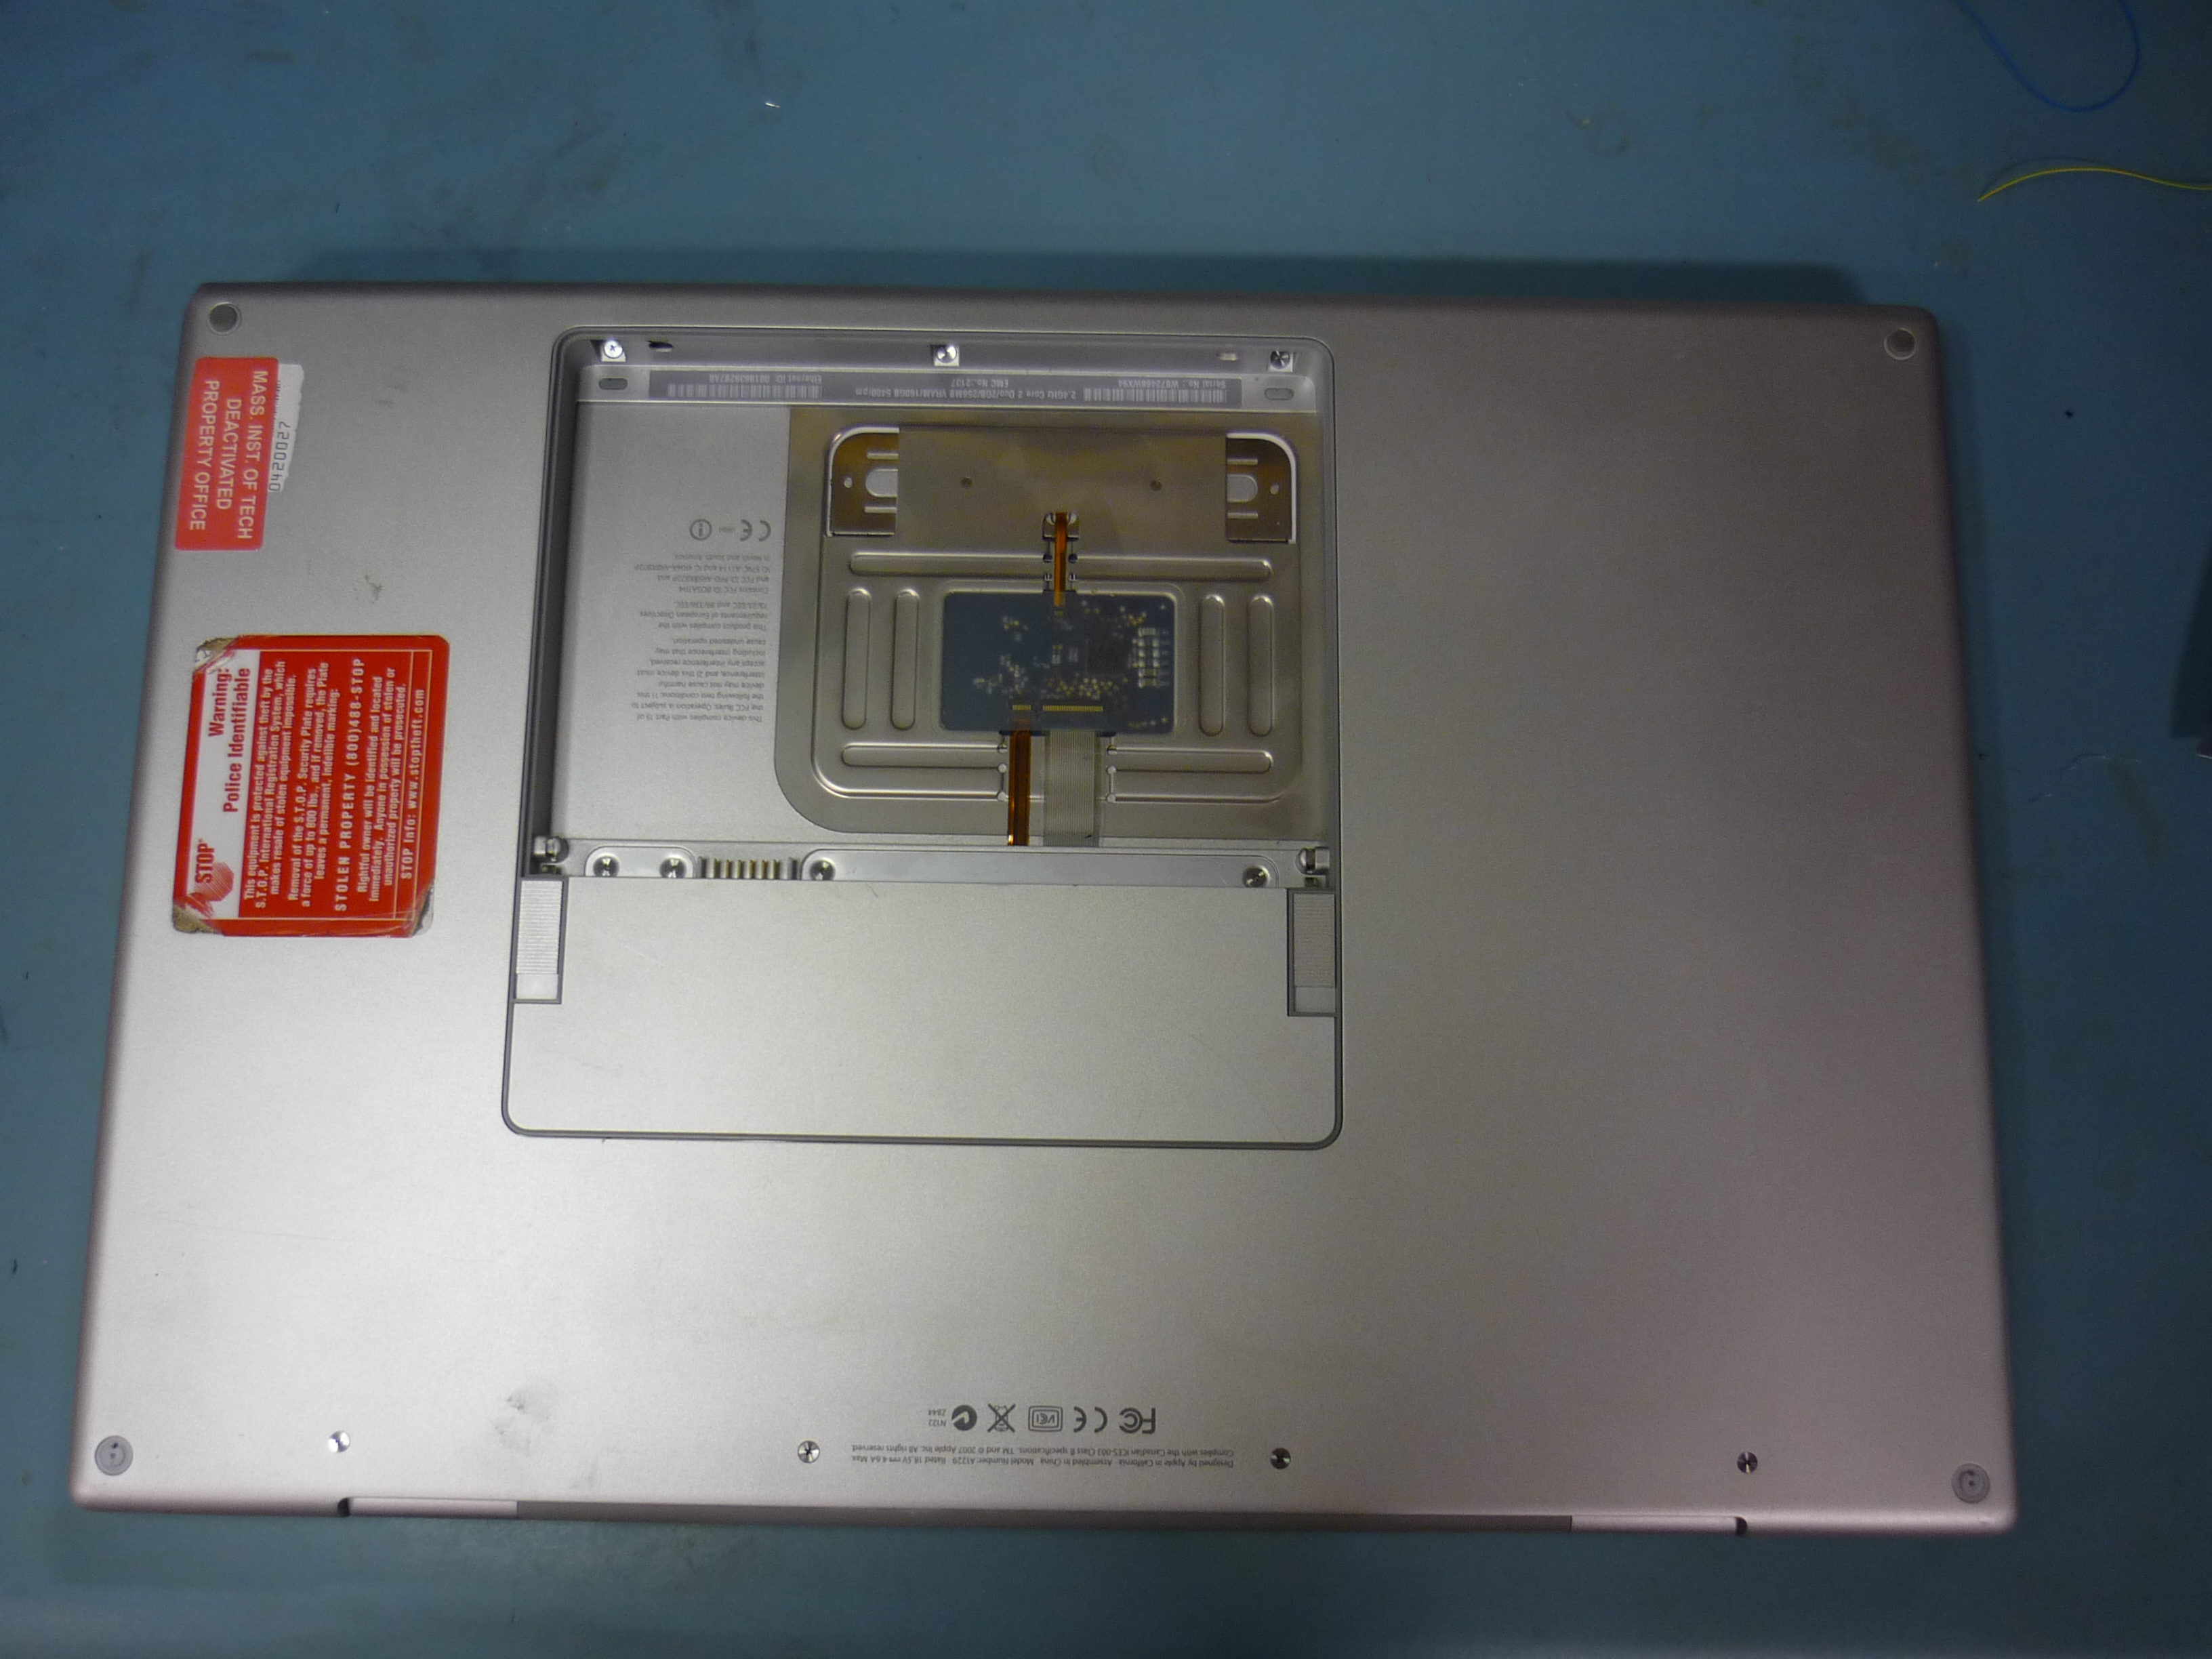
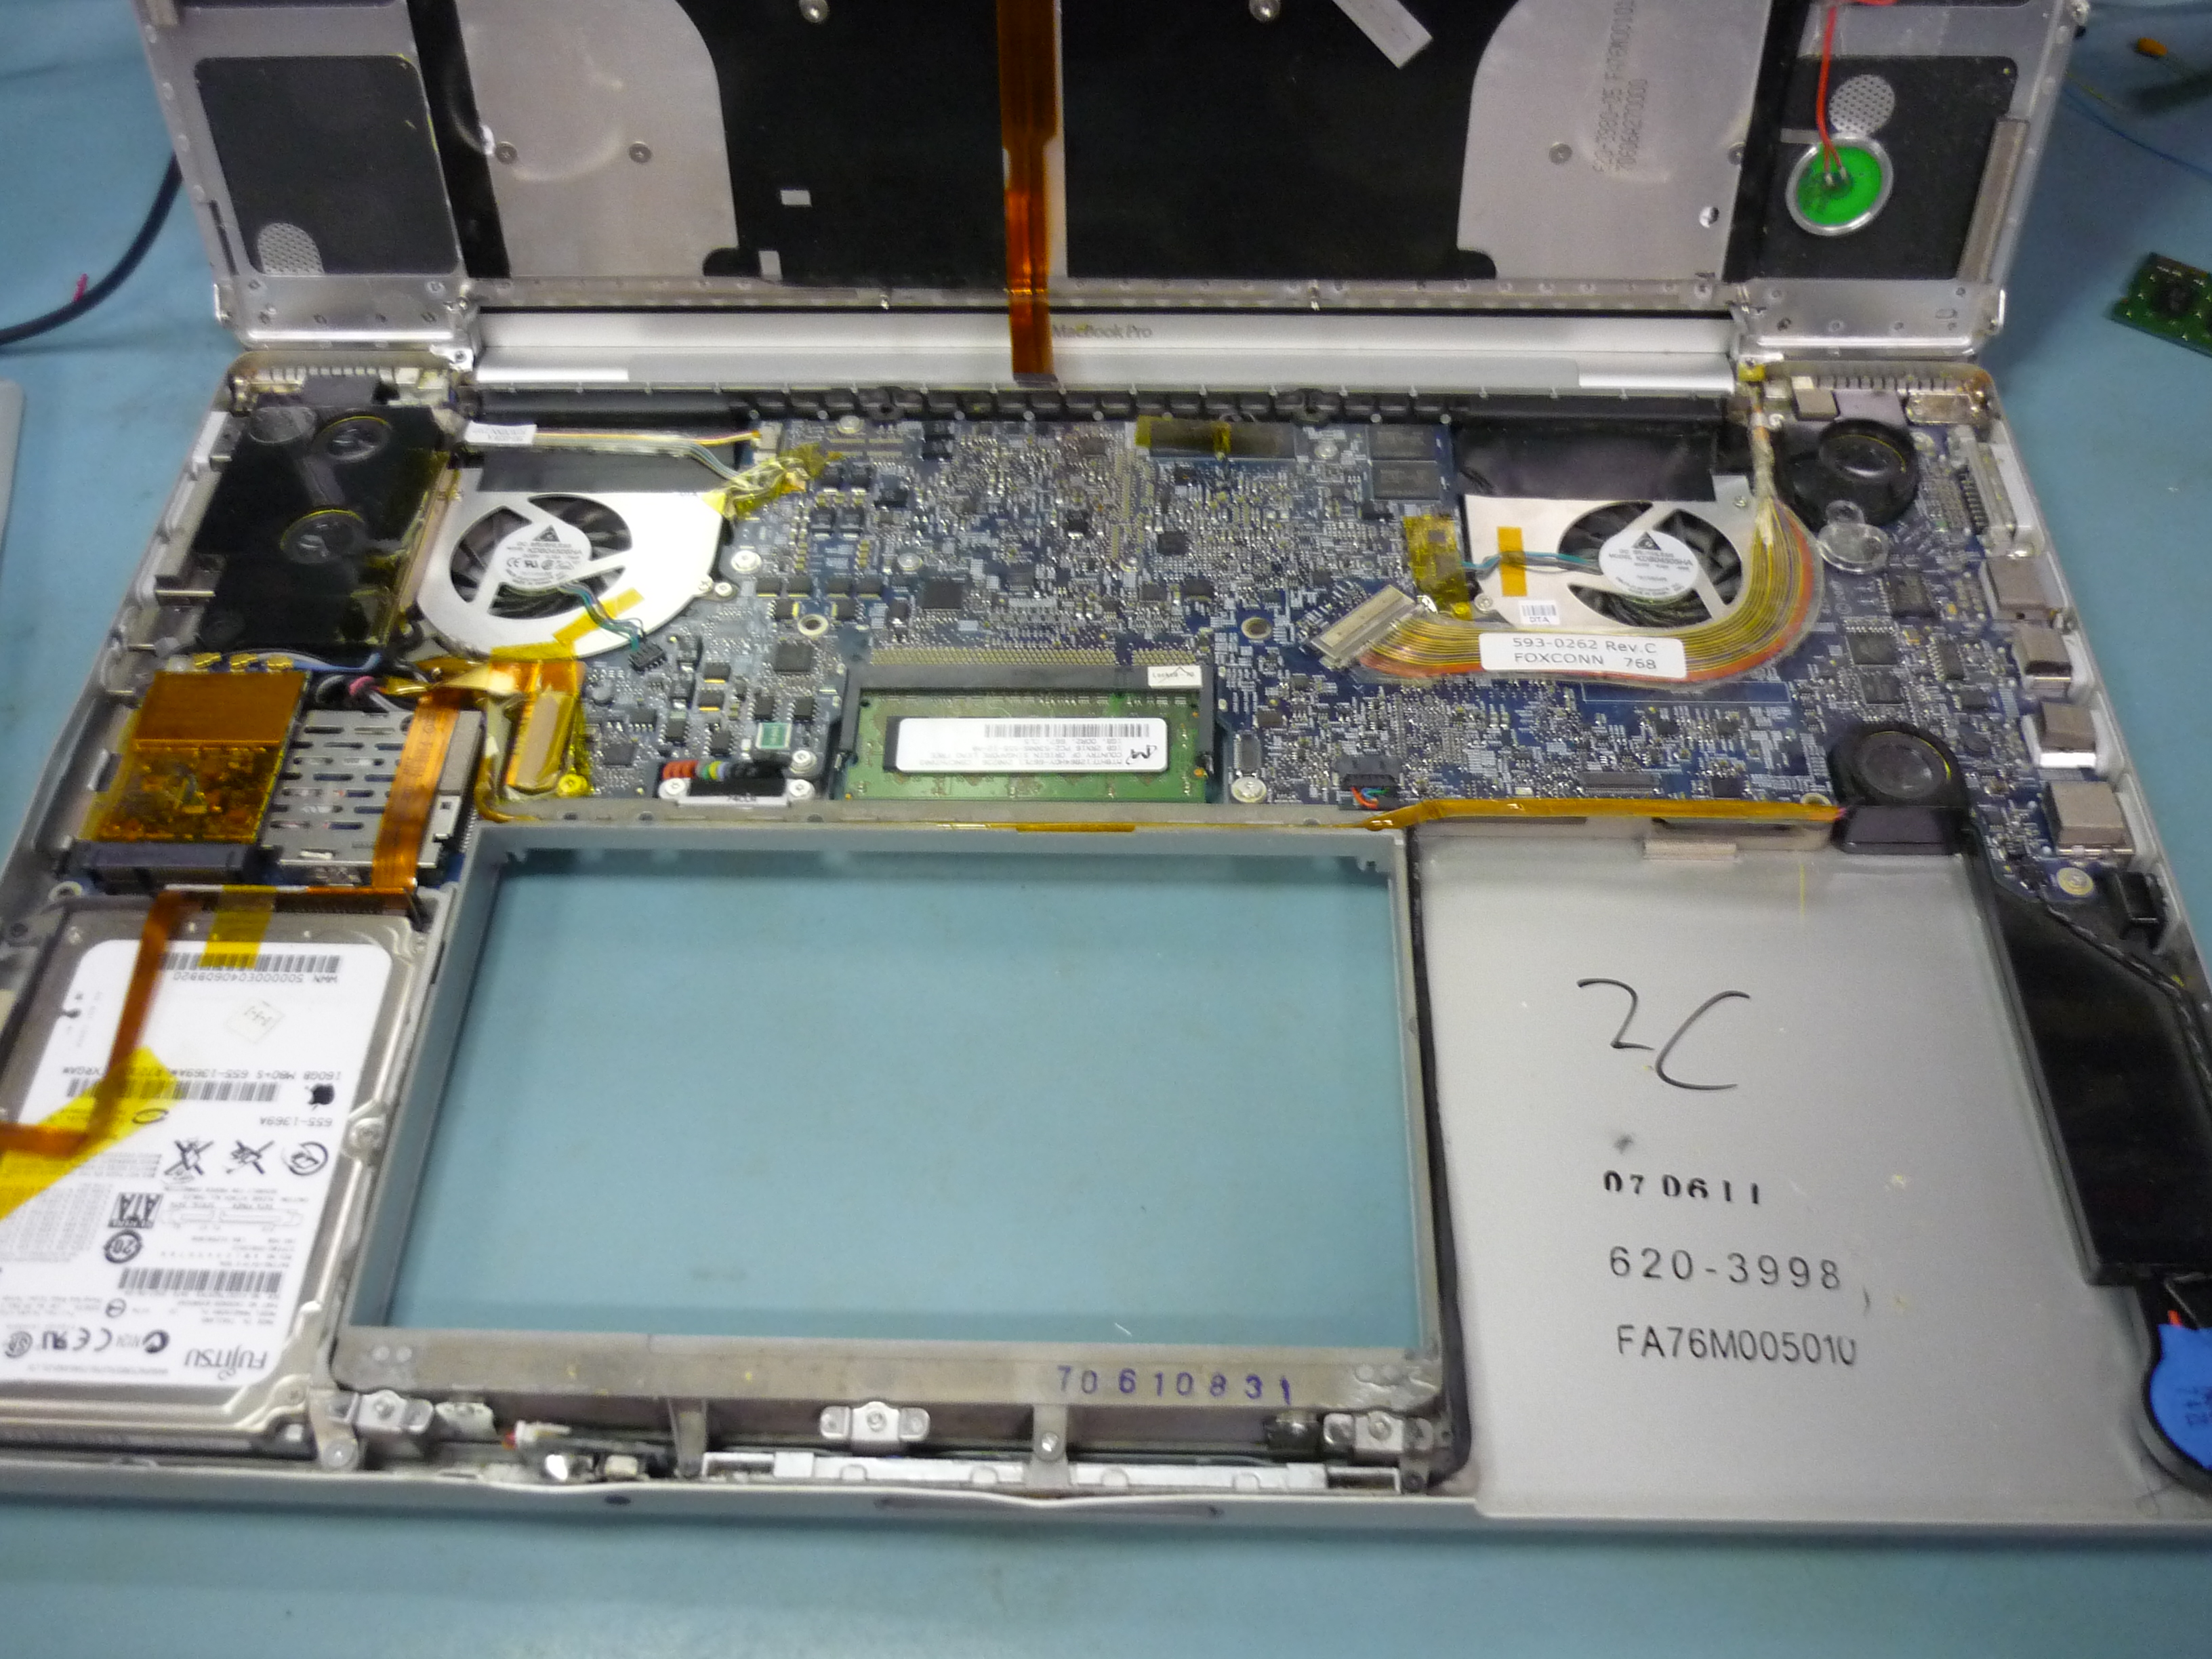
belly of the beast I started with the VERY informative, well done teardown from ifixit: [link], this allowed me to quickly get to the mainboard, shown below. The goal is to get the case, battery and other cable assemblies out of the way and get down to the main board, shown below. Note that this whole process is happening on an ESD mat, tied loosely to ground. I am wearing an ESD wrist strap to maintain grounded |
|
|
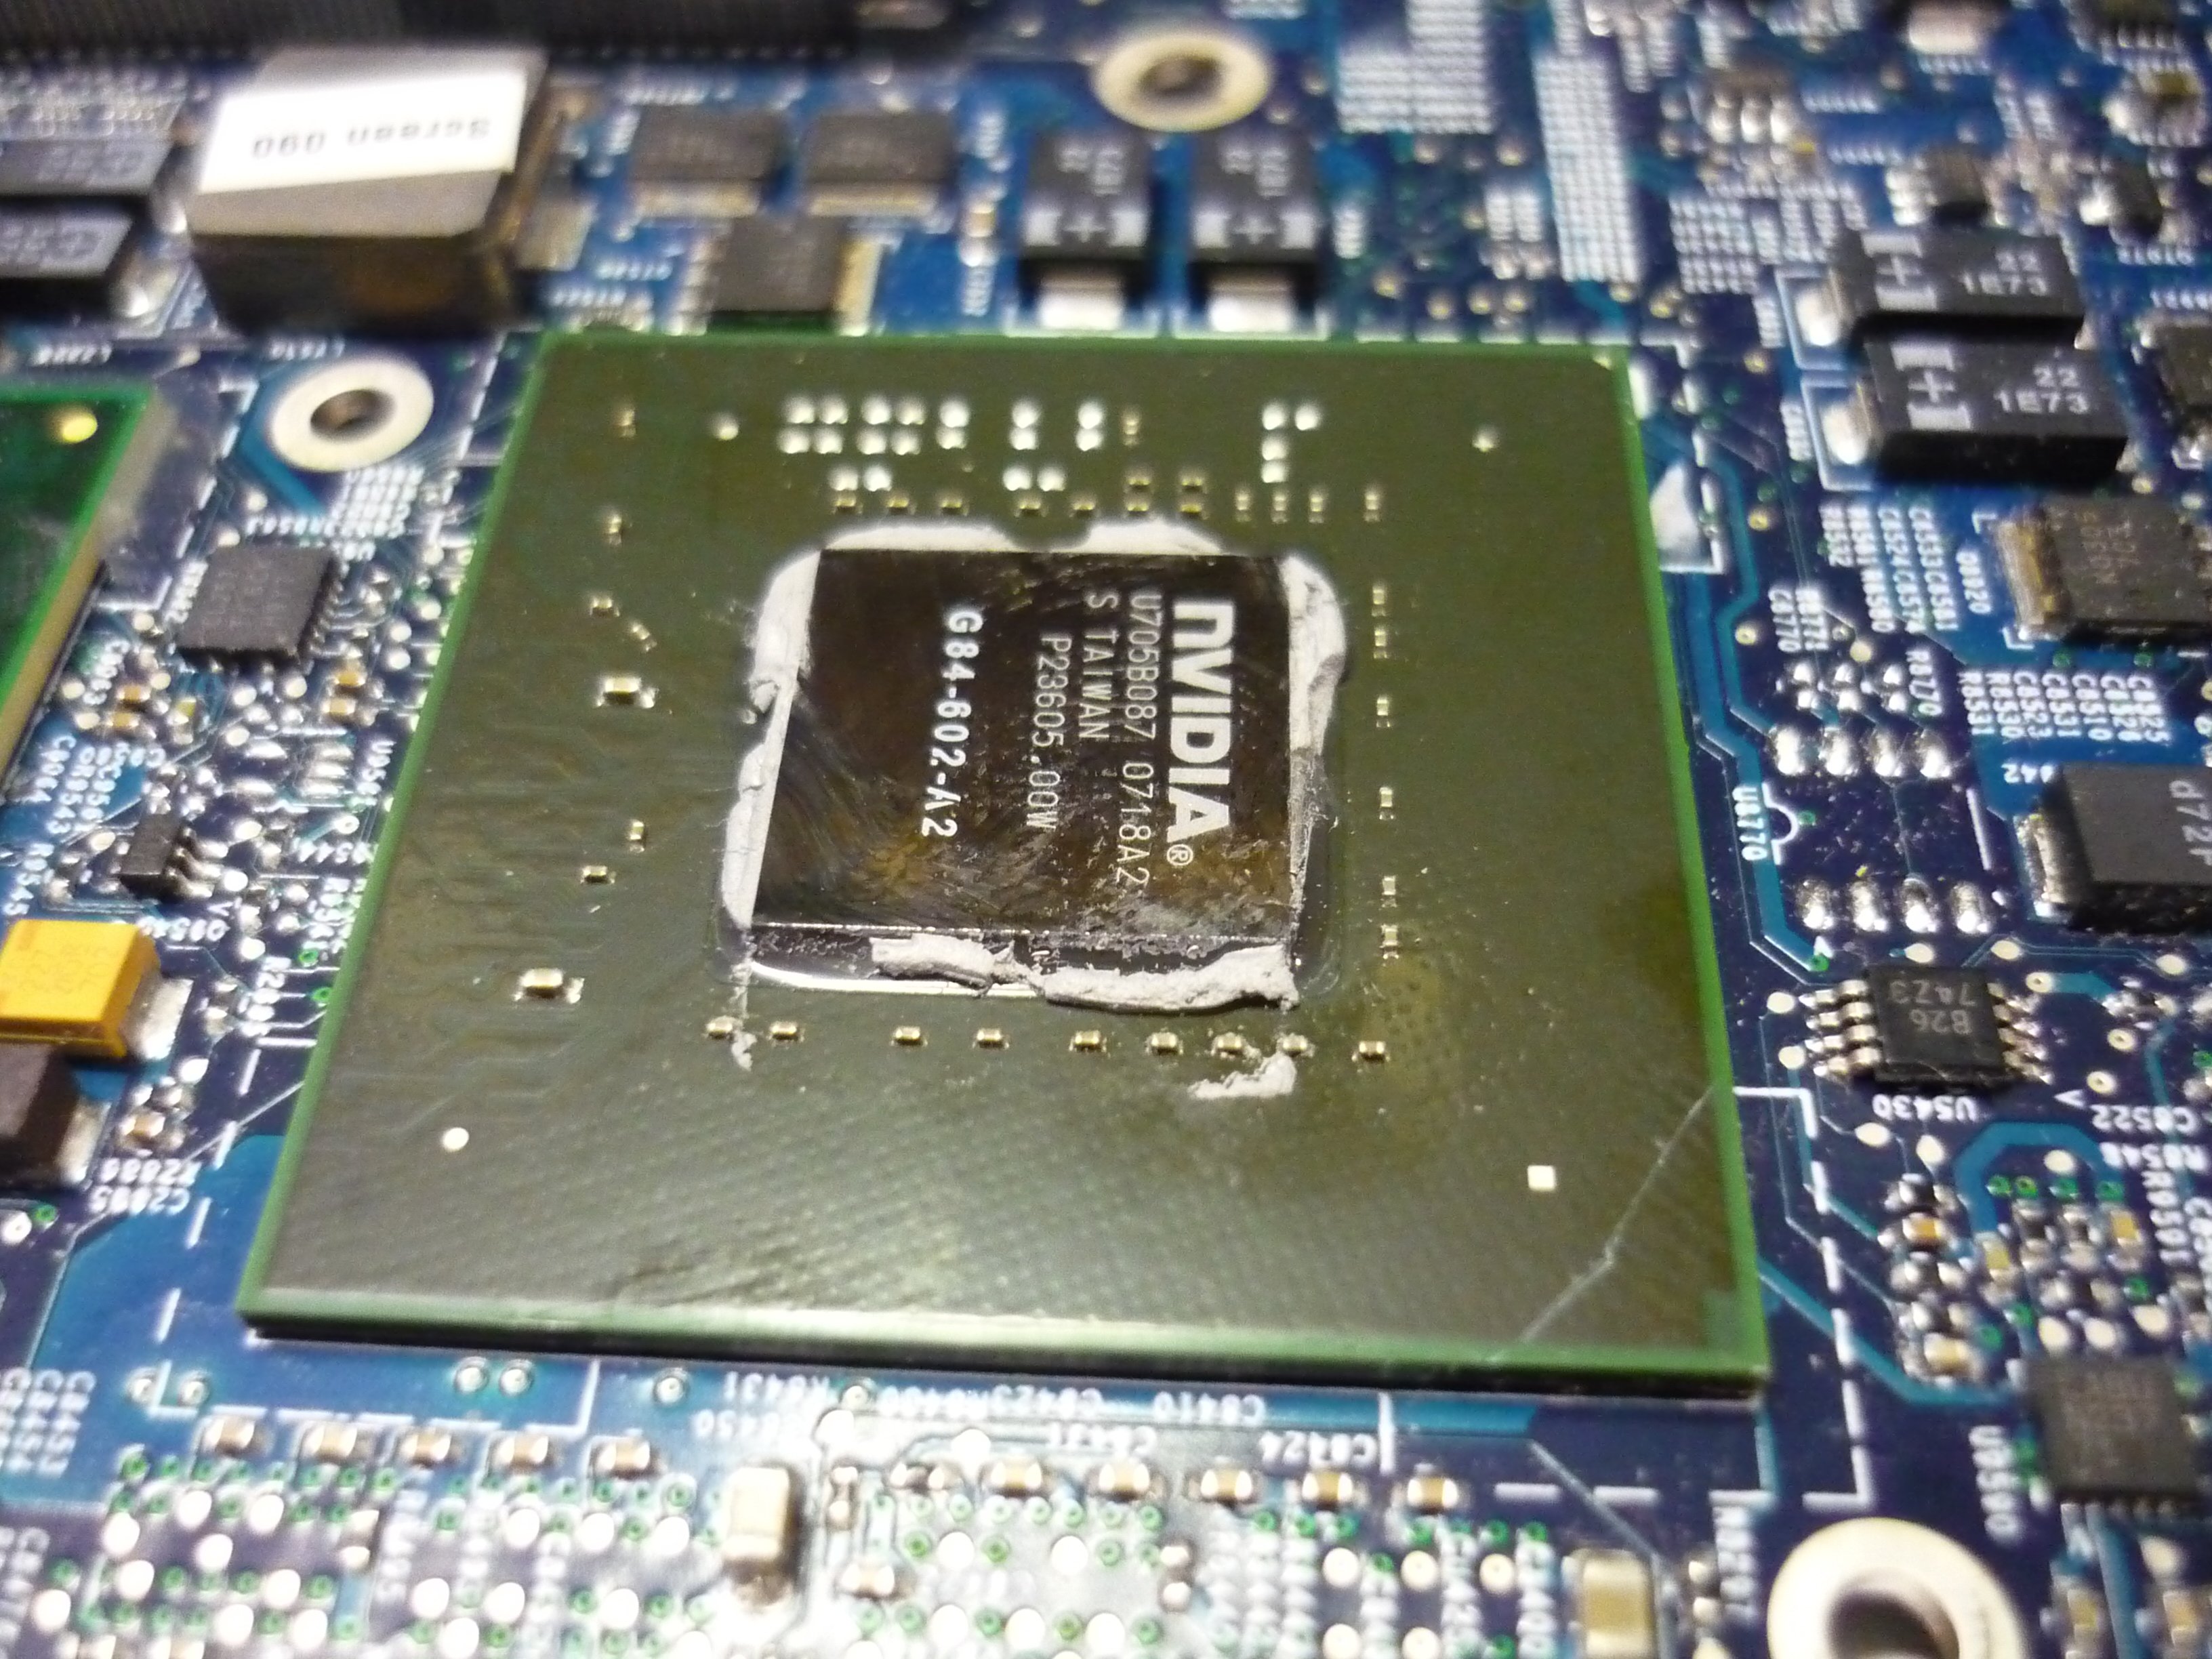
| Getting to the Logic Board After following the teardown guide, i had the mainboard removed and started preping for the hot torch of solder reflowing goodness. Note on the far right image, the GPU was easy to identify after clearing off the thermal paste. With the board removed i applied a heatg |
 |
 |
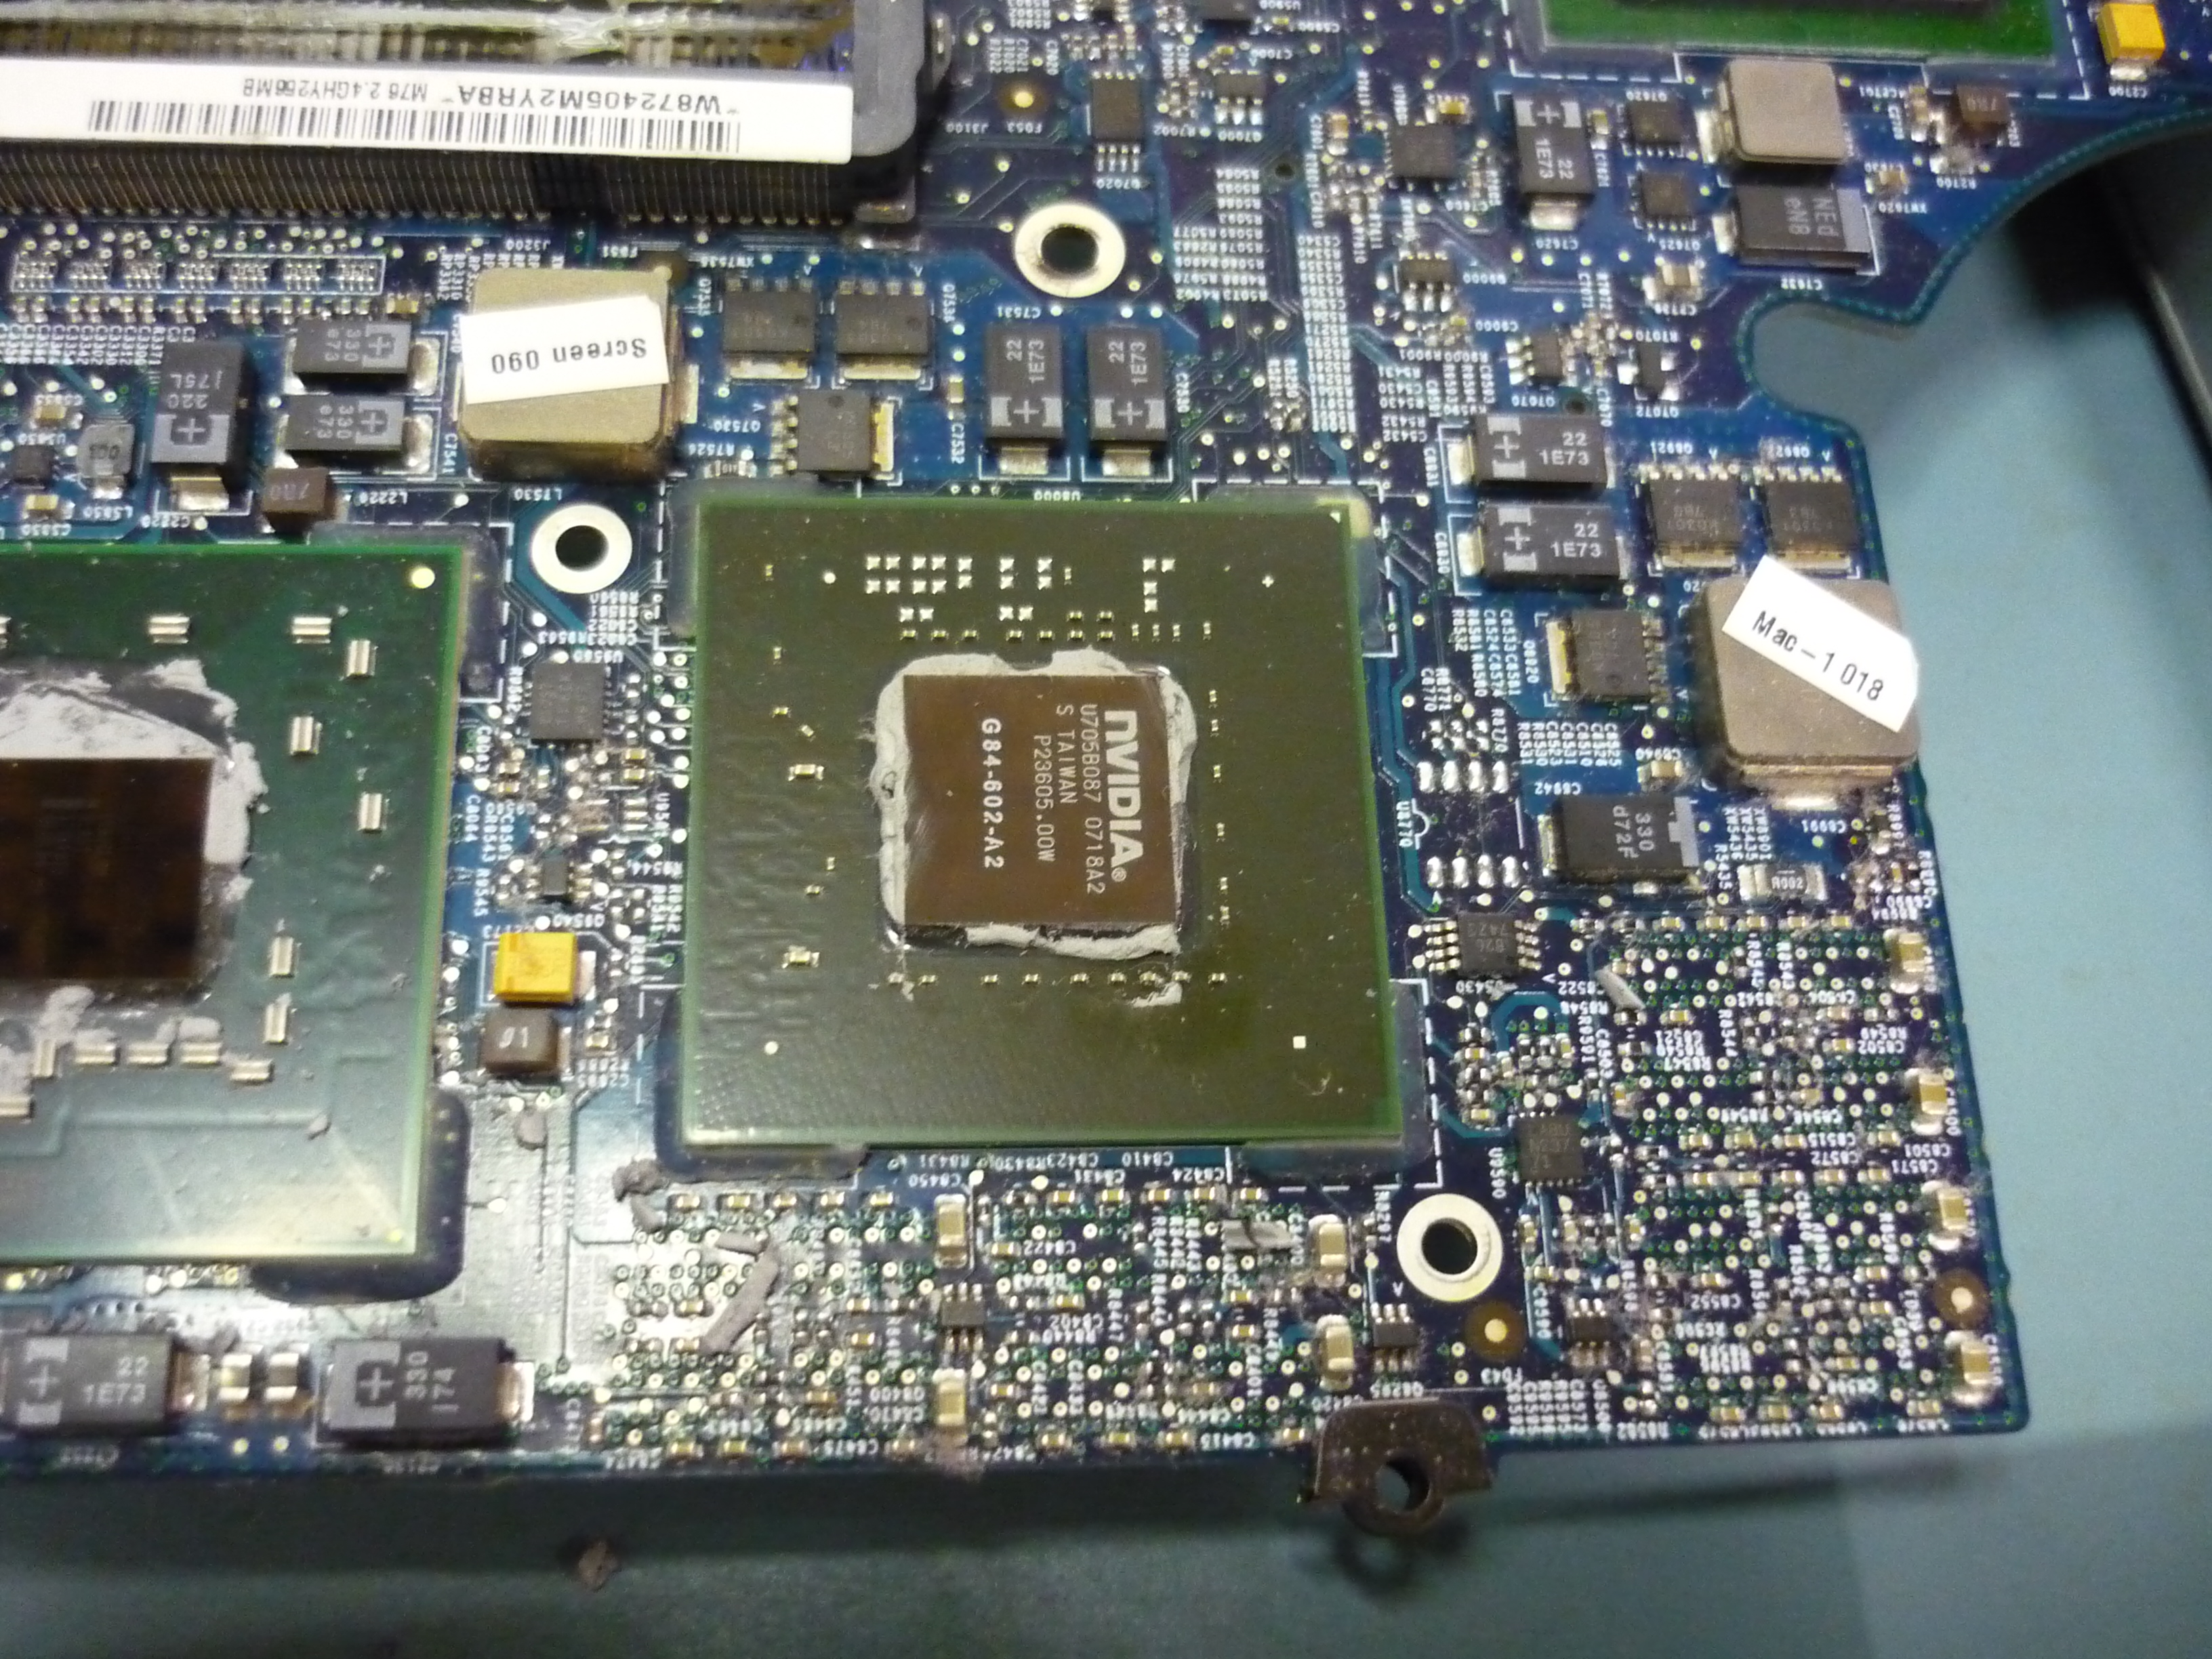
| Identifying
the GPU Underneath the mainboard, mounted to a heatsink is the CPU and GPU, using a electostatically grounded q-tip ( I clipped an aligator clip to a q-tip, and chasss ground), wipe off the existing thermal-paste. The chip manufacturer logo should appear, shown [Right] as NVIDIA. |
 |
|
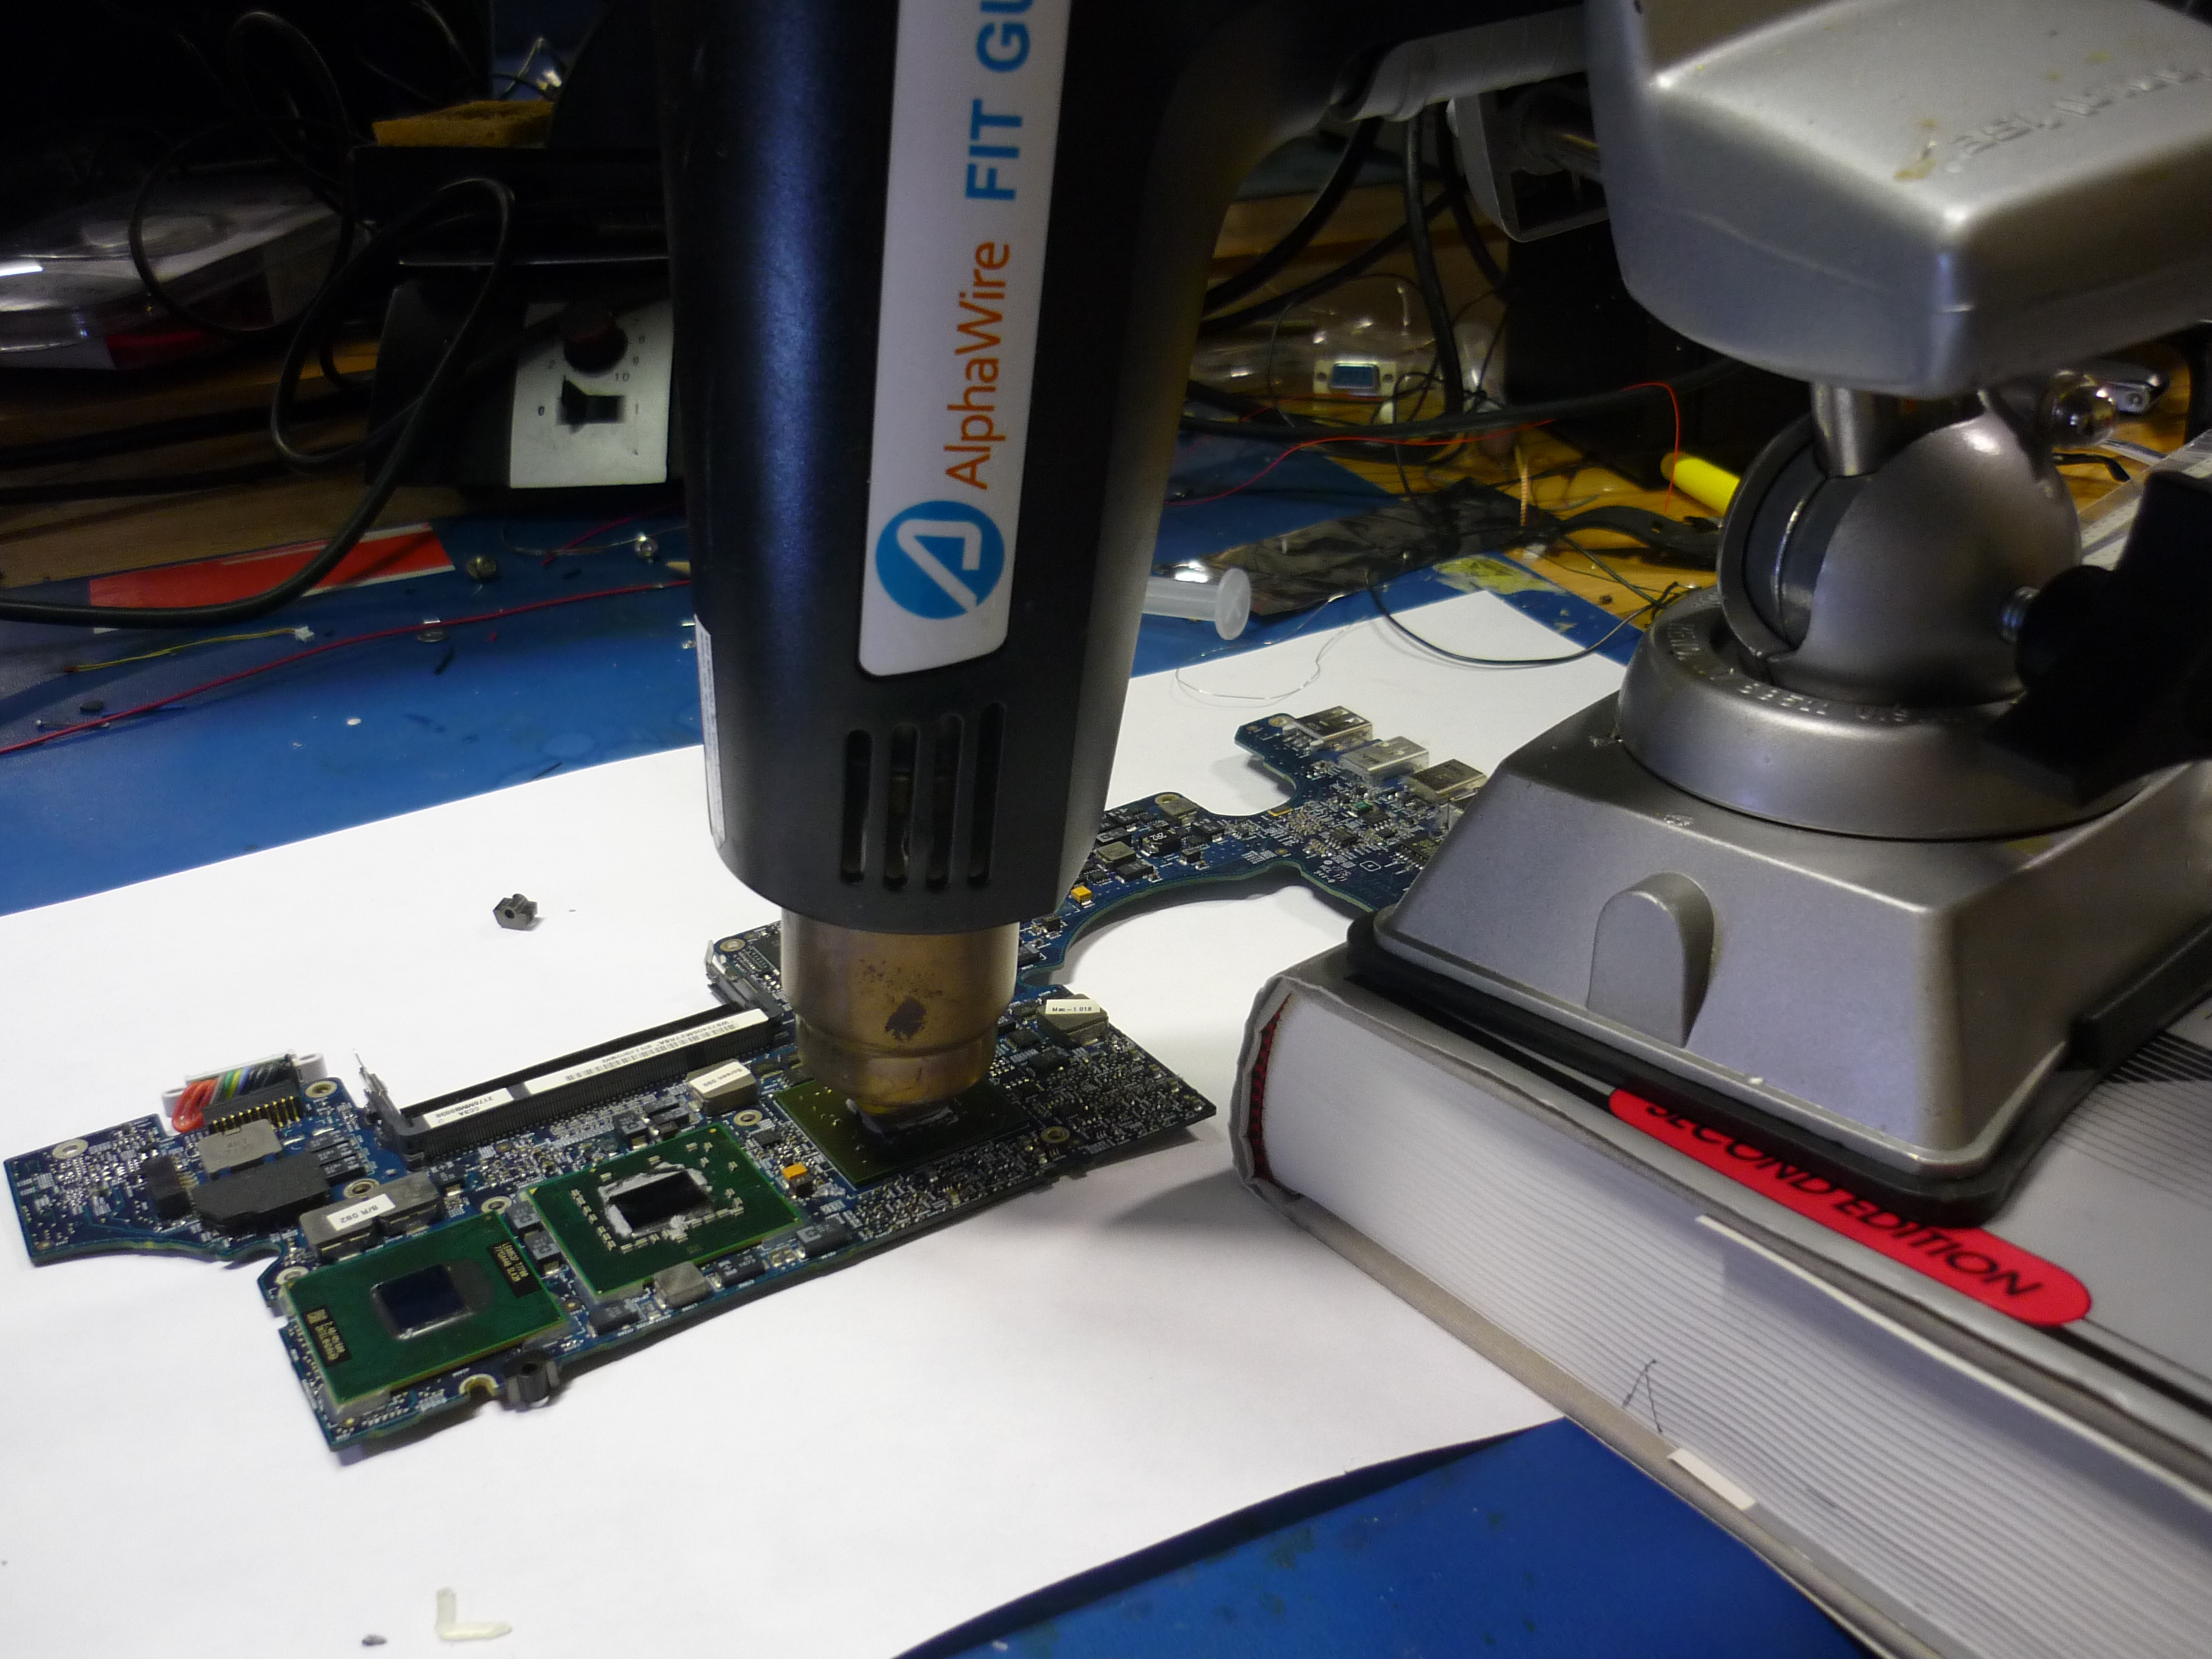
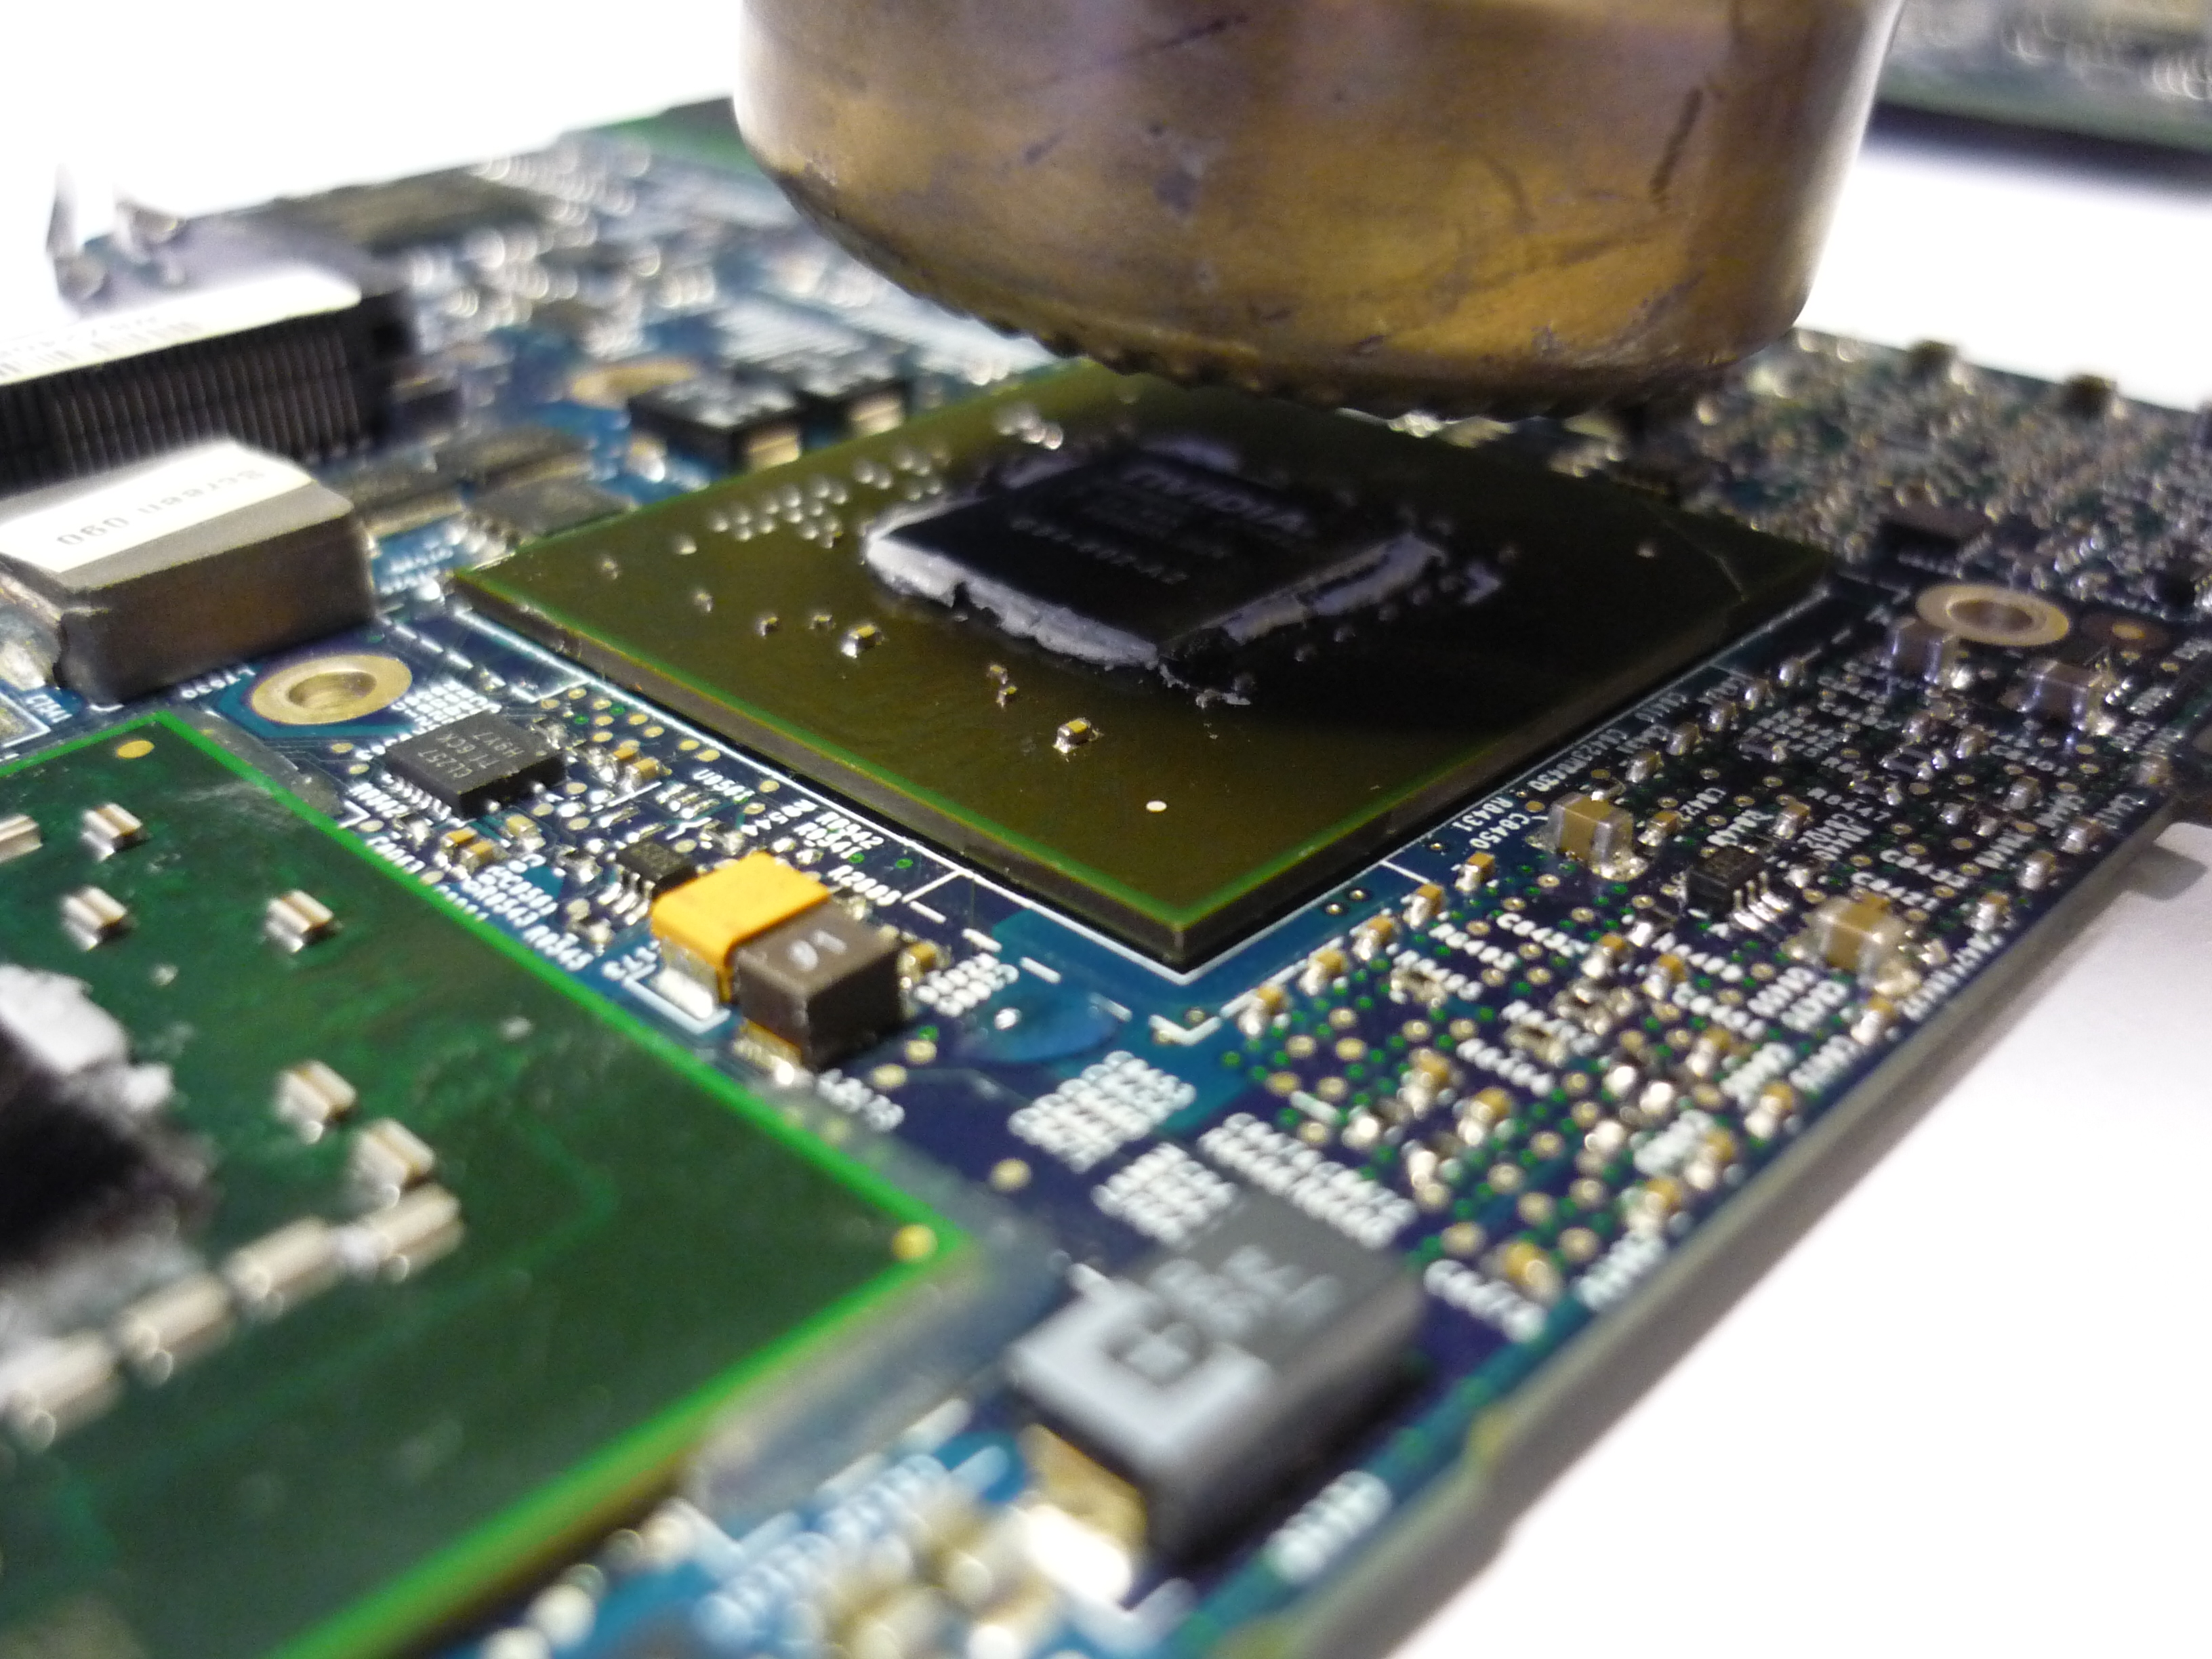
| Apply Some Heat,
gingerly. note, there's some 'hot melt' glue around the corners of the GPU, remove the glue with tweezers before re-flowing. Also, the sporadic, ever so tiny parts living all around the GPU. These need to stay in place during the heat application. |
 |
 |
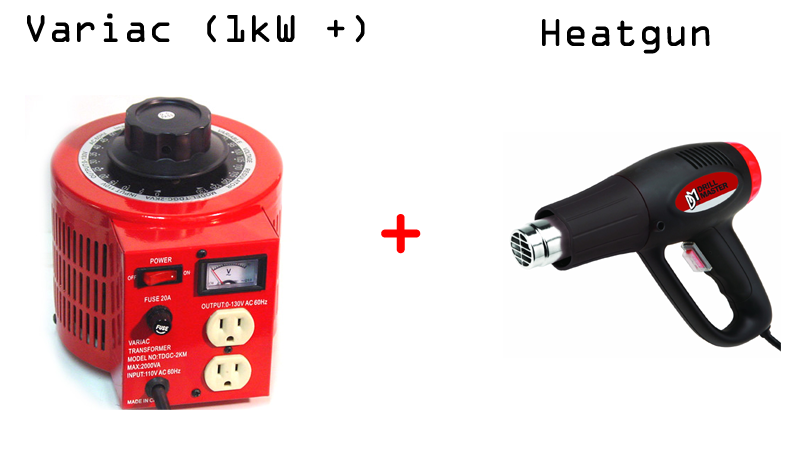
| Heat Application tips and tricks For the general-purpose heatgun i used there were 2 setings 'Hot' and "Very Hot' the heatgun effectively switches between a half-bridge rectified and full bridge rectified setup. I needed a little more control than this switch provided so I used a variable transformer, or variac to vary the operating voltage for the heatgun. |
 |
| Let the part 'get seated' Patiently wait as the very warm board re-seats itsef. Aiming for board to soak at ~120C, sit watching for ~6-8 minutes. Note if you smell fiberglass burn, turn it down slowly. After the heating, lower the reflow gun to half of what it was initially set at, for another 4 minutes. This allows the board to 'slowly cool' to the newer temperature (estimate 80C). Continue ramping down the heatgun over the course of 20 minutes. Then wait for the board to cool. This may take another 20 minutes. |
<i
really thought i snagged a better picture of this happening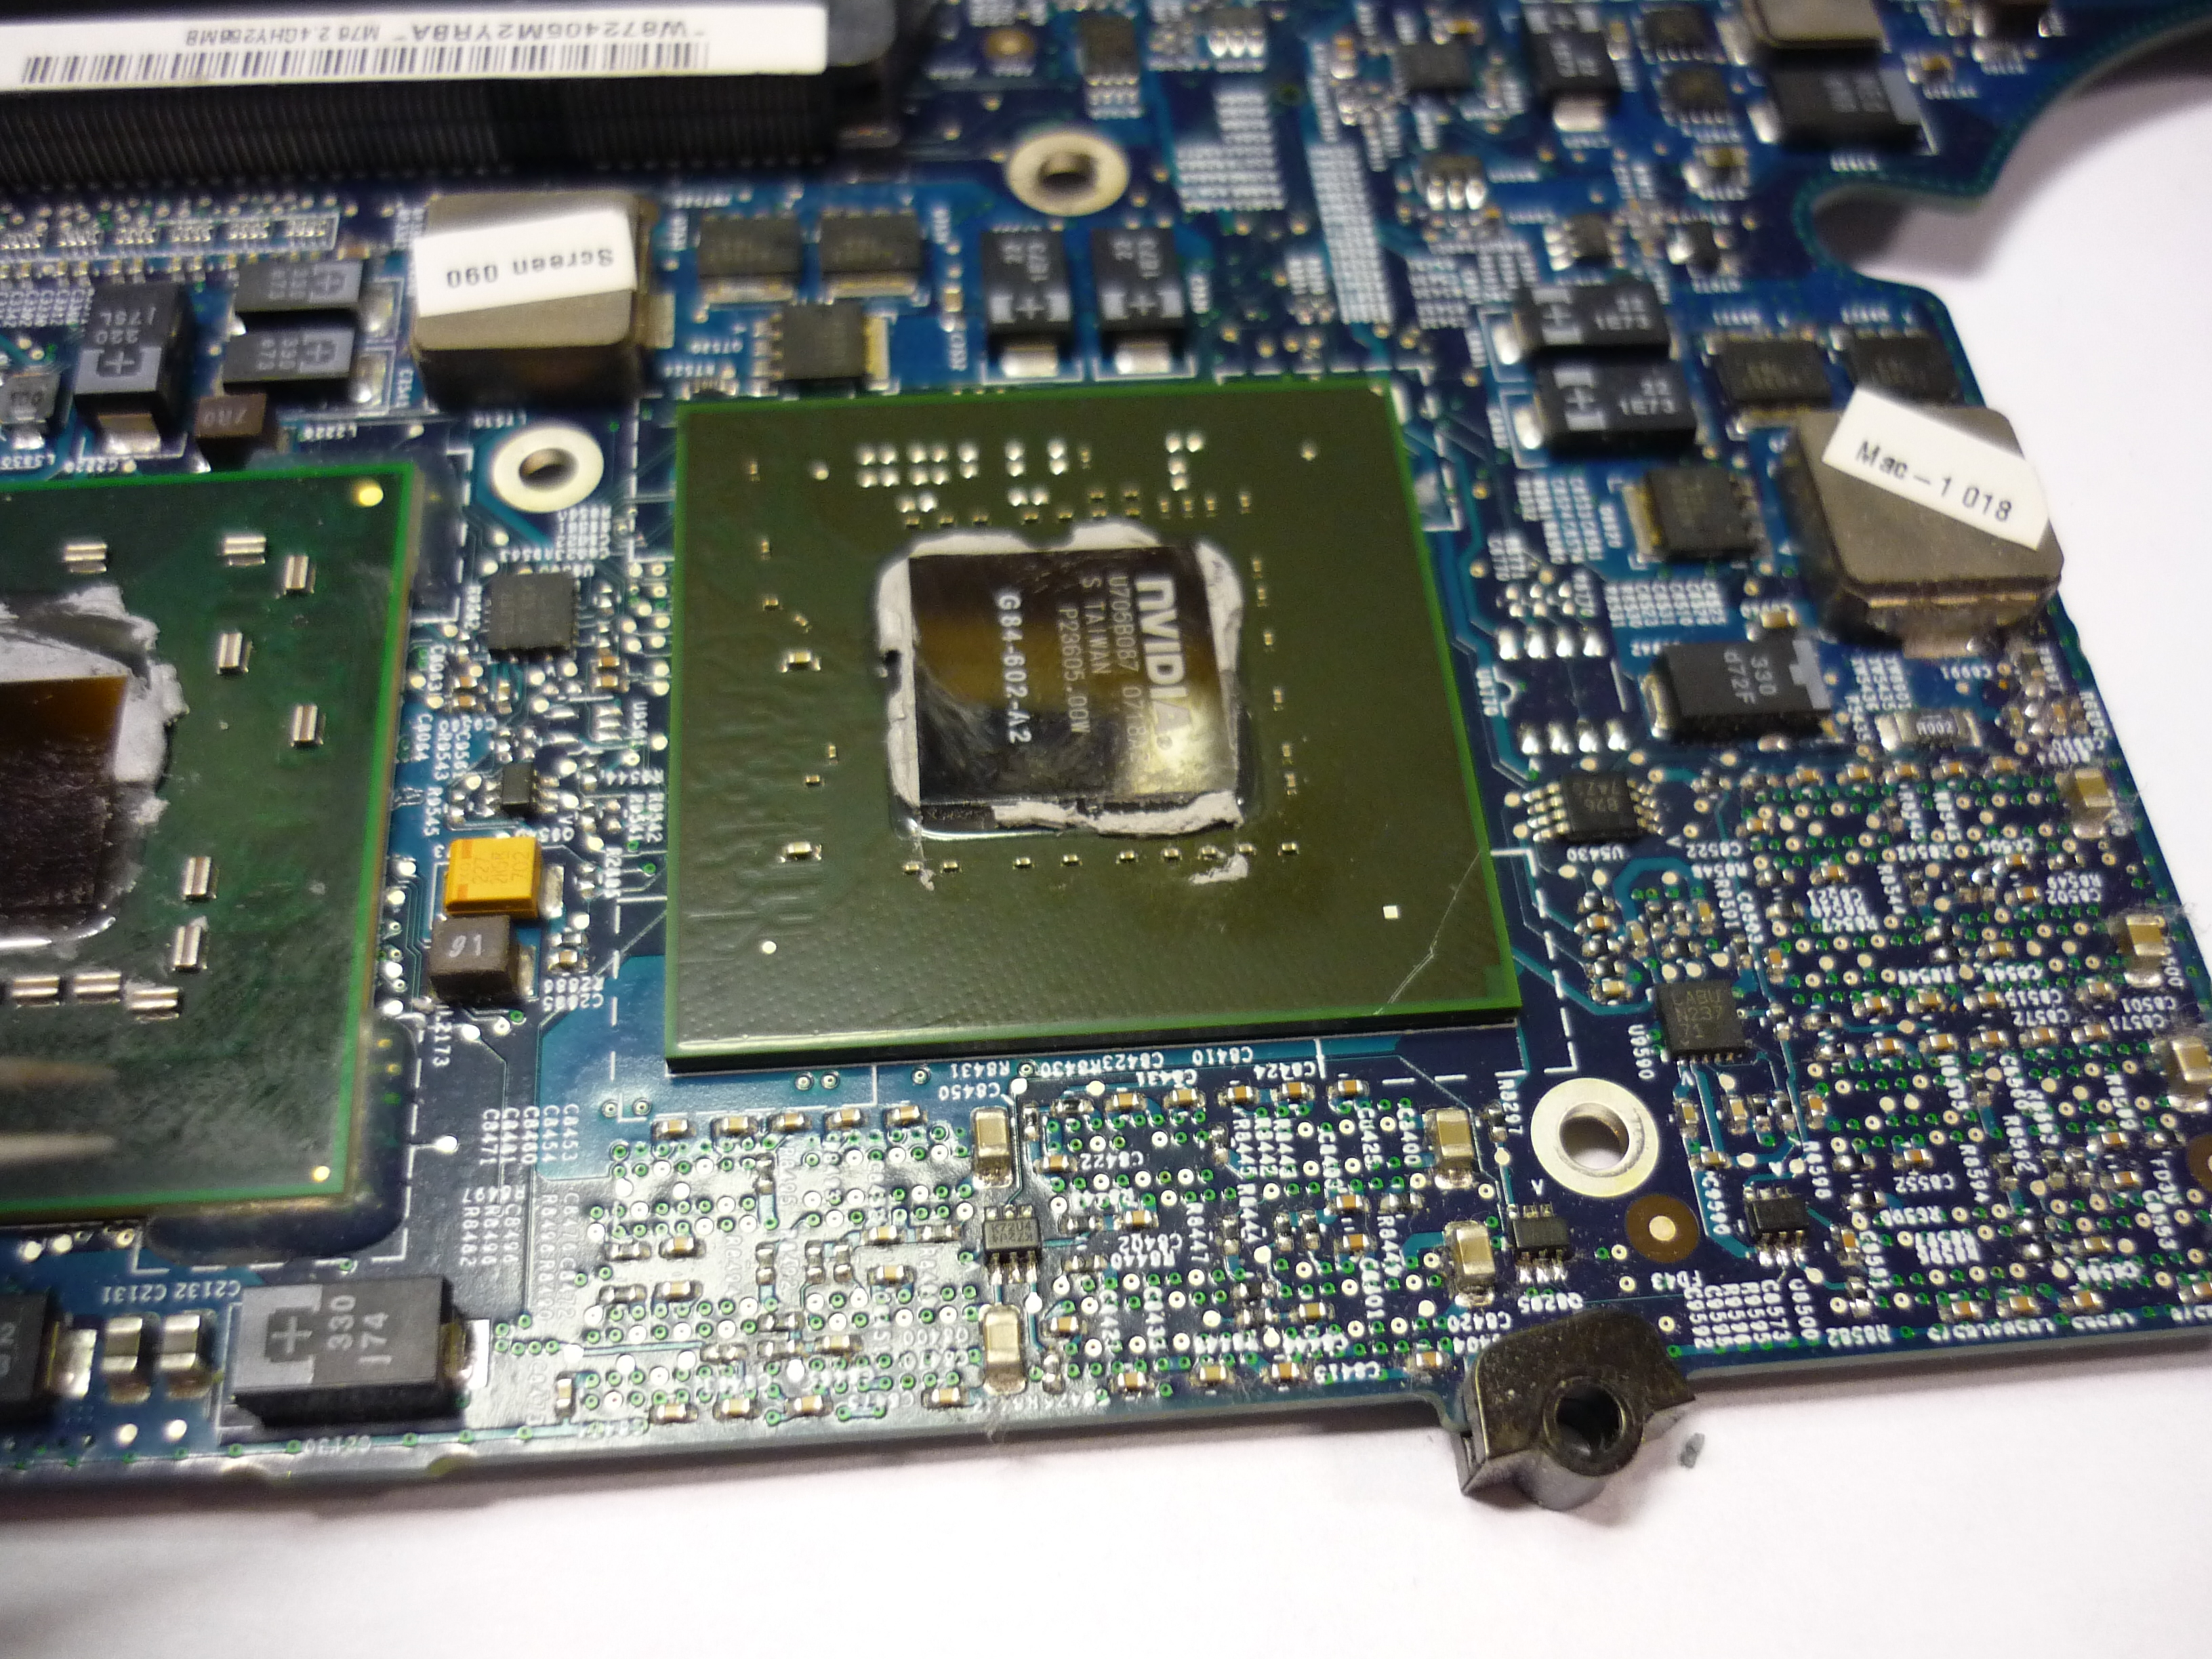 |
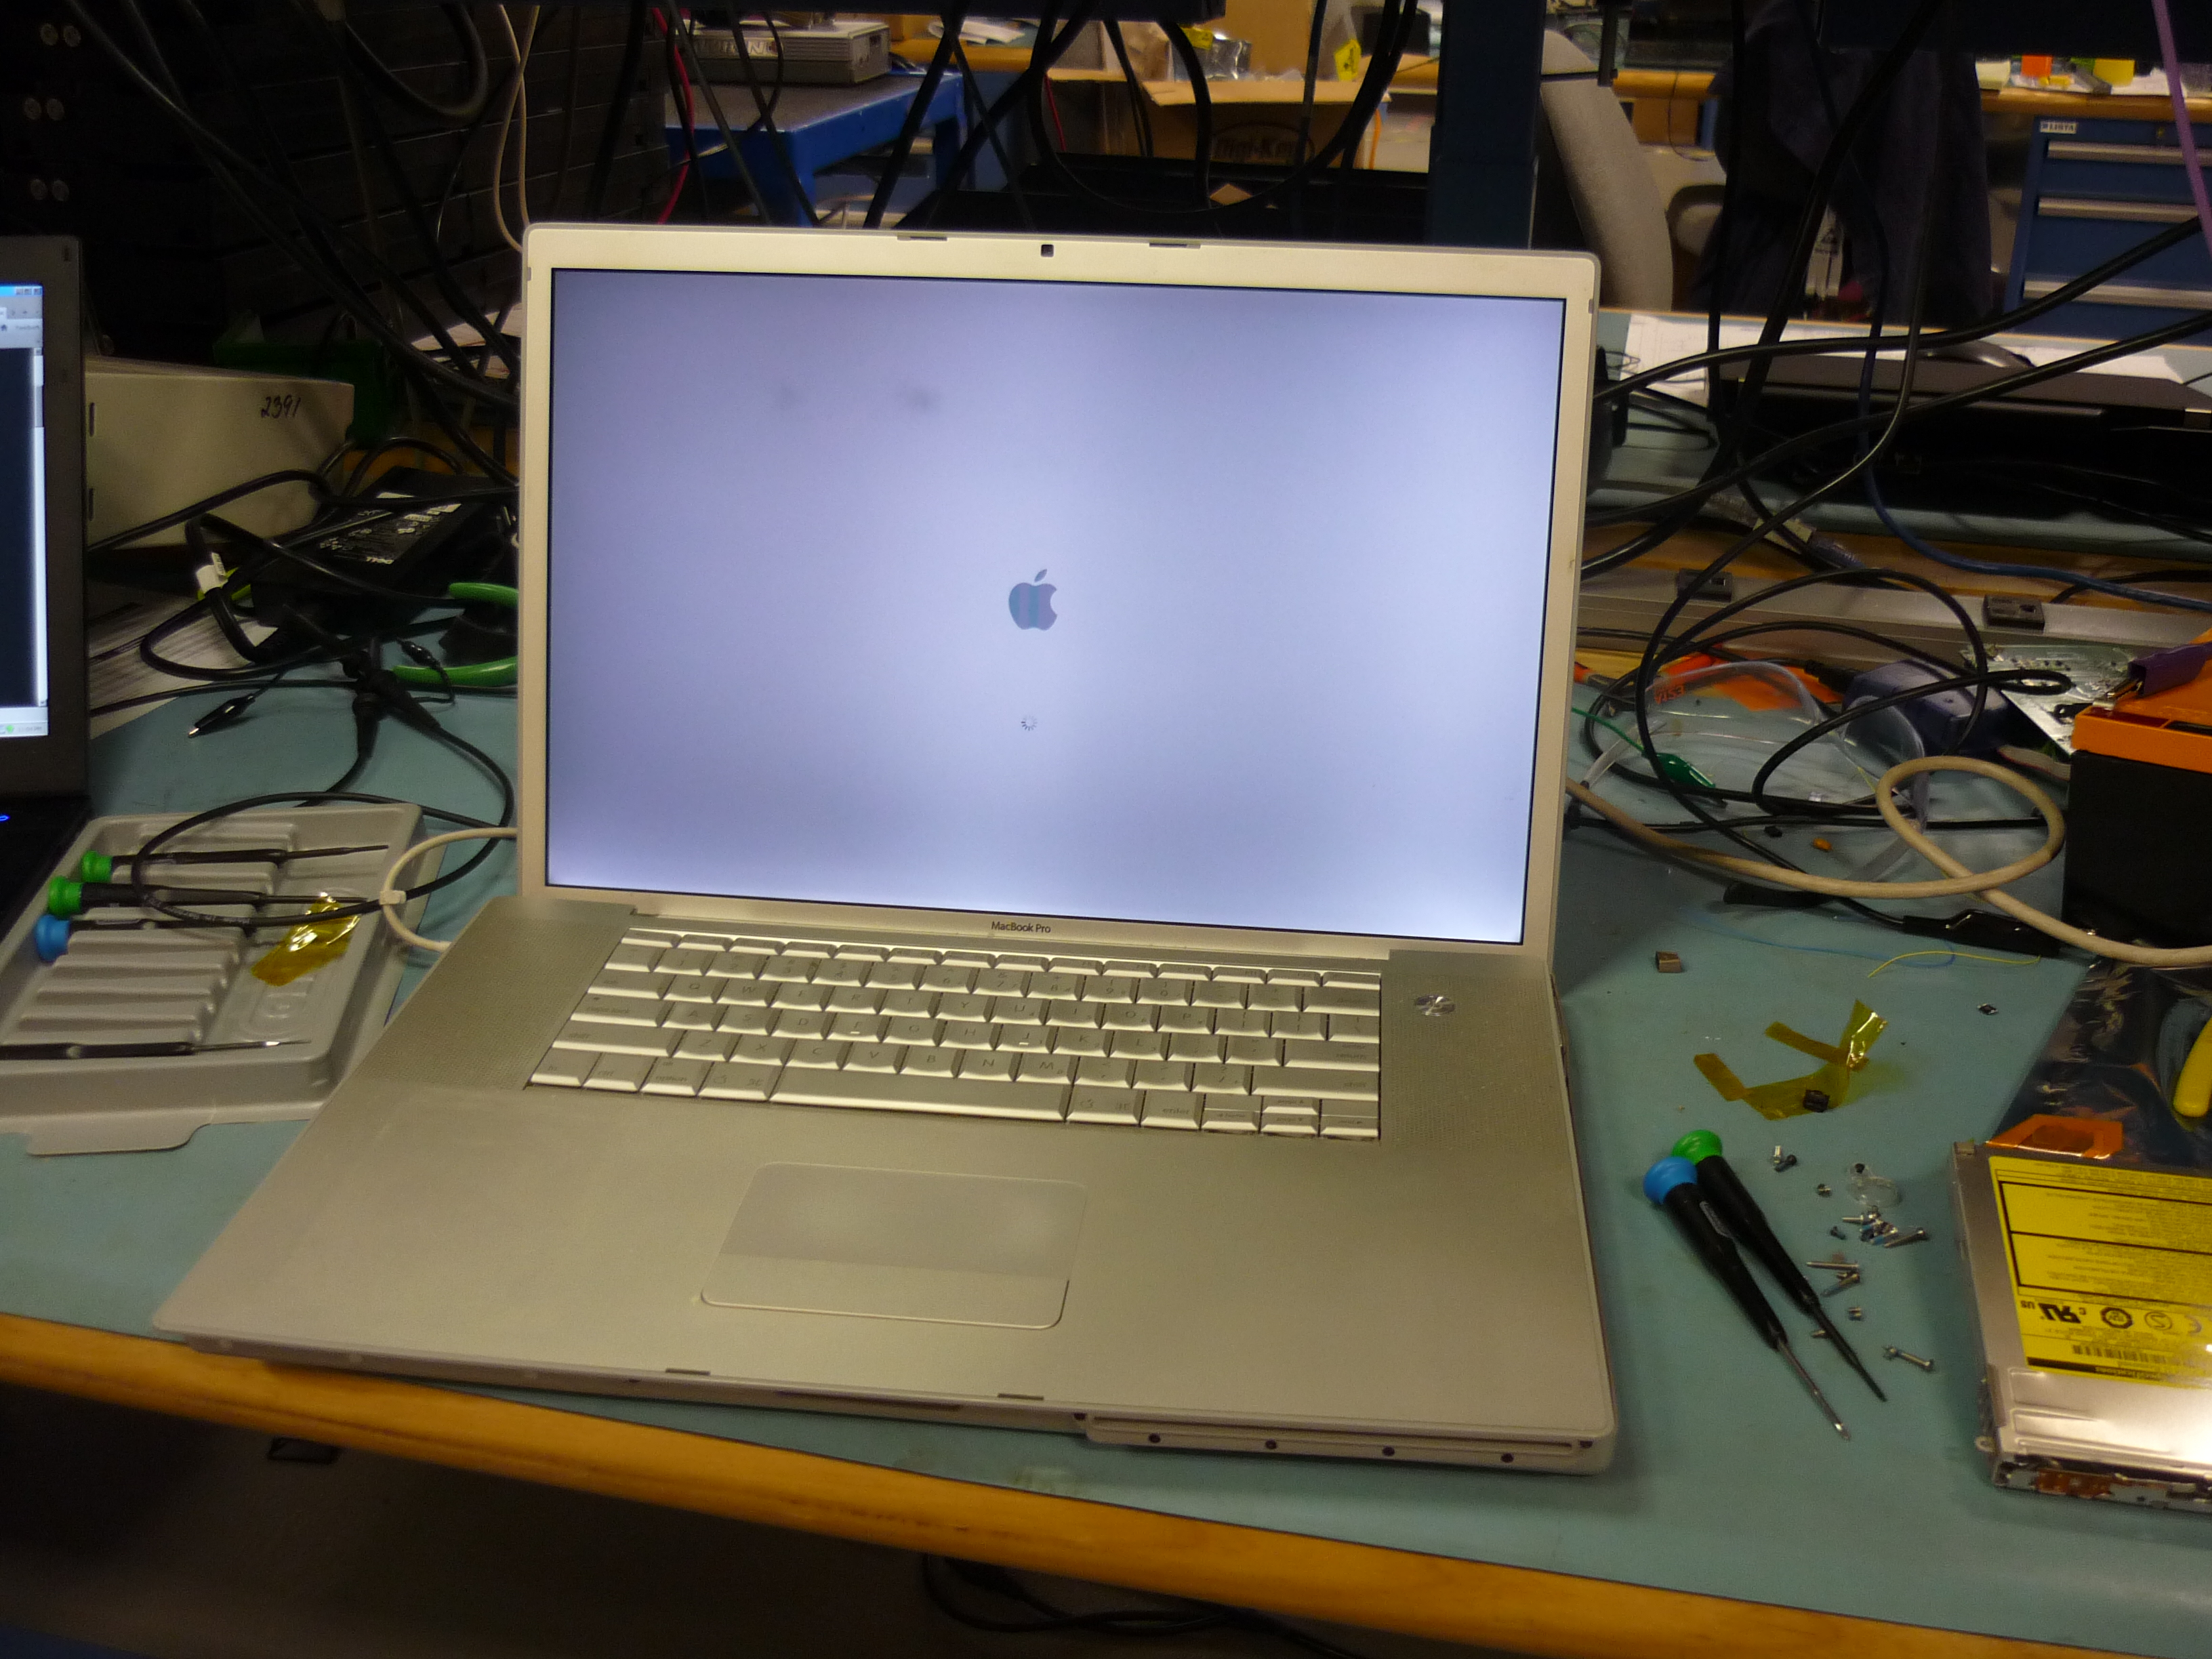
Final Product
(There's
other photos in the photo gallery)
Concluding
Remarks:There are a number of ways this could have failed miserably. Tiny 0402 capacitors could have flown off the board and, had there been any jostling of the GPU, re-balling (applying solder balls to each BGA mount) would have been a tactical nightmare. A large portion of the success of this was 'slow down and be methodical'. Rushing would only eat time in the long run, as any errors would compound the time required to complete the task
| From the sponsors: |
If you have questions or comments, ask below or send over an email.
| Comments: |
|
HTML Comment Box
is loading comments...
|
(be
careful, im not responsible for your increased bandwidth usage in the
name of science)
Dane.Kouttron
Rensselaer Polytechnic Institute
Electrical & Electrical Power
631.978.1650