Dane.Kouttron
[08.02.22] Adding a Rotary Axis to a Laser Engraver
 I've I've Lets build a quick bike repair stand |
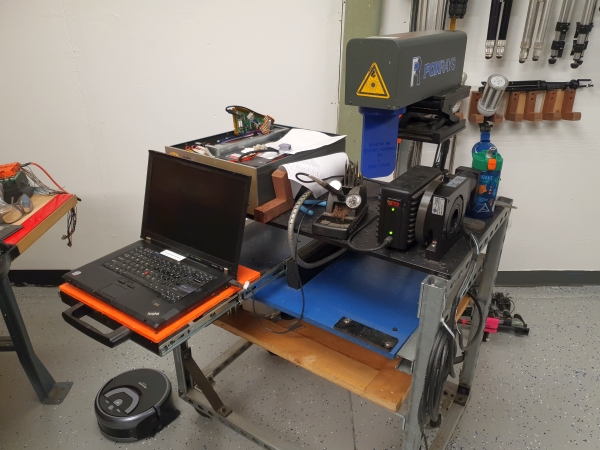
Background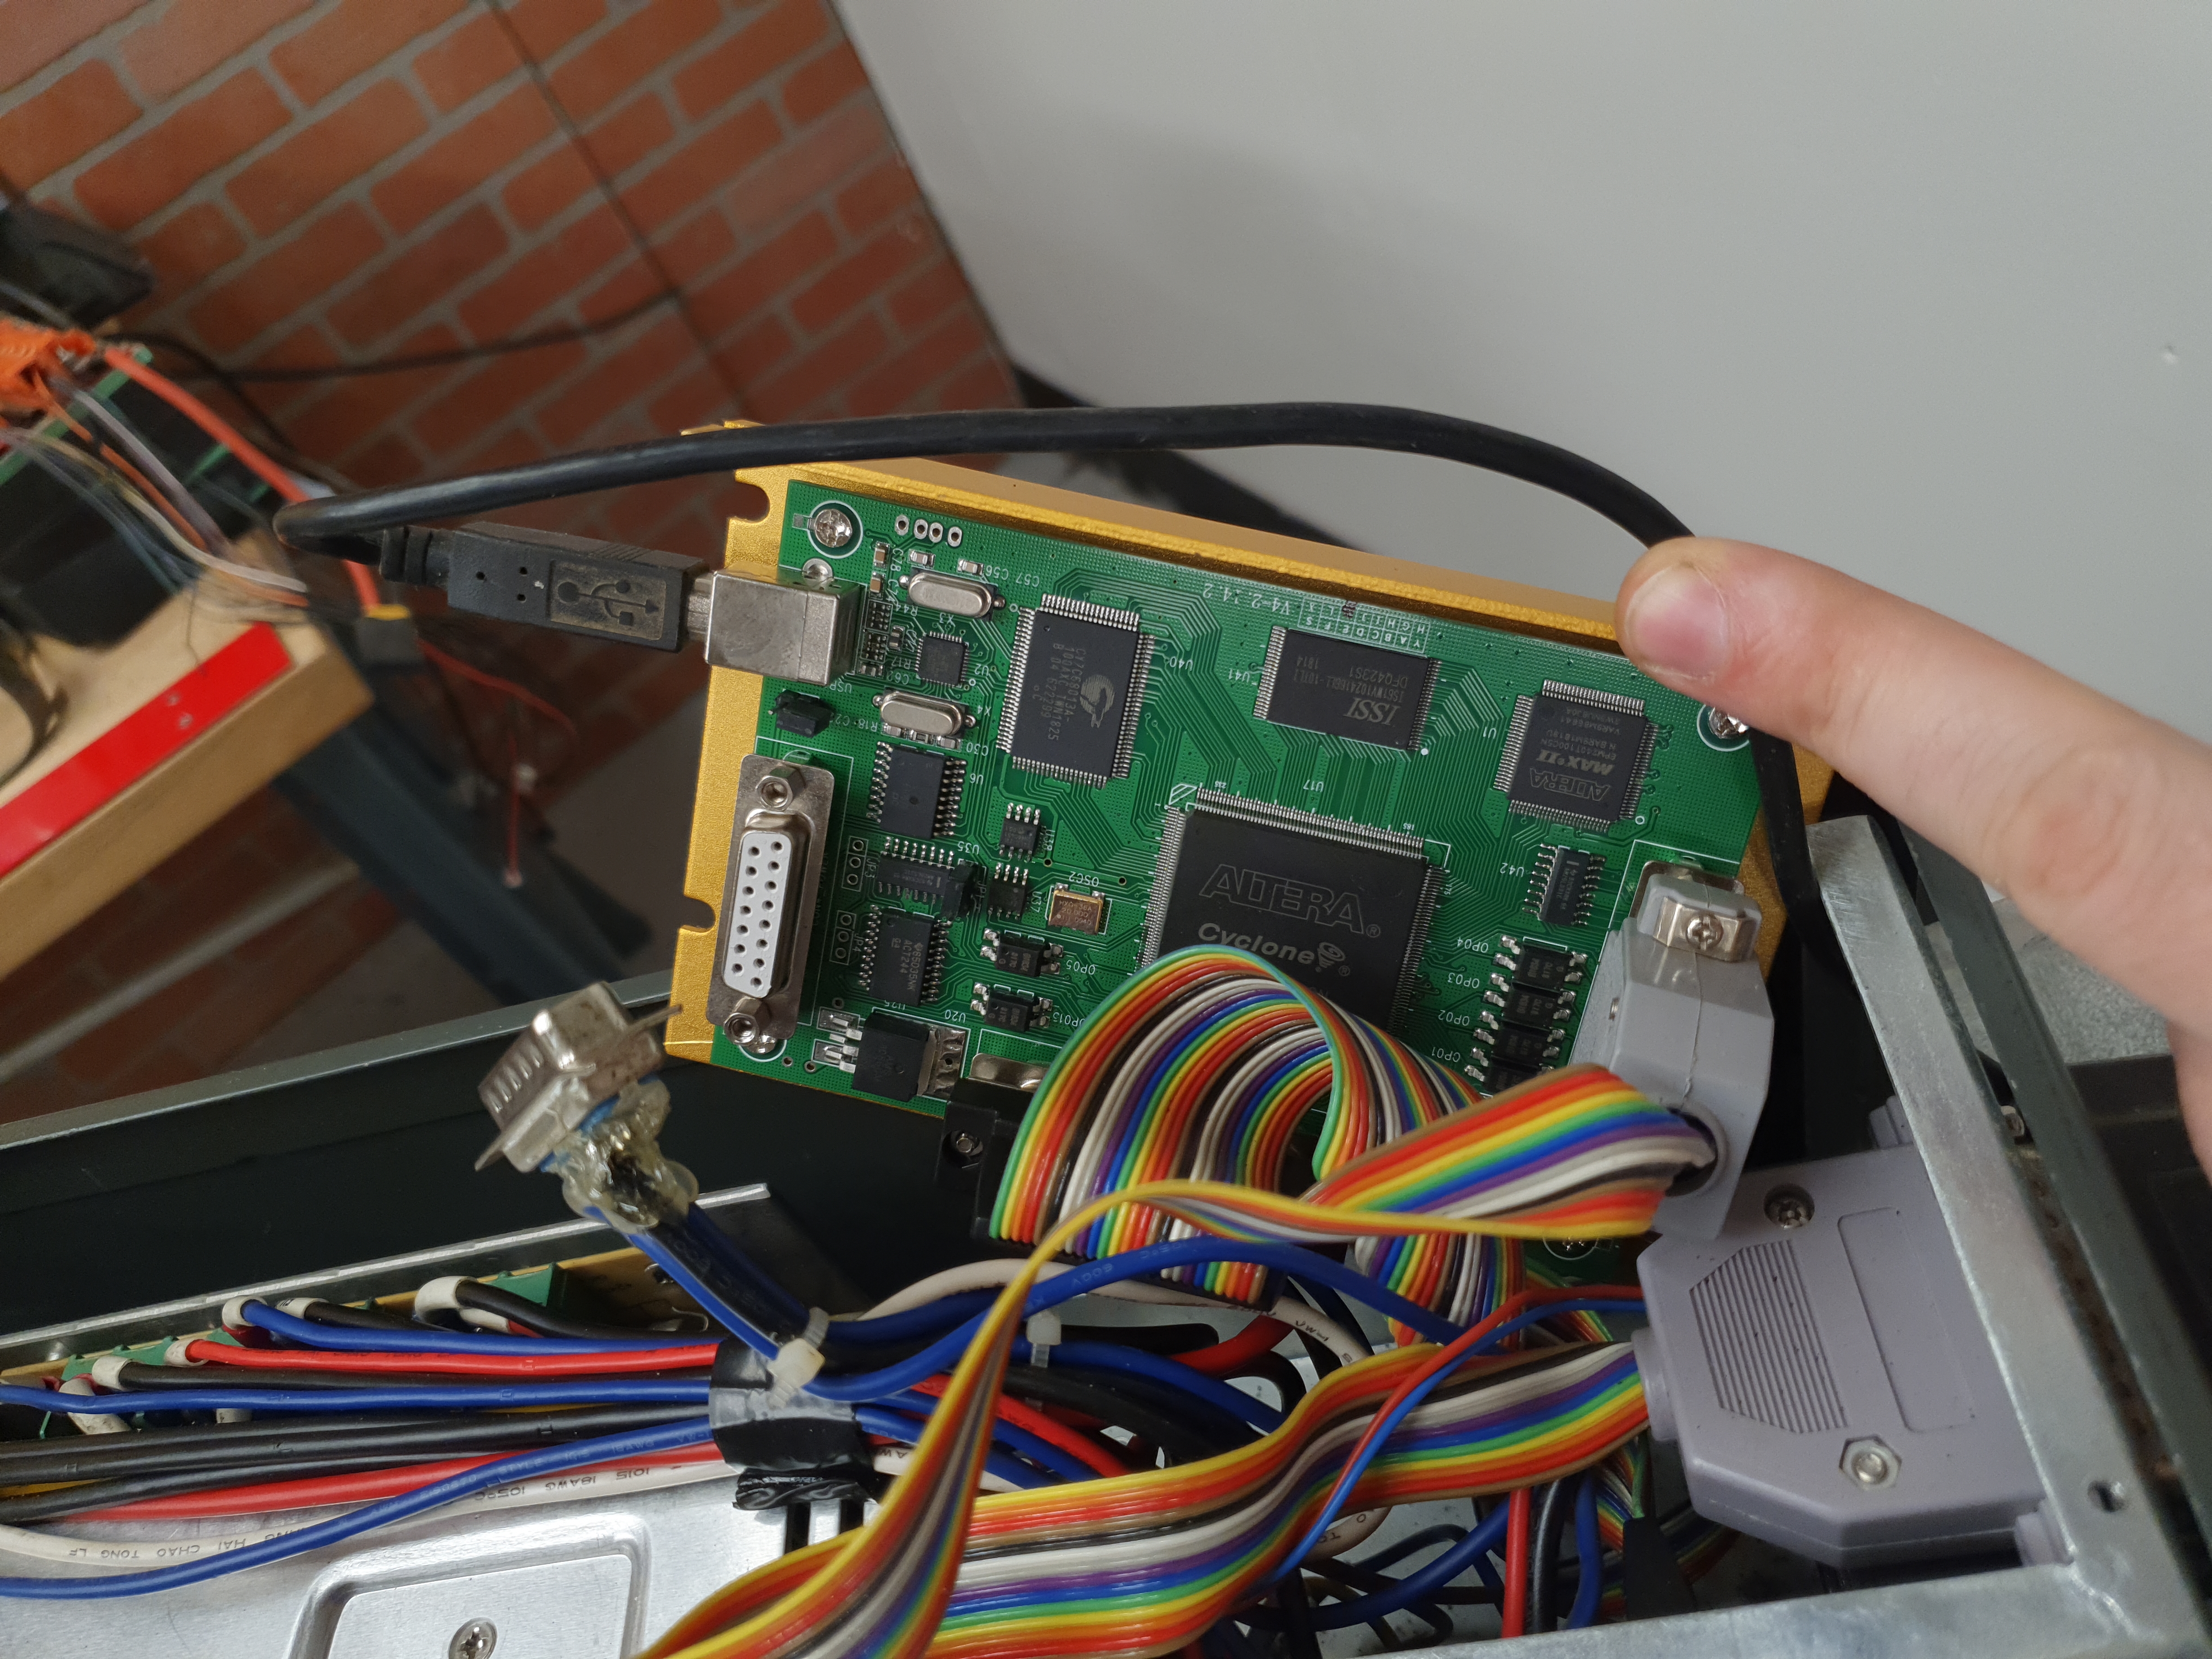 So here's the control
card, a fairly undocumented rectangle. So here's the control
card, a fairly undocumented rectangle. |
| Some
up close images of the gadget |
Wall
mount to column adapter
The bike arm mounting plate attaches to an aluminum plate in three spots. I drilled and tapped the two bottom holes and the top hole for some short 6mm long M3 flathead screws. After test fitment i opted to use 'medium' strength thread-locked to keep them in place. The four perimeter screws are not tapped to allow very long machine screws to make it to the back of the clamp. |
|
A
Quick Fit-Check of the 3D Print
|
|
(There's other
photos in the photo gallery)
Concluding Remarks:- Give
If you have questions or comments, ask below or send over an email.
| Comments: |
|
HTML Comment Box
is loading comments...
|
Dane.Kouttron
Rensselaer Polytechnic
Institute
Electrical & Electrical
Power
631.978.1650