Dane.Kouttron
[3.23.14] Electric Scooter [MK-1] TUNDRA UPGRADE
| What?
The following page details some quickly thrown together upgrades to the Electric Scooter MK-1 project. The goal is to allow for better traction in icy conditions, like on a frozen lake. There was a bit of learning involved, ranging from research on ice from the early 60s to knowledge from people found out on the ice. |
 |
 |
| What? |
Demo Video | Front Skate | Tire Studs | Maintaince | Weather | Testing The Ice | Physics | Video | Conclusion | Image Directory |
| Upgraded Scooter Video | |
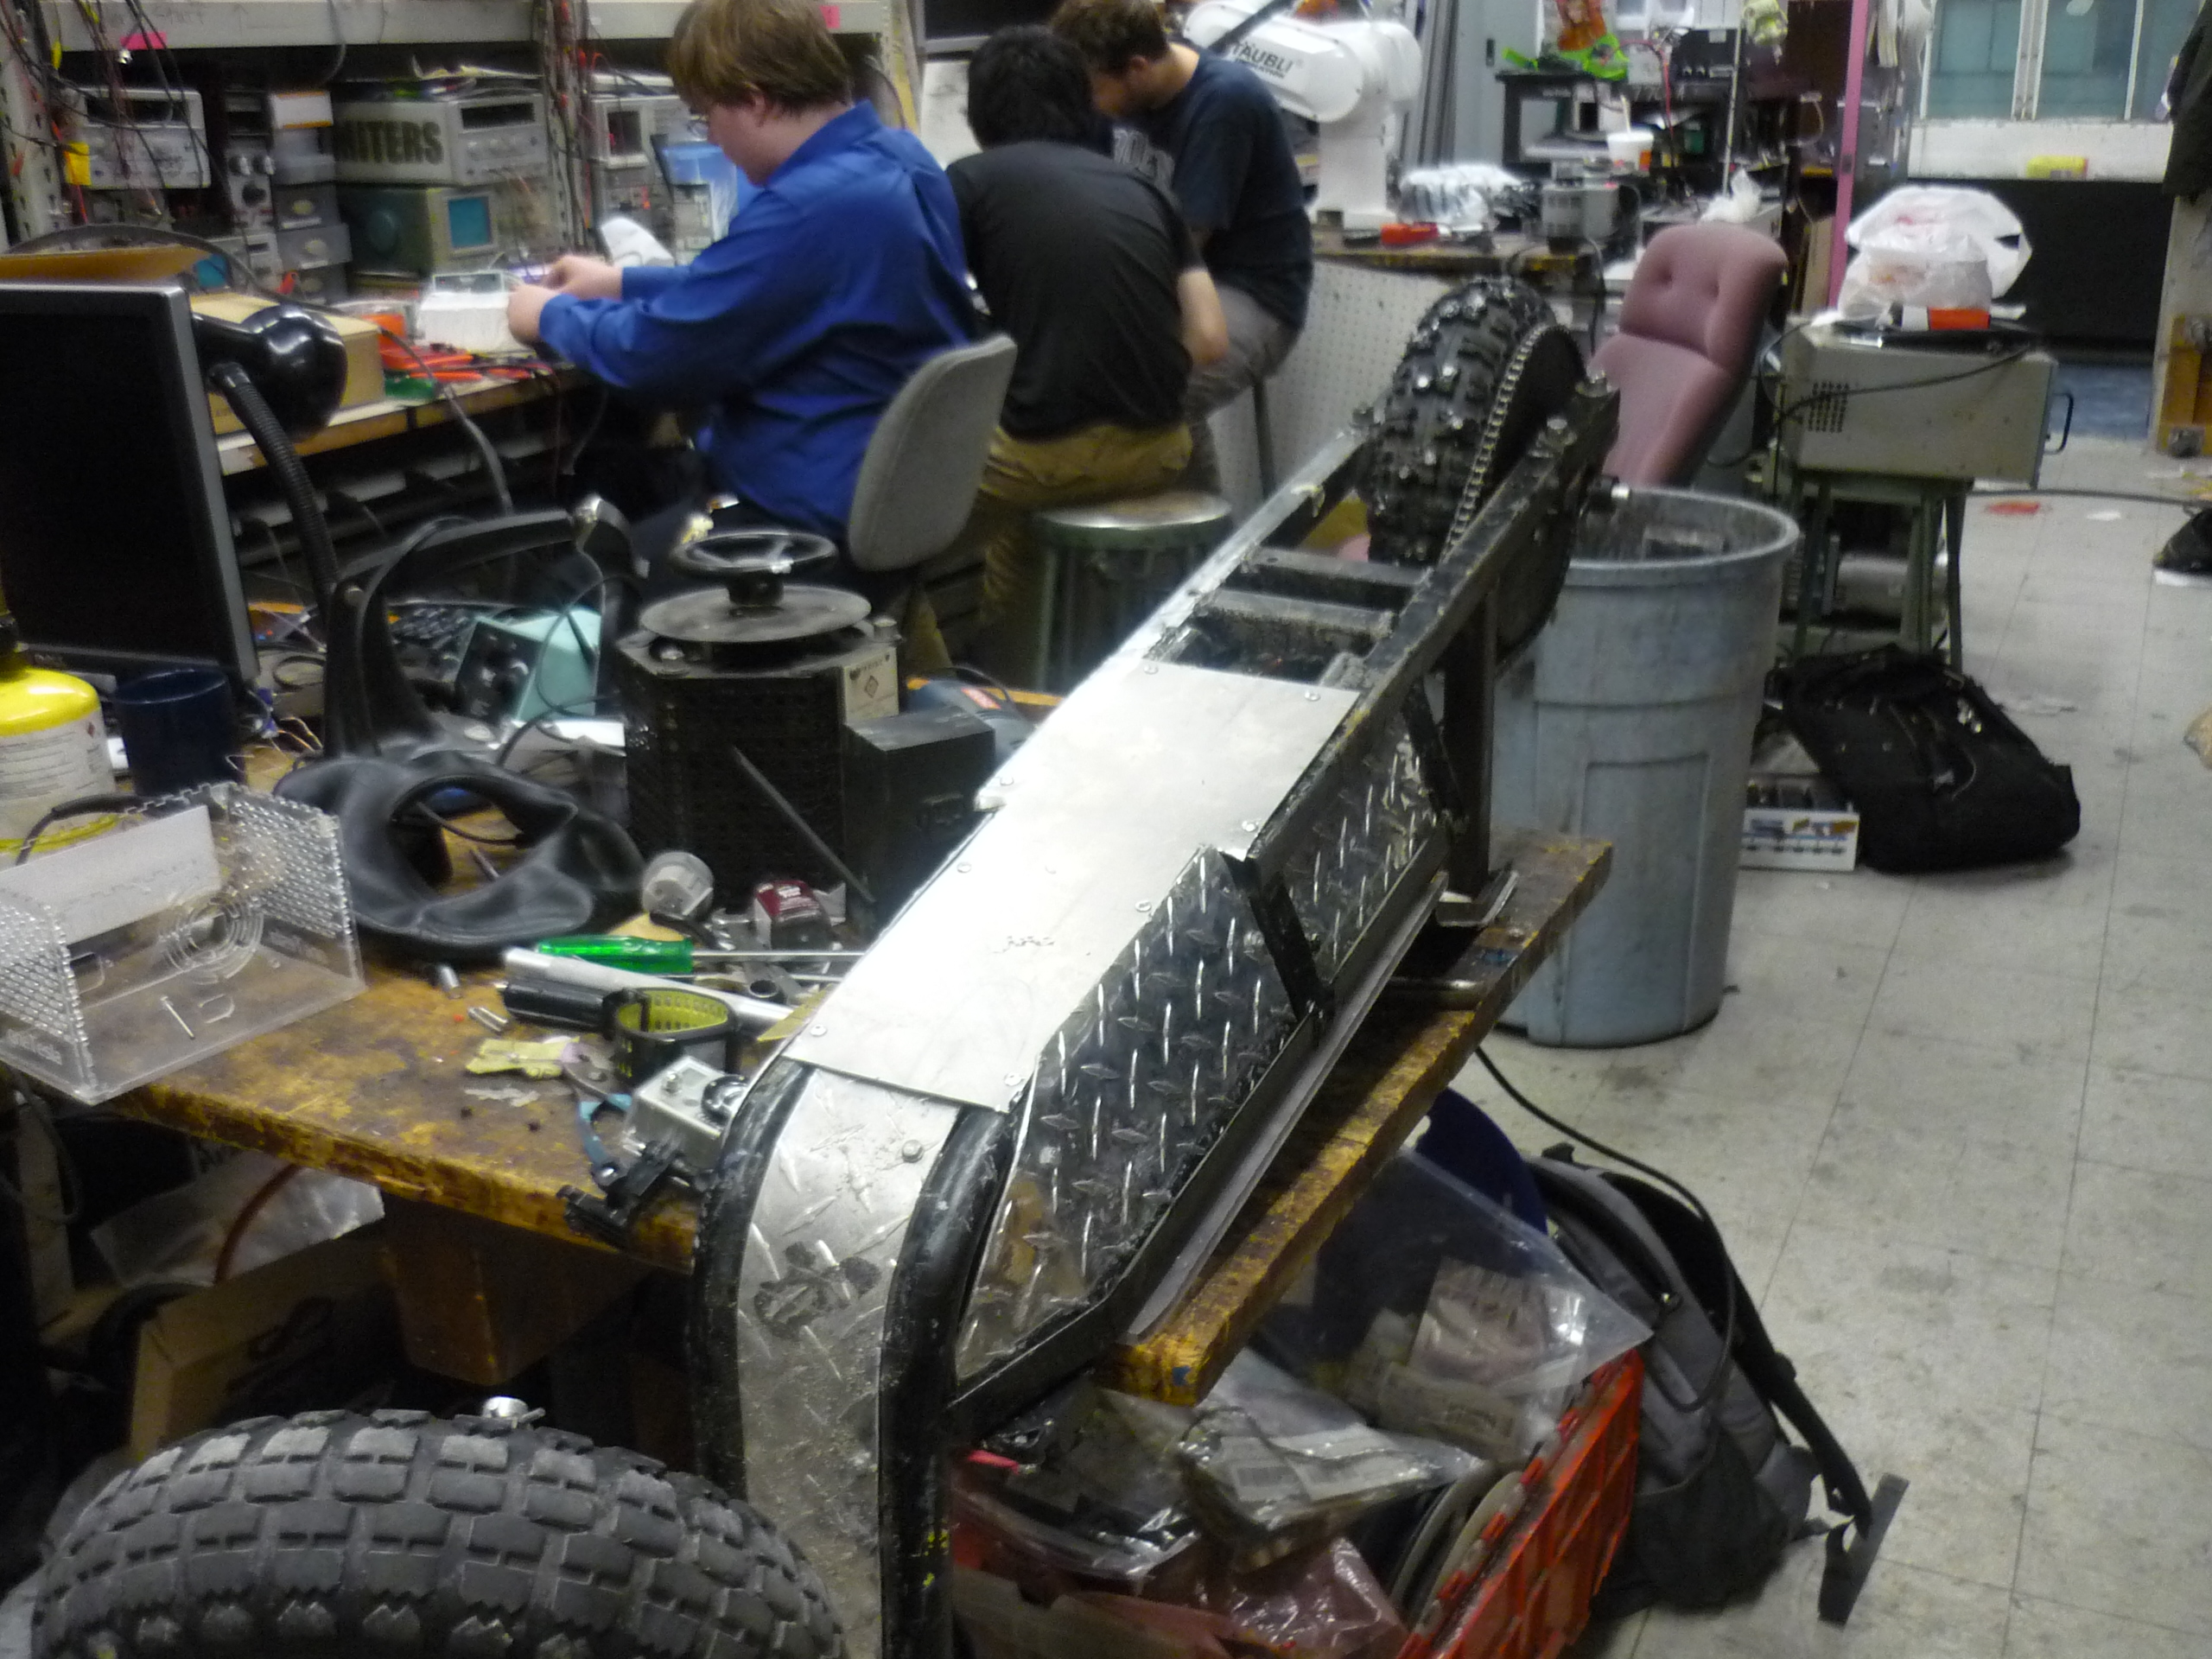
| Initially,
I had gone out to a public park to test out the submersible thruster
assembly project, however, the icy lake was a bit more frozen than I
had
planned. To test the thruster, I had planned on using the 3phase drive
and
battery from the electric scooter project.
After chopping for a while,
I decided to just take advantage of the clear day and drive out onto
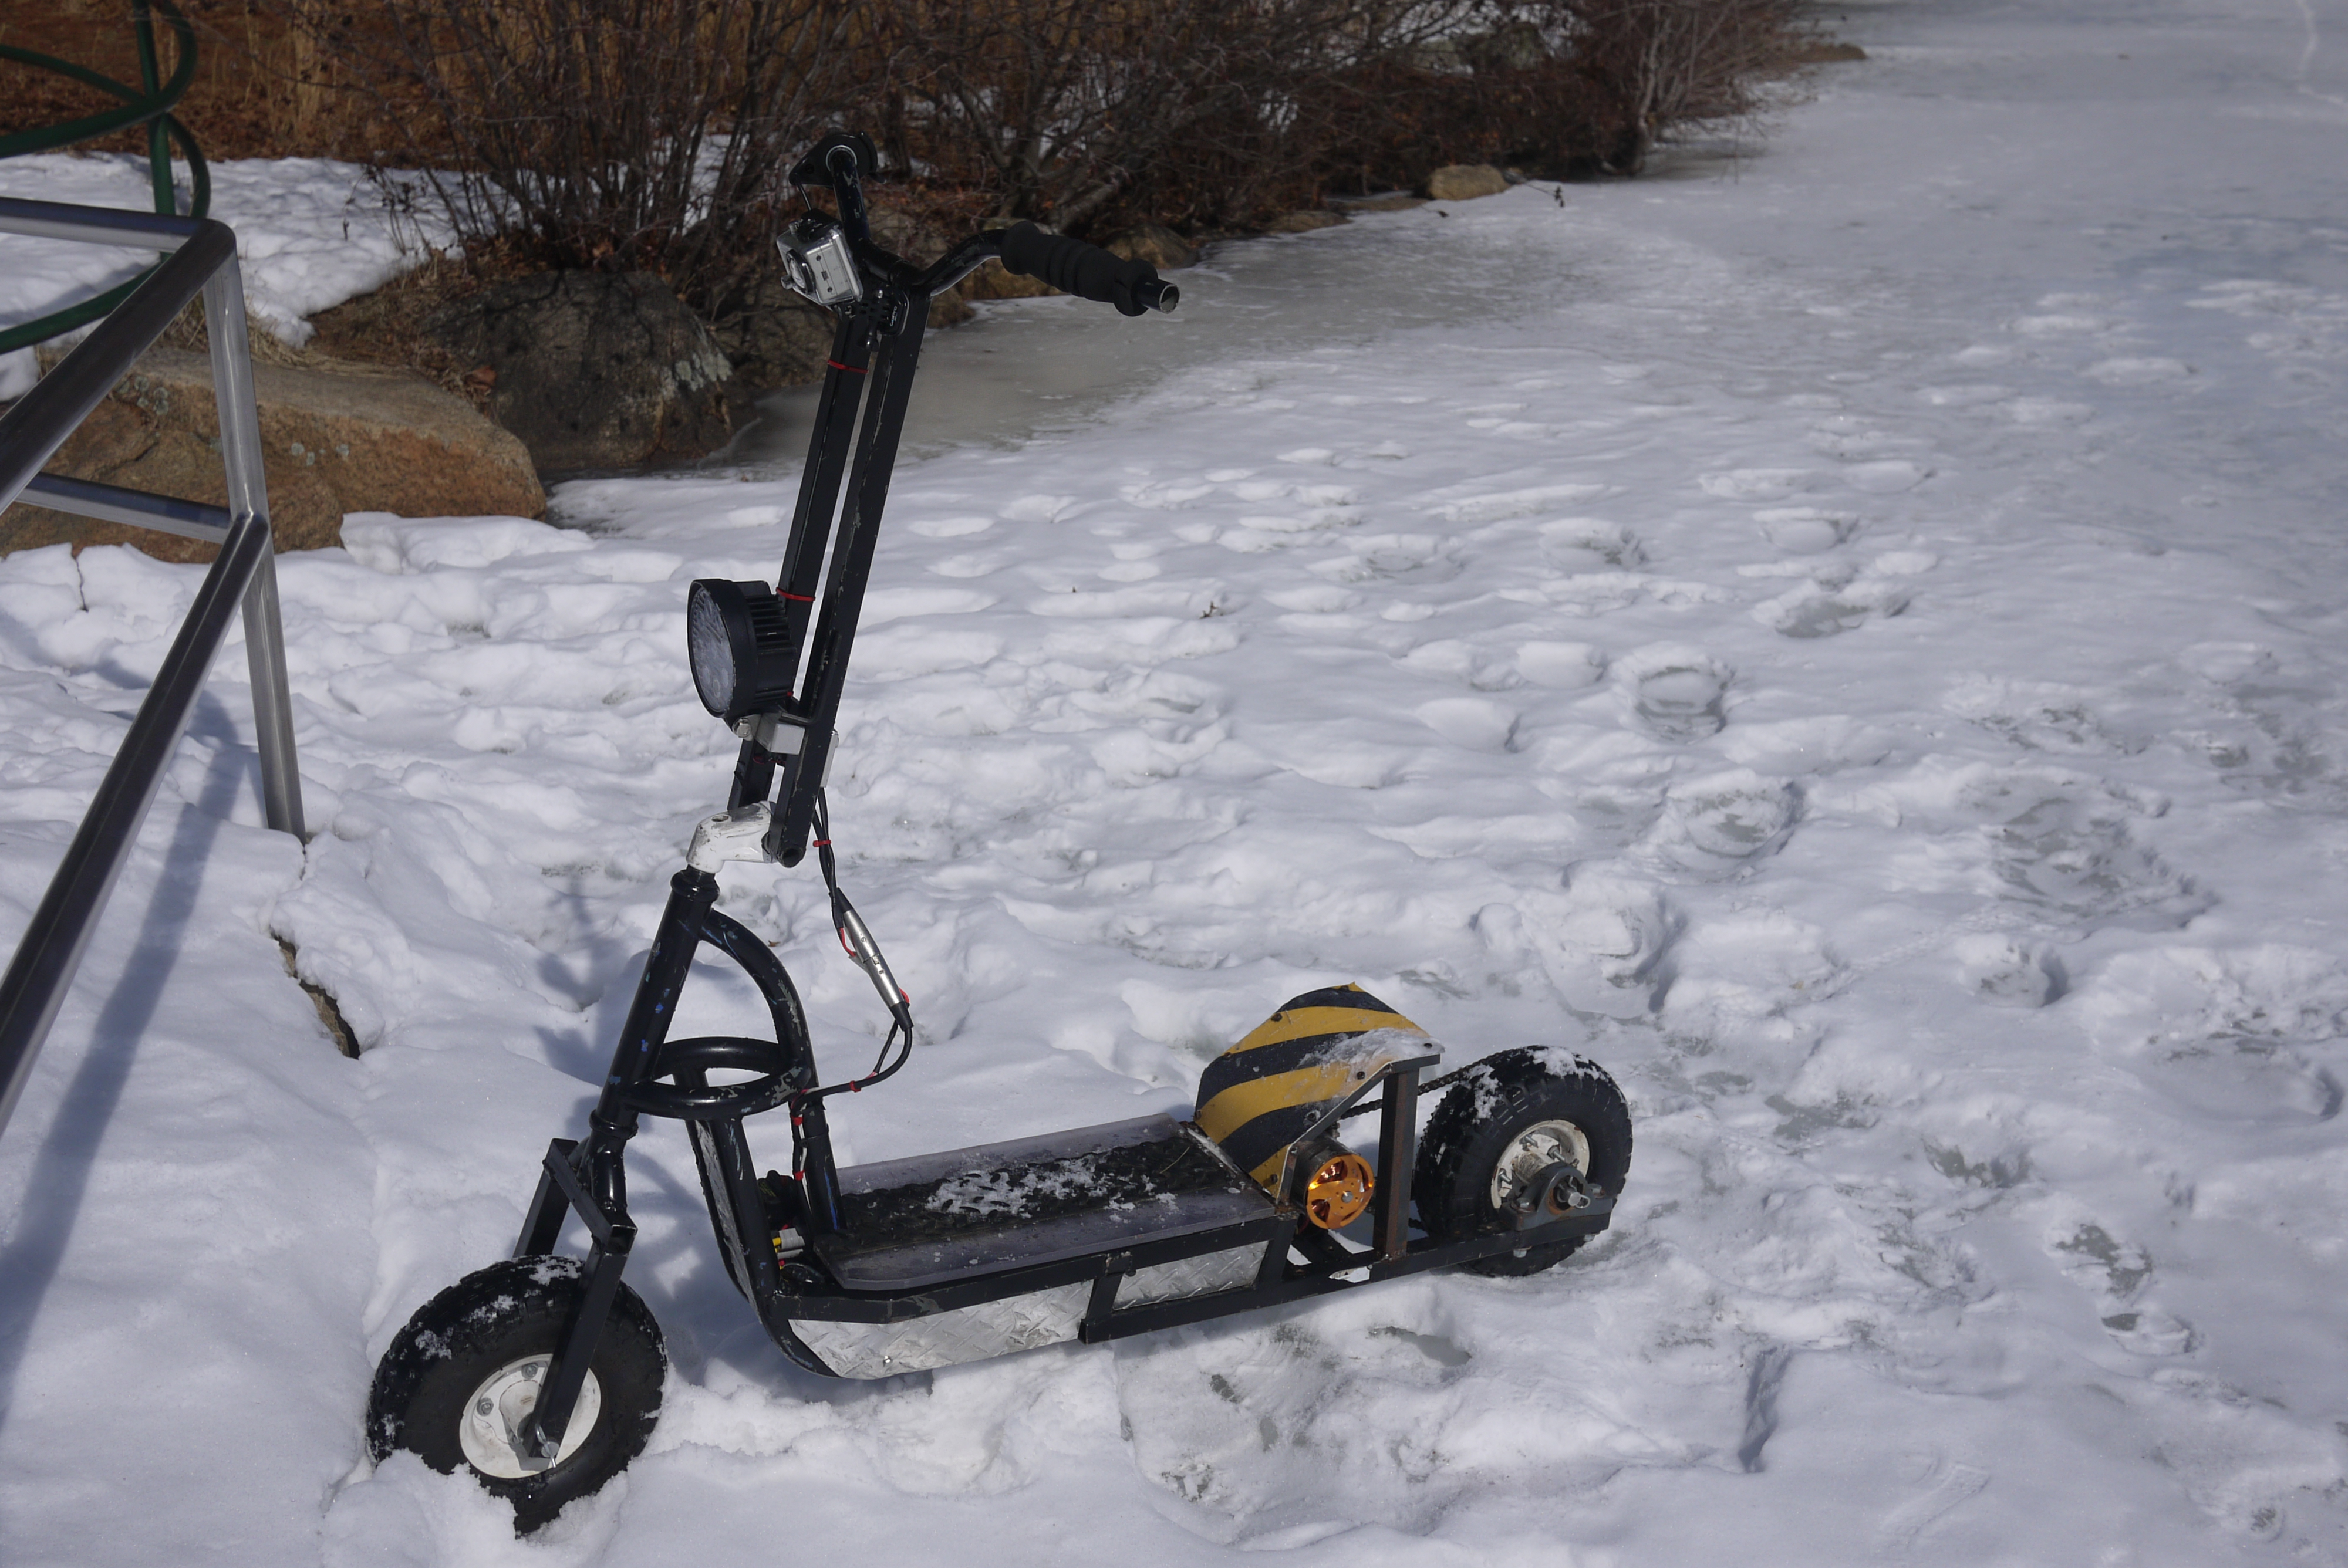
the lake. It turned out the scooter, unmodified, was pretty
trecharous to ride usefully on the frozen lake, so, I determined it was
time for UPGRADES. The follwing is the final result of some quick welding, rough math and high power batteries. More videos Below |
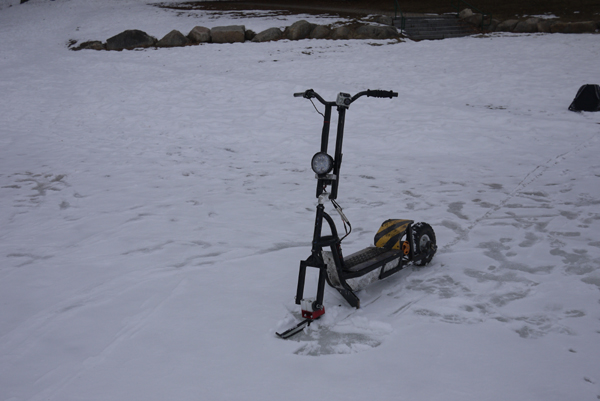
| Mostly interchangeable fork assembly | |
| From the first test out on the
frozen lake, I found that the standard rubber tires are miserable on
the
ice. The rear tire was operating almost completely out of traction for a majority of all rides, this meant that accelerating (which the scooter is really great at) was fairly slow and touchy. Acceleration could only really happen on snowy patches of ice, where the snow acted as a traction agent. Turning was even more precarious, as the front wheel had little to no traction, perturbing it would cause it to become unstable and enter into a slide. The goal is to upgrade the ice-traction of the rear-tire and build an interchangeable front fork ice-skate for better steering on slippery surfaces. y\You can find the before upgrades (on ice) and after upgrades (on ice) below! |
 |
| Start
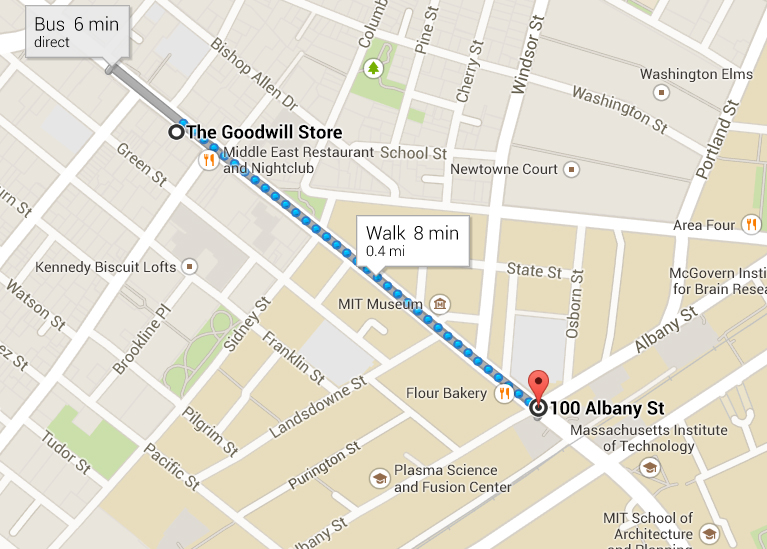
by looking for scrapped skates I went to nearby thrift stores and unfortunately anything from an ice-skate to figure skating to hockey skates werent available. I had read the instructable from bennelson [link] for a similar craft and it seemed like a pretty excellent, simple build, but alas, no skates around. Time for plan B. When there's no skate available, you make one. |
 |
 |
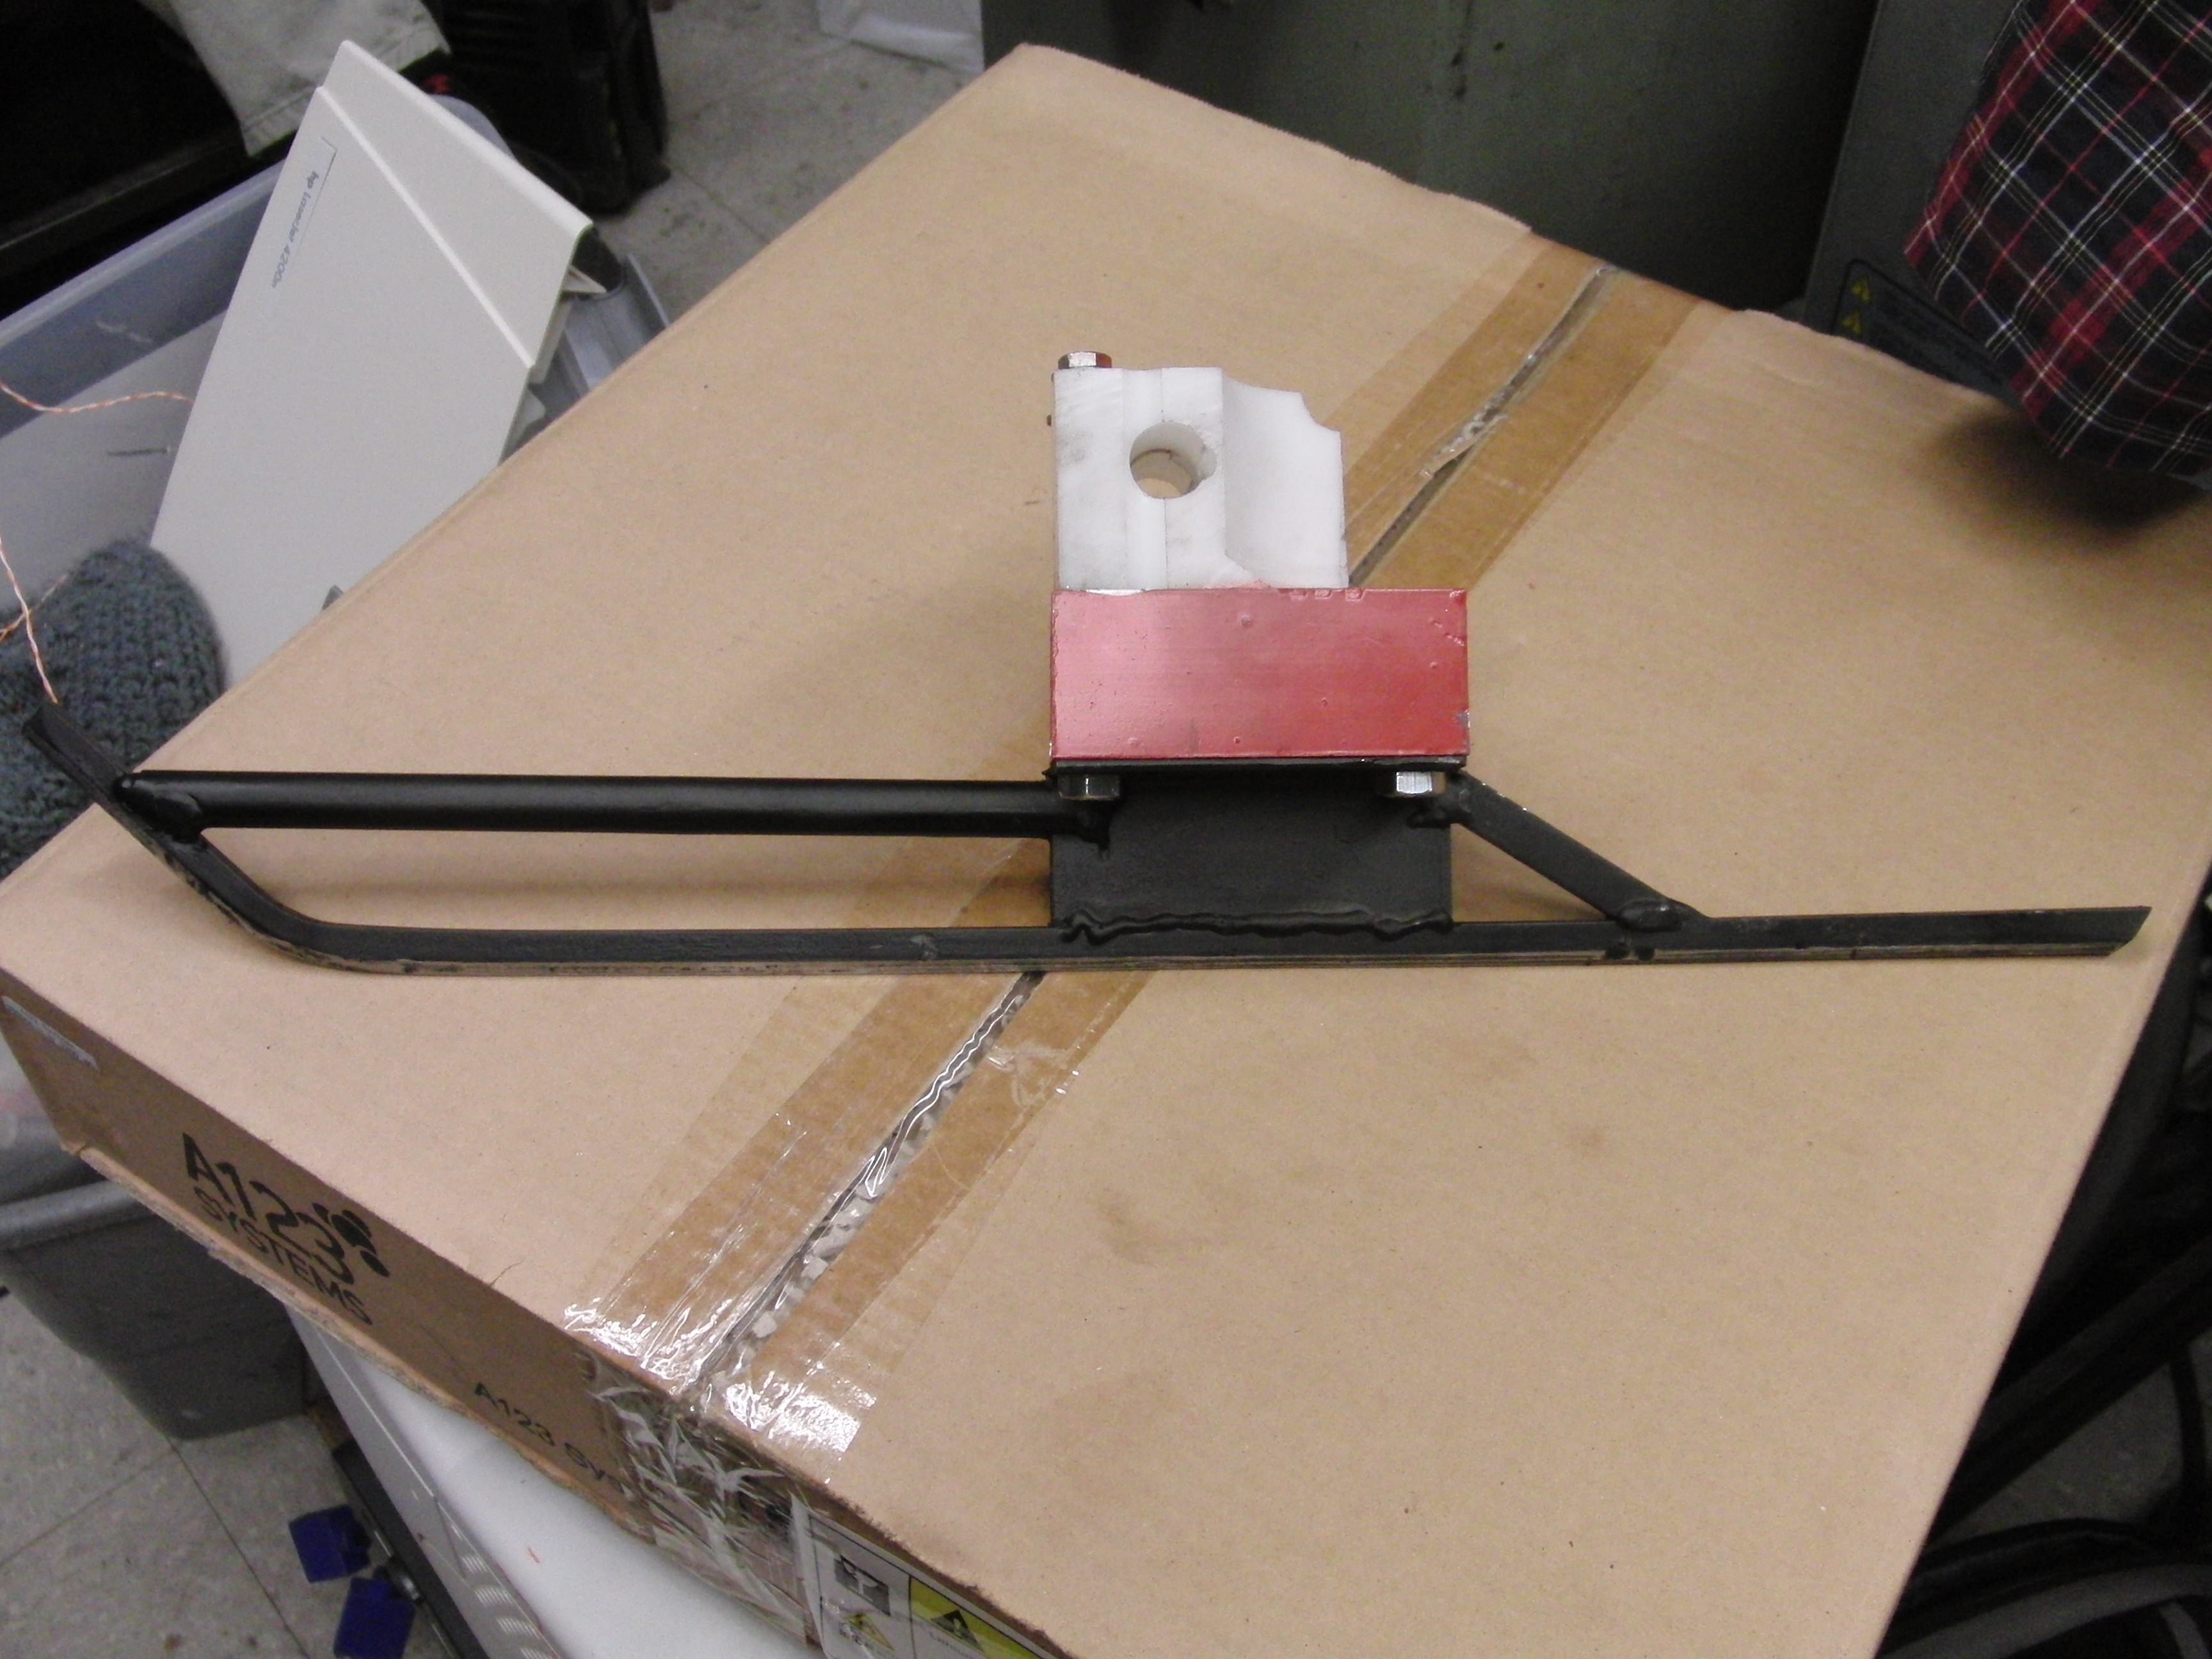
| Get
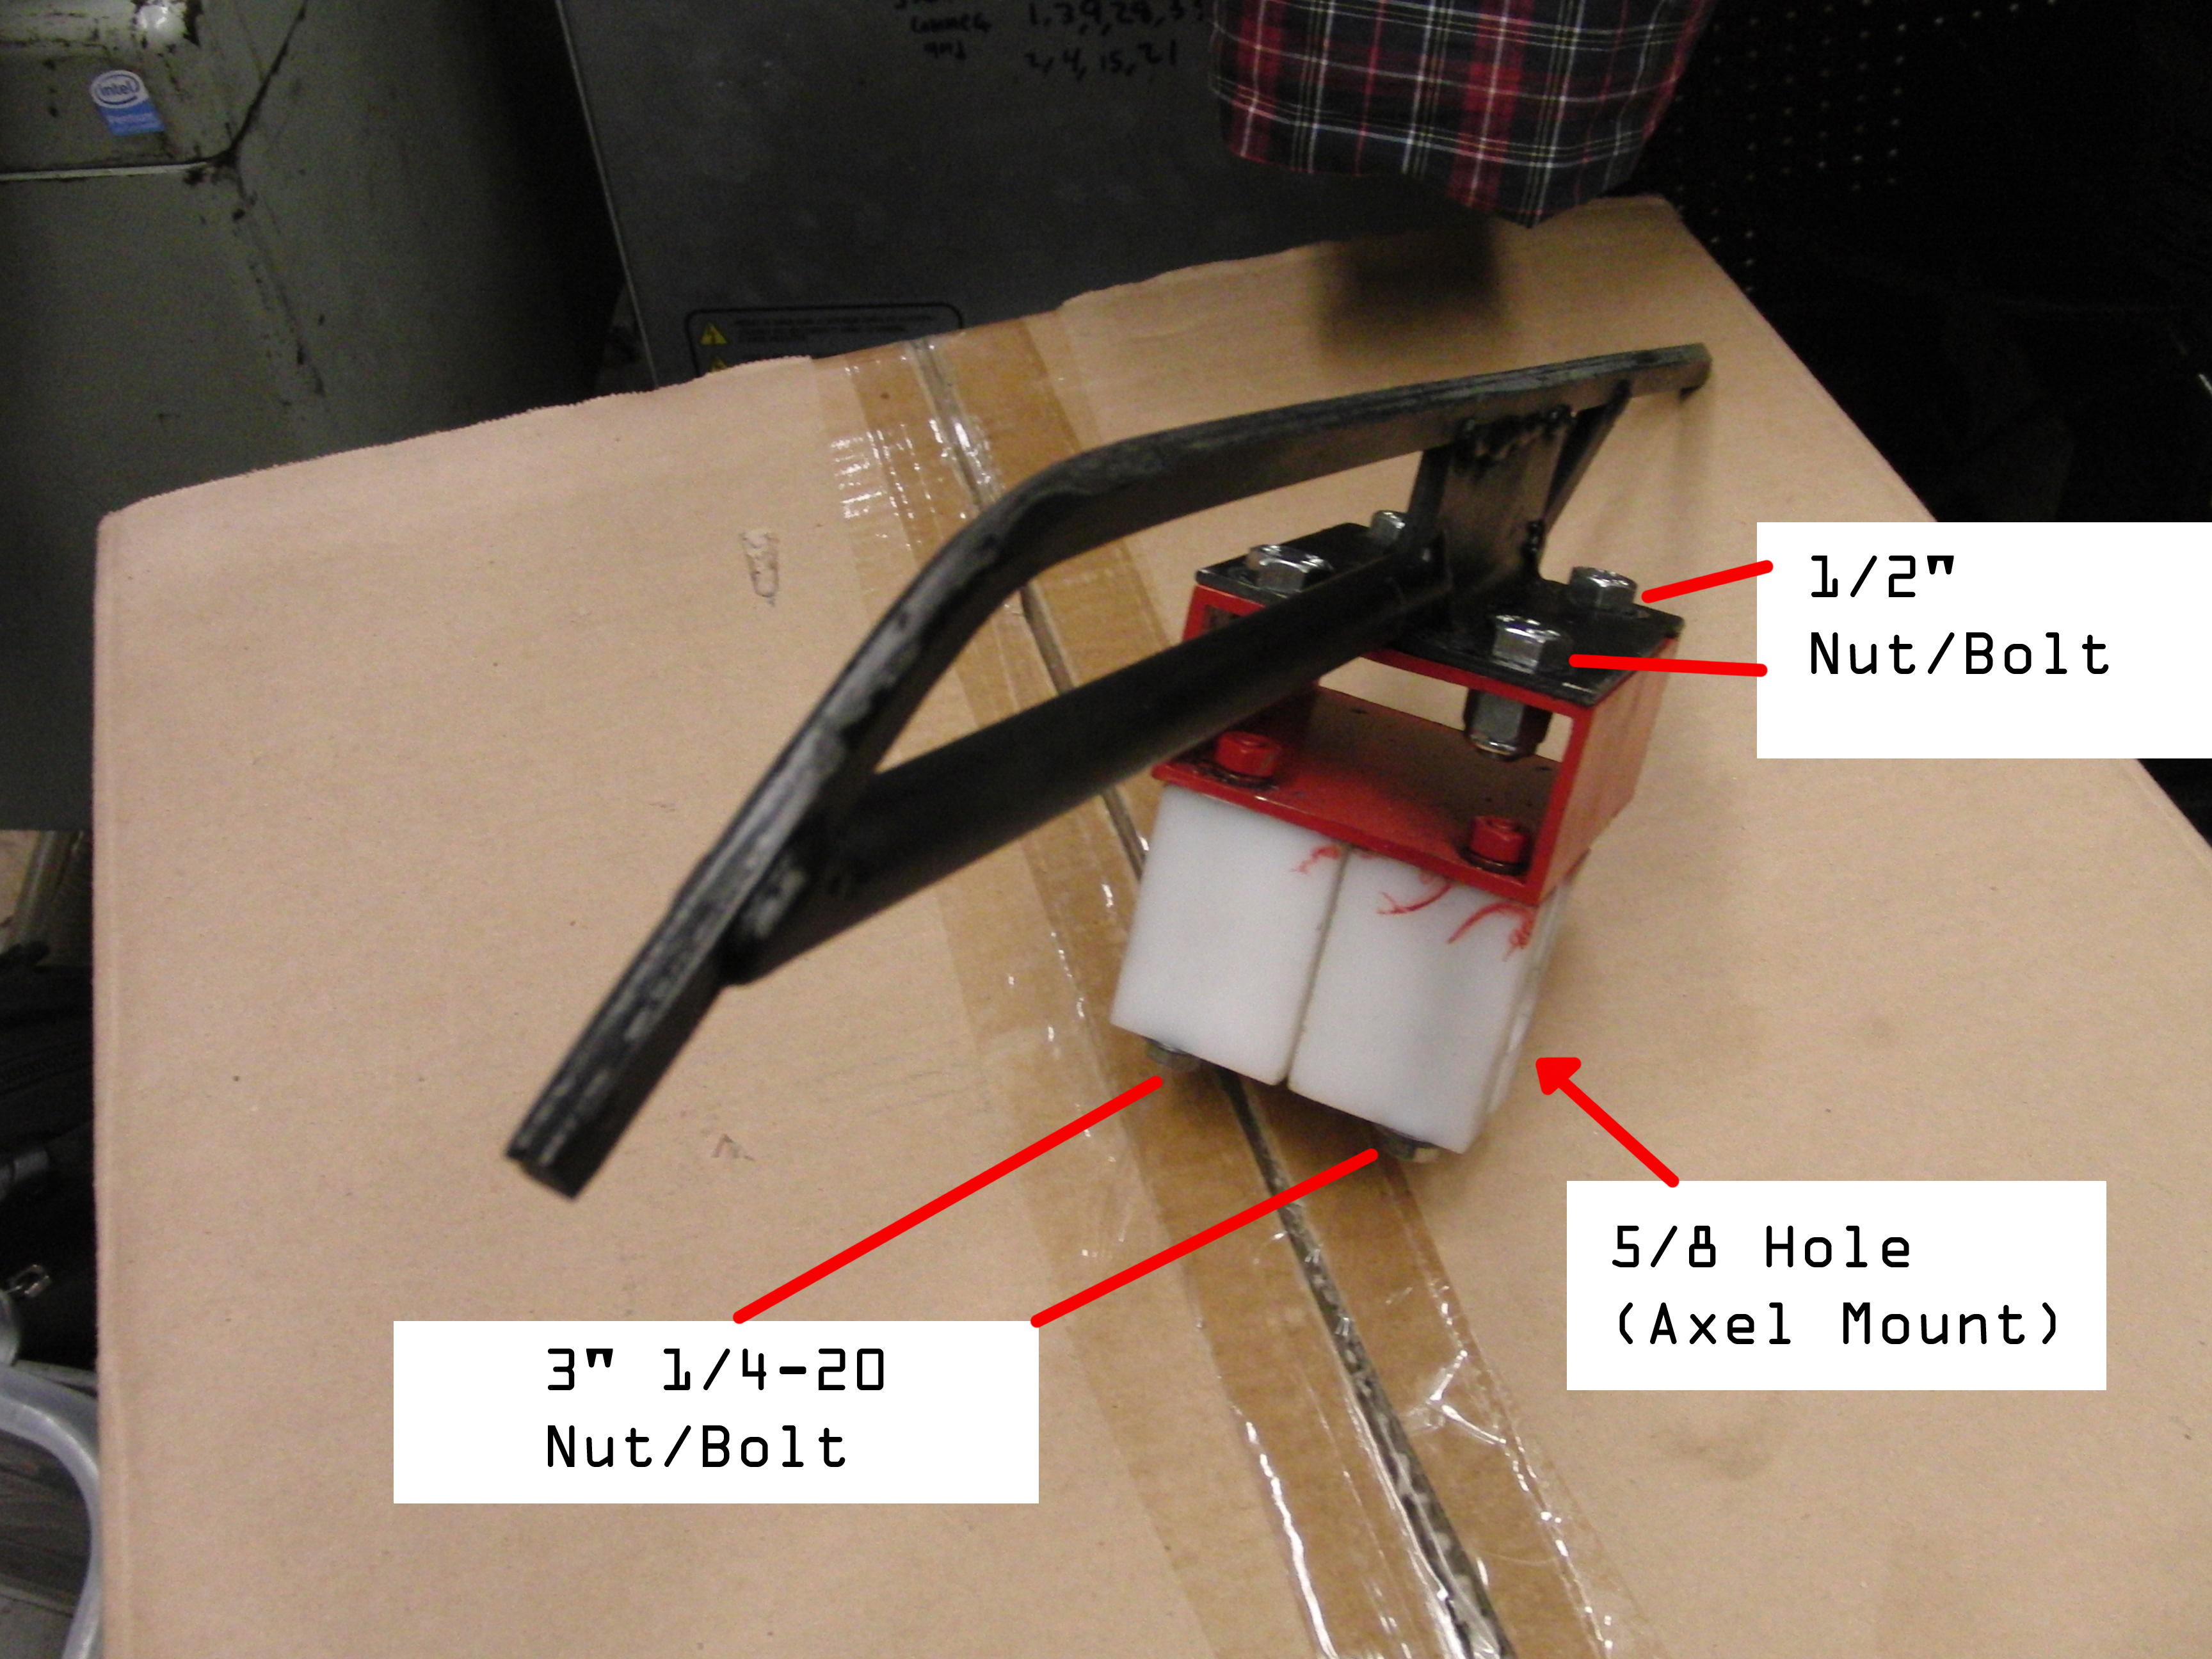
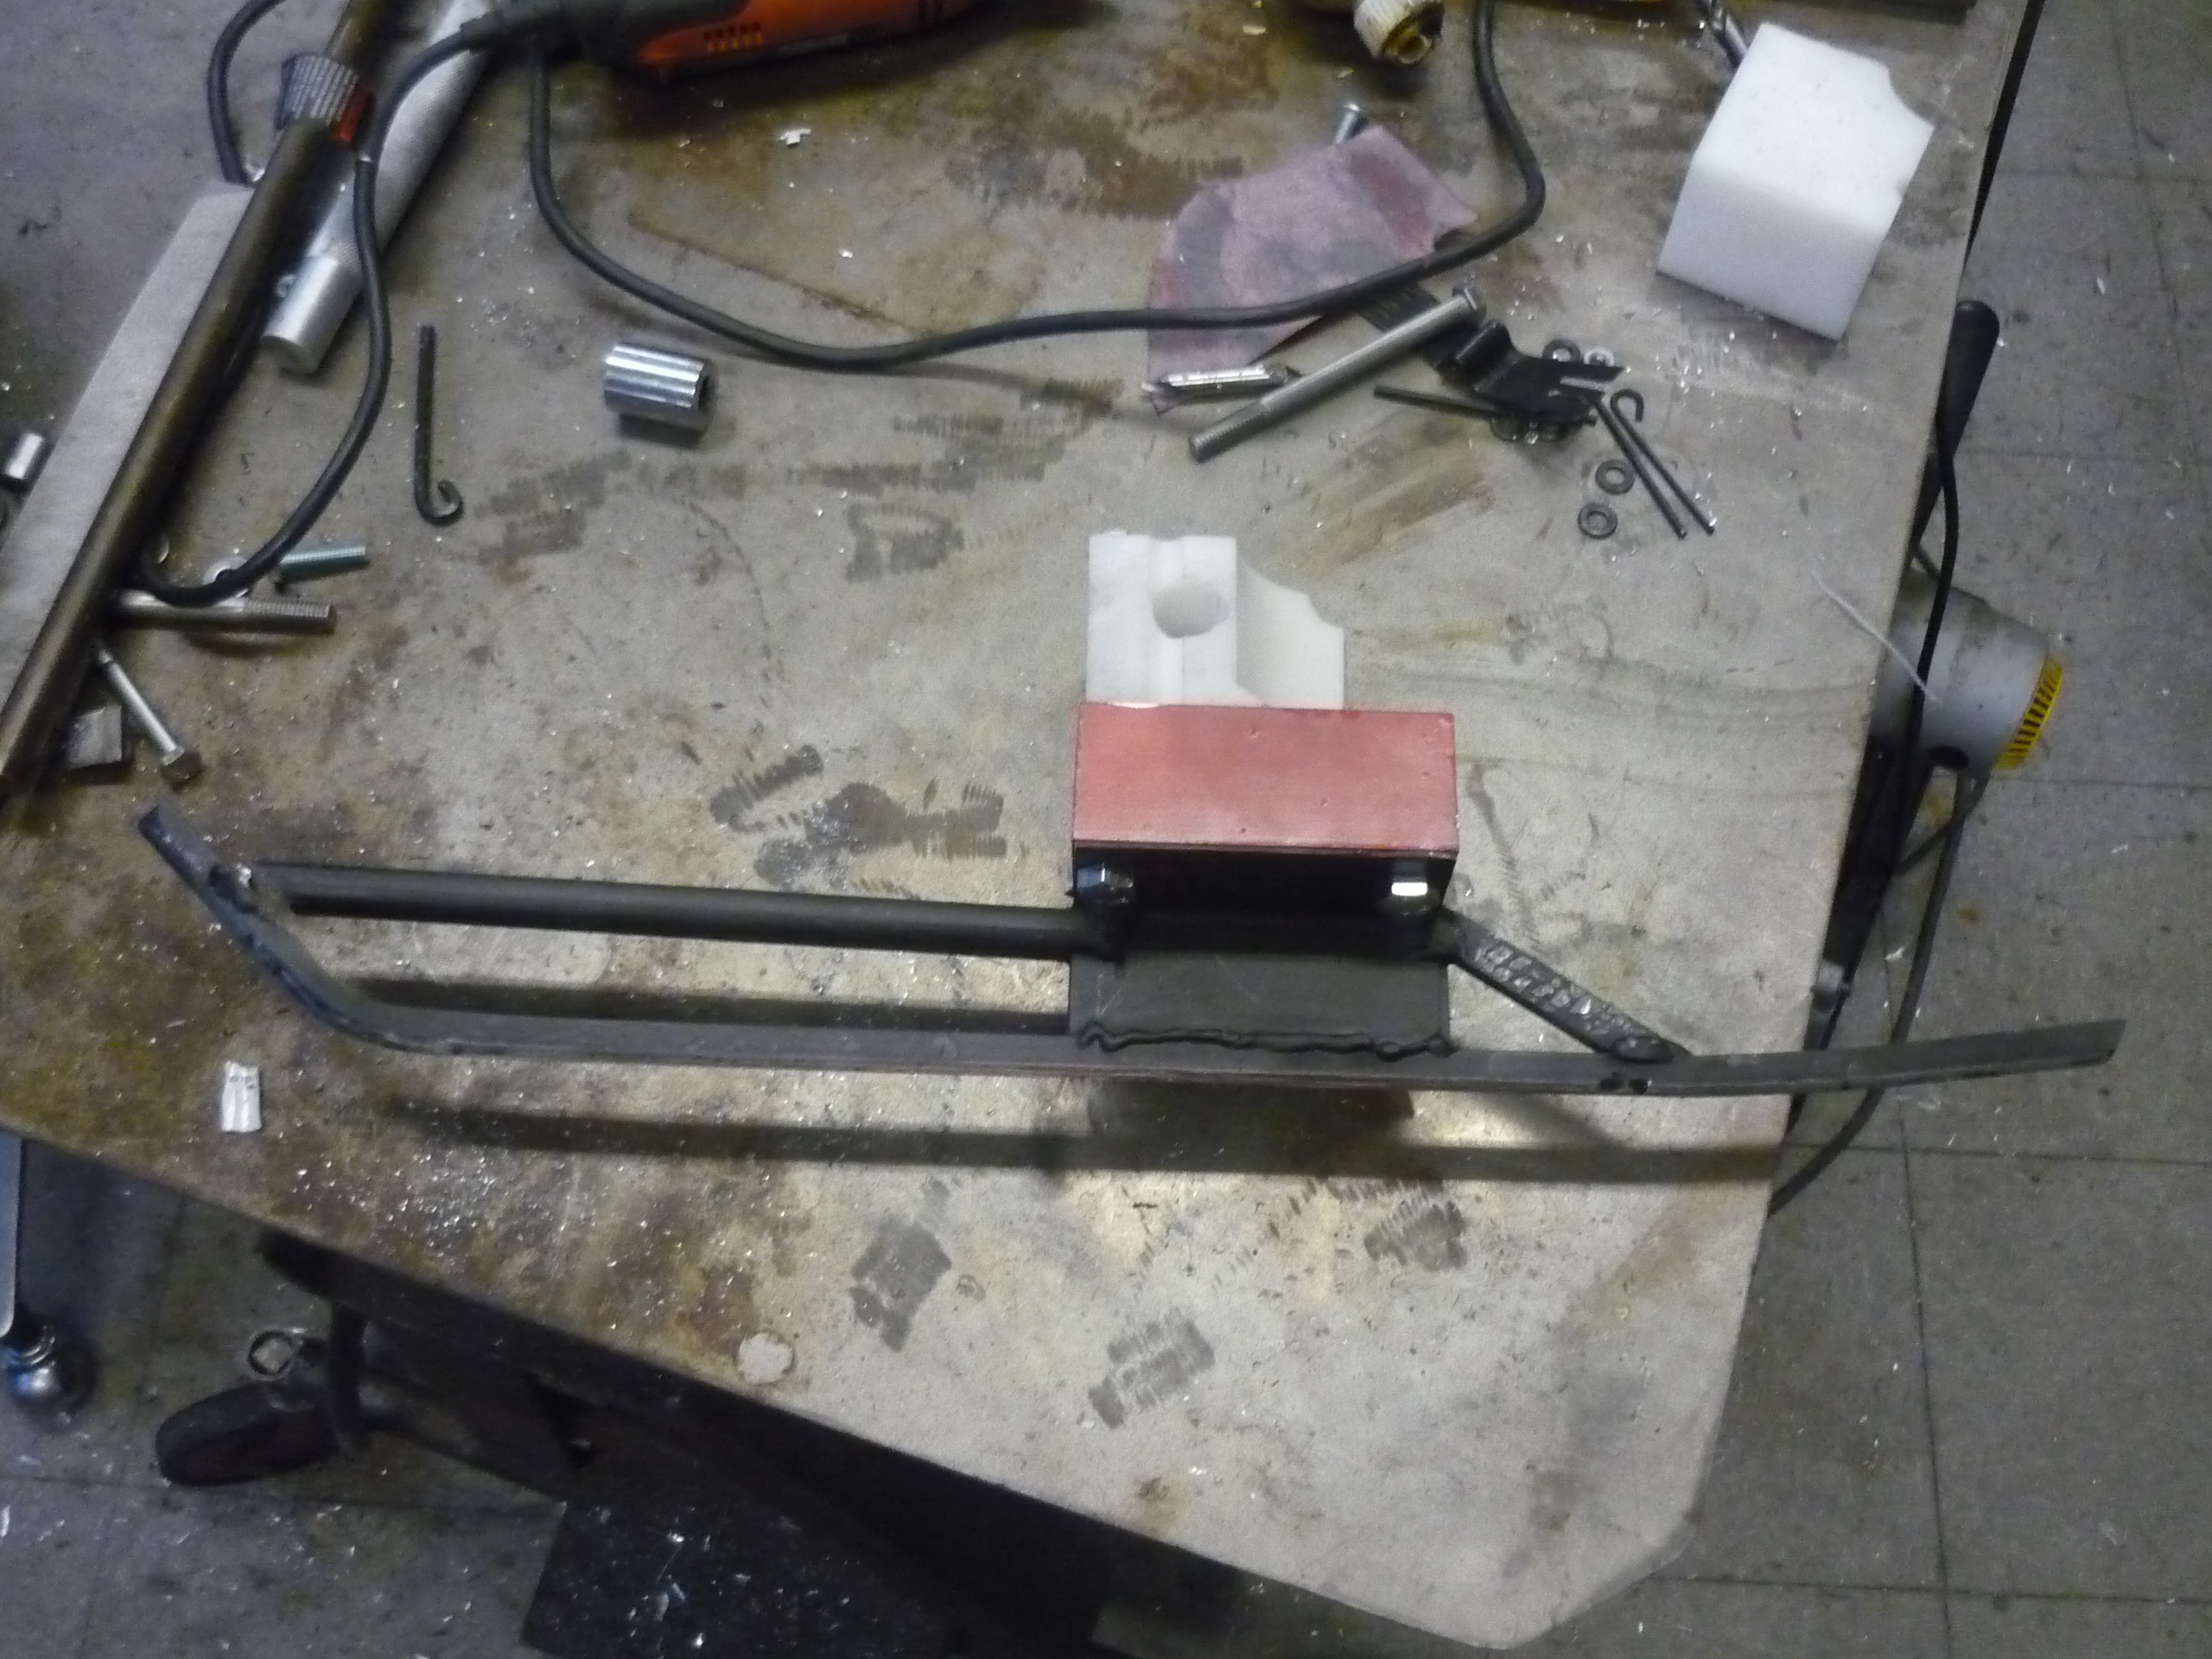
frustrated because you have little patience Unfortunately this was the one time I did not have my camera handy, and I wanted to get back on the ice. This was haistly thrown together, using a 1/2" x 1/4" steel bar, an 'L' bracket, |
 |
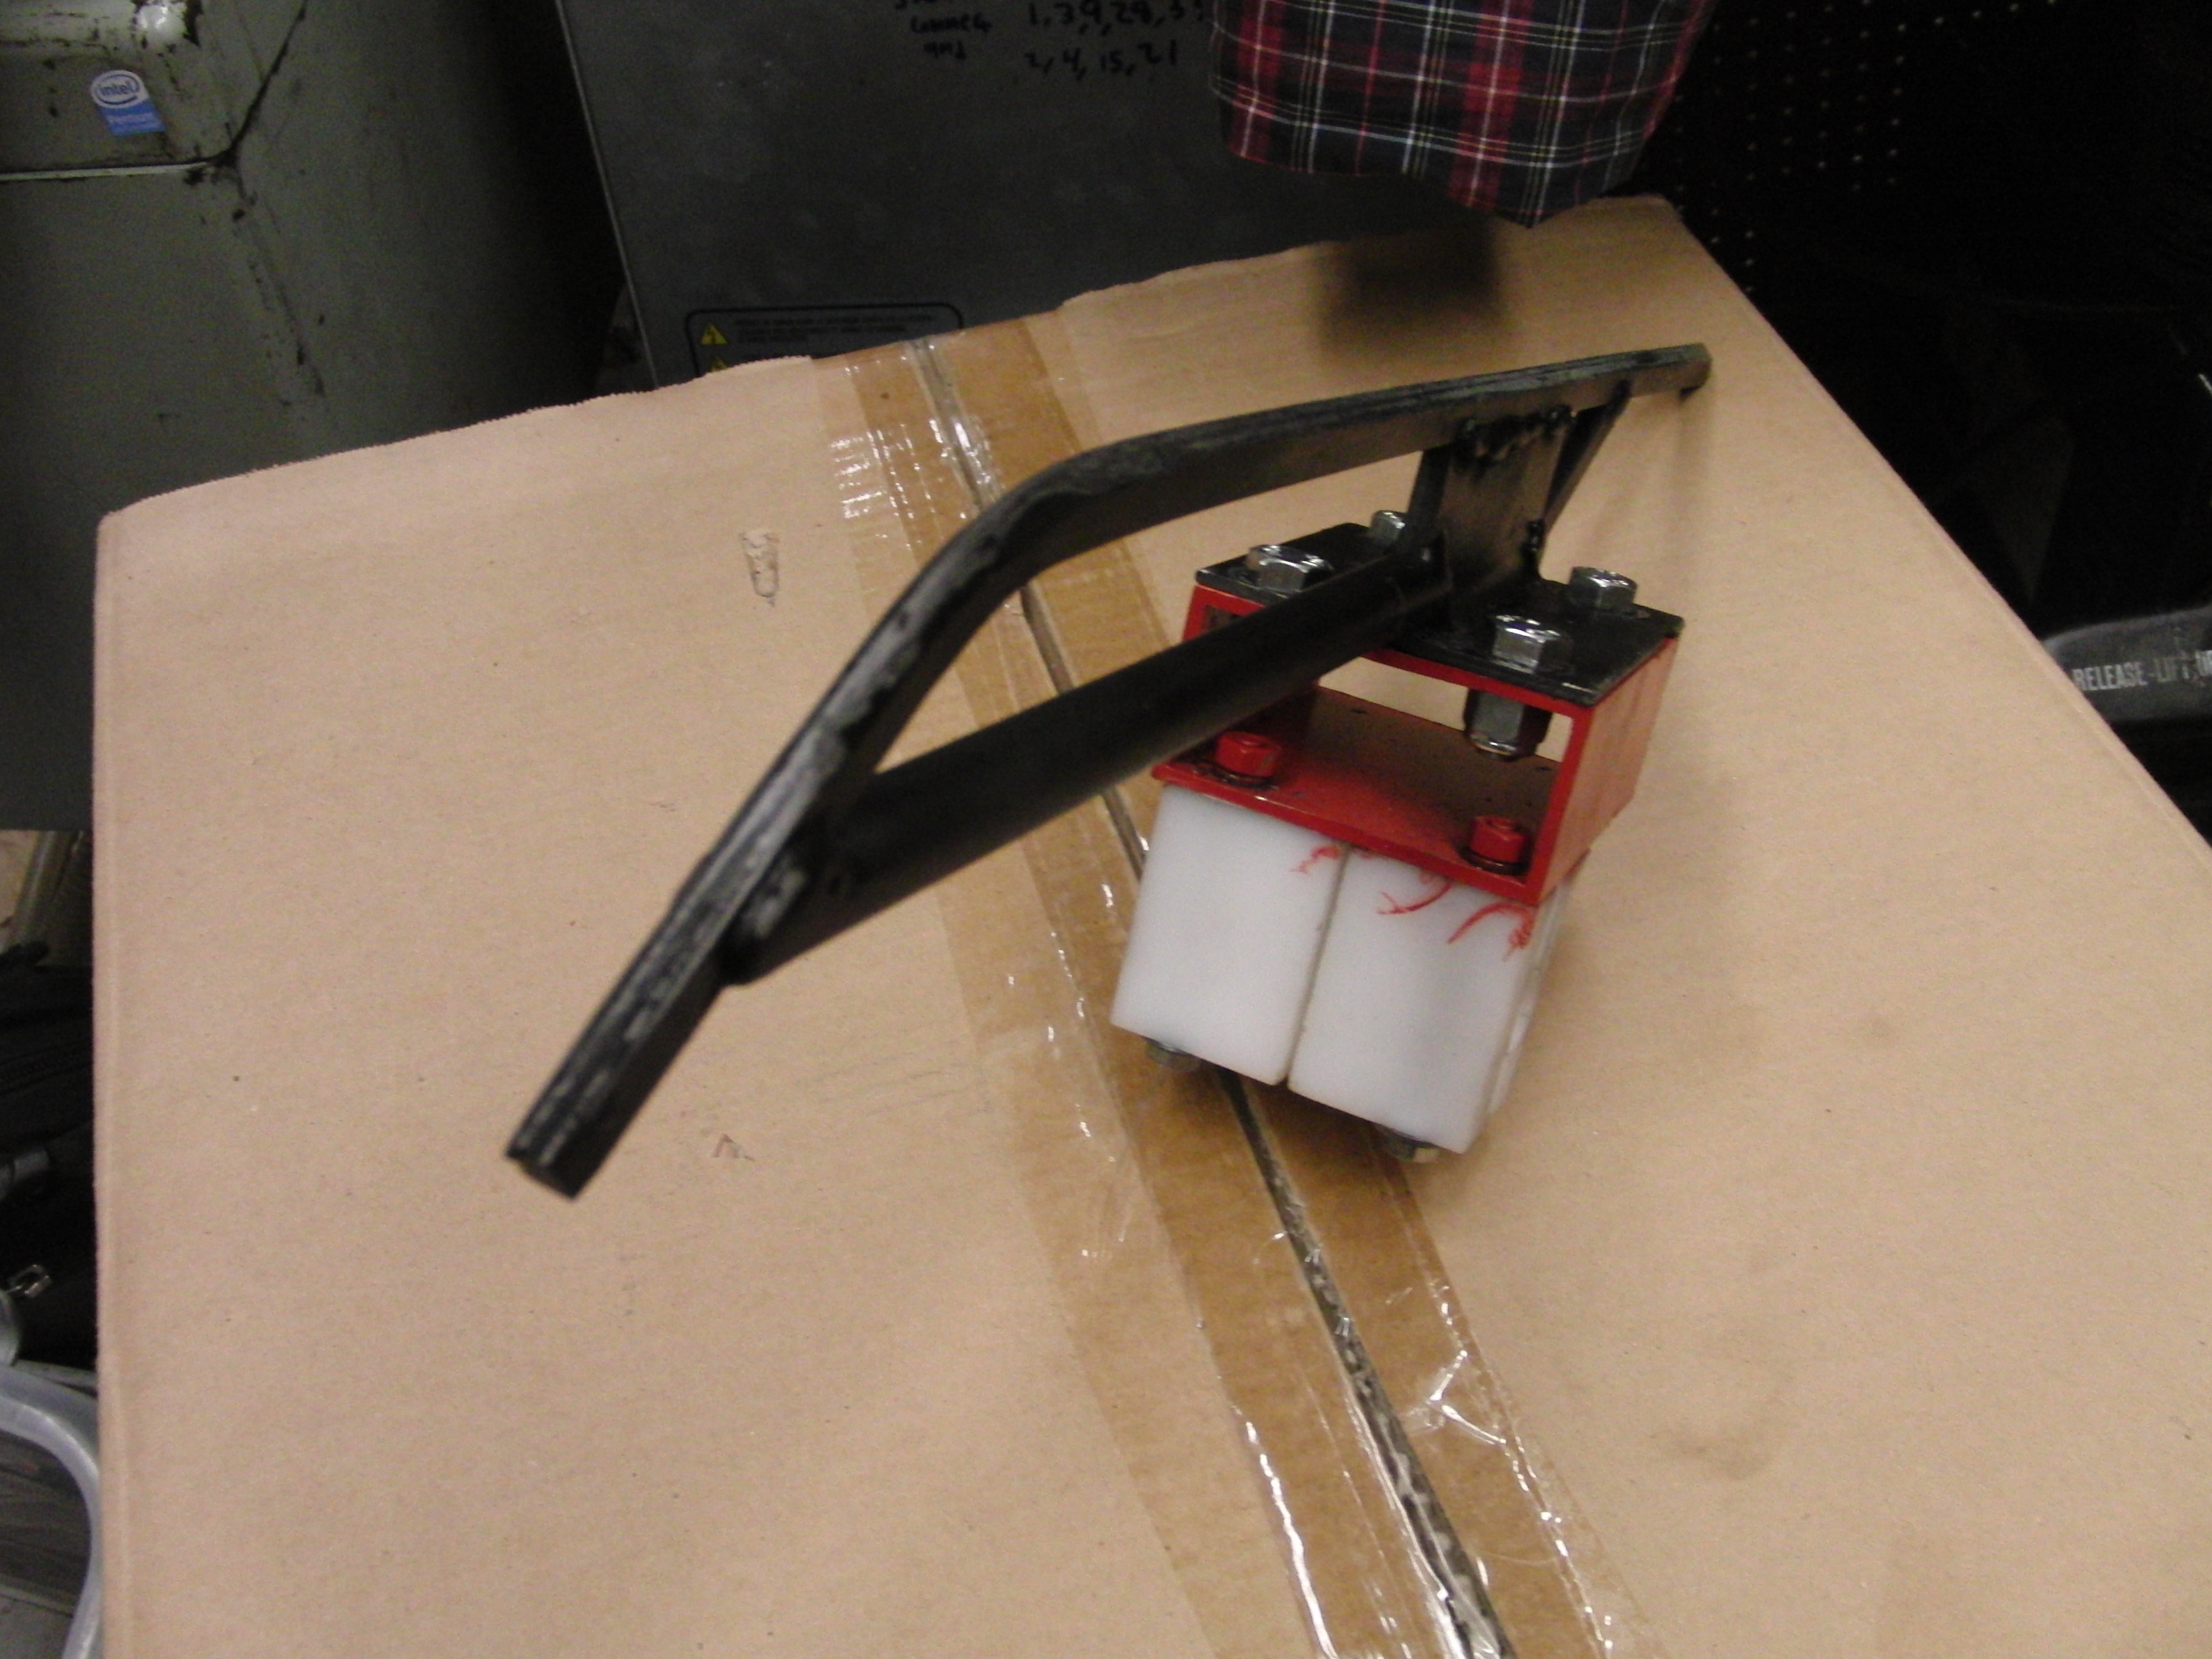 |
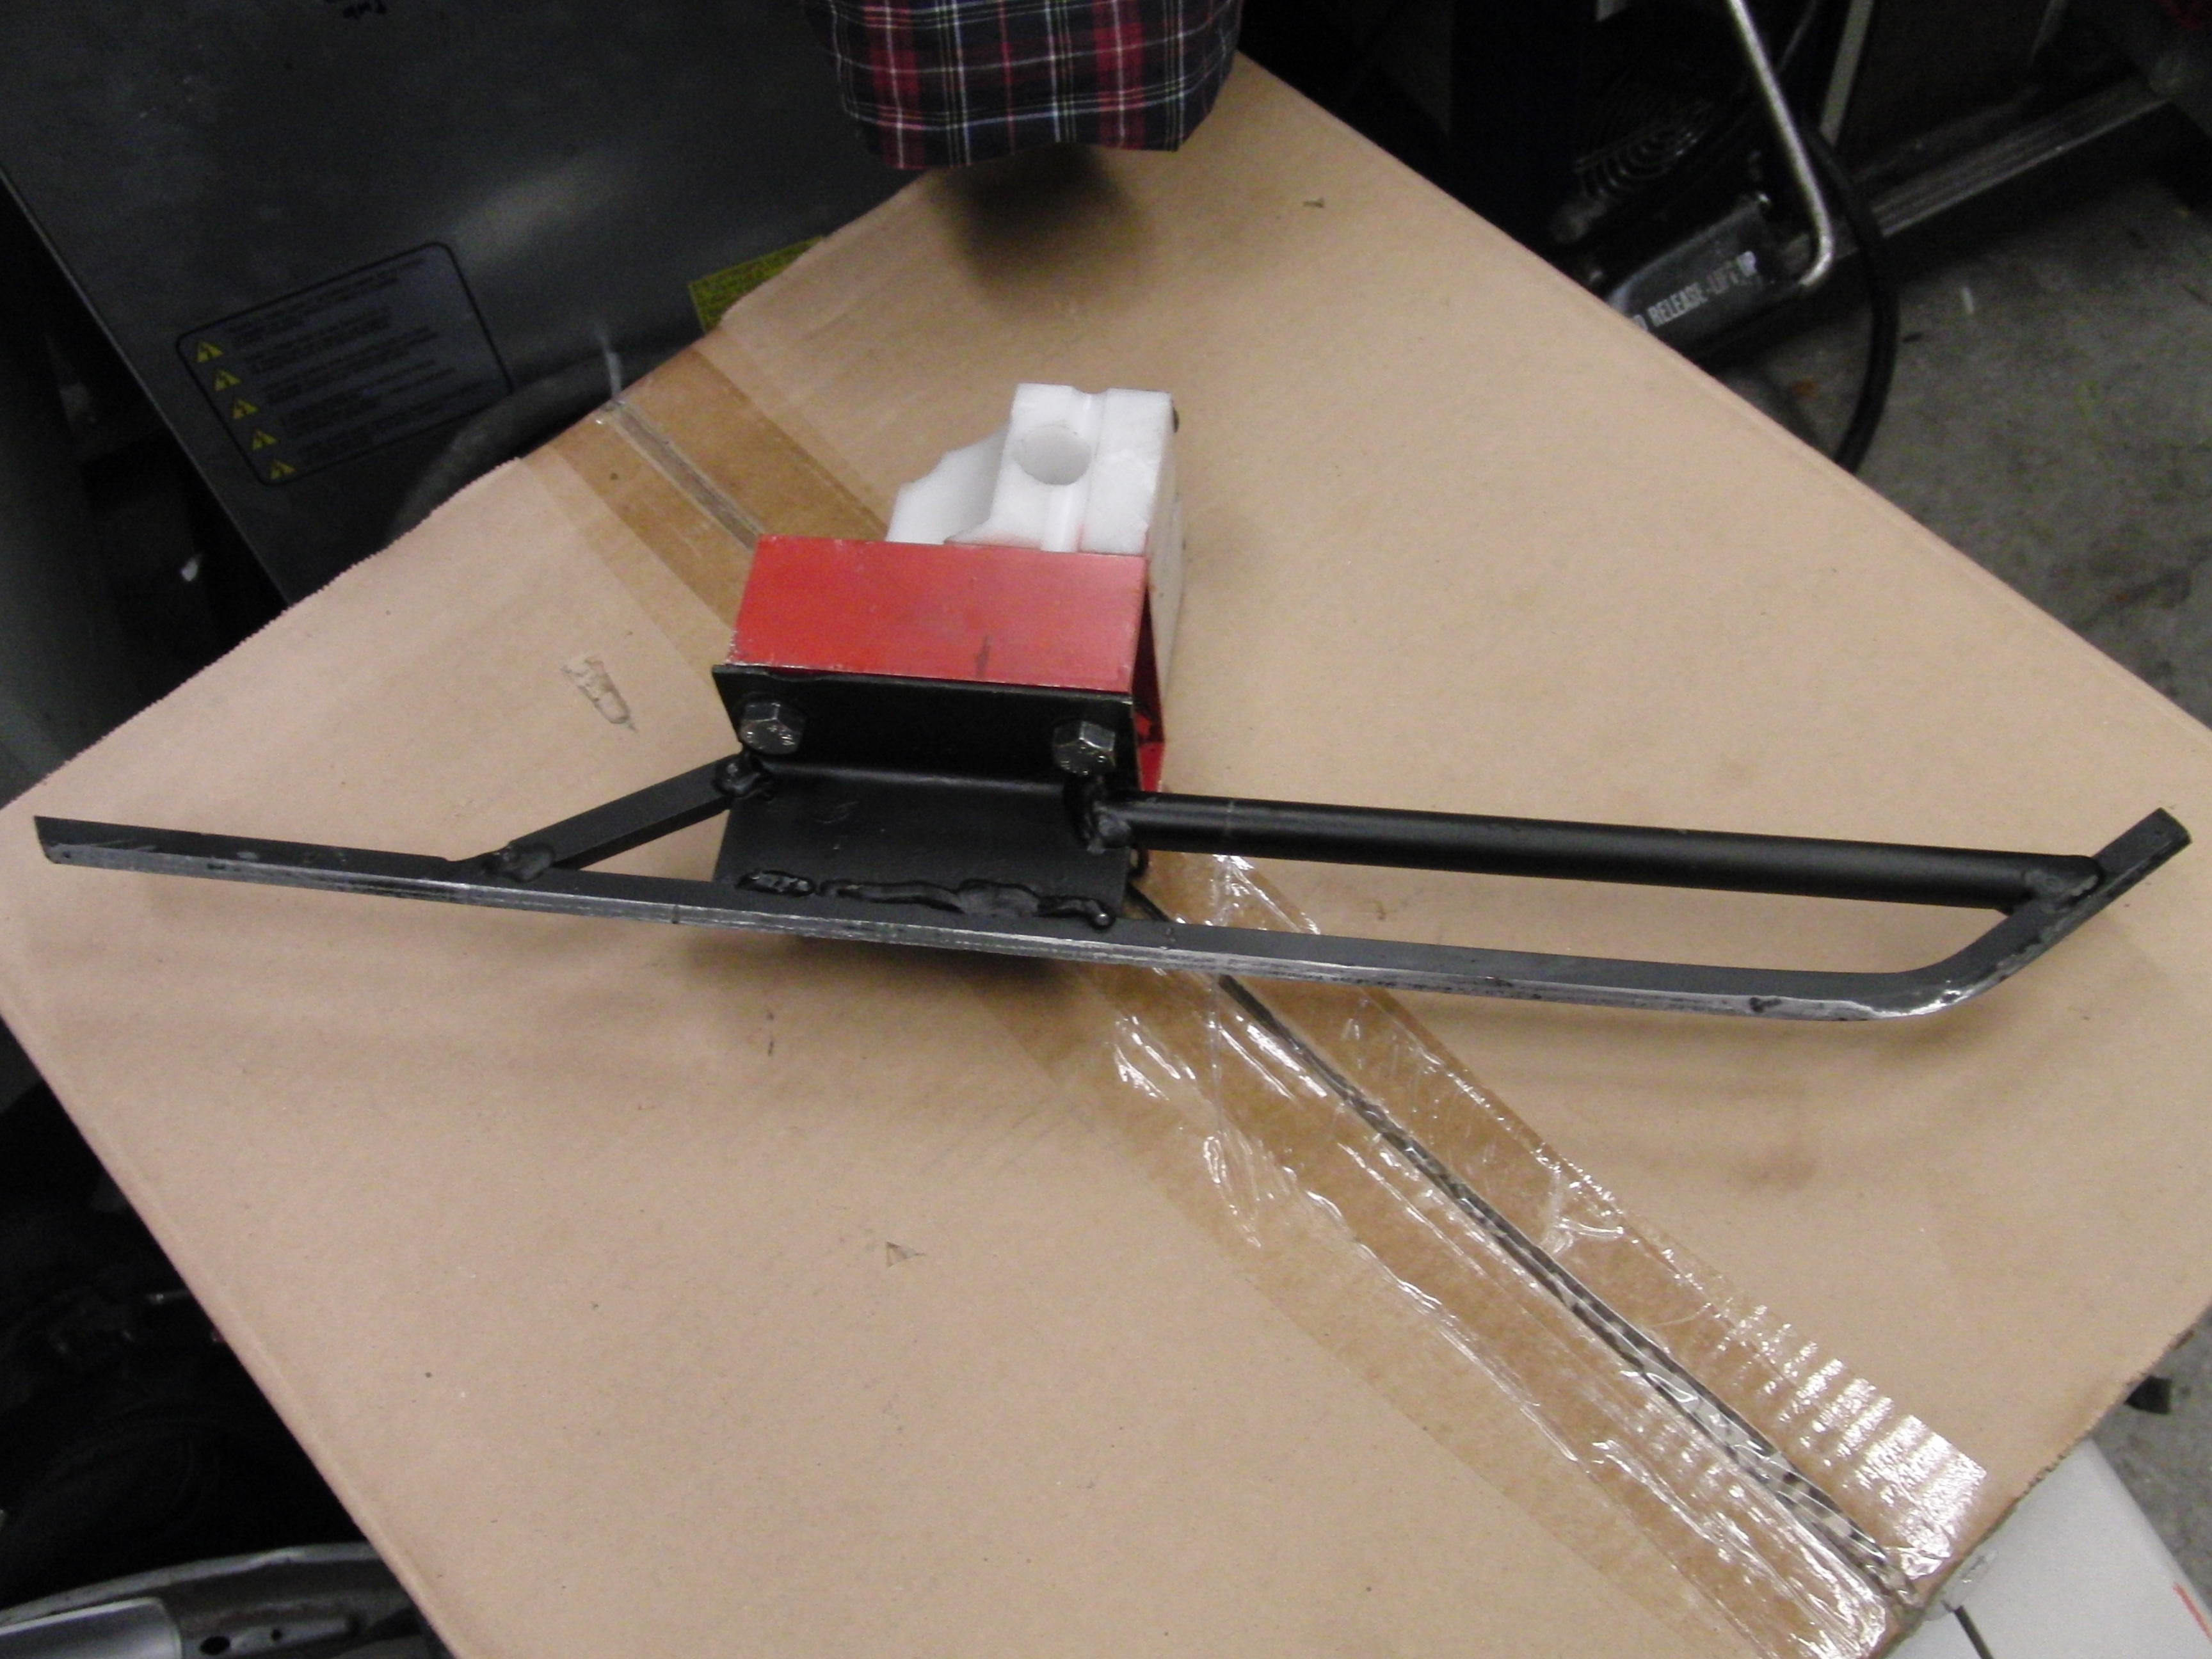
| Some
more views of a 'FLAT' ice skate front end. The box below is a 100 pack of 26650 M1A cells, roughly 2" across, for scale. |
 |
 |
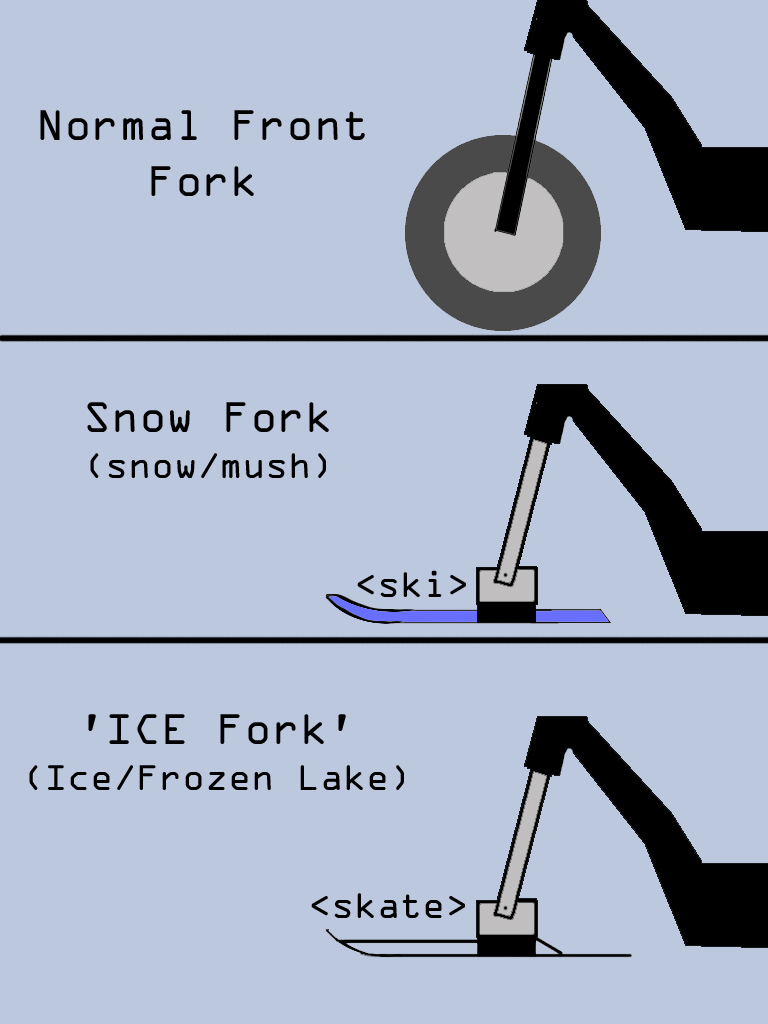
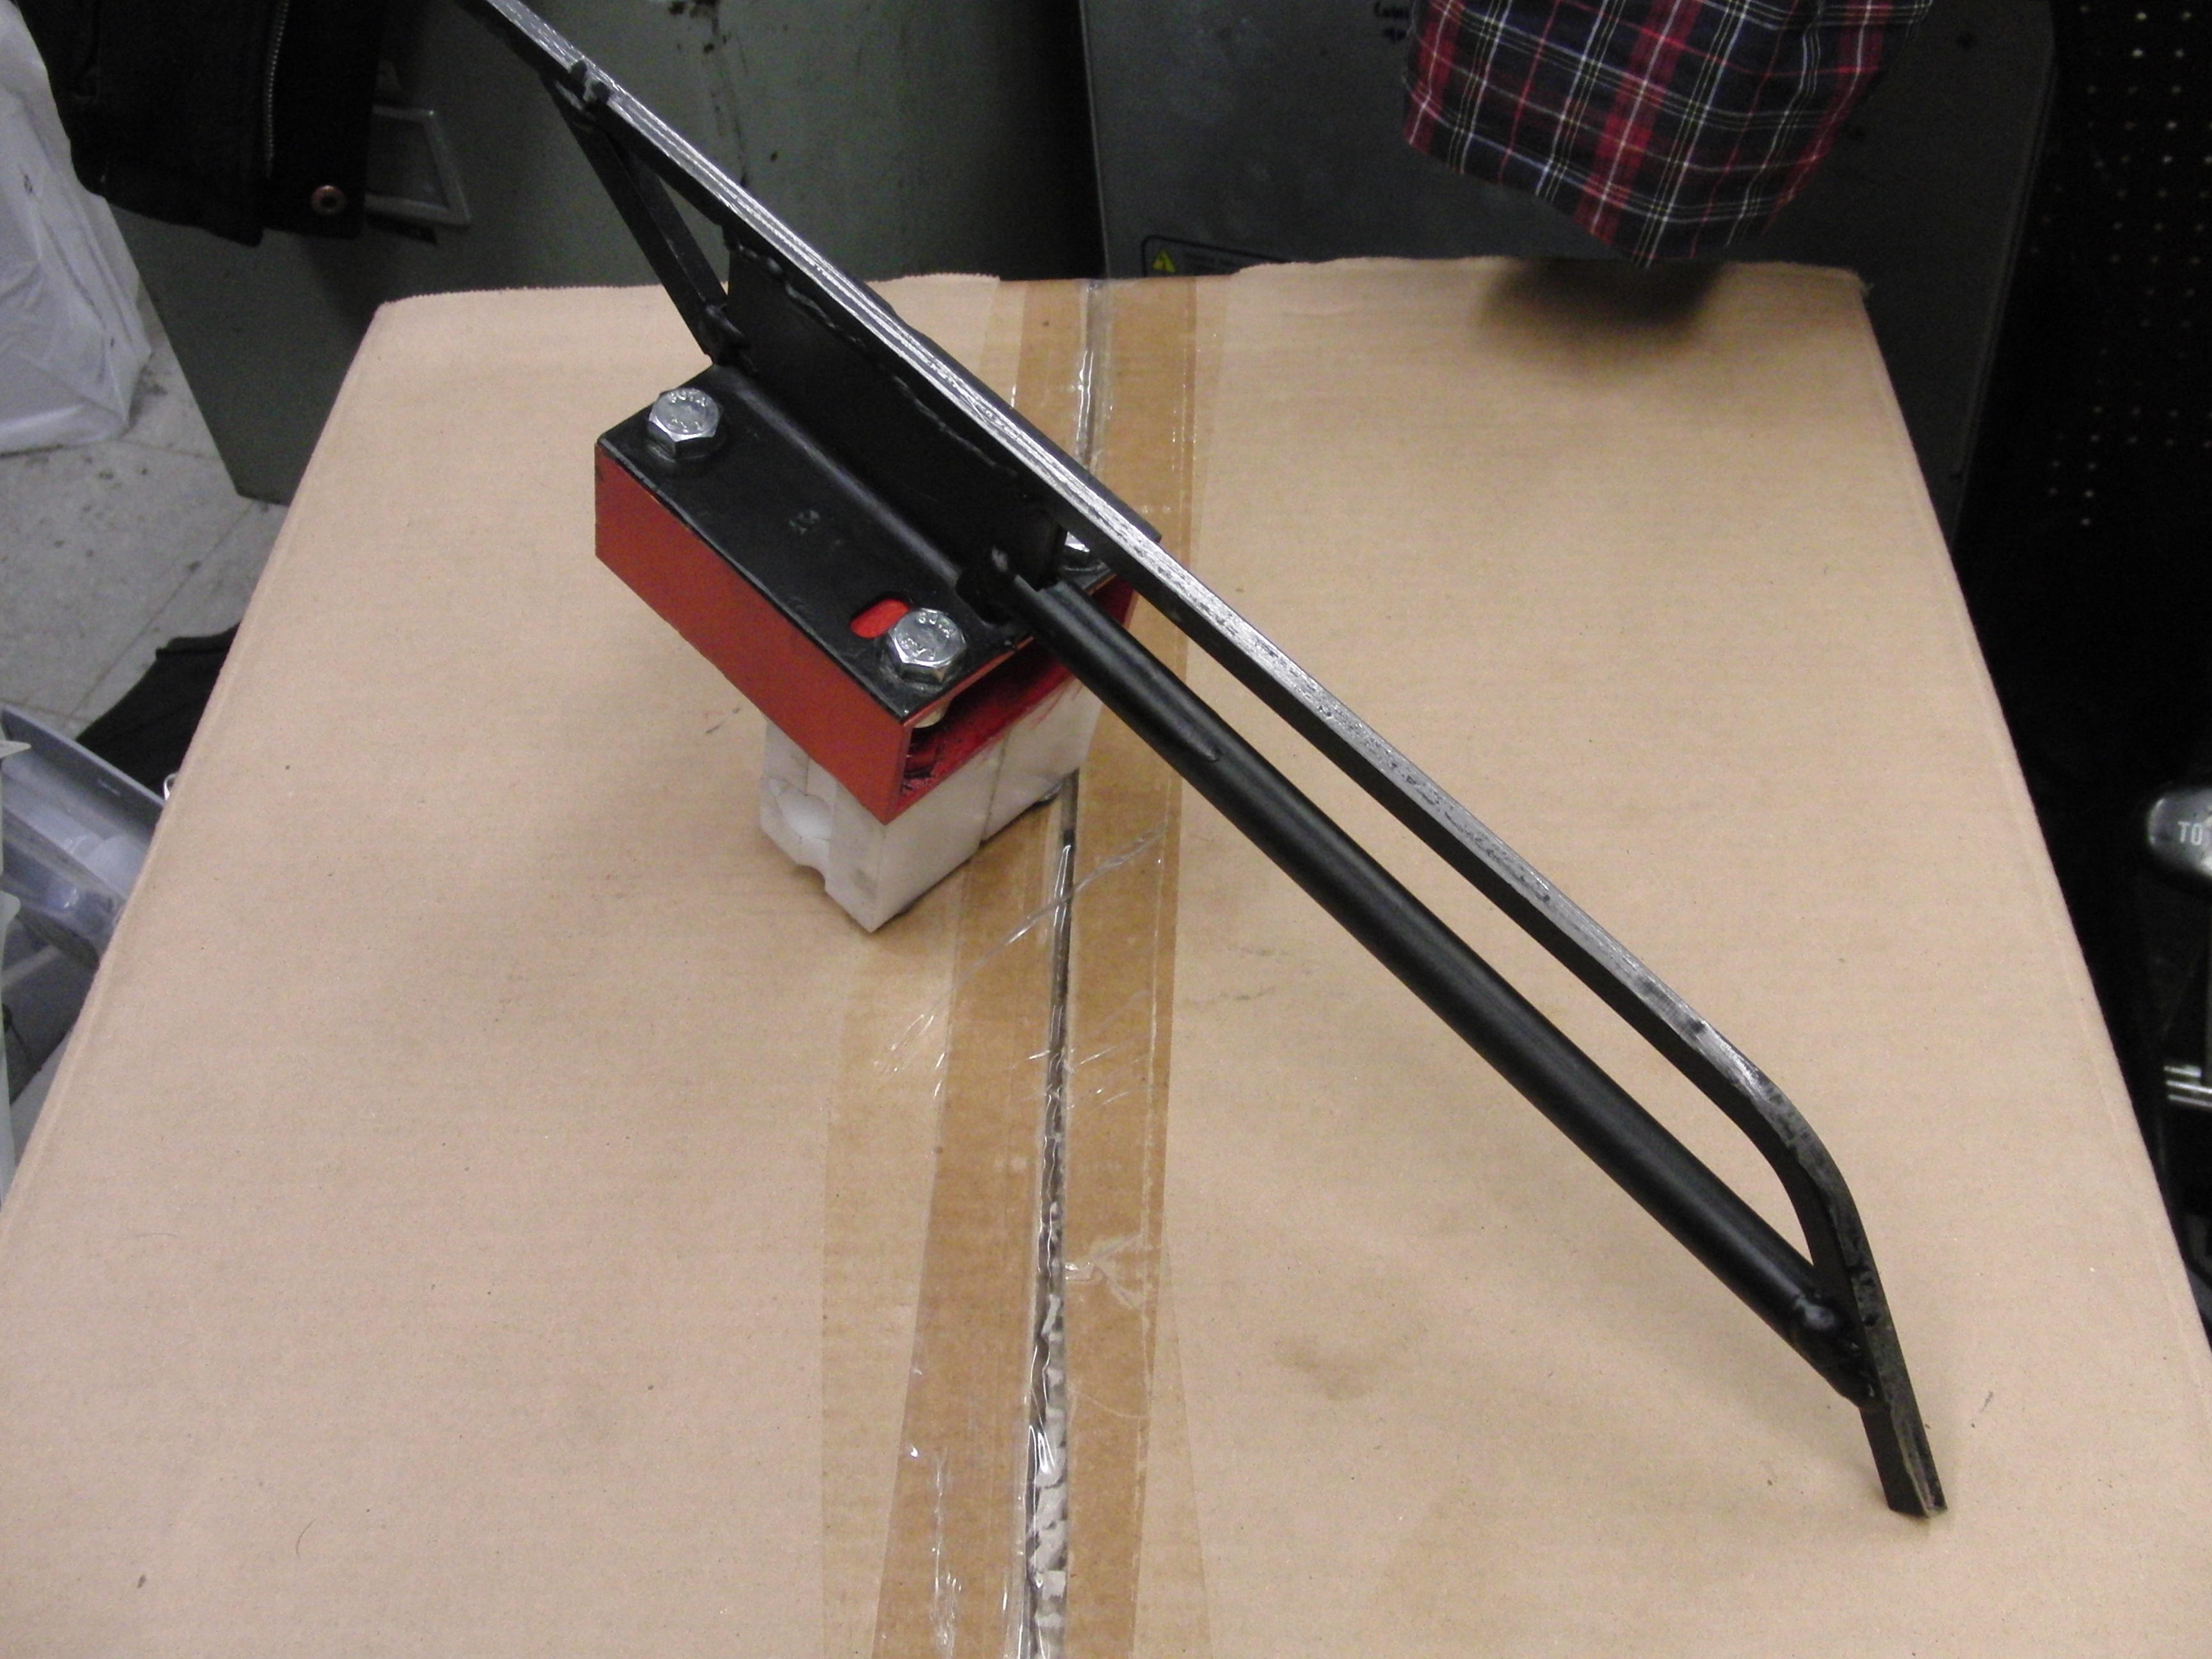
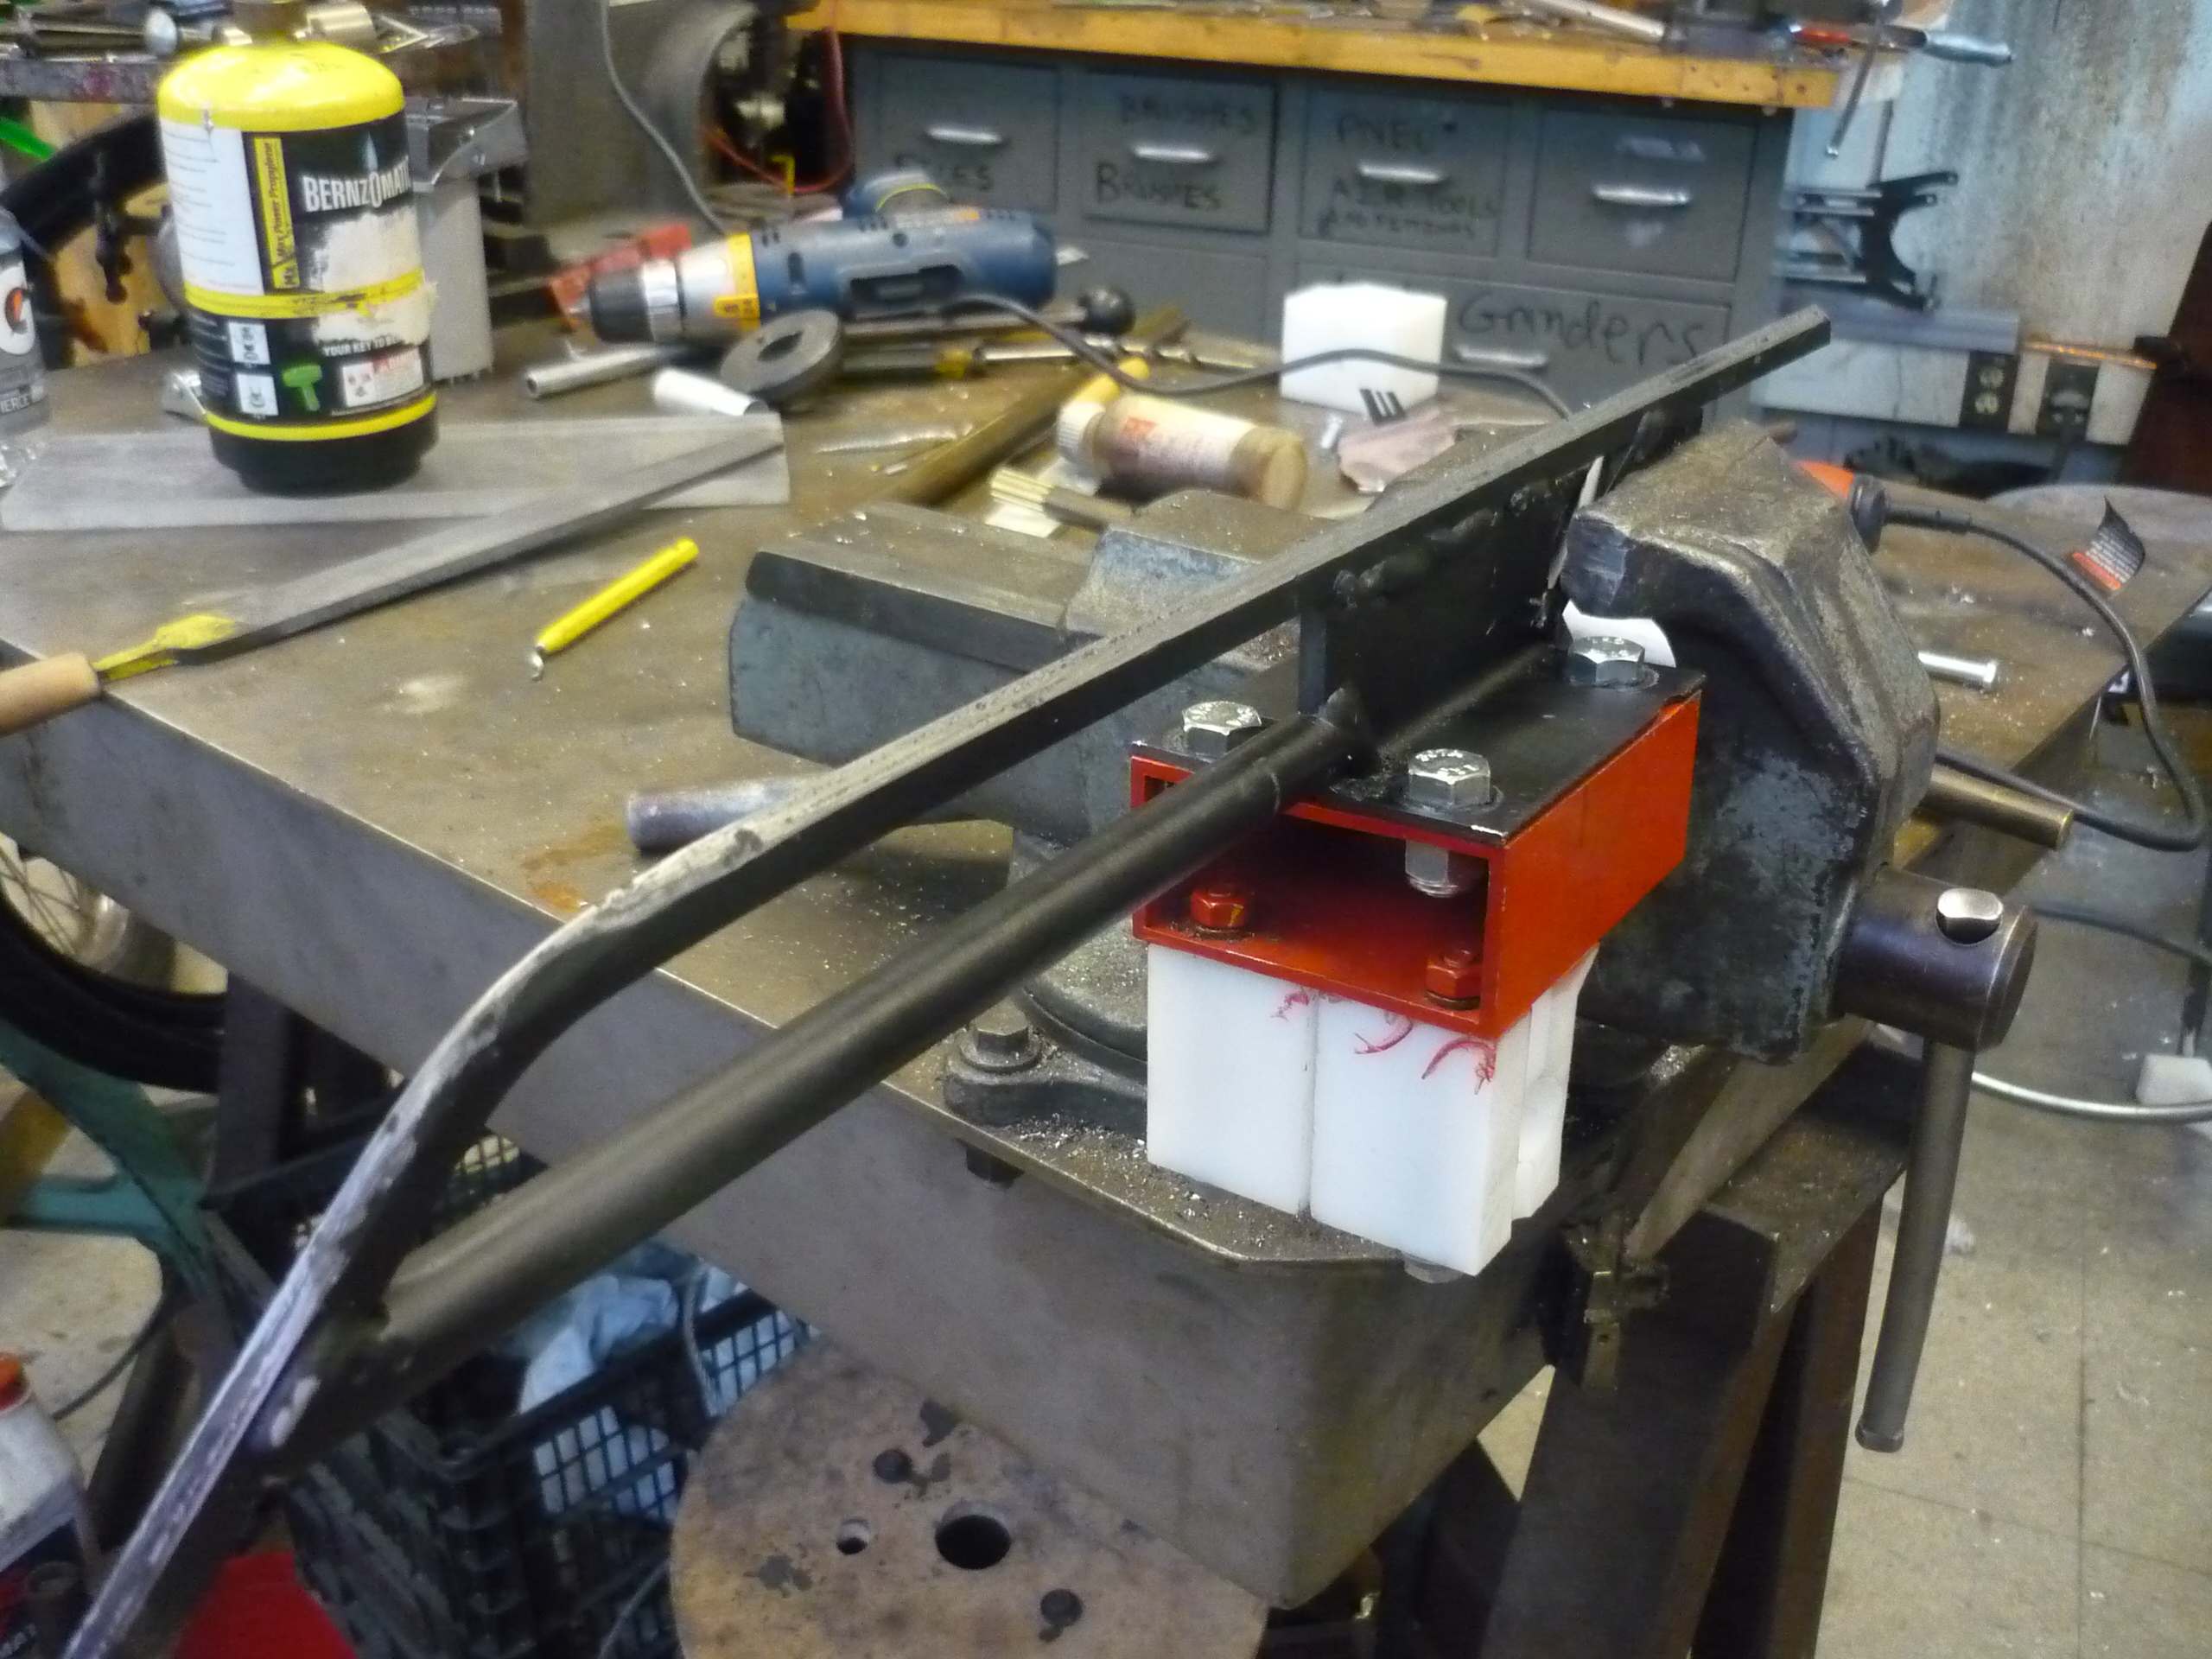
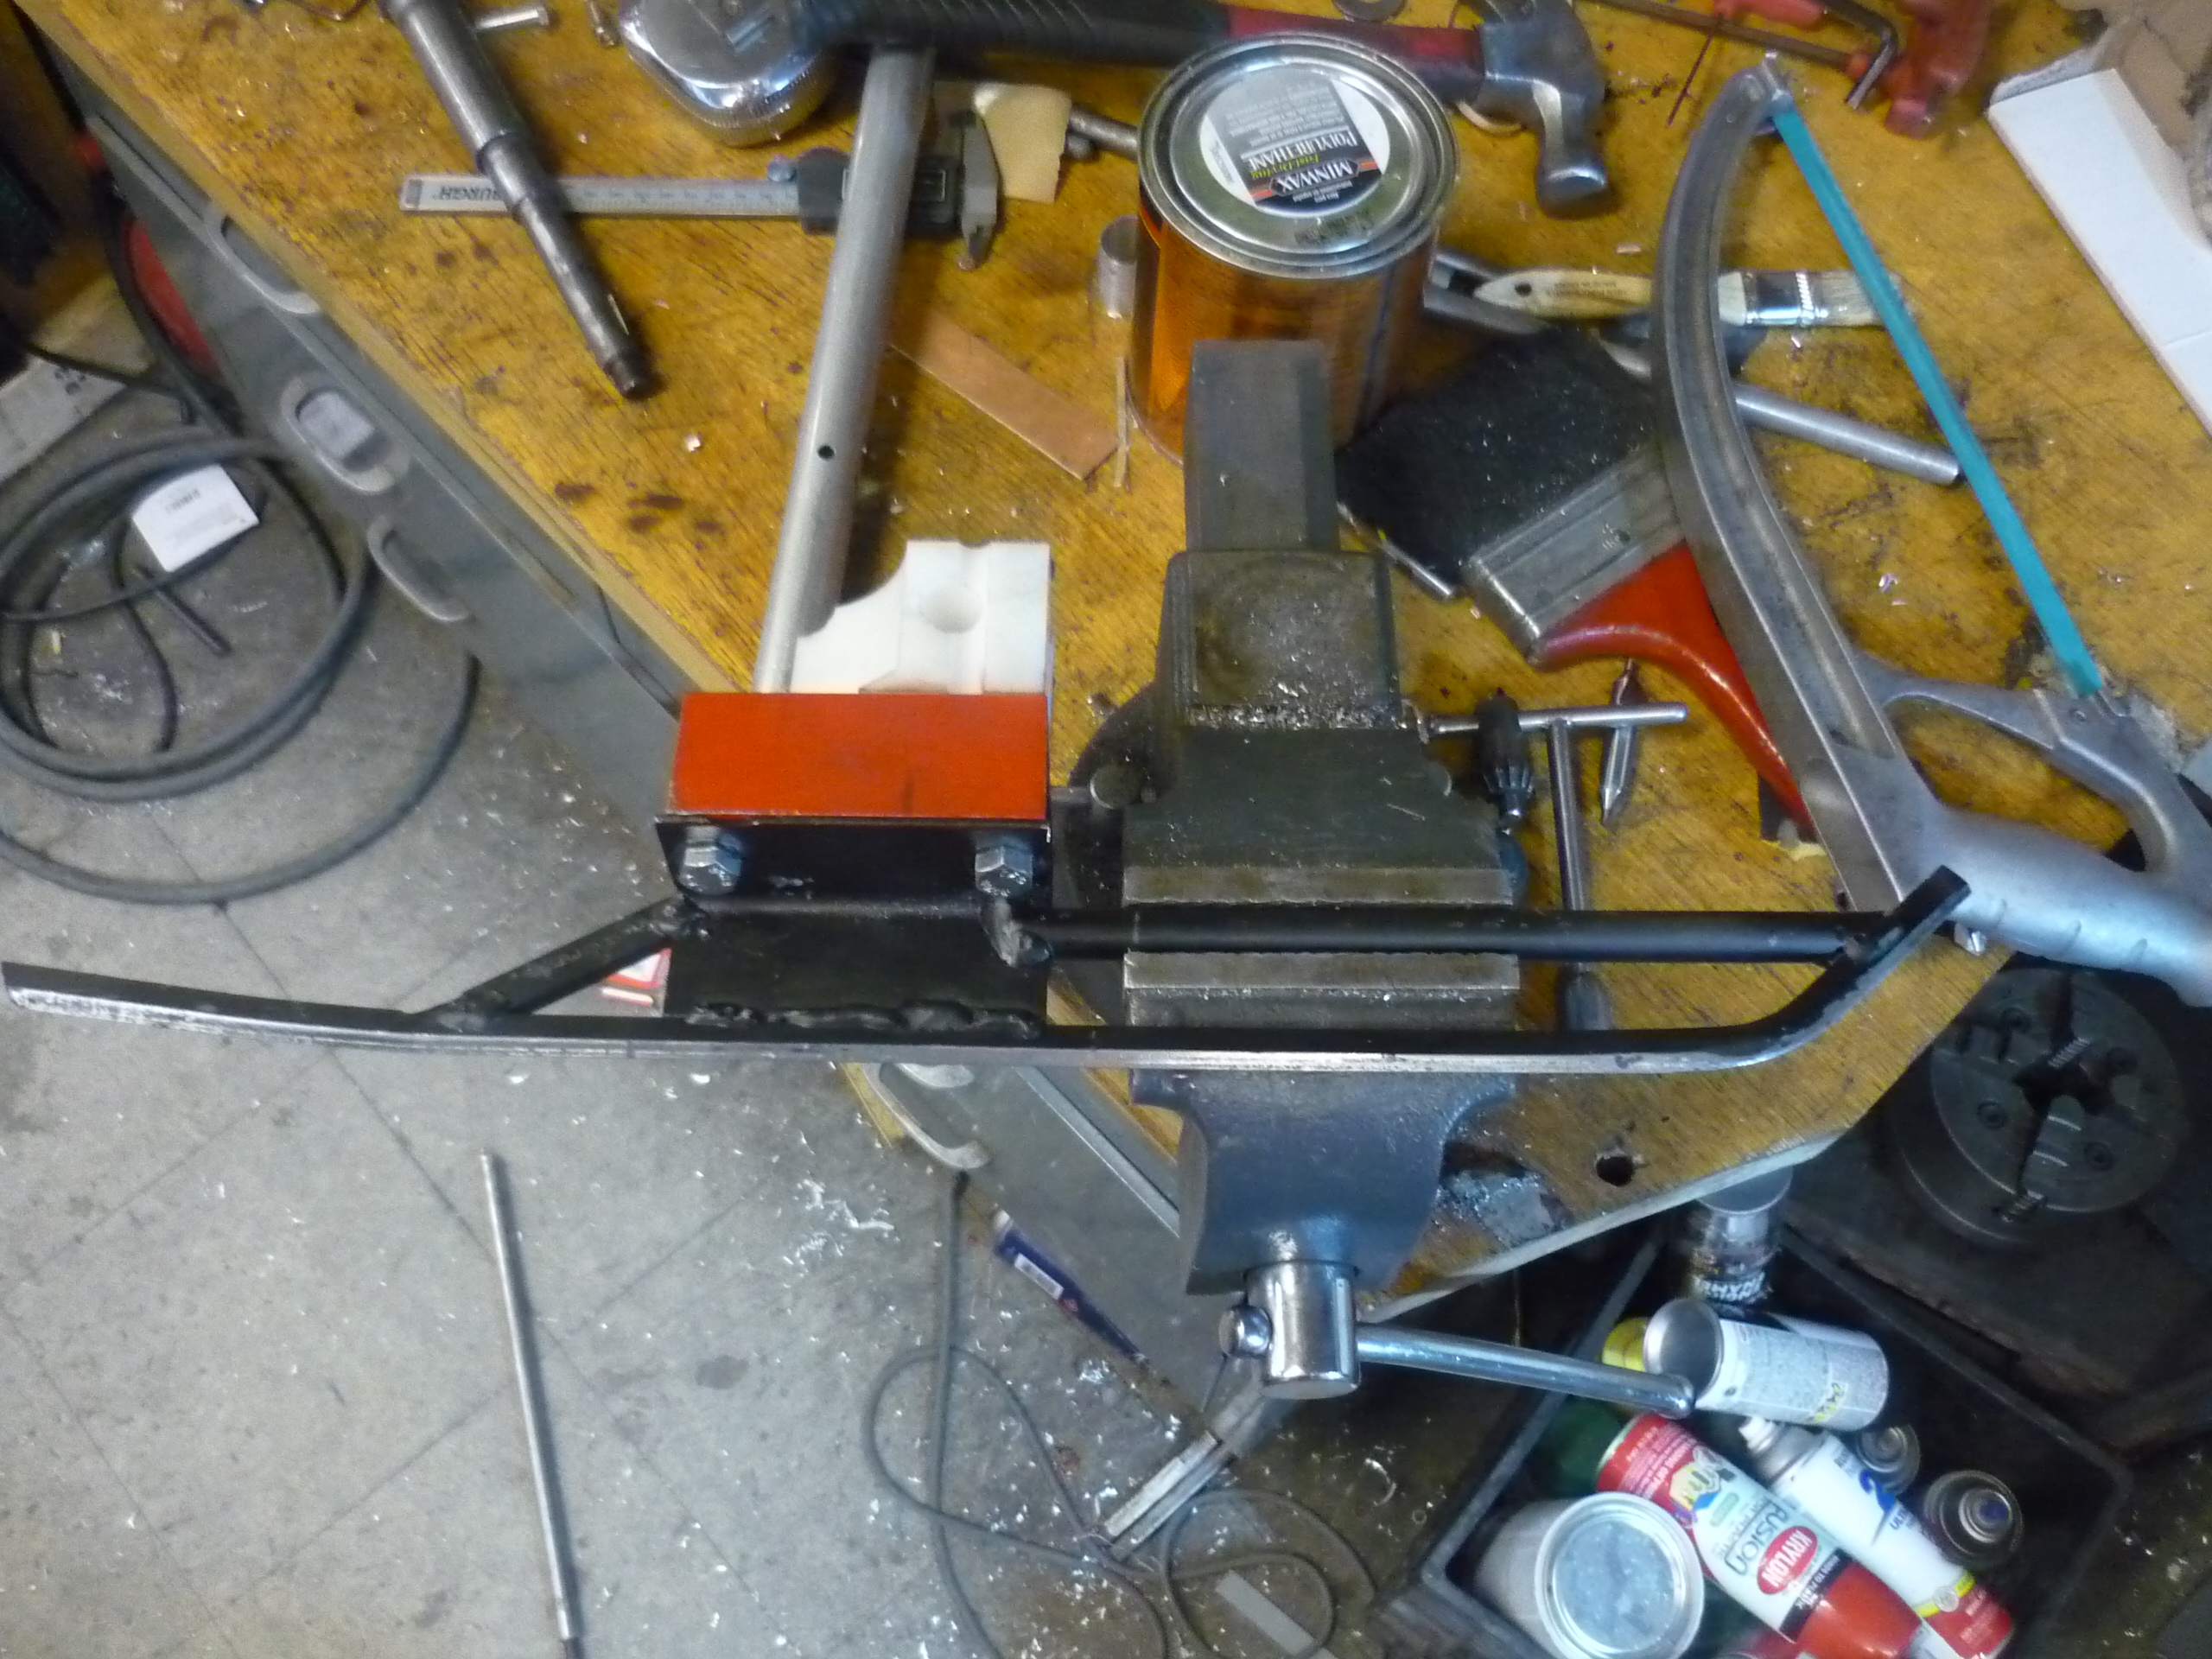
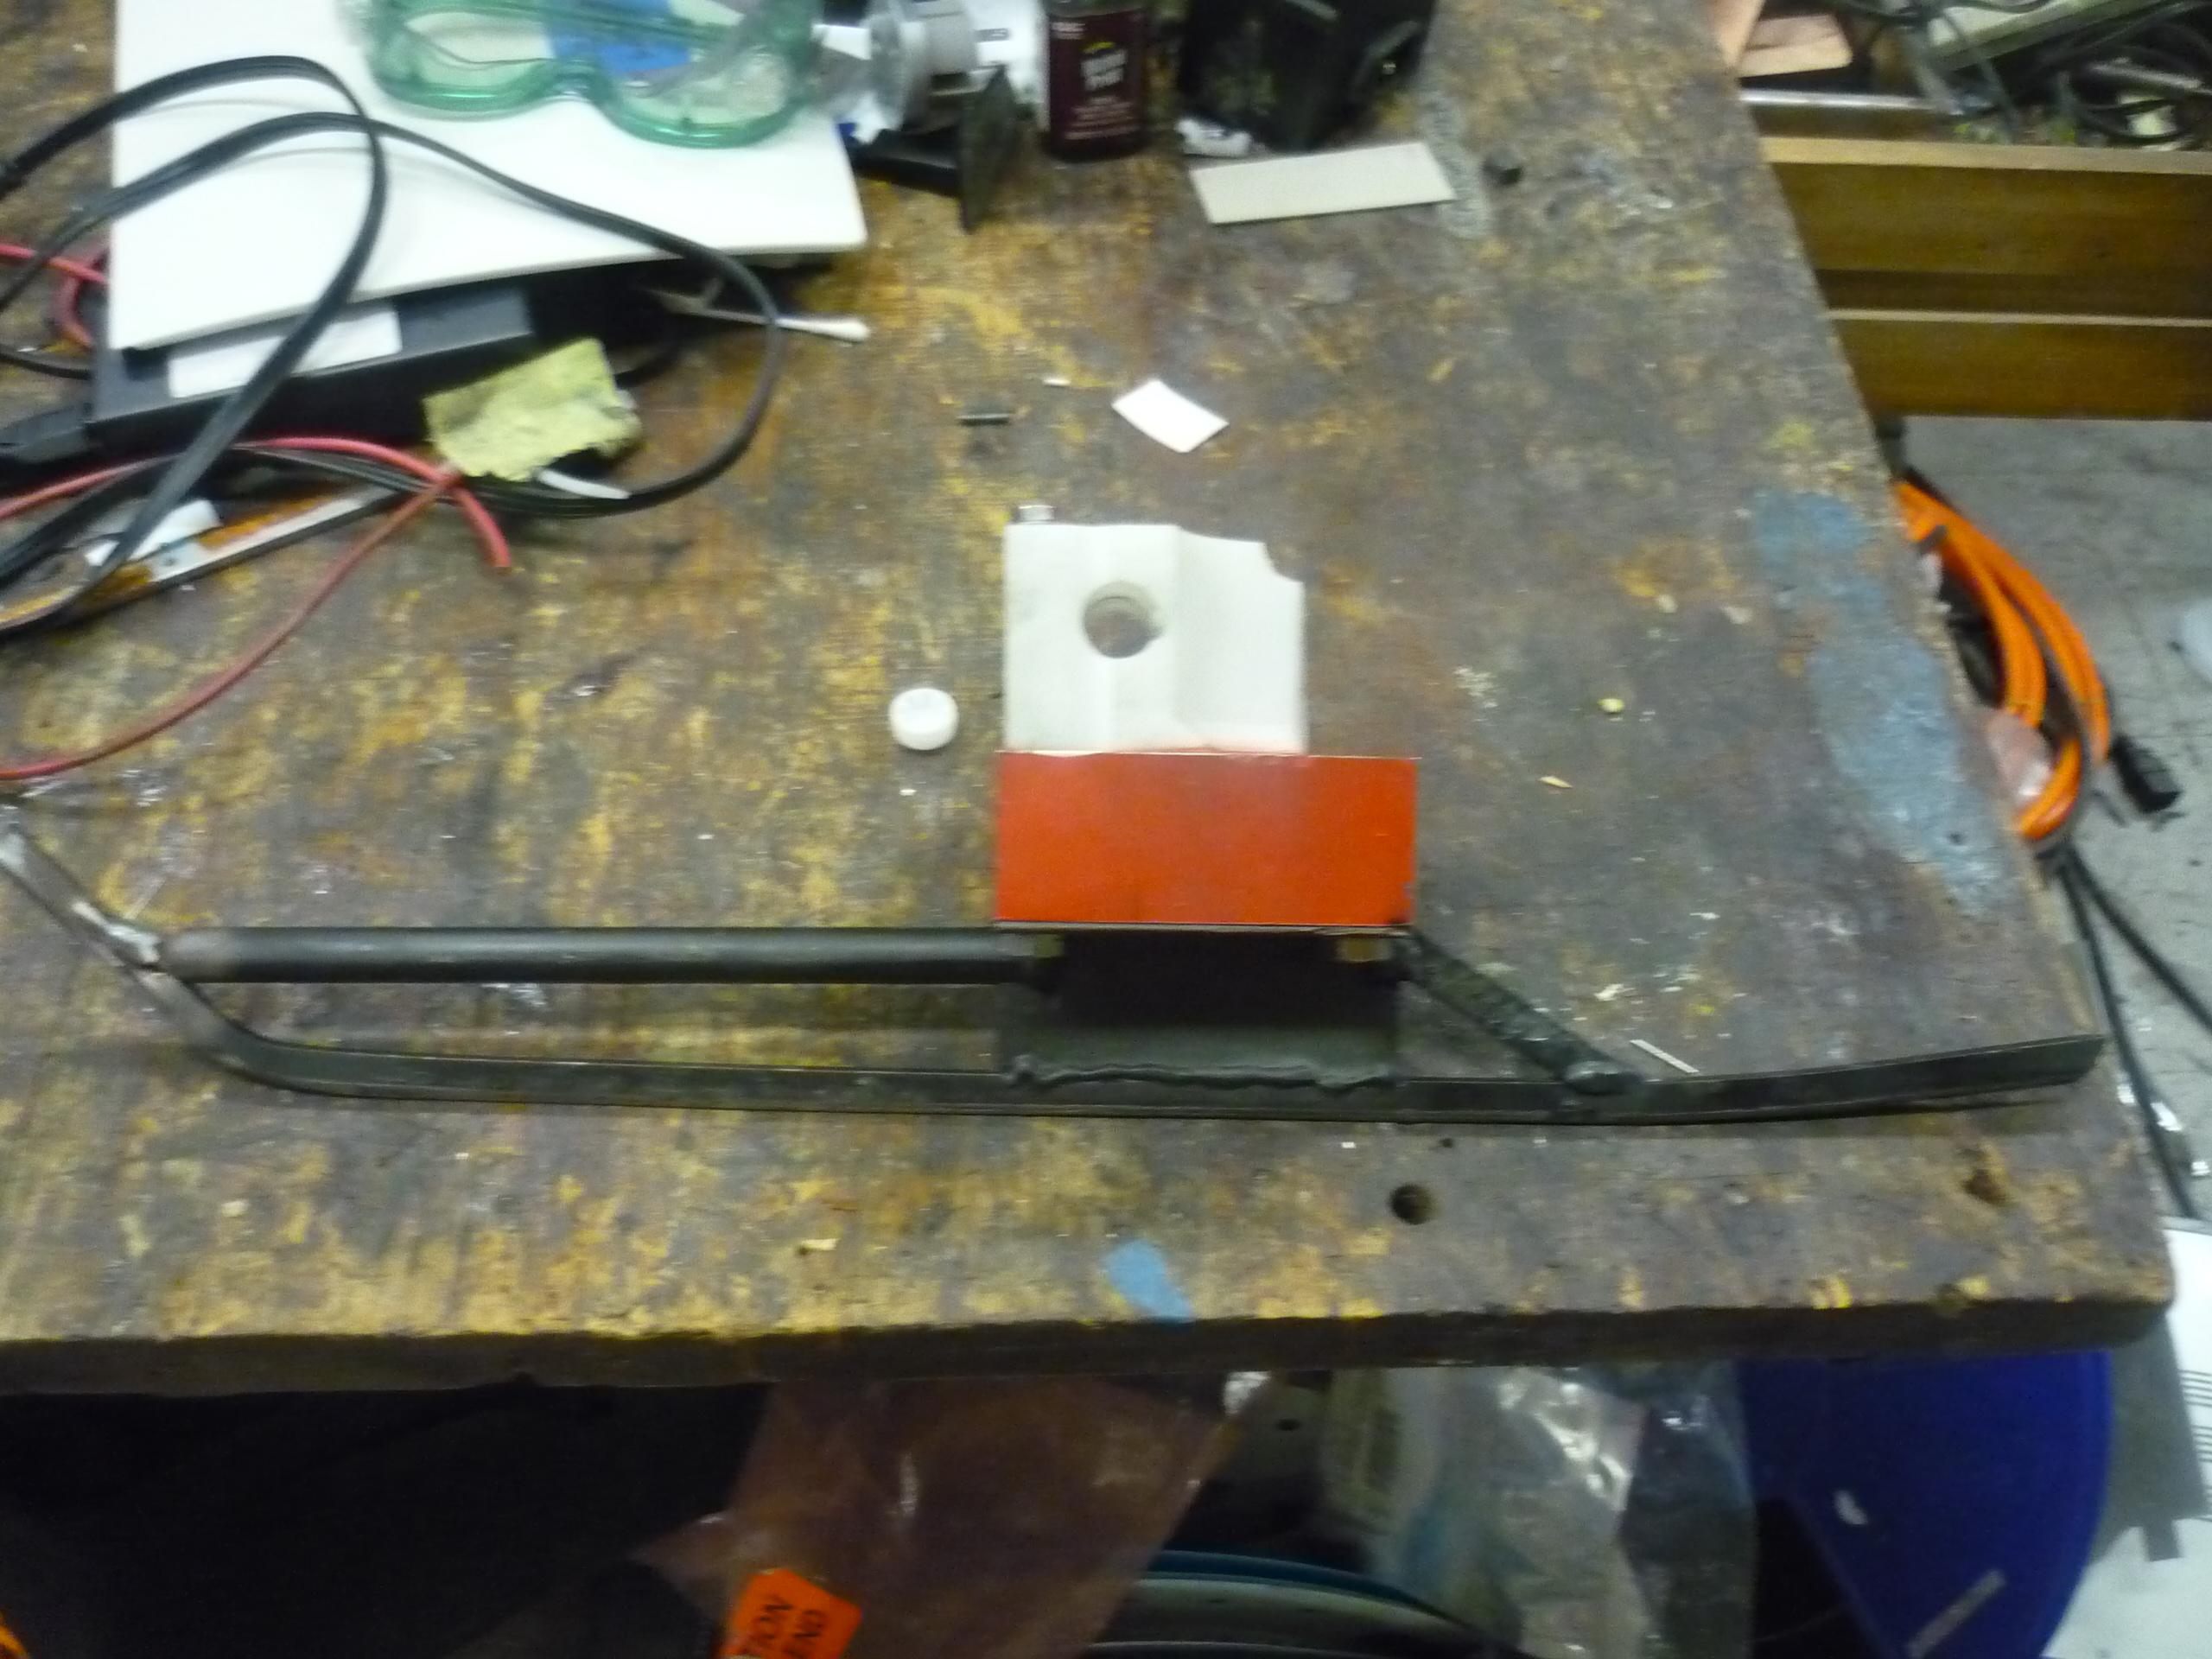
| A quick diagram of the skate
assembly Again, i wasnt able to photograph the assembly, but it can be fairly broken down from the two images shown (right) |
 |
 |
Skate Modifications
| So
it turns out flat skates dont turn well |
||
| De-straightening the skates: I started by bending the rear part of the skate using a long tube as a leverage bar. This hopefully should reduce the contact area a bit and allow for easier turning. |
 |
 |
| Next up: cutting the forward brace to allow for a bit of bend in the front portion of the skate. Removing ~5/8 of an inch allowed for a bit of bend in the front skate. | 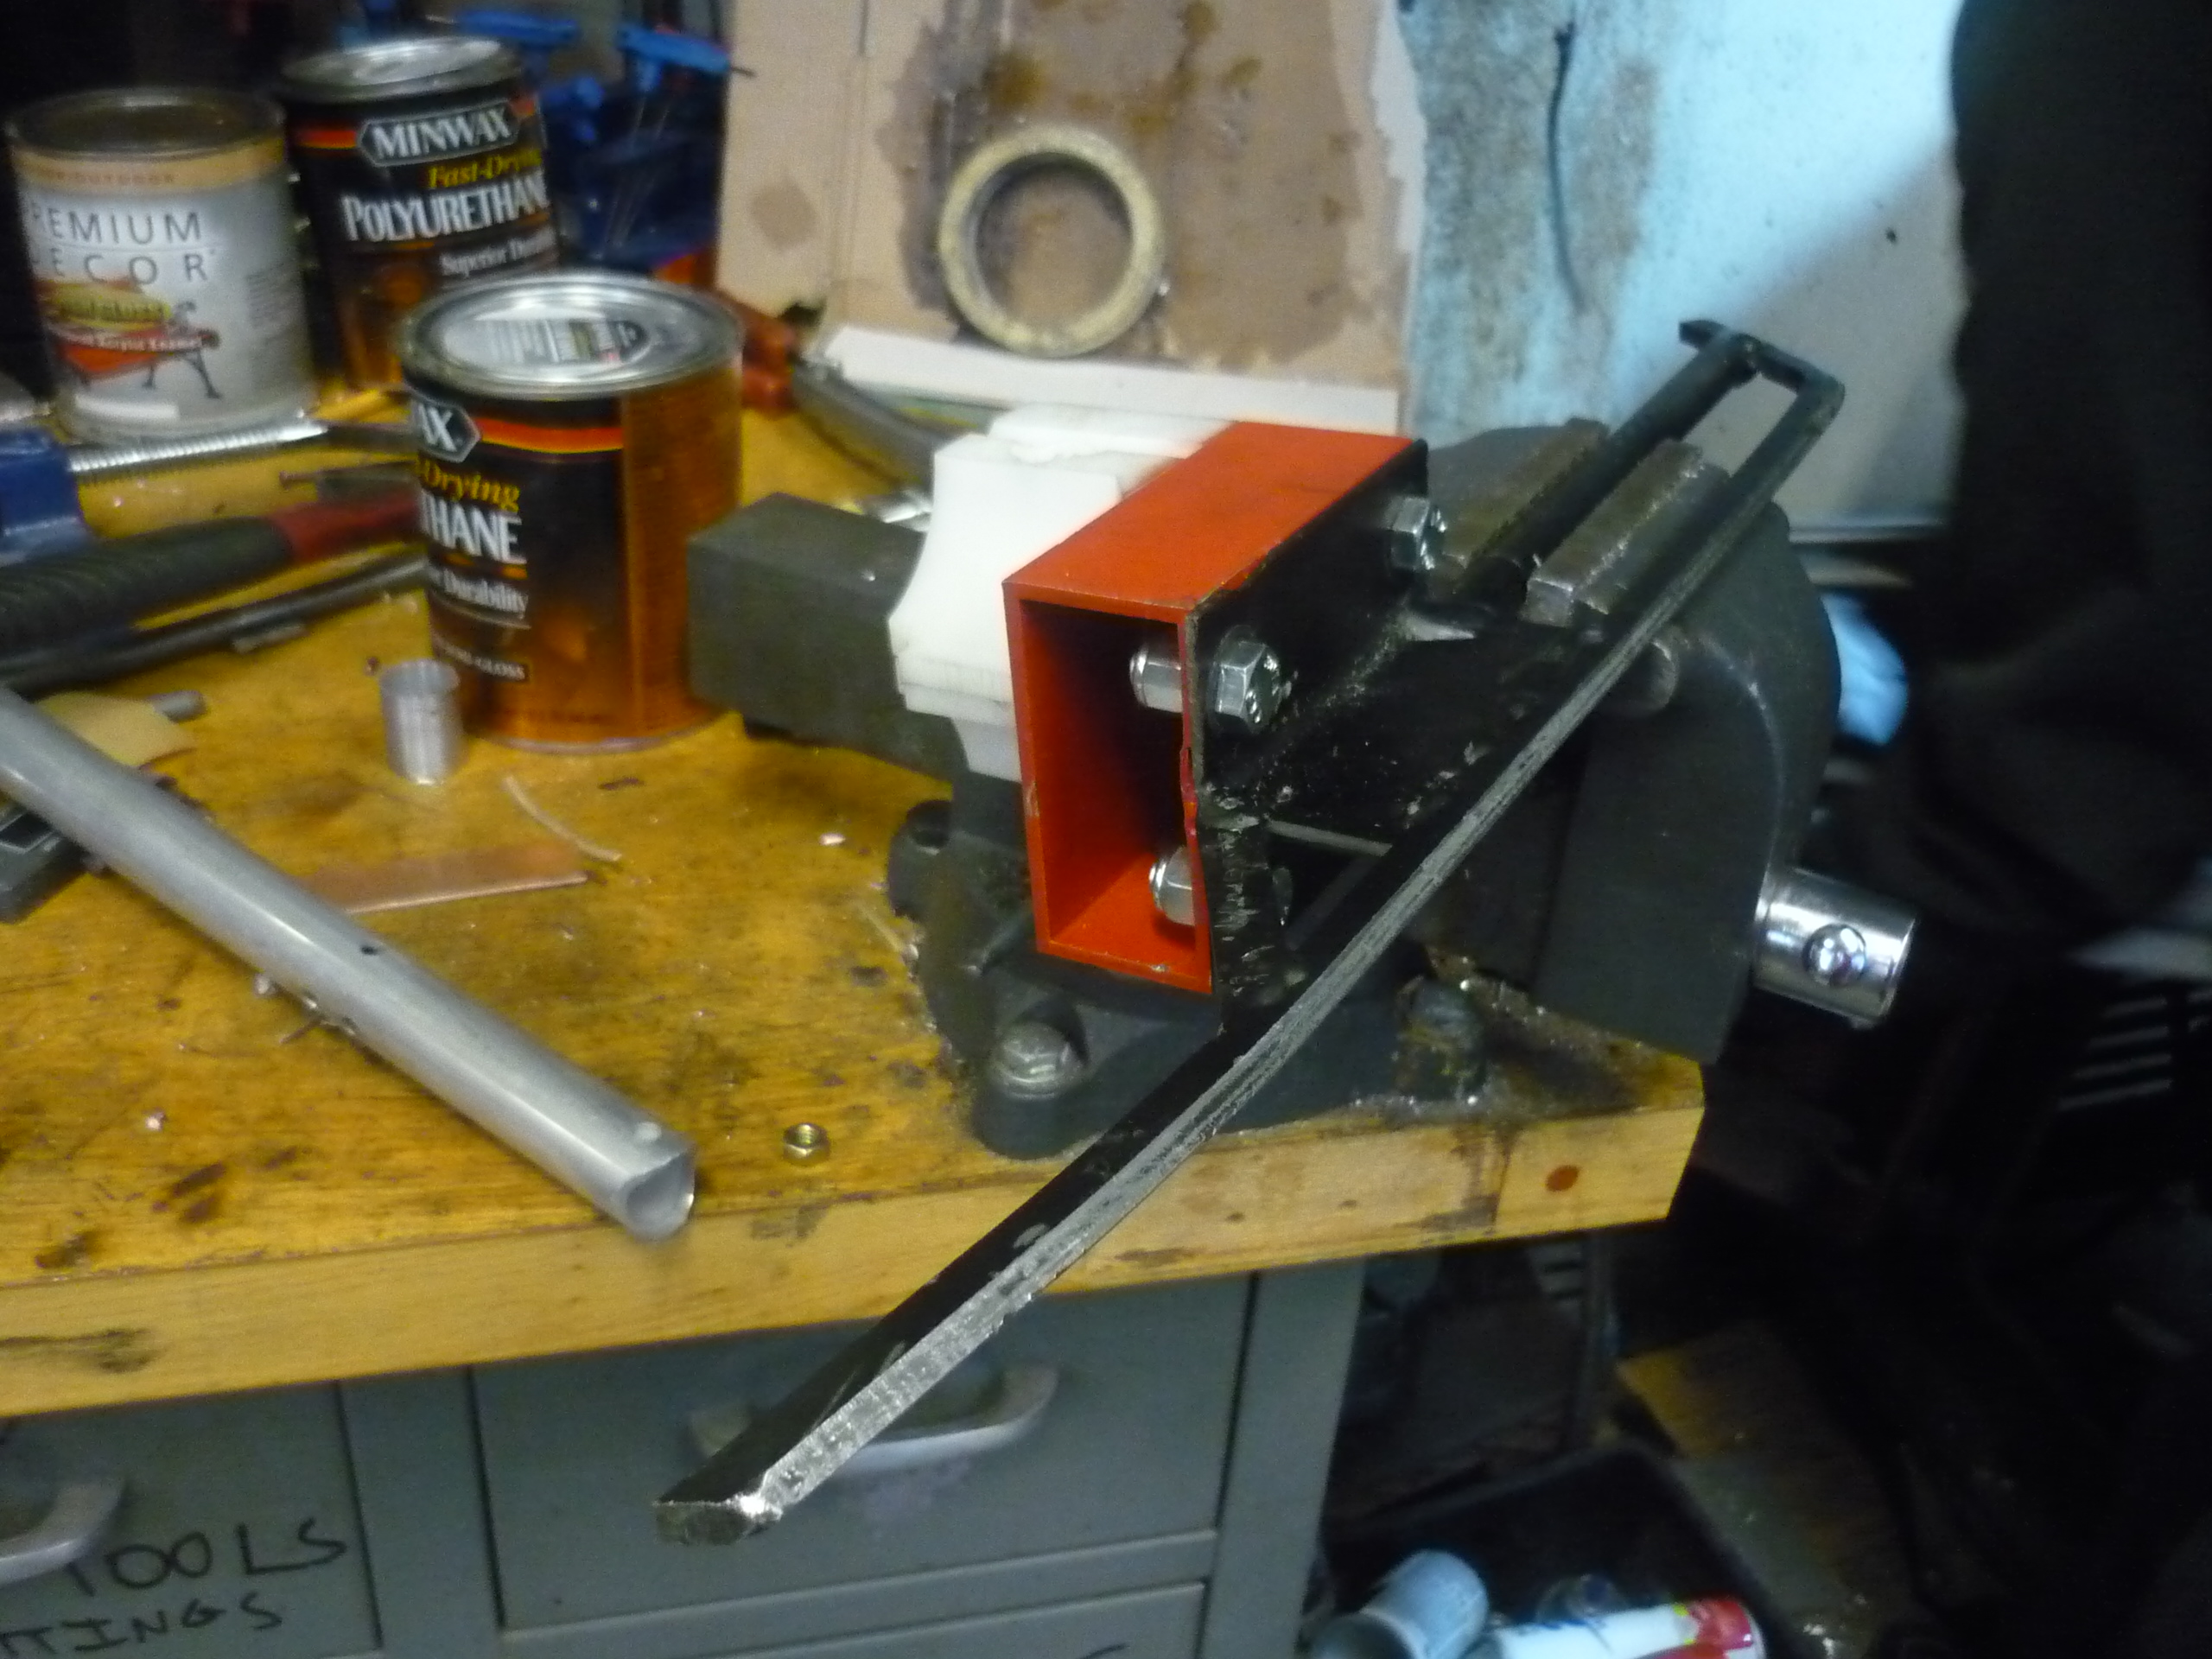 |
 |
| I used a clamp to hold the cut-apart skate and upper mount bar, then tack-welded it in place to hold a front curve. Note that, as this was going to be re-welded (and get fairly hot) i needed to use a metal c-clamp with some hardware to hold the rounded edge. | 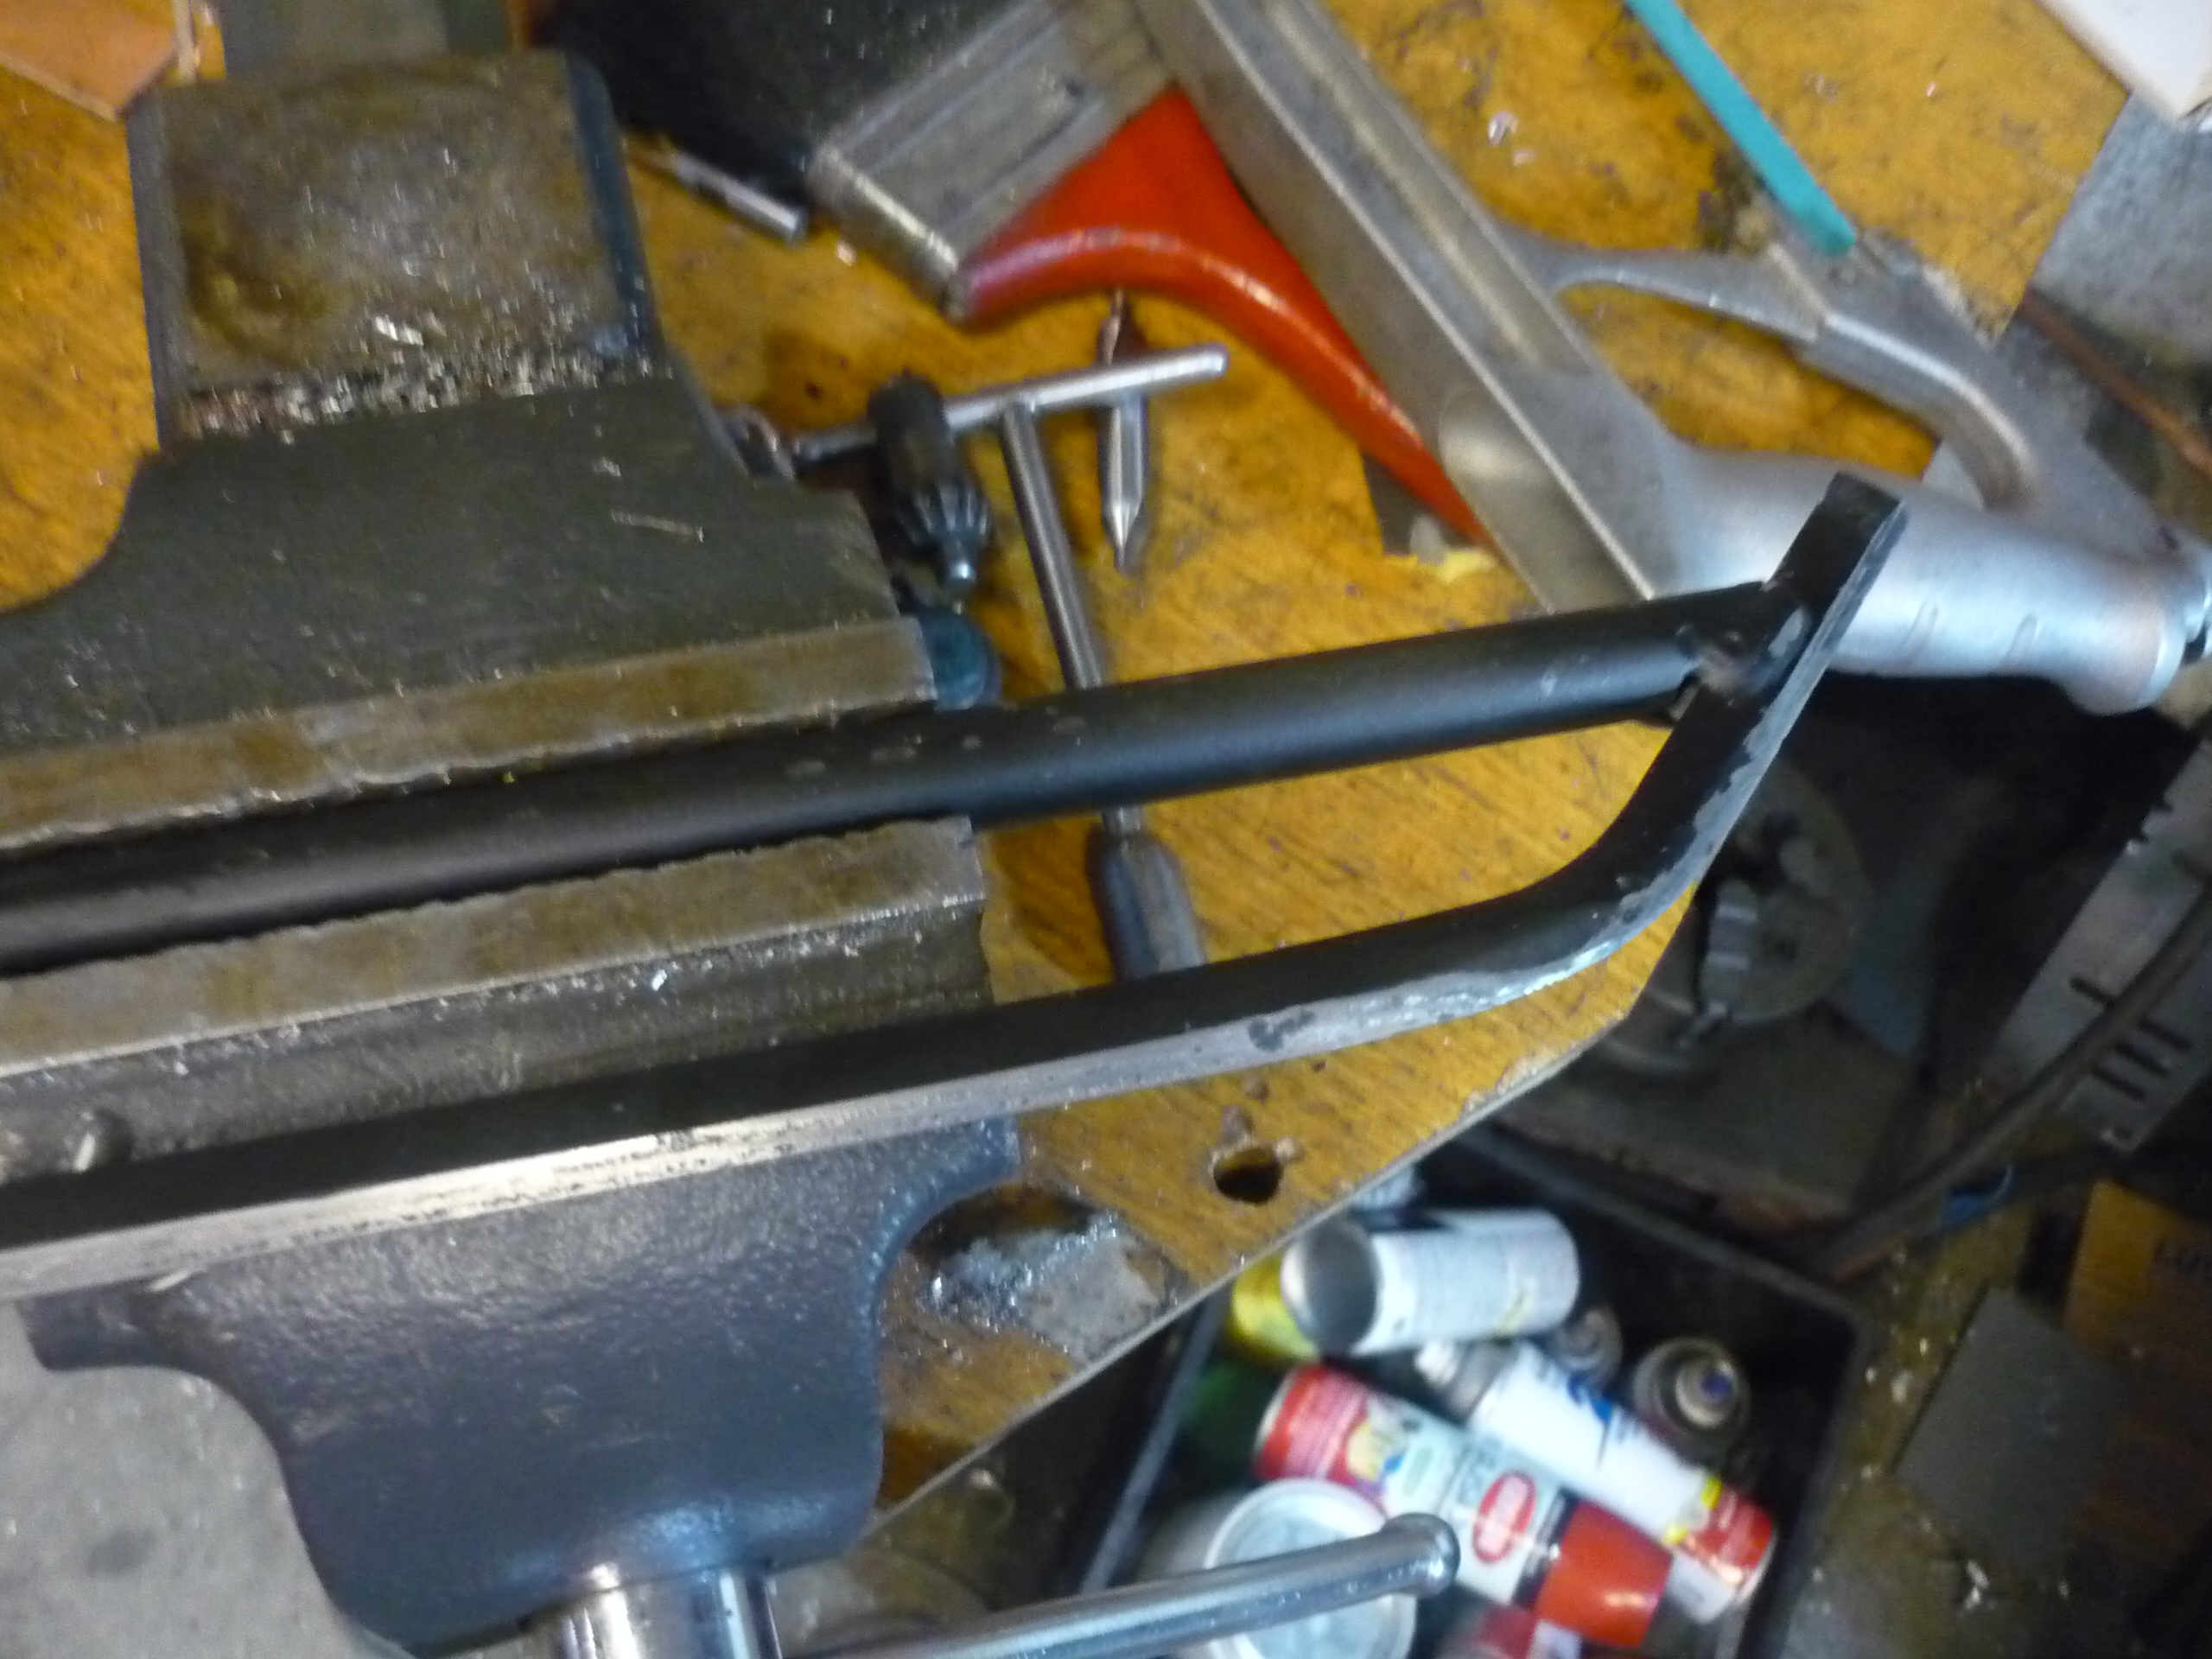 |
 |
| Shown welded-in-place skate. Admittedly this isnt hockey-skate rounded on the bottom, but a frozen lake isnt nearly as smooth as an ice-rink, hopefully this is a happy medium between the two. | 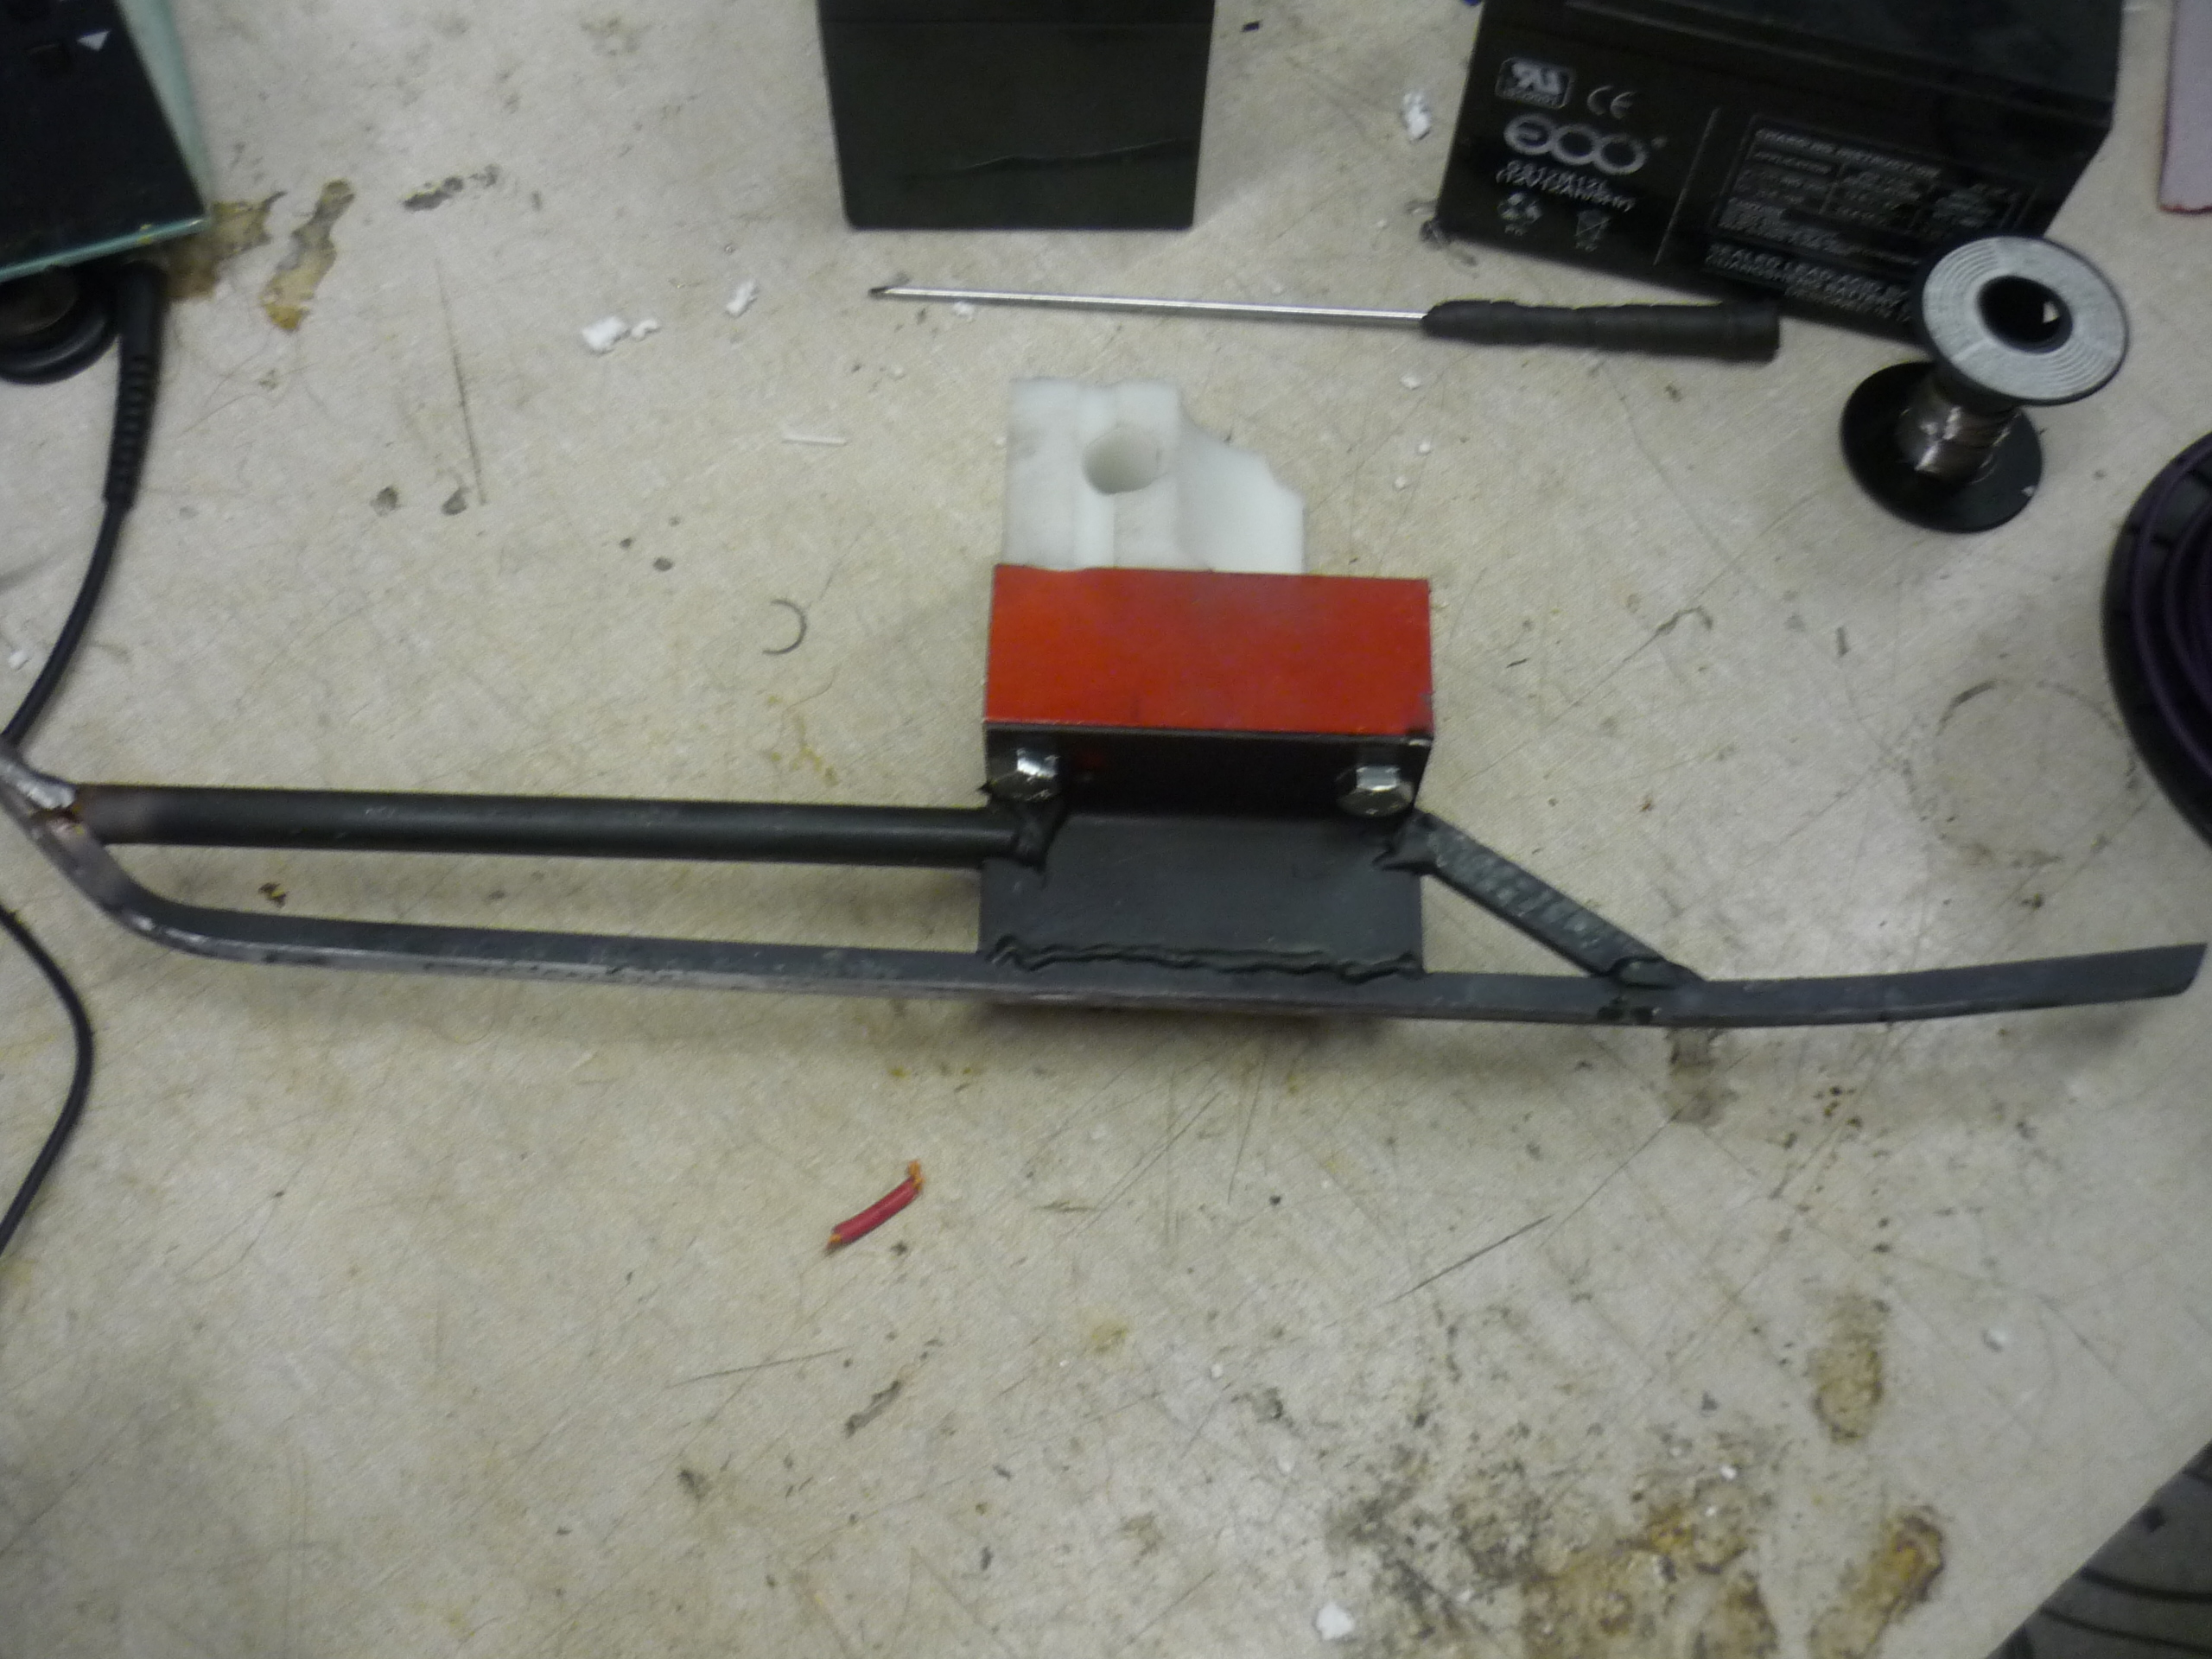 |
 |
Tire Studding
| What |
||
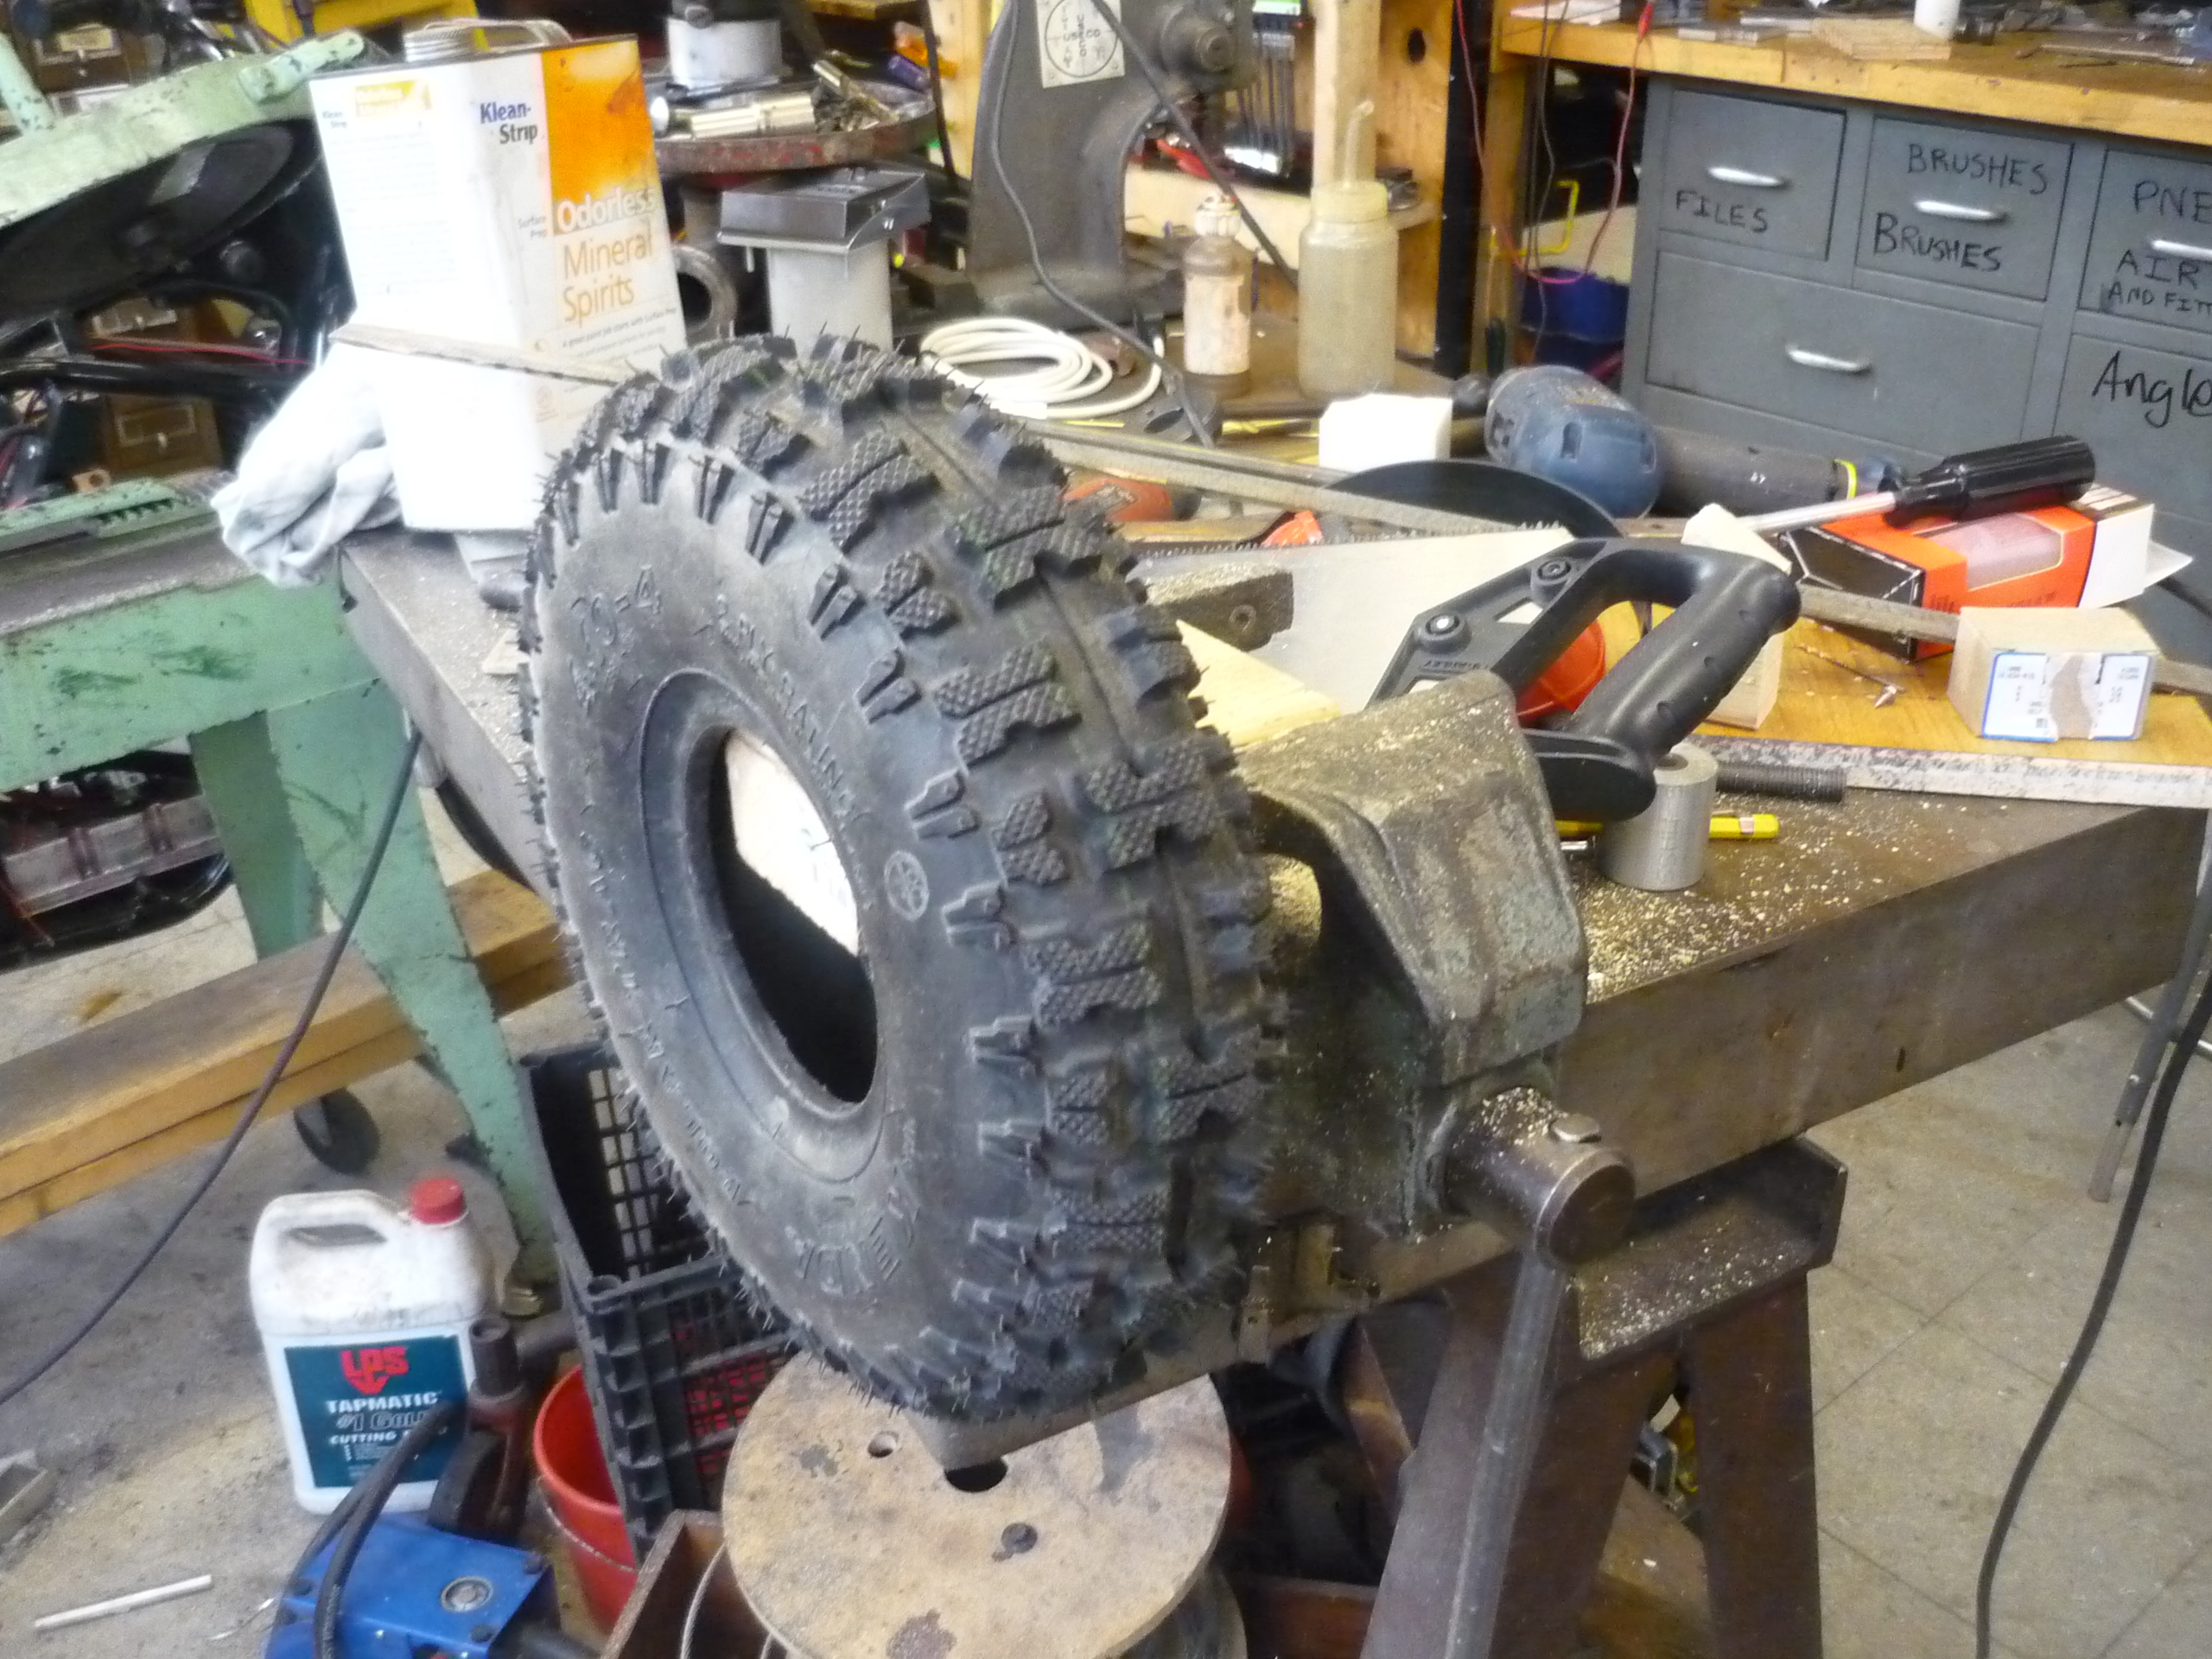
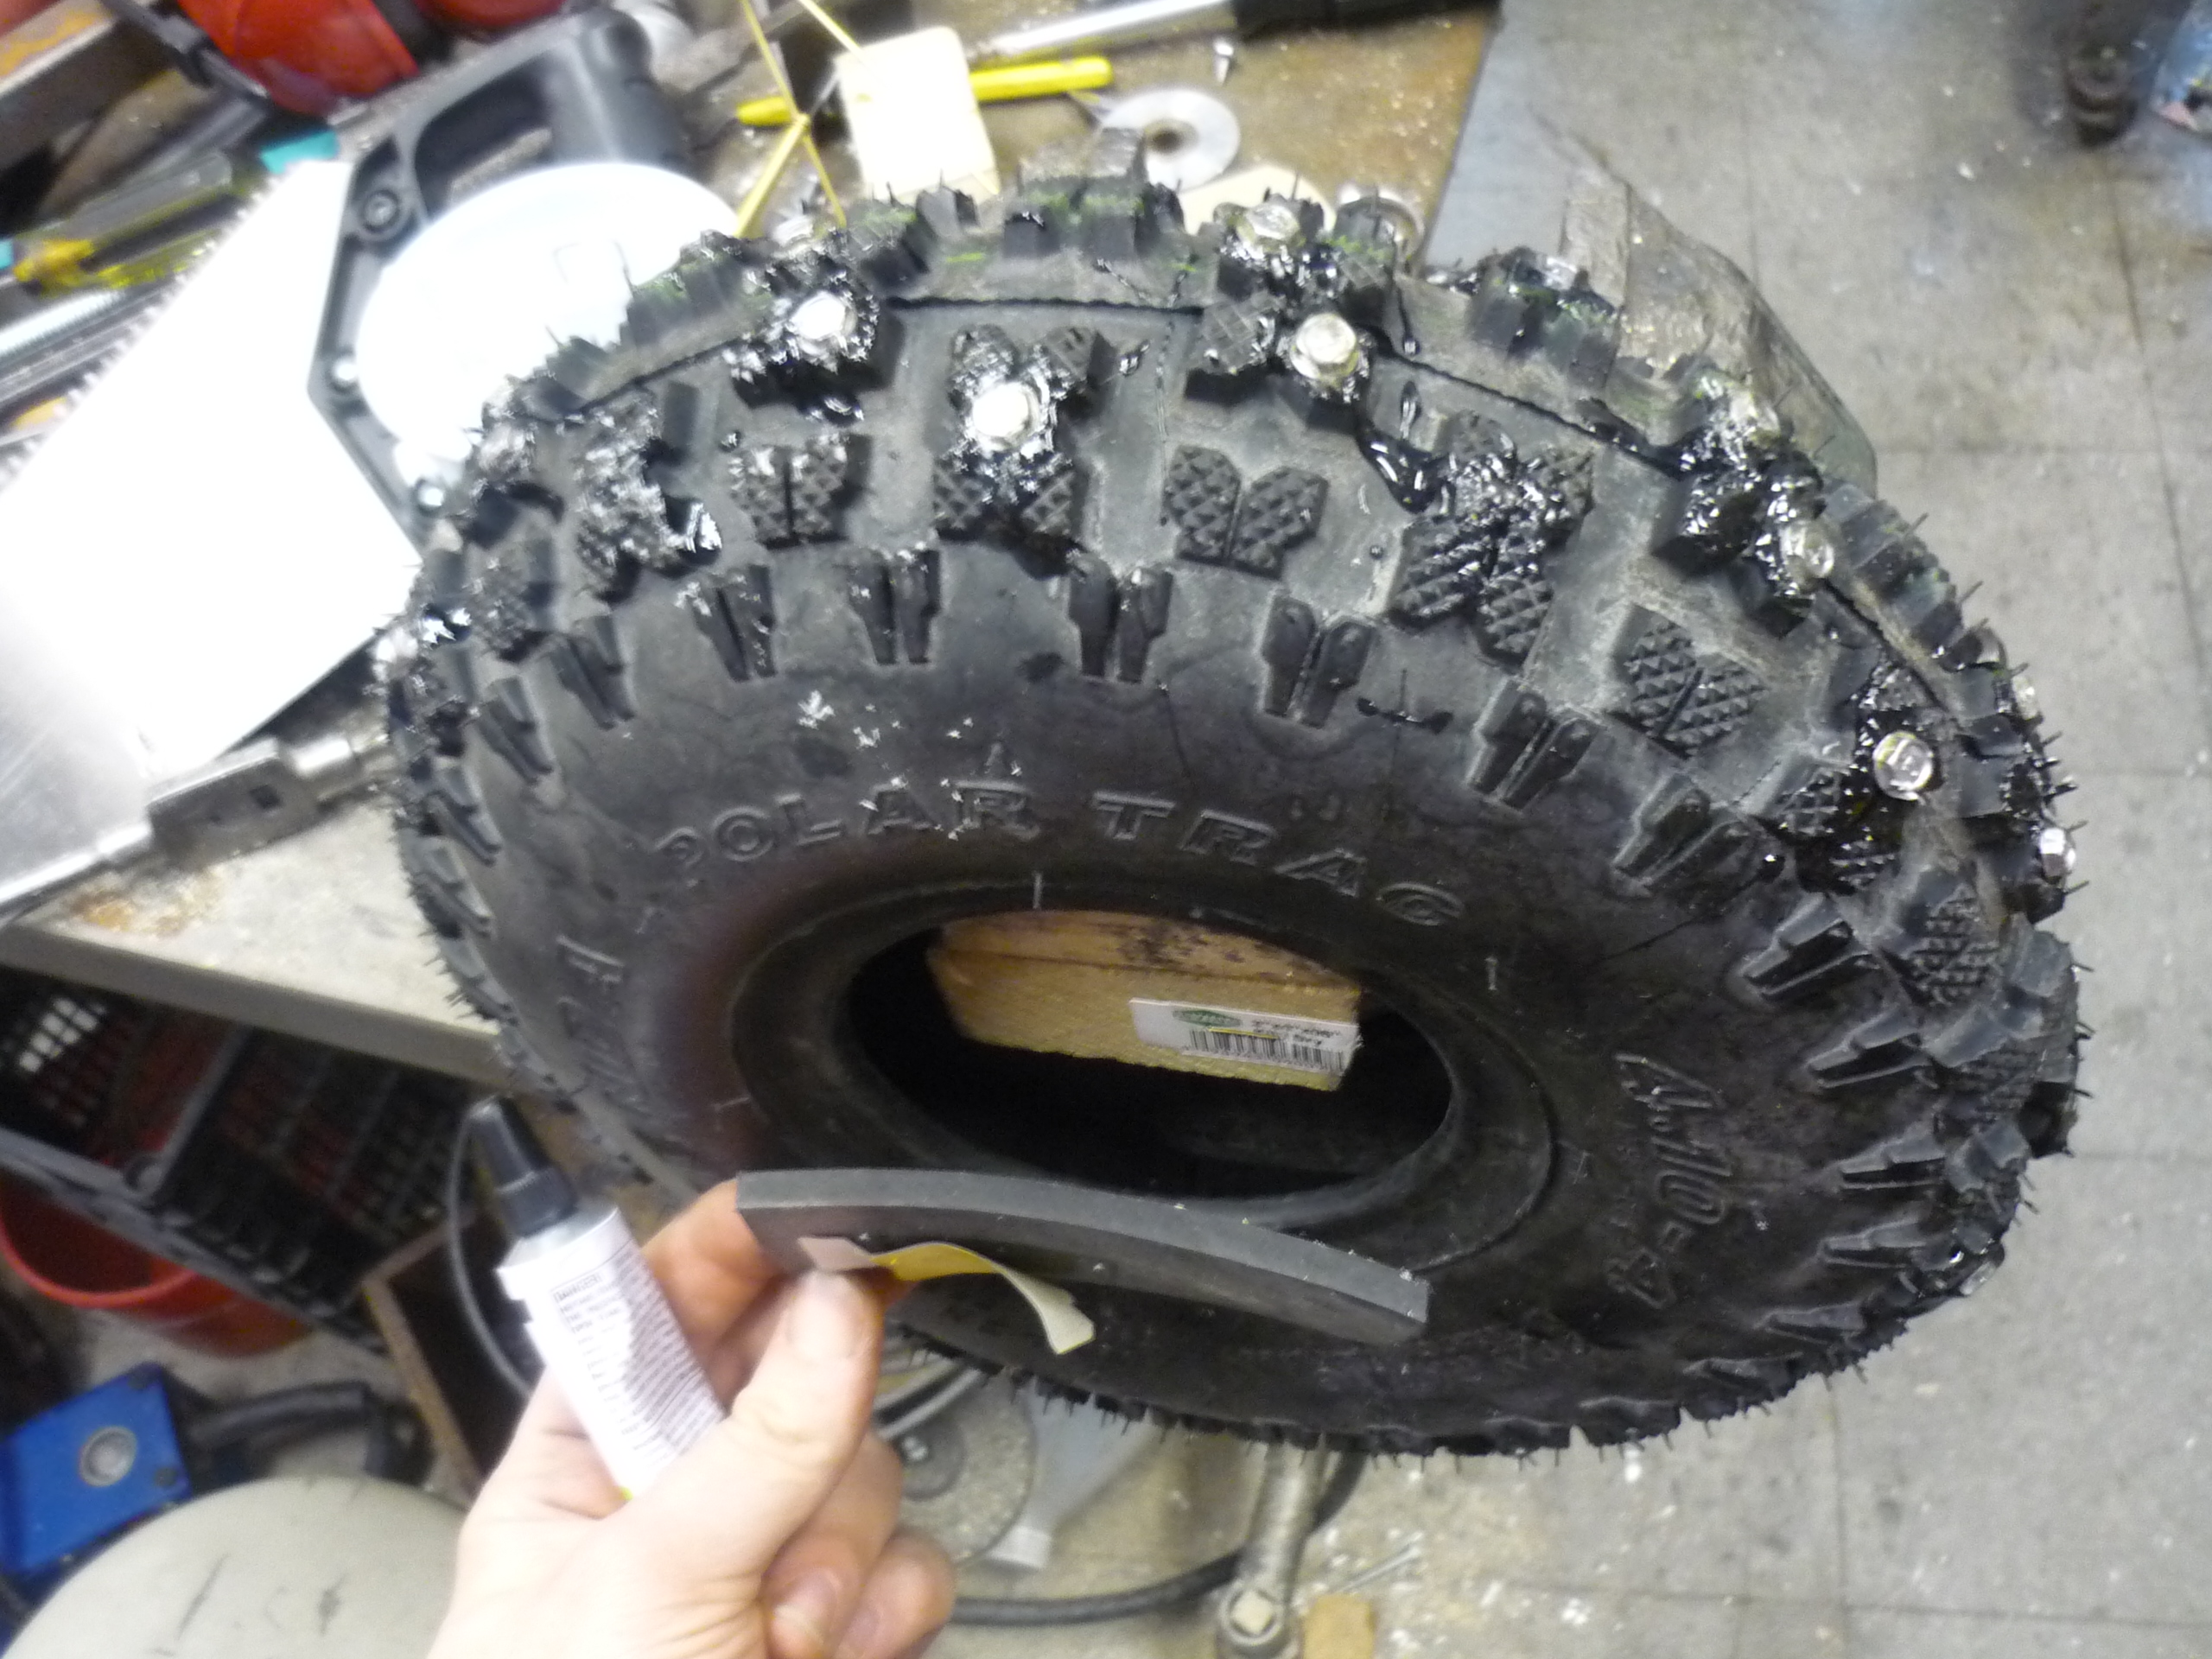
| The tire shown (right) was
purchased from here on sale, using an inner-tube
from here.
It is a significant upgrade from the rubber used on the harborfreight
5$ special. It boasted fitting a 4" diameter rim, which the scooter was
already using, so potentially a hot swap, right? Shown far right is the tire i've been using. This is the 3rd one, and, the tread sheared apart, from an afternoon of operation on the ice. They werent kidding about 'not intended for highway speeds' |
 |
 |
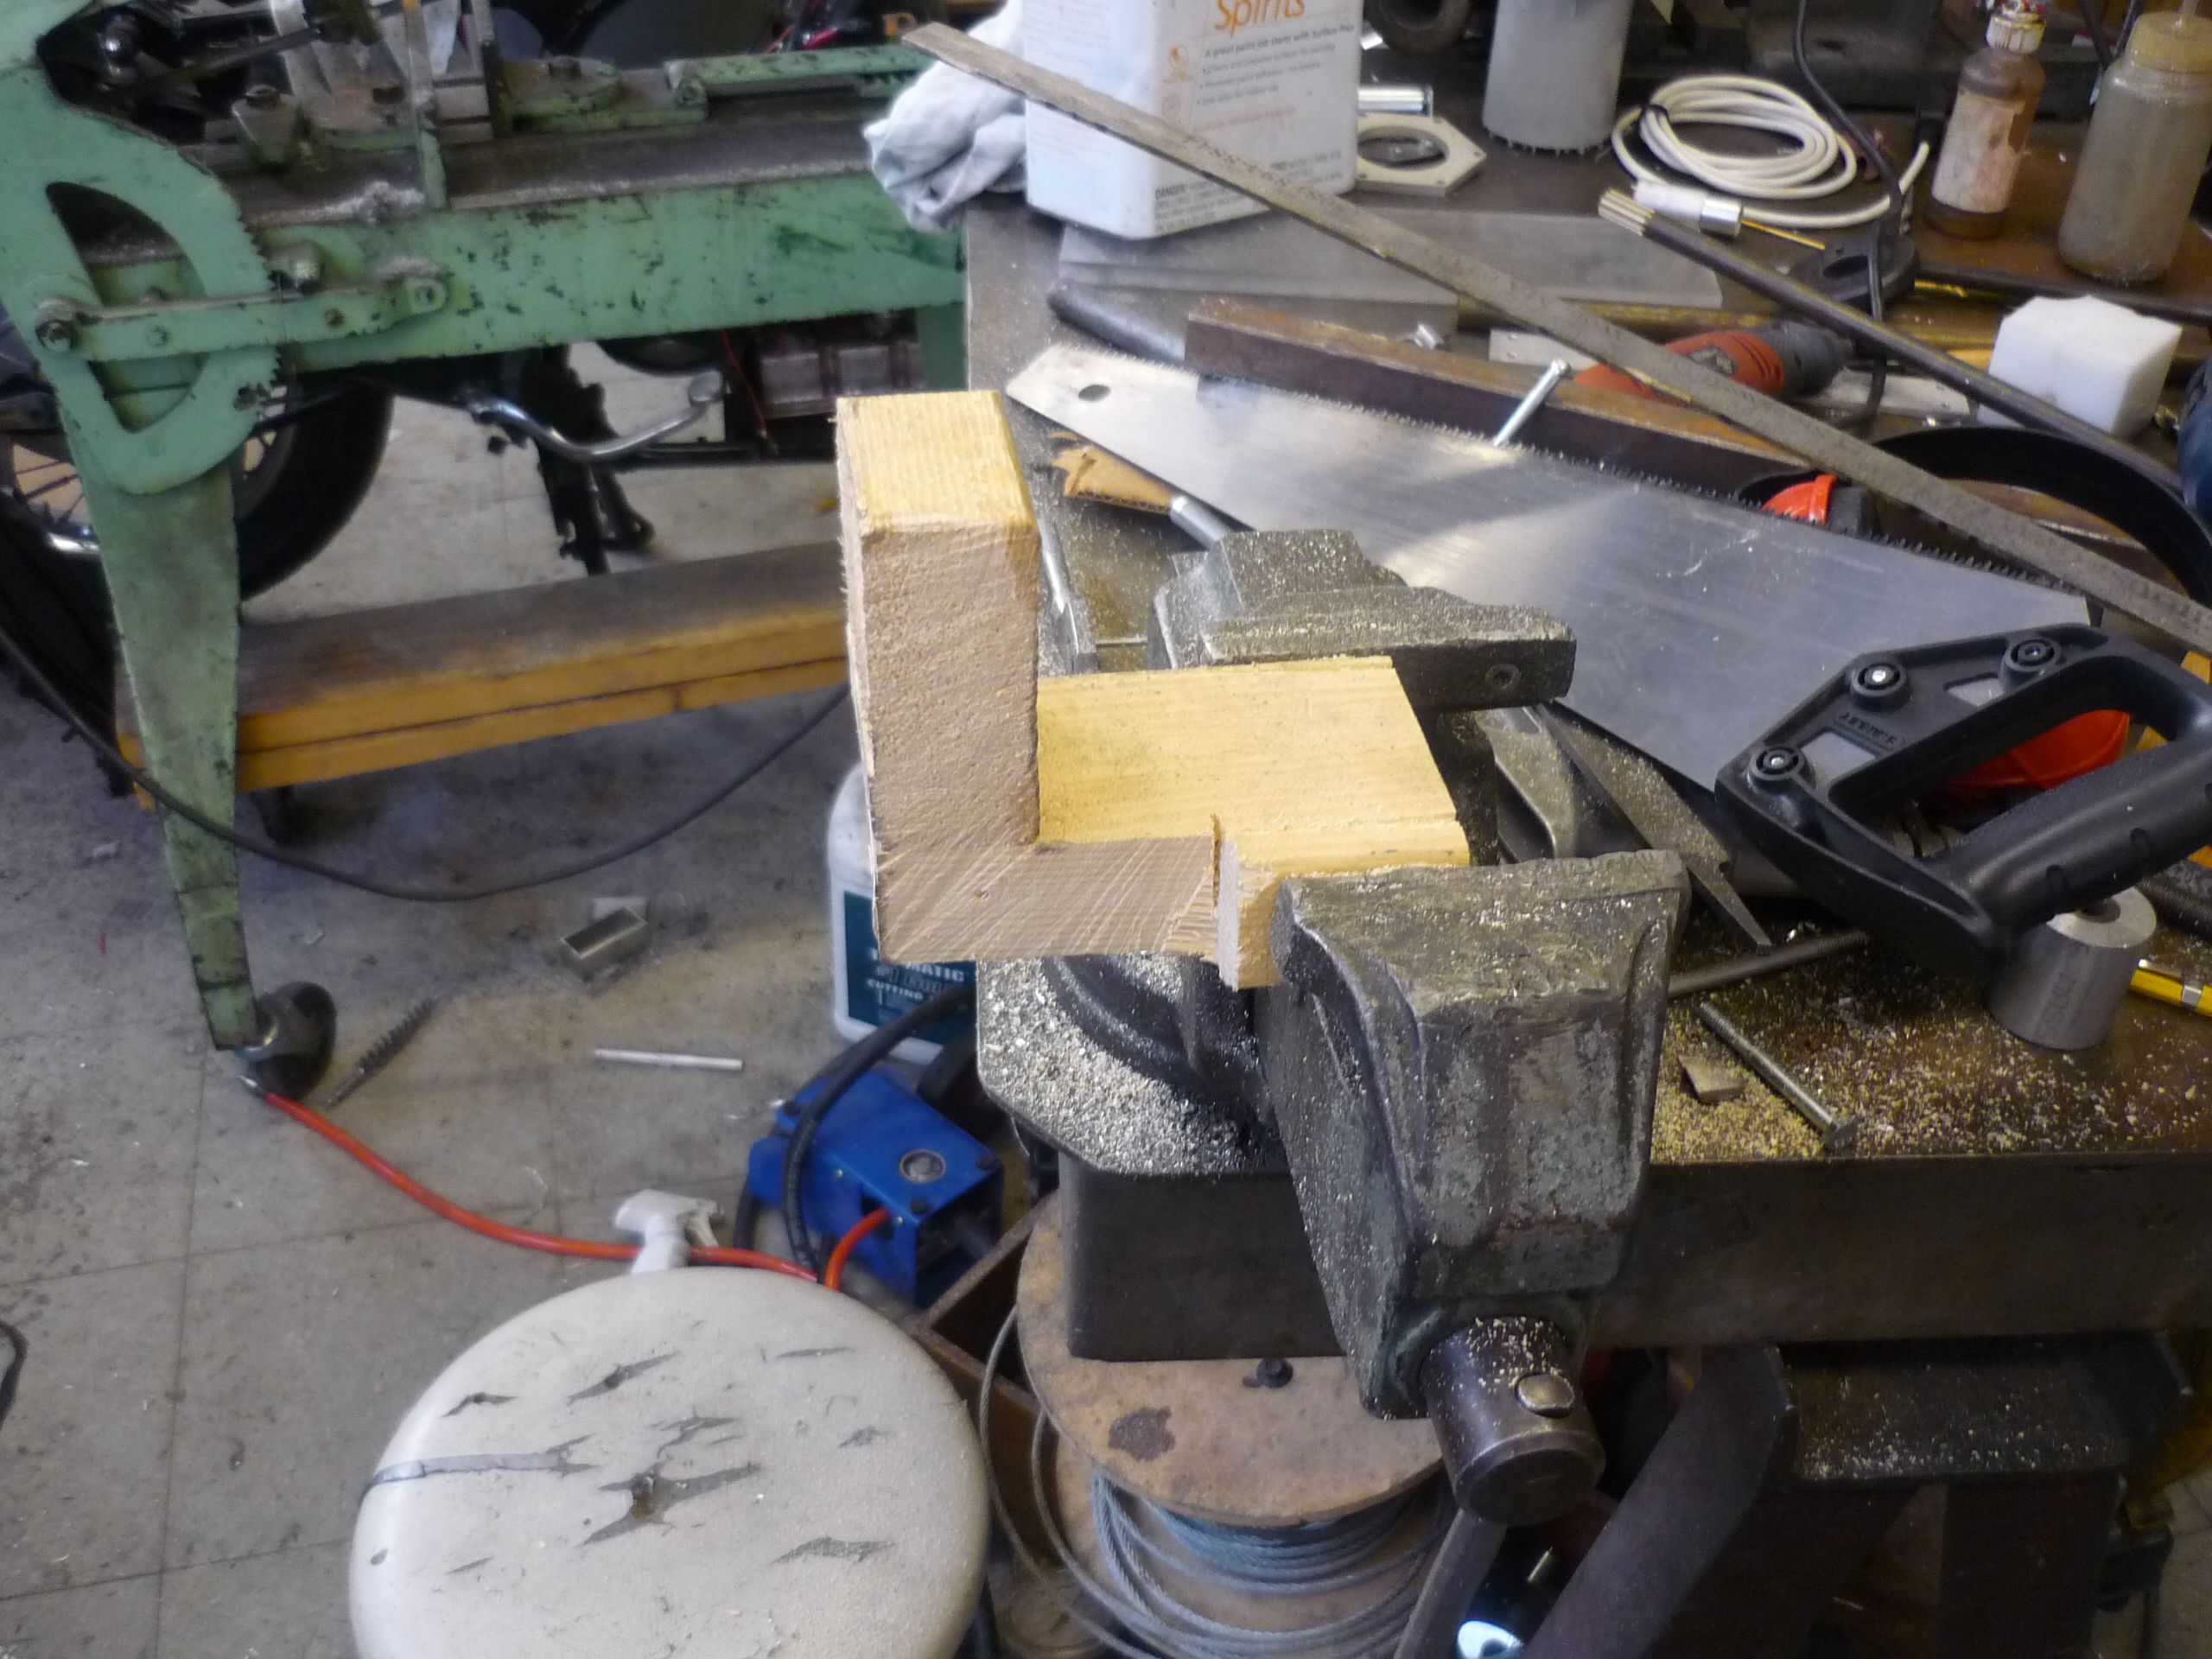
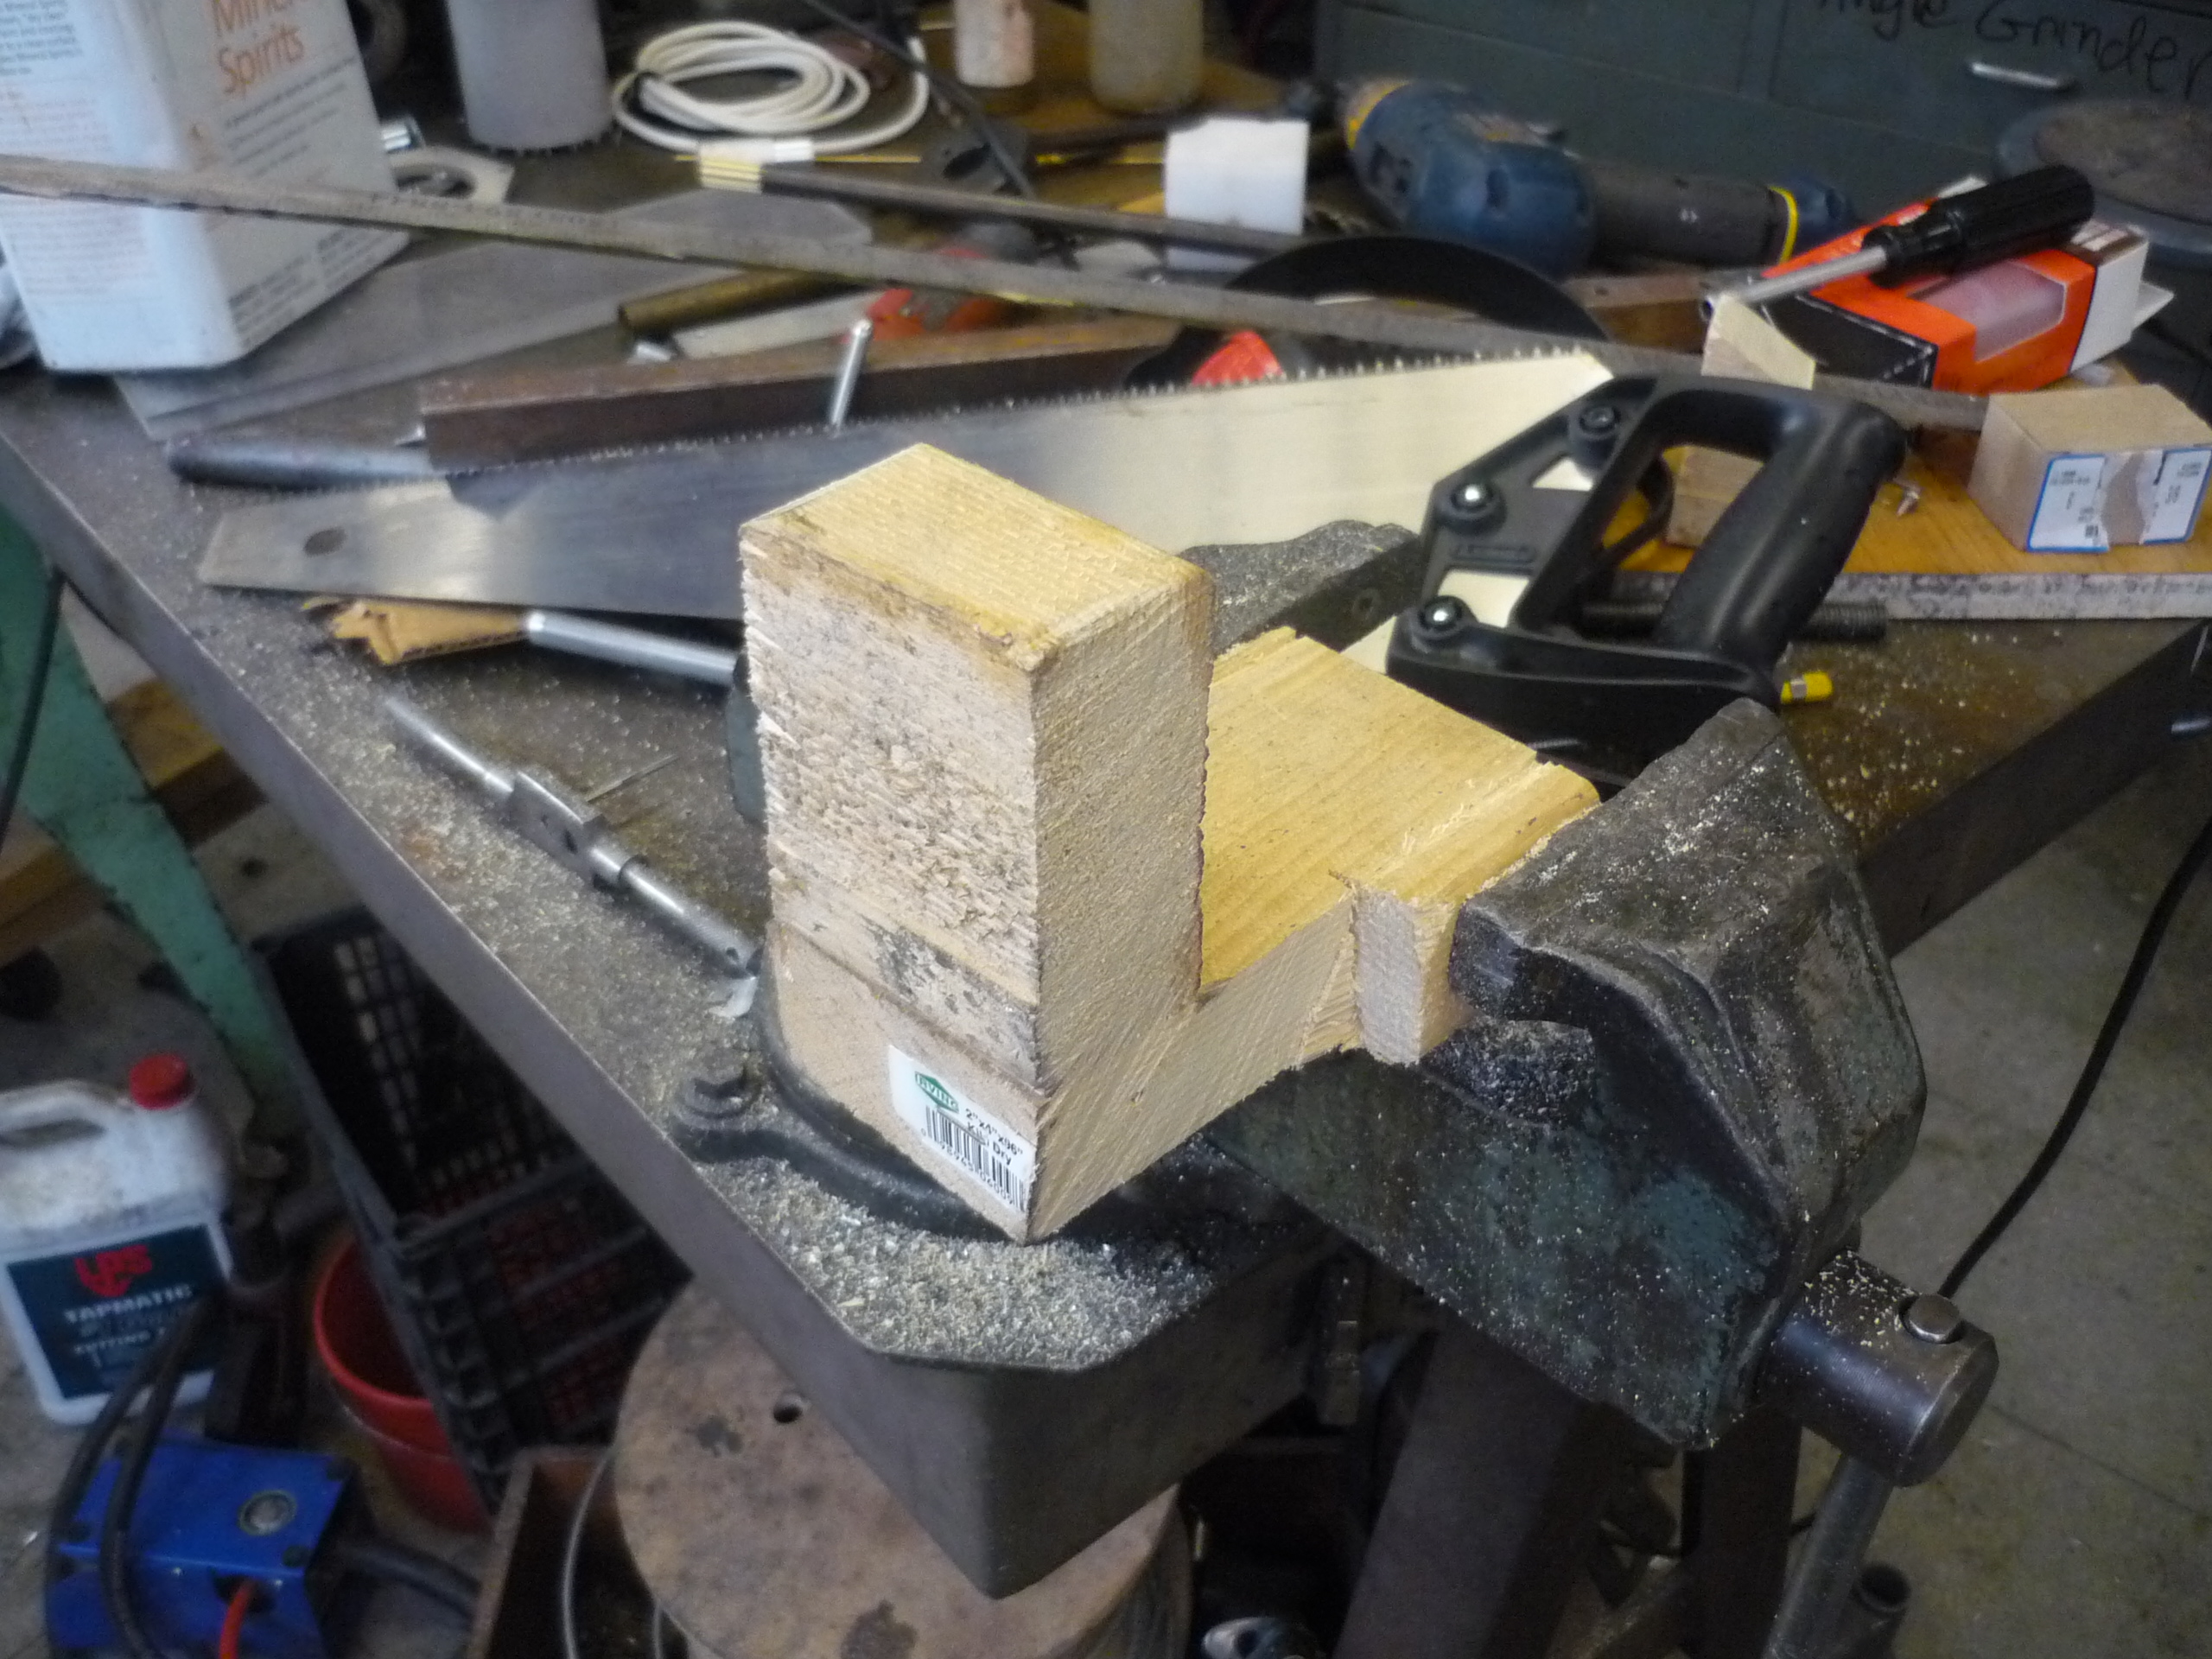
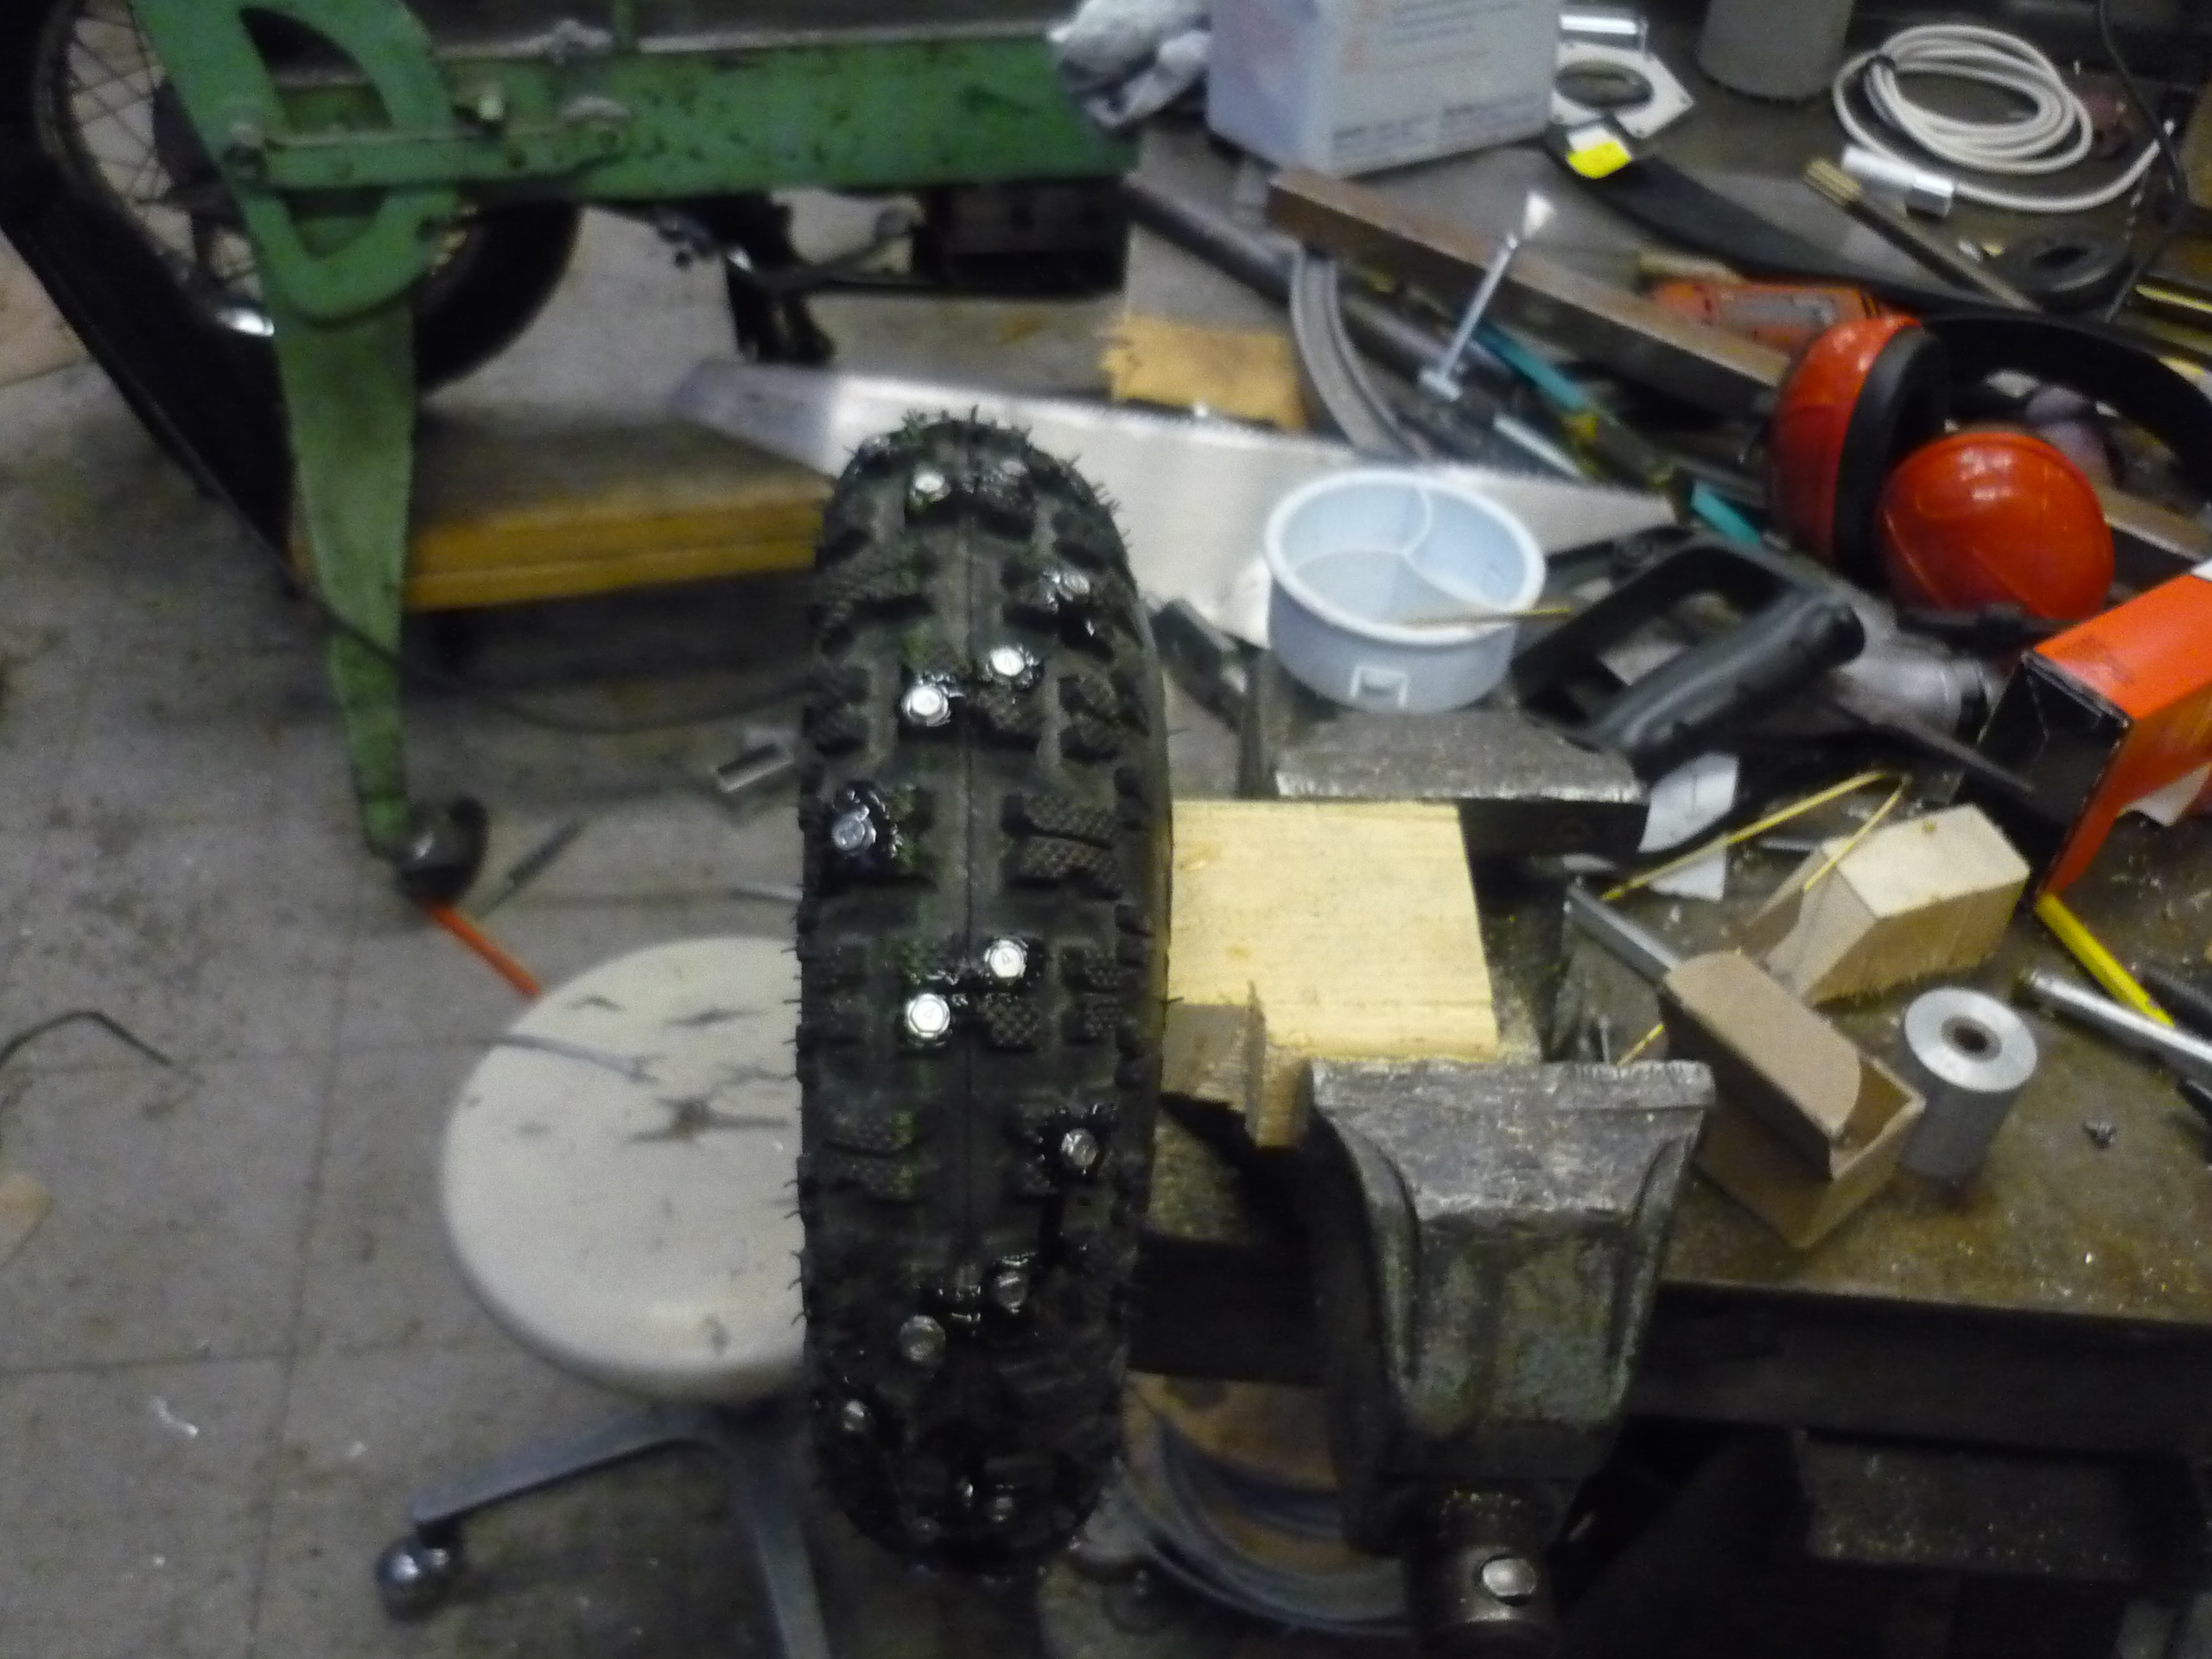
| A Jig I made a simple wooden jig to hold the tire while it was being studded, from two 2x4's. This is sized to fit inside the tire and allow for pressure to be applied while studding in from the top of the tire. |
 |
 |
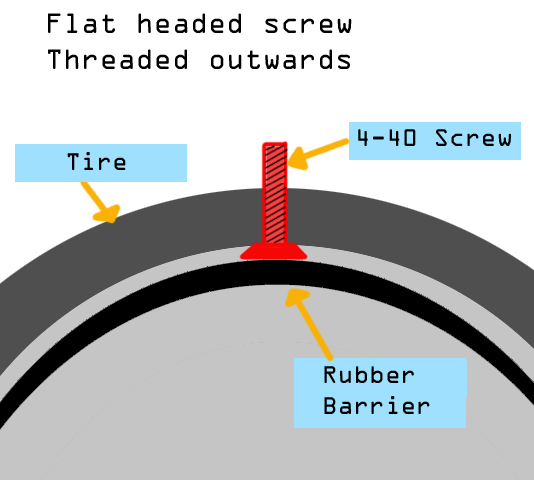
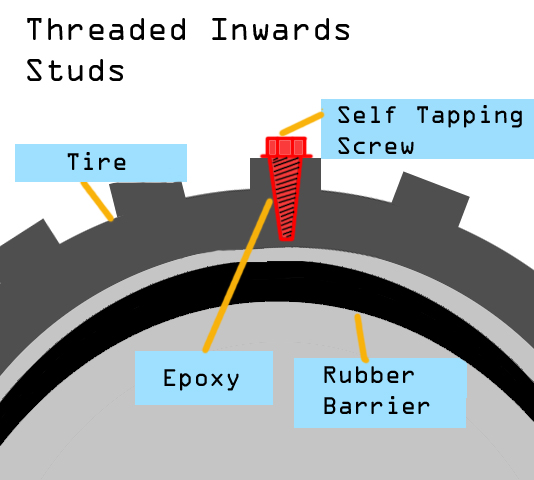
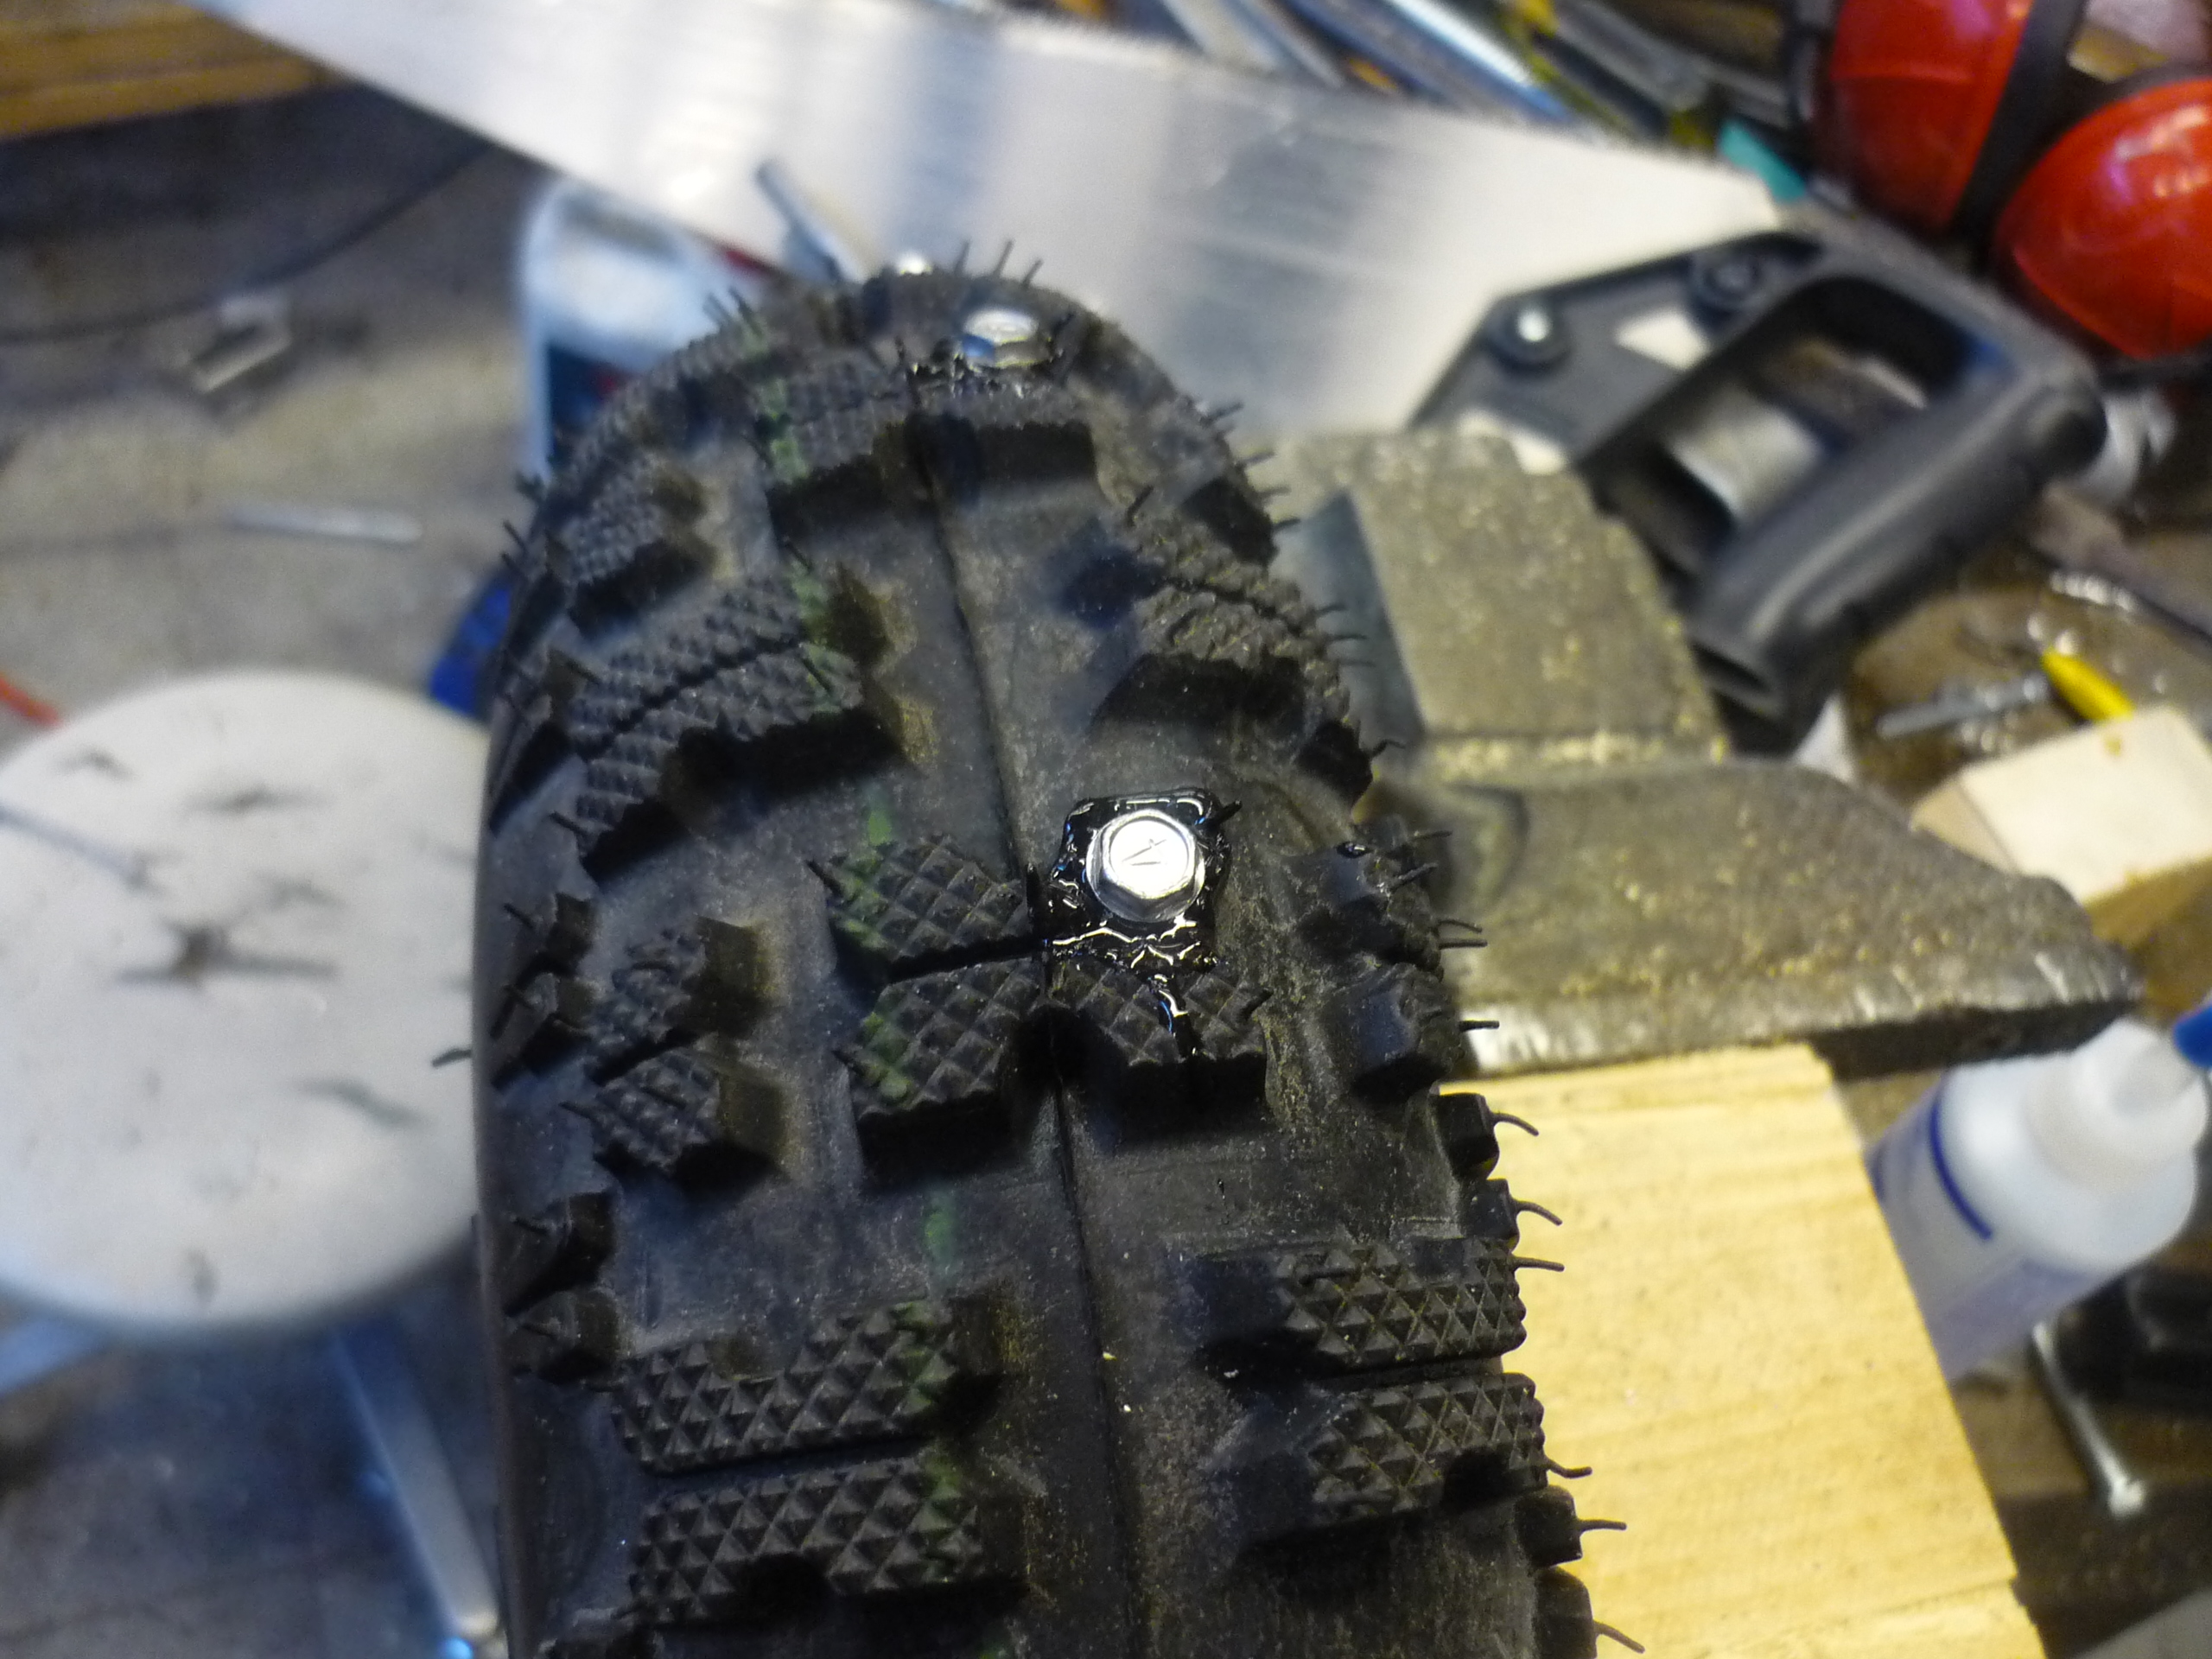
| THATS
RIVETING! To stud tires, there's two ways to go about it, from the inside out or from the outside in. I chose to use the latter on the newer tire as, its similar to how these fancy automotive screws work. I chose to add epoxy to the self tapping screw to increase the bond strength between the screw and the tire. The screw can be purchased here, its a 3/8" self-tapping hex head screw. |
 |
 |
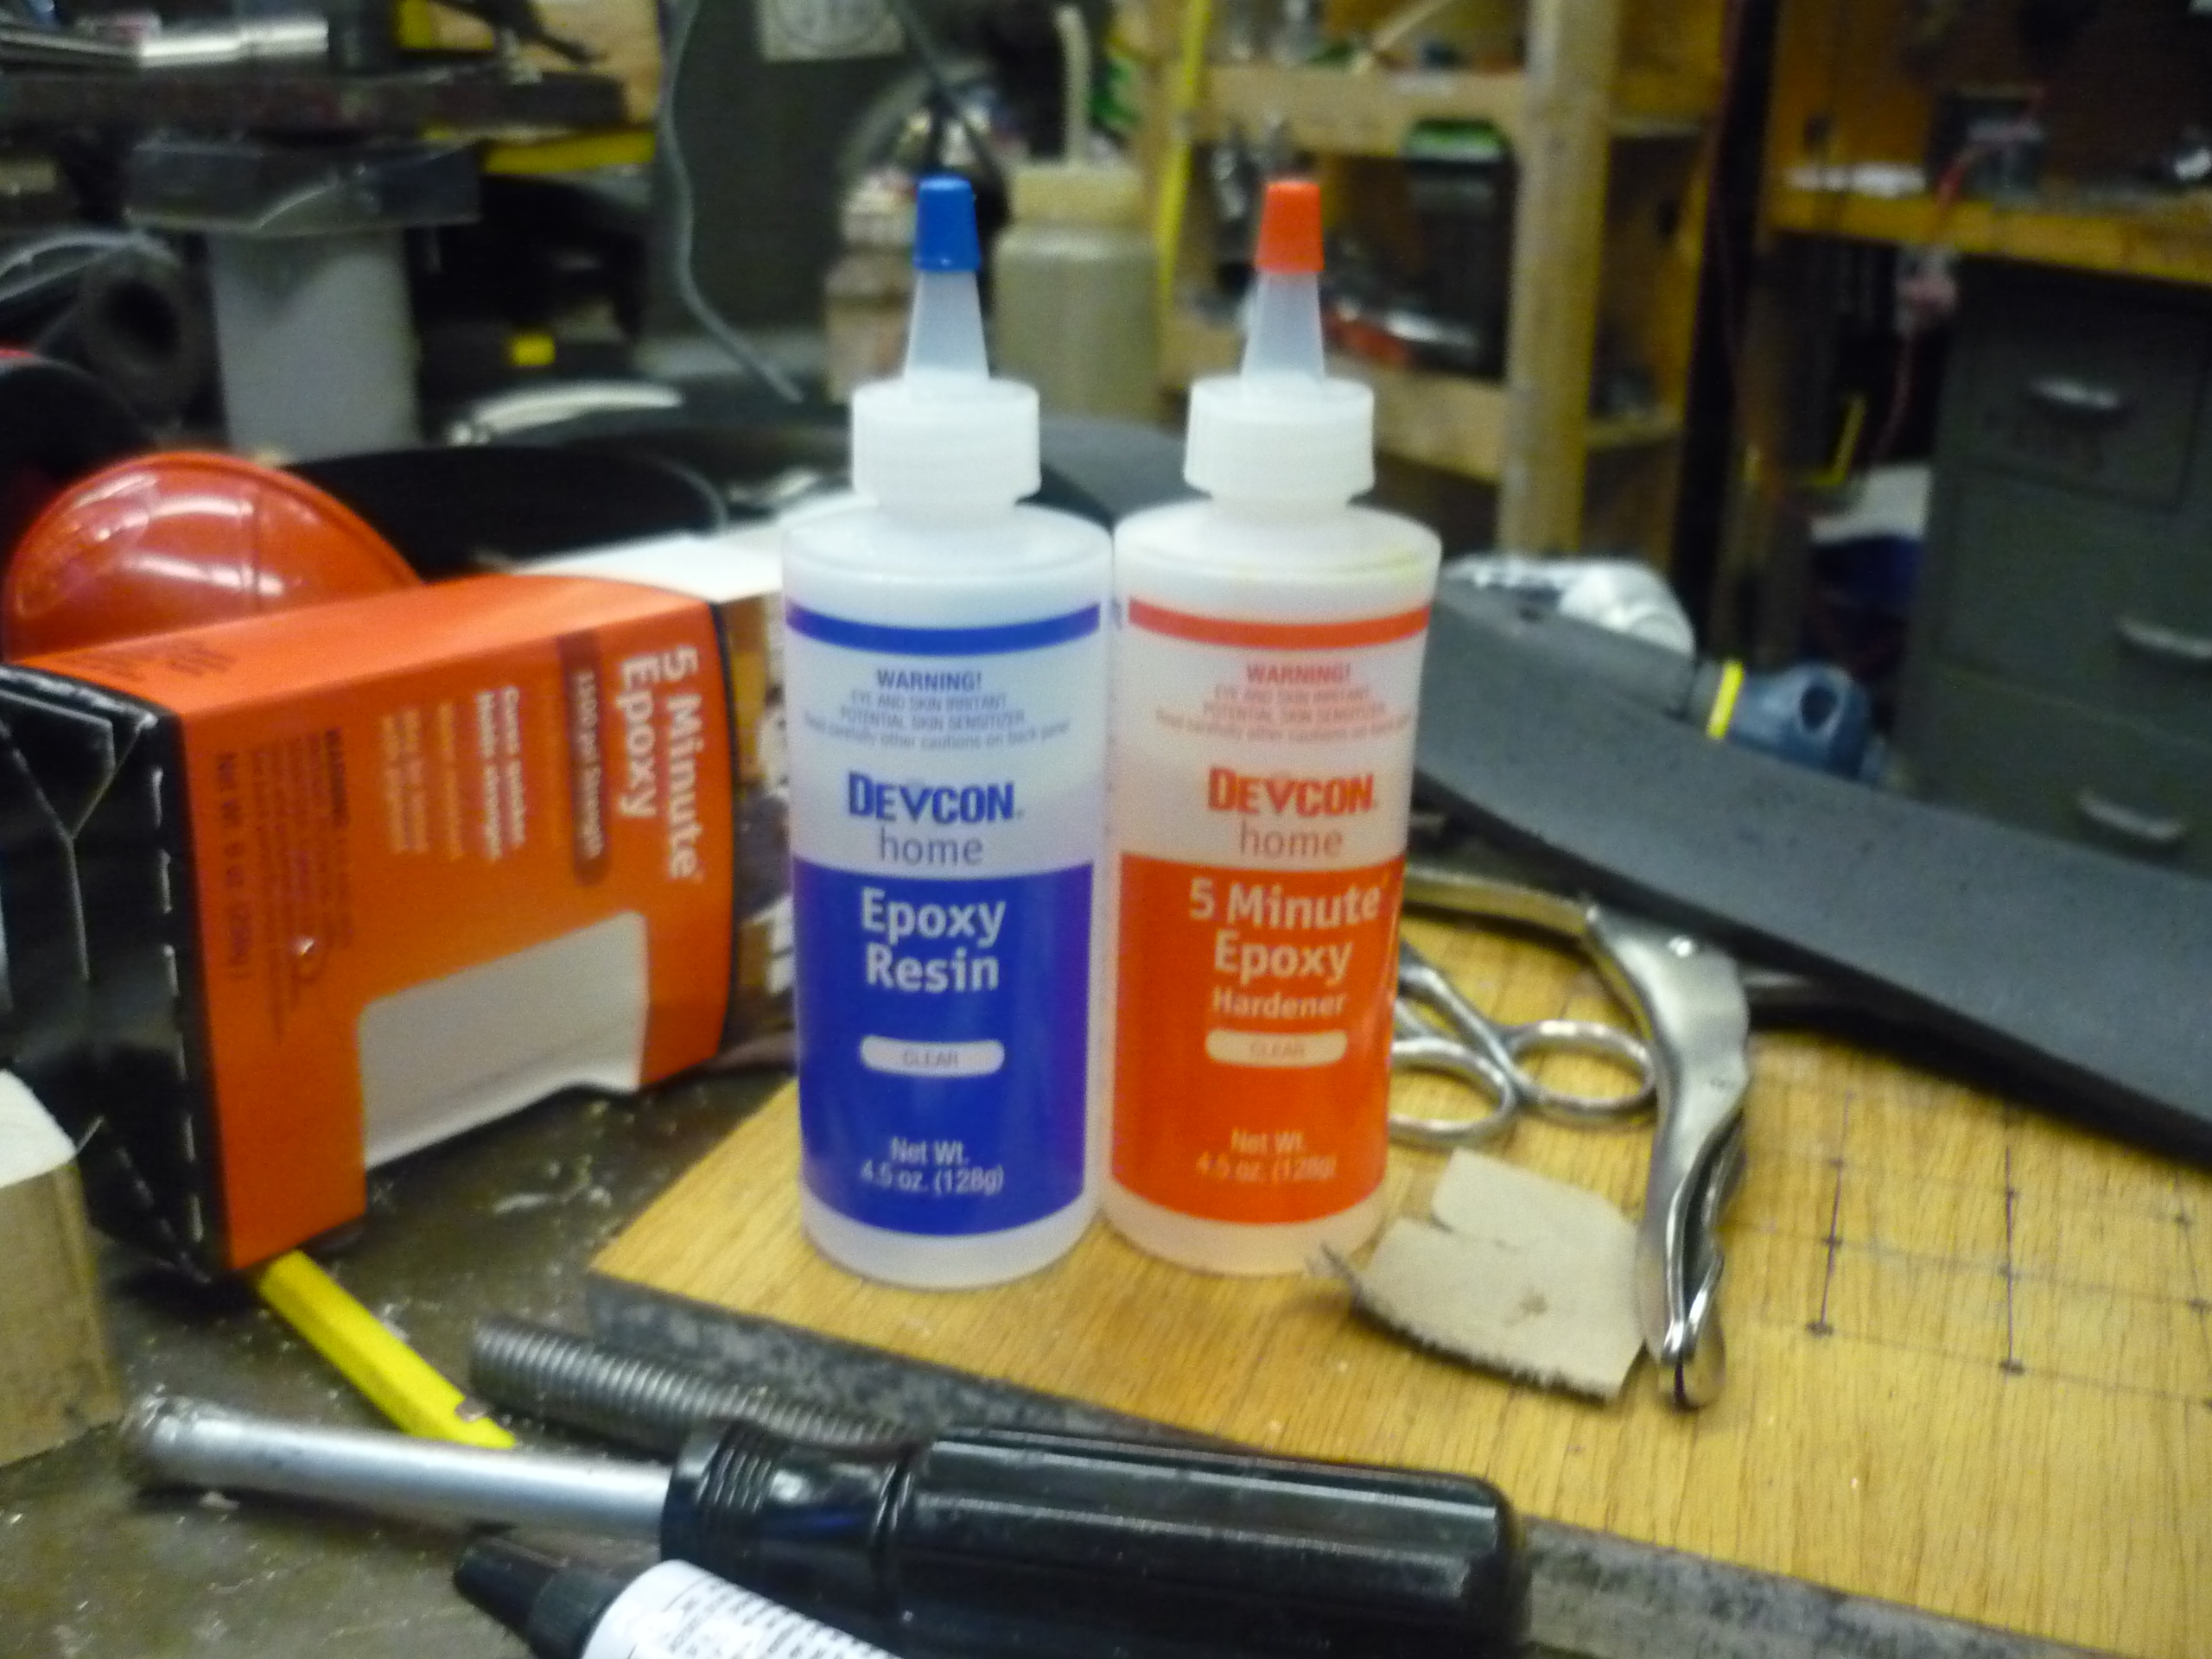
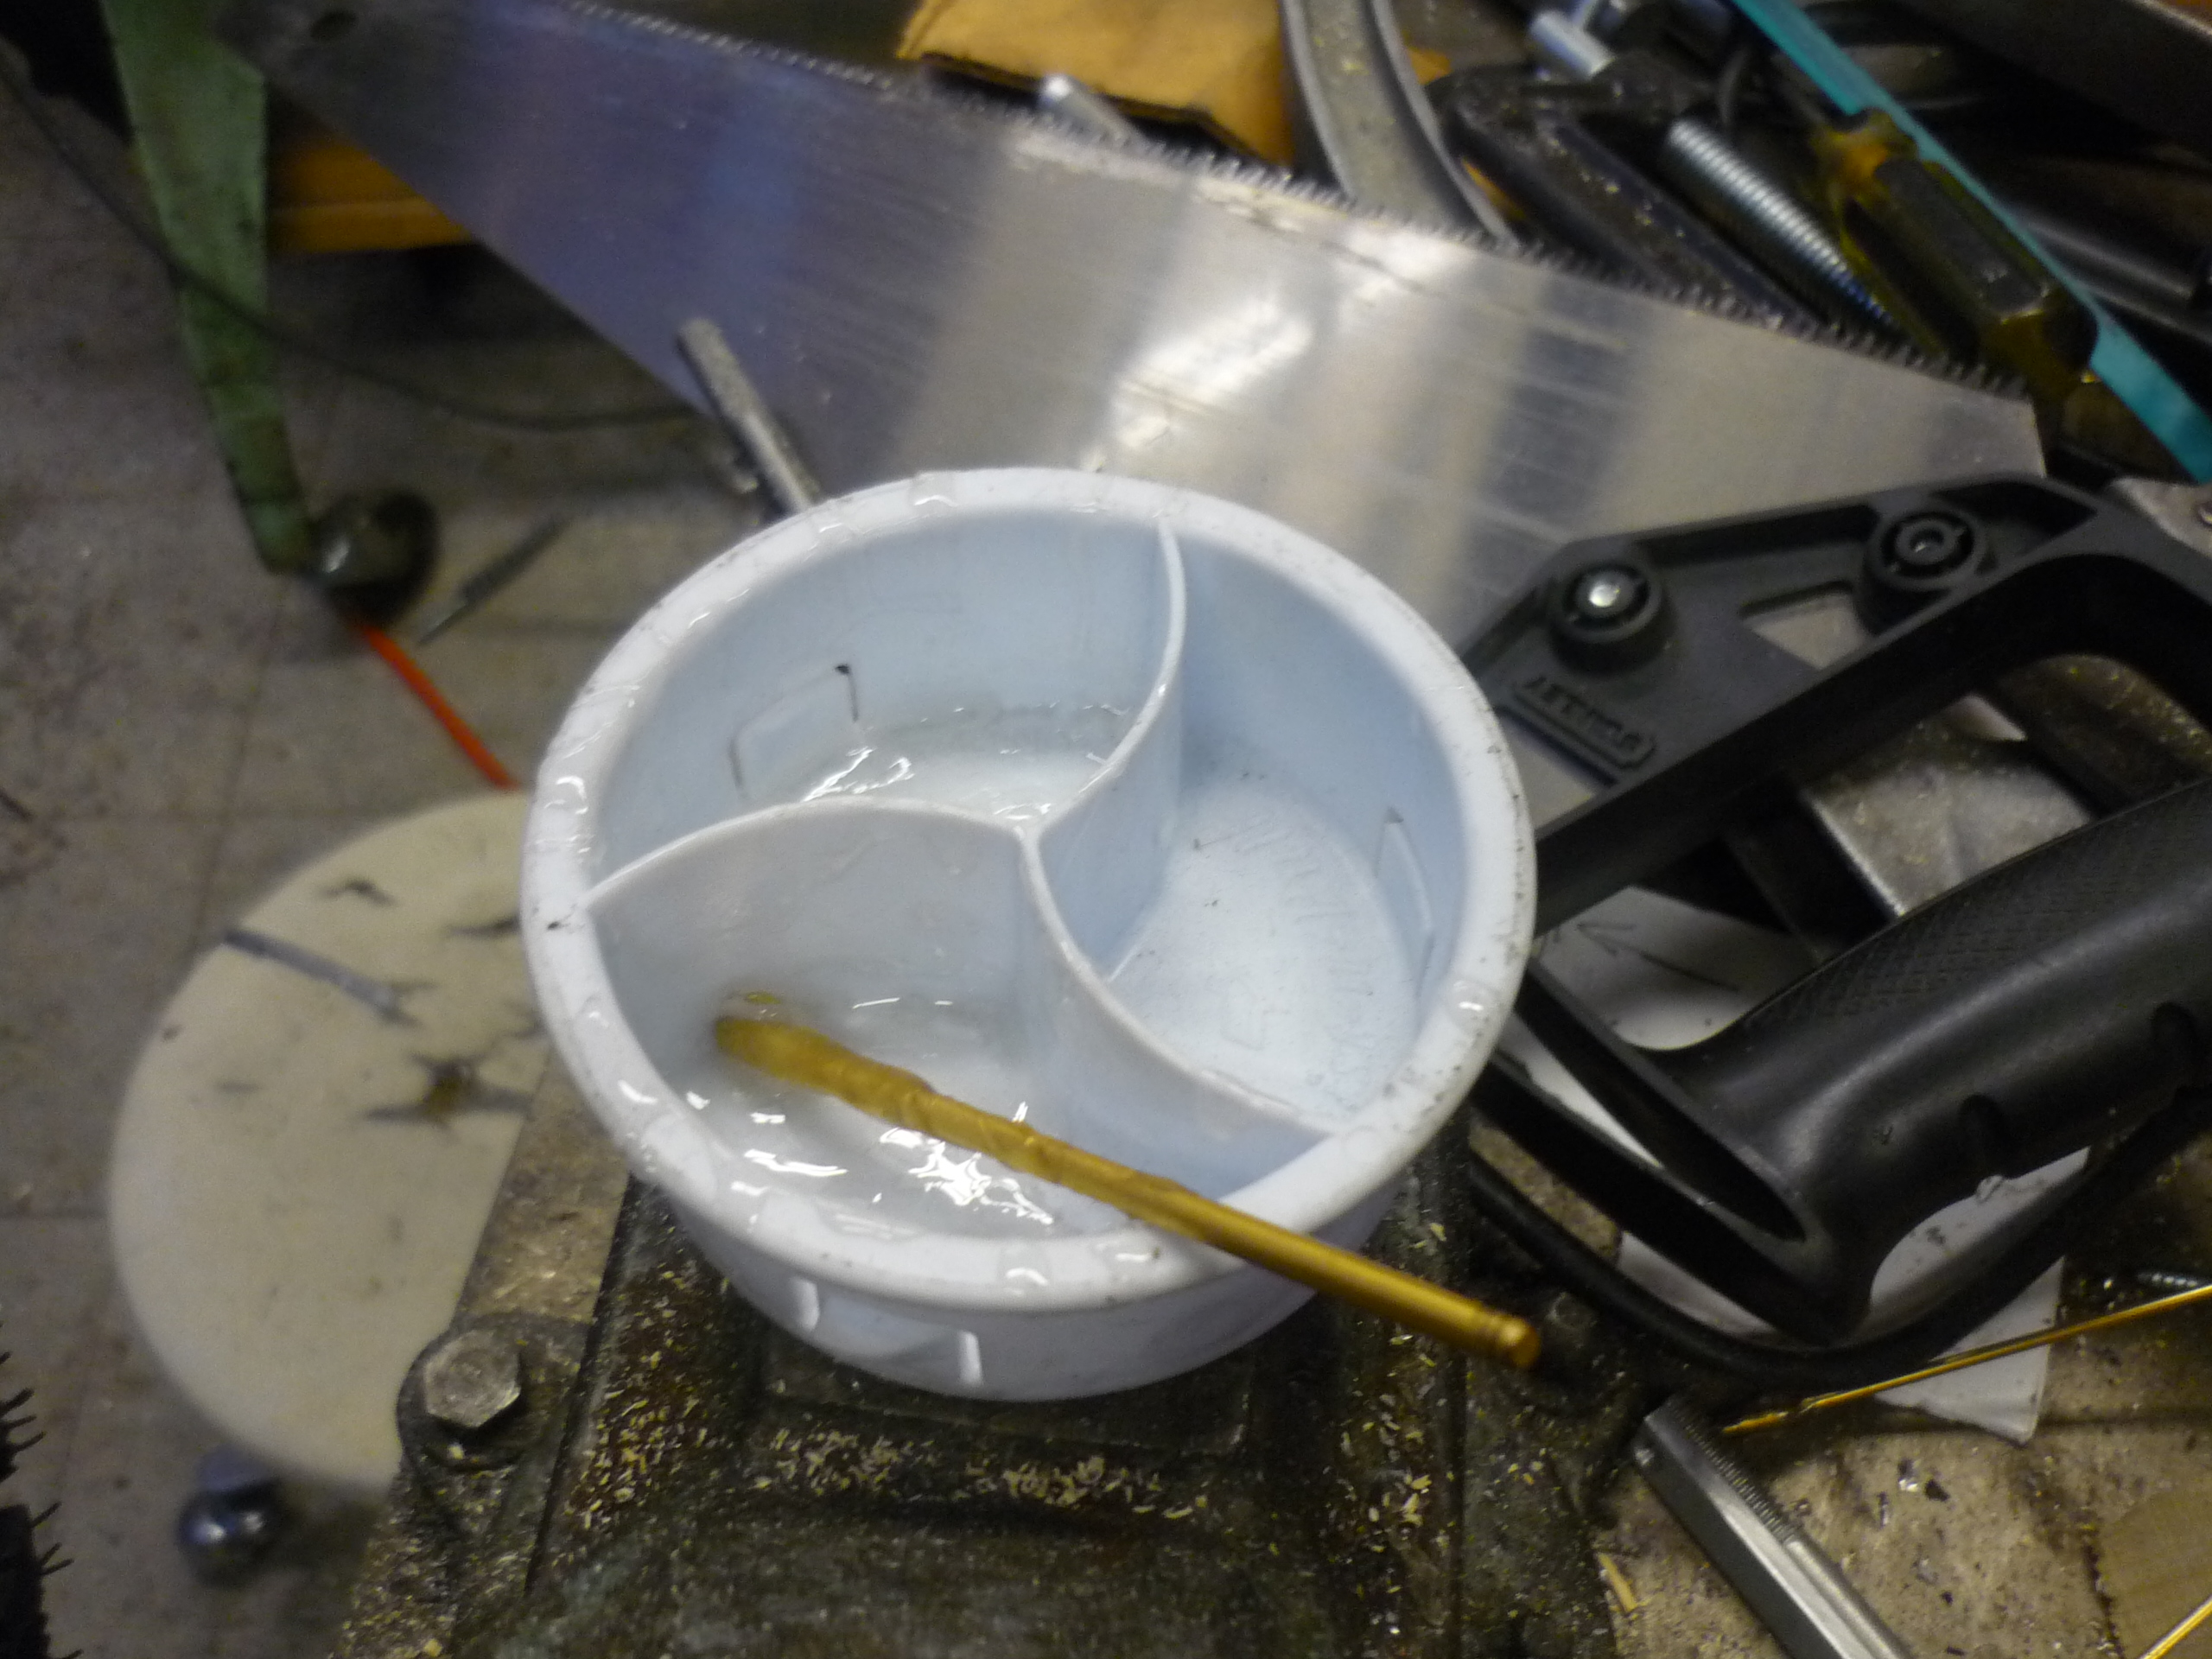
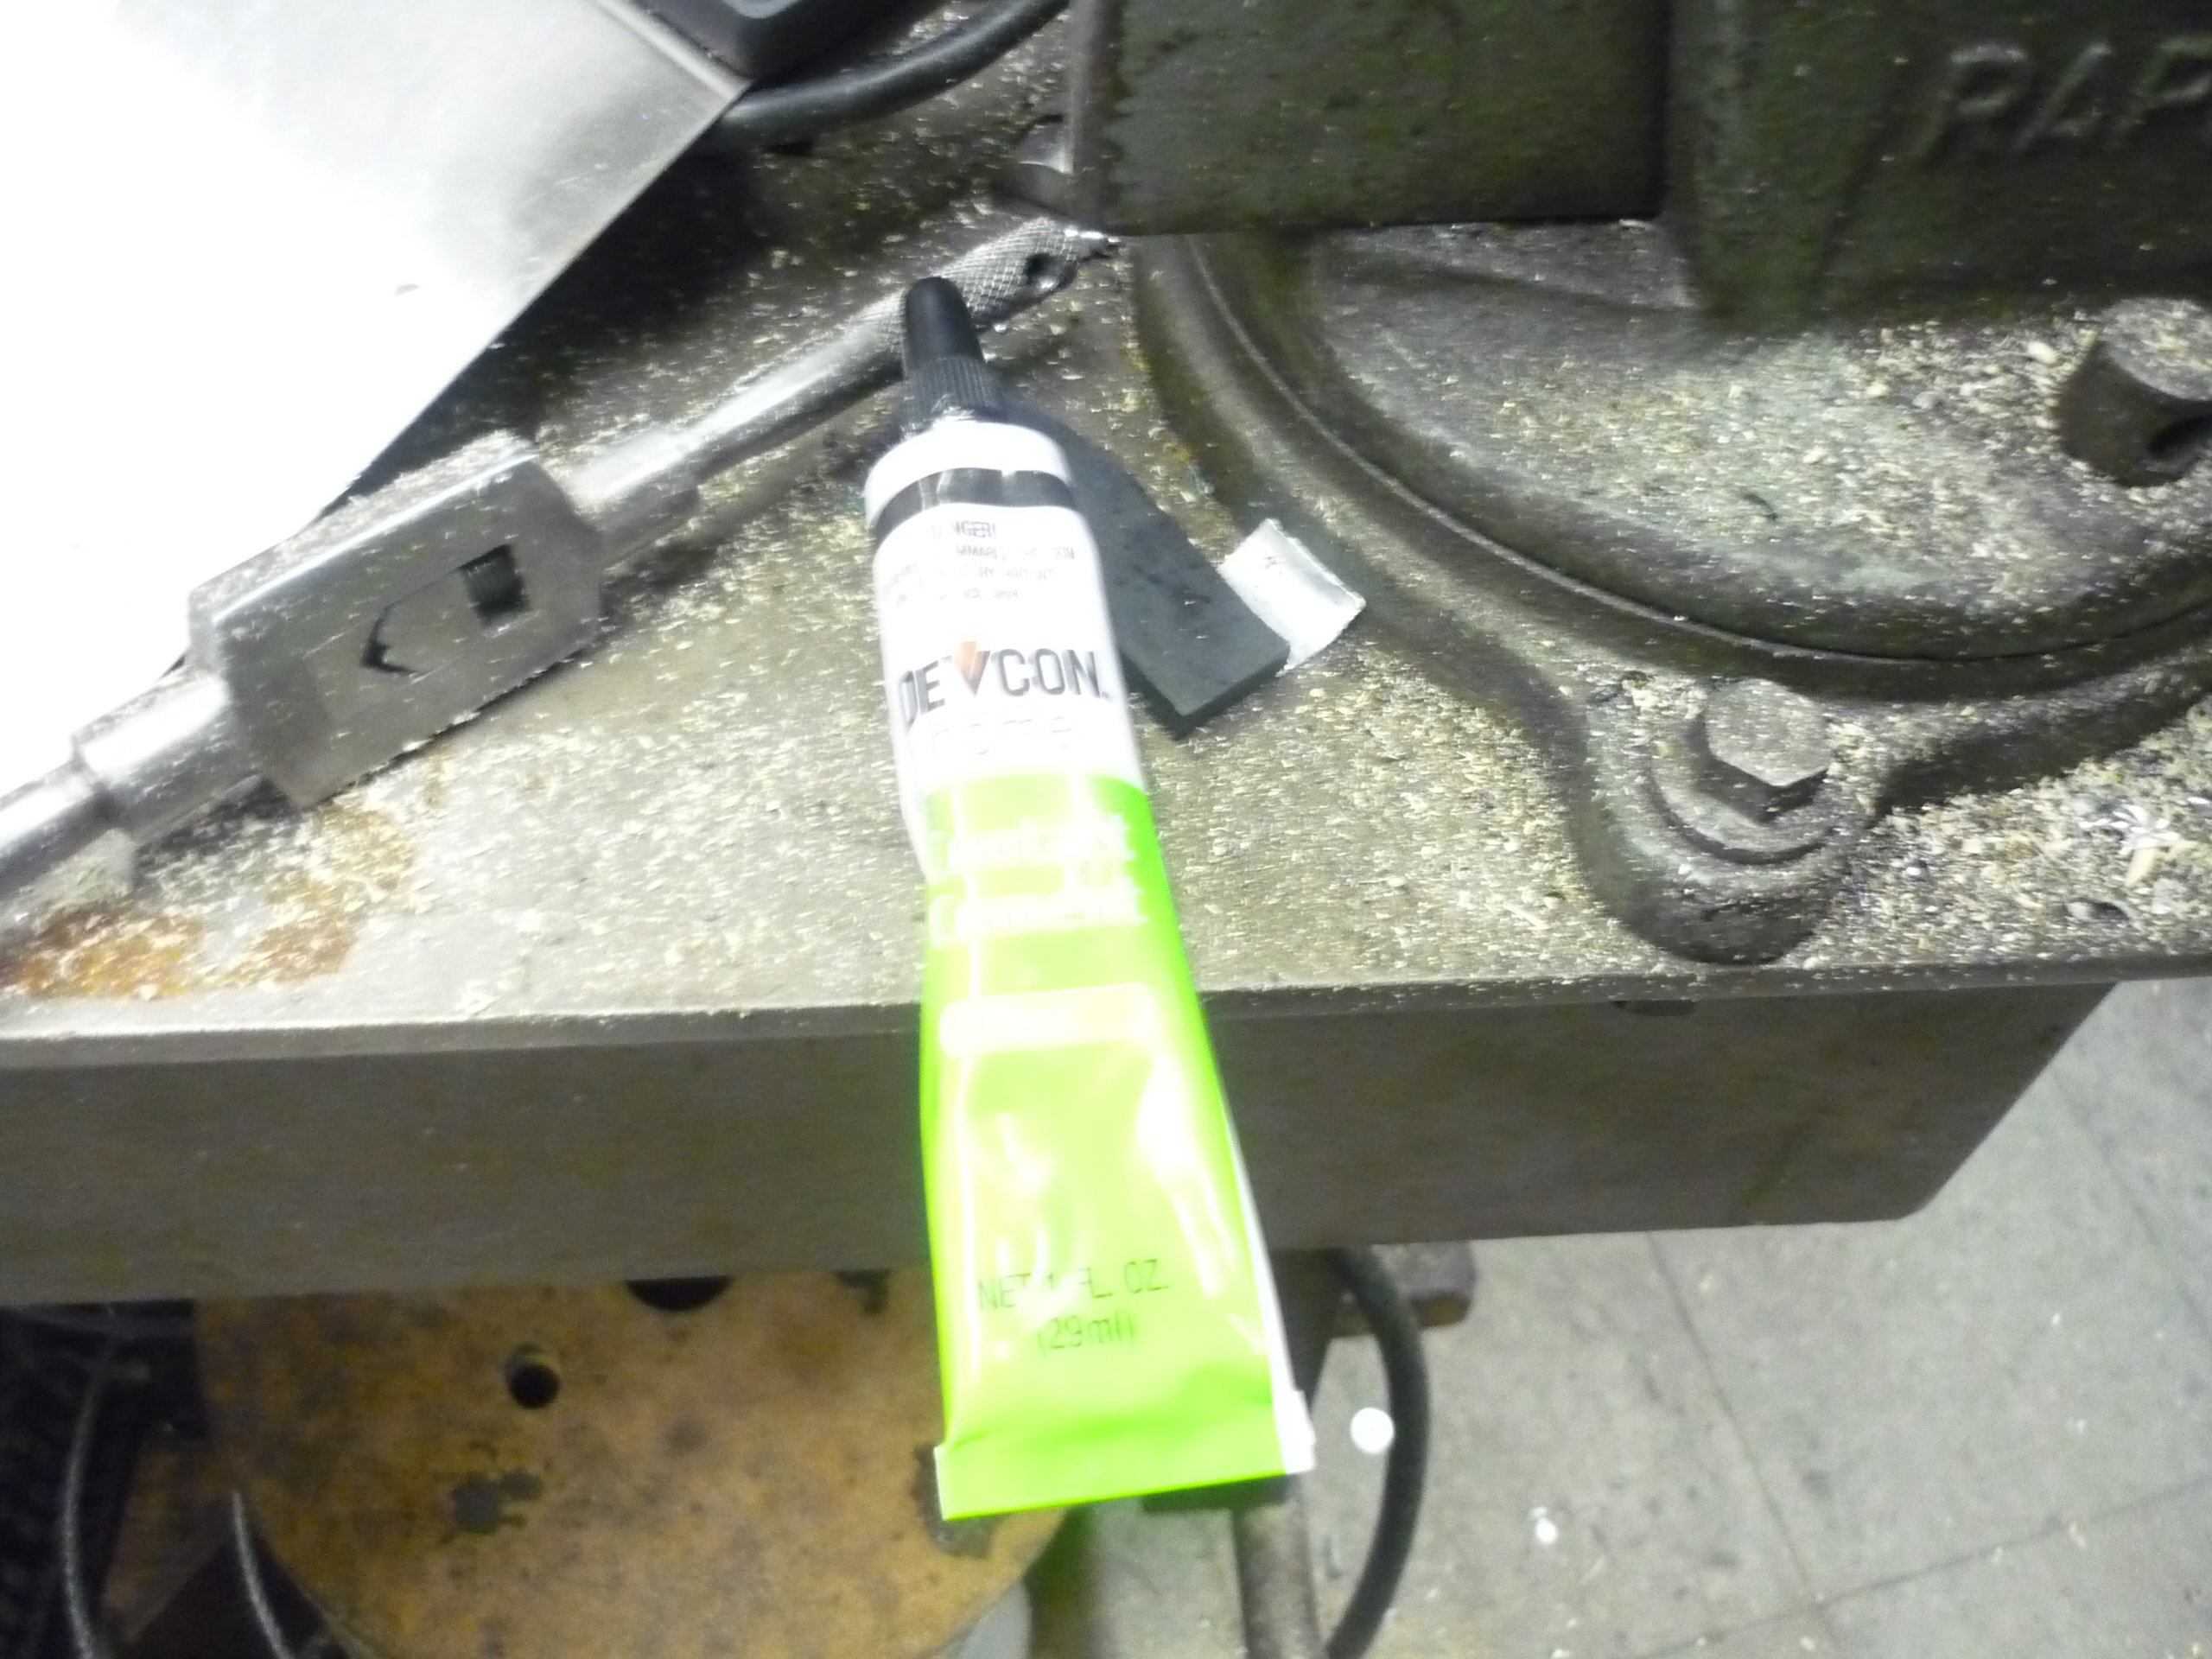
| Mixing
some Epoxy For keeping the tire studs in place, i chose devcon 5min epoxy. It worked out great for the battlebot project, so I gave it the green-light for tire-stud gluing. This stuff is also available at a lot of hardware stores, I've purchased from both a mom&pop as well as a Lowes. Five minutes isnt a lot of time for setup, so there's a bit of hurry involved. I used a small metal rod and the end of a mailing tube as a mixing area. |
 |
 |
| Slather
epoxy, screw in place, rinse, repeat I used a hex-head screwdriver (which subsequently got covered in epoxy goo). I had only purchased 50 screws, so I started by covering the mid-section with two screws per center extrusion and worked around the tire. Slather epoxy, screw, repeat. |
 |
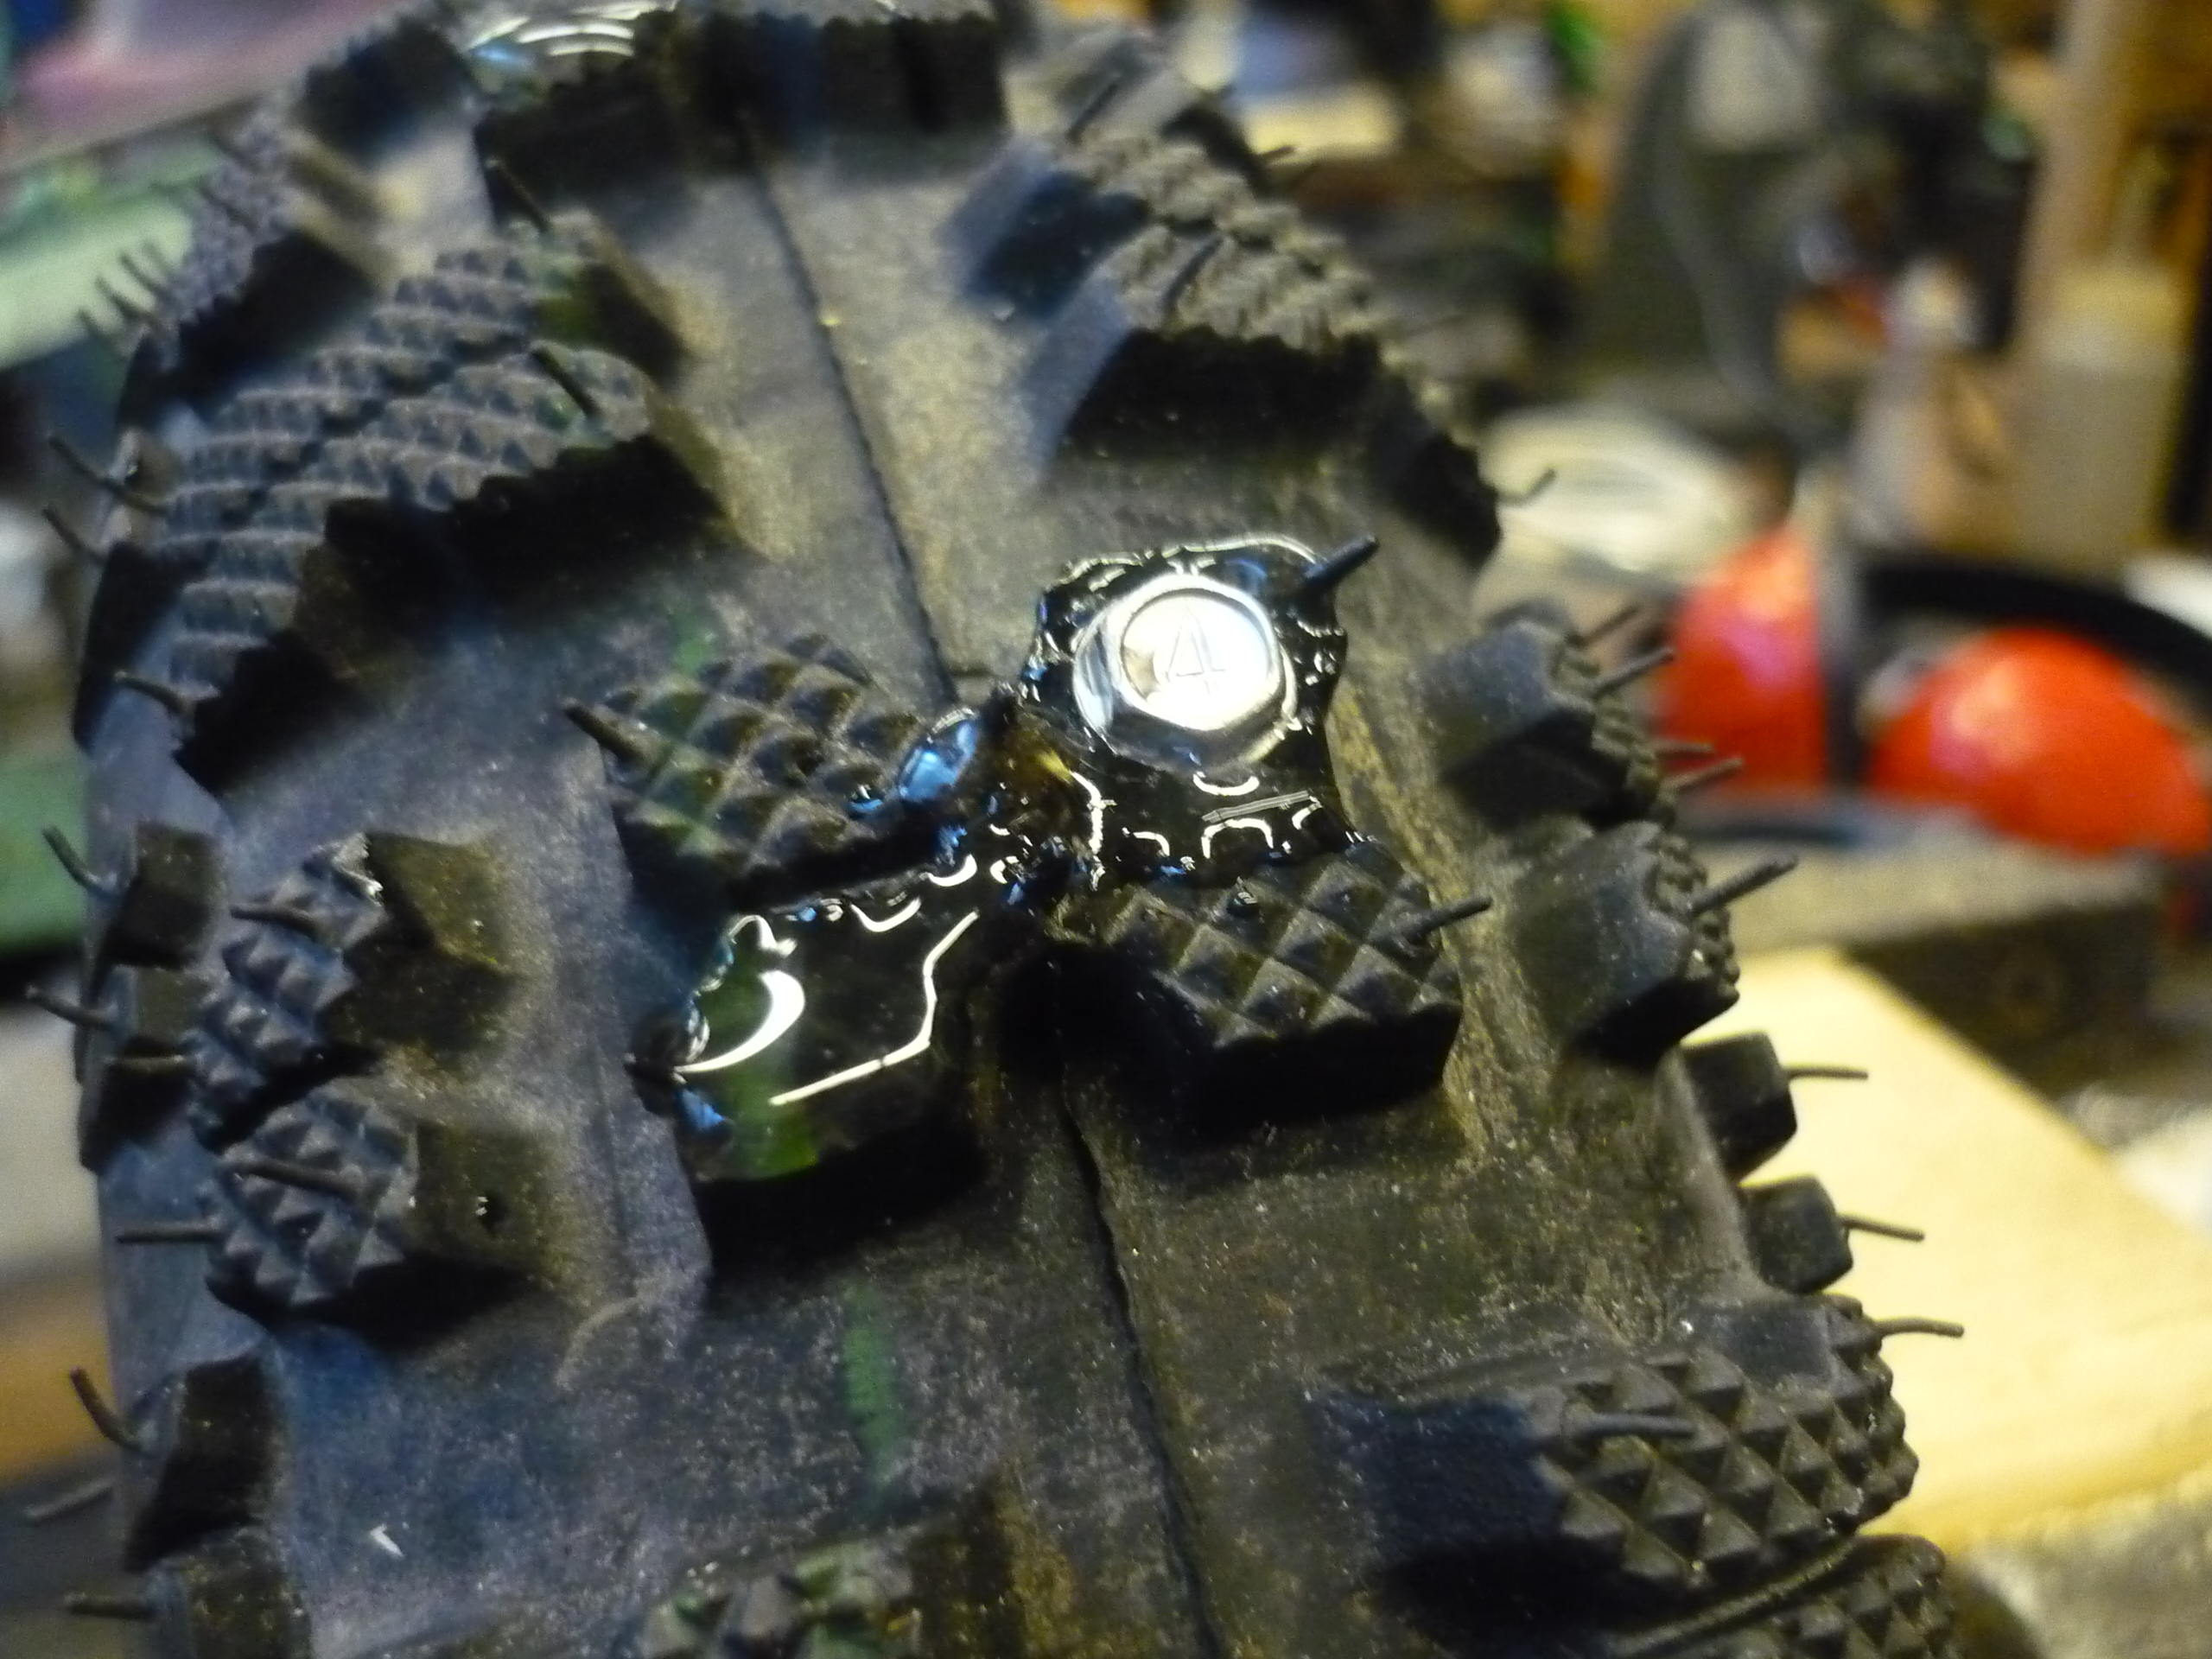 |
| More
Tire The whole rear tire was covered in screws and epoxy. I started with just the center track, using the wooden tire-rig to apply pressure when inserting them |
 |
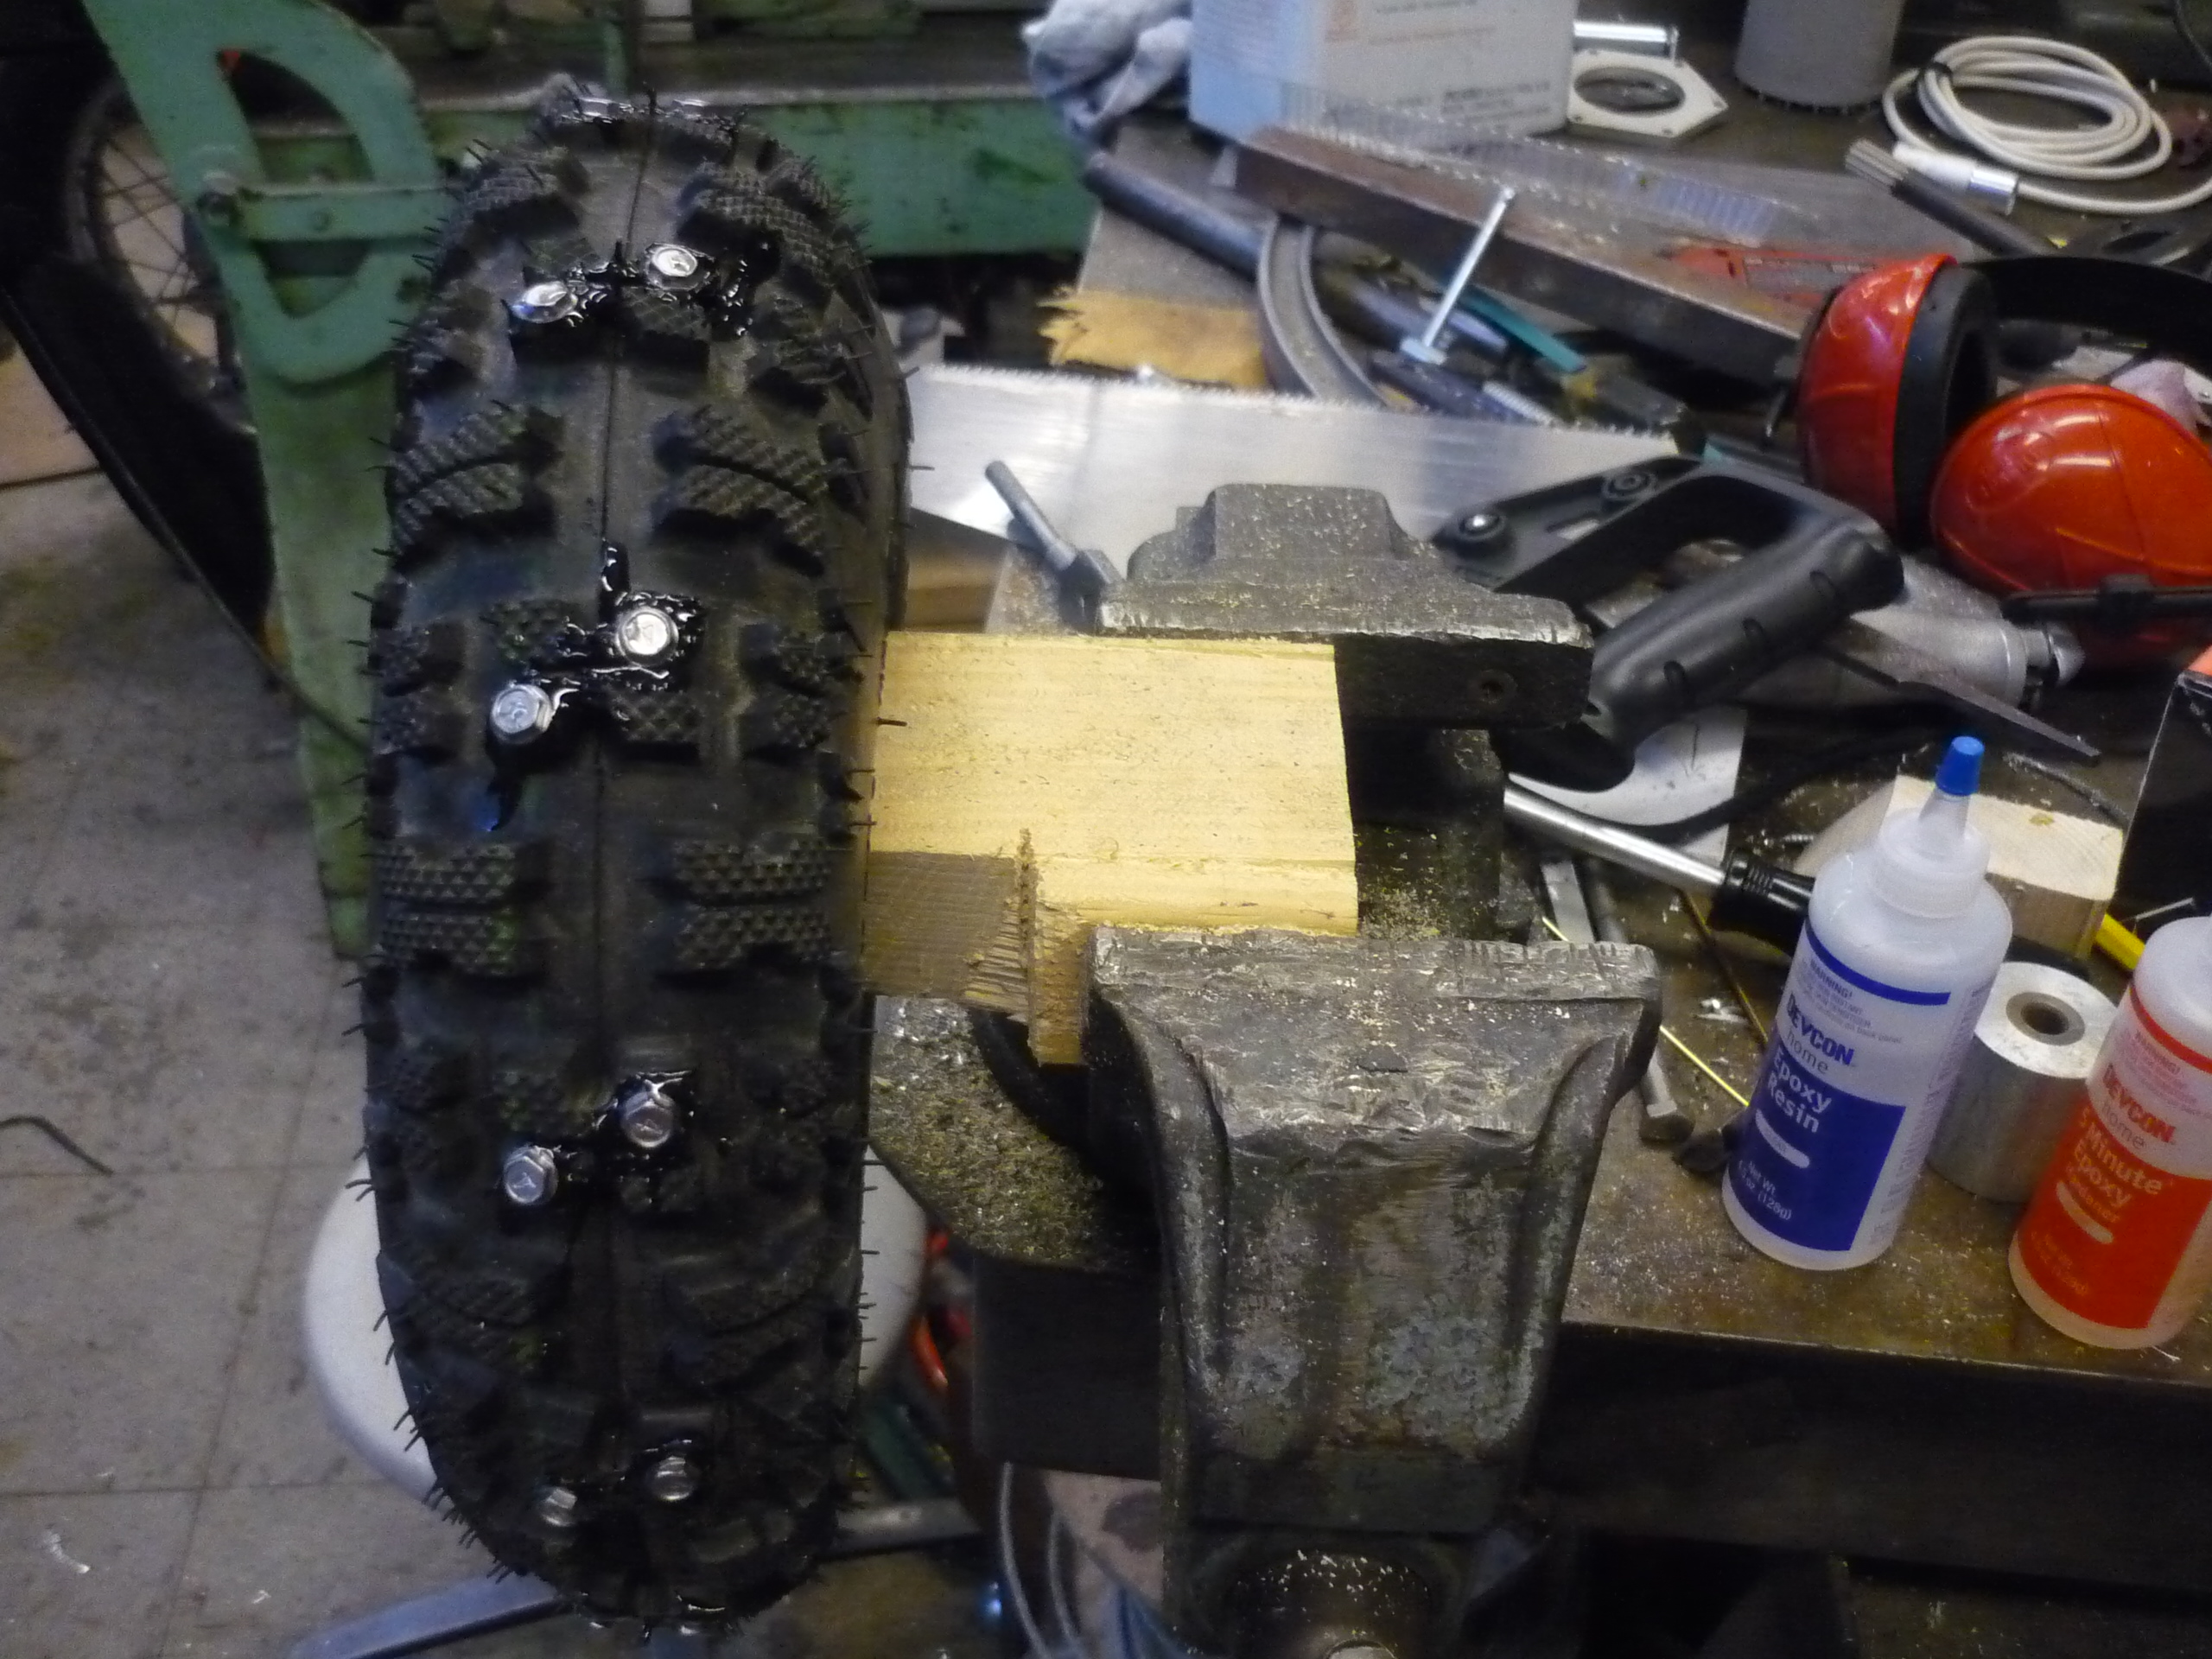 |
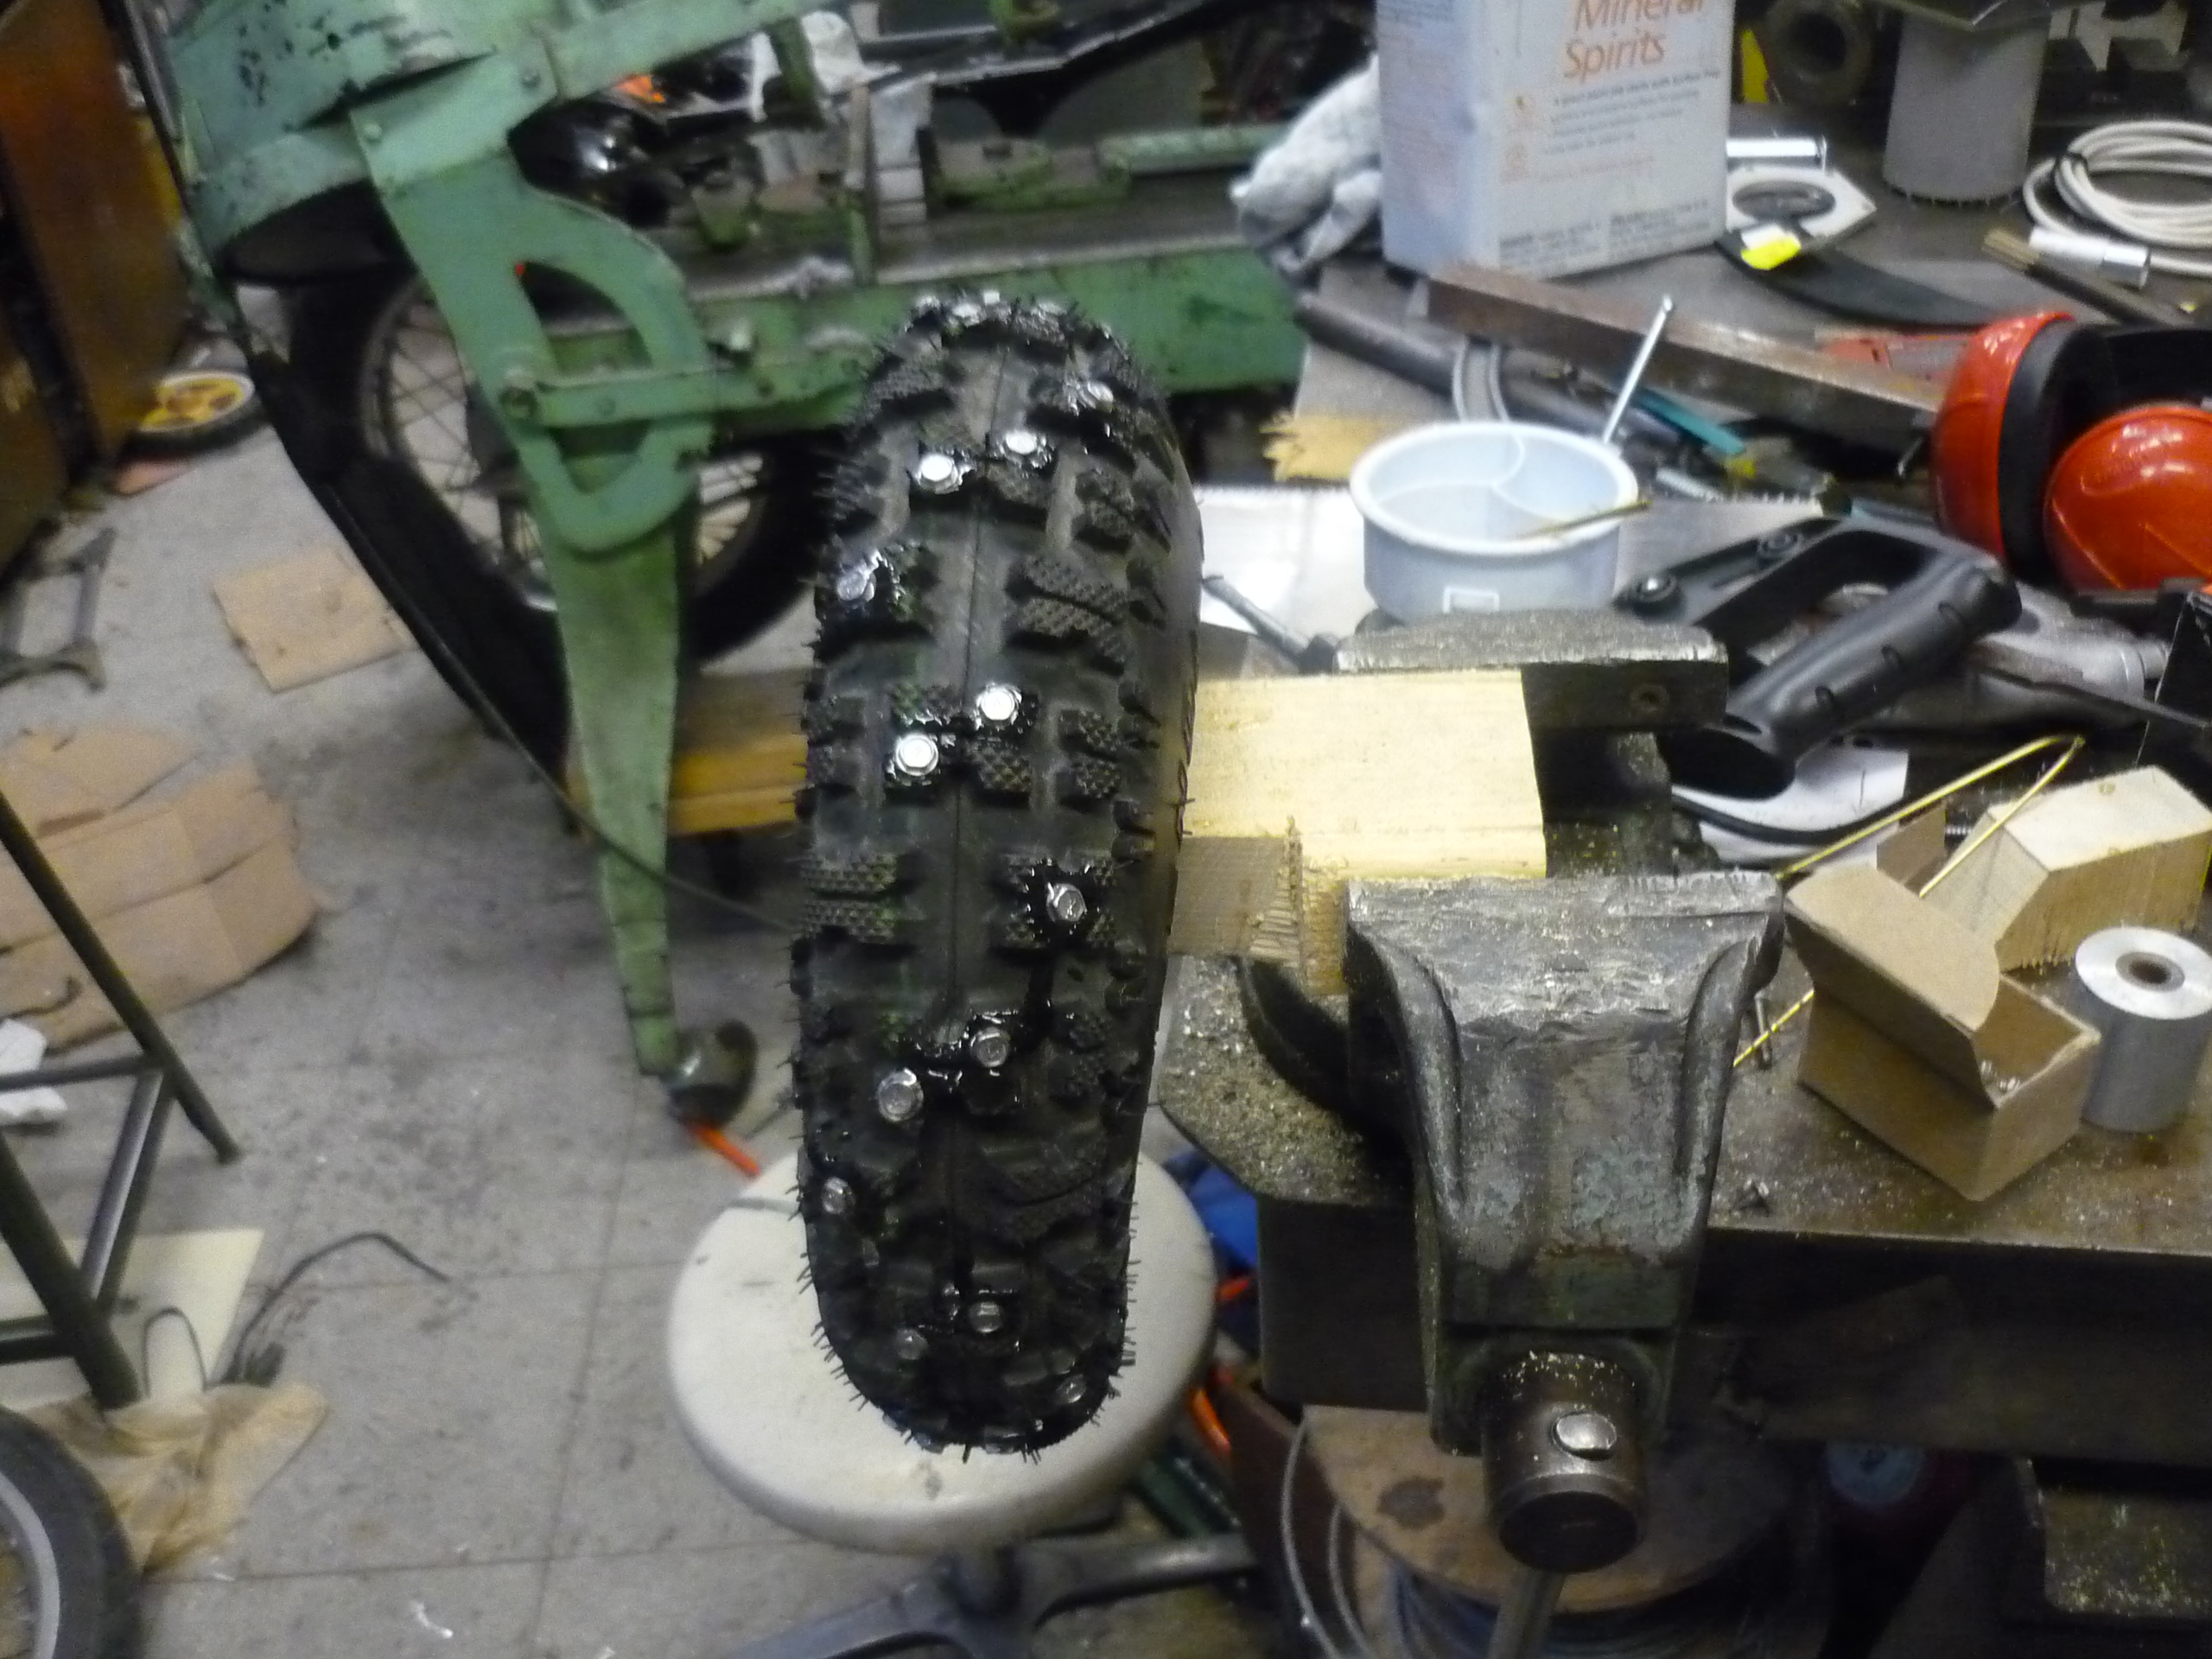
| Does
anyone have a StudFinder Finally, after a few cycles of epoxy, screw, epoxy, screw, the full tire was covered, inner and outer portions of the tread. Why the outer portion? This was an interesting part that Dave, a fellow ice-comrade, brought up, as you enter a turn, you'd rather keep traction than loose it all at once as the wheel tips. |
 |
 |
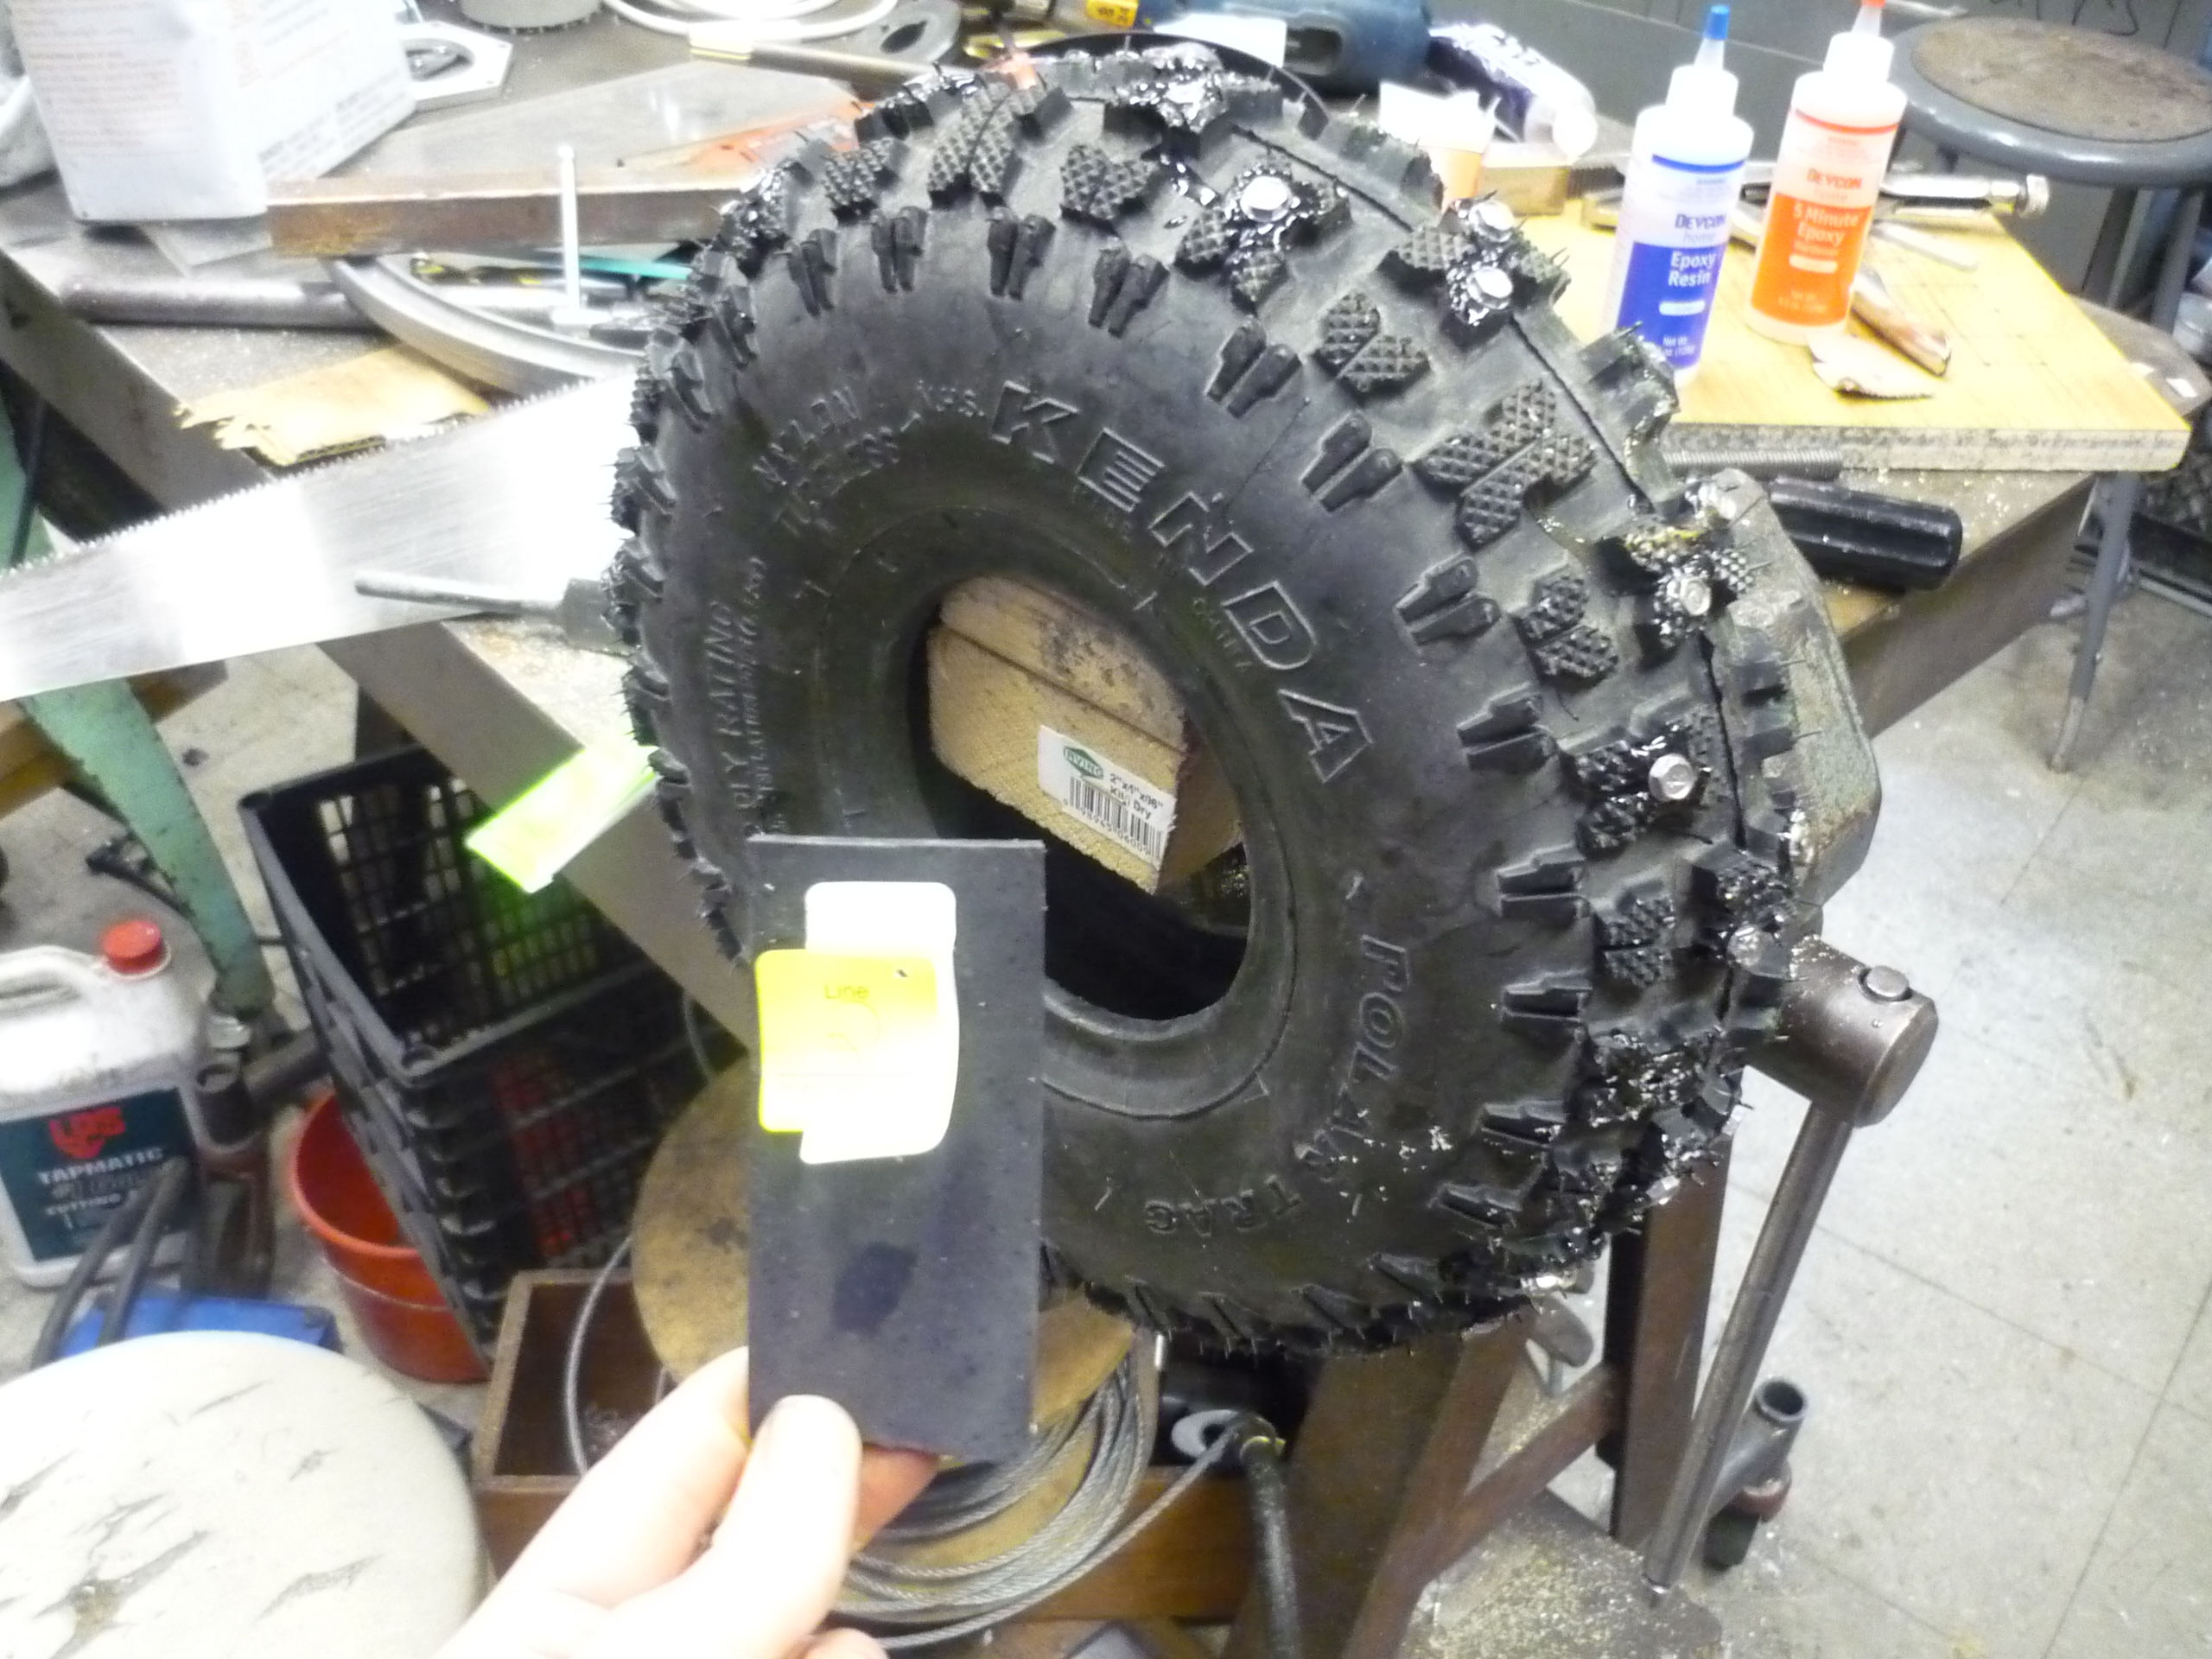
| Adding
some internal reinforcement to prevent the self-tapping screws from wearing their way into the inner-tube, i used 1/4" thick 3" wide low durometer rubber strip from mcmaster-carr. after back-and-forth sizing and stuffing, I managed to get everything to fit. Shown right is the thickness of the rubber in comparison to the tire. |
 |
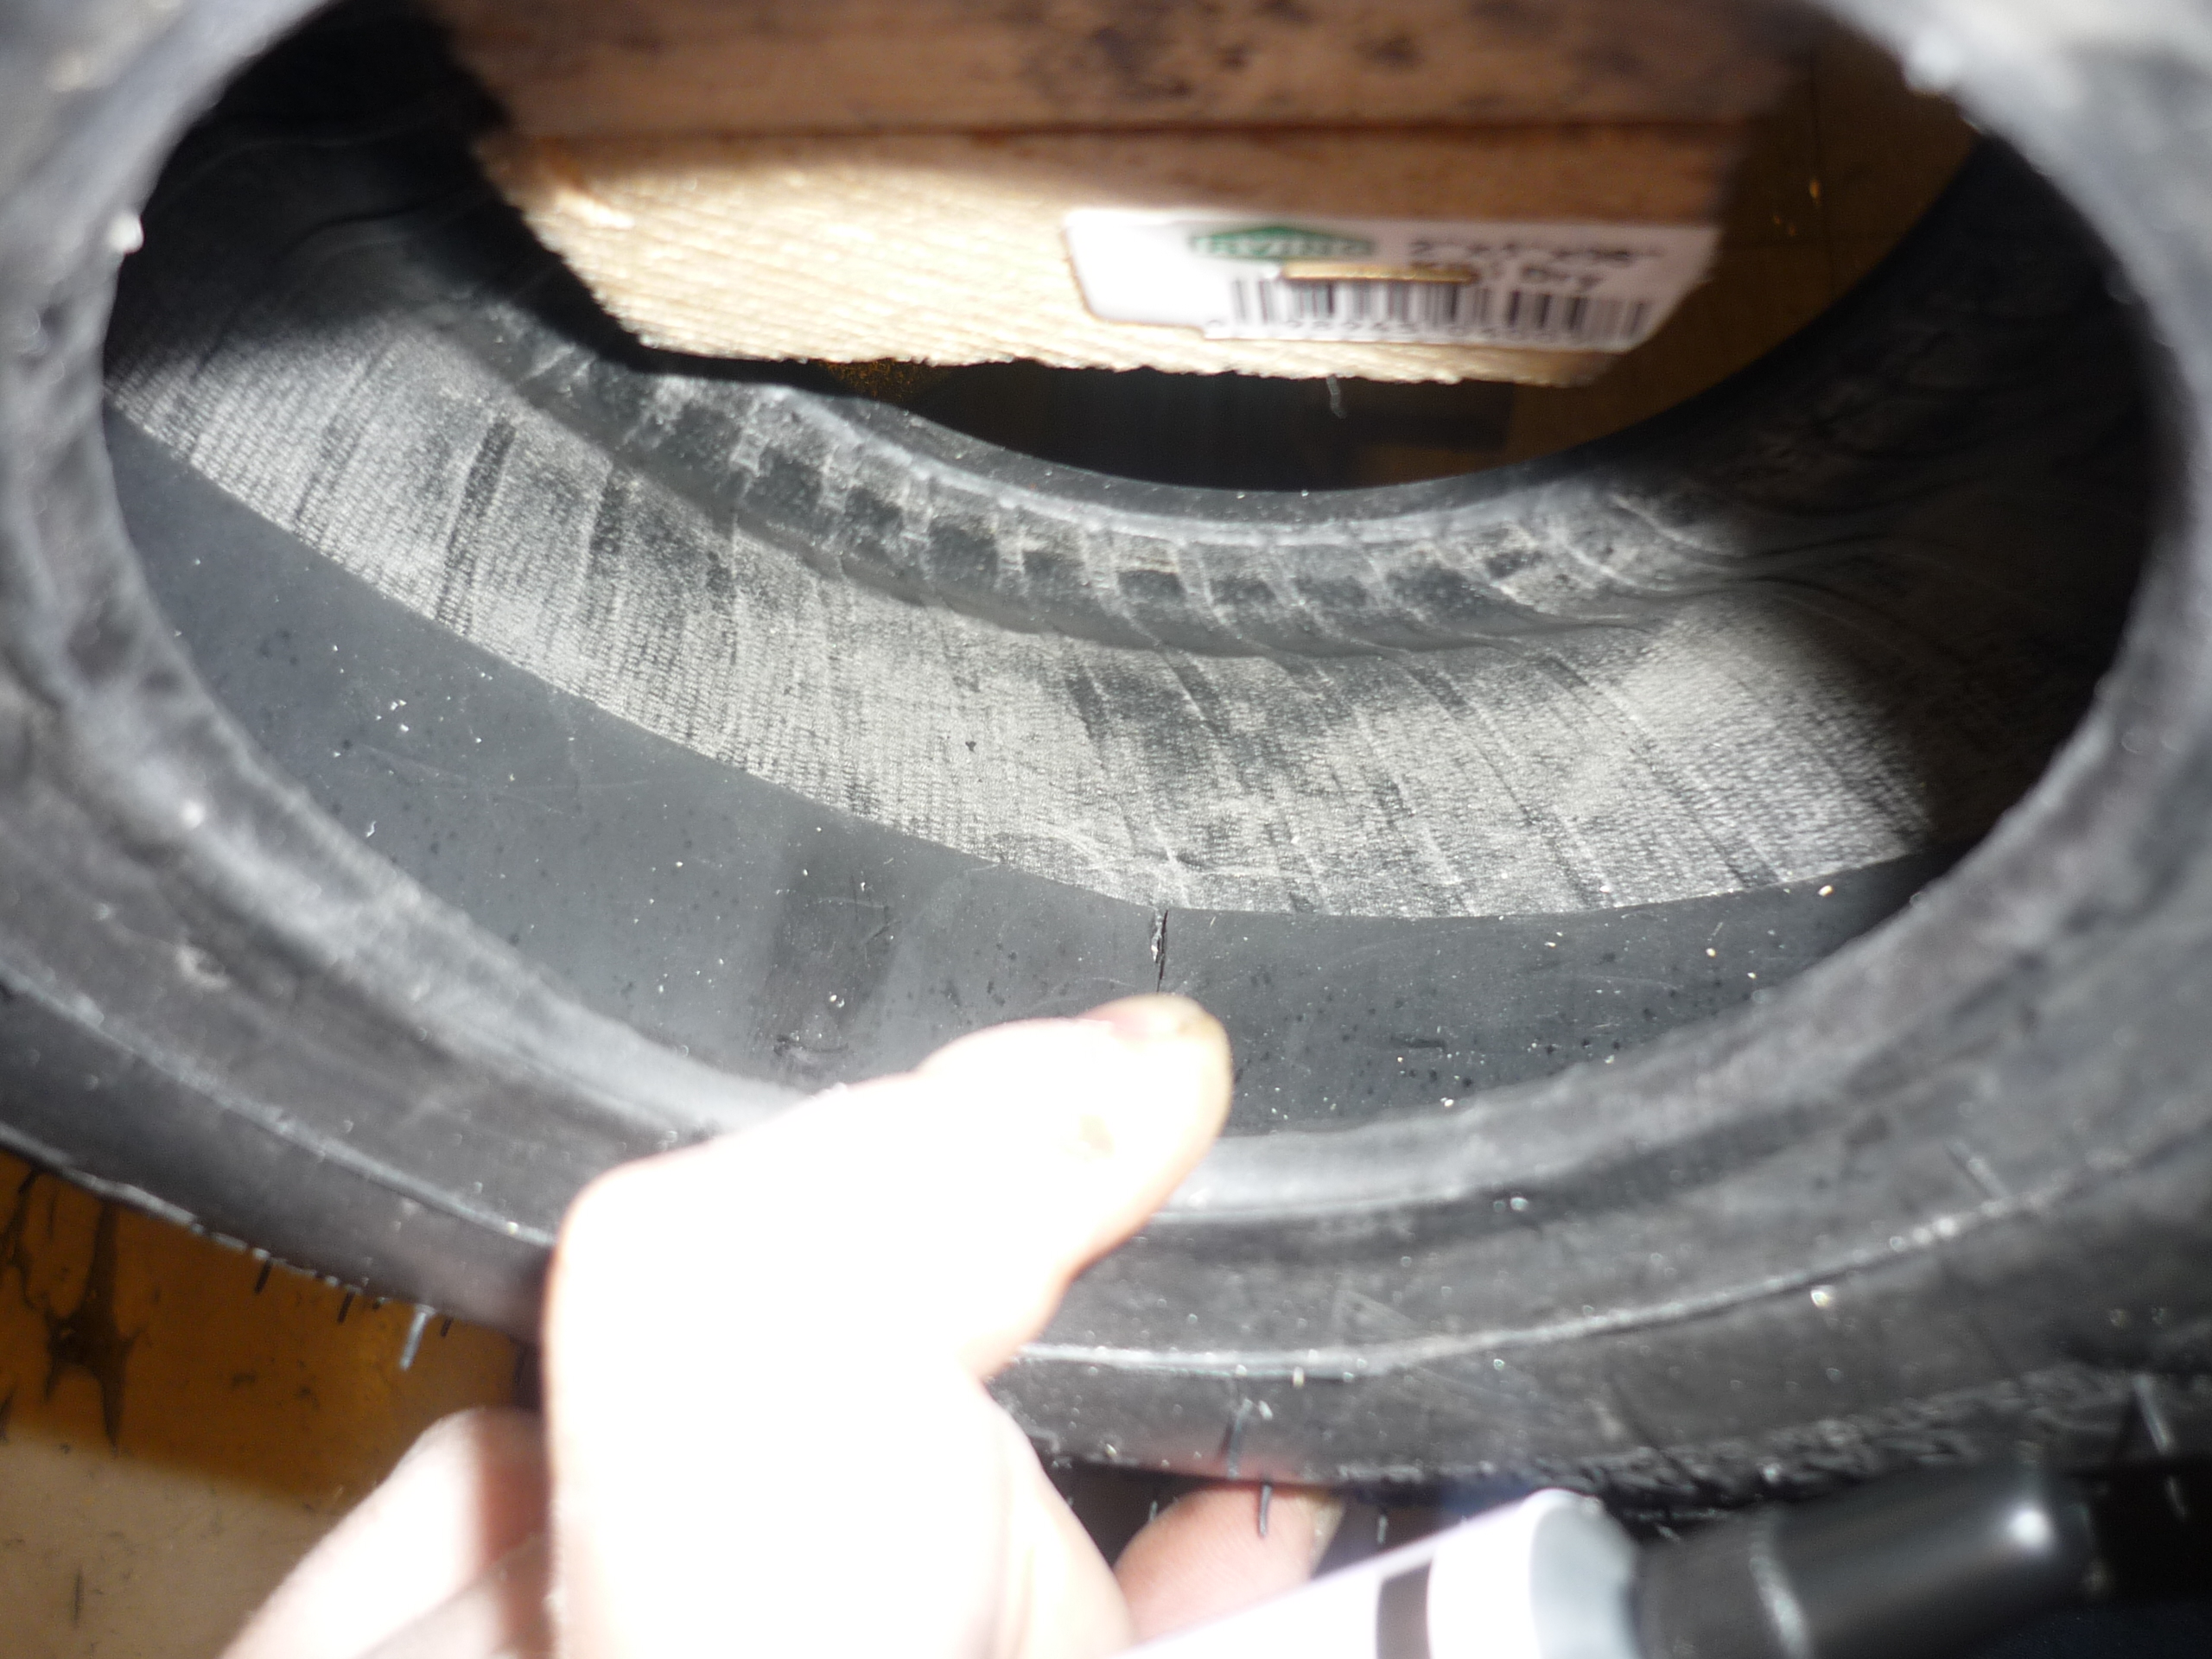 |
| Gluing
in the reinforcement I used devcon contact cement, rated for rubber-rubber bonding to keep the puncture-prevention strip in place before inflating the tube inside the tire. This was also, conviently available at the local hardware store. |
 |
 |
Maintaince Time
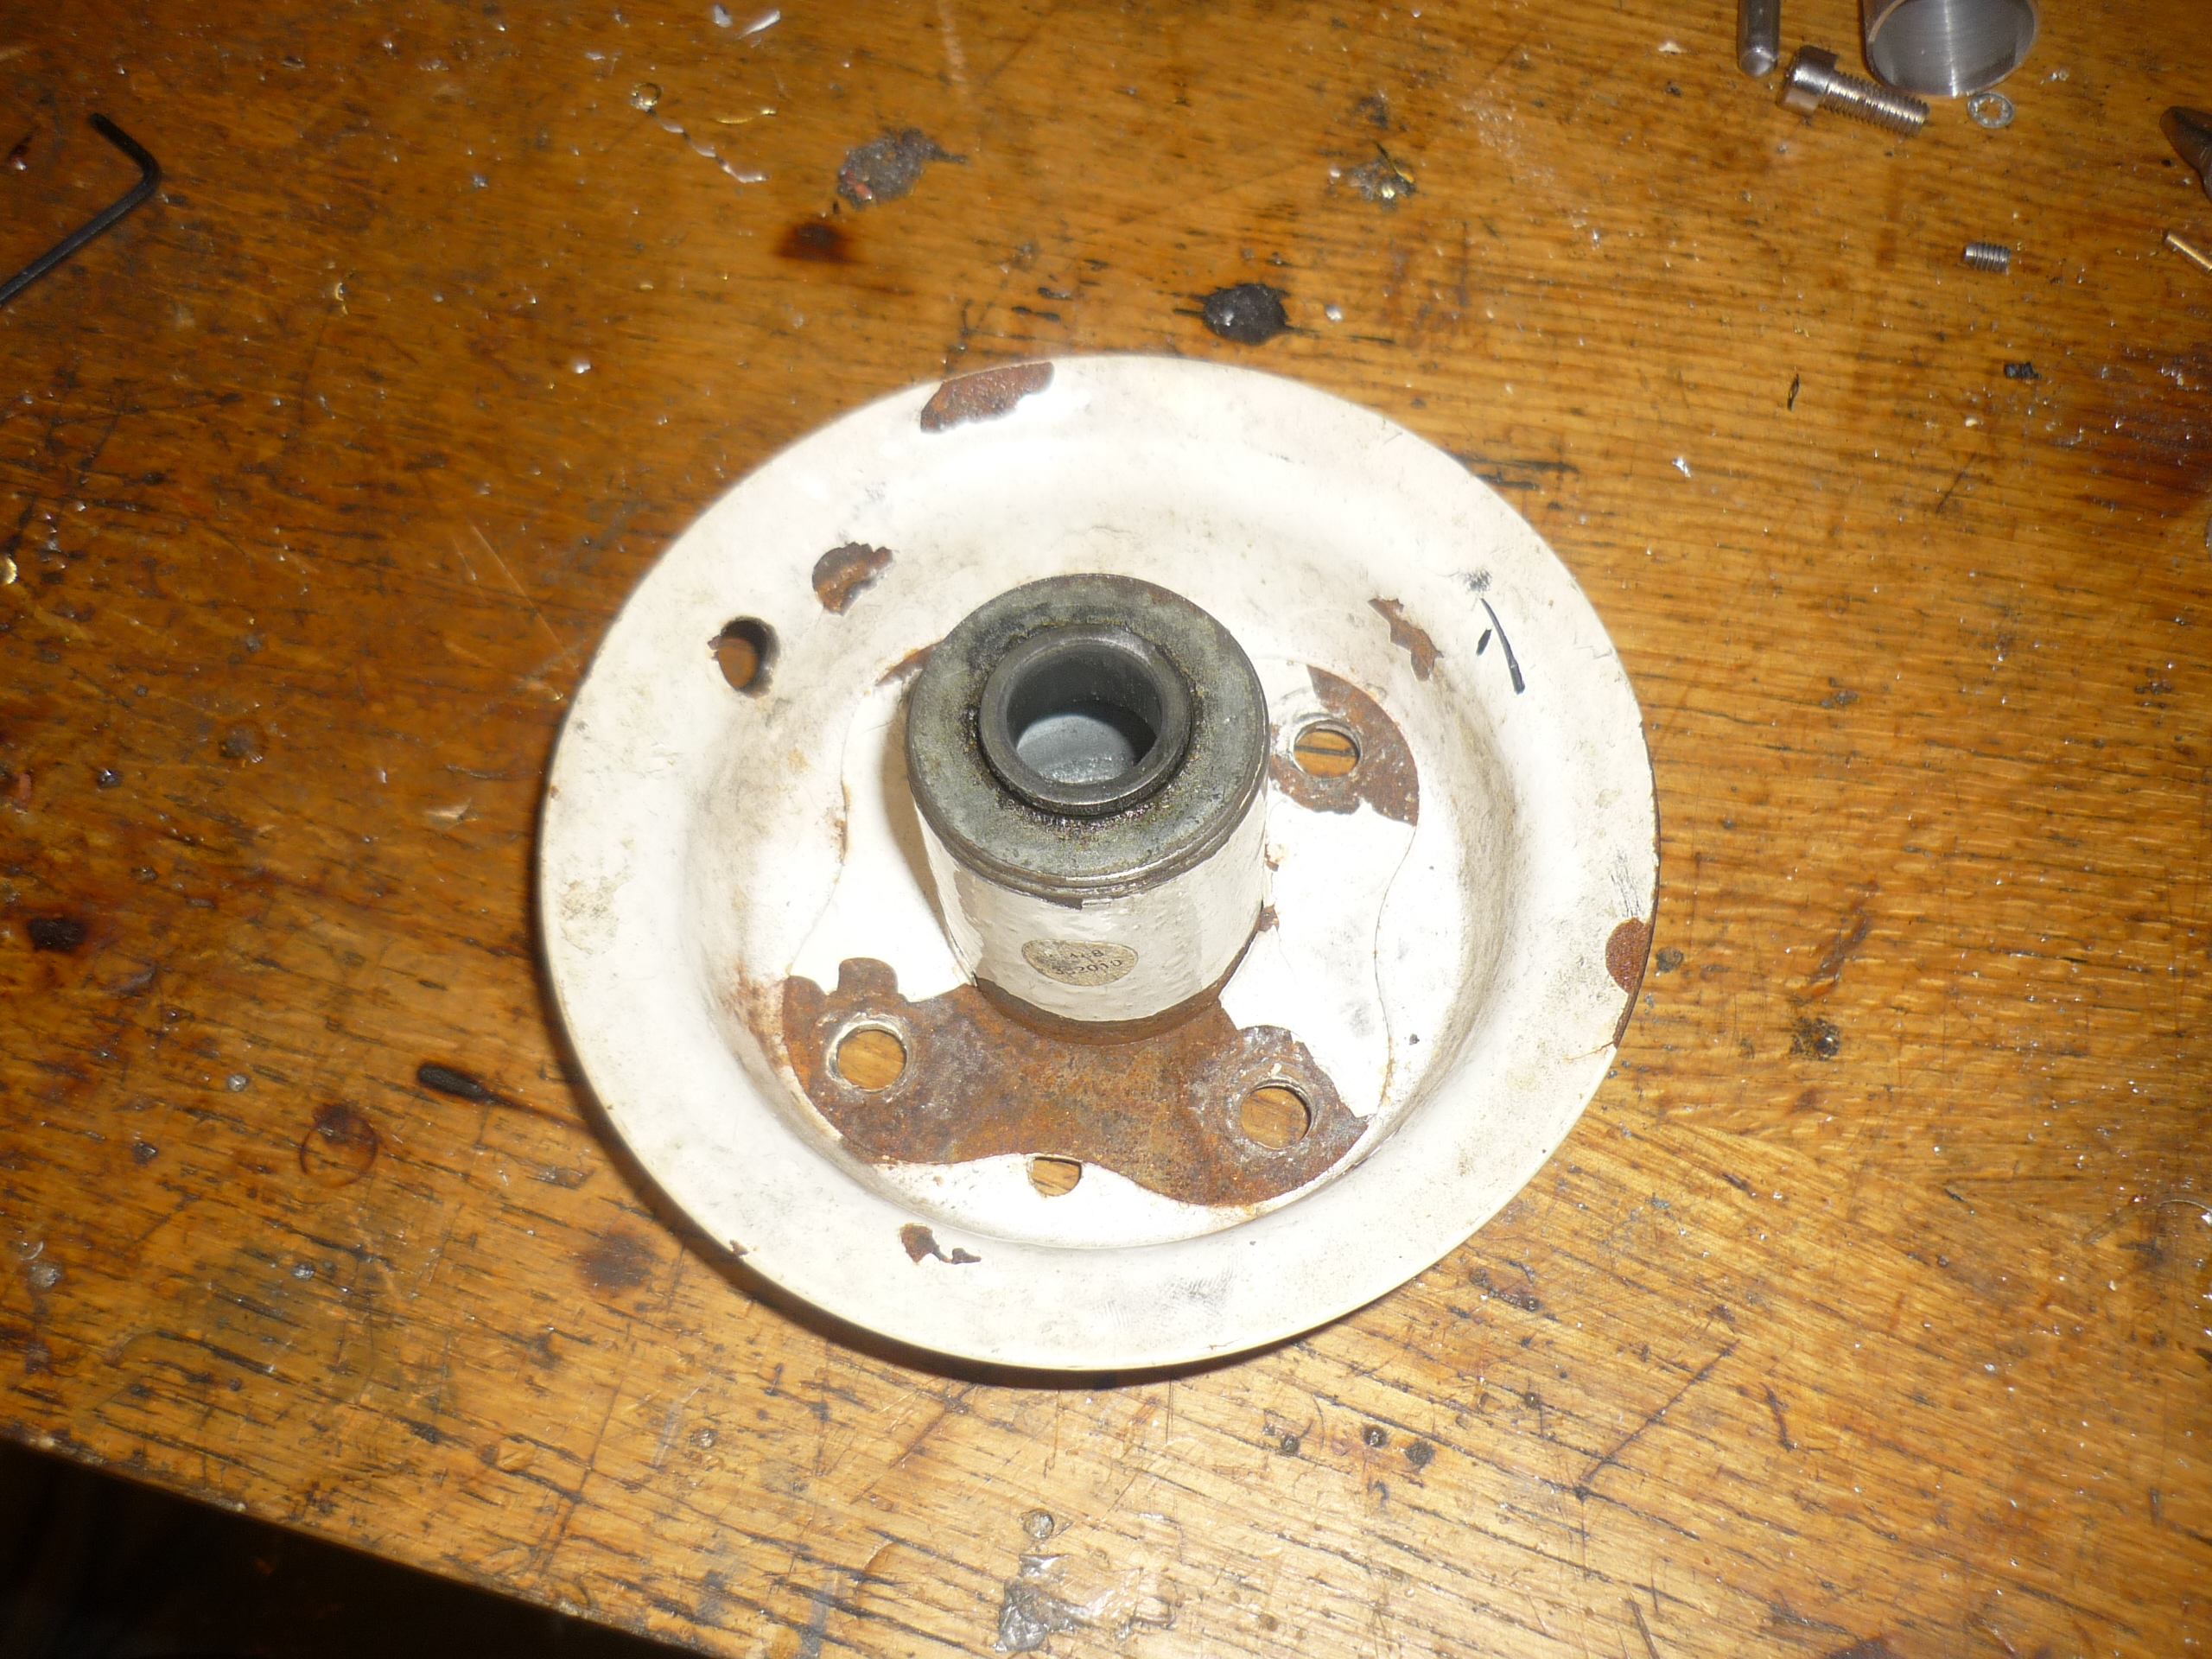
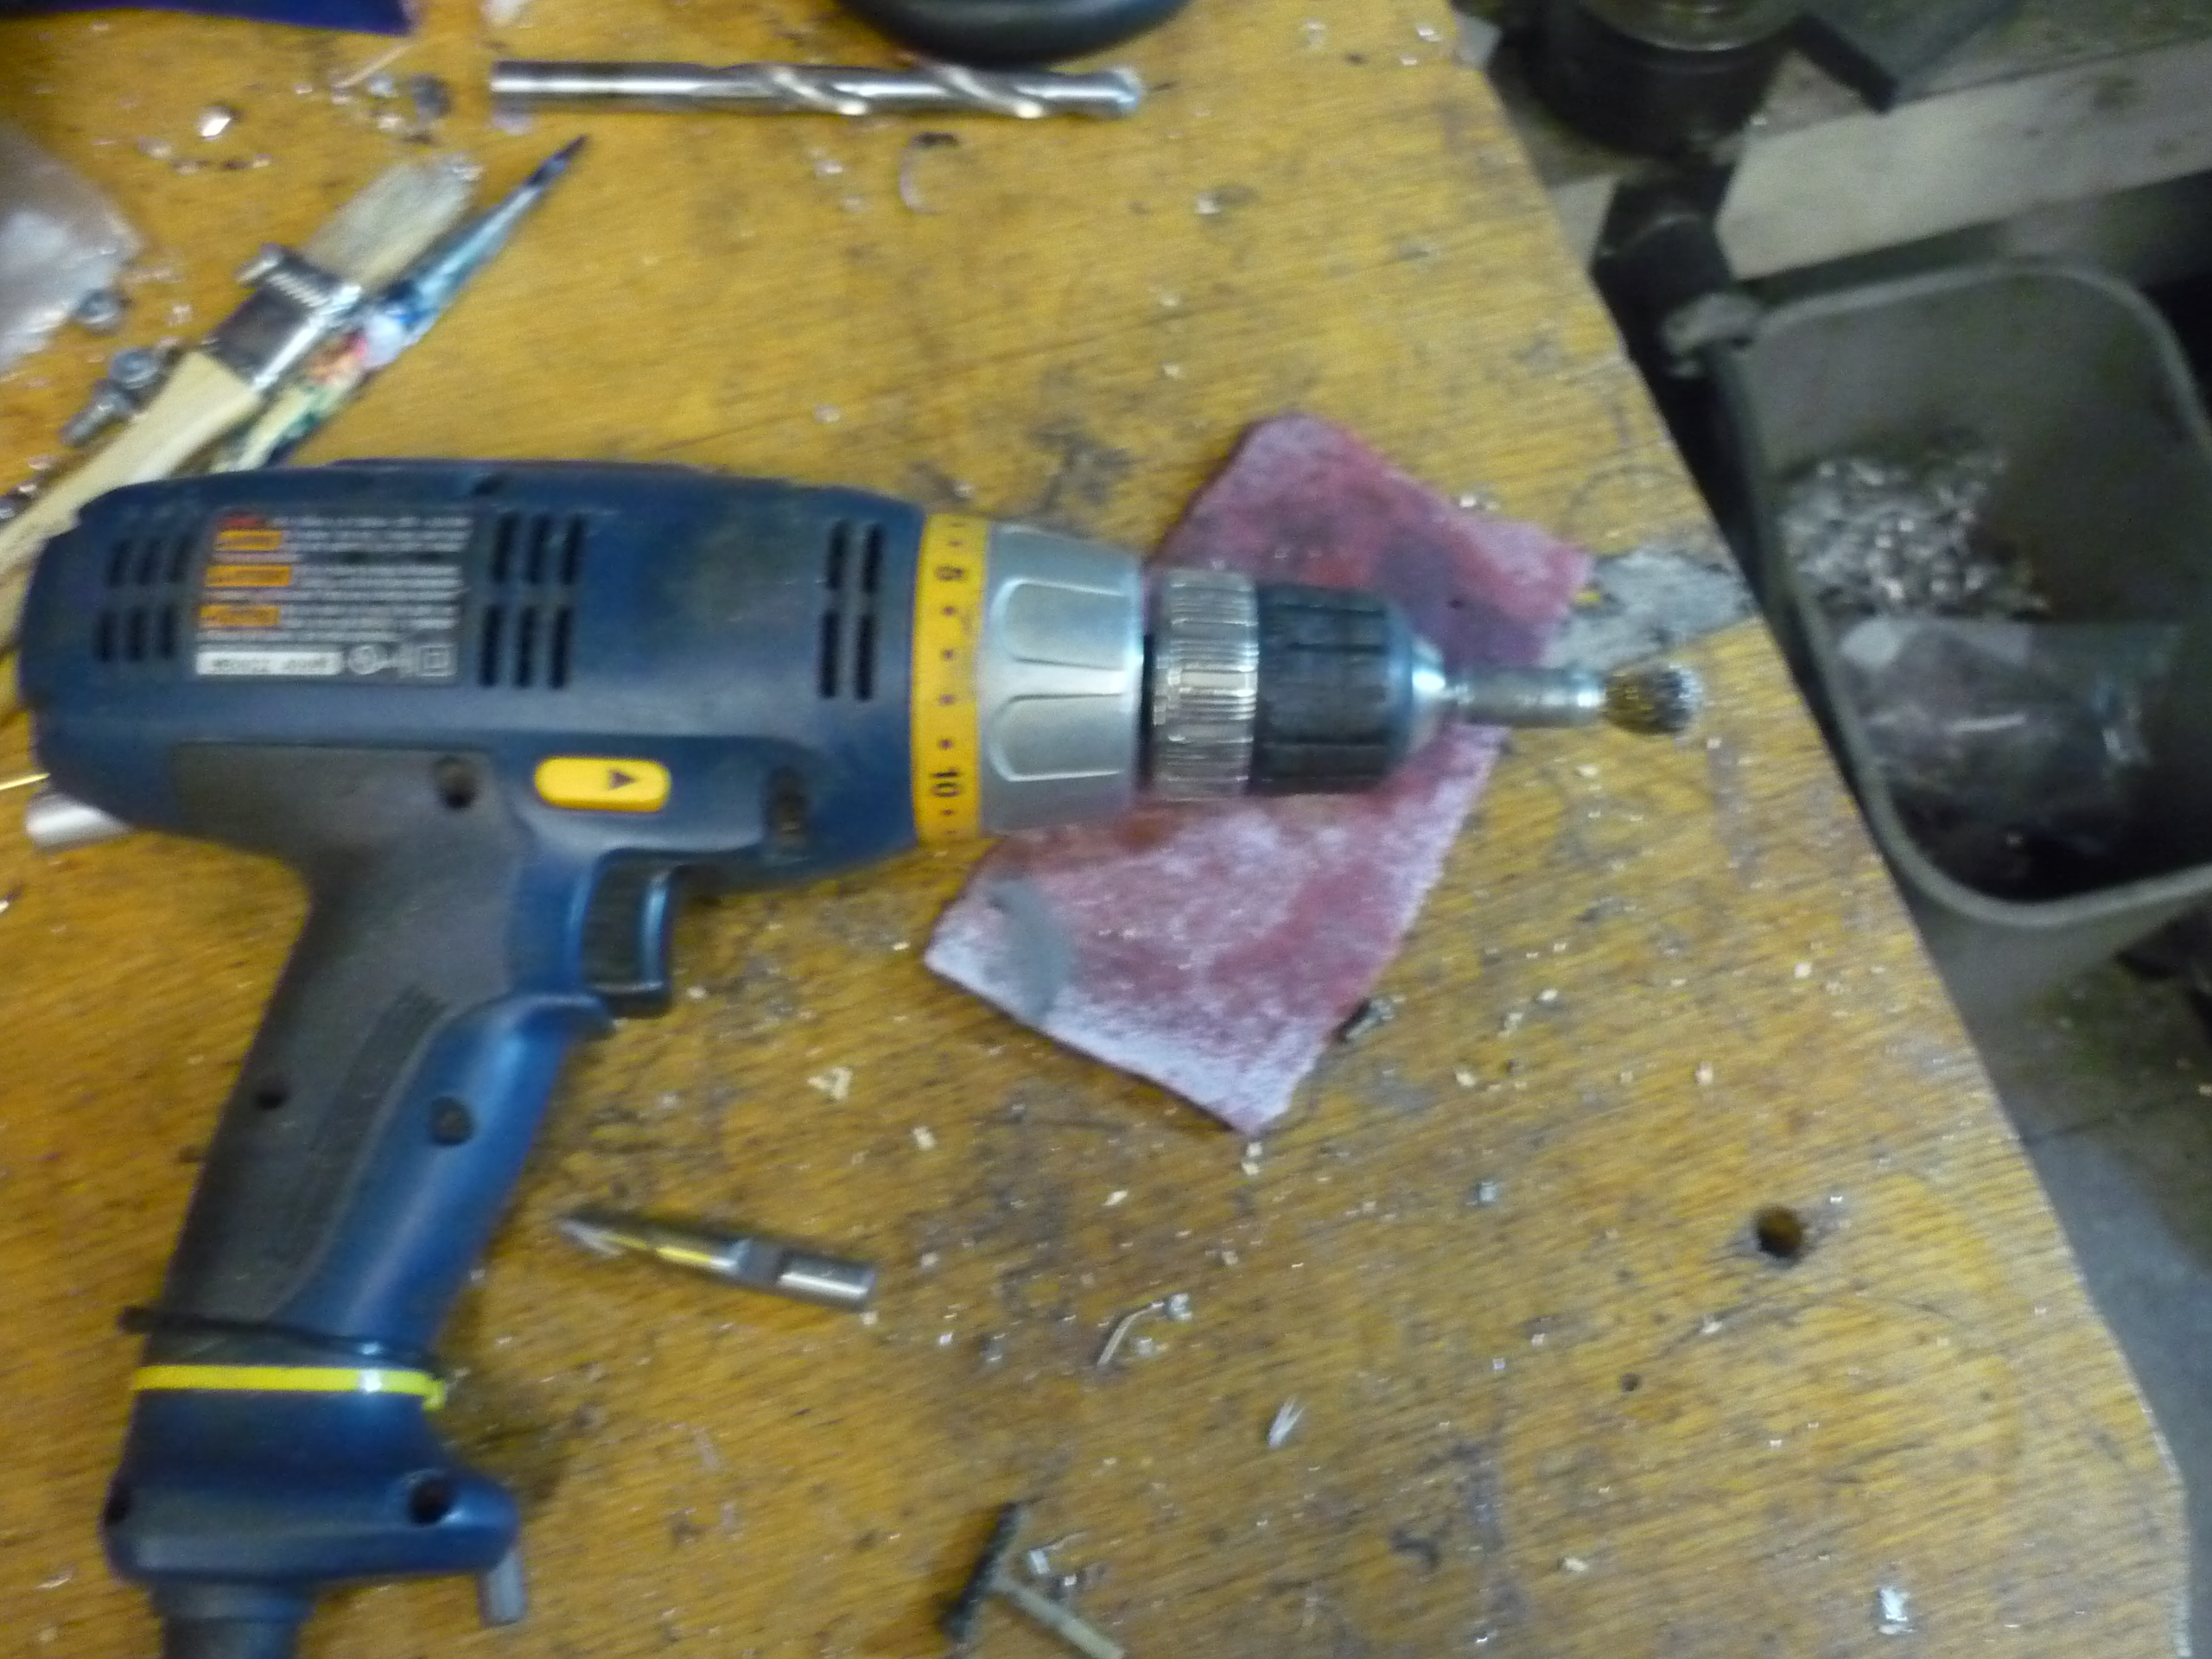
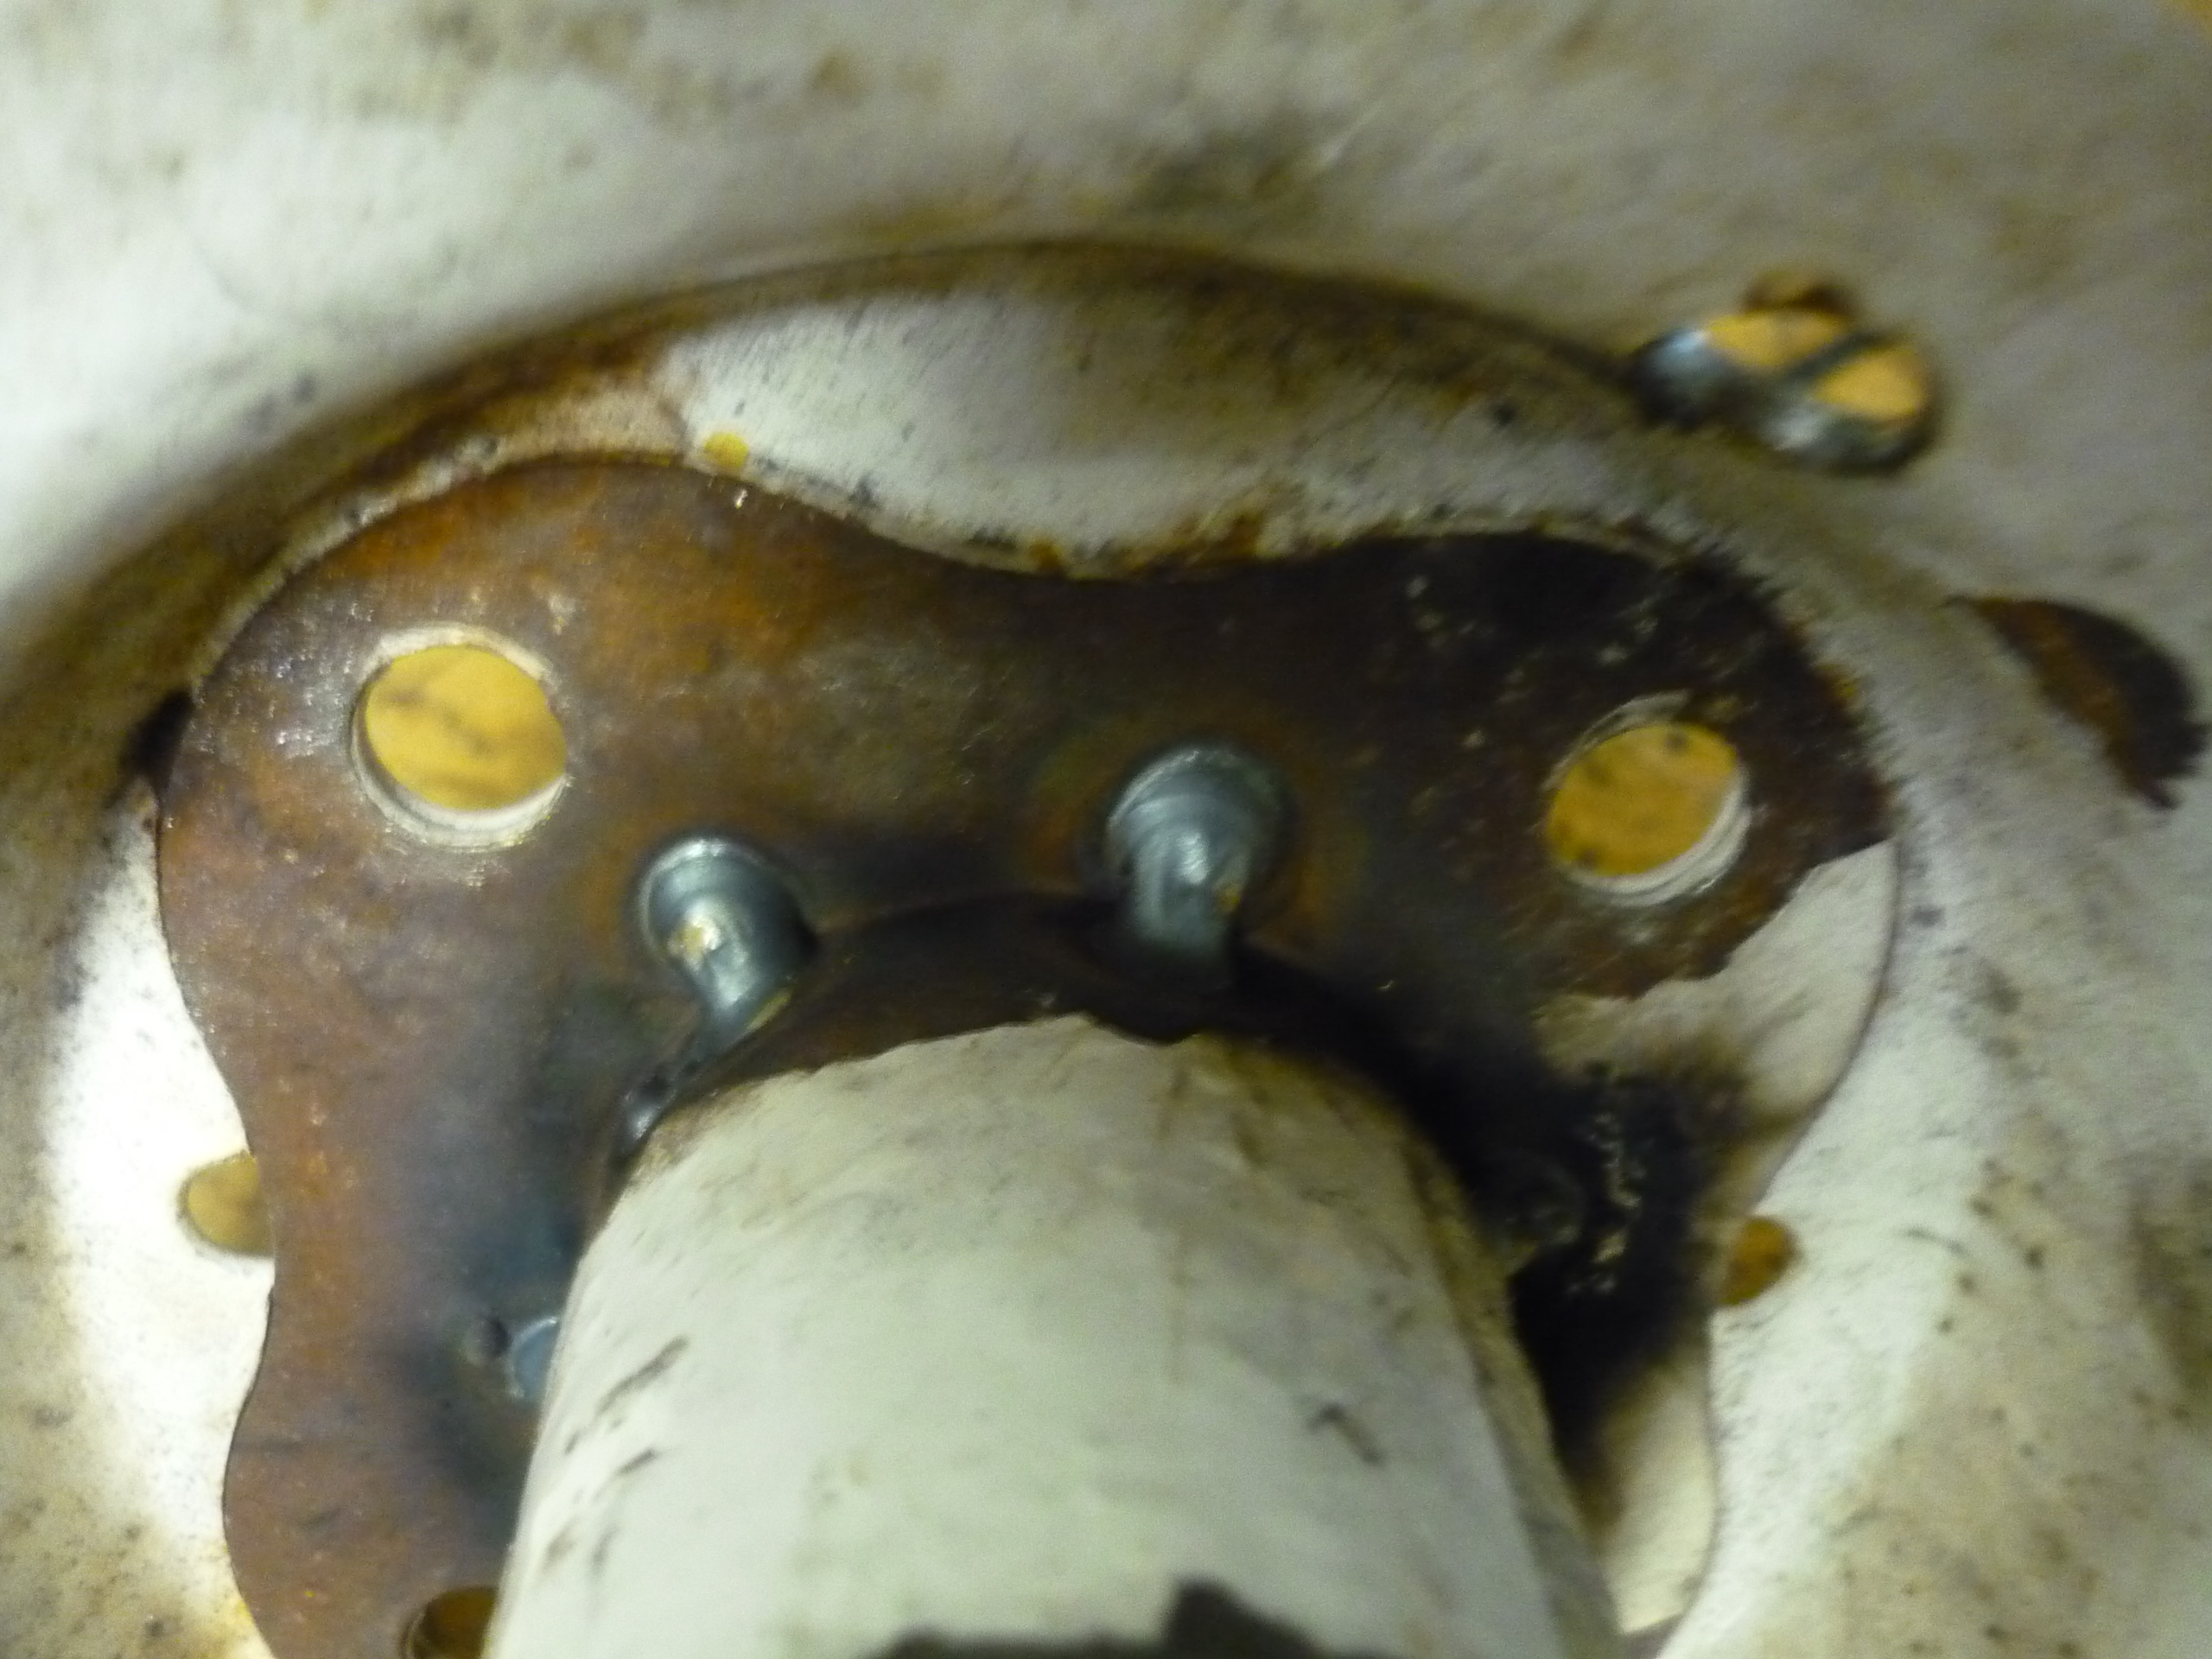
| I've
been making use of the scooter a bit as of late, but neglected some
preventative maintaince, time for some catchup. Some quick wire wheeling later, I was able to free up the chipped rusty steel-ish metal, I wanted to continue using this rim for non-ice scootering, so some preventative repairs were in order. Wire-wheel on a drill, probably the most useful bit i've ever not known about! |
 |
 |
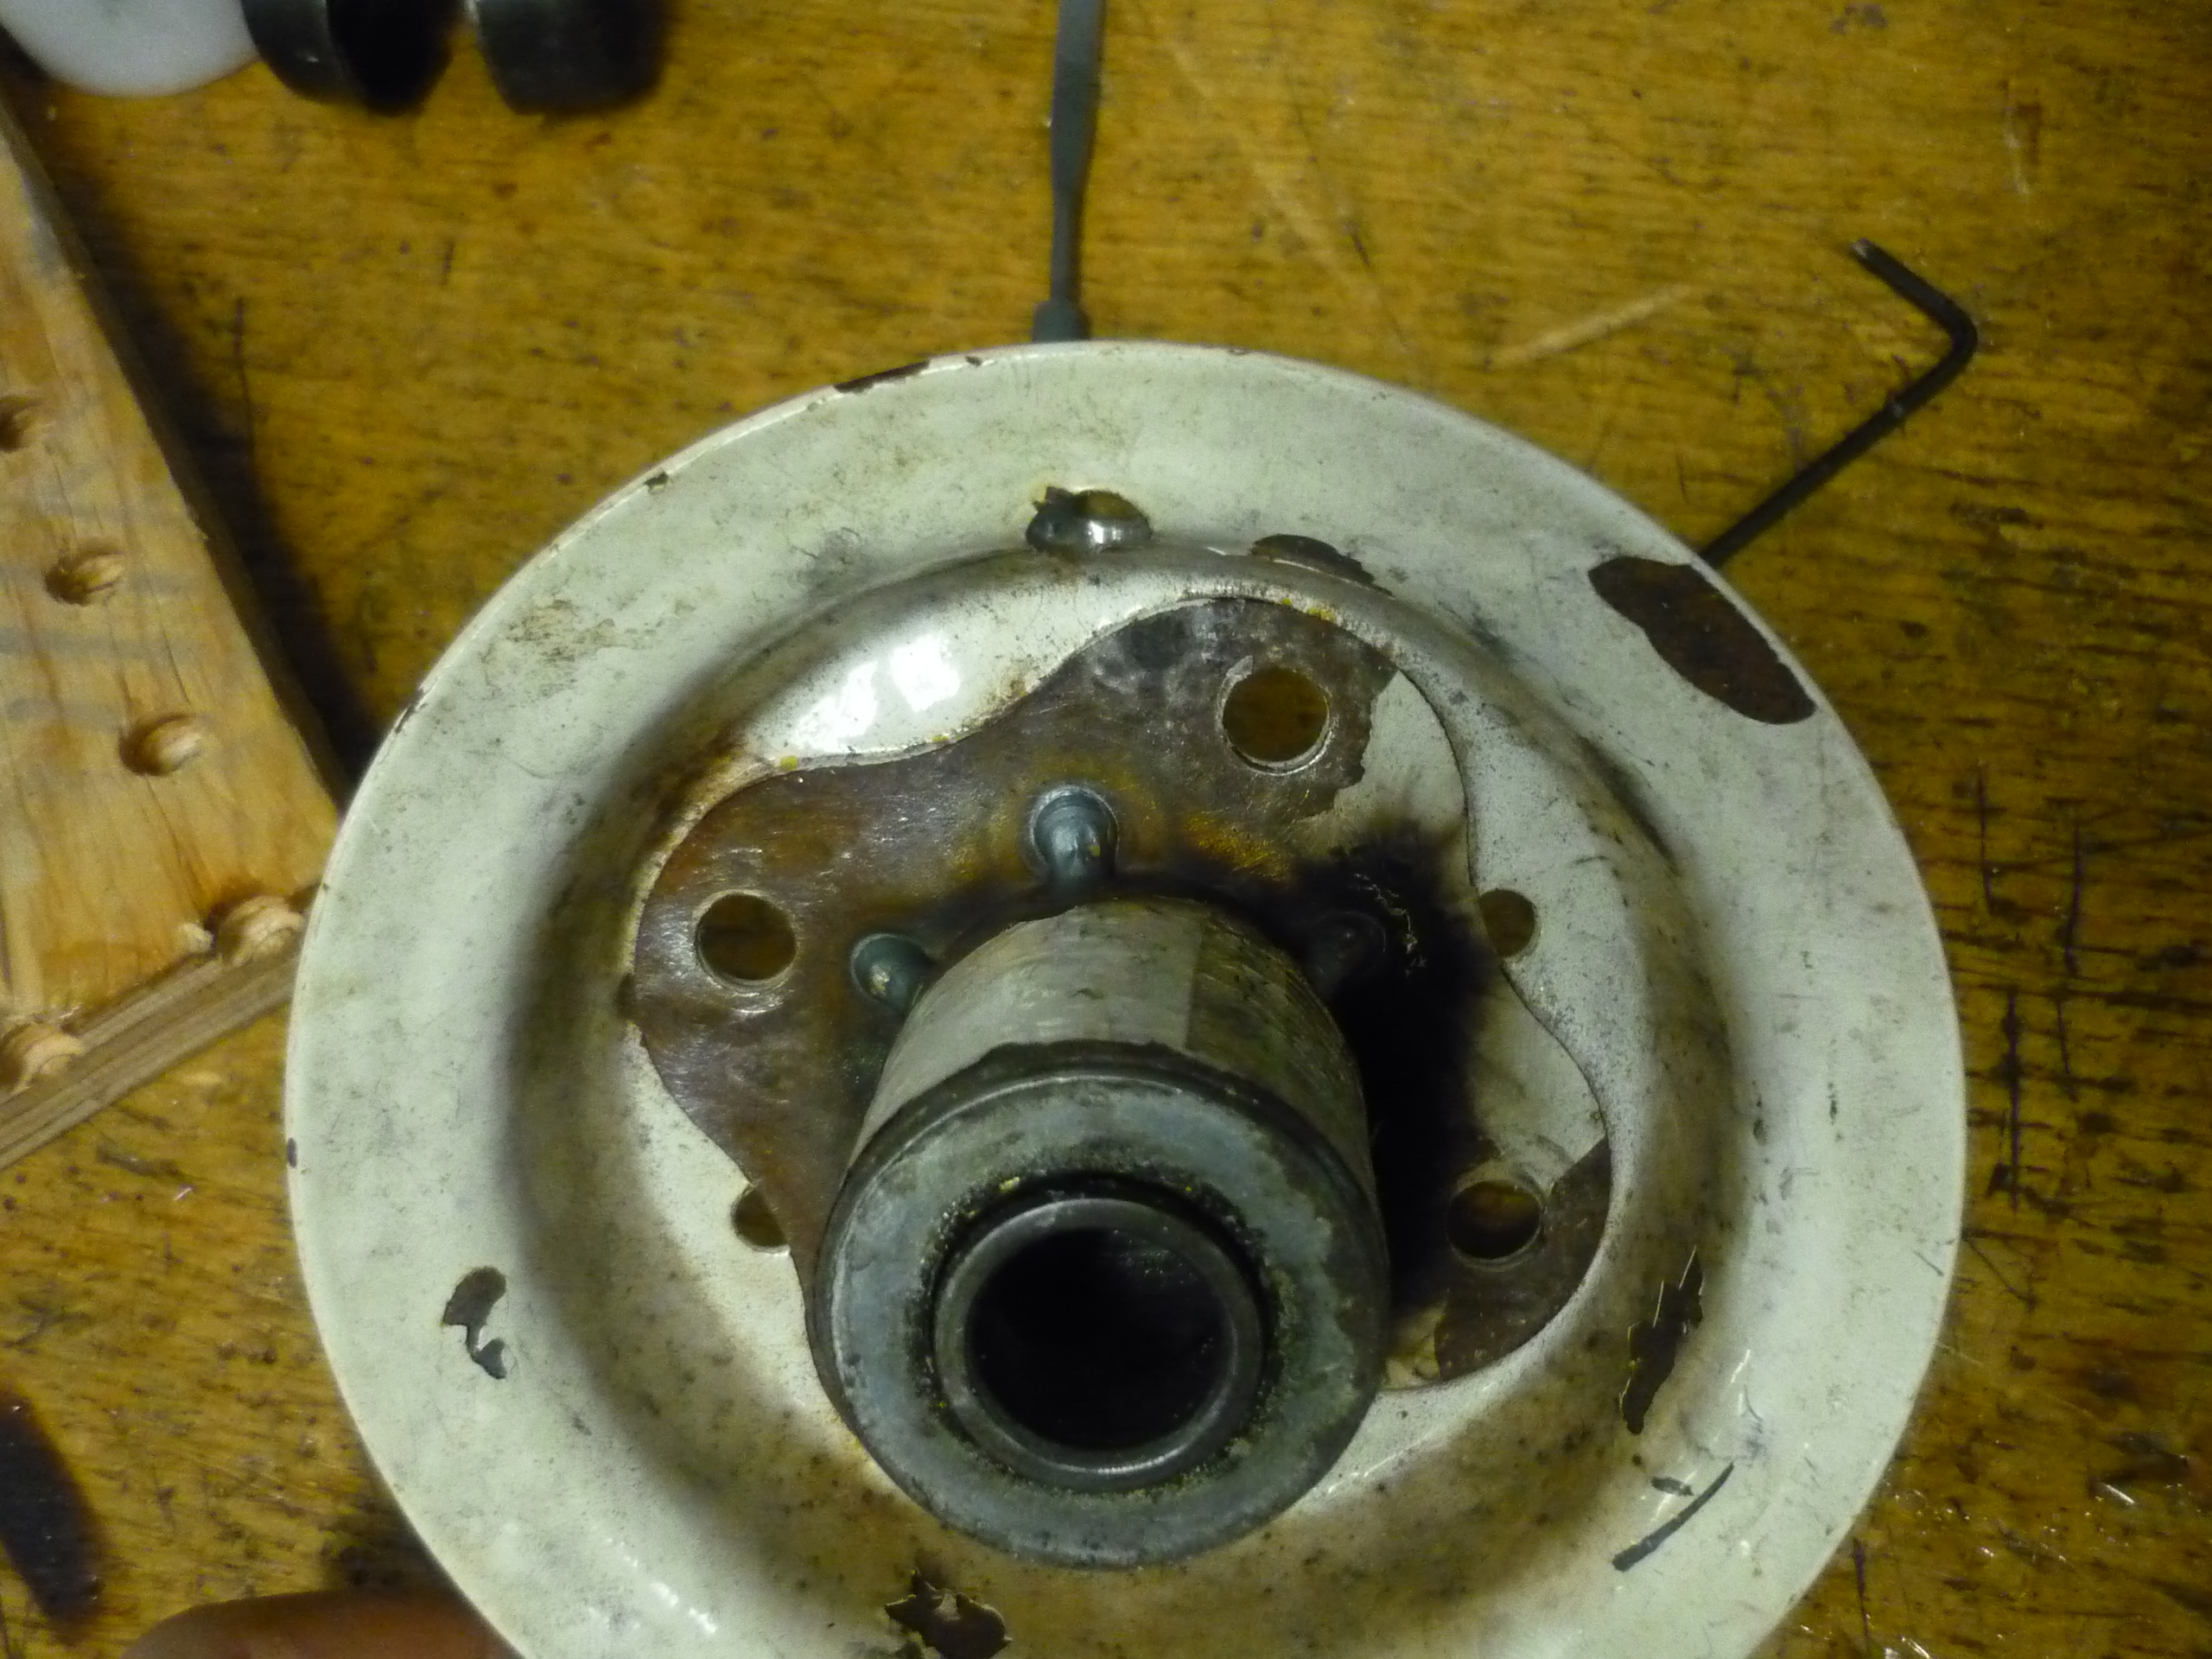
| Adding
some quick Tack Welds To prevent everything from falling apart, i added some small tack-welds to the bearing - wheel interface. I would have welded more, but the area was pretty crowded, and welding ferrous chinese-ium doesnt result in the most pleasant of odors. |
 |
 |
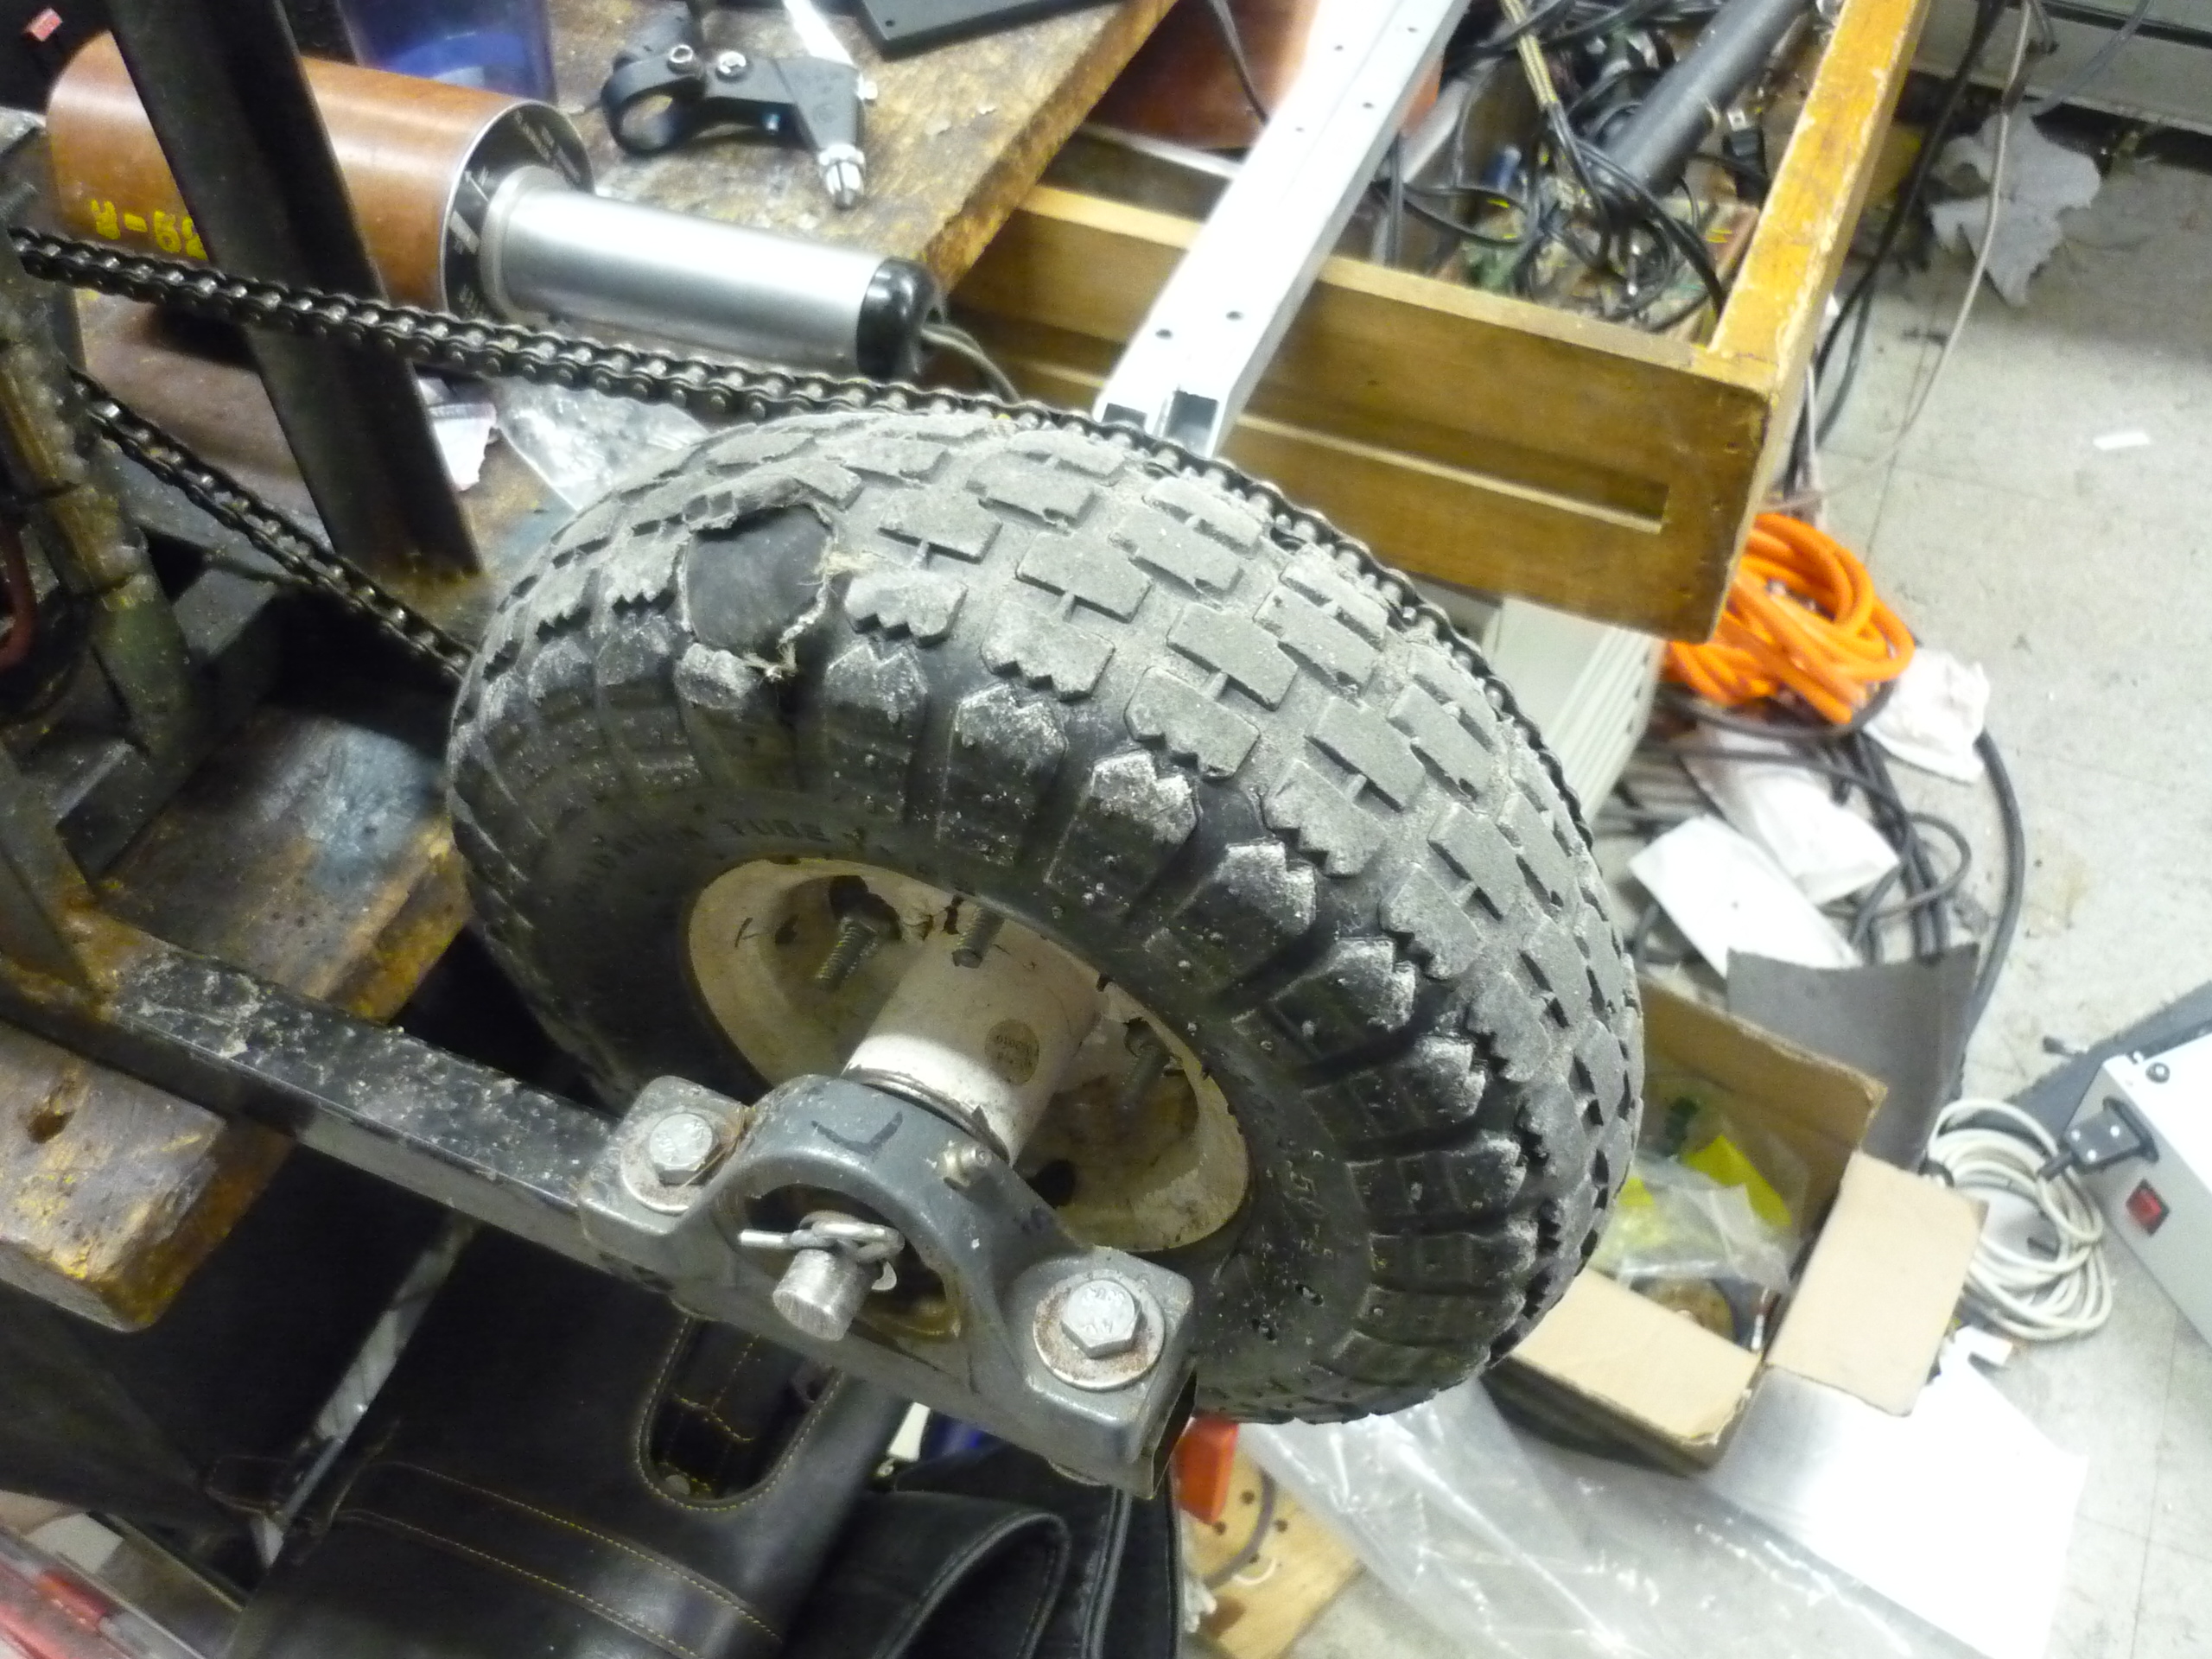
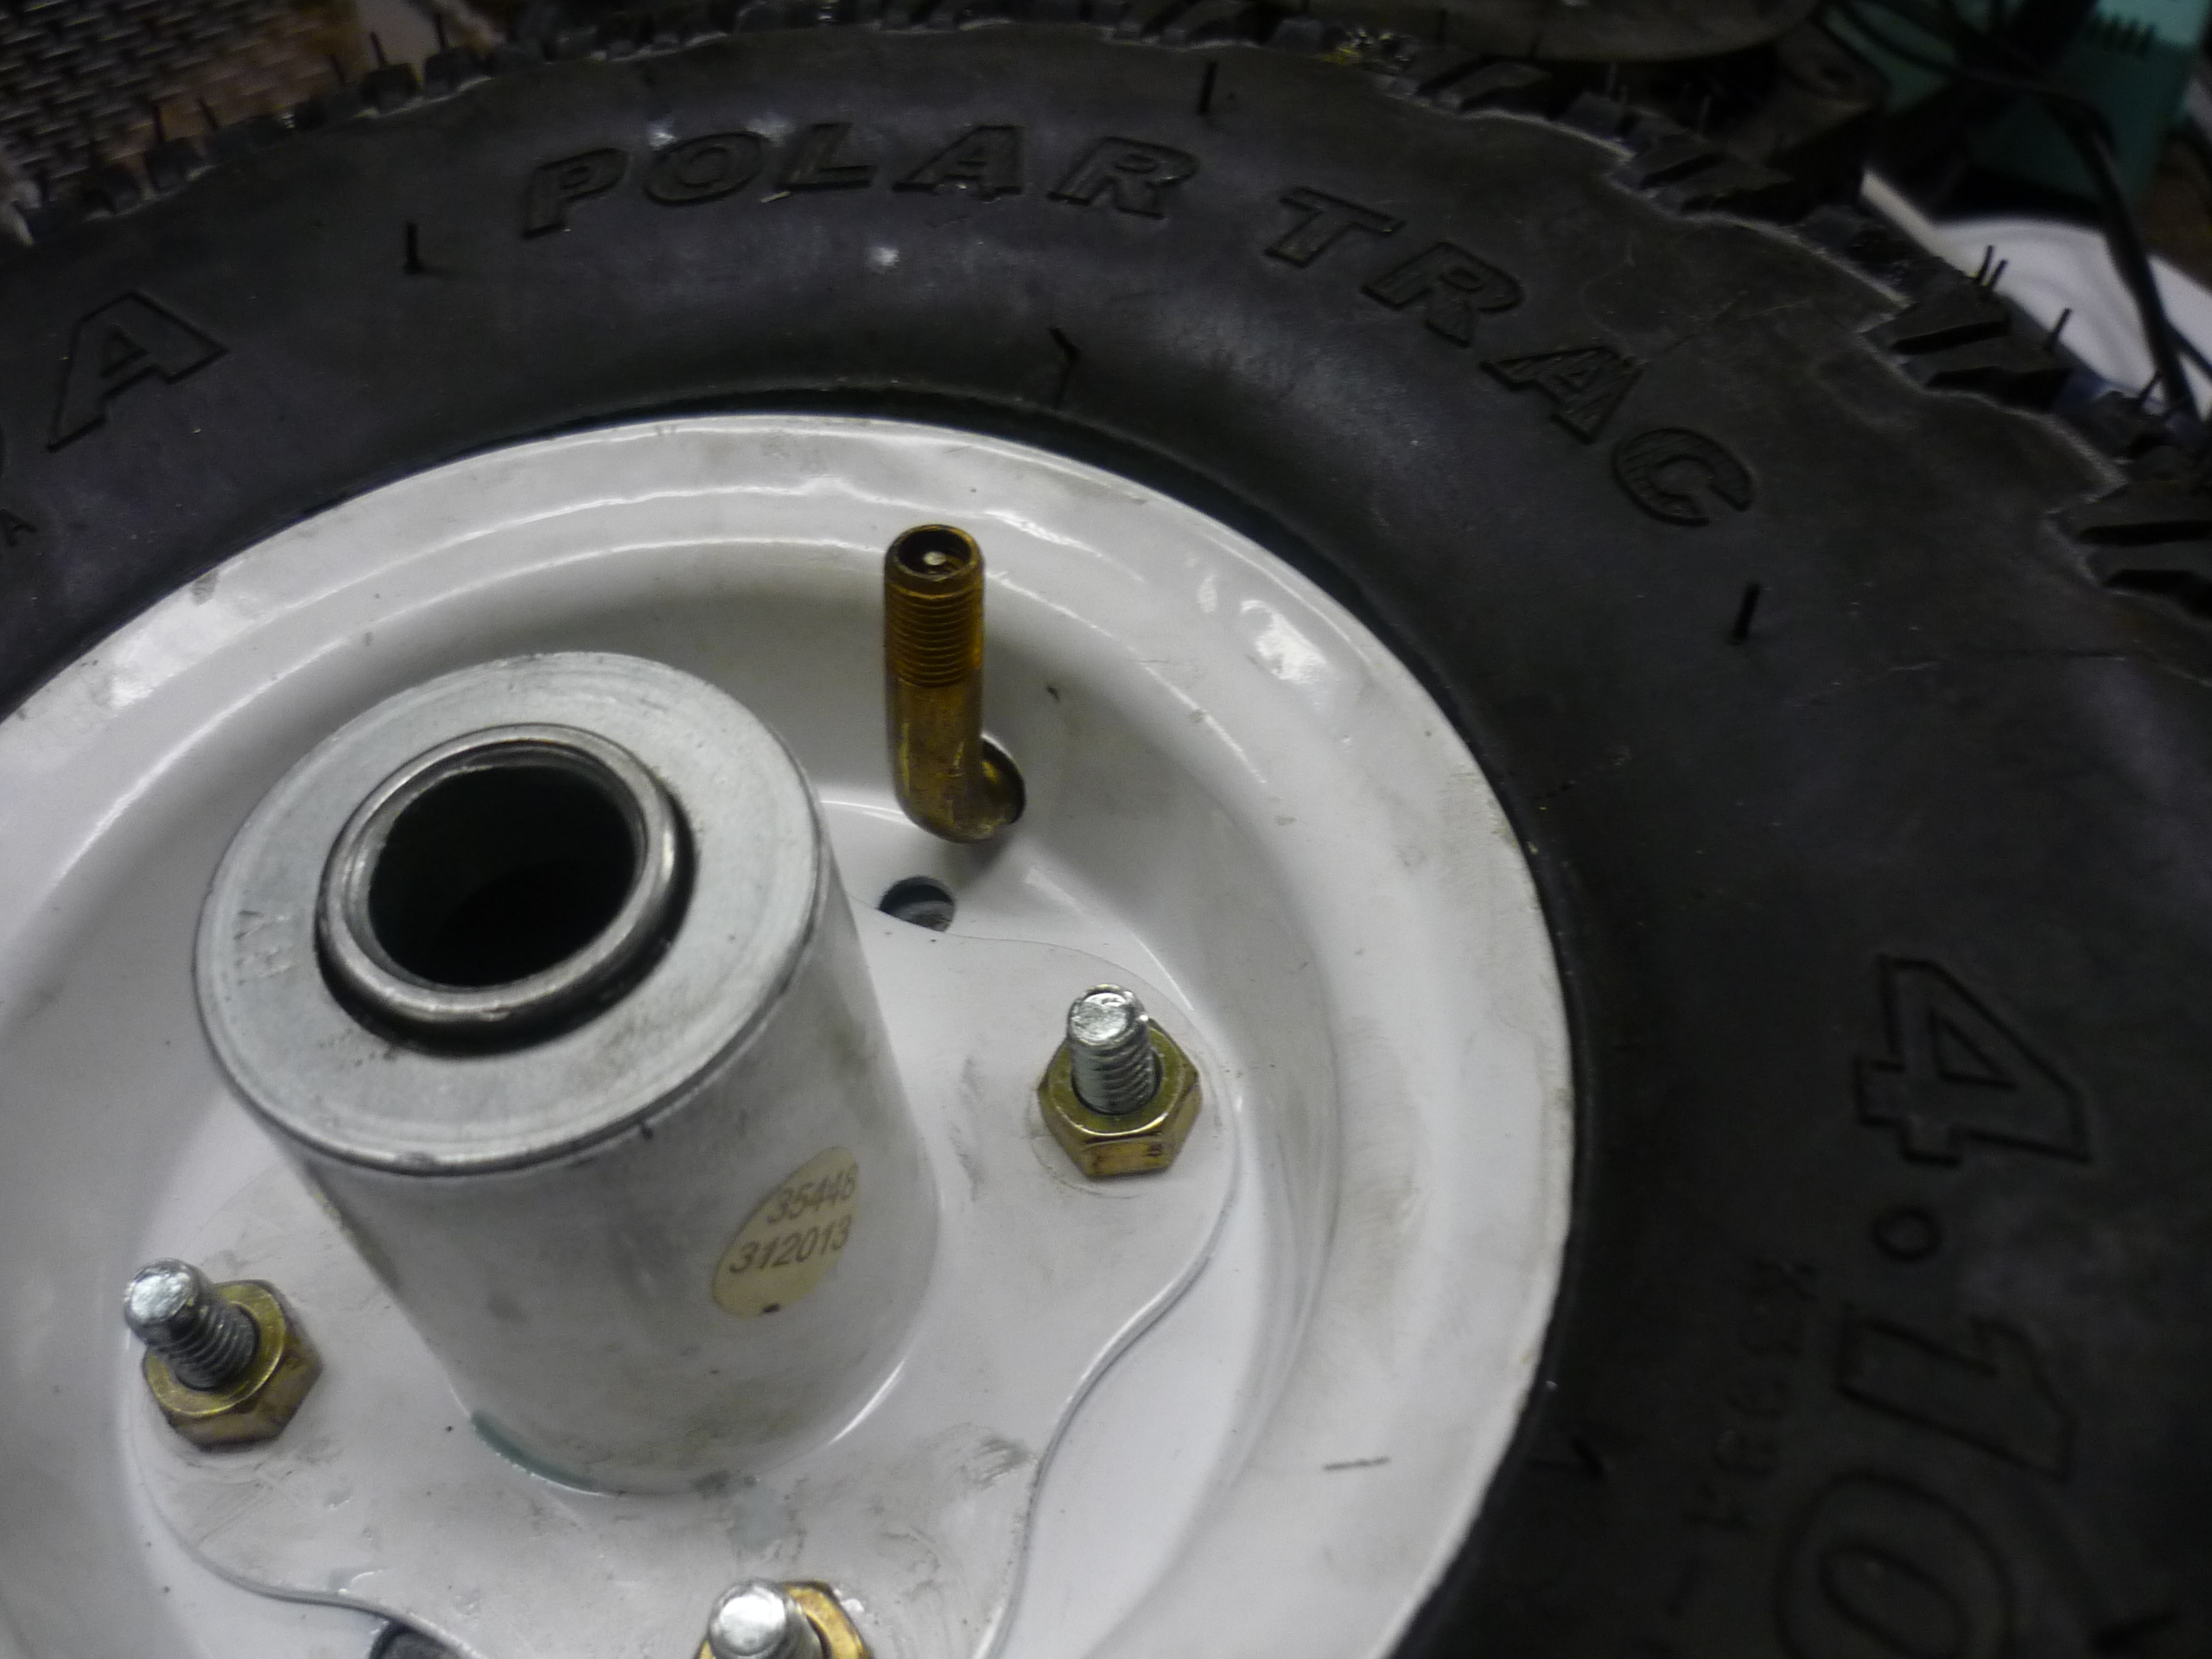
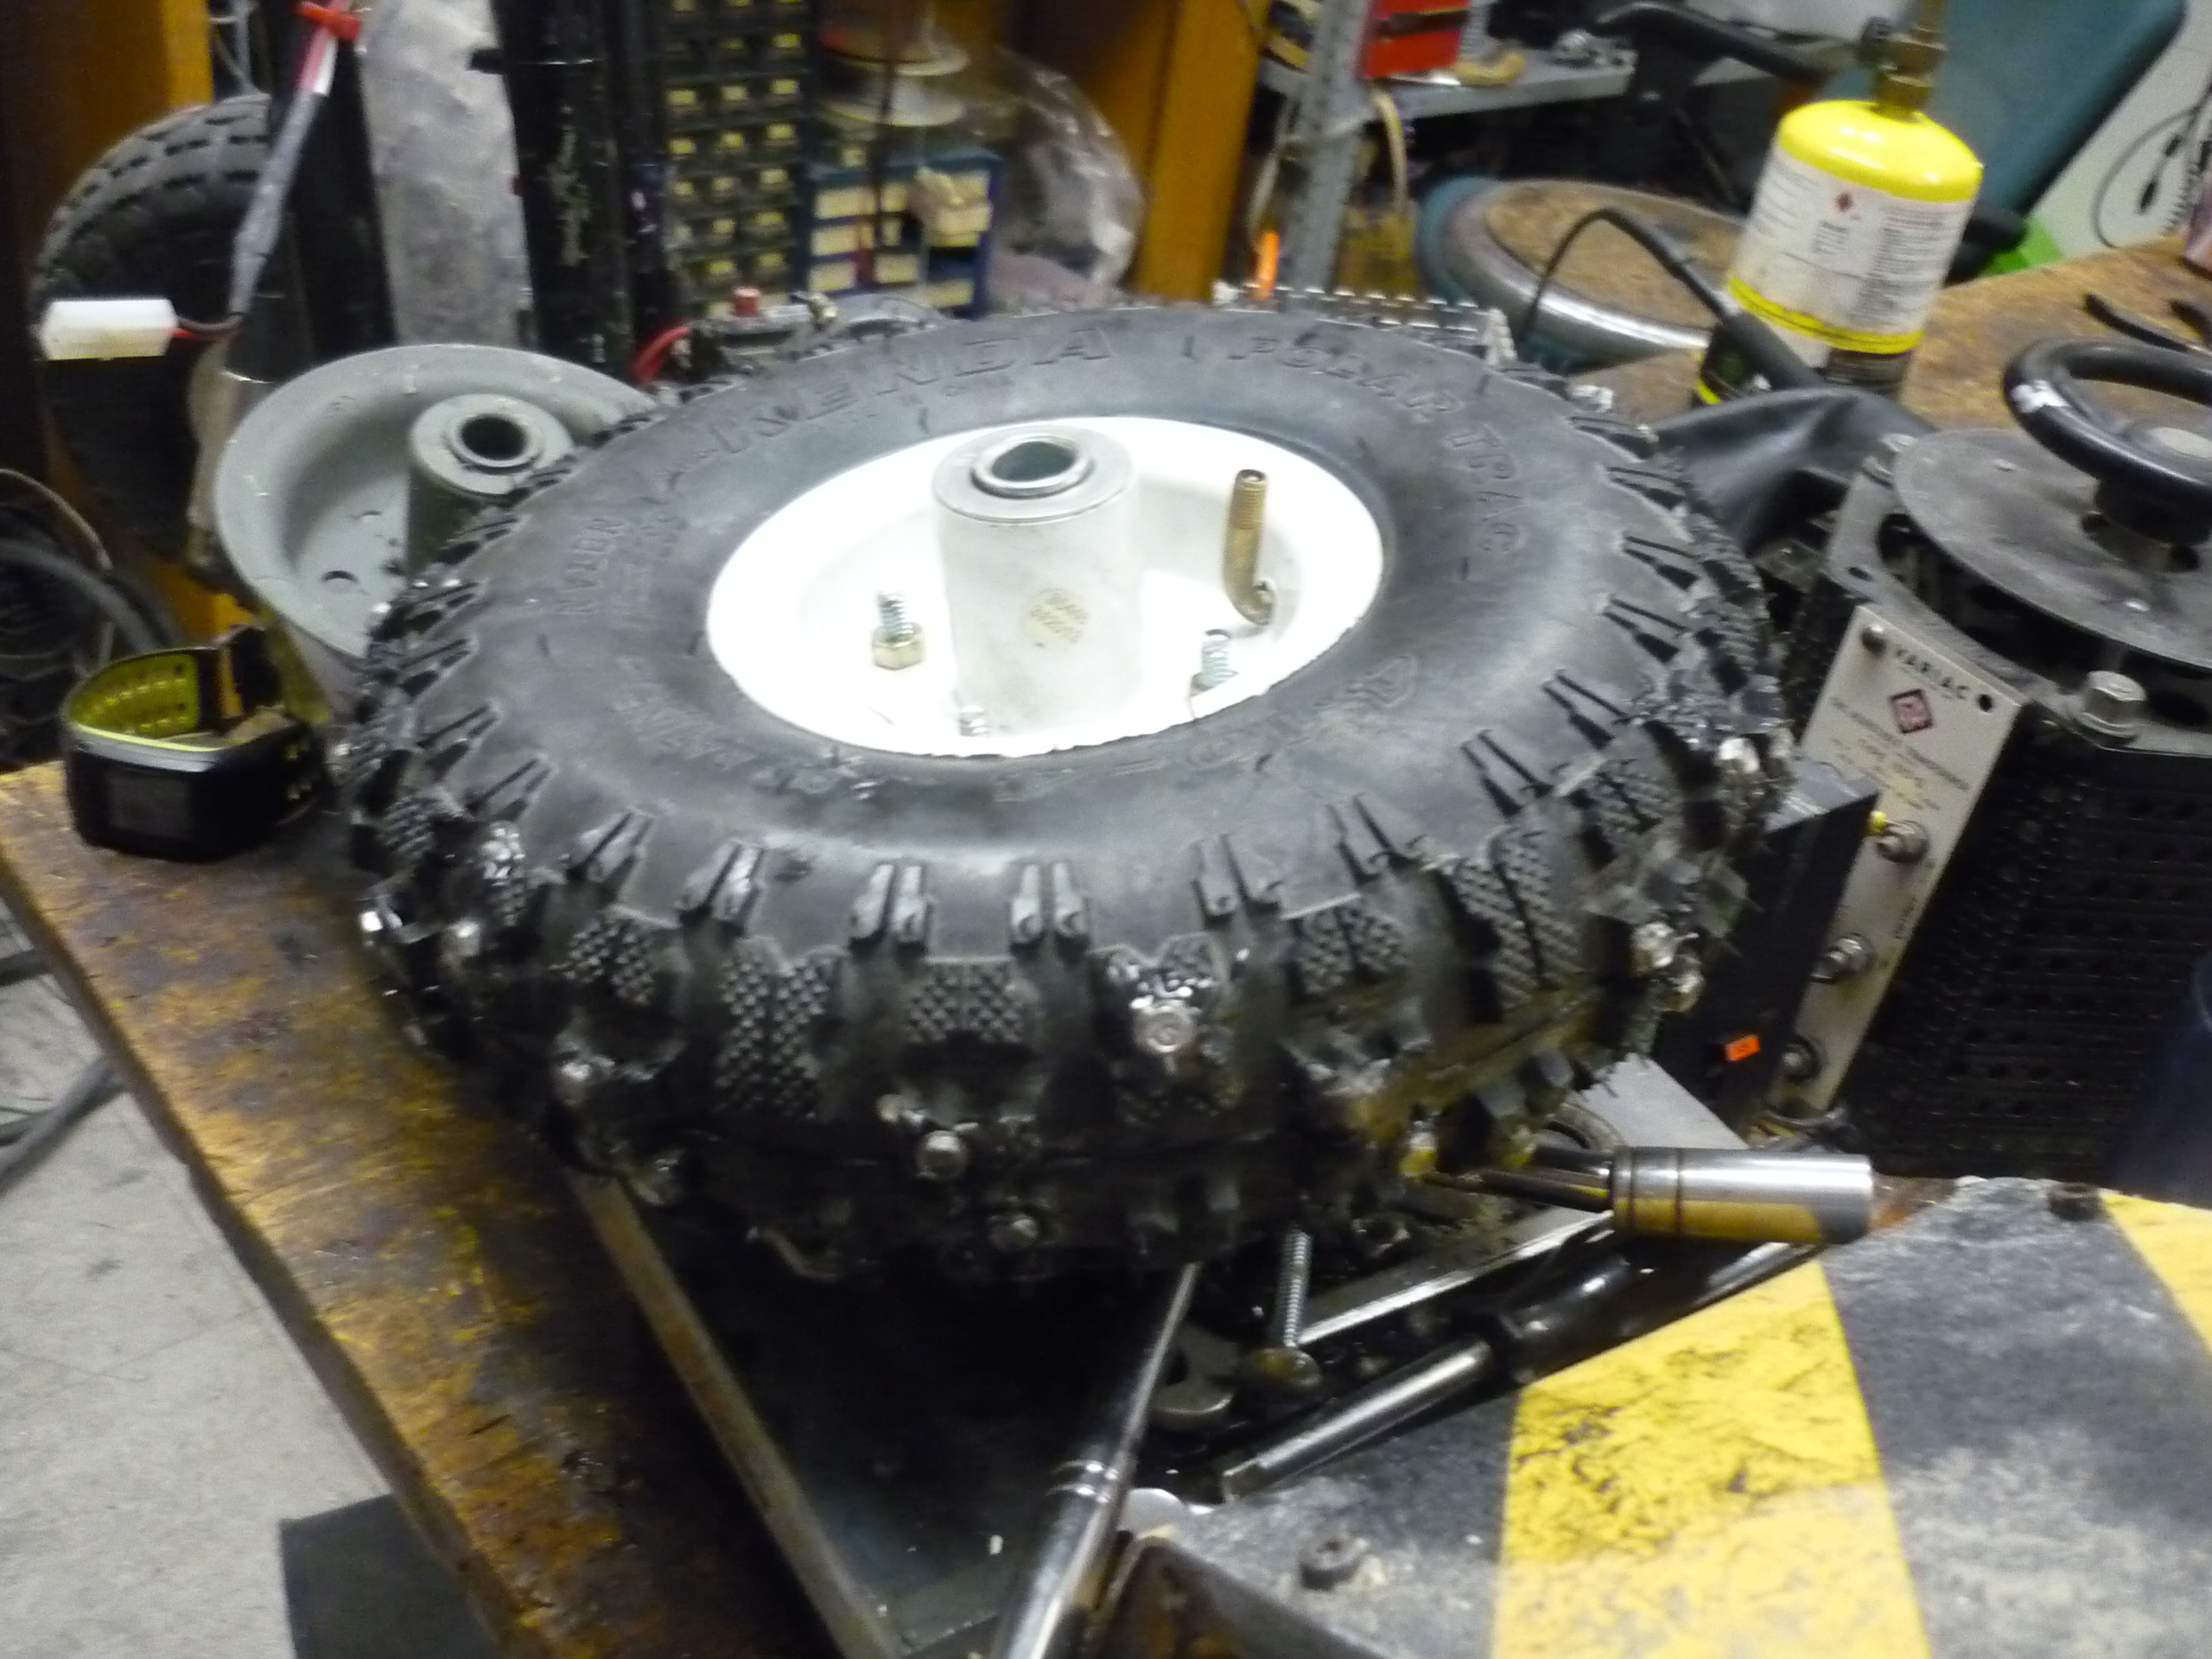
| Modifying
the new rim for the tire A hole was drilled to allow for the slightly different valvestem on the tube. TURNS OUT THIS BEAST HOLDS AIR WELL! I really like the new tire layout, its a bit more hefty, the tread is ~60% thicker, the tire material feels more automotive in texture, versus the harbor-freight nylon stuff. |
 |
 |
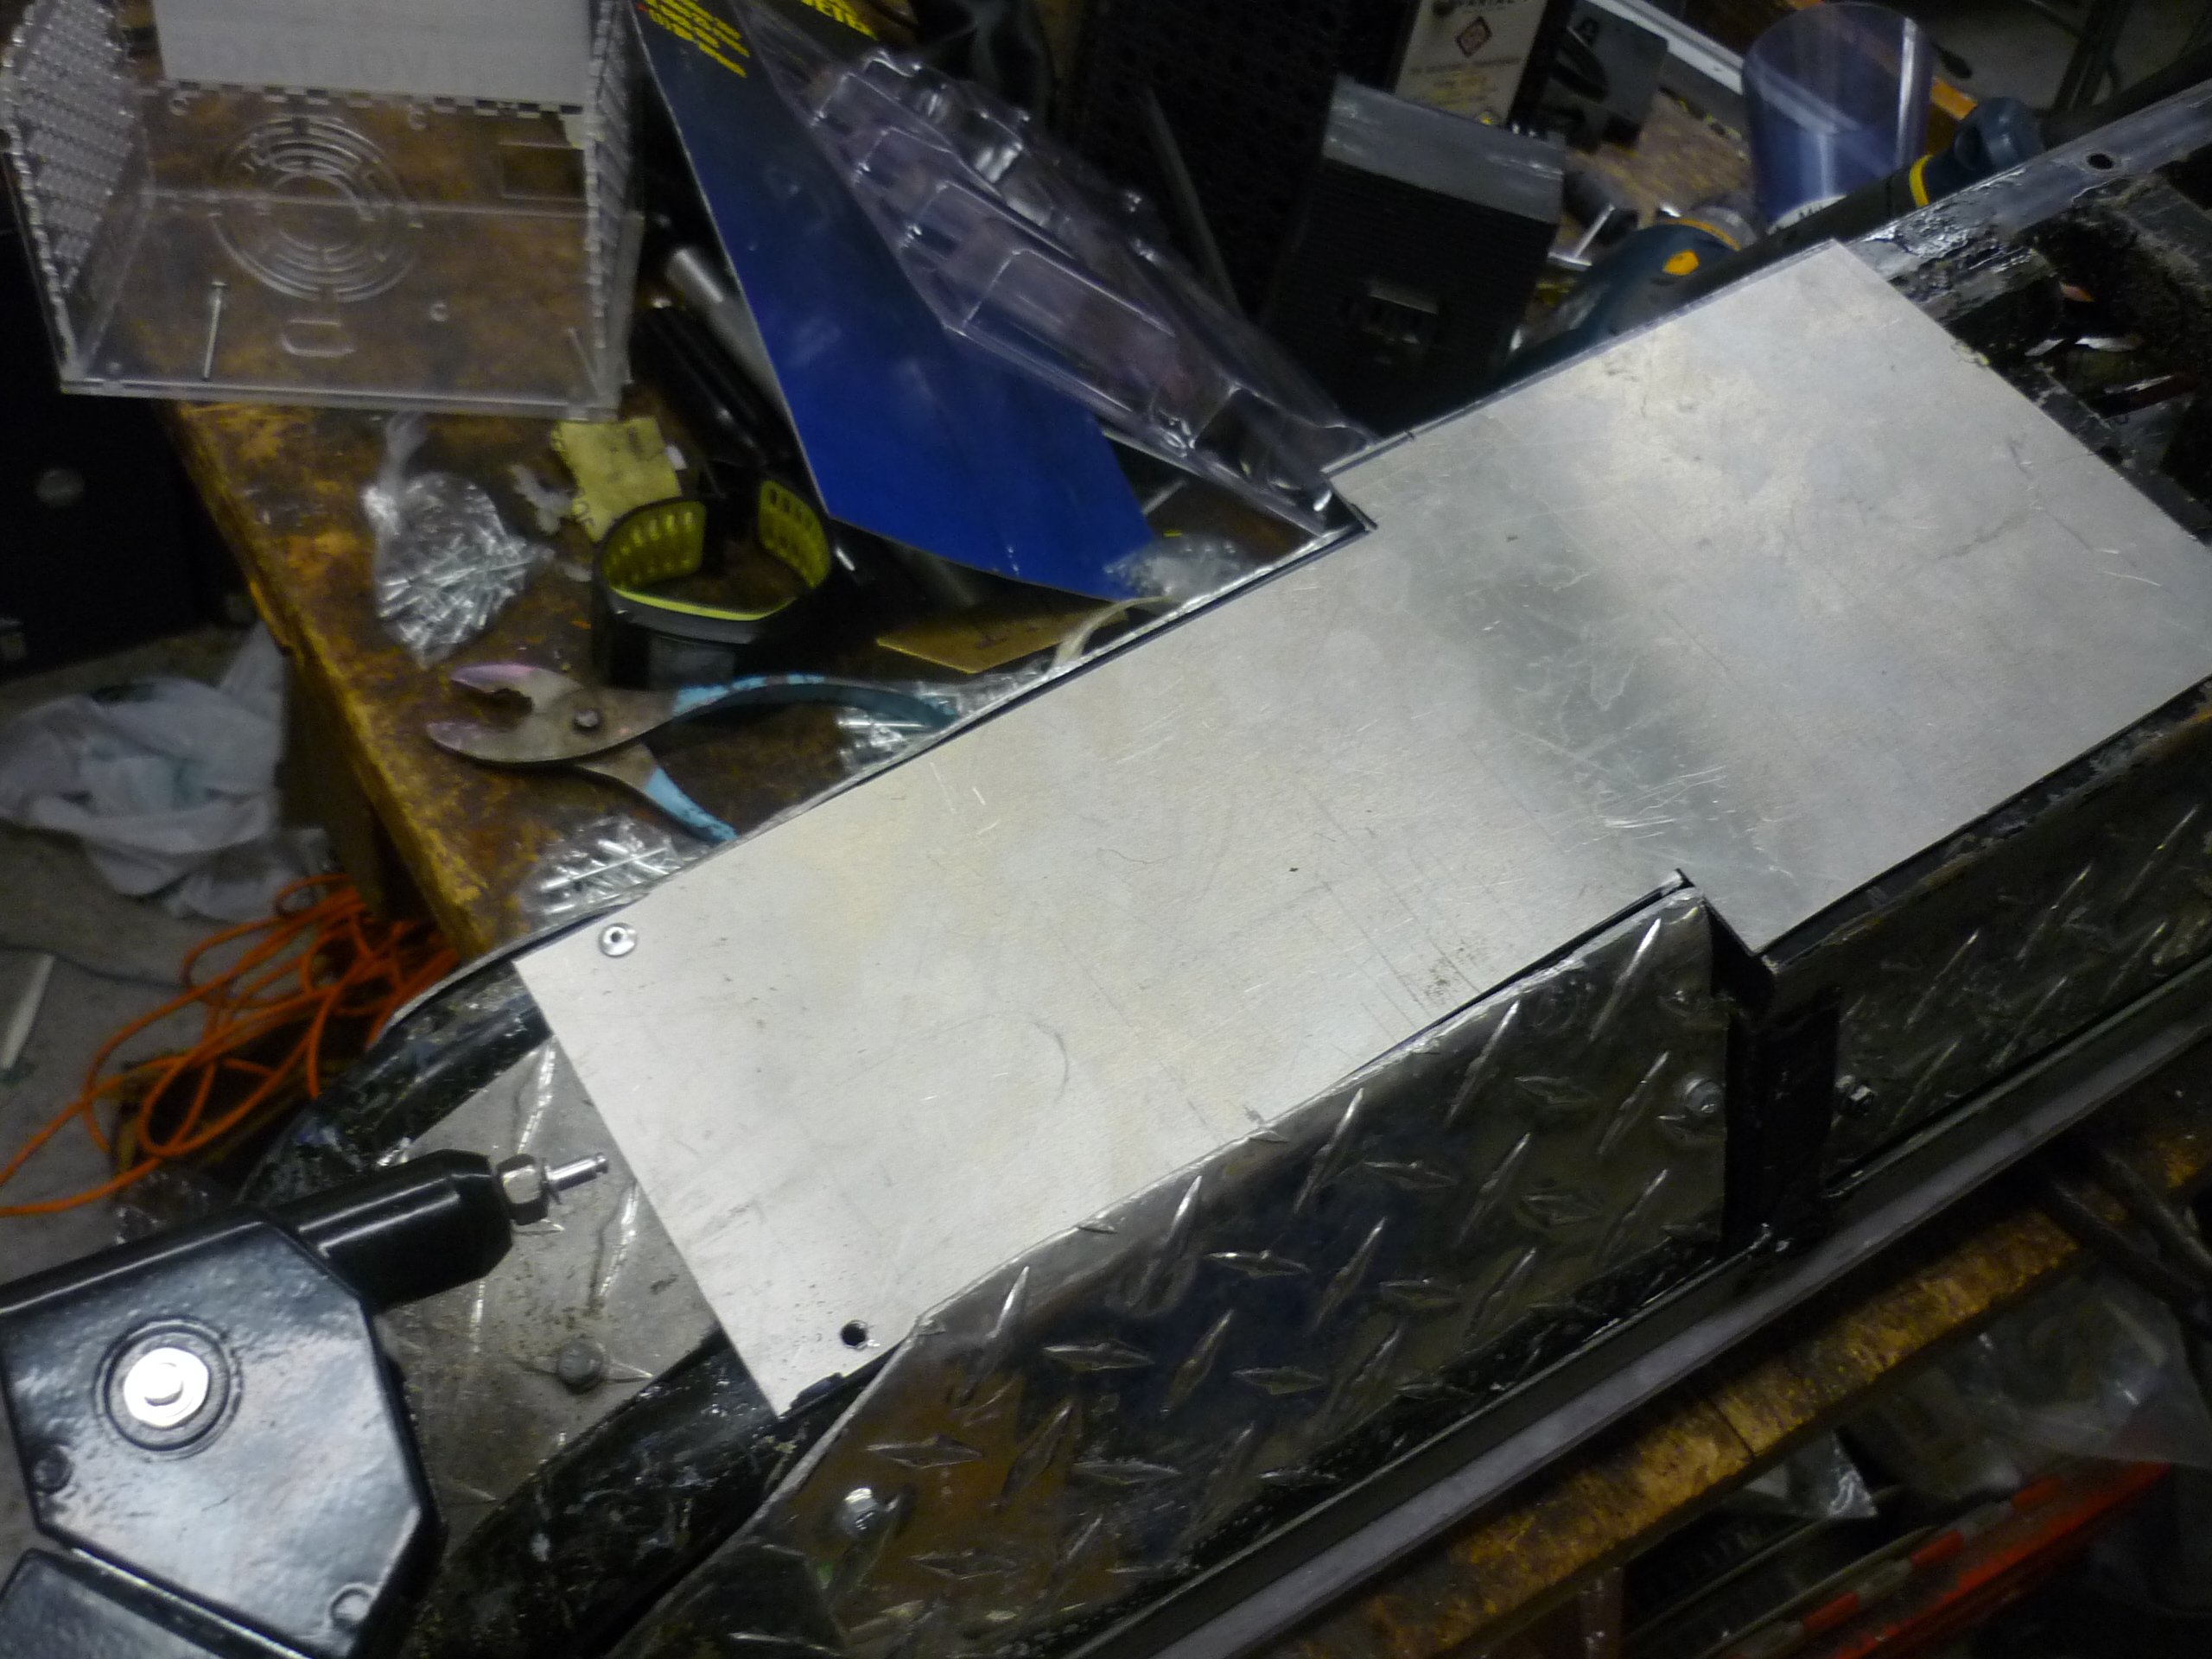
| Adding
a bottom plate somehow an actual bottom plate never was added to the initial electric scooter, so here it is. I attached a 1/16th thick aluminum plate to the bottom via rivets, this should help prevent mud / gunk from filling in the battery cavity. Some RTV sealant might be helpful in the future. |
 |
 |
Tracking The Weather
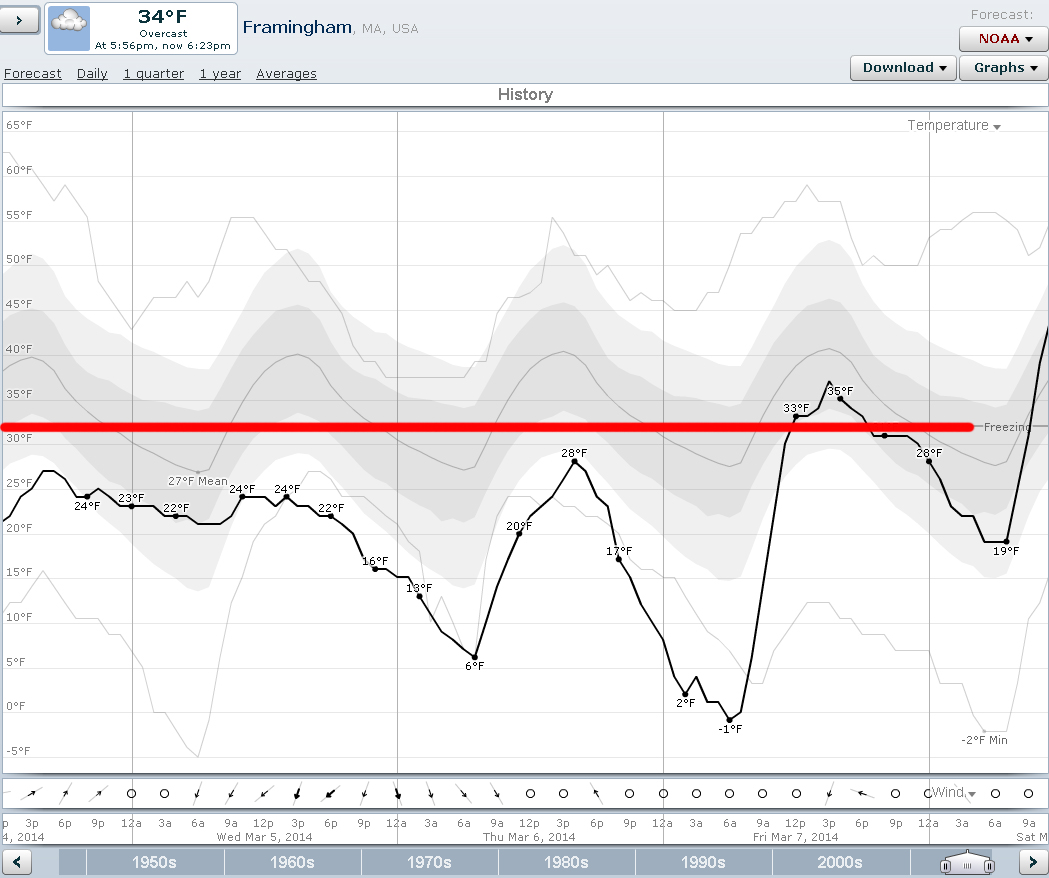
| Weatherspark
is an ice-scootering enthusiasts best friend |
||
| This website is awesome: weatherspark.com Lets say you're in a bind, you dont quite know which nearby bodies of water are frozen, but you'd like to zip over in the evening for a ride? It takes ~40 minutes to get enough ice samples to know that its safe, but you dont want to burn all that time just to find a melted pond. BEHOLD THE WEATHERSPARK. I made the silly decision of building this contraption as winter started yielding into spring, so, things were begining to melt. There's a neat little line (embelished here) to indicate the freezing line, so you can integrate to see how far above / below you are! |
 |
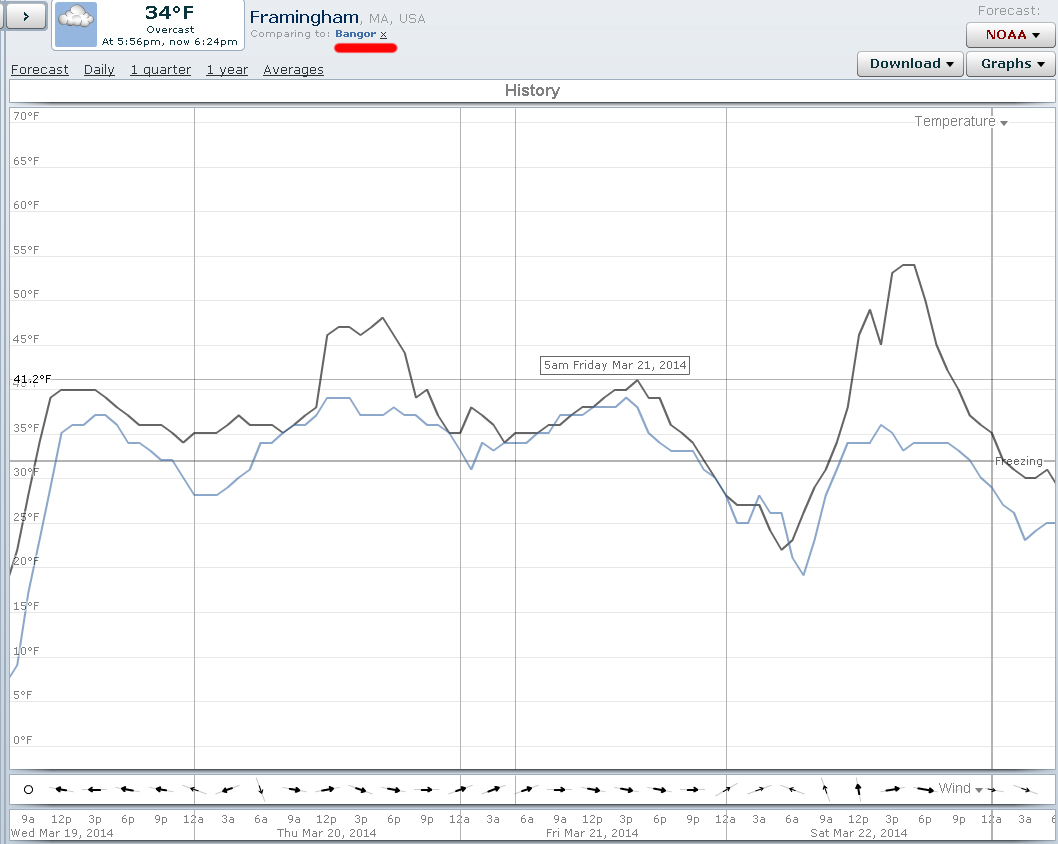 |
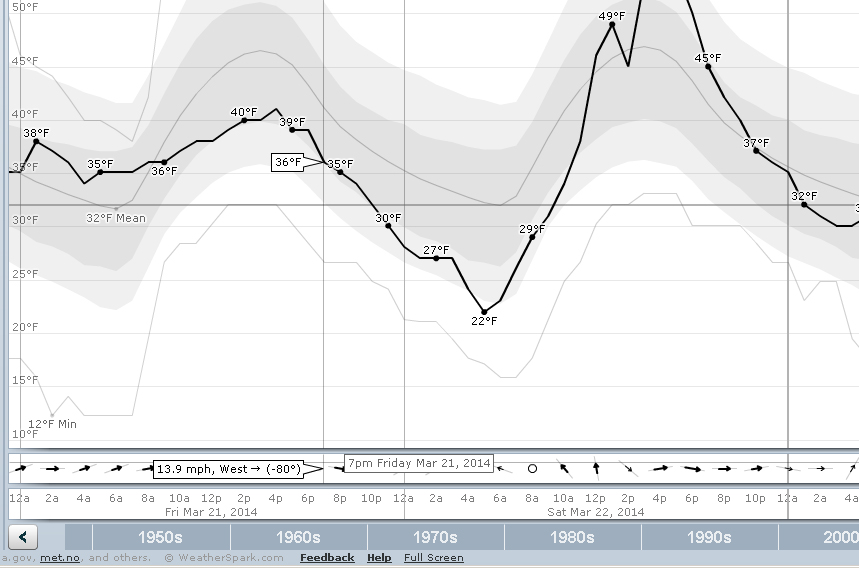
| IT
GETS BETTER It even has windspeed! Freshwater resoviours / lakes generally freeze faster when more energy is being removed from them, namely in the form of evaporative cooling. Increases in windspeed suck heat out even faster, so fewer days below zero are required for ice-scootering. If you have 2 locations with the same temperature, choose the pond with more wind! vegetation and shore contact area also effect freezing rates, the more bio activity under the shoreline water, the slower it appears to freeze. Want to know more about lake feeezing patterns? CHECK IT: [link] |
 |
Testing Ice Thickness
| What |
||
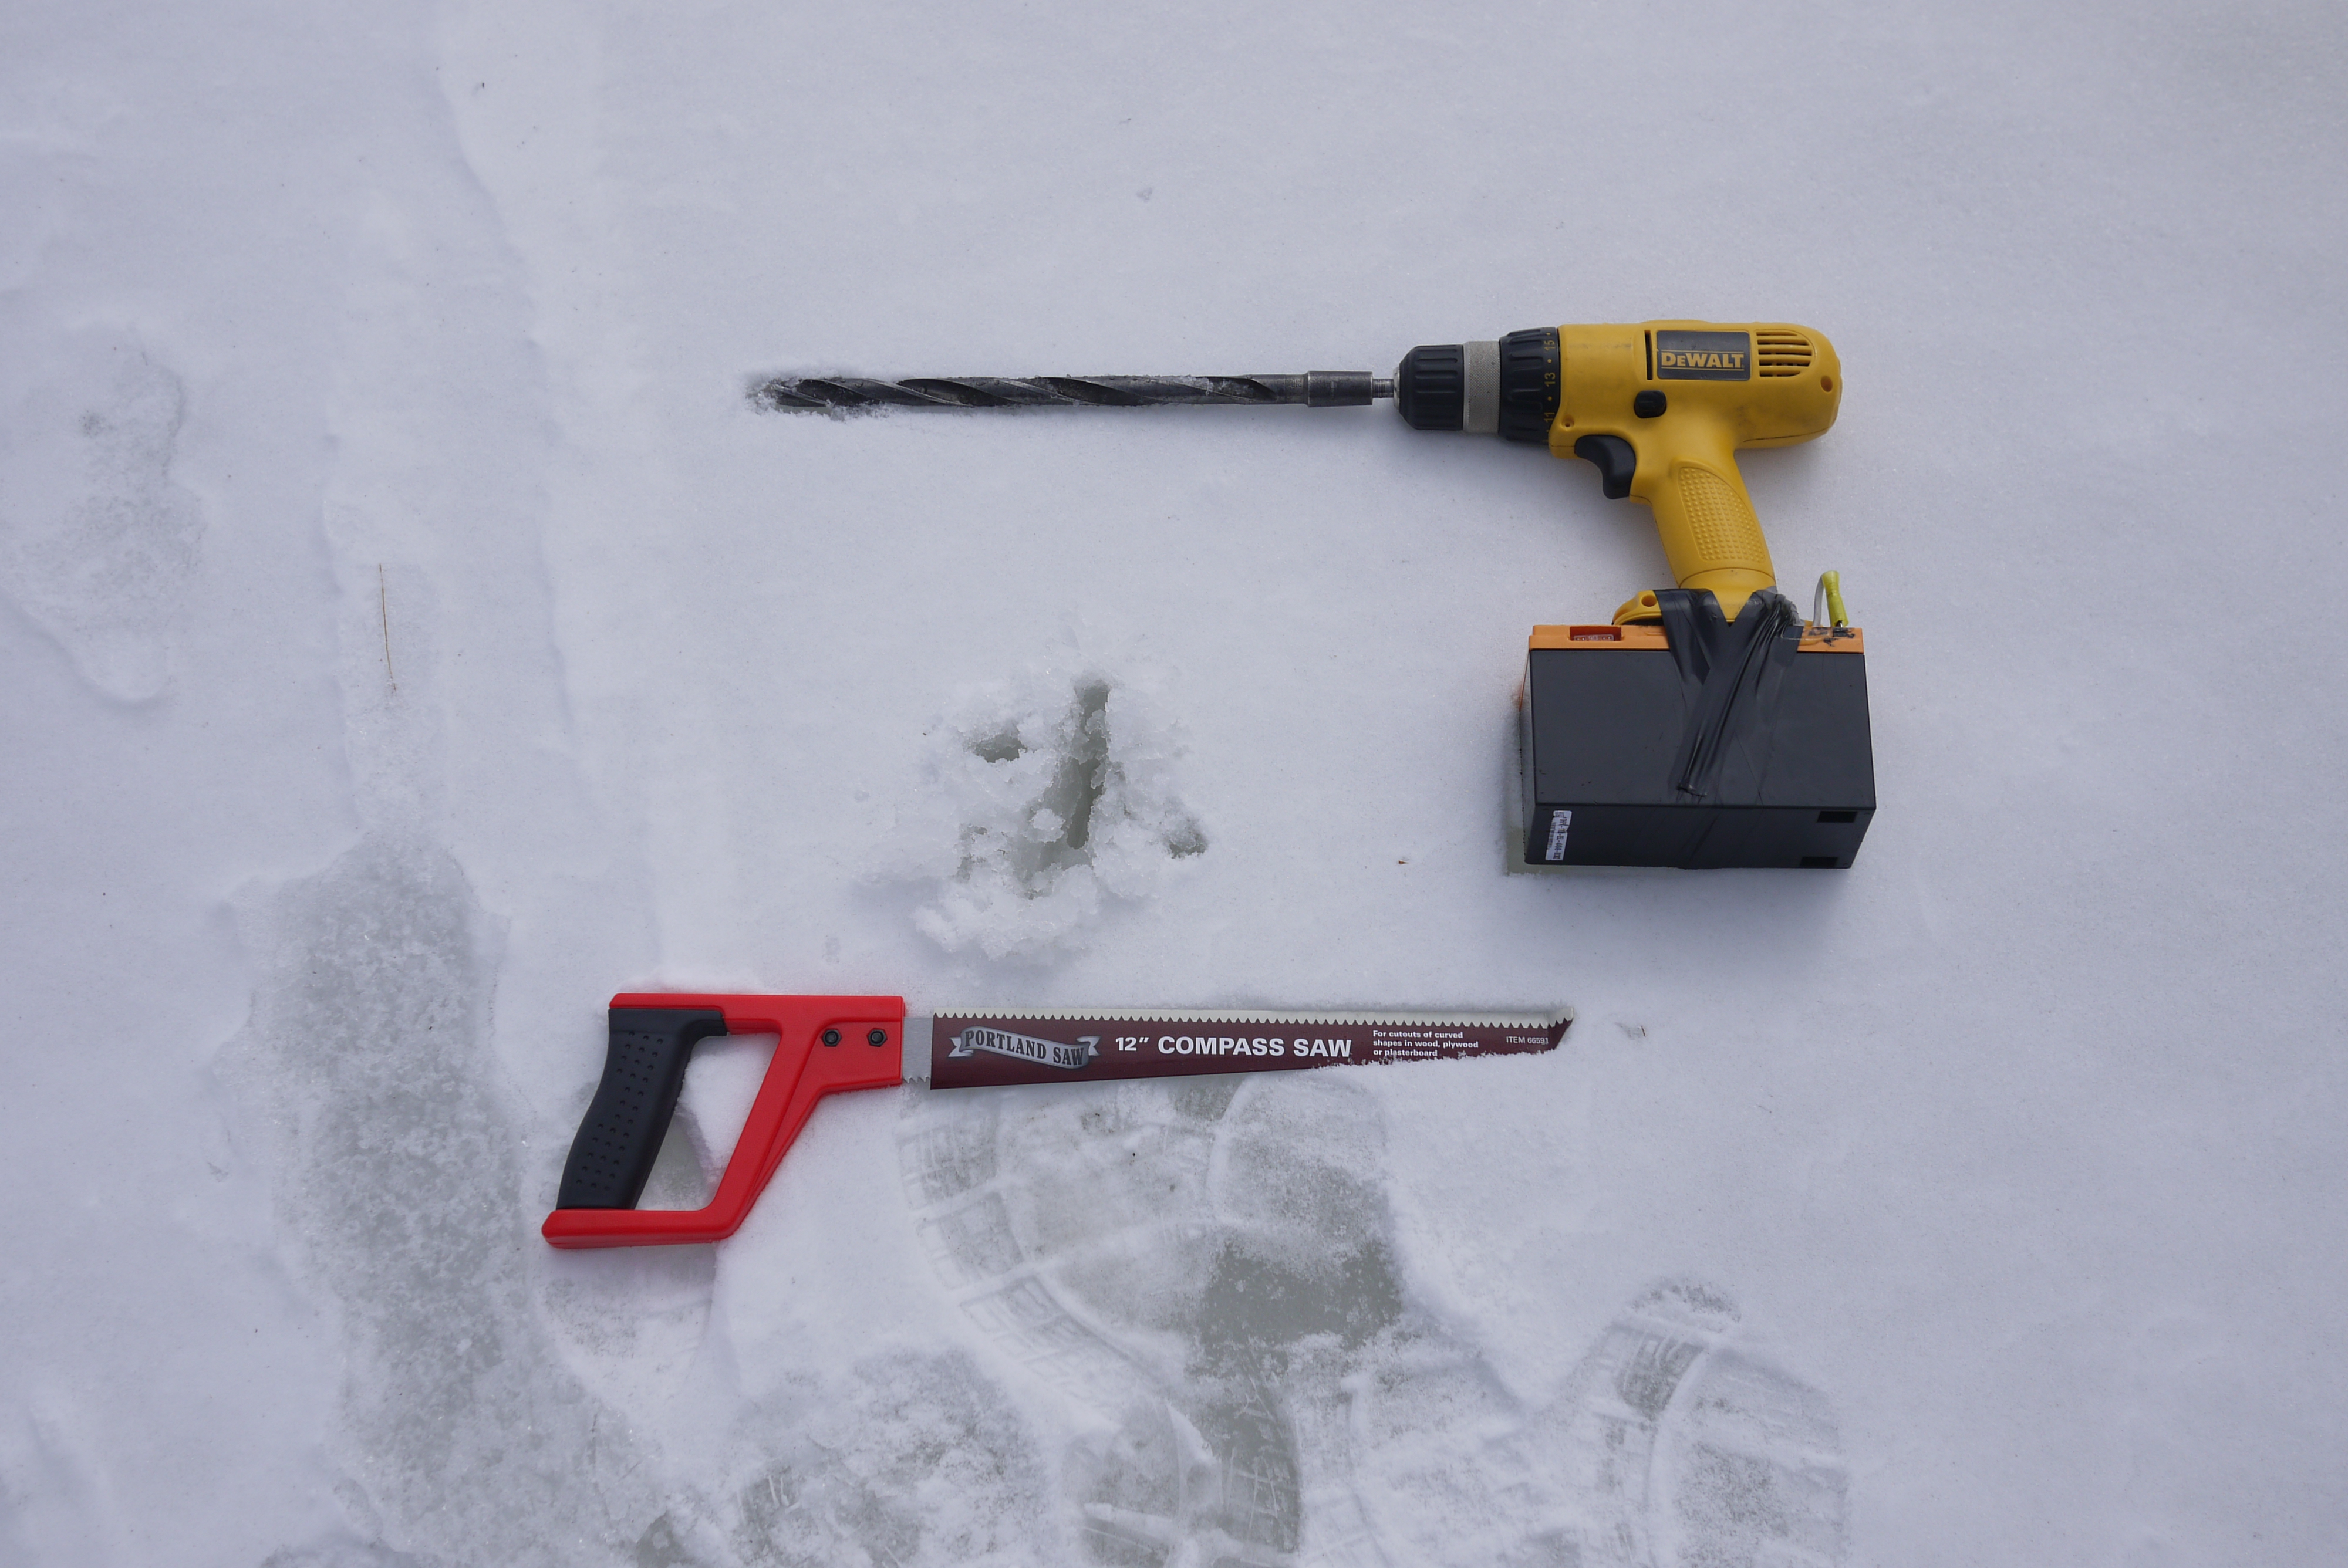
| Before heading out on the ice, its a good idea to check how thick it is. To do this i used the tools I had at hand, a modified cordless drill, a ginormo-drill bit (wood drilbits work well too), pair of cheapo calipers and a thin-blade saw. The tire shown in the picture was not used to measure the ice thickness. | 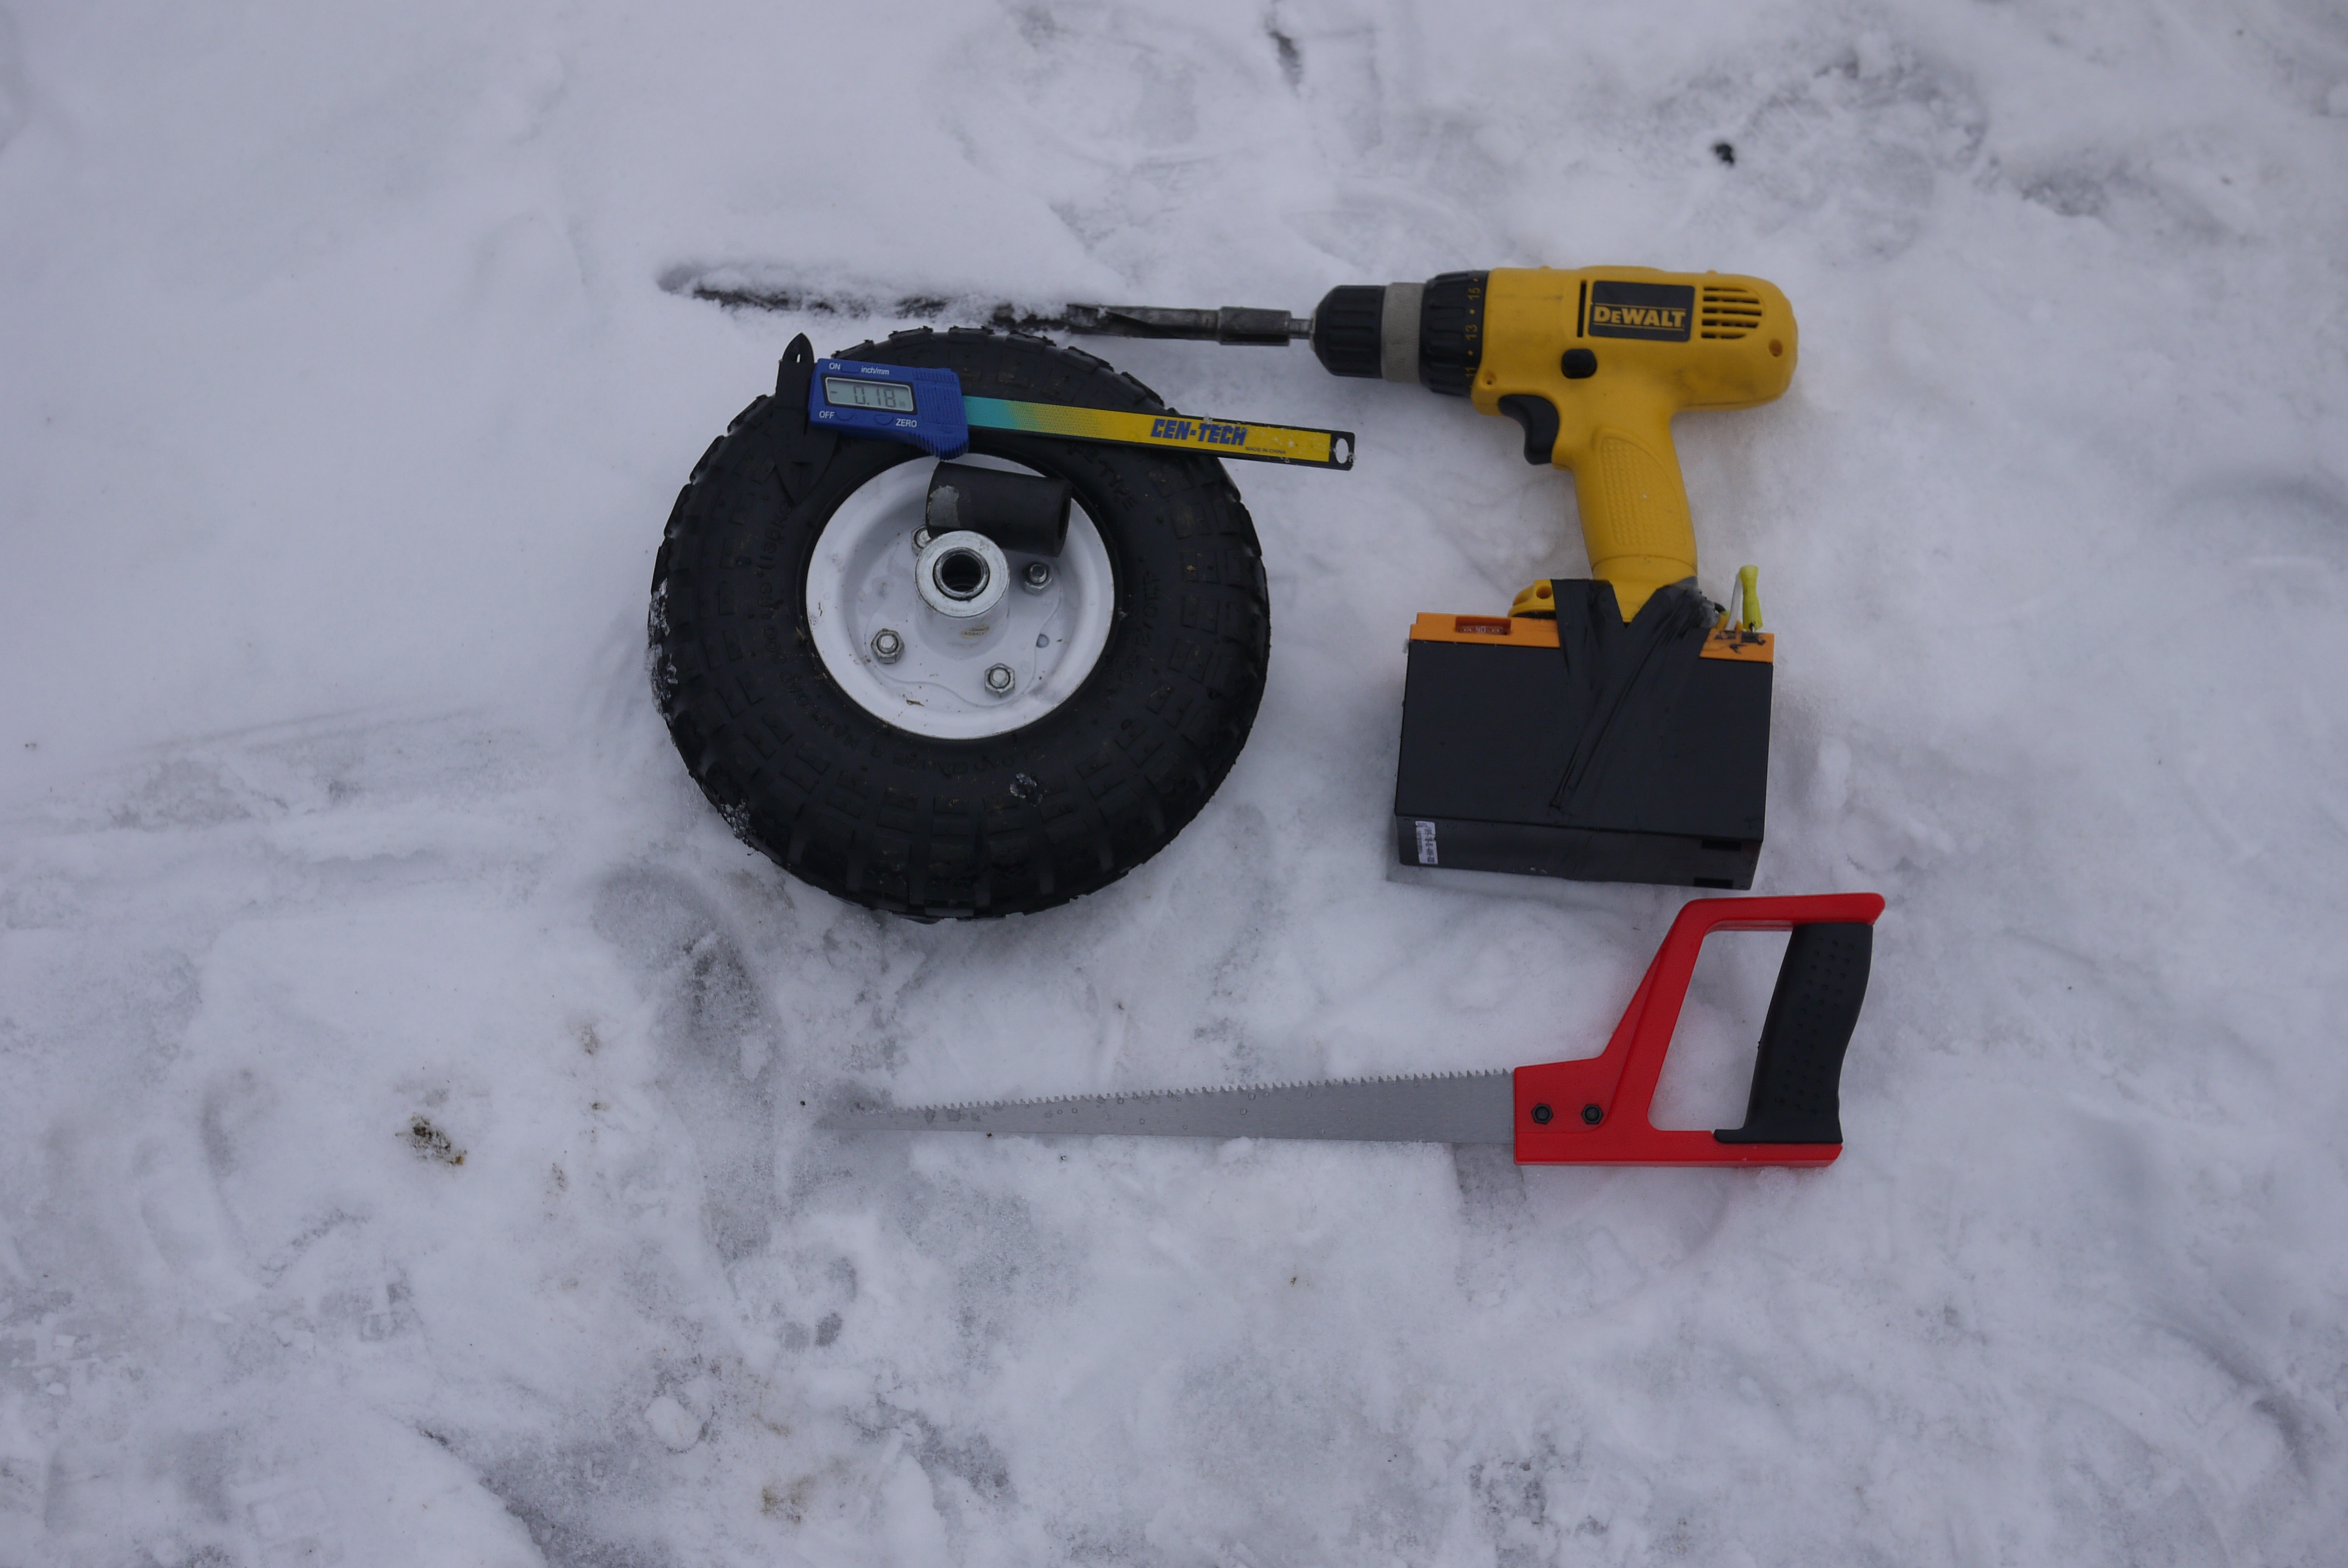 |
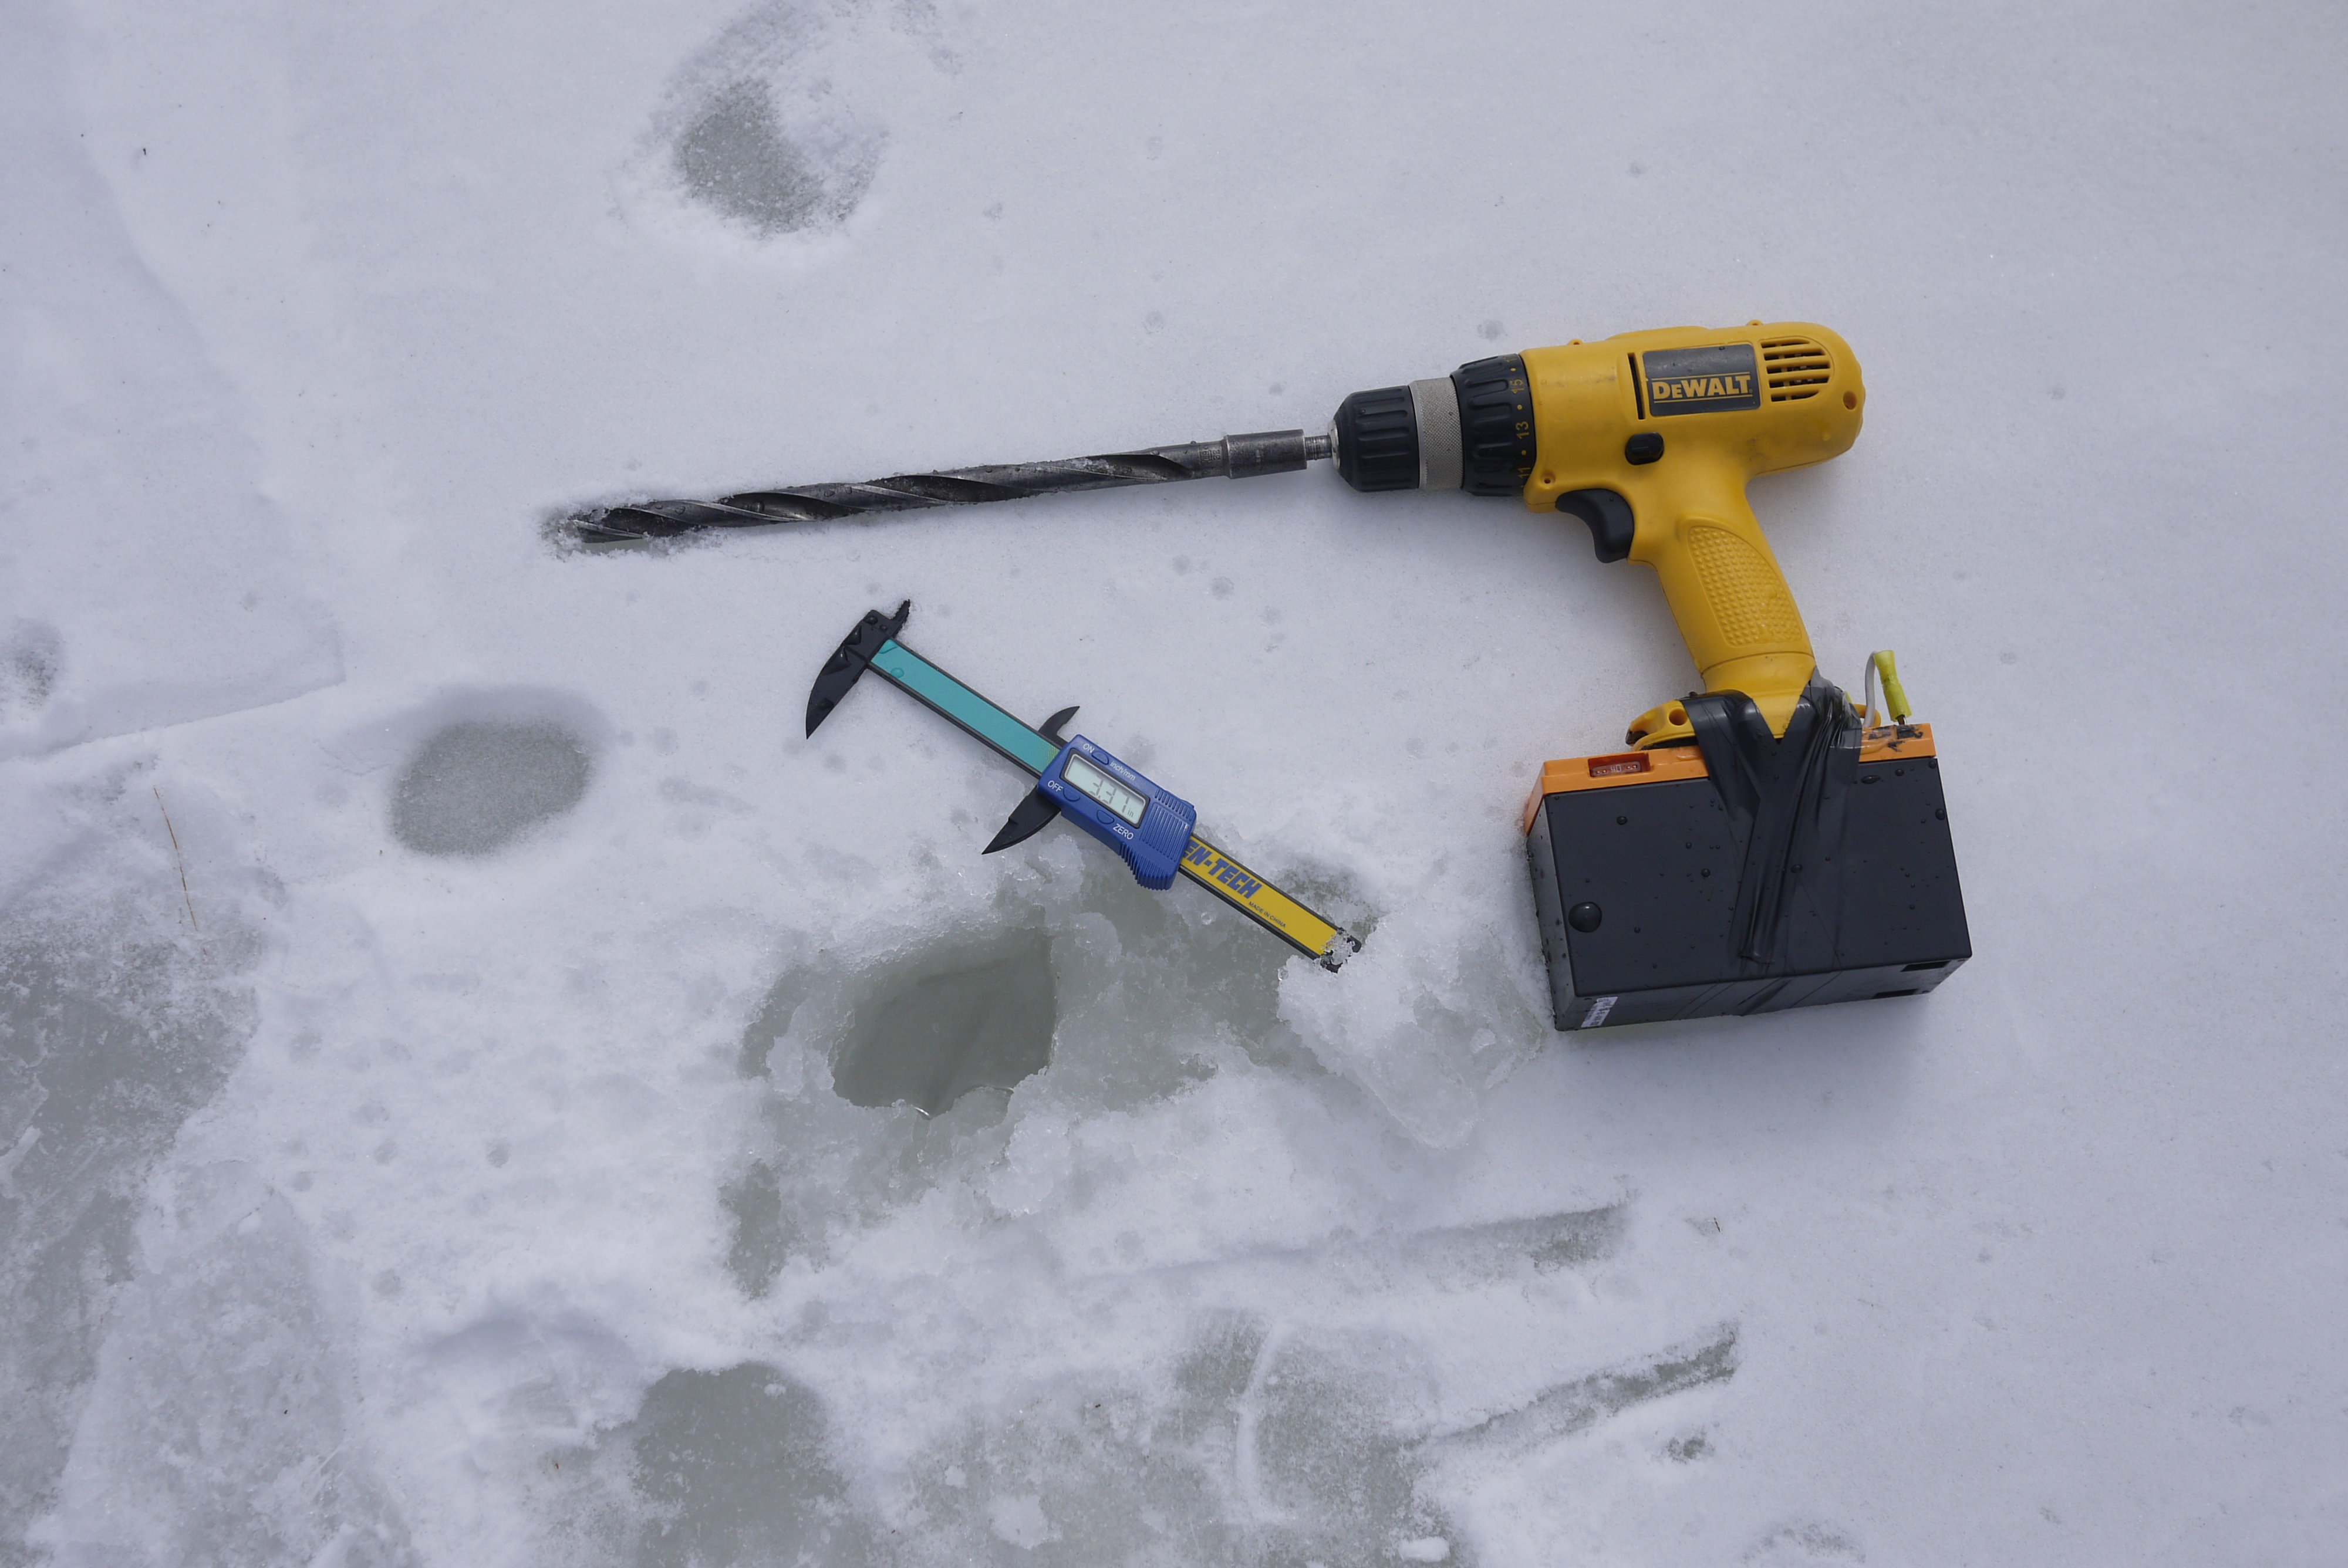 |
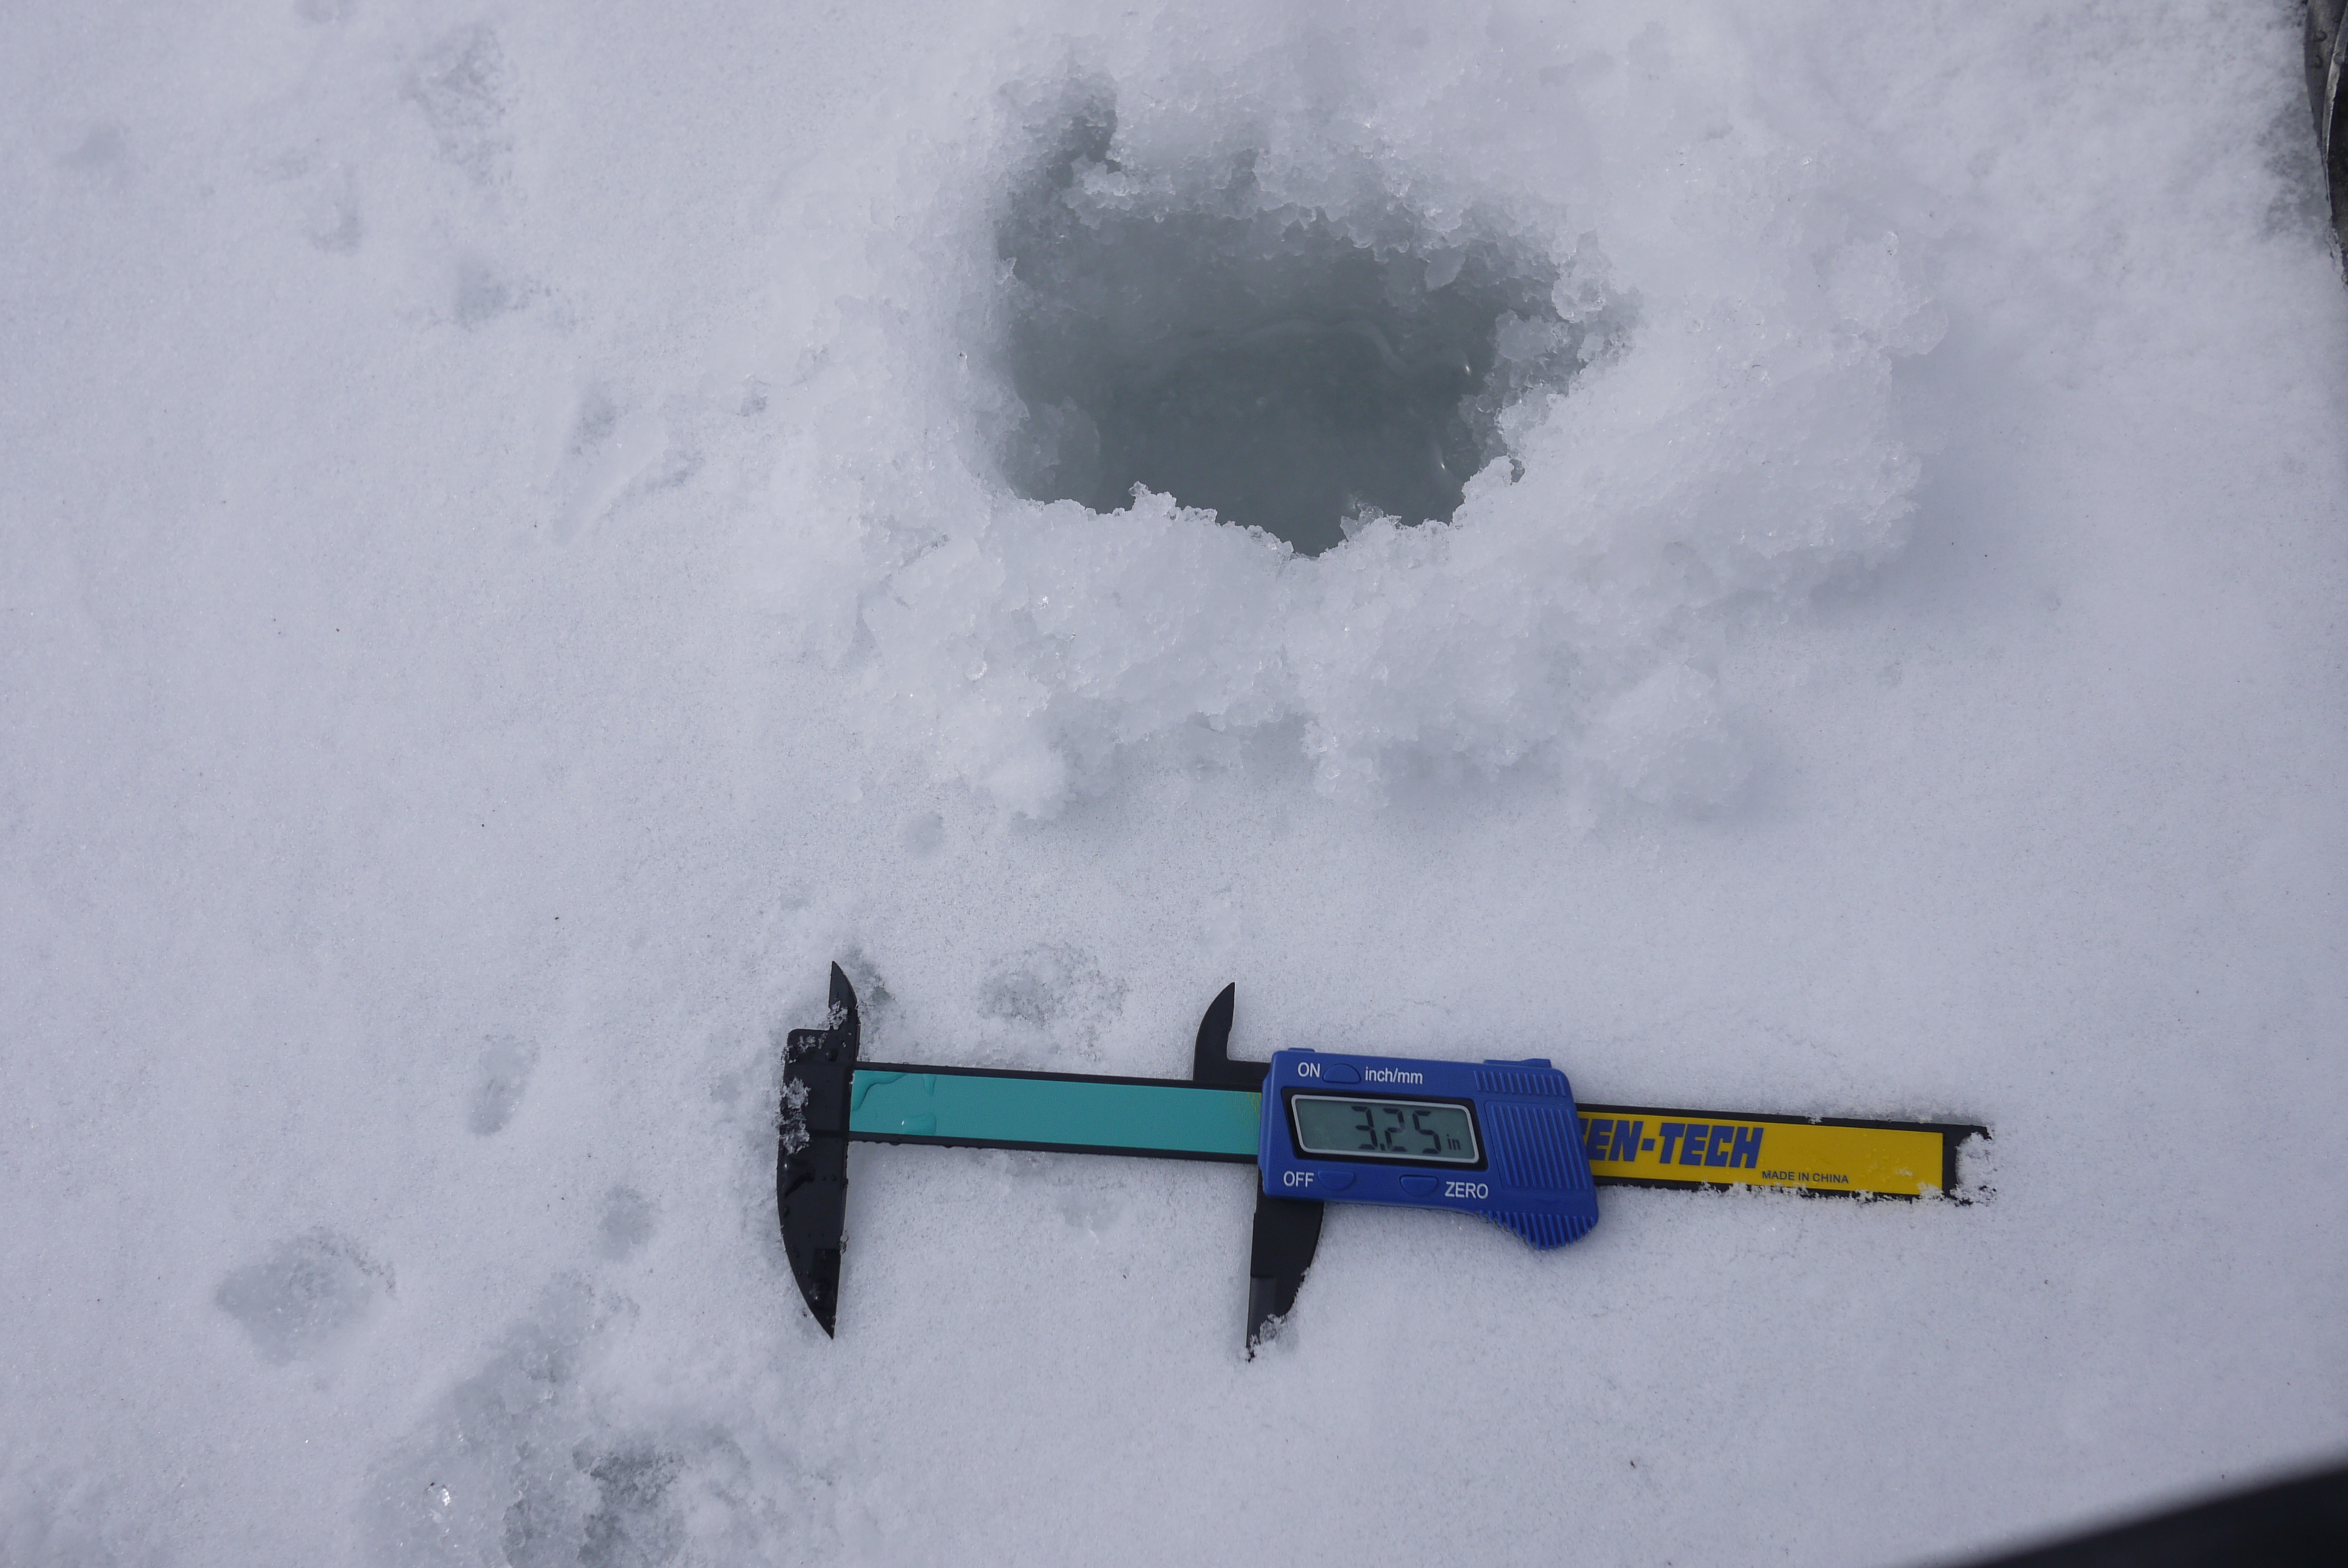
| Testing To take a depth measurement, I started close to the shore. I began with 4-6 holes and then cut between them using the thin-bladed saw. Then I removed the ice core and used the calipers to measure the surrounding ice thickness. I continued doing this incrementally further and further from the shore, making notes of the thickness. |
 |
 |
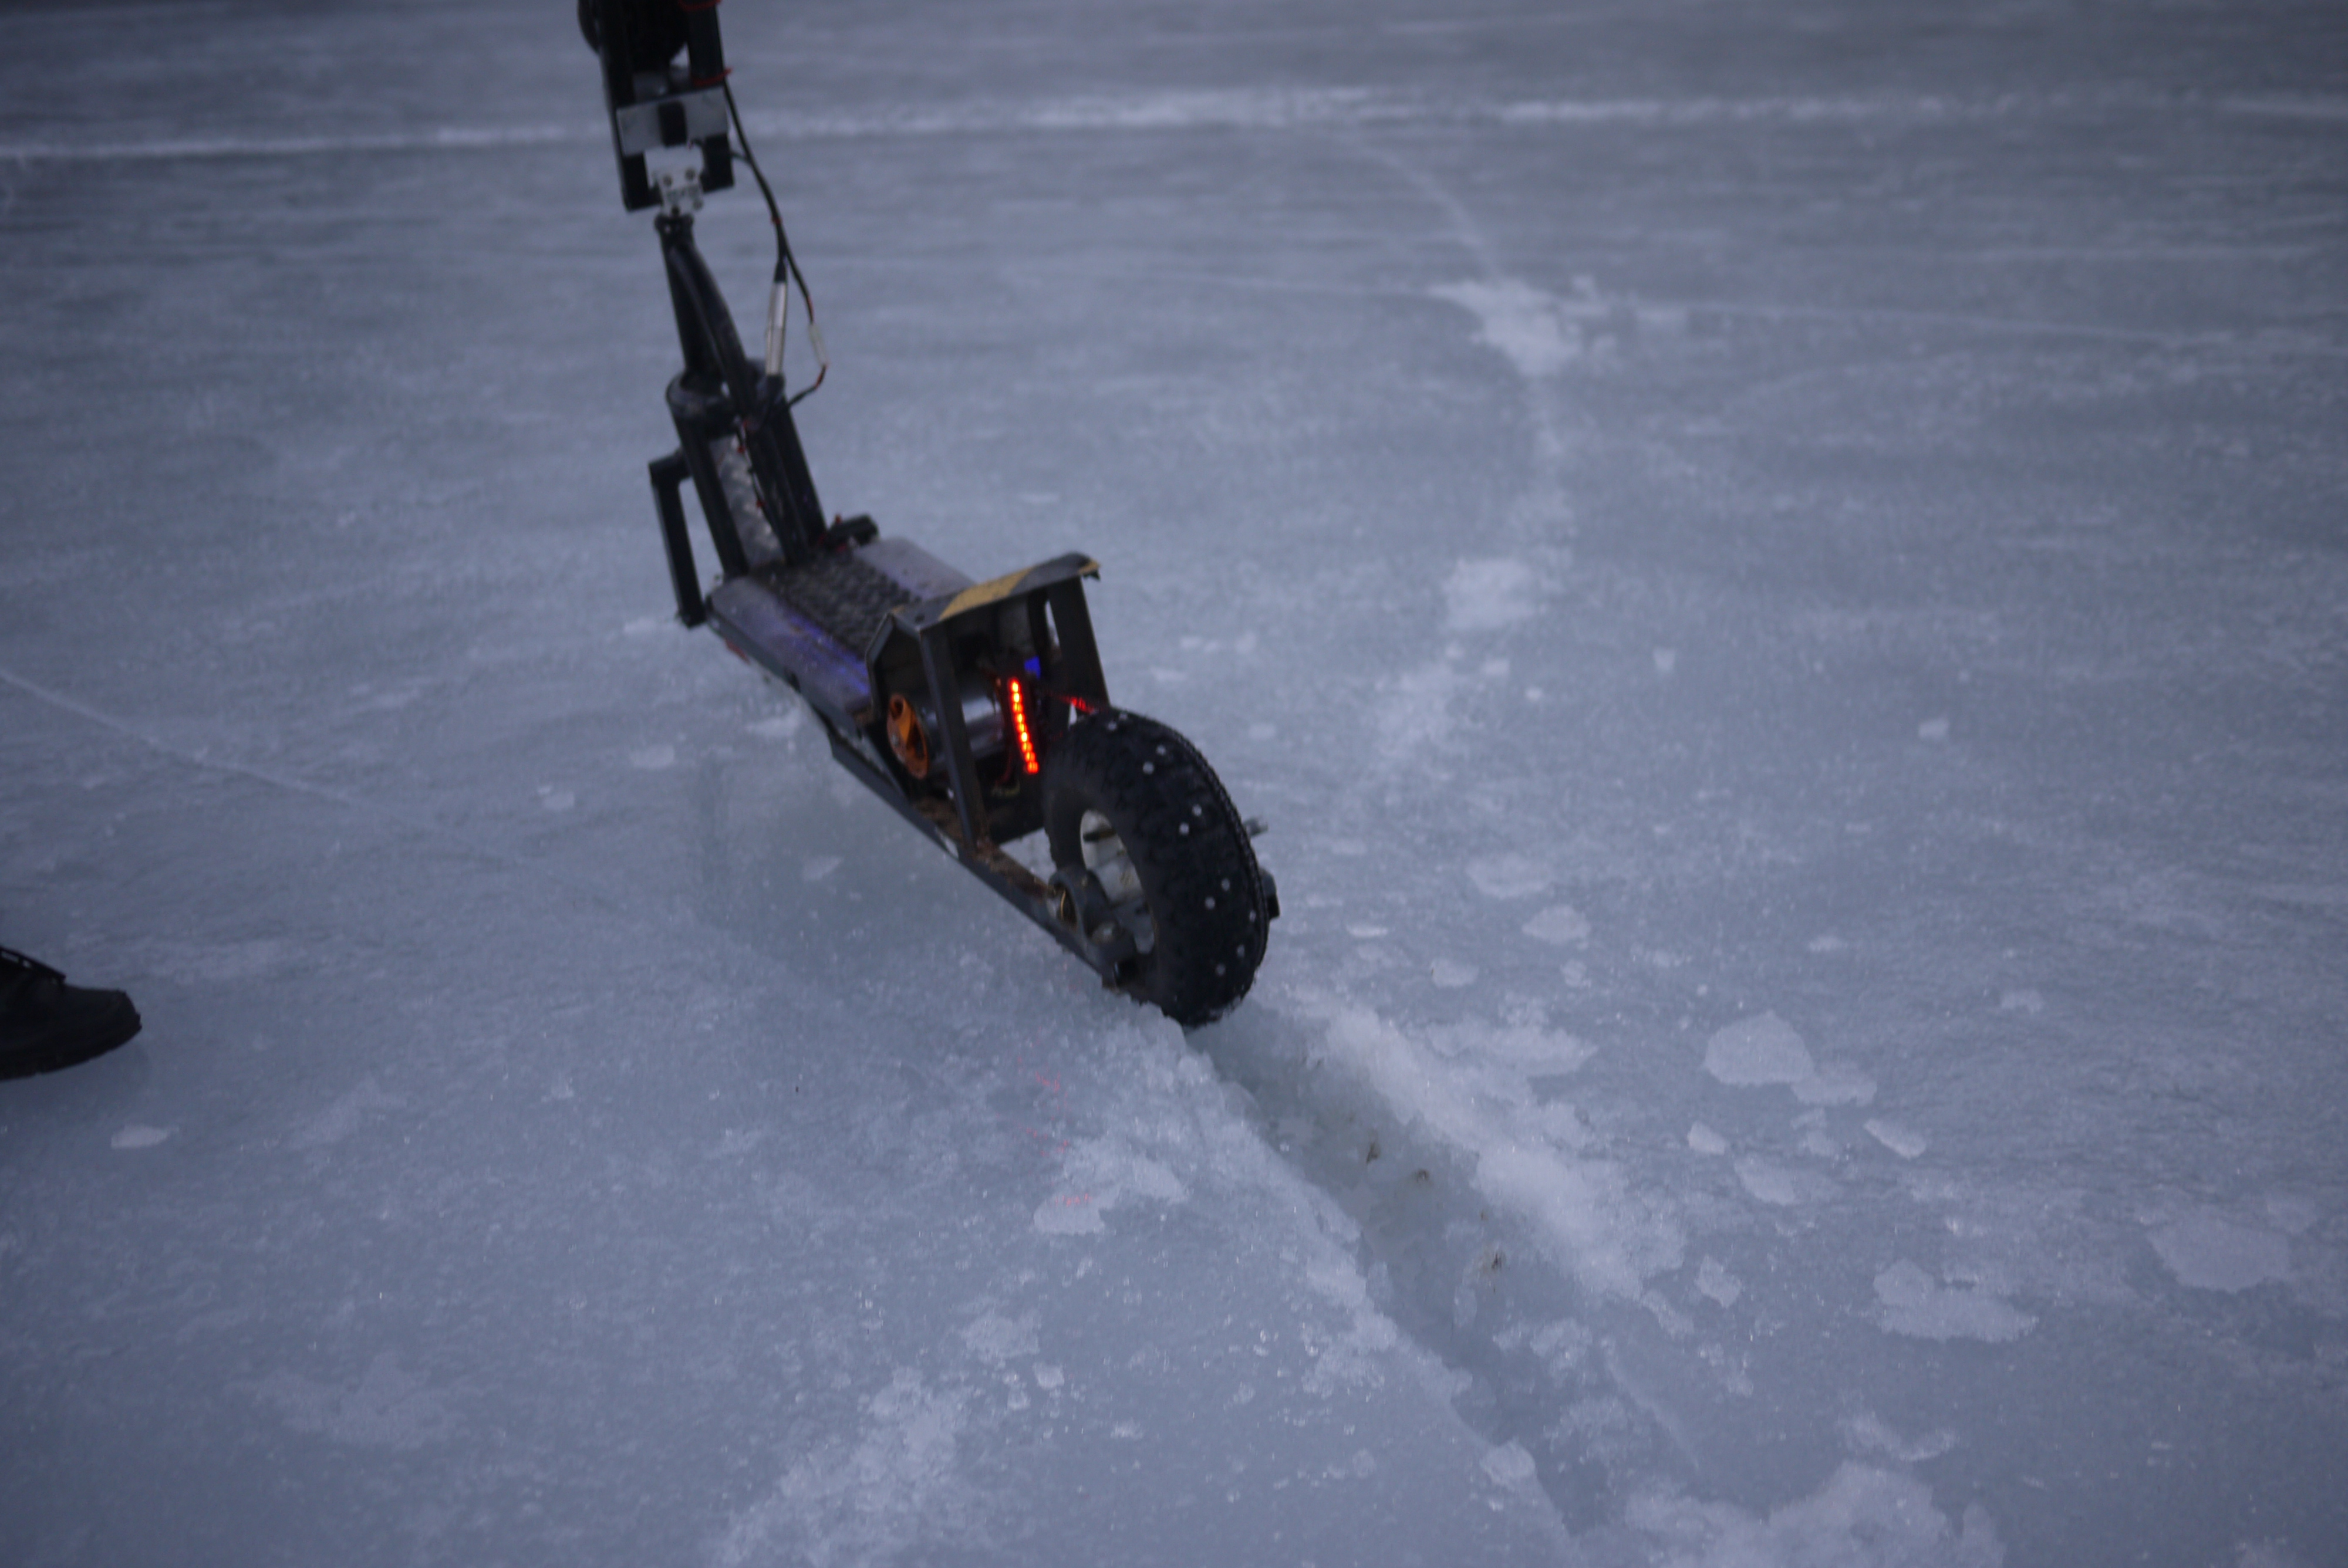
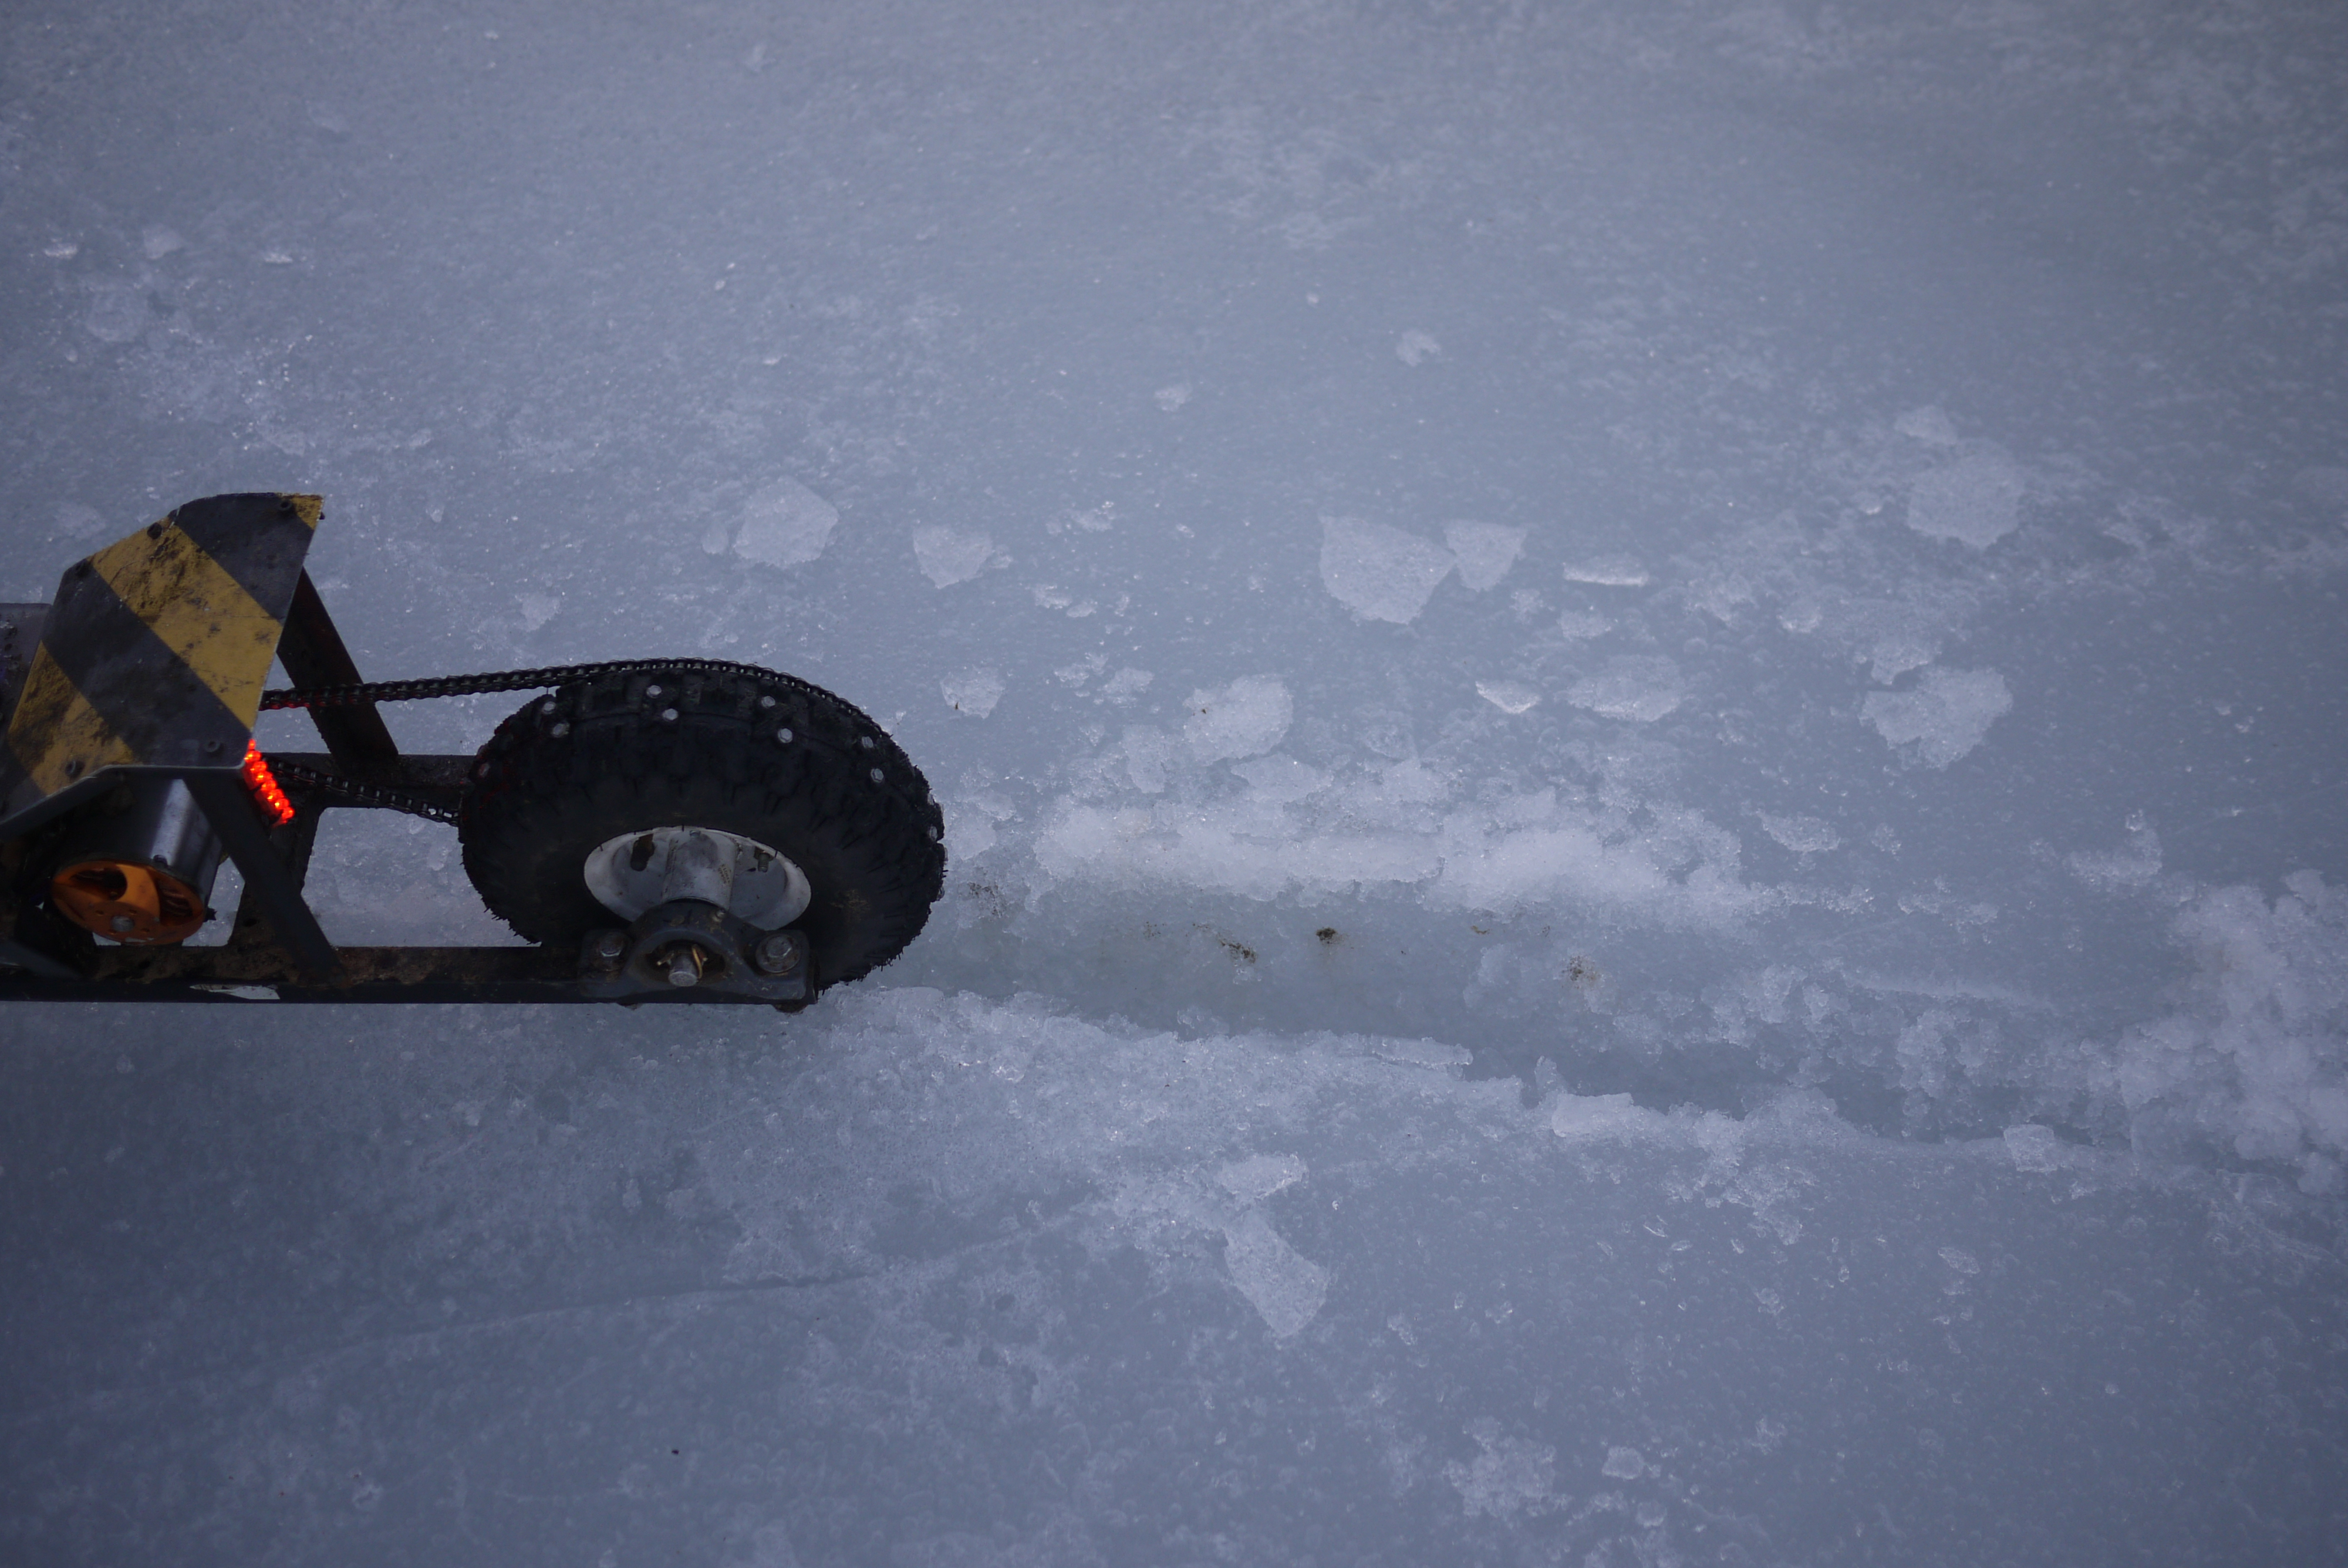
| Observations Freshwater ice doesnt disappear or appear in a day, and its surface can change dramatically. It takes 2-3 sub-zero, windy days for the ice surface to be relatively solid and snow-free. Snowfall on a frozen lake creates a small layer of mush, with a thin ice surface towards the top. This can be a bit confusing, as, when scootering you can break through the first layer, embed the skate into mush, but still be riding on another under-layer of ice. Shown right is what happens when the rear-tire chews through the barrier. |
 |
 |
Testing The Skate & Studded Tire
| What |
||
| YOWZA
IT WORKED WELL The difference between no studs in the rear tire and the new studs were incredibly significant. The traction increased from nill to impressive. The front skate also made a world of difference in maneuverability, suddenly turning was not only possible, but possible under-power, in a tight radius. |
 |
 |
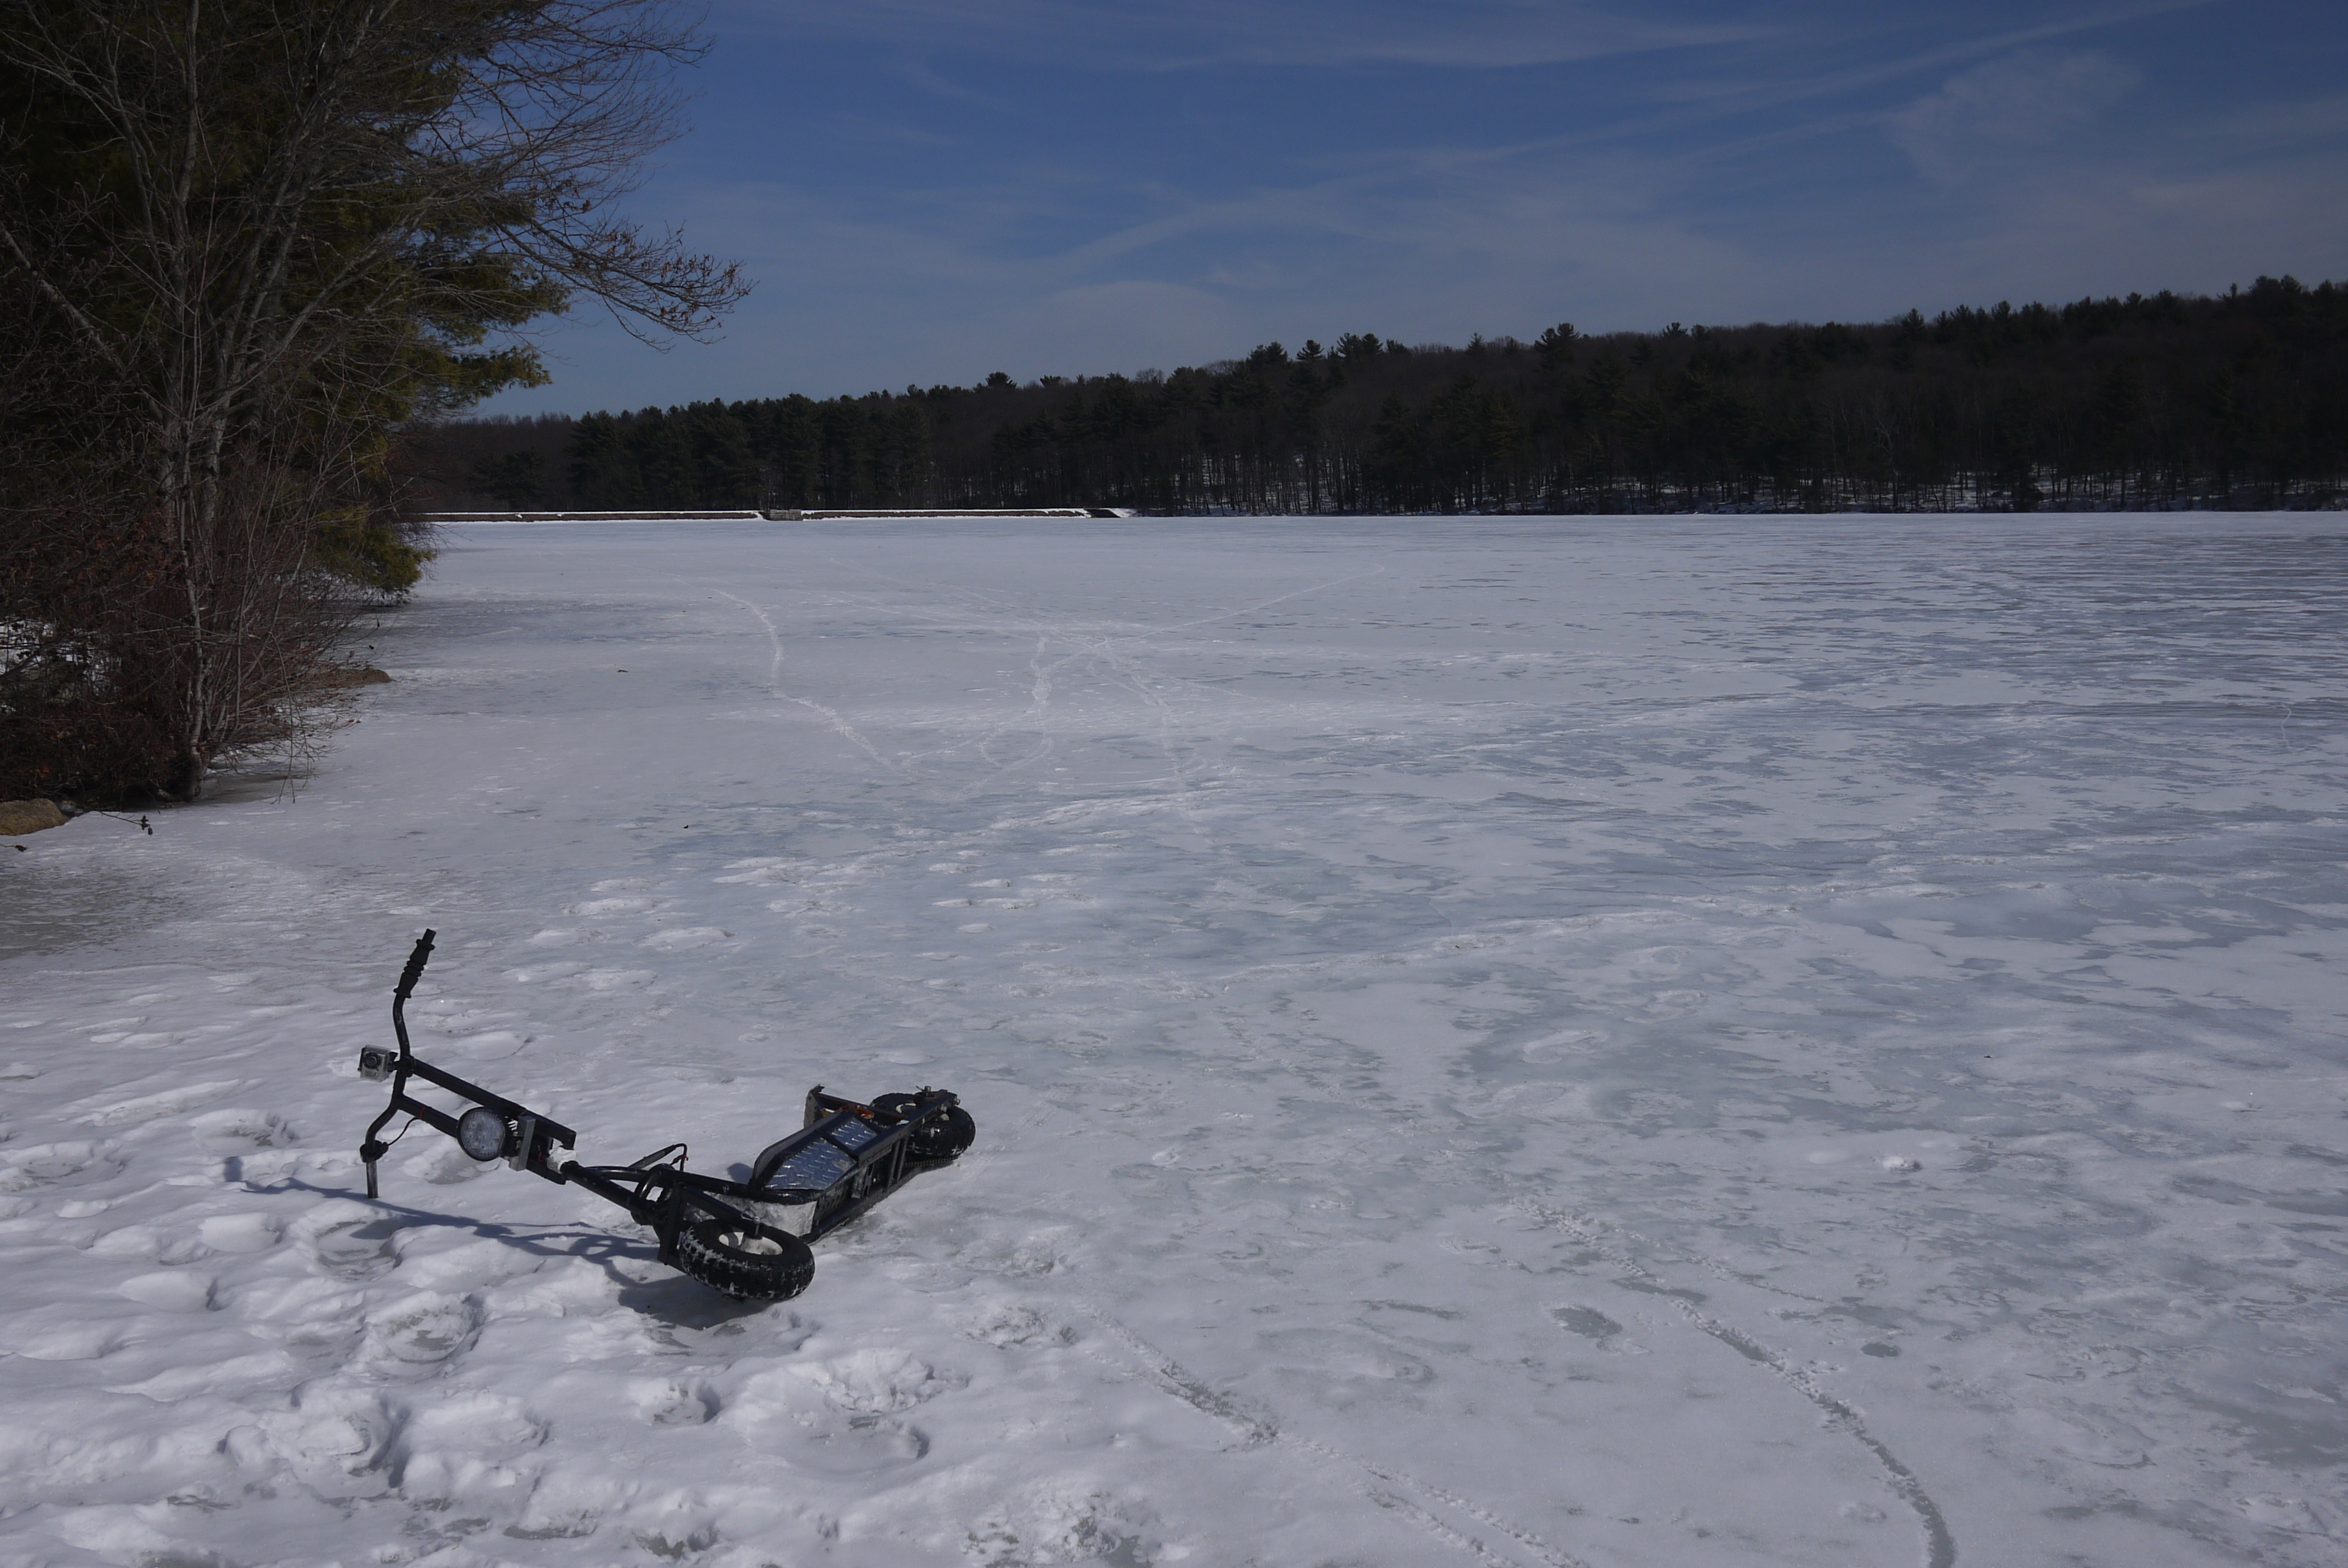
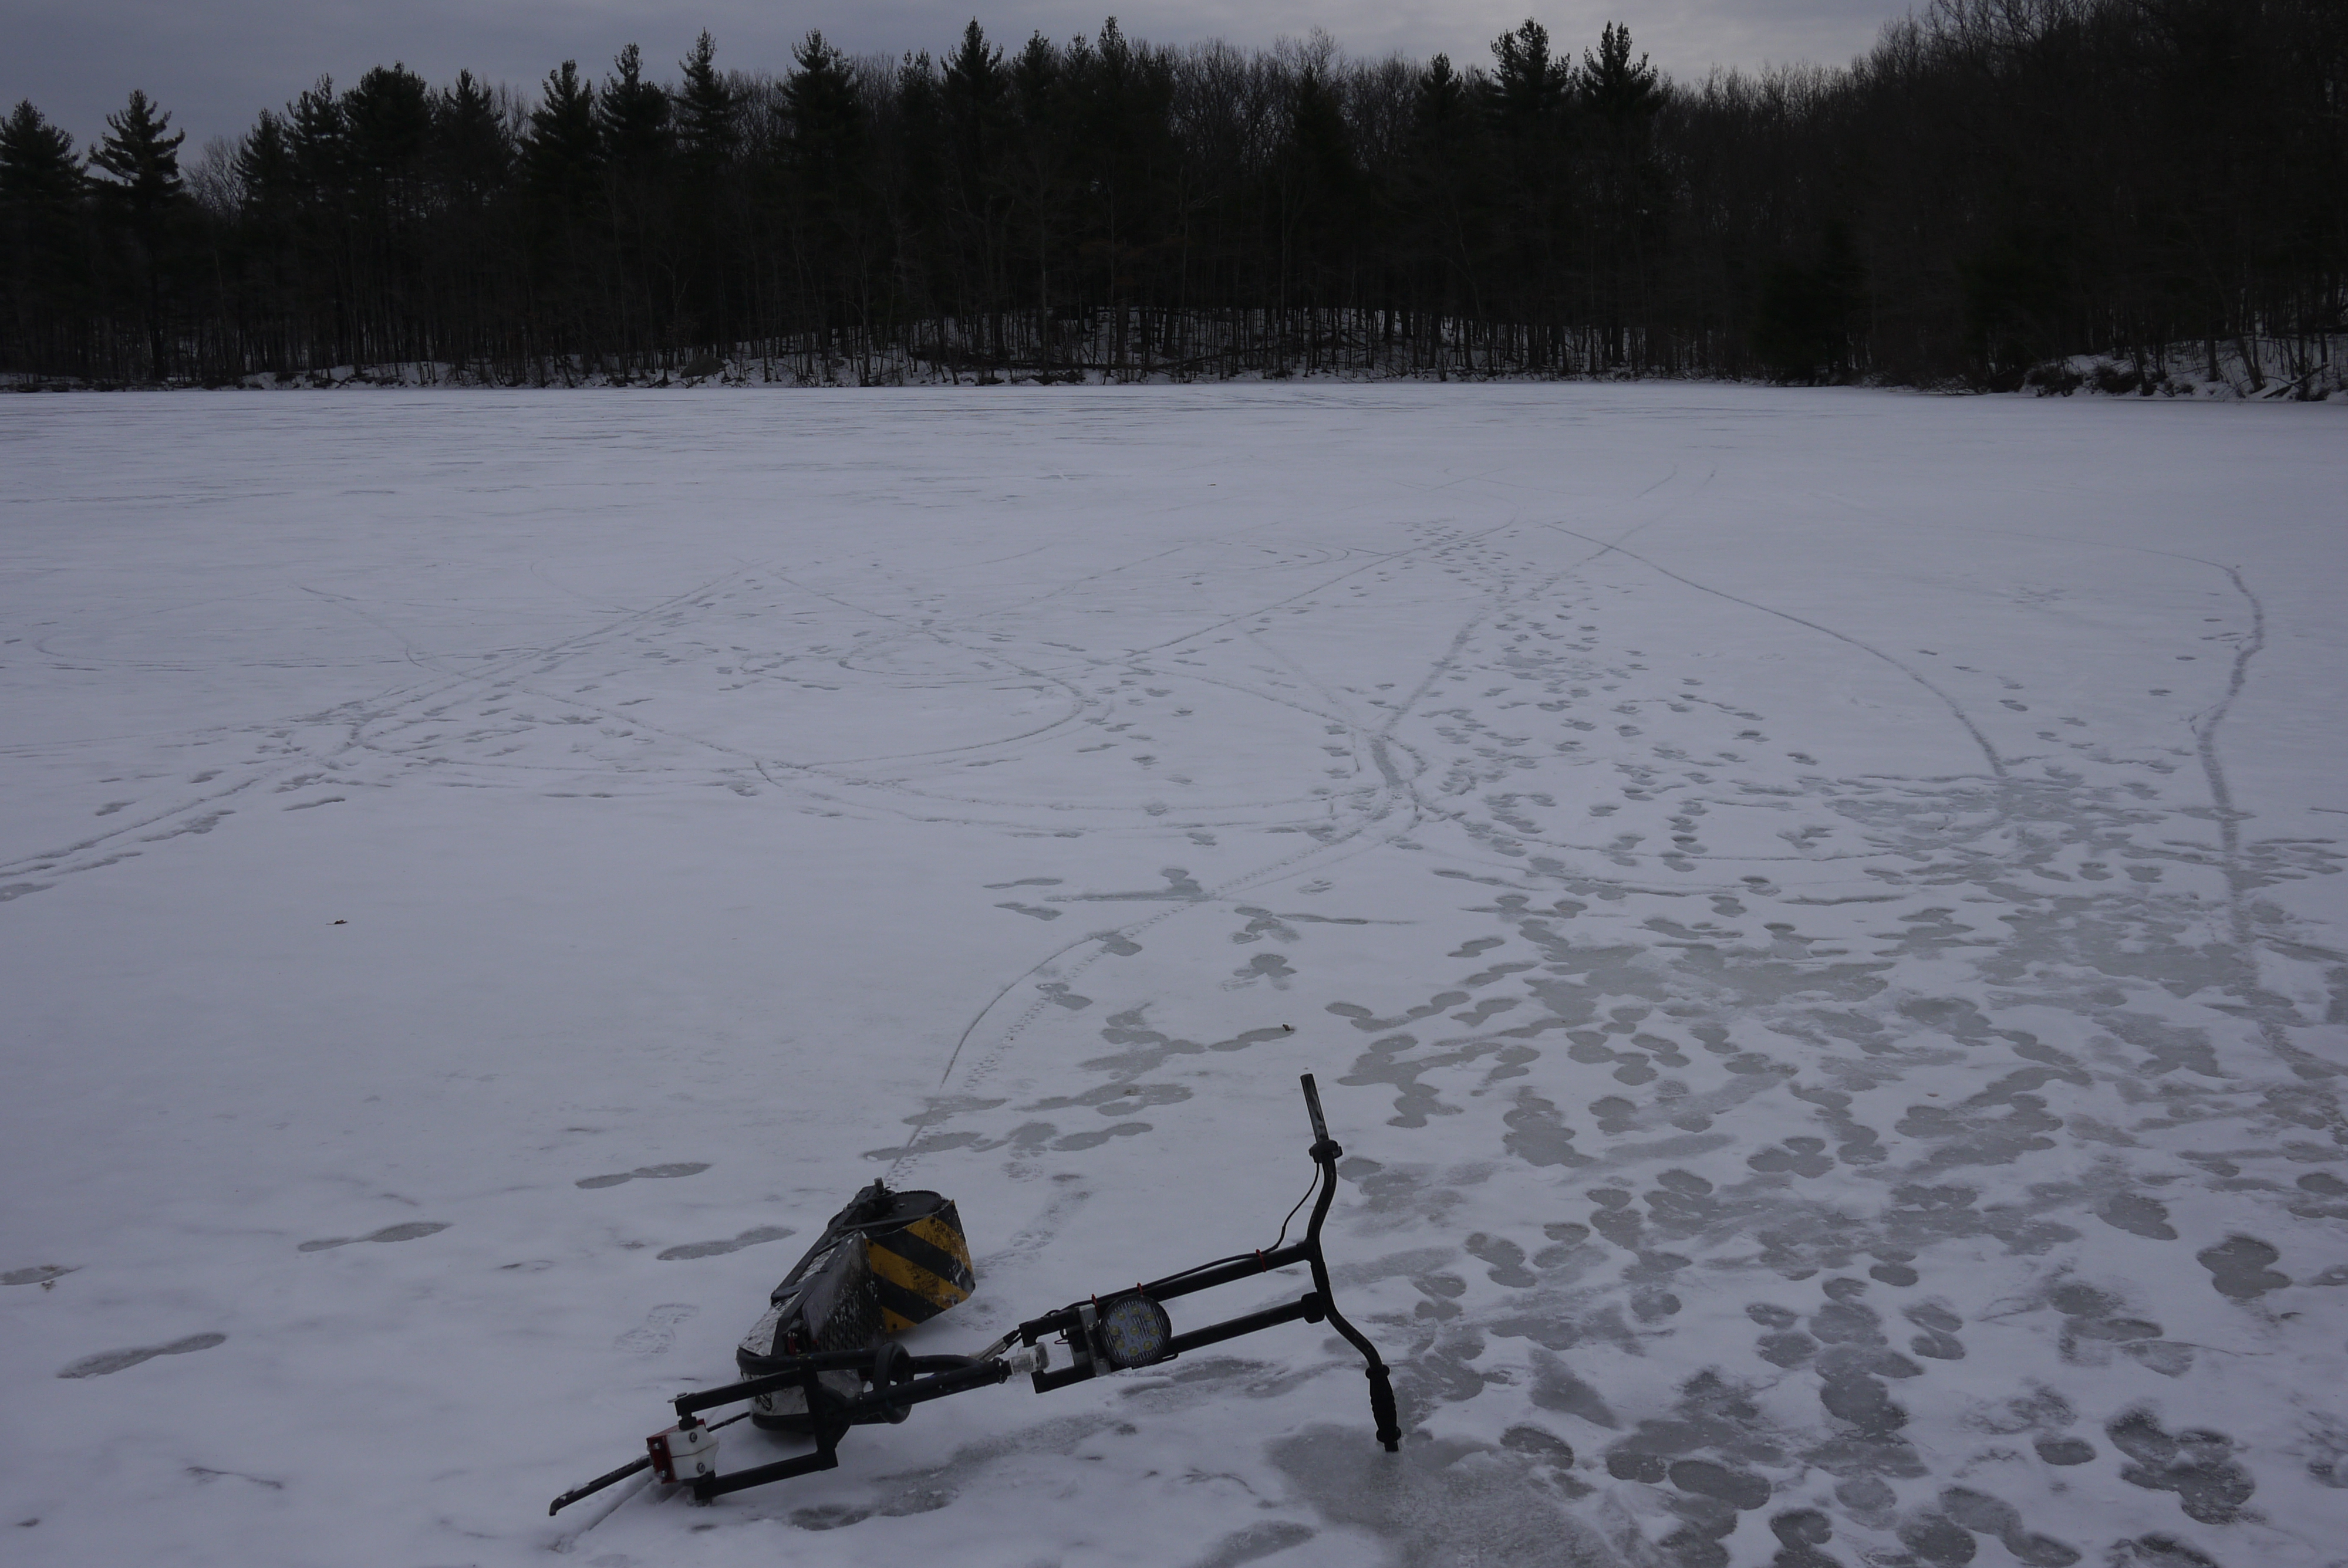
| YEAH
YOU COULD SAY I DROVE AROUND A BIT. I was the only person out on the ice that day, all of the paths / footprints in the photo (right) are mine. |
 |
 |
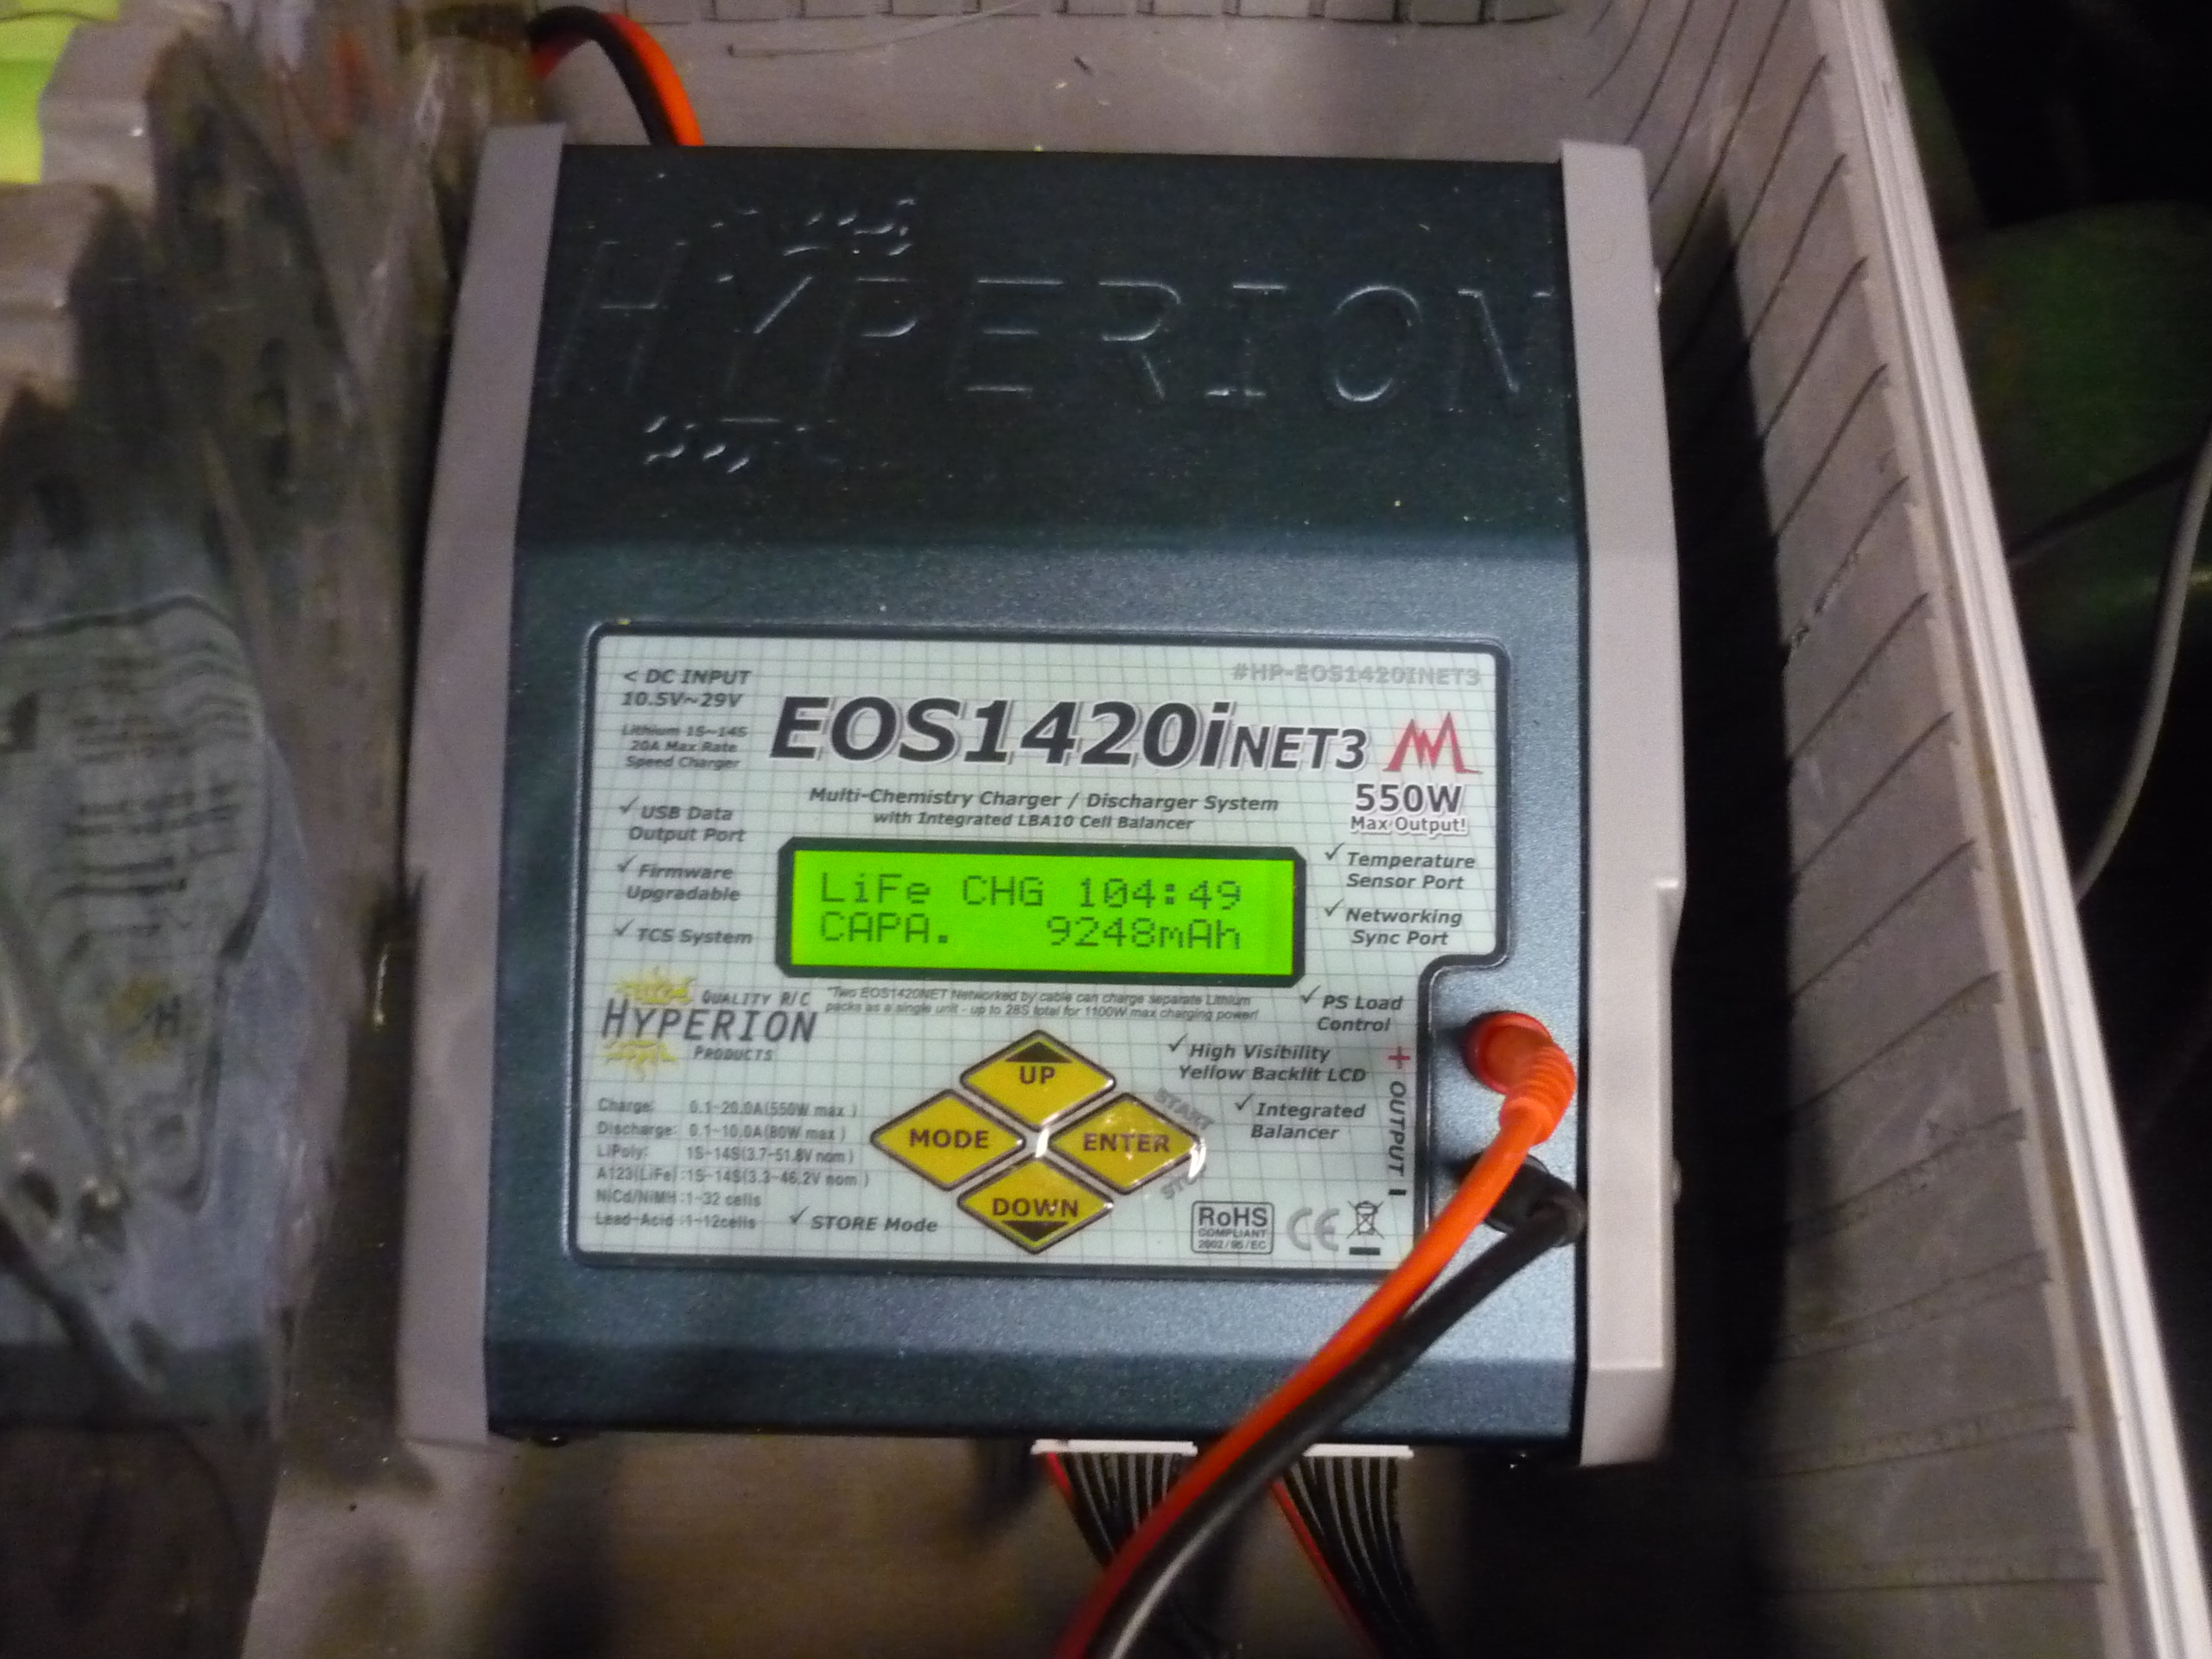
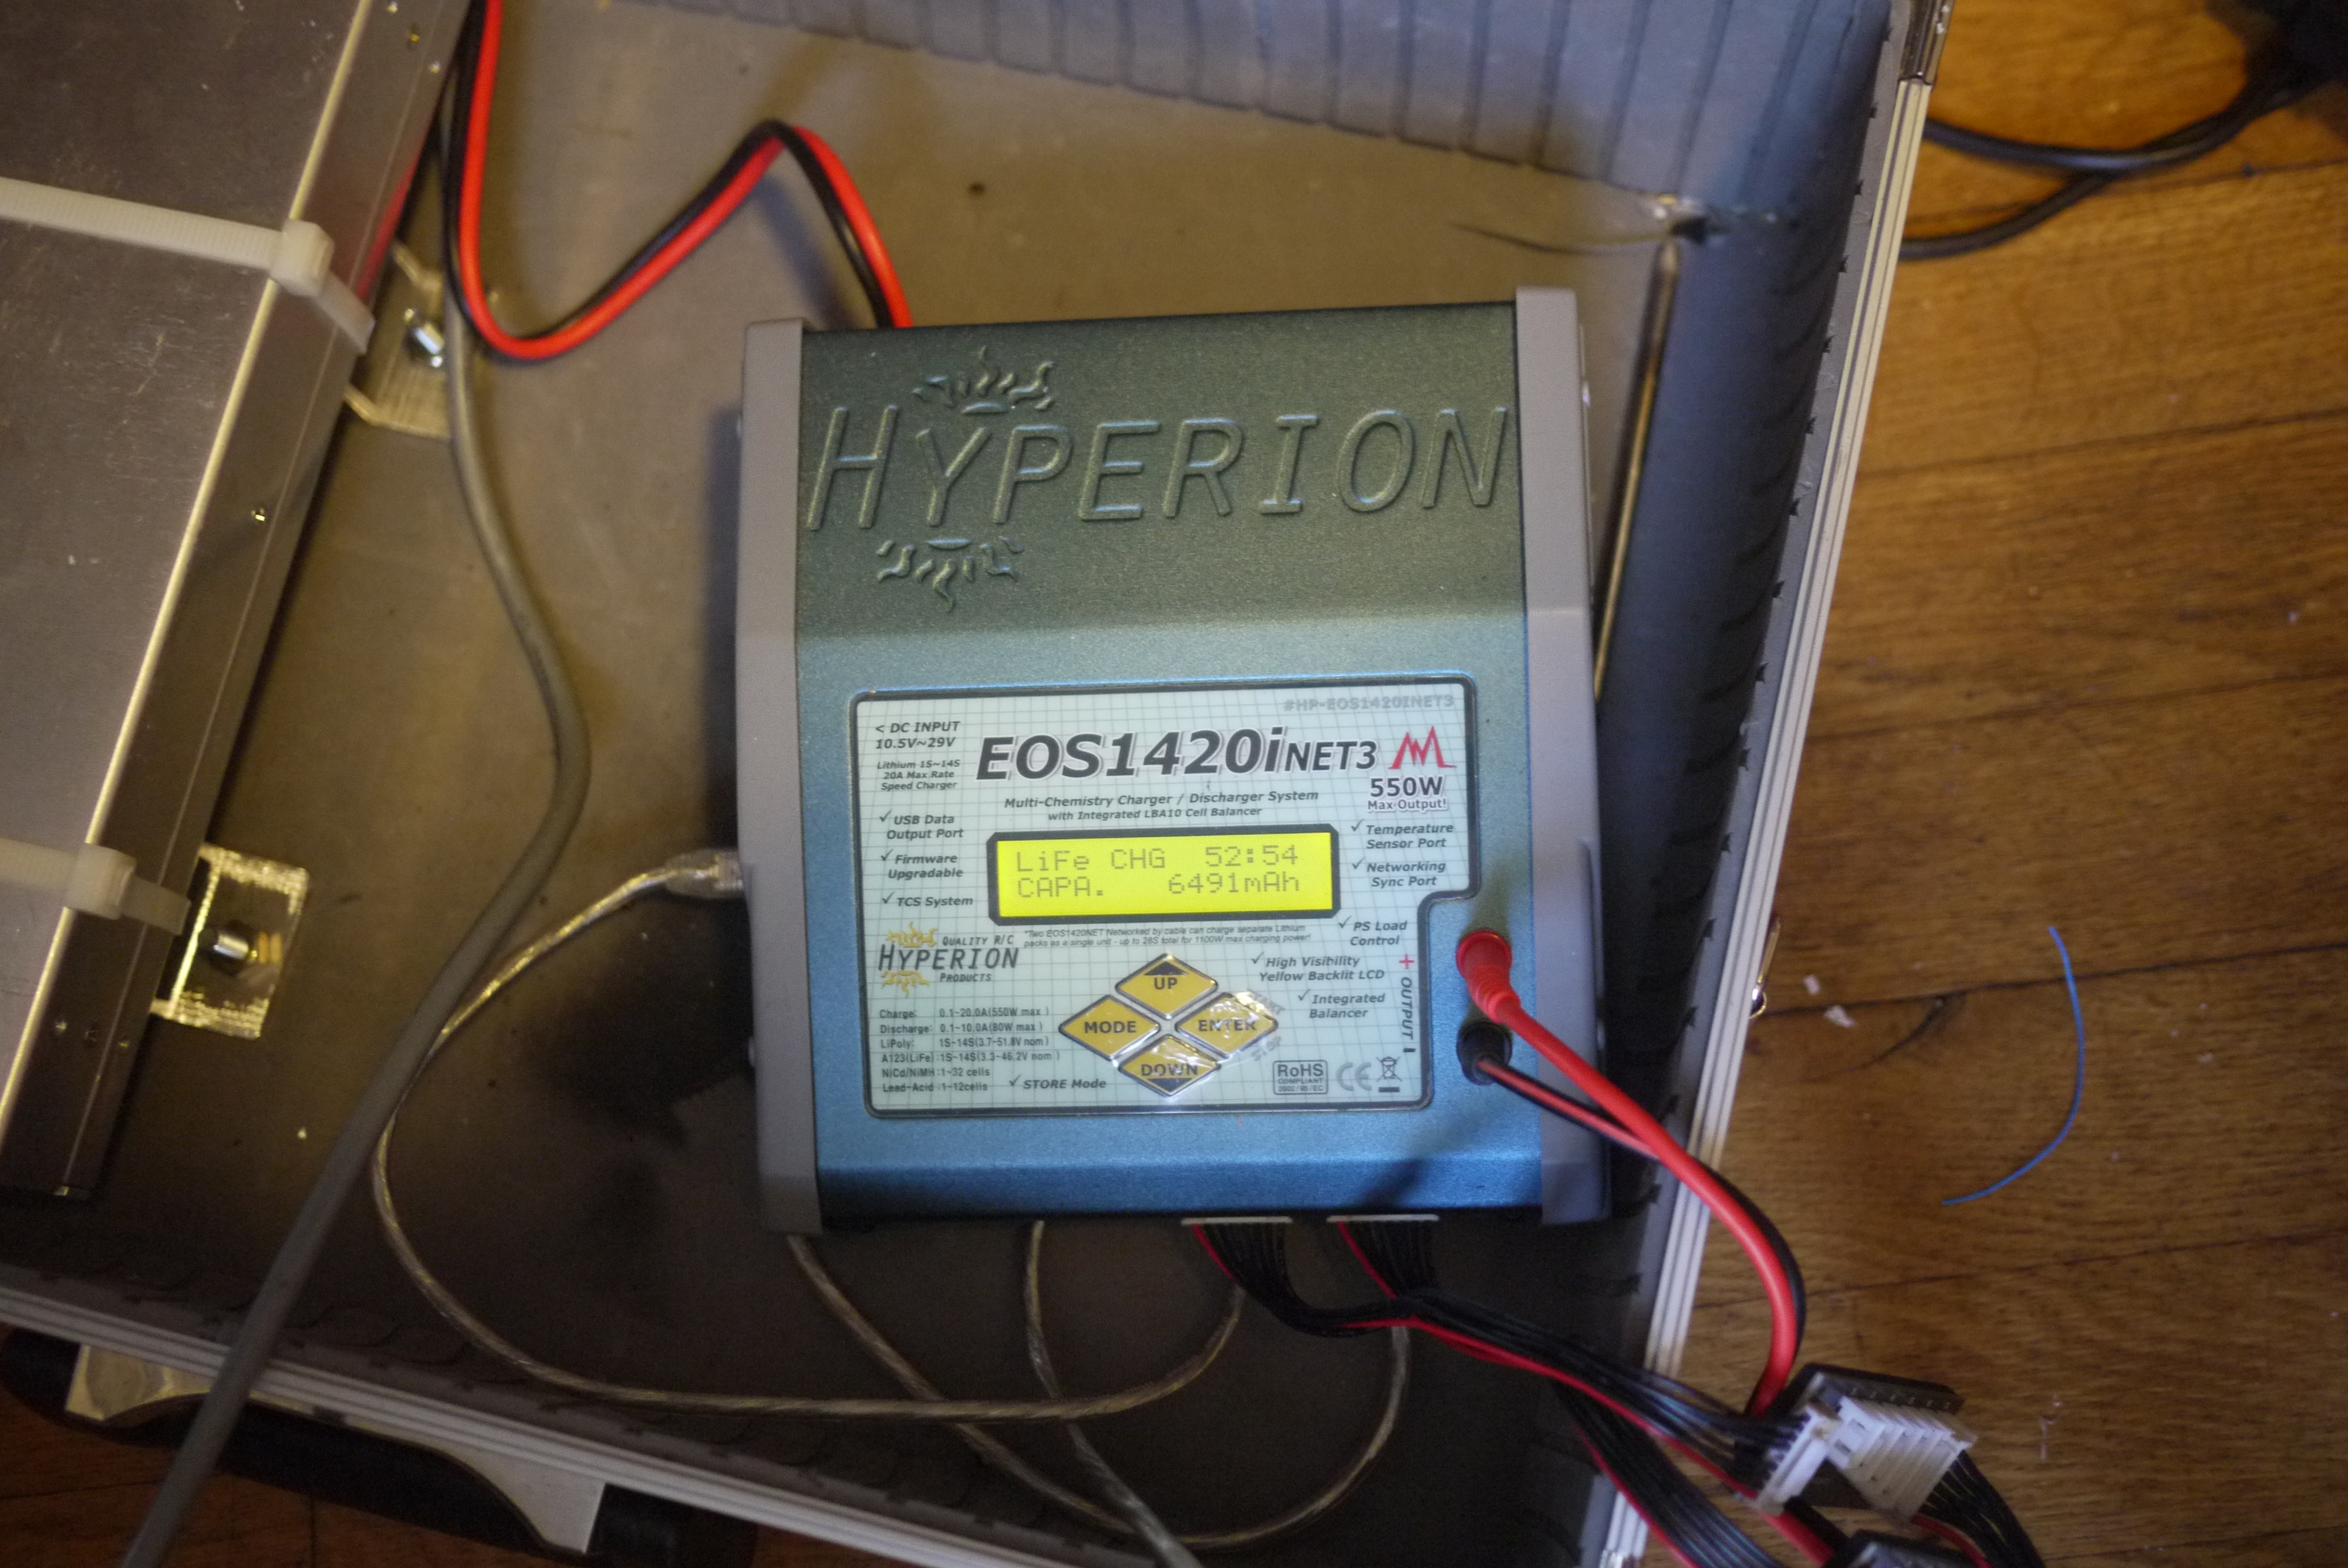
| A
Measure of How Fun this thing is: This is the Hyperion balance-charger I use for charging / balancing the scooter battery module. The module is roughly 9.6-9.8 Ampere-hours. The first time out on the ice, I burned through 9. 24 Ampere hours, or roughly 7 miles of scootering. The second time out, I was a bit time-constrained, but still managed to chomp through a significant amount of battery. Its addicting, especially with sporadic ice-moving sounds roaring underneath you as you zoom into the barren distance. |
 |
 |
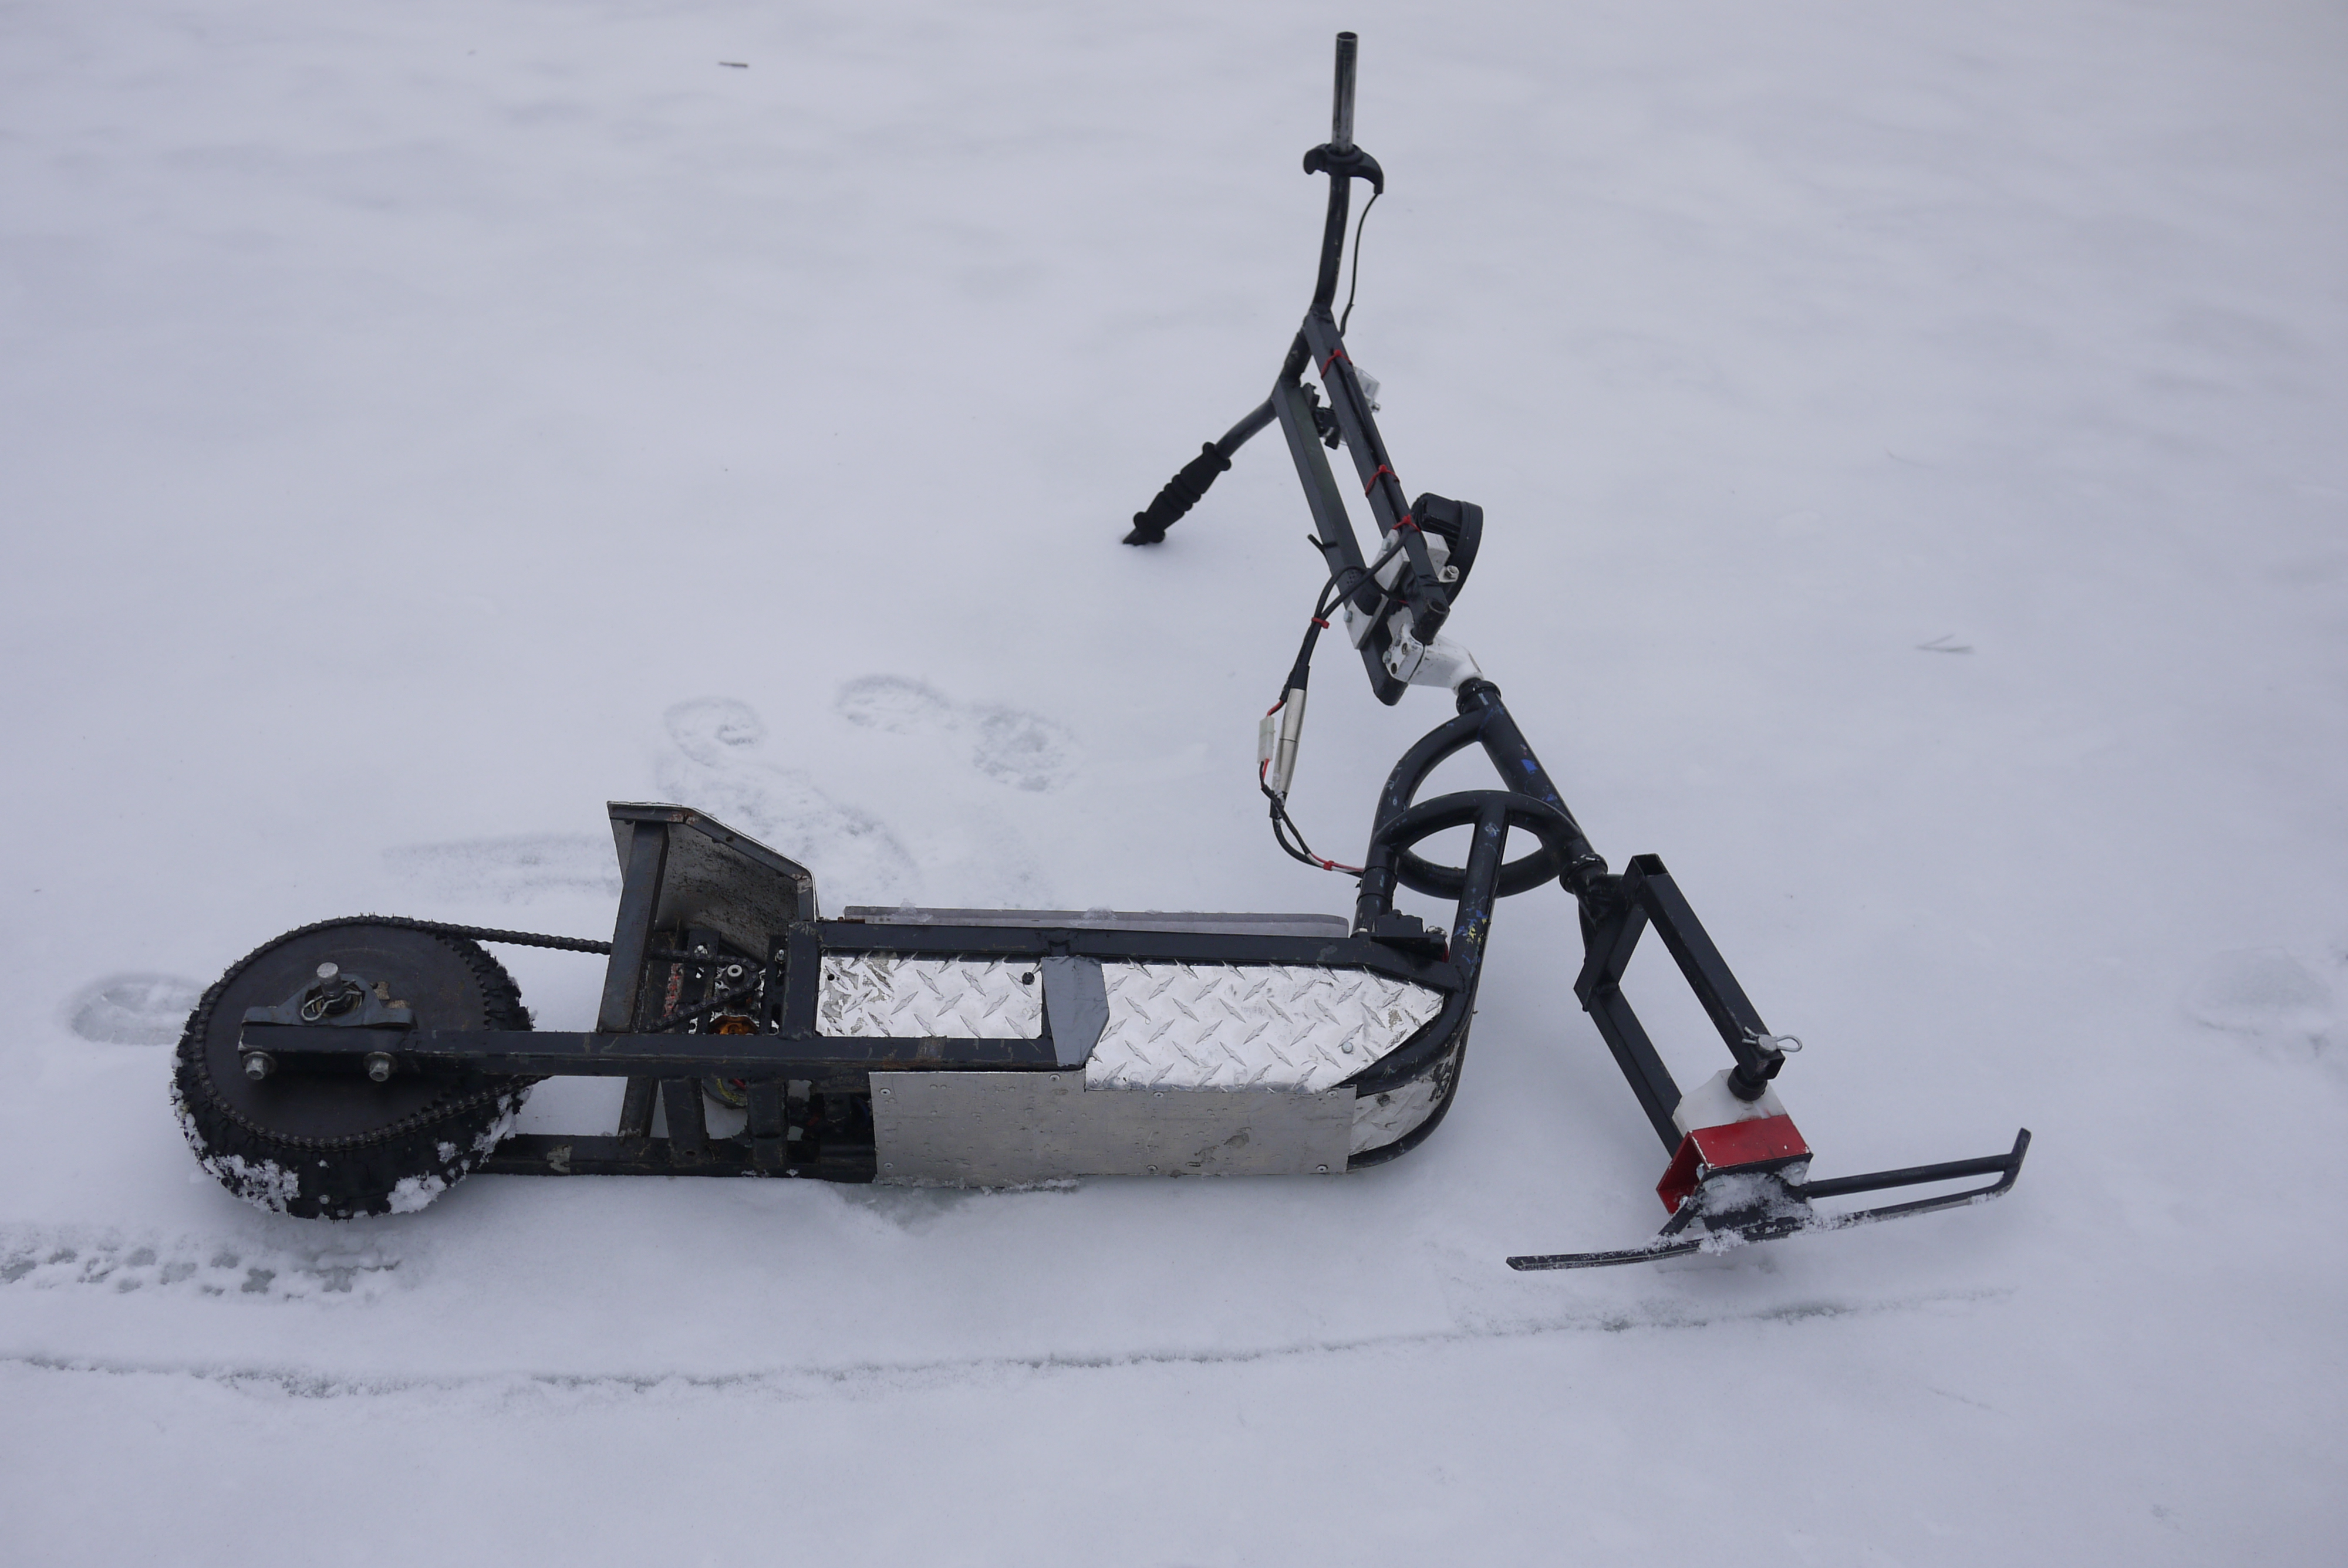
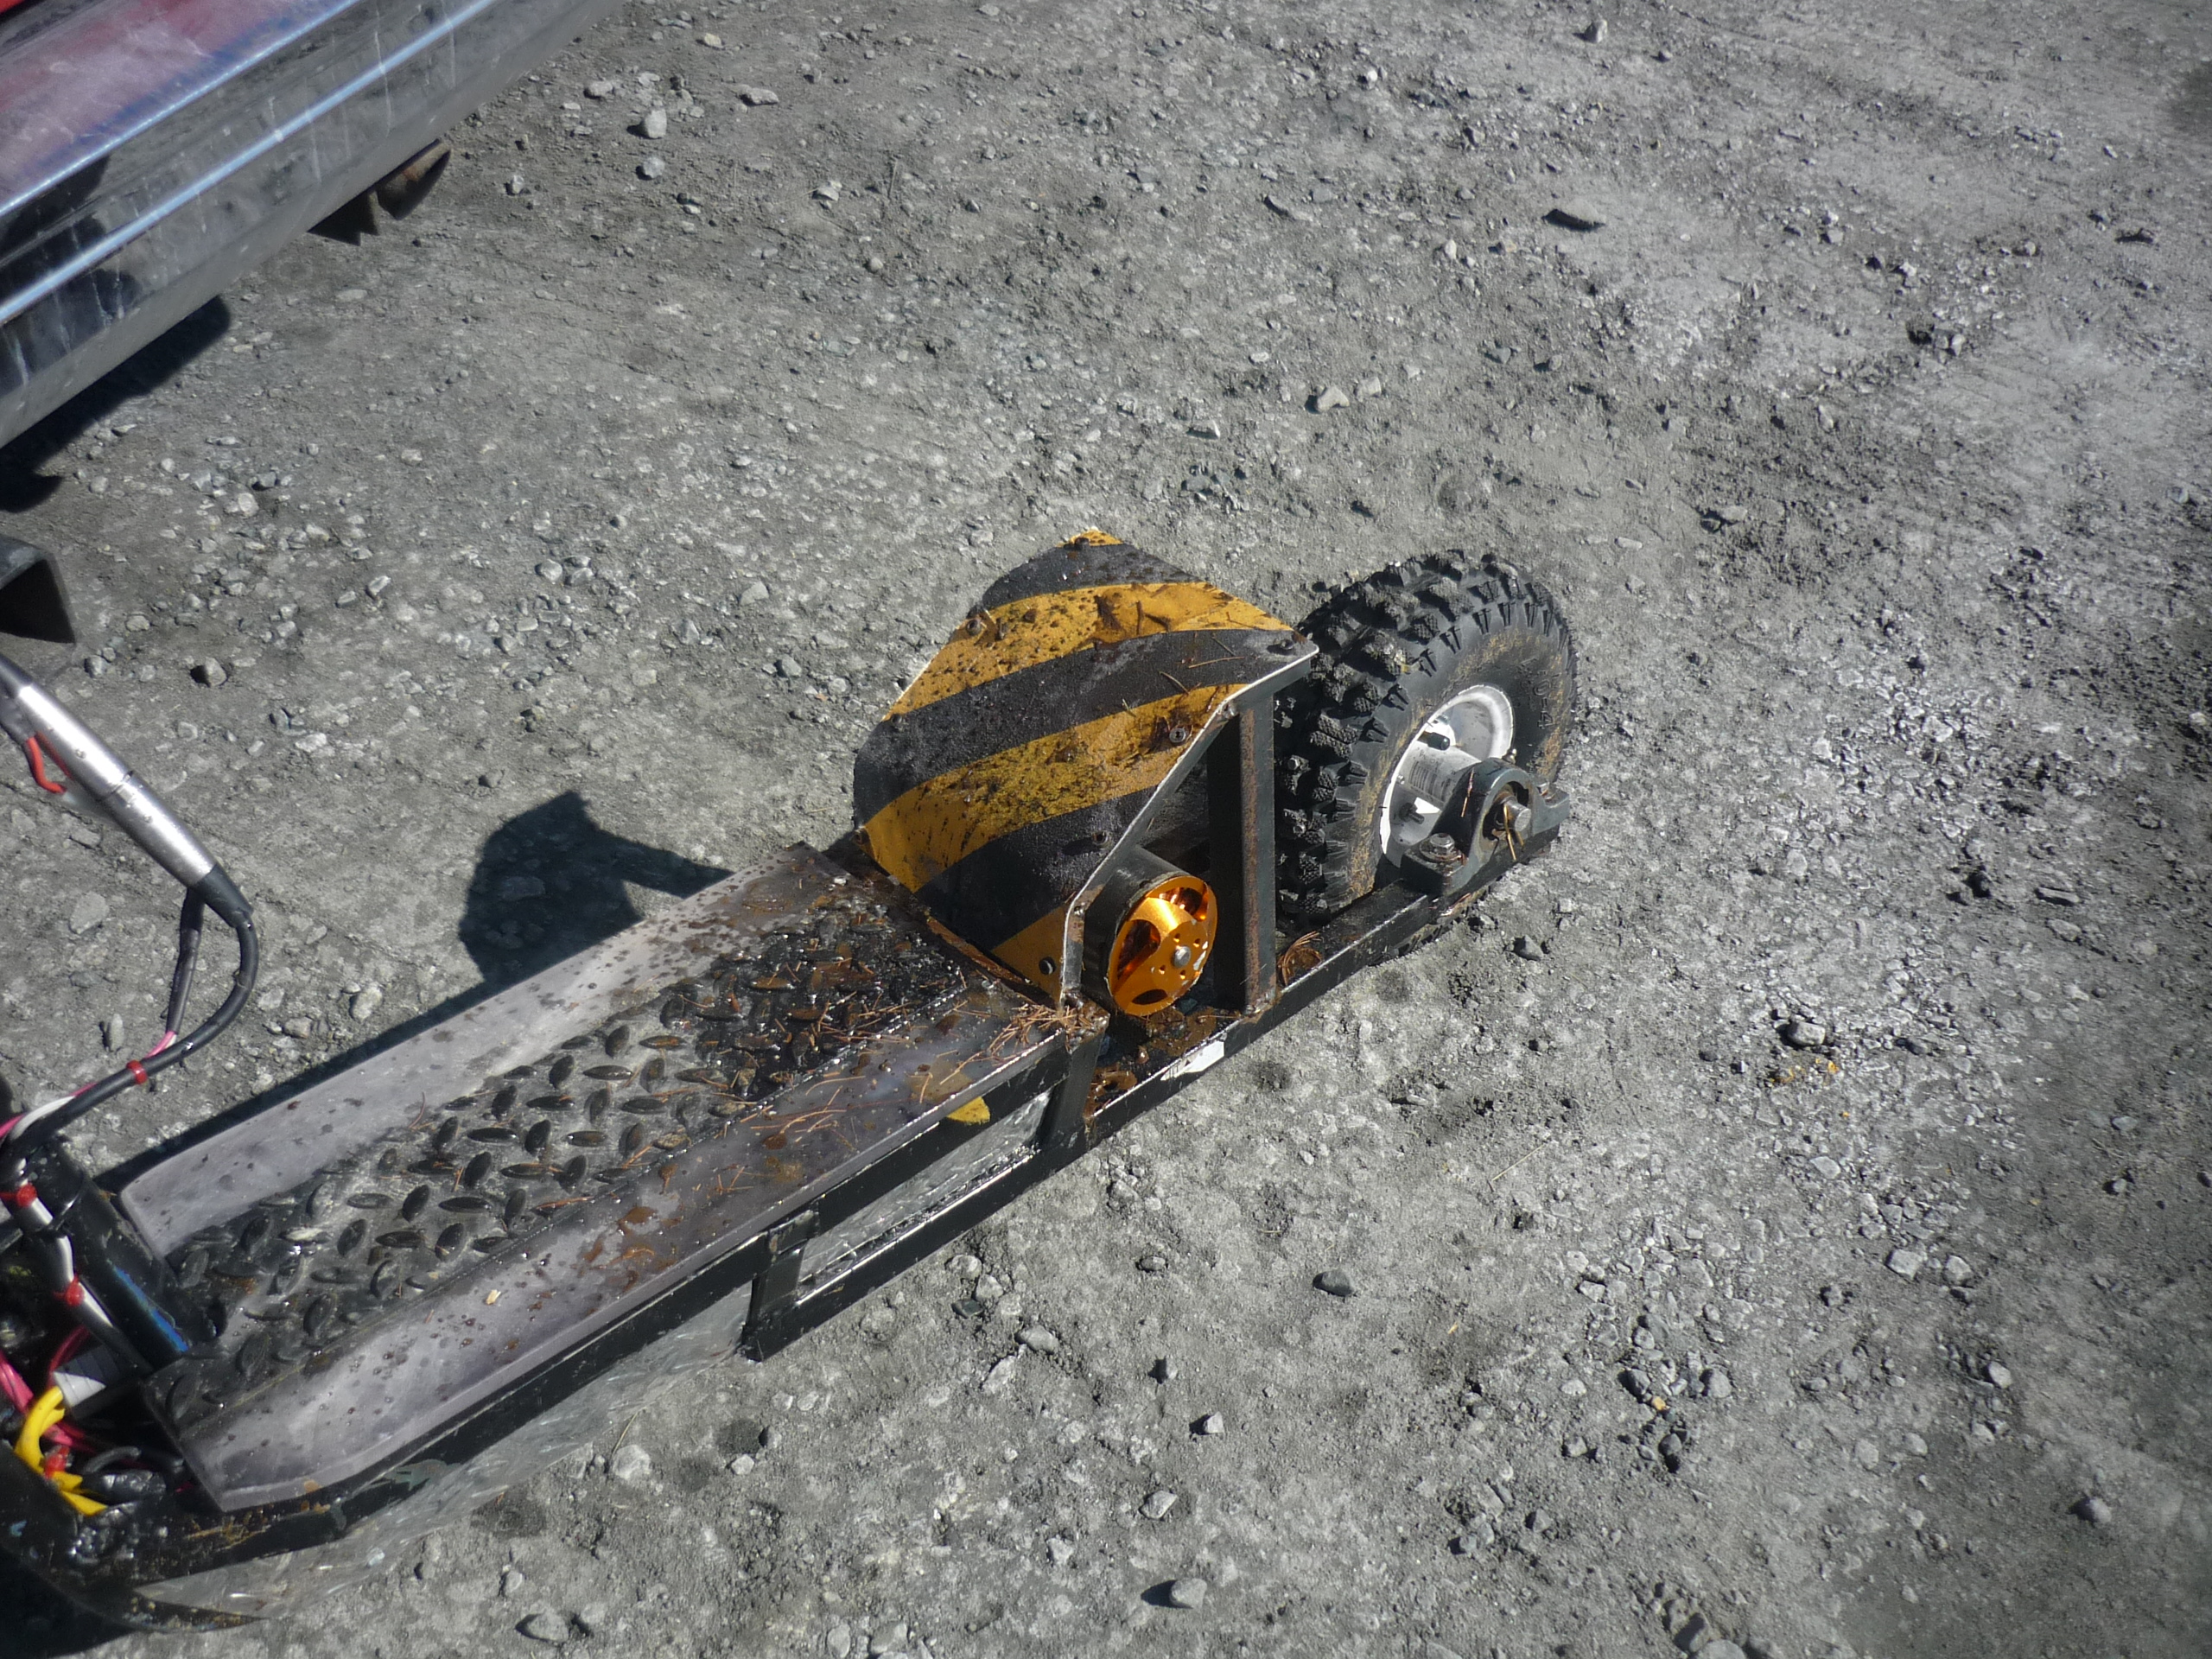
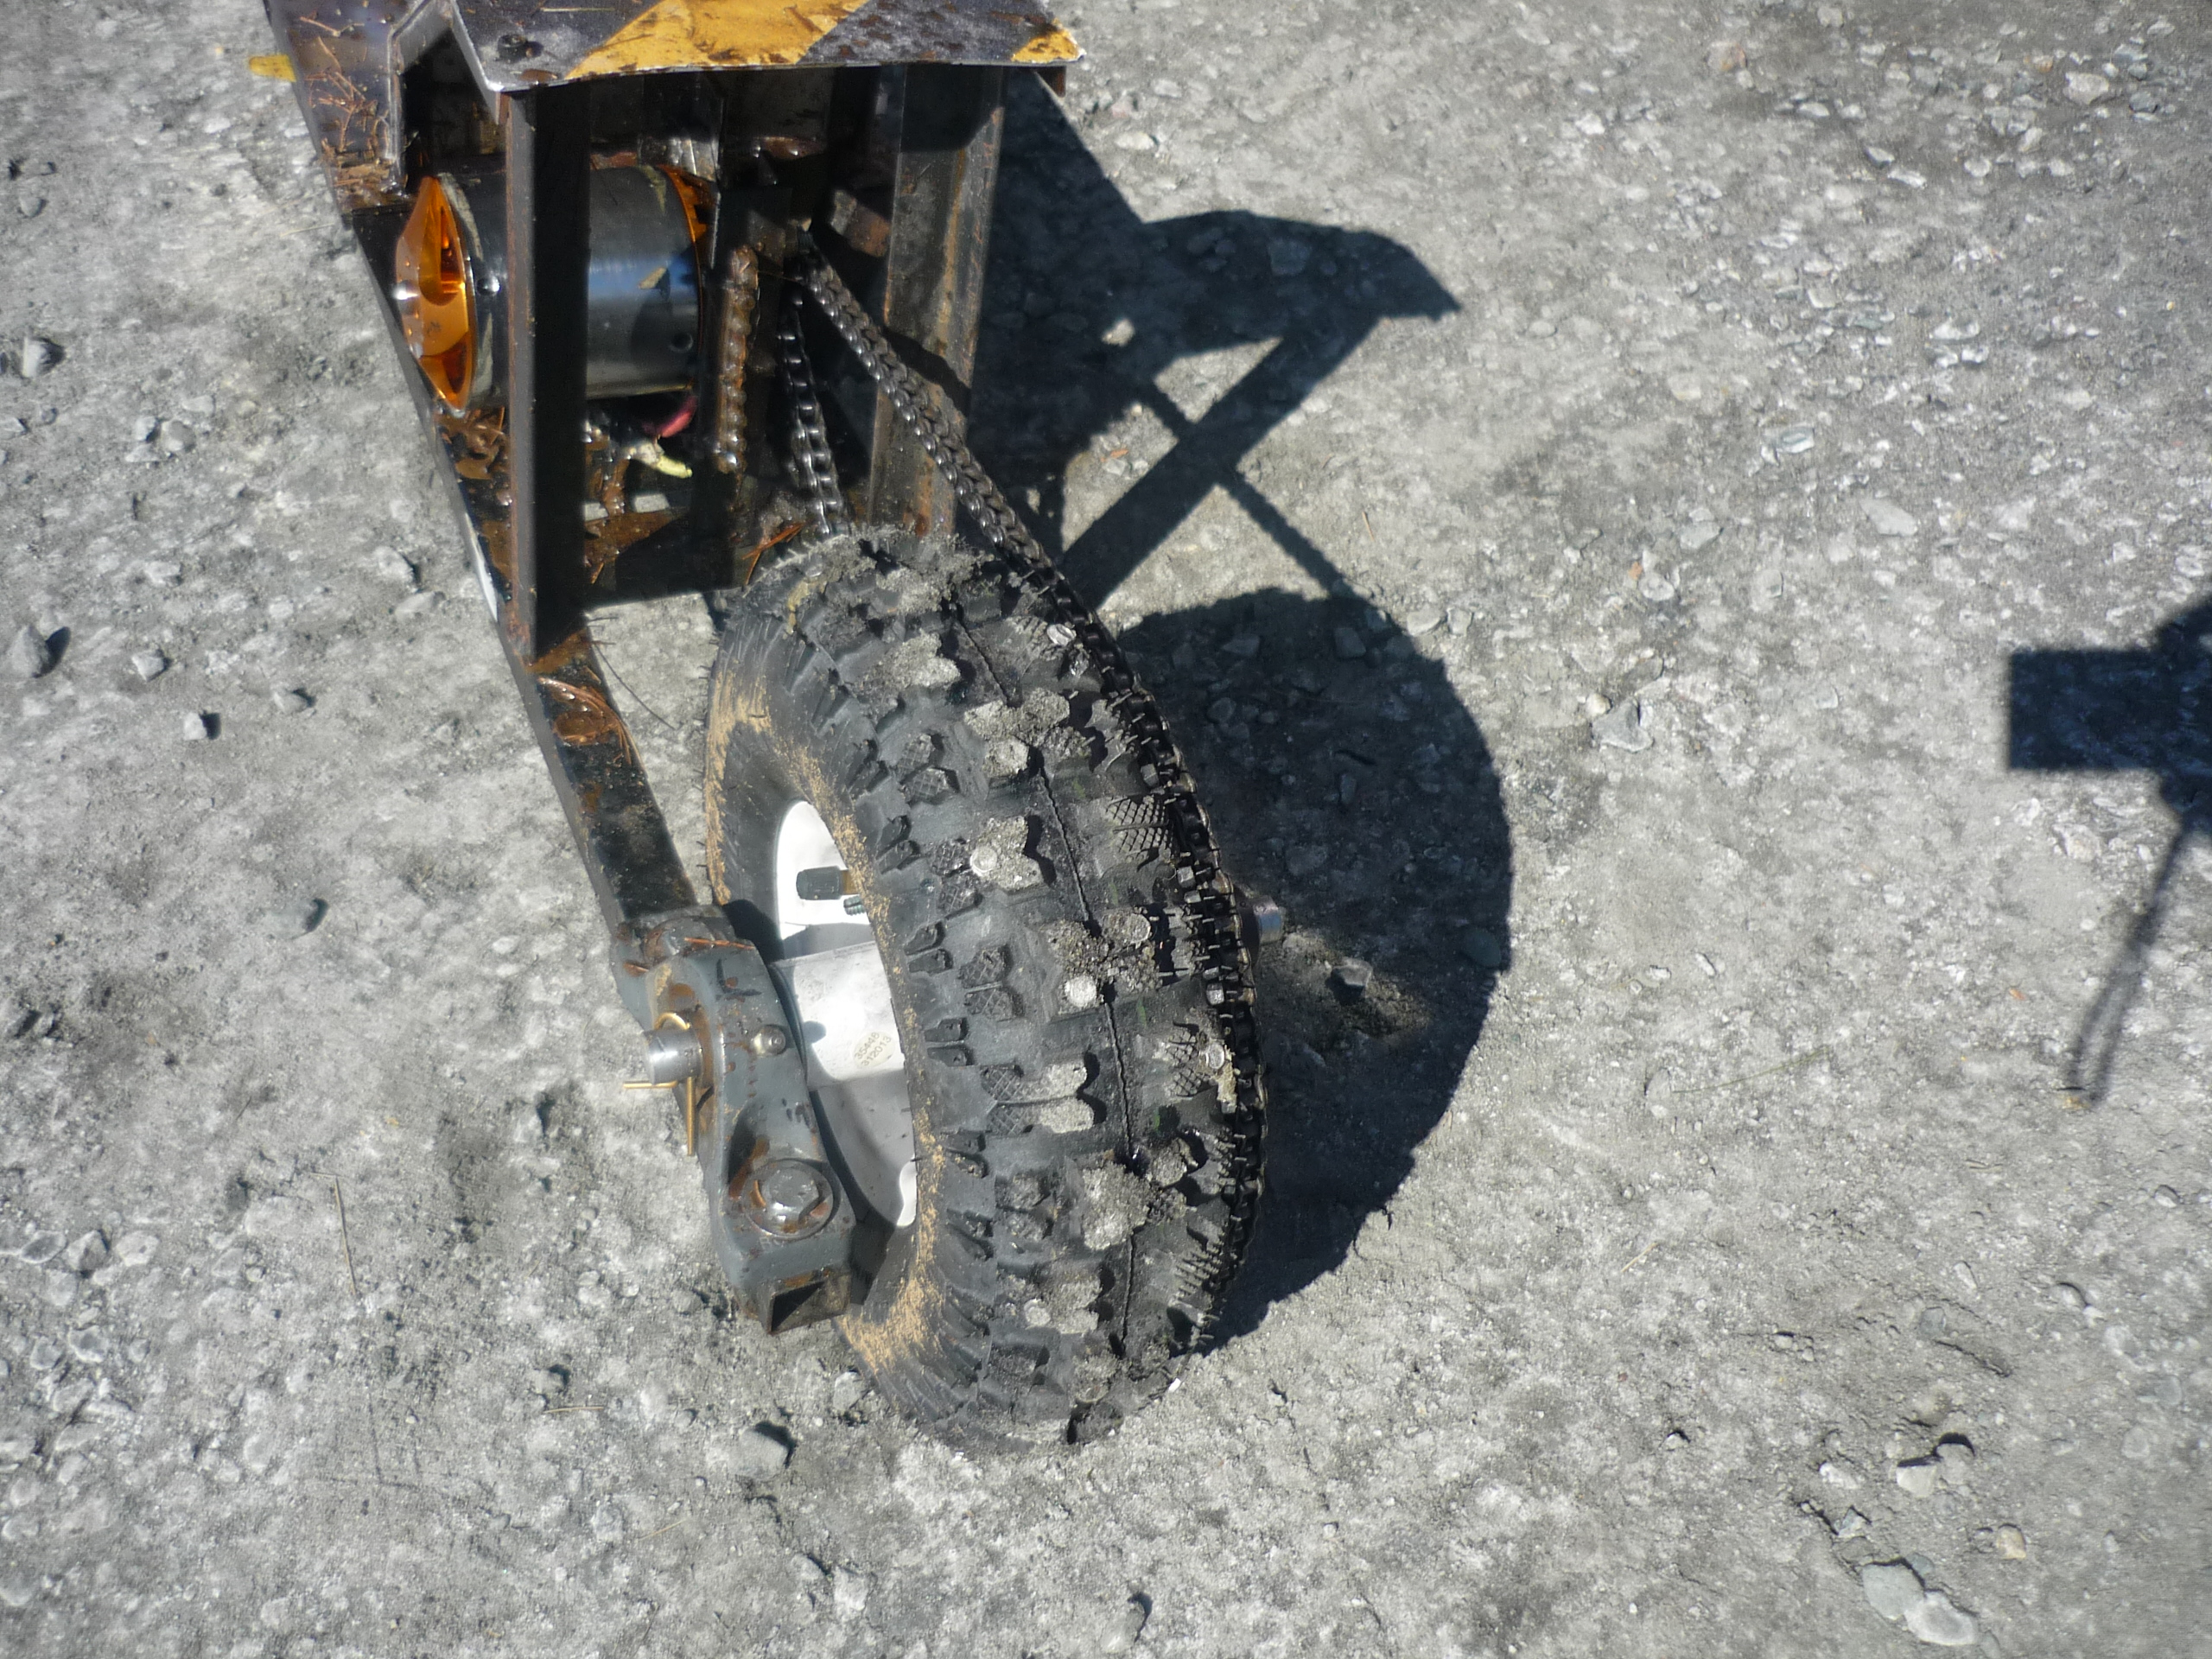
| off-road
or on-ice So how do you transport the ice-scooter to the lake? Interchangeable tire/brace assembly! Zooming over to the lake on-land, spending 5 minutes swapping front-ends and then zipping out on the ice, is pretty excellent. It appeared the scooter also liked mud, to an extent. I didnt particularly like cleaning it out afterwards though. |
 |
 |
Ice Skate Physics
| Why
is nothing simple? |
Data Image |
| Have
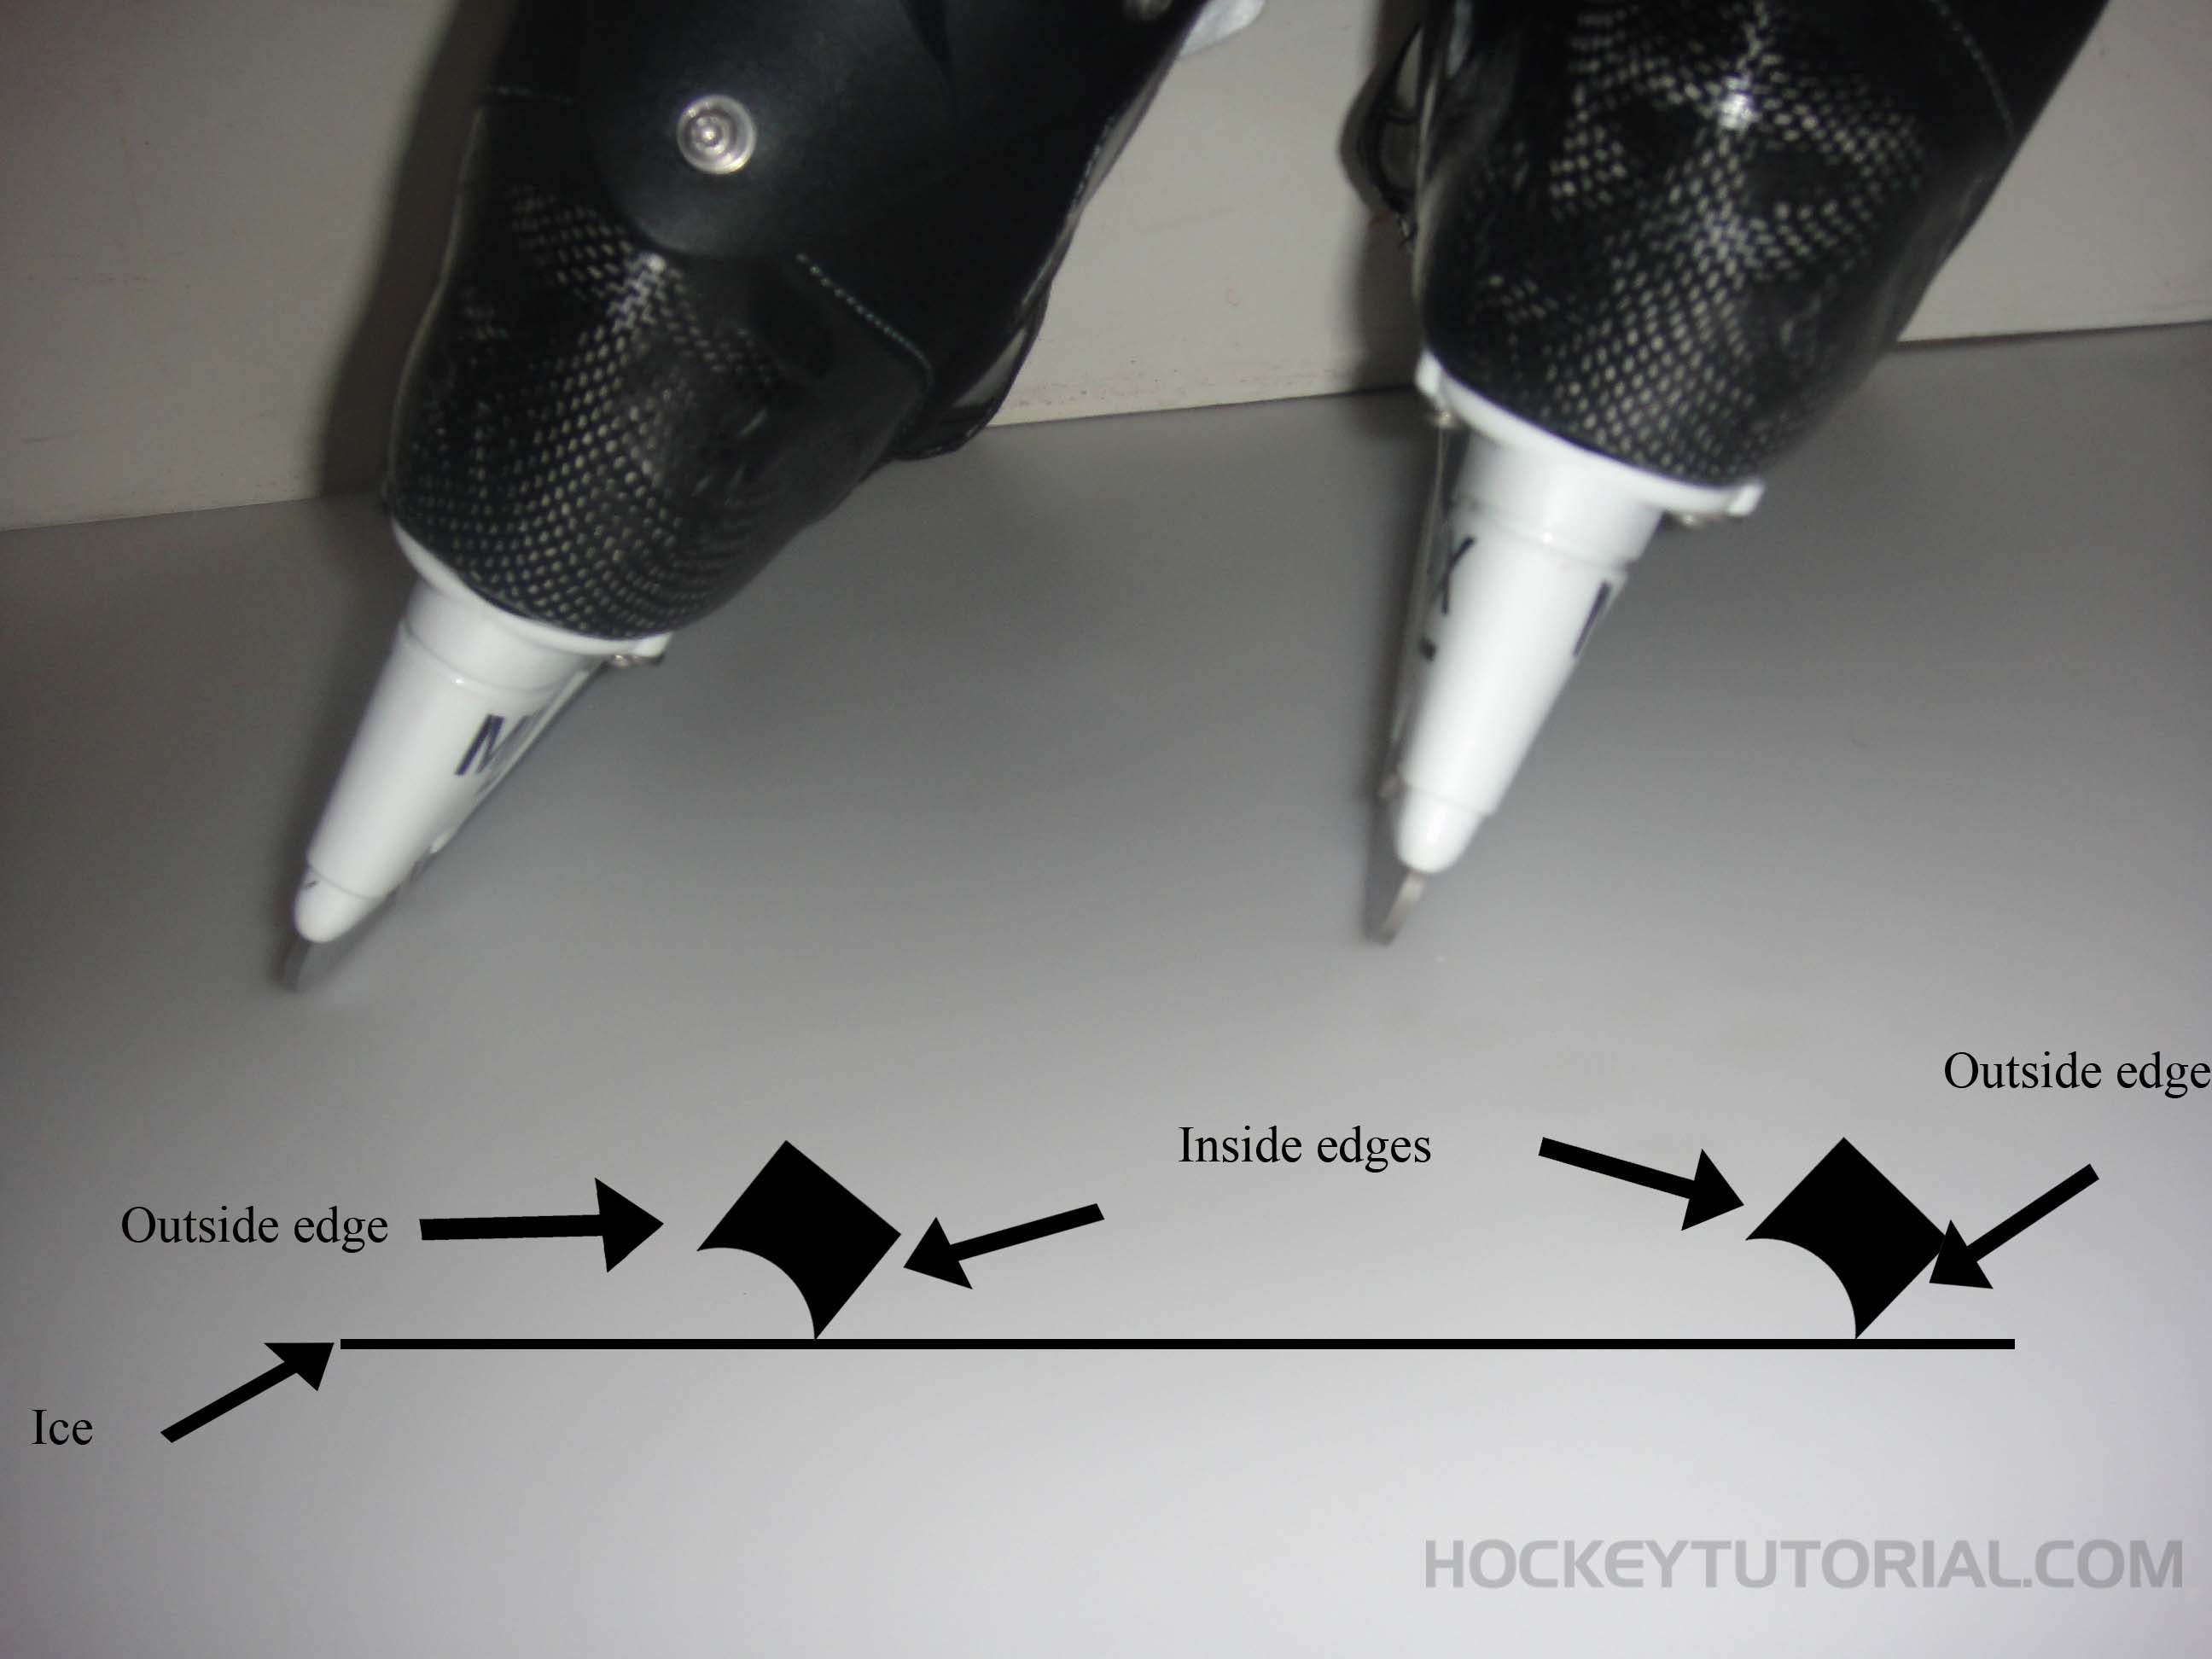
you ever taken a look at the bottom of an ice-skate? I hadn't, it turns out that everything from hockey skates to figure skates are optimized with different physical geometries. I started here [link, pdf] 'Why is Ice Slippery' [mirror]. TLDR: Dynamics of Ice Surfaces are pretty nontrivial. The first time 'why does an ice-skate glide on ice' was investigated, it was determined that pressure melting was the root cause, namely due to the small surface contact area and the large pressure associated with holding up a human on that edge. But wait. That sounds fairly energy intensive, it cant be changing the phase of the ice that quickly just due to pressure, thats ridiculous. It turns out pressure melting was the common theory for ice skates for over a century. Image borrowed from: http://hockeytutorial.com |
 |
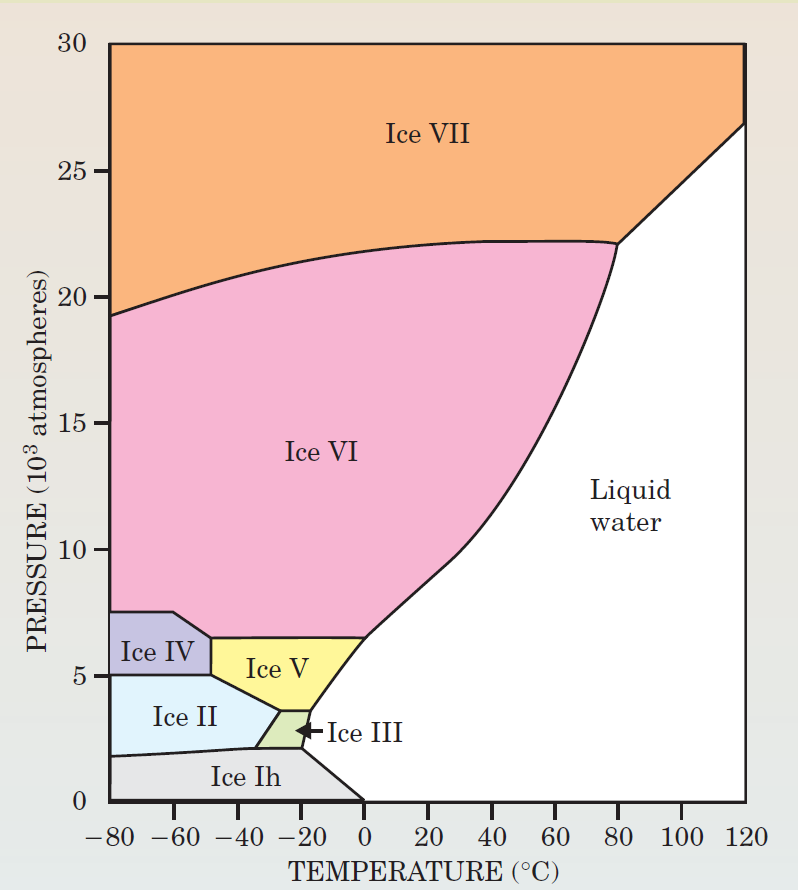
| There's
optimum temperatures for skating / hockey? I THOUGHT IT WAS JUST ICE! Figure skating has an optimal temperature at -5.5C, and hockey, -9C, but skating works in -30C weather as well, so how the heck does the pressure associated with skating change the phase of the ice, even with high pressures? It turned out an alternative hypothesis was generated. It turned out, no one had verified mathematically that skating pressures were insufficient to phase change ice at low temperatures. In 1939, Bowden and Hughes [link] [mirror] suggested that pressure melting only played an effect near the melting point of ice, and frictional heating must be making up the difference. The conclusion is kind of suprising, between 1987 and 1990, xrays and glancing angle xray studies of the surface of ice indicated that the boundary layer of the ice contained liquid water. Yowza, no one had a definitive reason as to why ice was slippery up until the early 1990's. Between -13.5 celsius and 0 celsius, a liquid layer is present on multiple phases of crystaline ice structures, as determined by [link]. |
 |
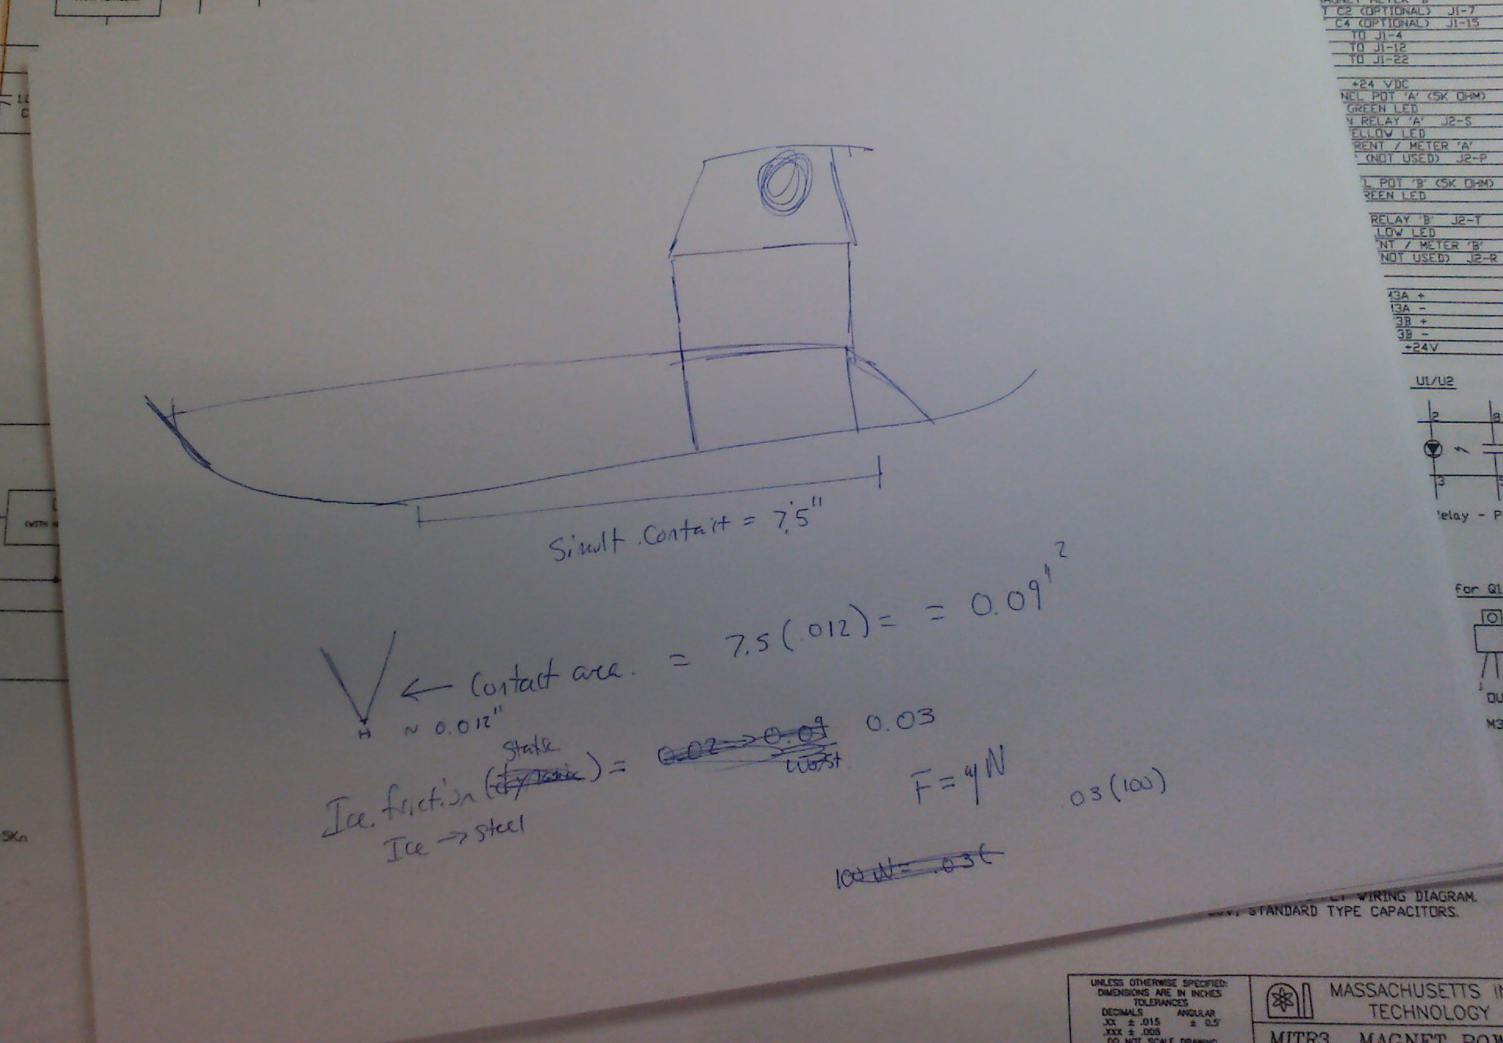
| Brute
force Feedback that i had recieved from colleagues and hockey folks indicated that skates (I had not been ice skating before) were of a very specific geometry, and without that my performance would suffer. I didnt quite believe that, how did folks skate in the 1800's? Didnt horse-drawn sledges work back then? After making some order of magnitude estimations, I determined that while there could be some optimizations for the skate geometry, the amount of power output from the scooter drive, even assuming limited traction. The conservative estimate for the losses from the skate contact area (0.09 inches squared) and a dynamic friction coef: 0.015 [link] is incredibly small. I'd loose, in a conservative estimate, 0.07% of the scooter propulsion due to skate friction. I can live with that. |
 |
| Interesting Photos while scootering |
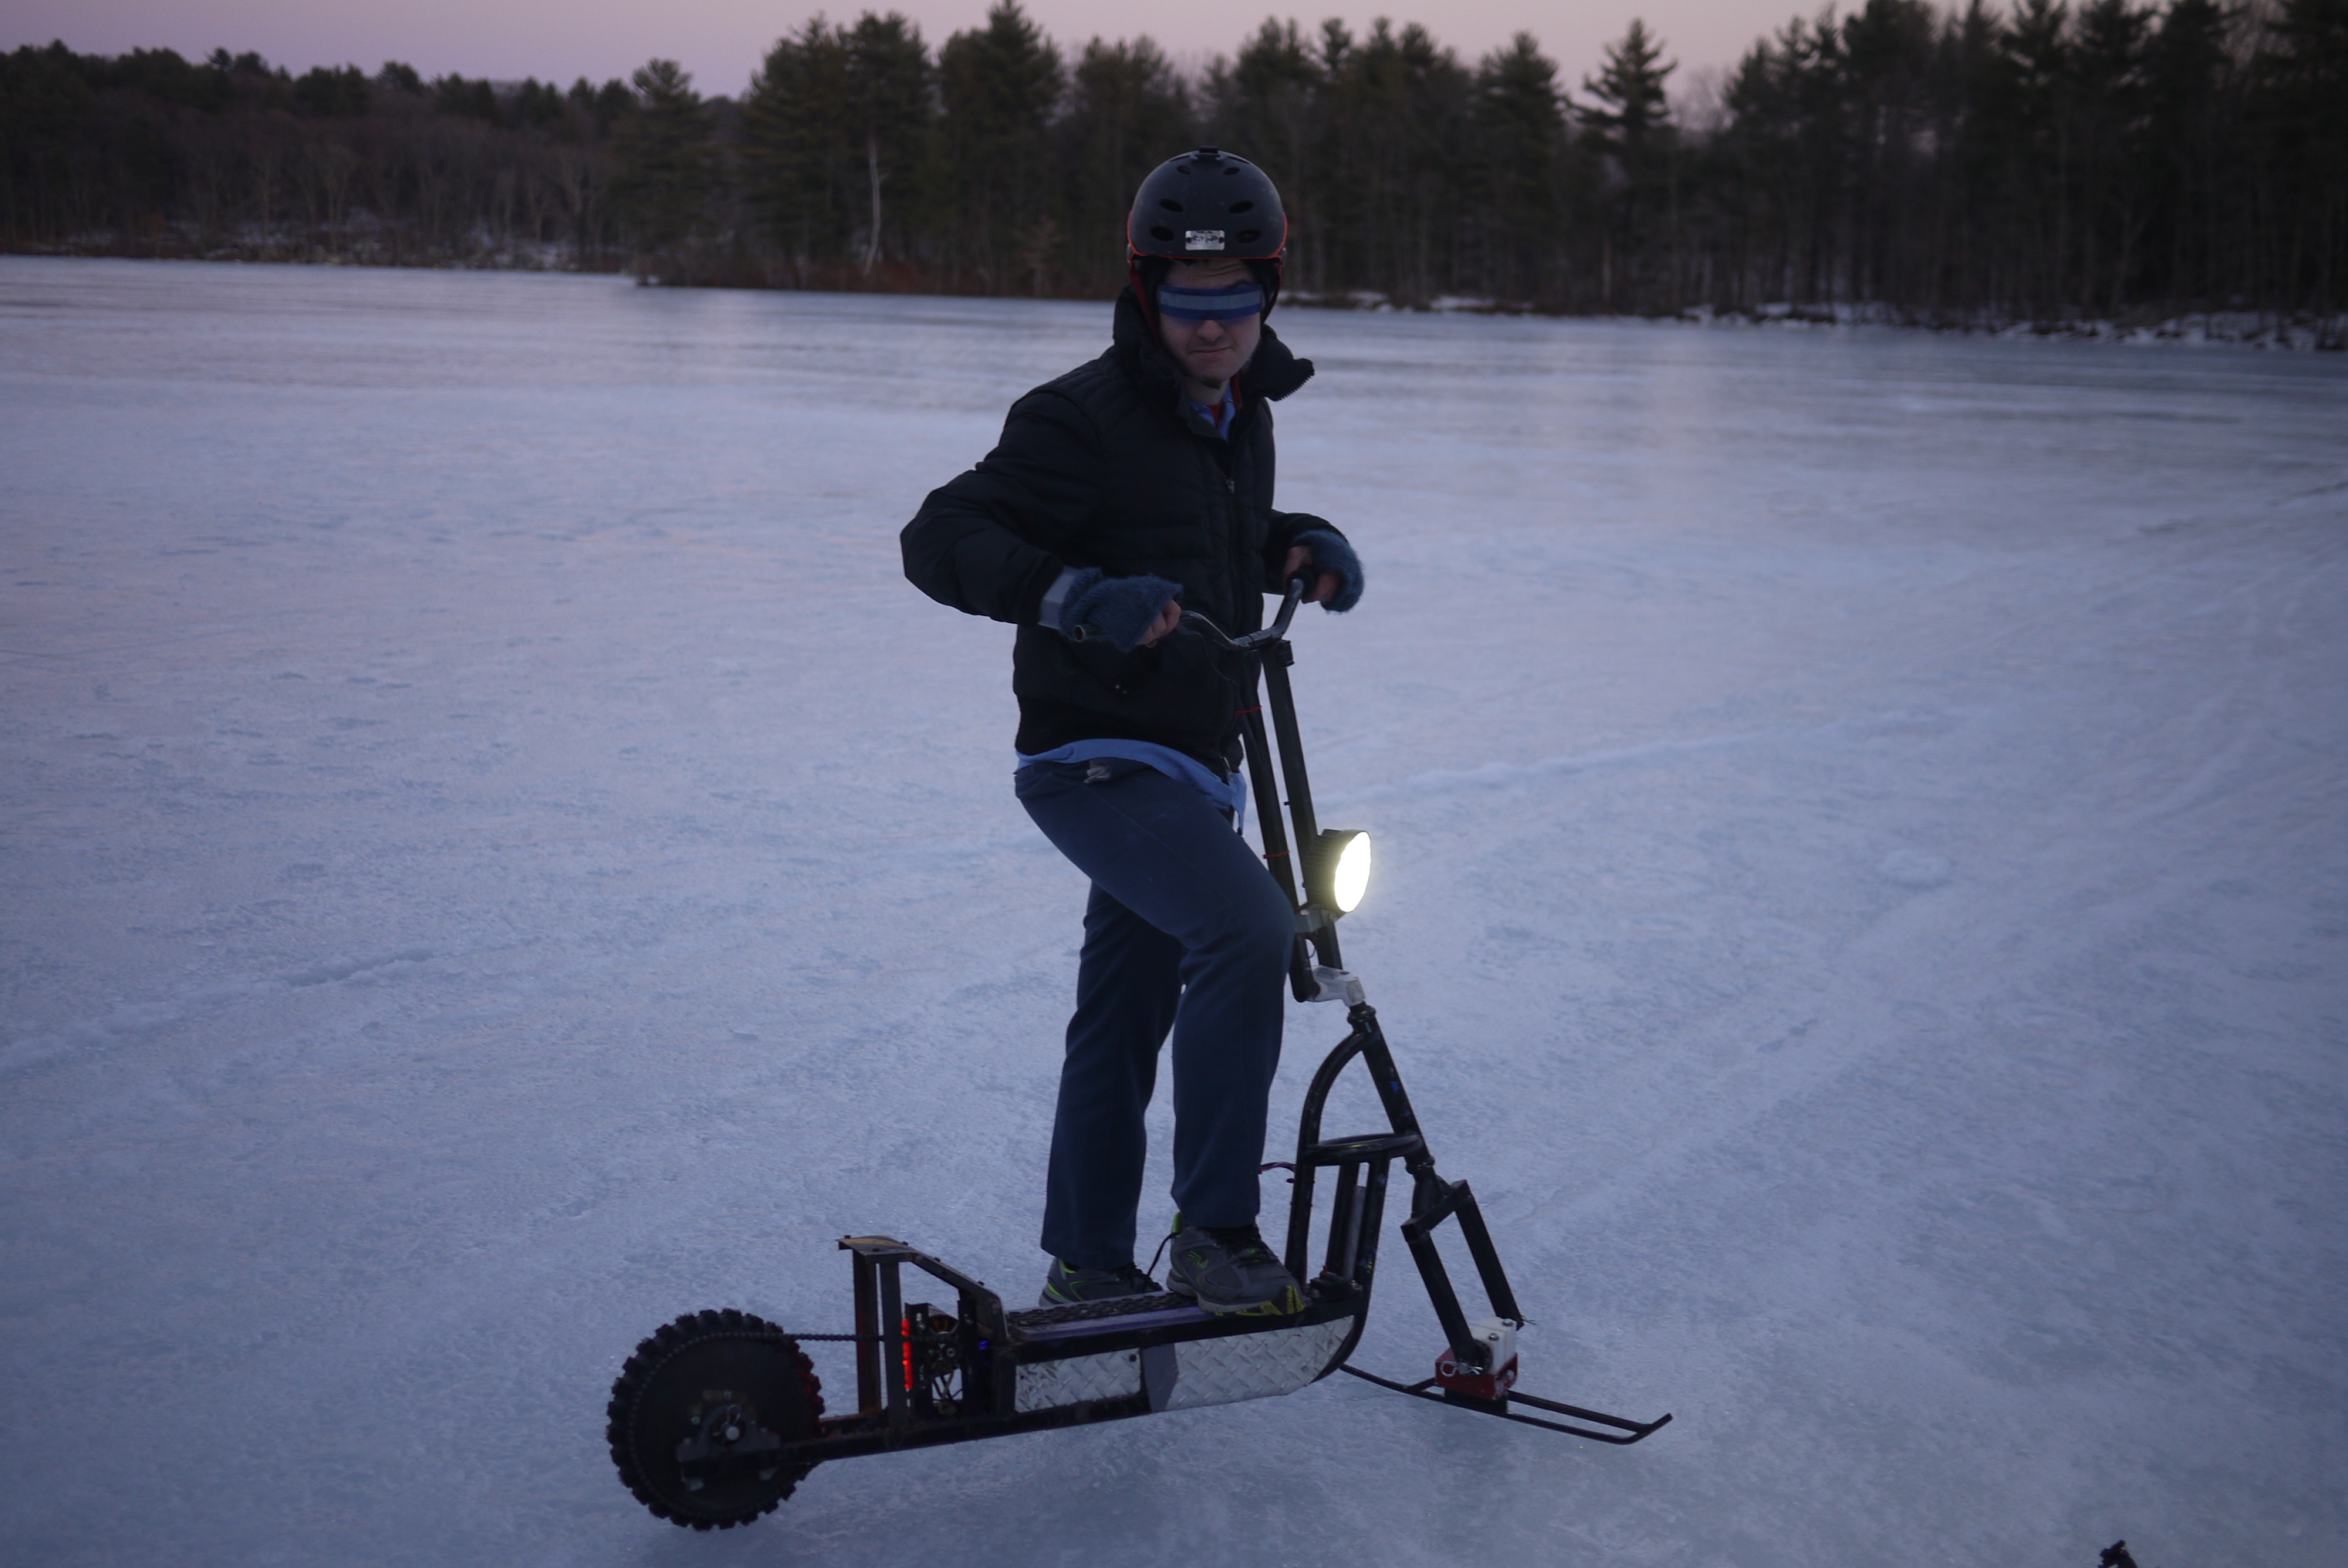 Scootering into the sunset. Sunglasses, because when you're cool the suns always shining. |
ALL TUCKERED OUT after runing about for ~7 miles of scootin' |
 Upright |
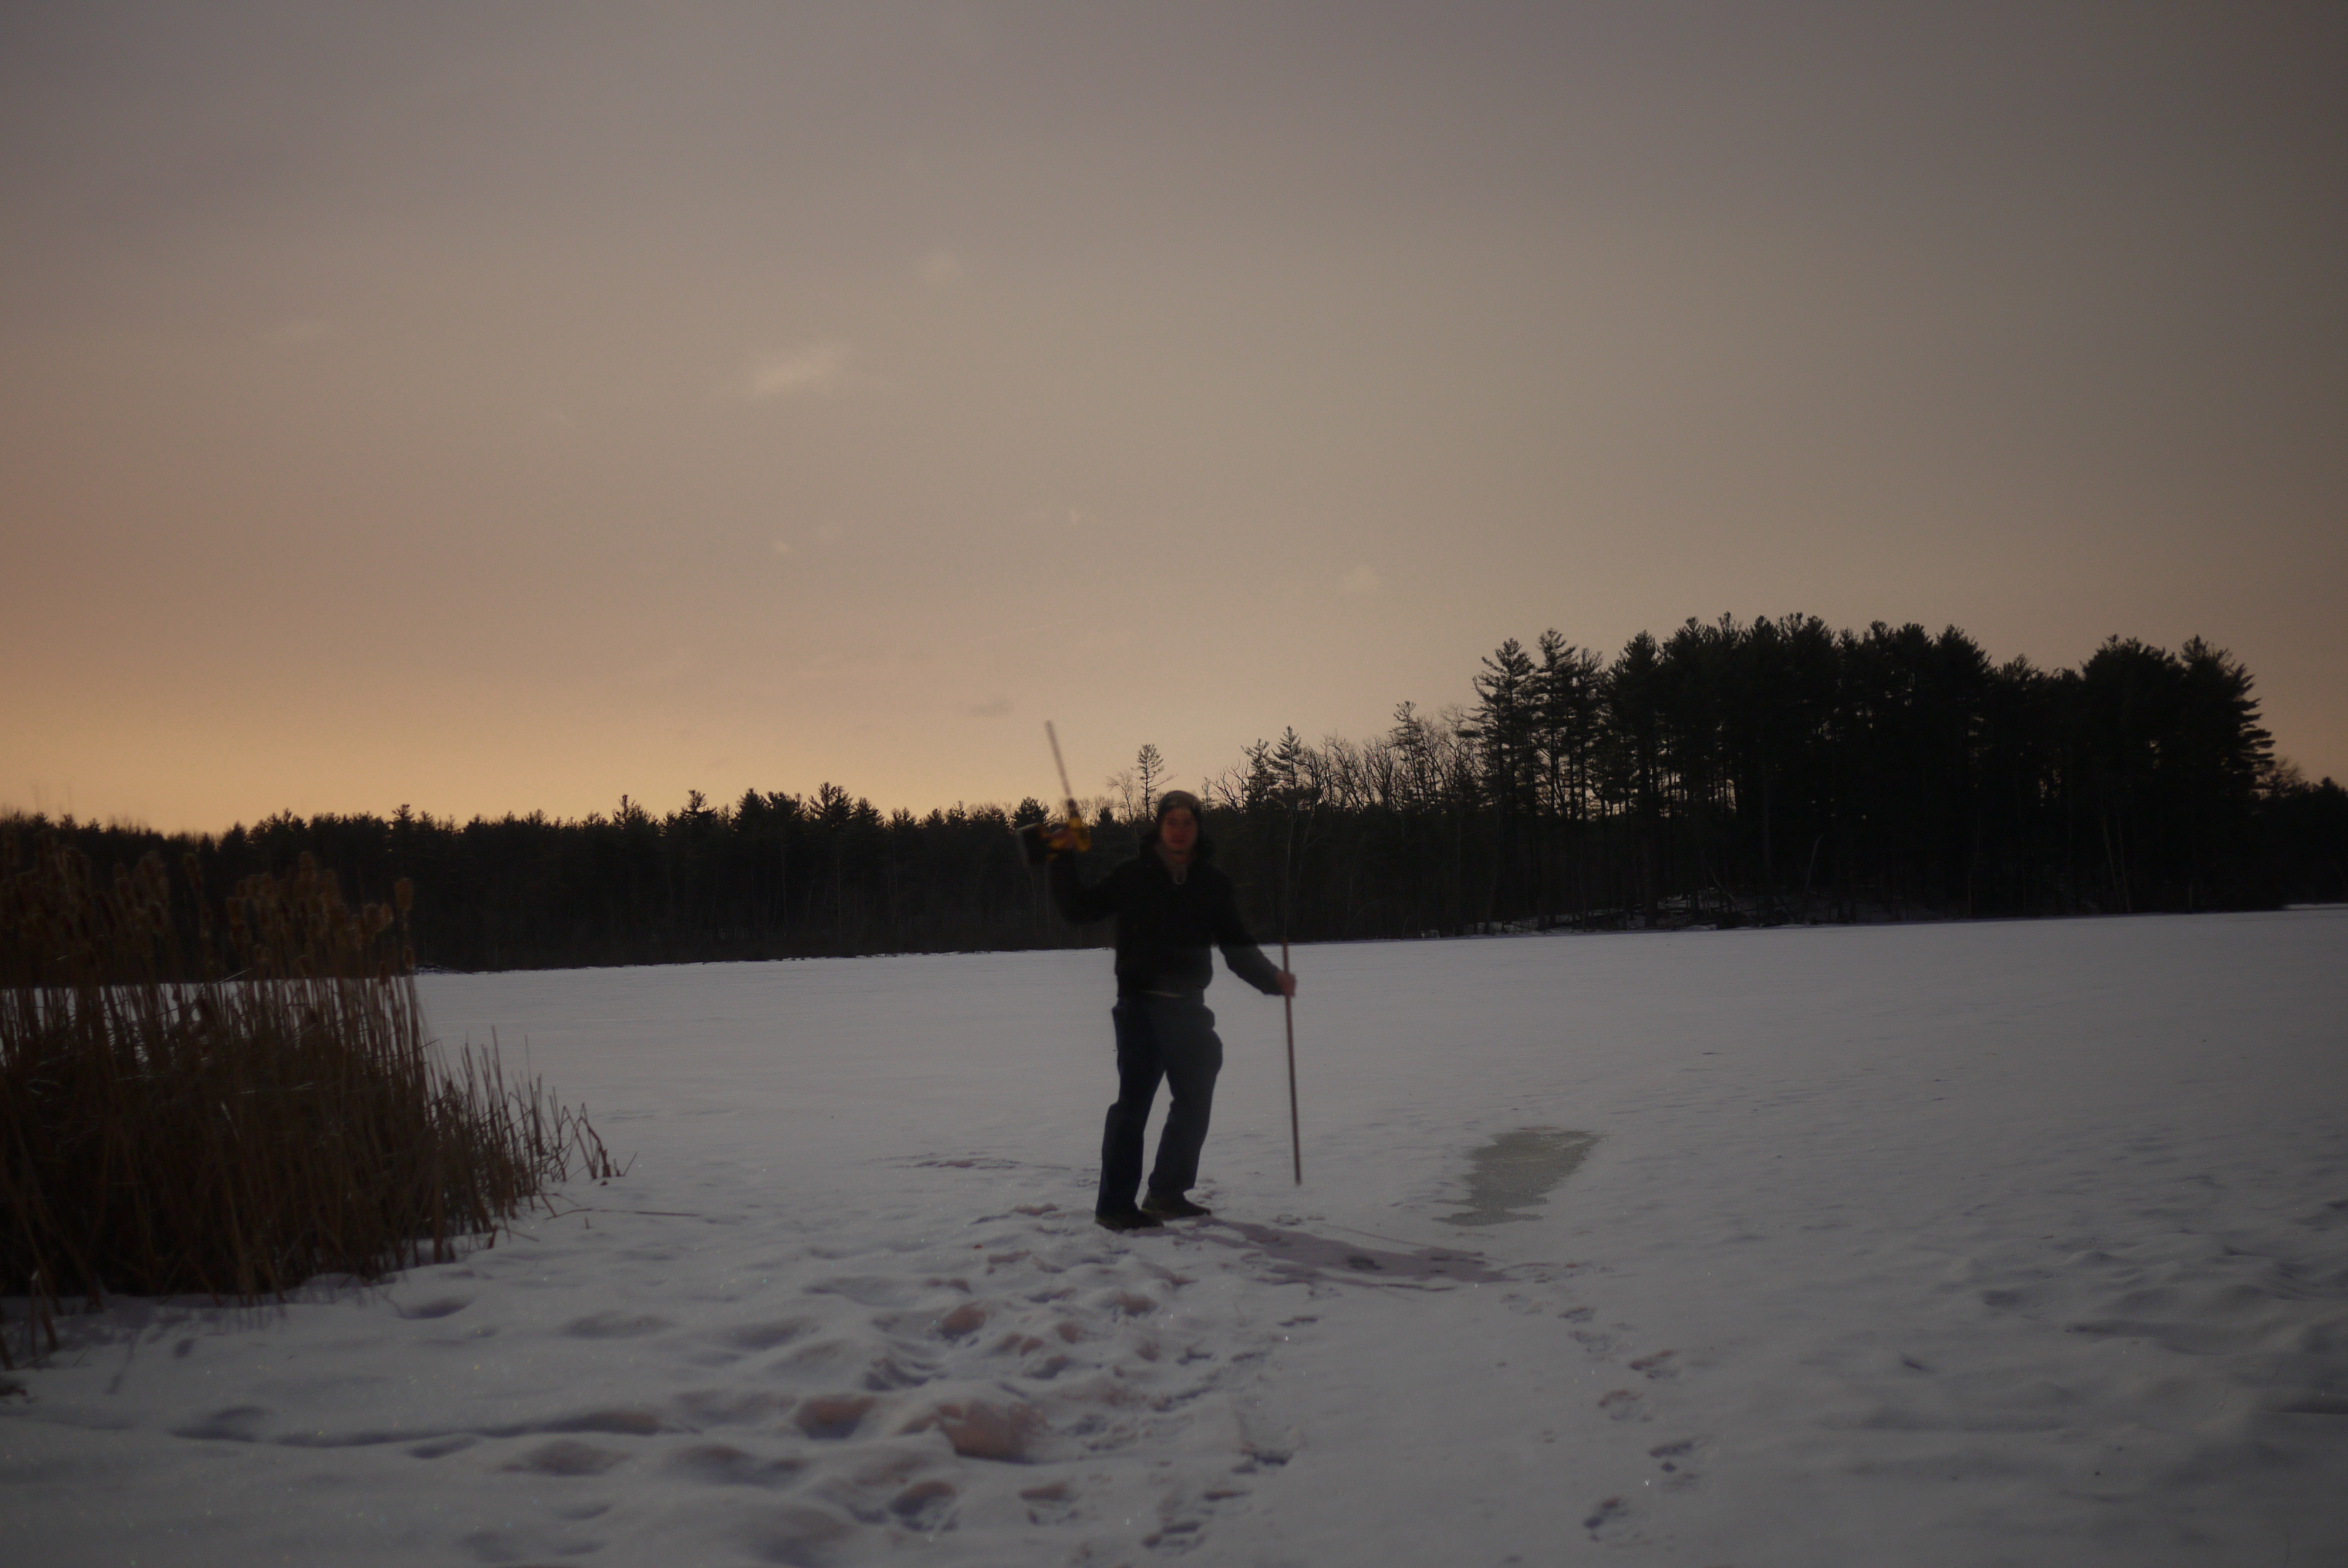 Testing out ice-thickness at night (This was a 10 second timelapse, it was really dark) |
 A brave soul who actually came out to test the beast. |
(There's
other photos in the photo
gallery)
Concluding
Remarks:ICE SCOOTERING IS ADDICTIVE. I know understand the whole snowmobile thing, this is the similar enough, just lighter.
There are actually a number of guides to determine how safe it is to travel on ice. Bring a comrade, bring tools, bring rope, make measurements, and keep a lab book. The only difference between science and maddness is a lab notebook.
Falling on the ice is actually, quite pleasant in comparison to anywhere else. Its a slippery surface, and generally impacts occur at an angle with respect to the ground, as such the almost elastic collision transfers a portion of the energy from the fall into sliding a few yards.
It's also difficult to film out on an icy lake on a cloudy day. It appears that Cannon's auto white balance / color balance had some significant issues filming, and as a result the video color balance is a bit whacky. The gopro held up well, one of the mounts zipped off mid-ride and it danced around the ice for ~30 yards.
If you have questions or comments, ask below or send over an email.
| Comments: |
|
HTML Comment Box
is loading comments...
|
(be
careful, im not responsible for your arms covered in freezer burn)
Dane.Kouttron
Rensselaer Polytechnic Institute
Electrical & Electrical Power
631.978.1650