
Dane Kouttron
This page's formatting was updated to meet modern formatting standards
Upgrades & Updates: Chibi-Atomic-Thing [8.22.15]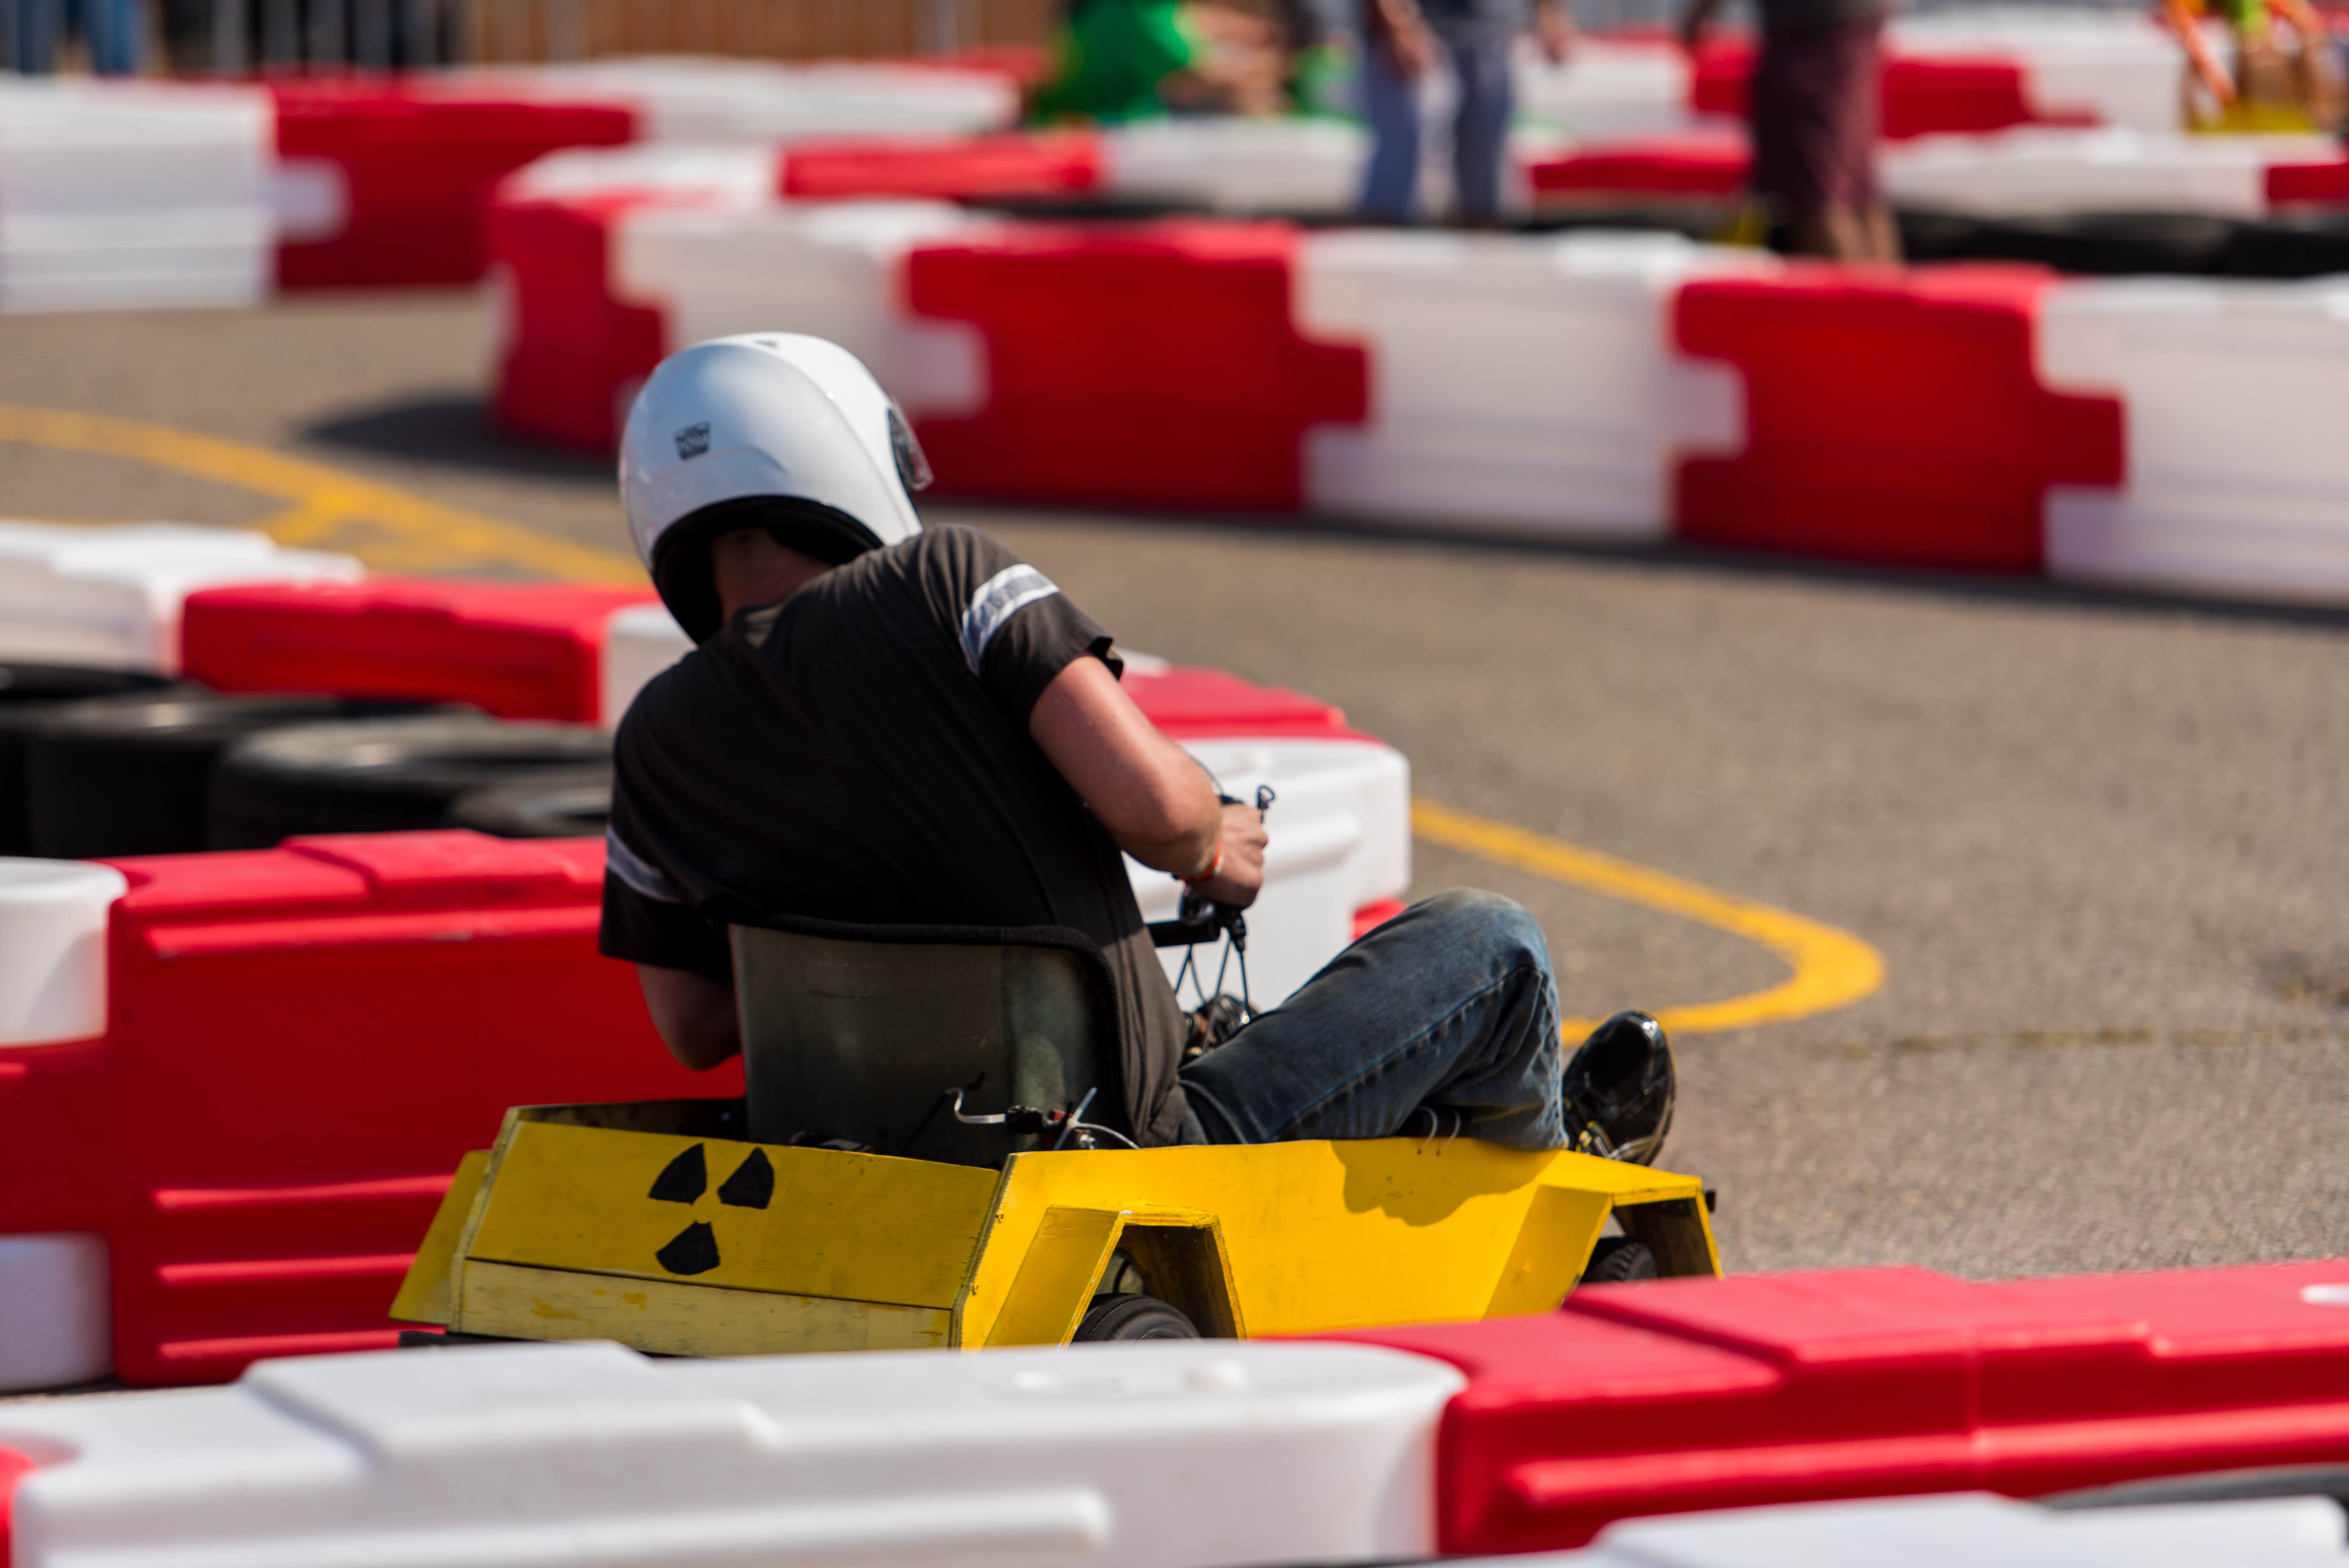
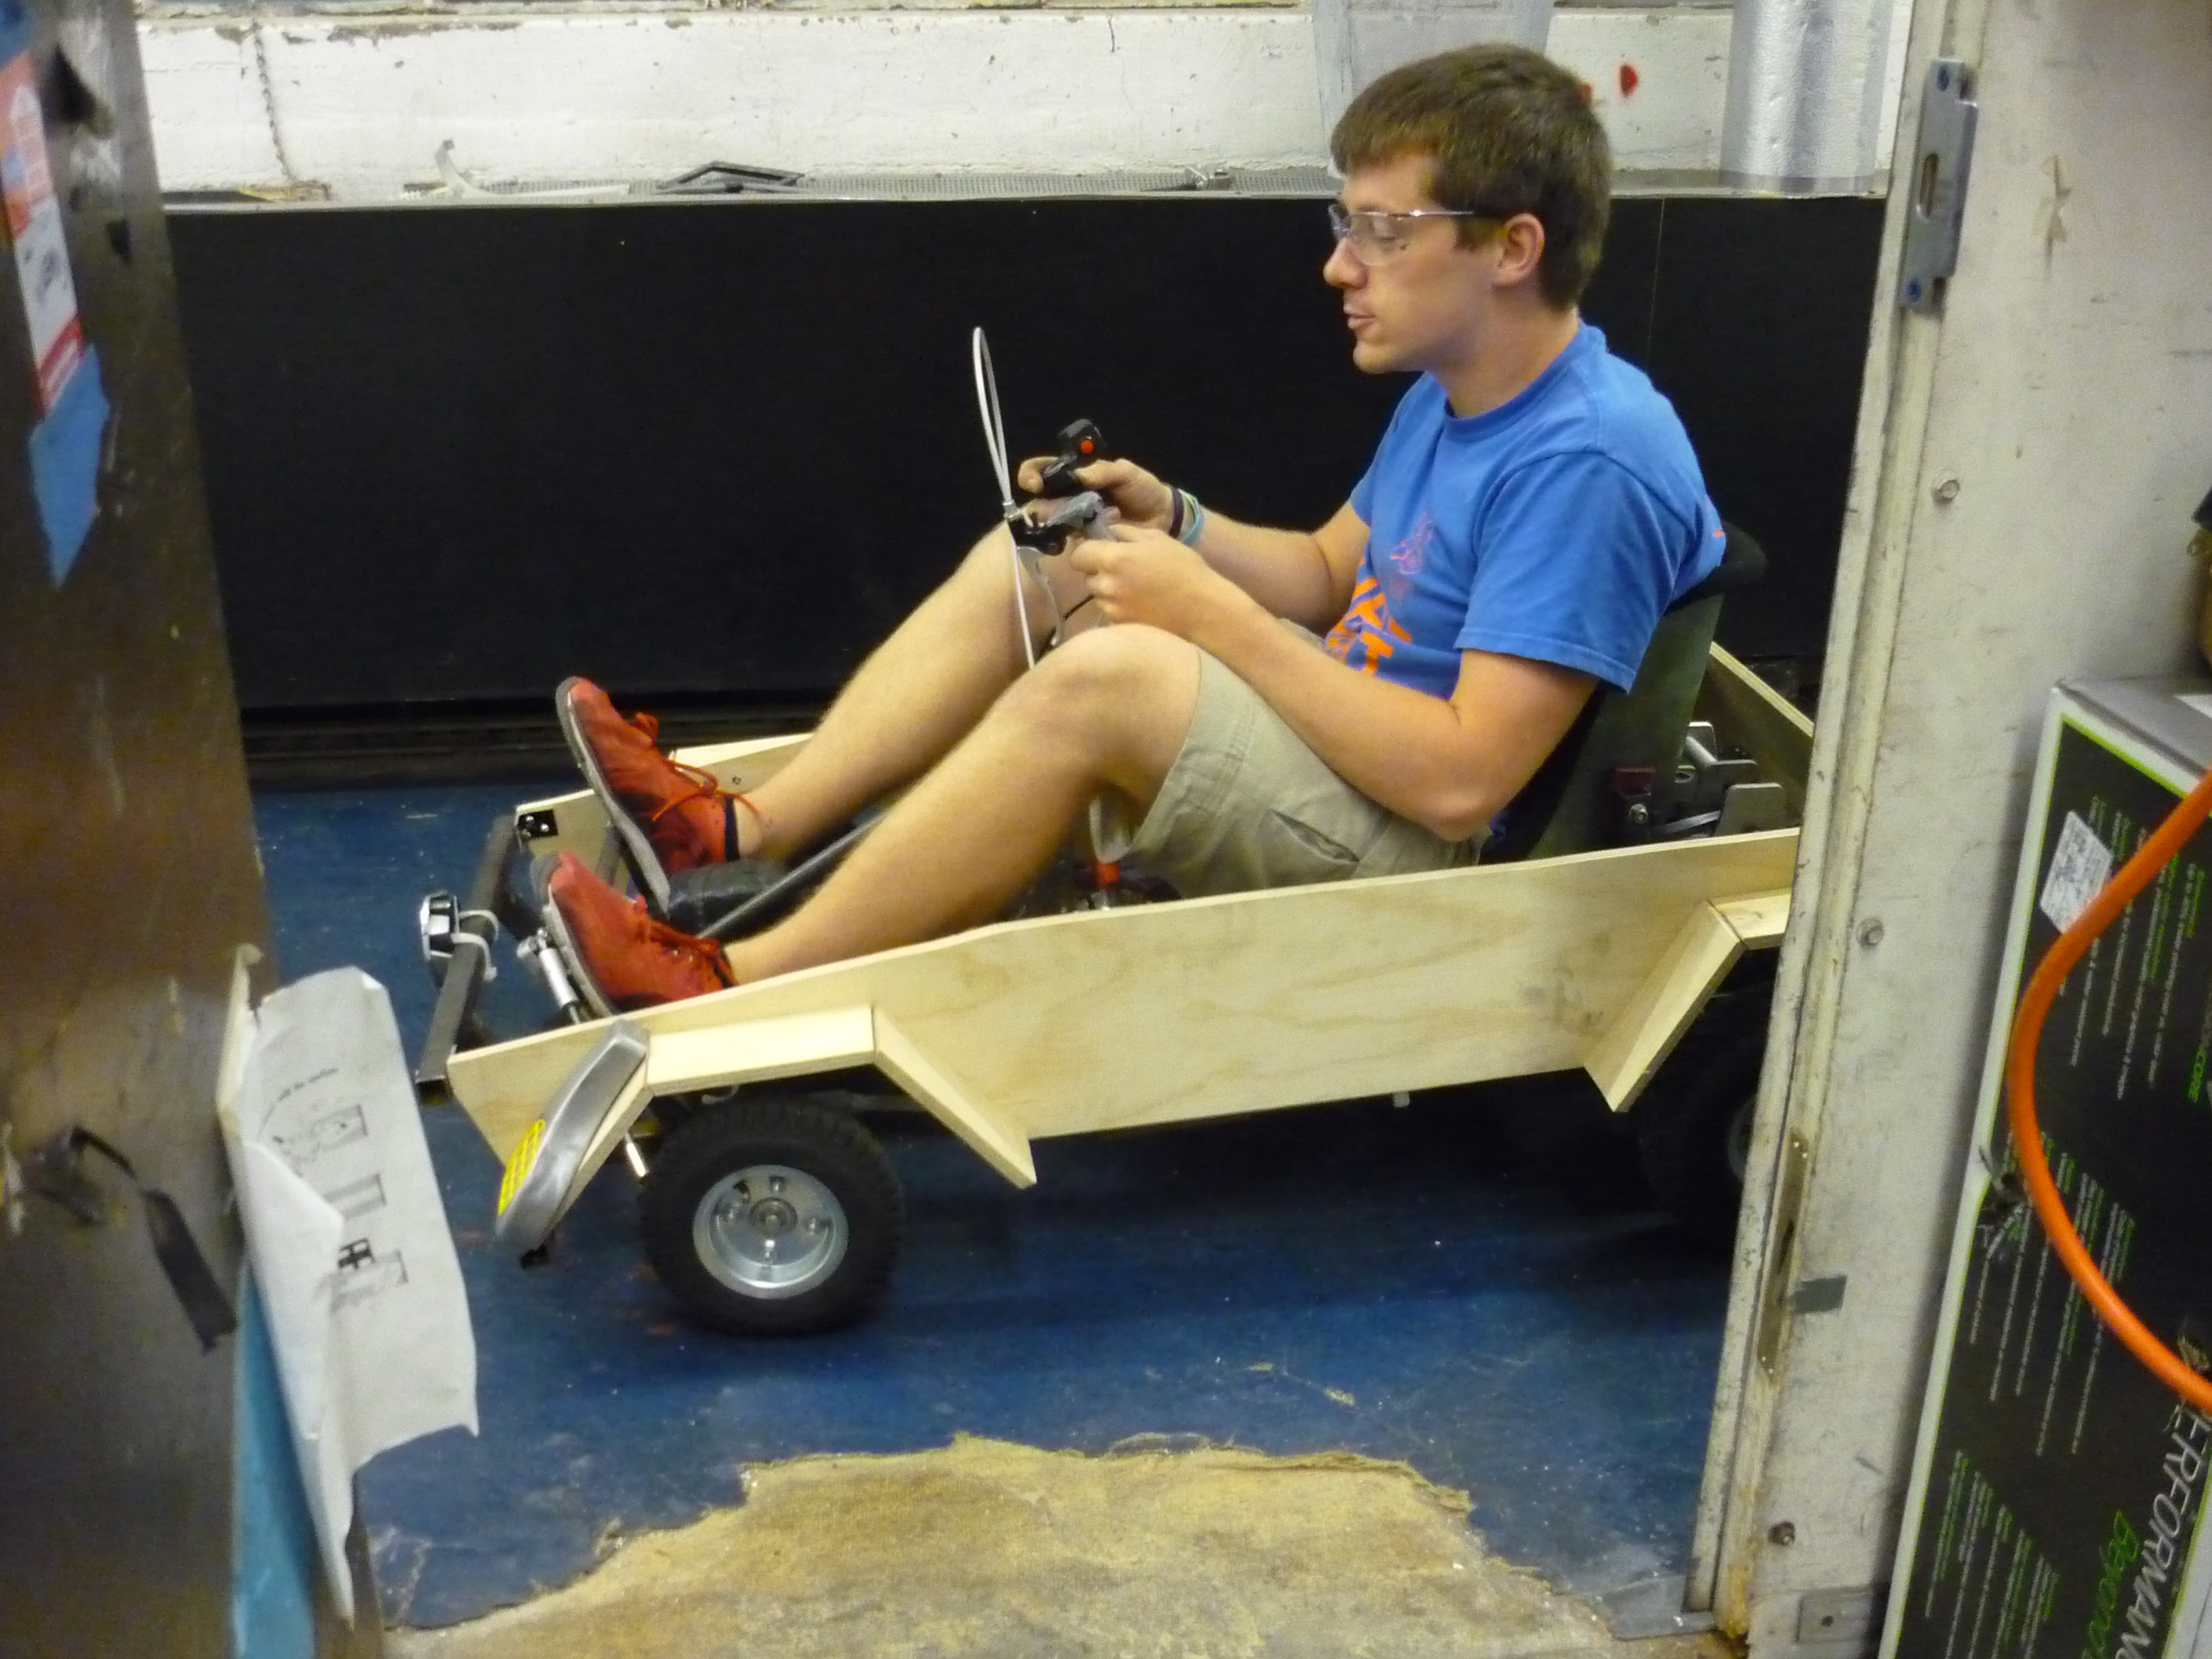
Upgrades to chibiatomic begin! In the weeks before the Makerfaire Detroit, myself, Ciarán O Neill, Rob Reeve and Mike plotted upgrades to miters's first entry in PWRS (2014), chibiatomic jeep. Follow along for documentation of our progress and the strange gearbox noises we made along the way. Fancy Photos By Landon |
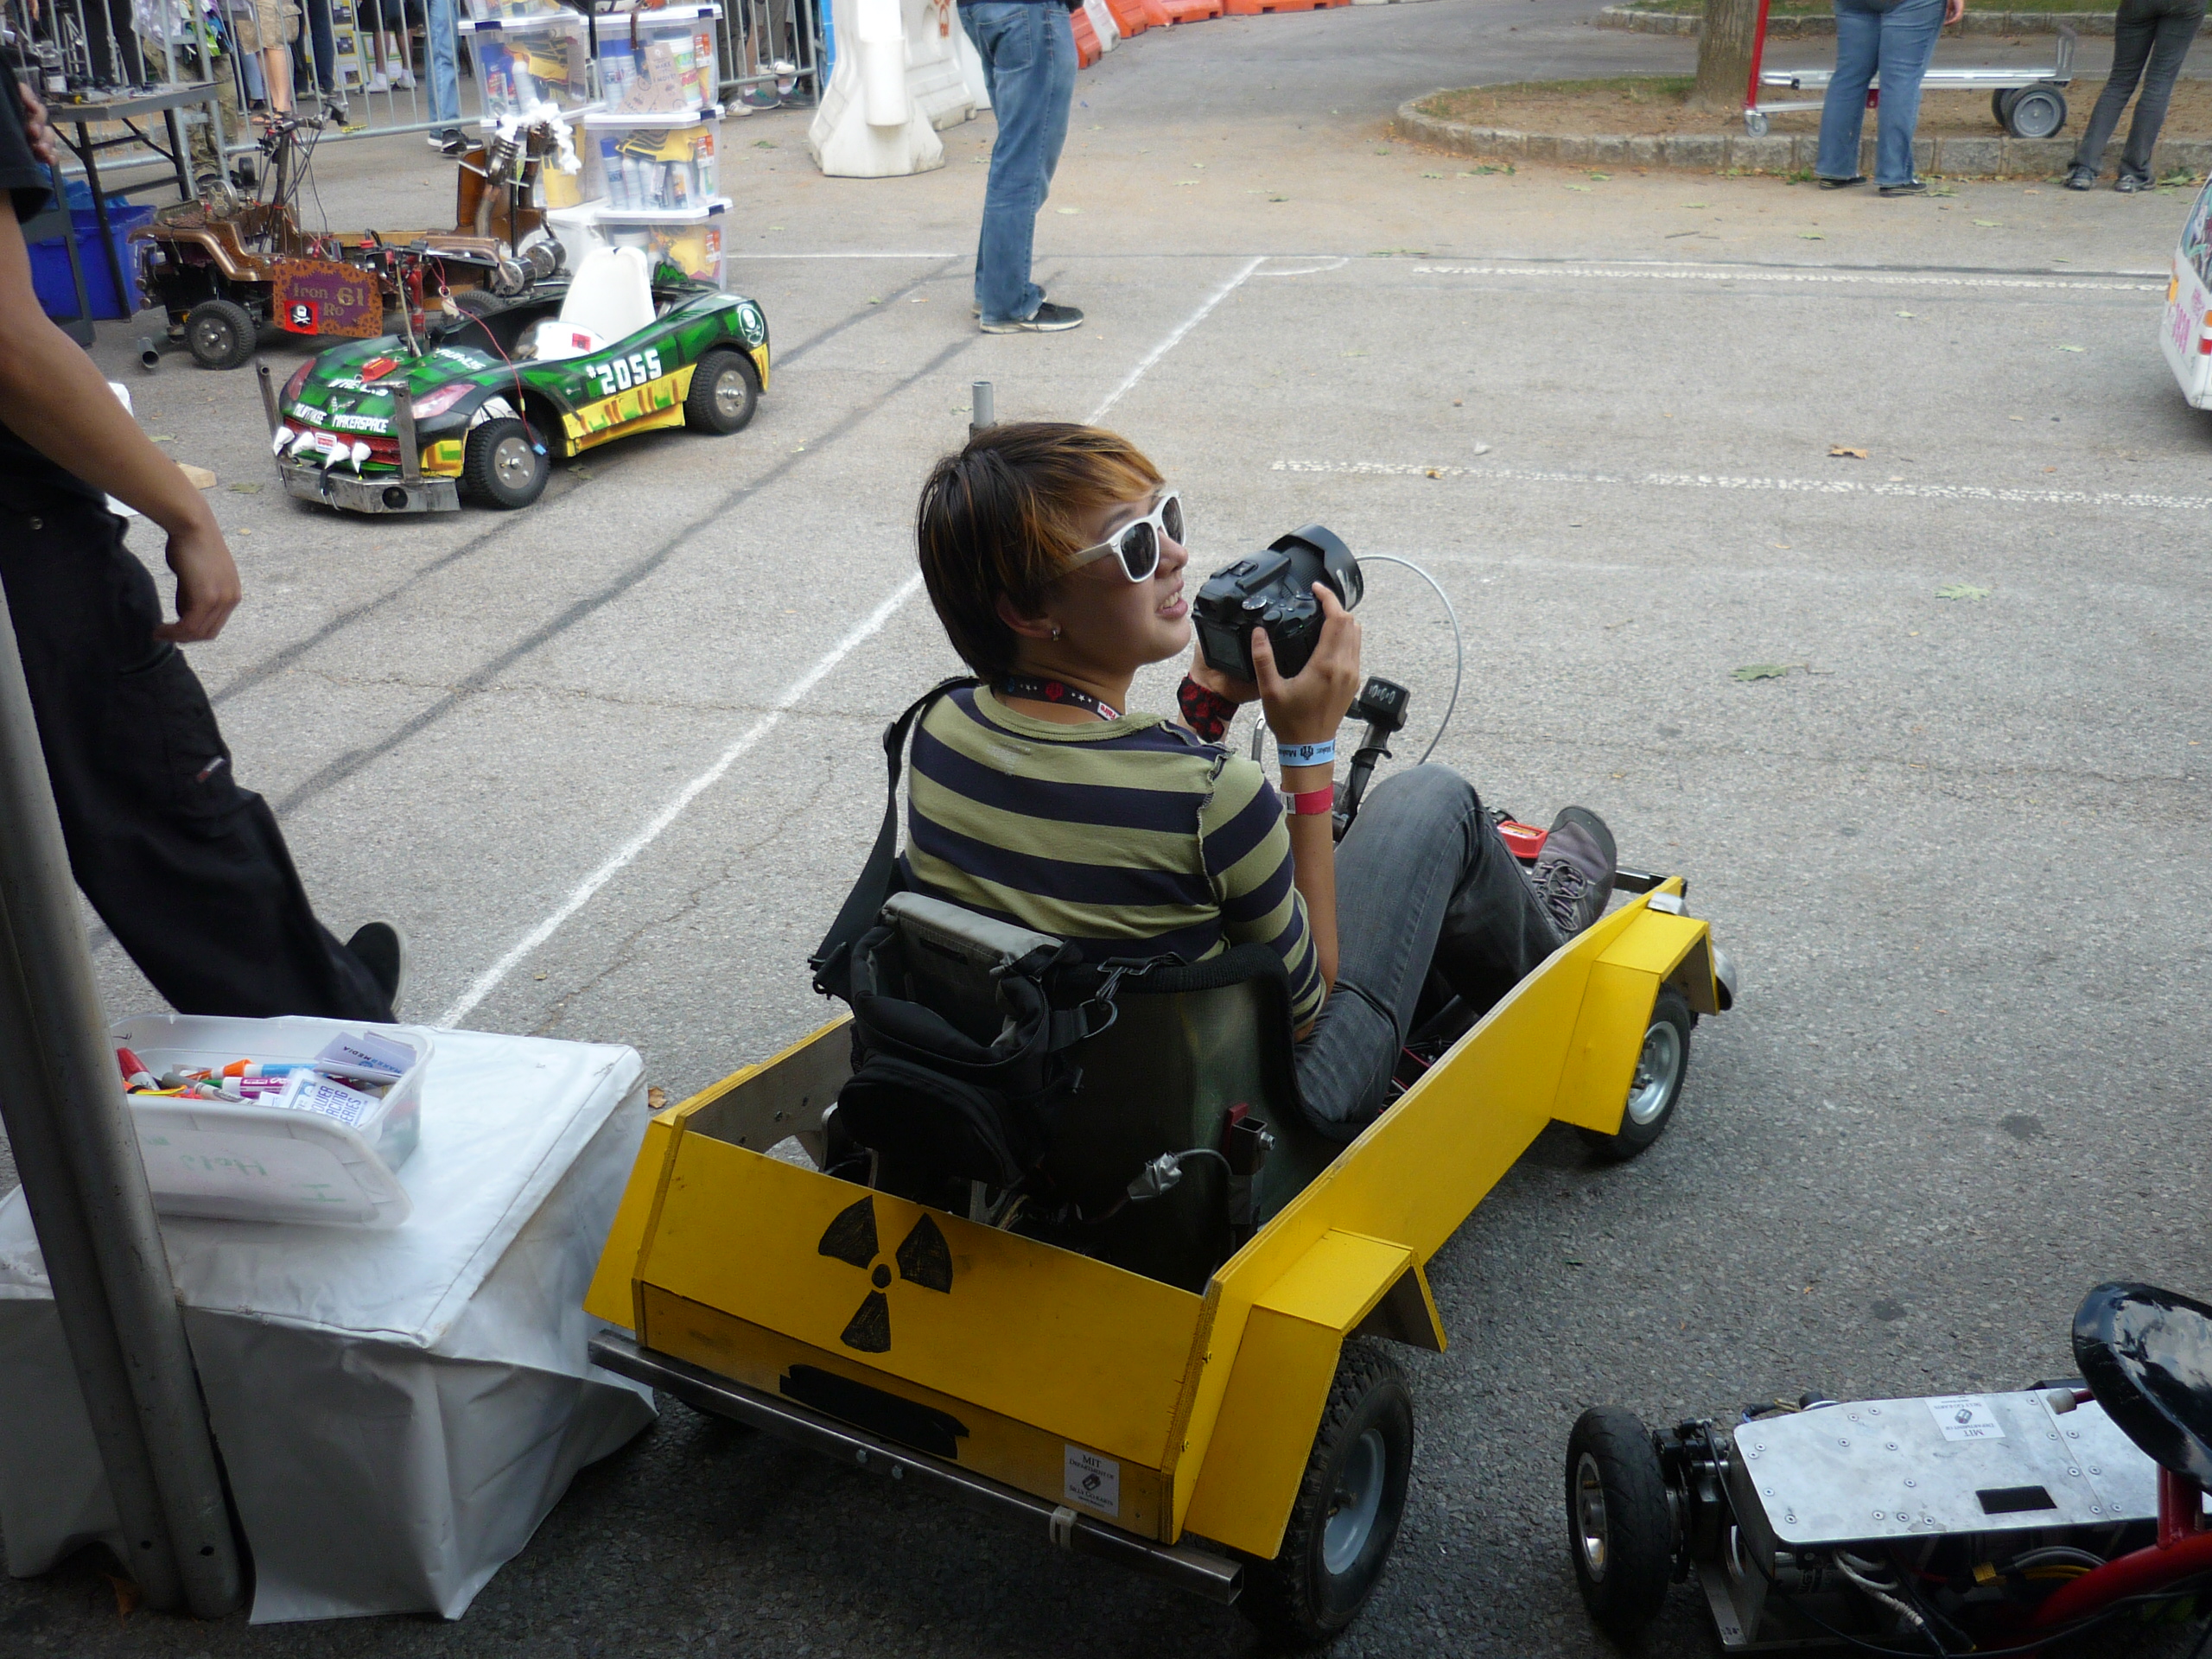
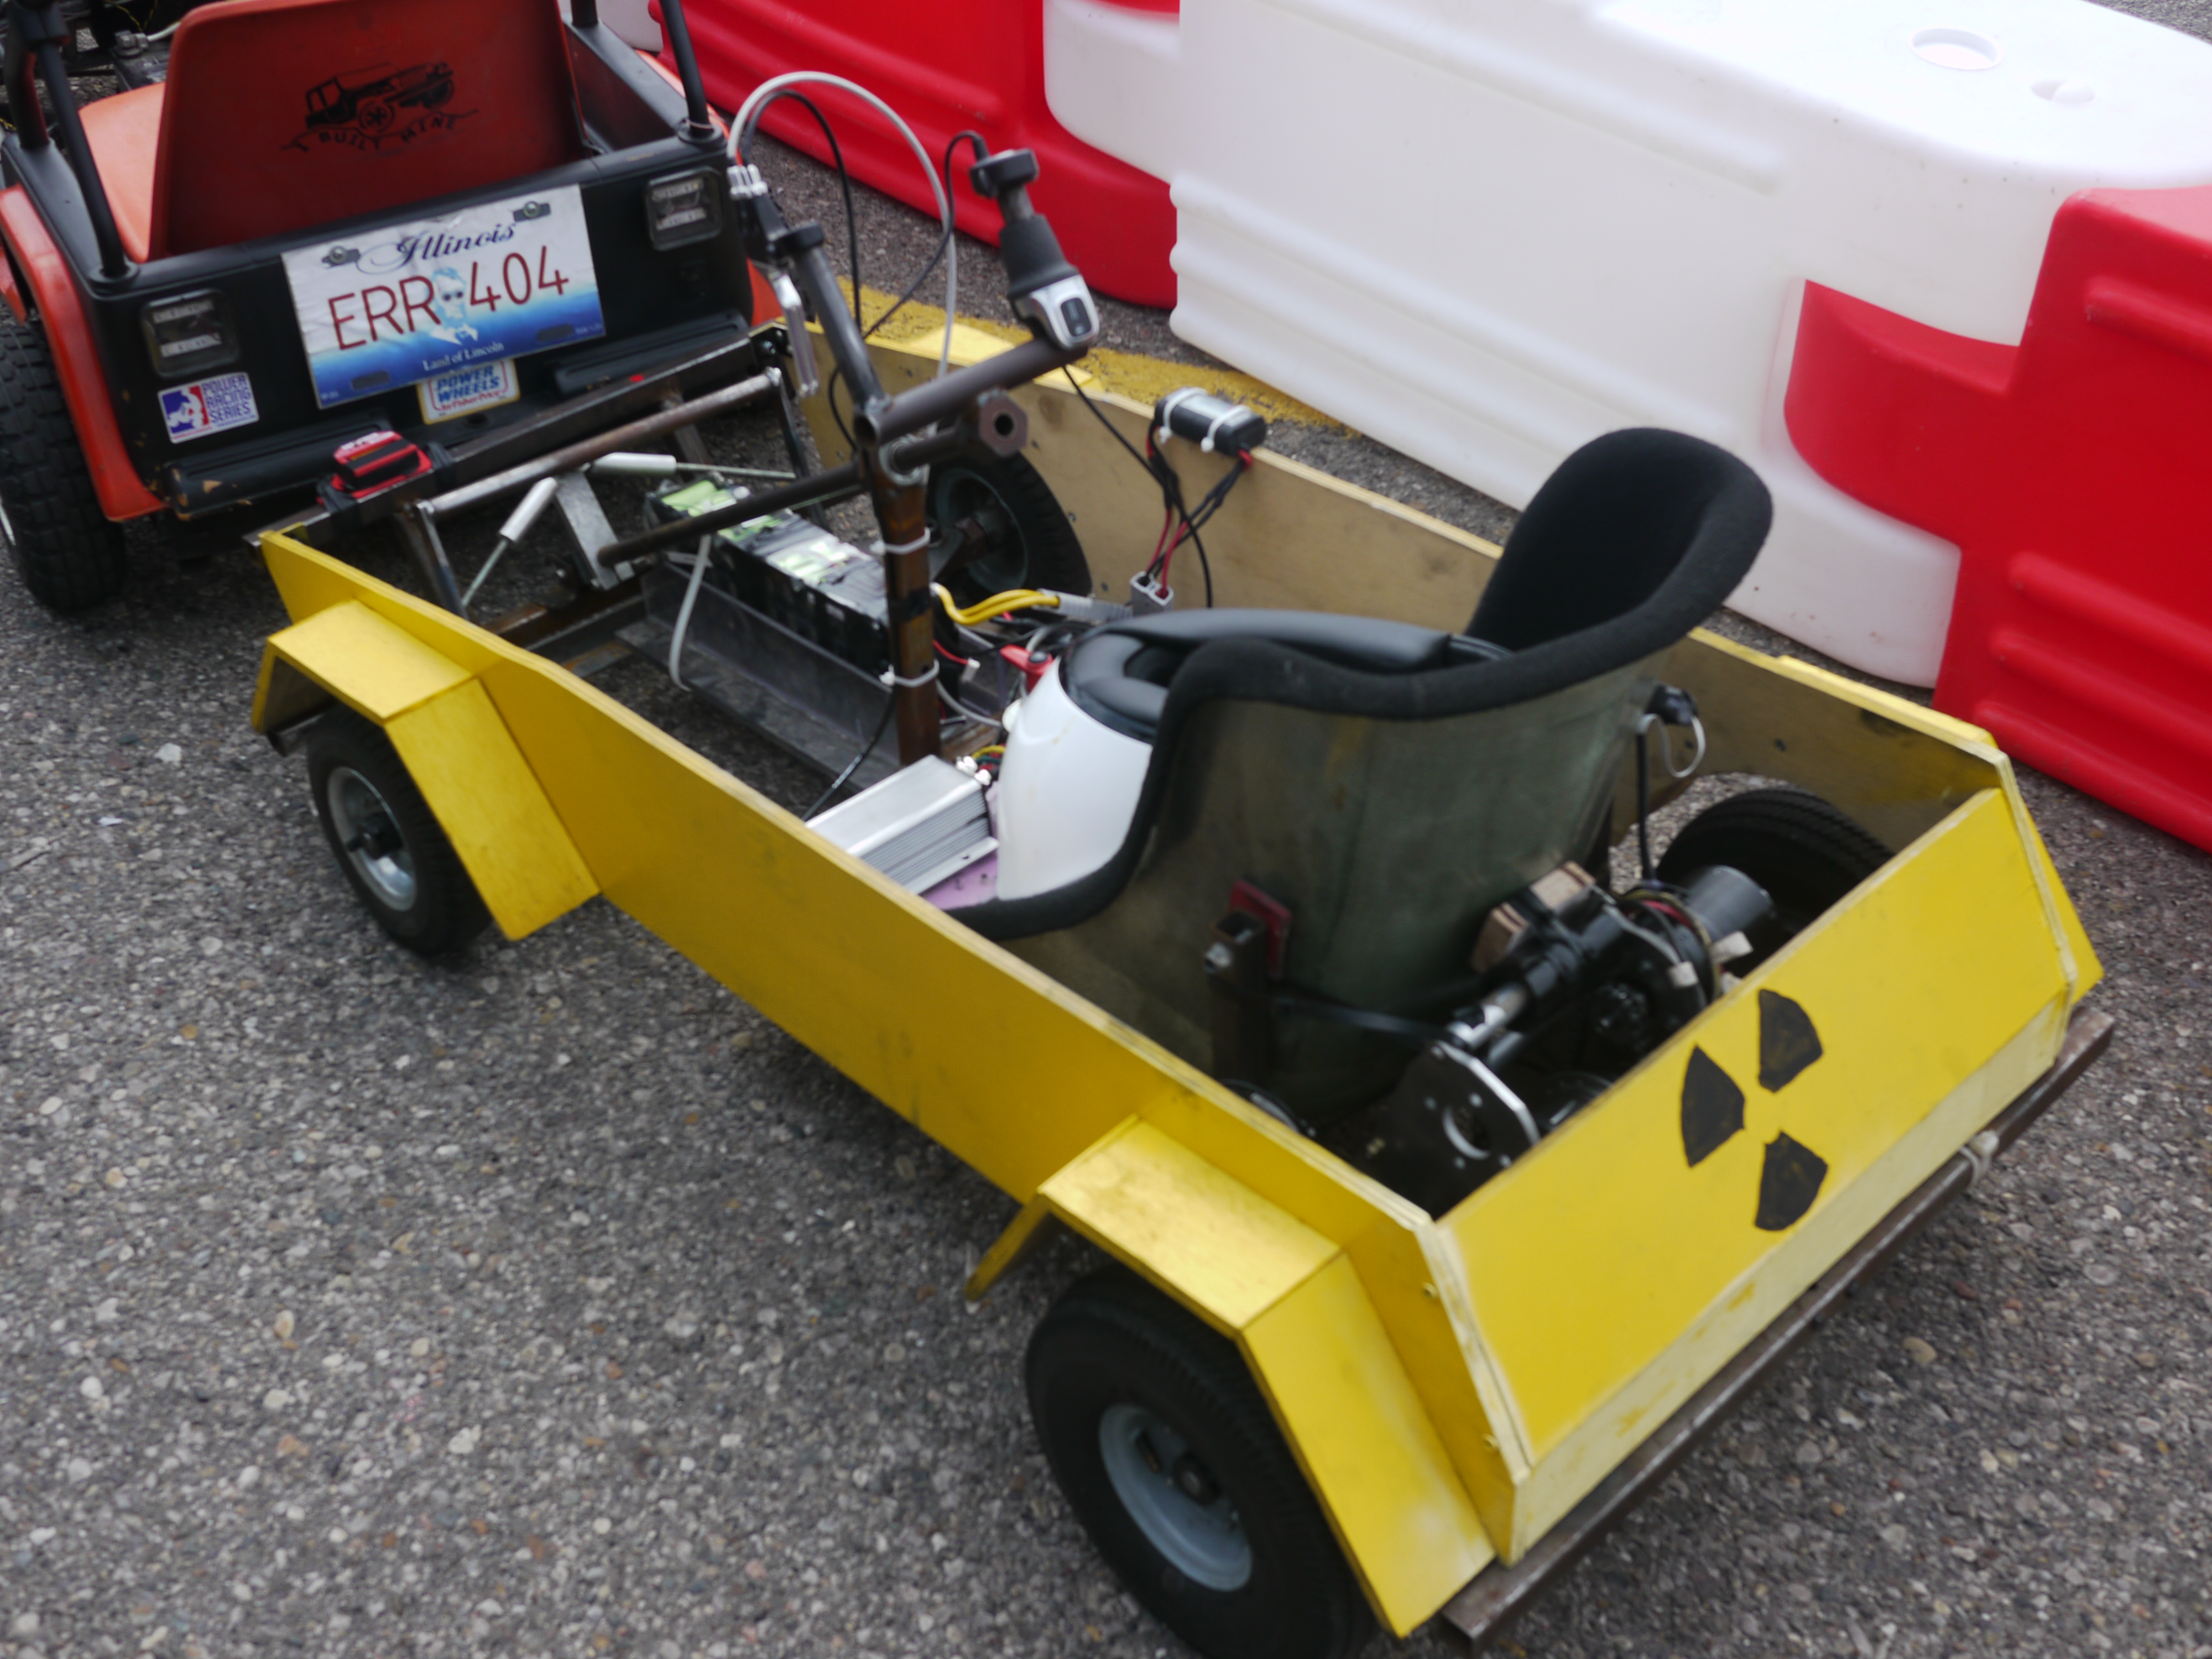
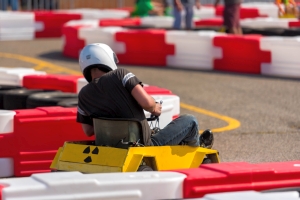
OverviewChibi-Atomic-Thing is fueled and ready. Continue below to read about the upgrades since last season, including the newly introduced high speed modes. Detroit 2015 Power Wheels Racing Series Ahoy. Take no prisoners. Previous Competition & HistoryBetween the first build report and now, chibiatomic competed at the world makerfaire in NYC. It was glorious. We left the previous shell in Detroit in 2014, partially due to space concerns on the way back and partially due to its grunged and slashed state. The new outer shell now resembles a VW Thing. 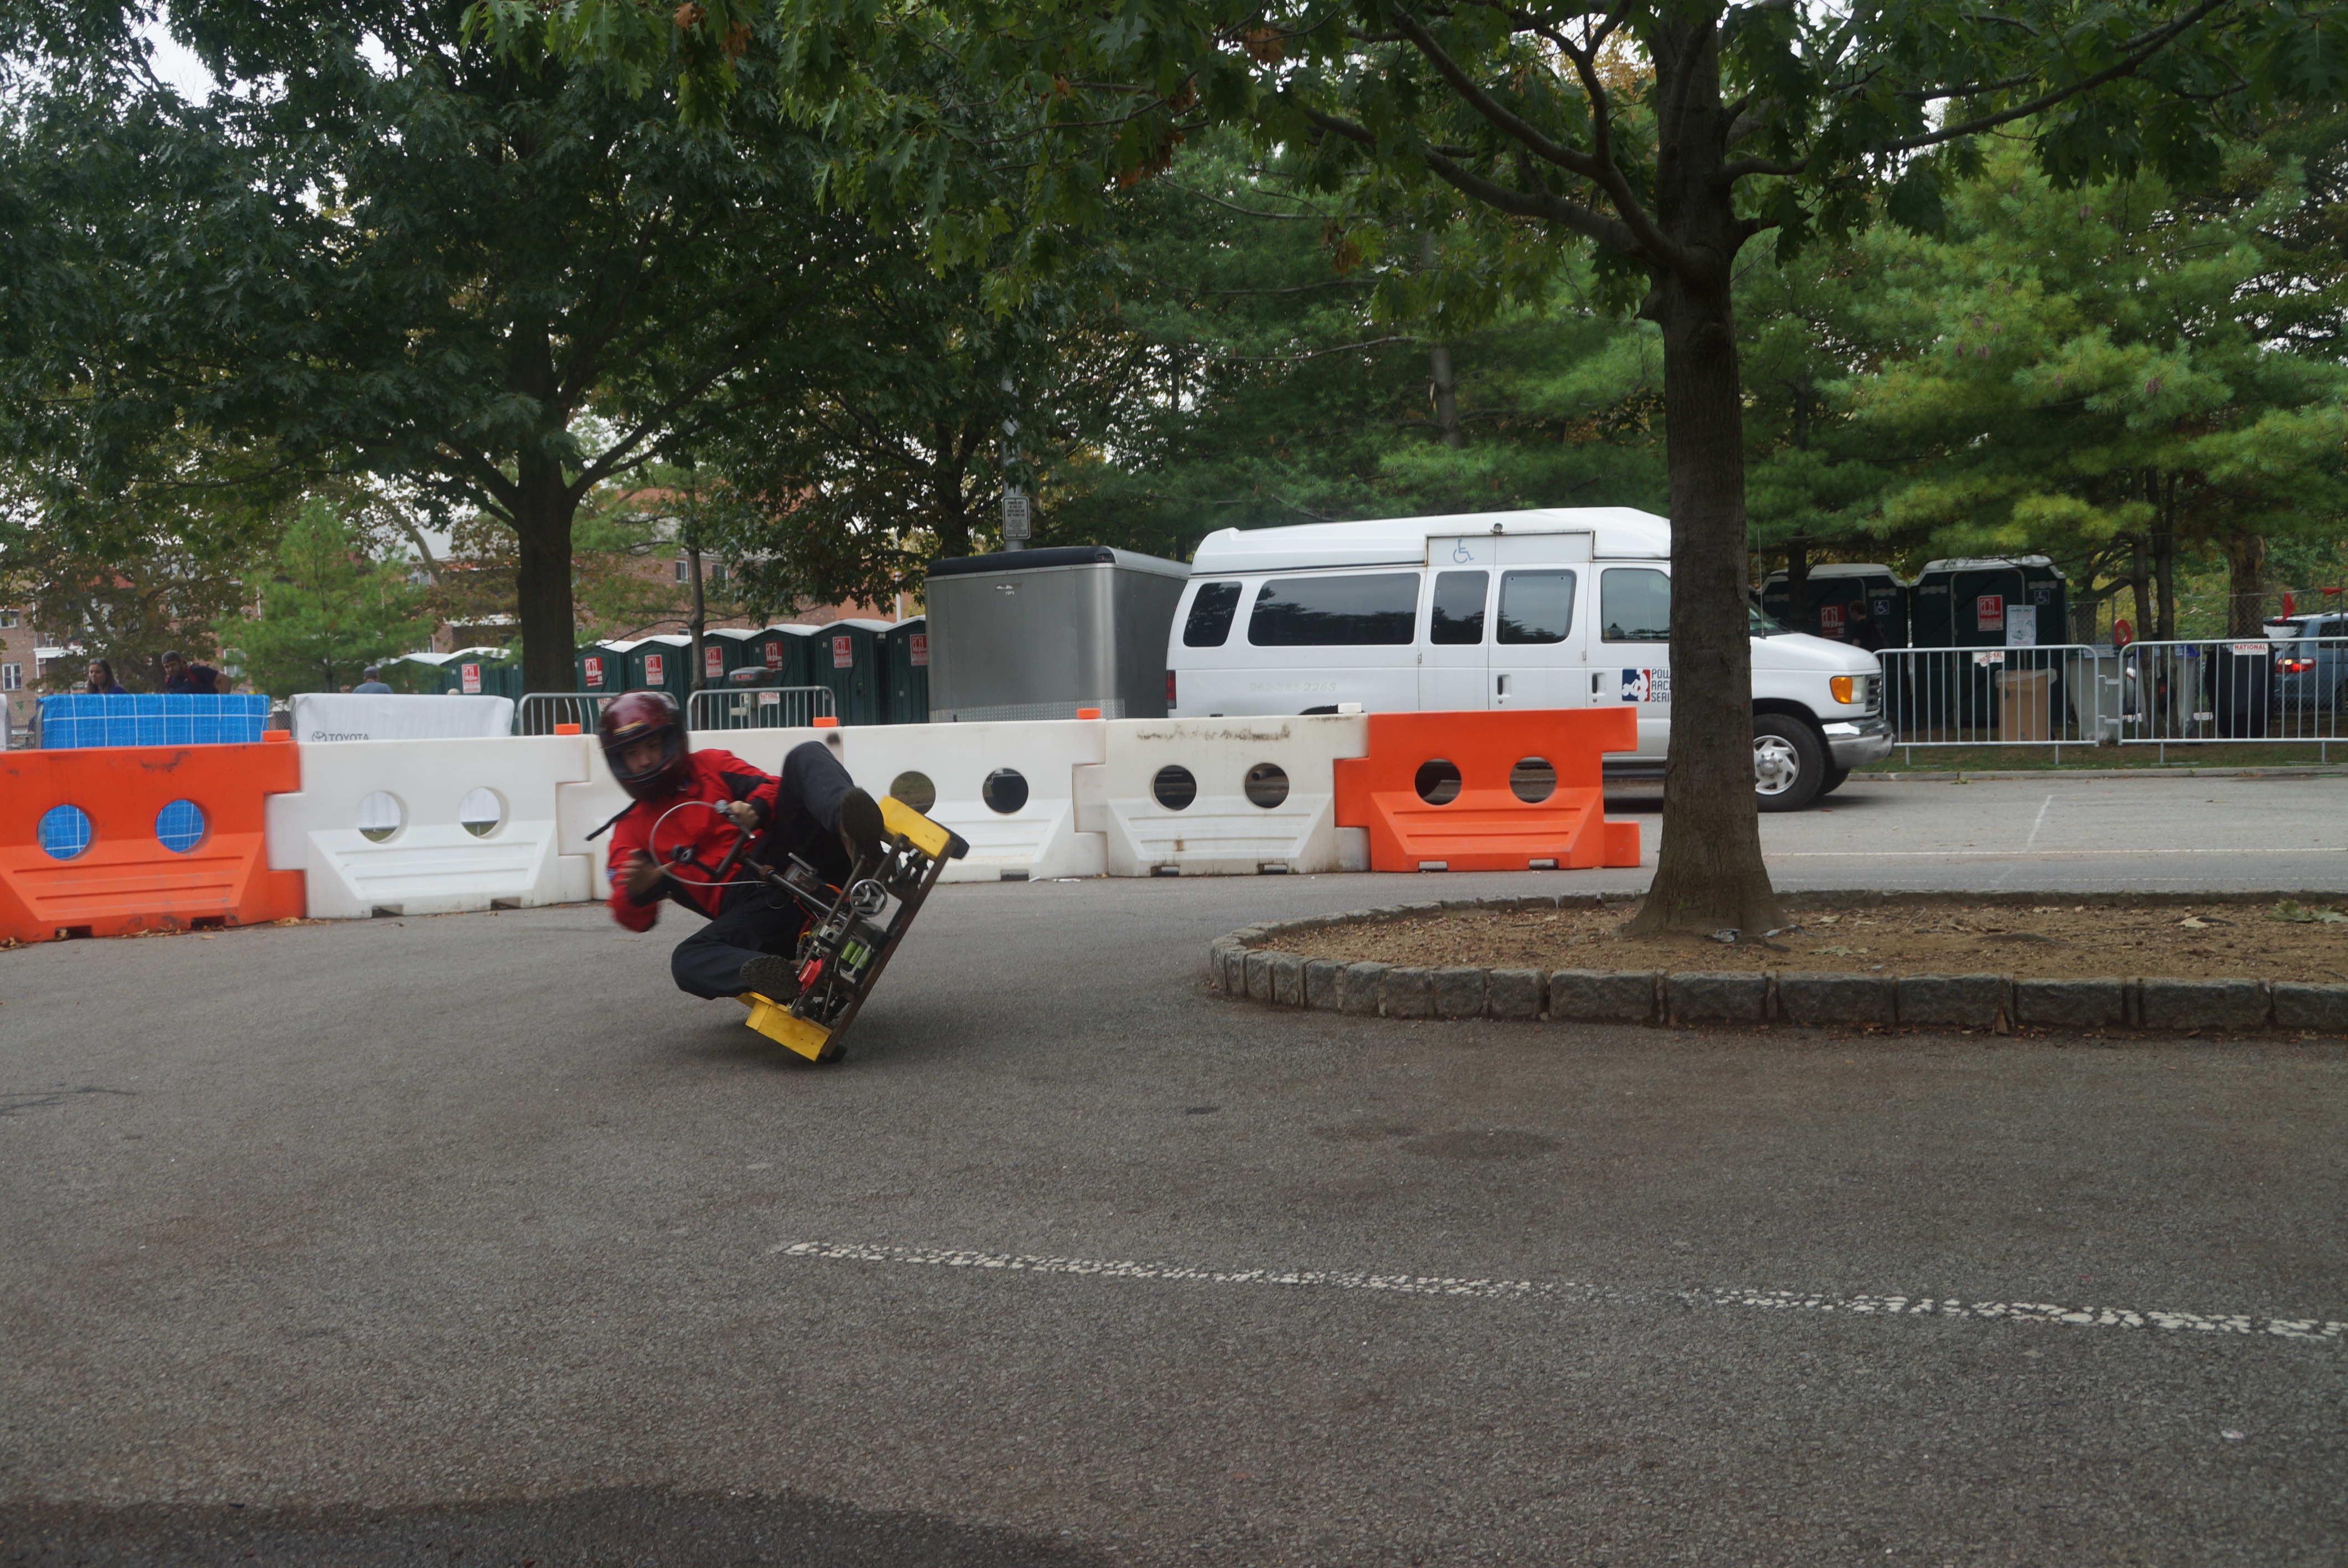
Makerfaire NYC ChallengesLike every makerfaire, something cart-related goes wonky. This time around we lost a steering linkage mount. Note this was a fairly thick lever-arm mechanism for linking the steering action to the wheel pivot. It appears the TIG-weld didn't quite penetrate through the thick steel bar into the hexagonal rod stock steering linkage. 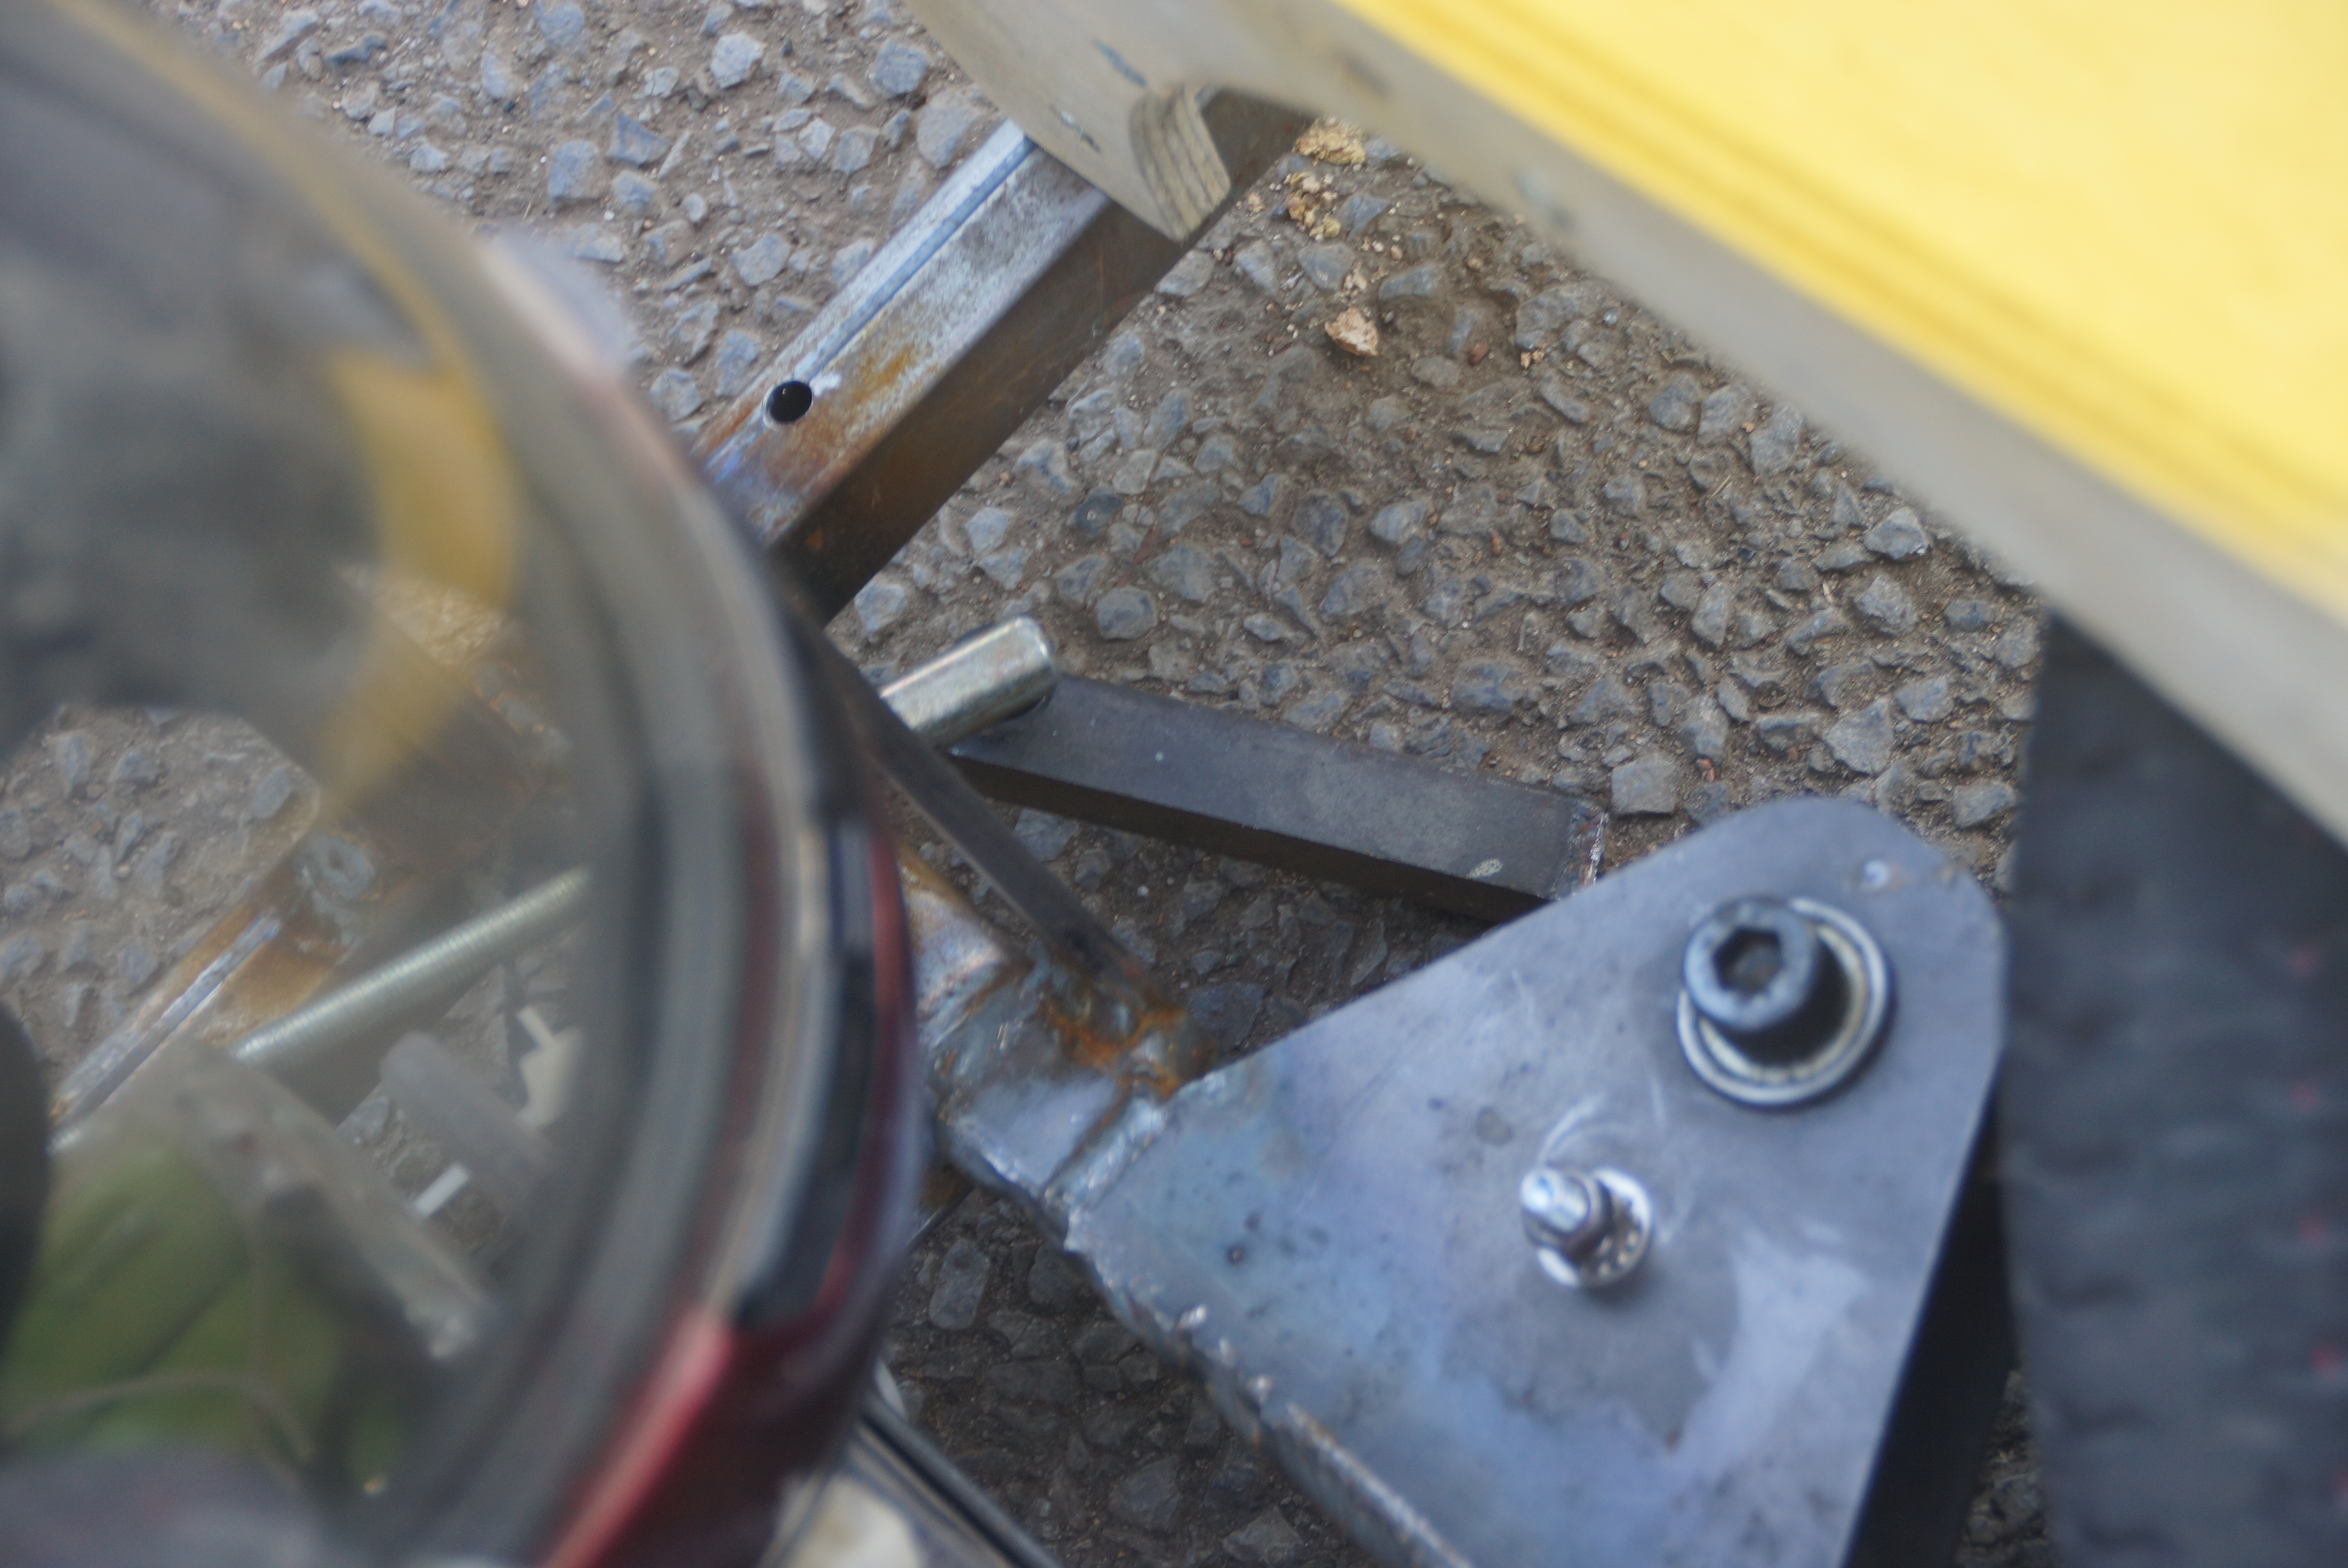
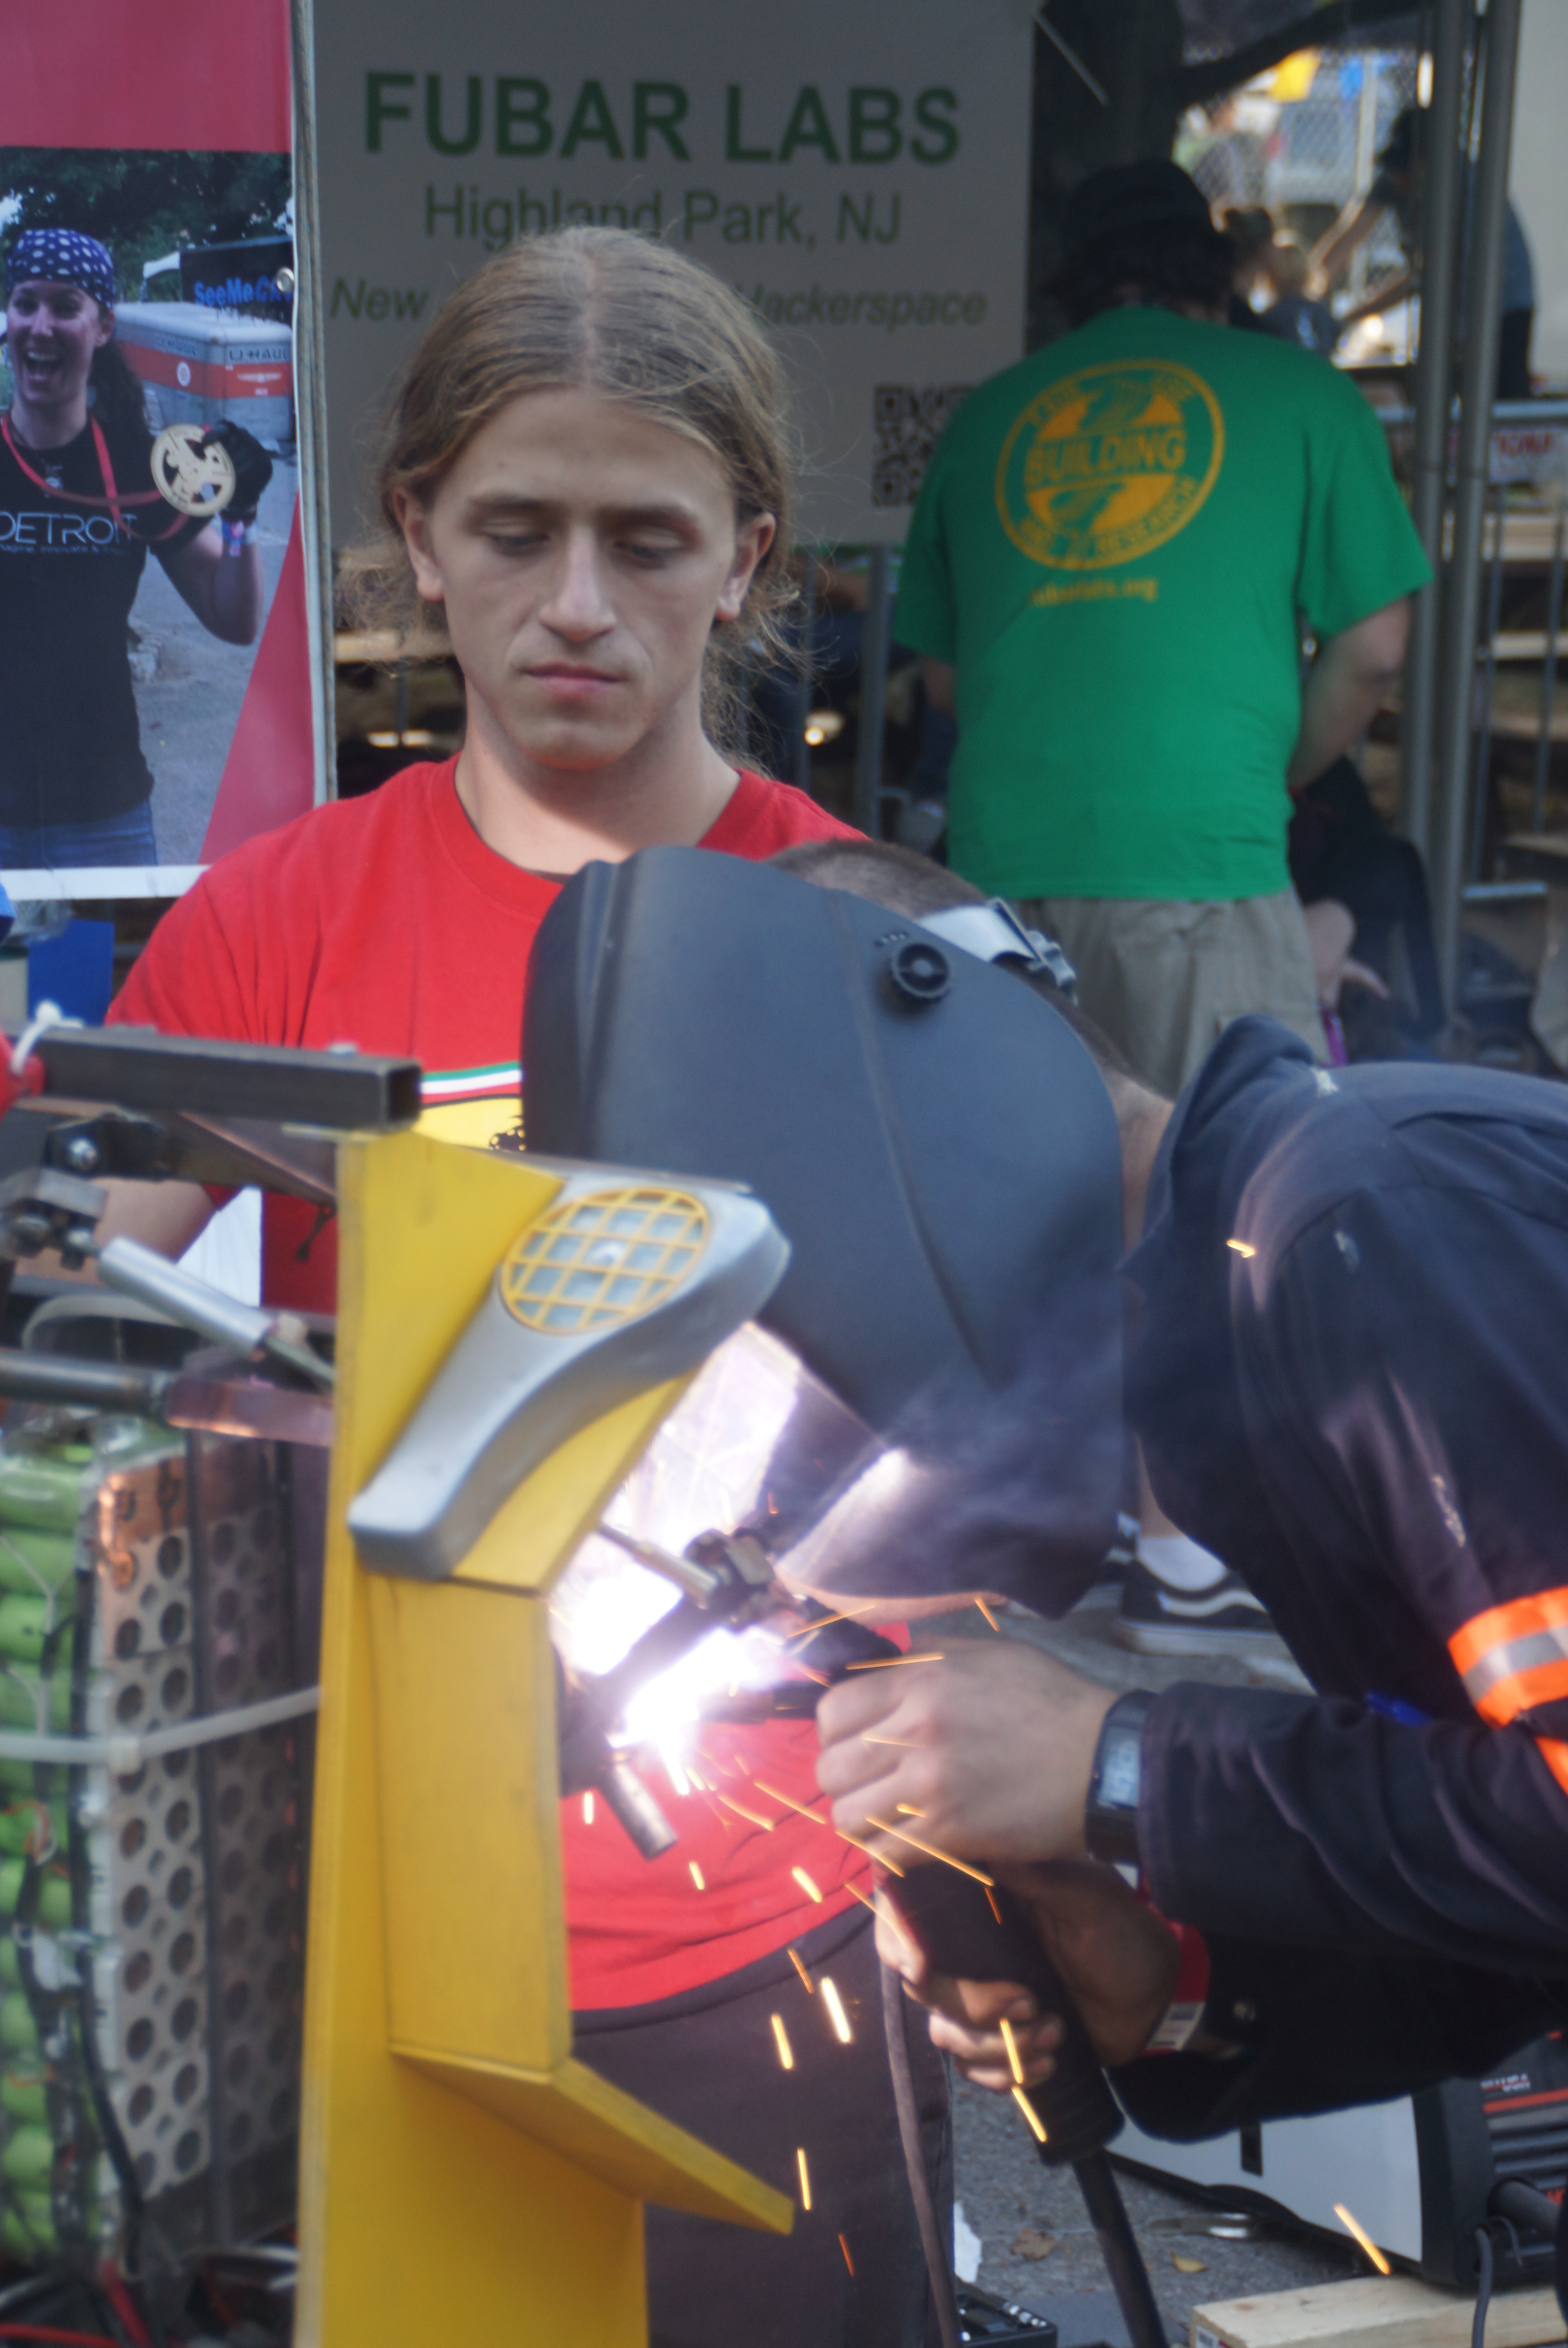
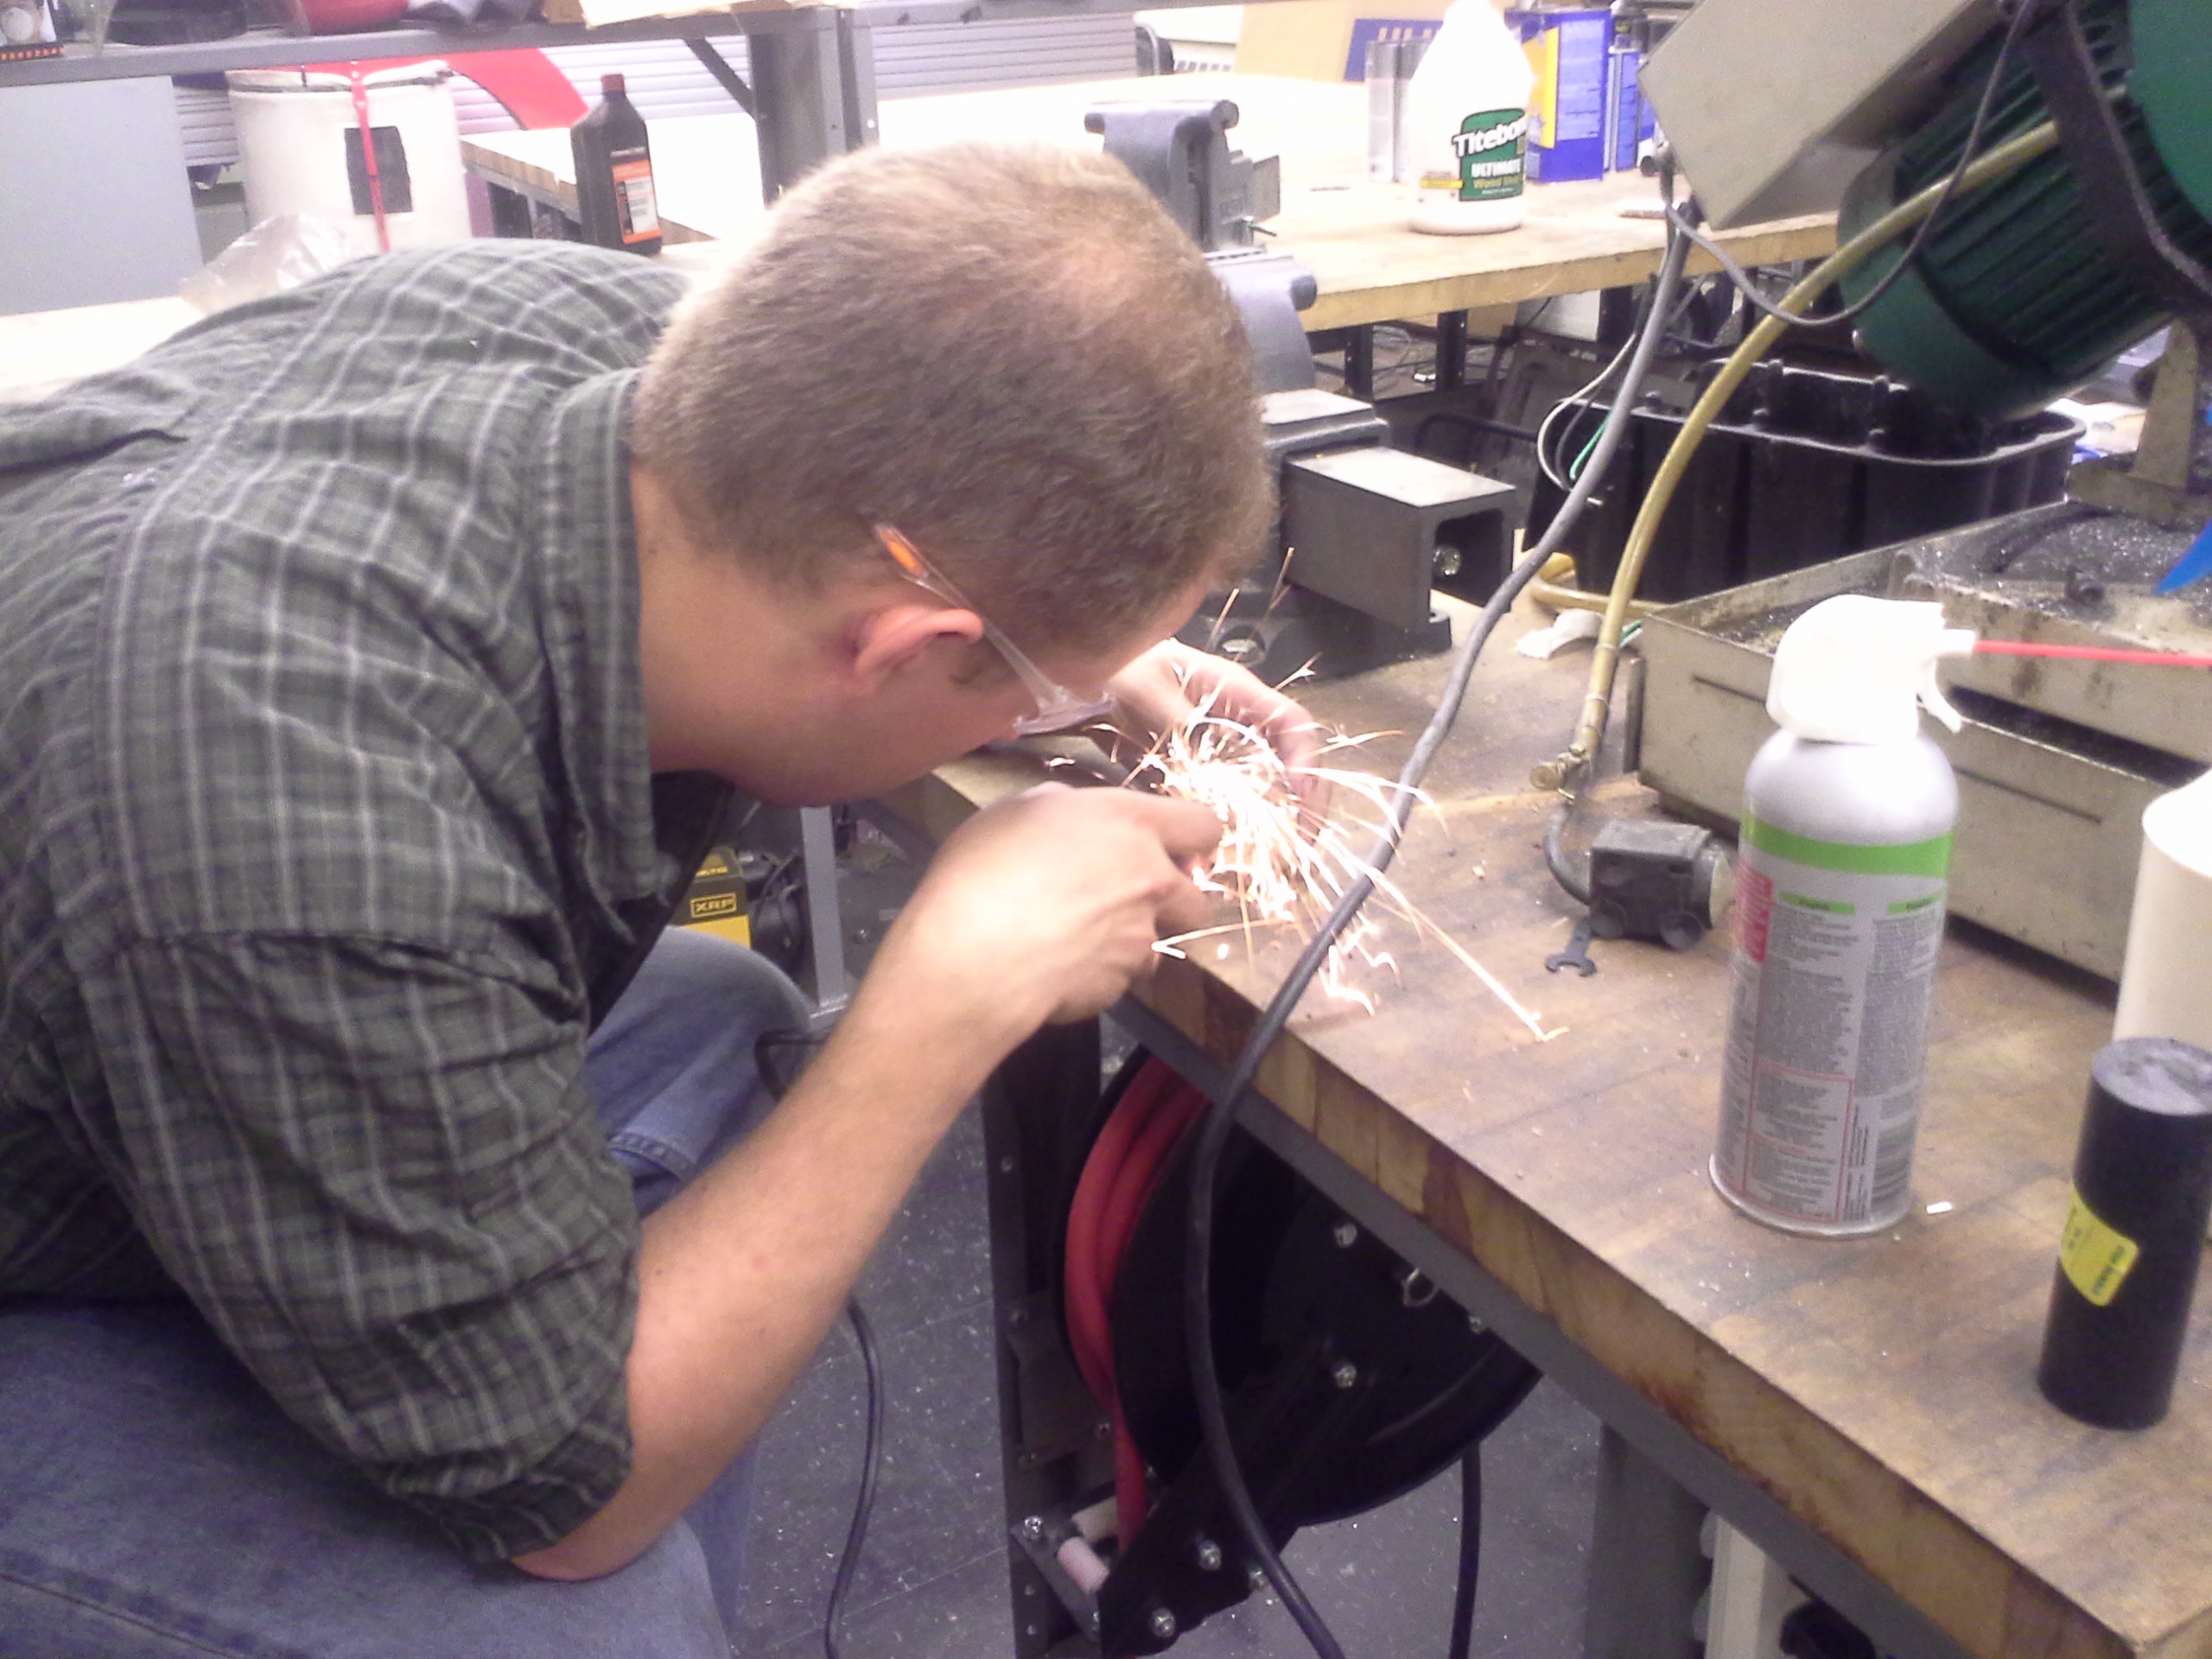
What's a makerfaire without a splatter-core welder? In retrospect, may have been a good idea to remove the battery pack. The mighty Antarctica-conquering Jeremy stares through an advanced hand-based set of goggles. After the rage-repair, we scooted along and continued competing. 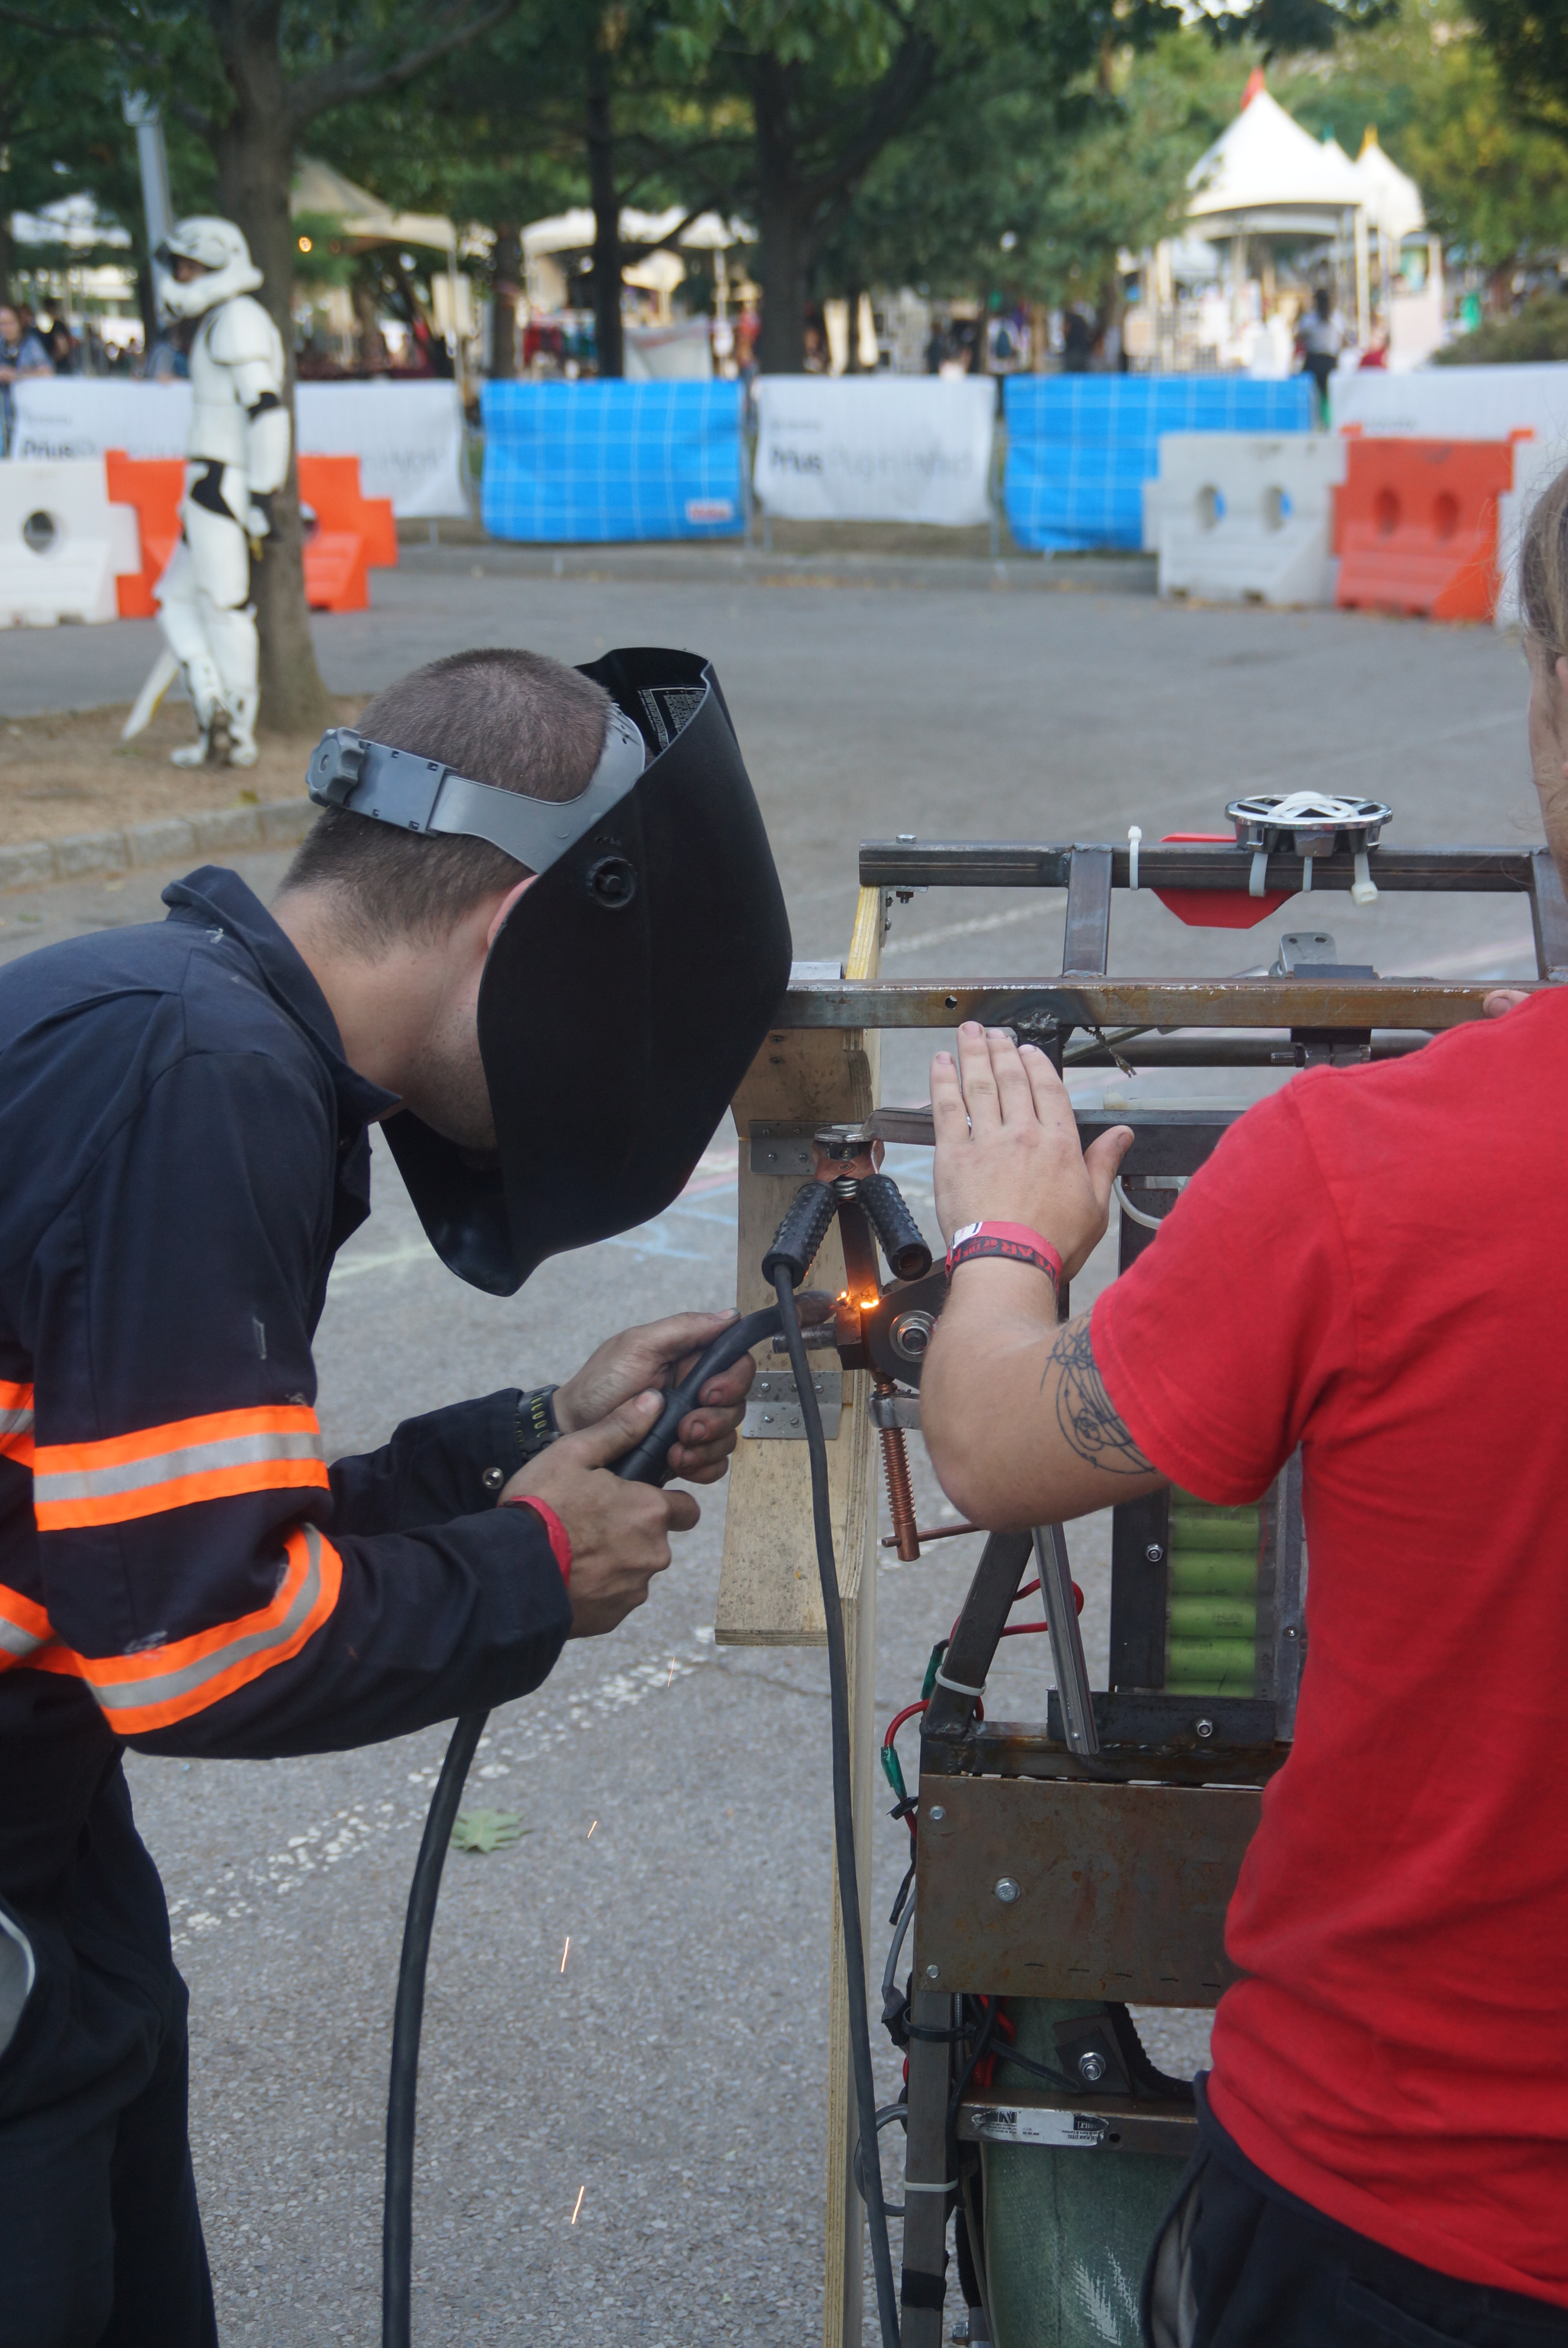
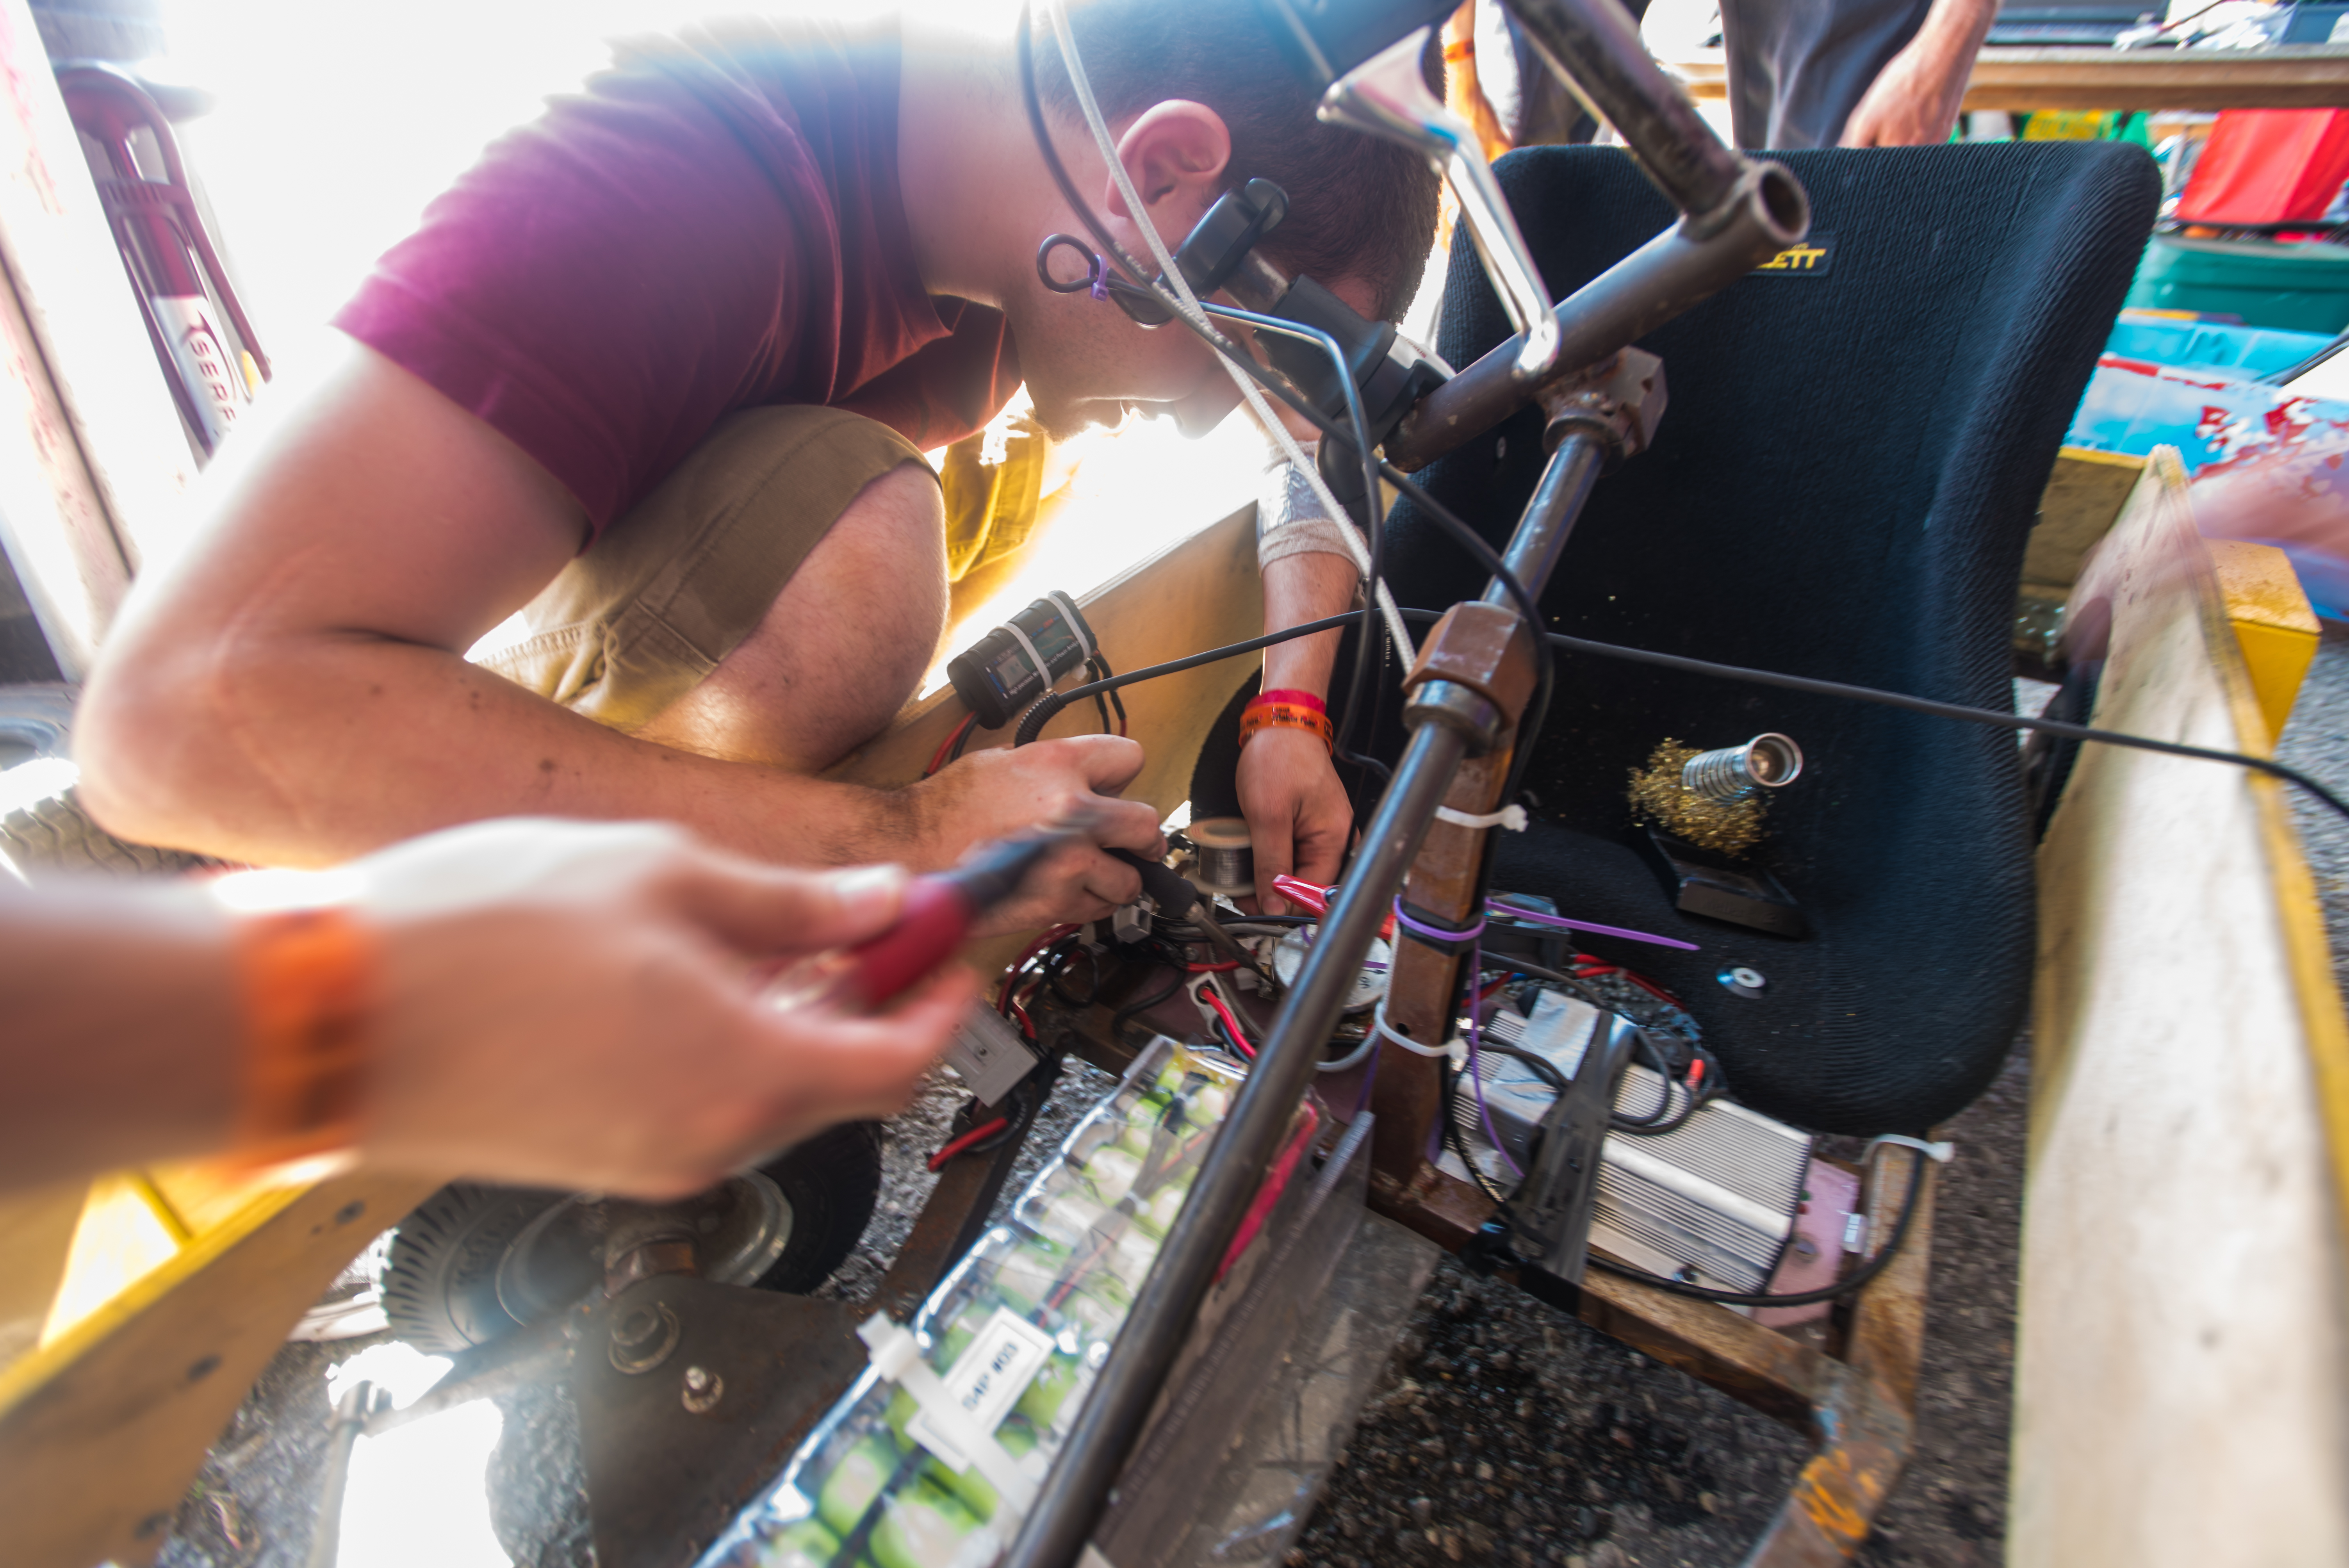
Current Control IssuesWe still had the re-occurring current-control issue and needed to perform a sensor-position retuning twice. The current control issue was tied to our motor + controller combination. For a current-regulated motor controller, the lower motor inductance, the harder it is to 'catch' the actual phase current, as it changes faster than if it were a higher inductance motor. To combat this we waste a bit of energy in a pile of fairly large inductors that live alongside the seat. This still resulted in sporadic motor controller resetting. 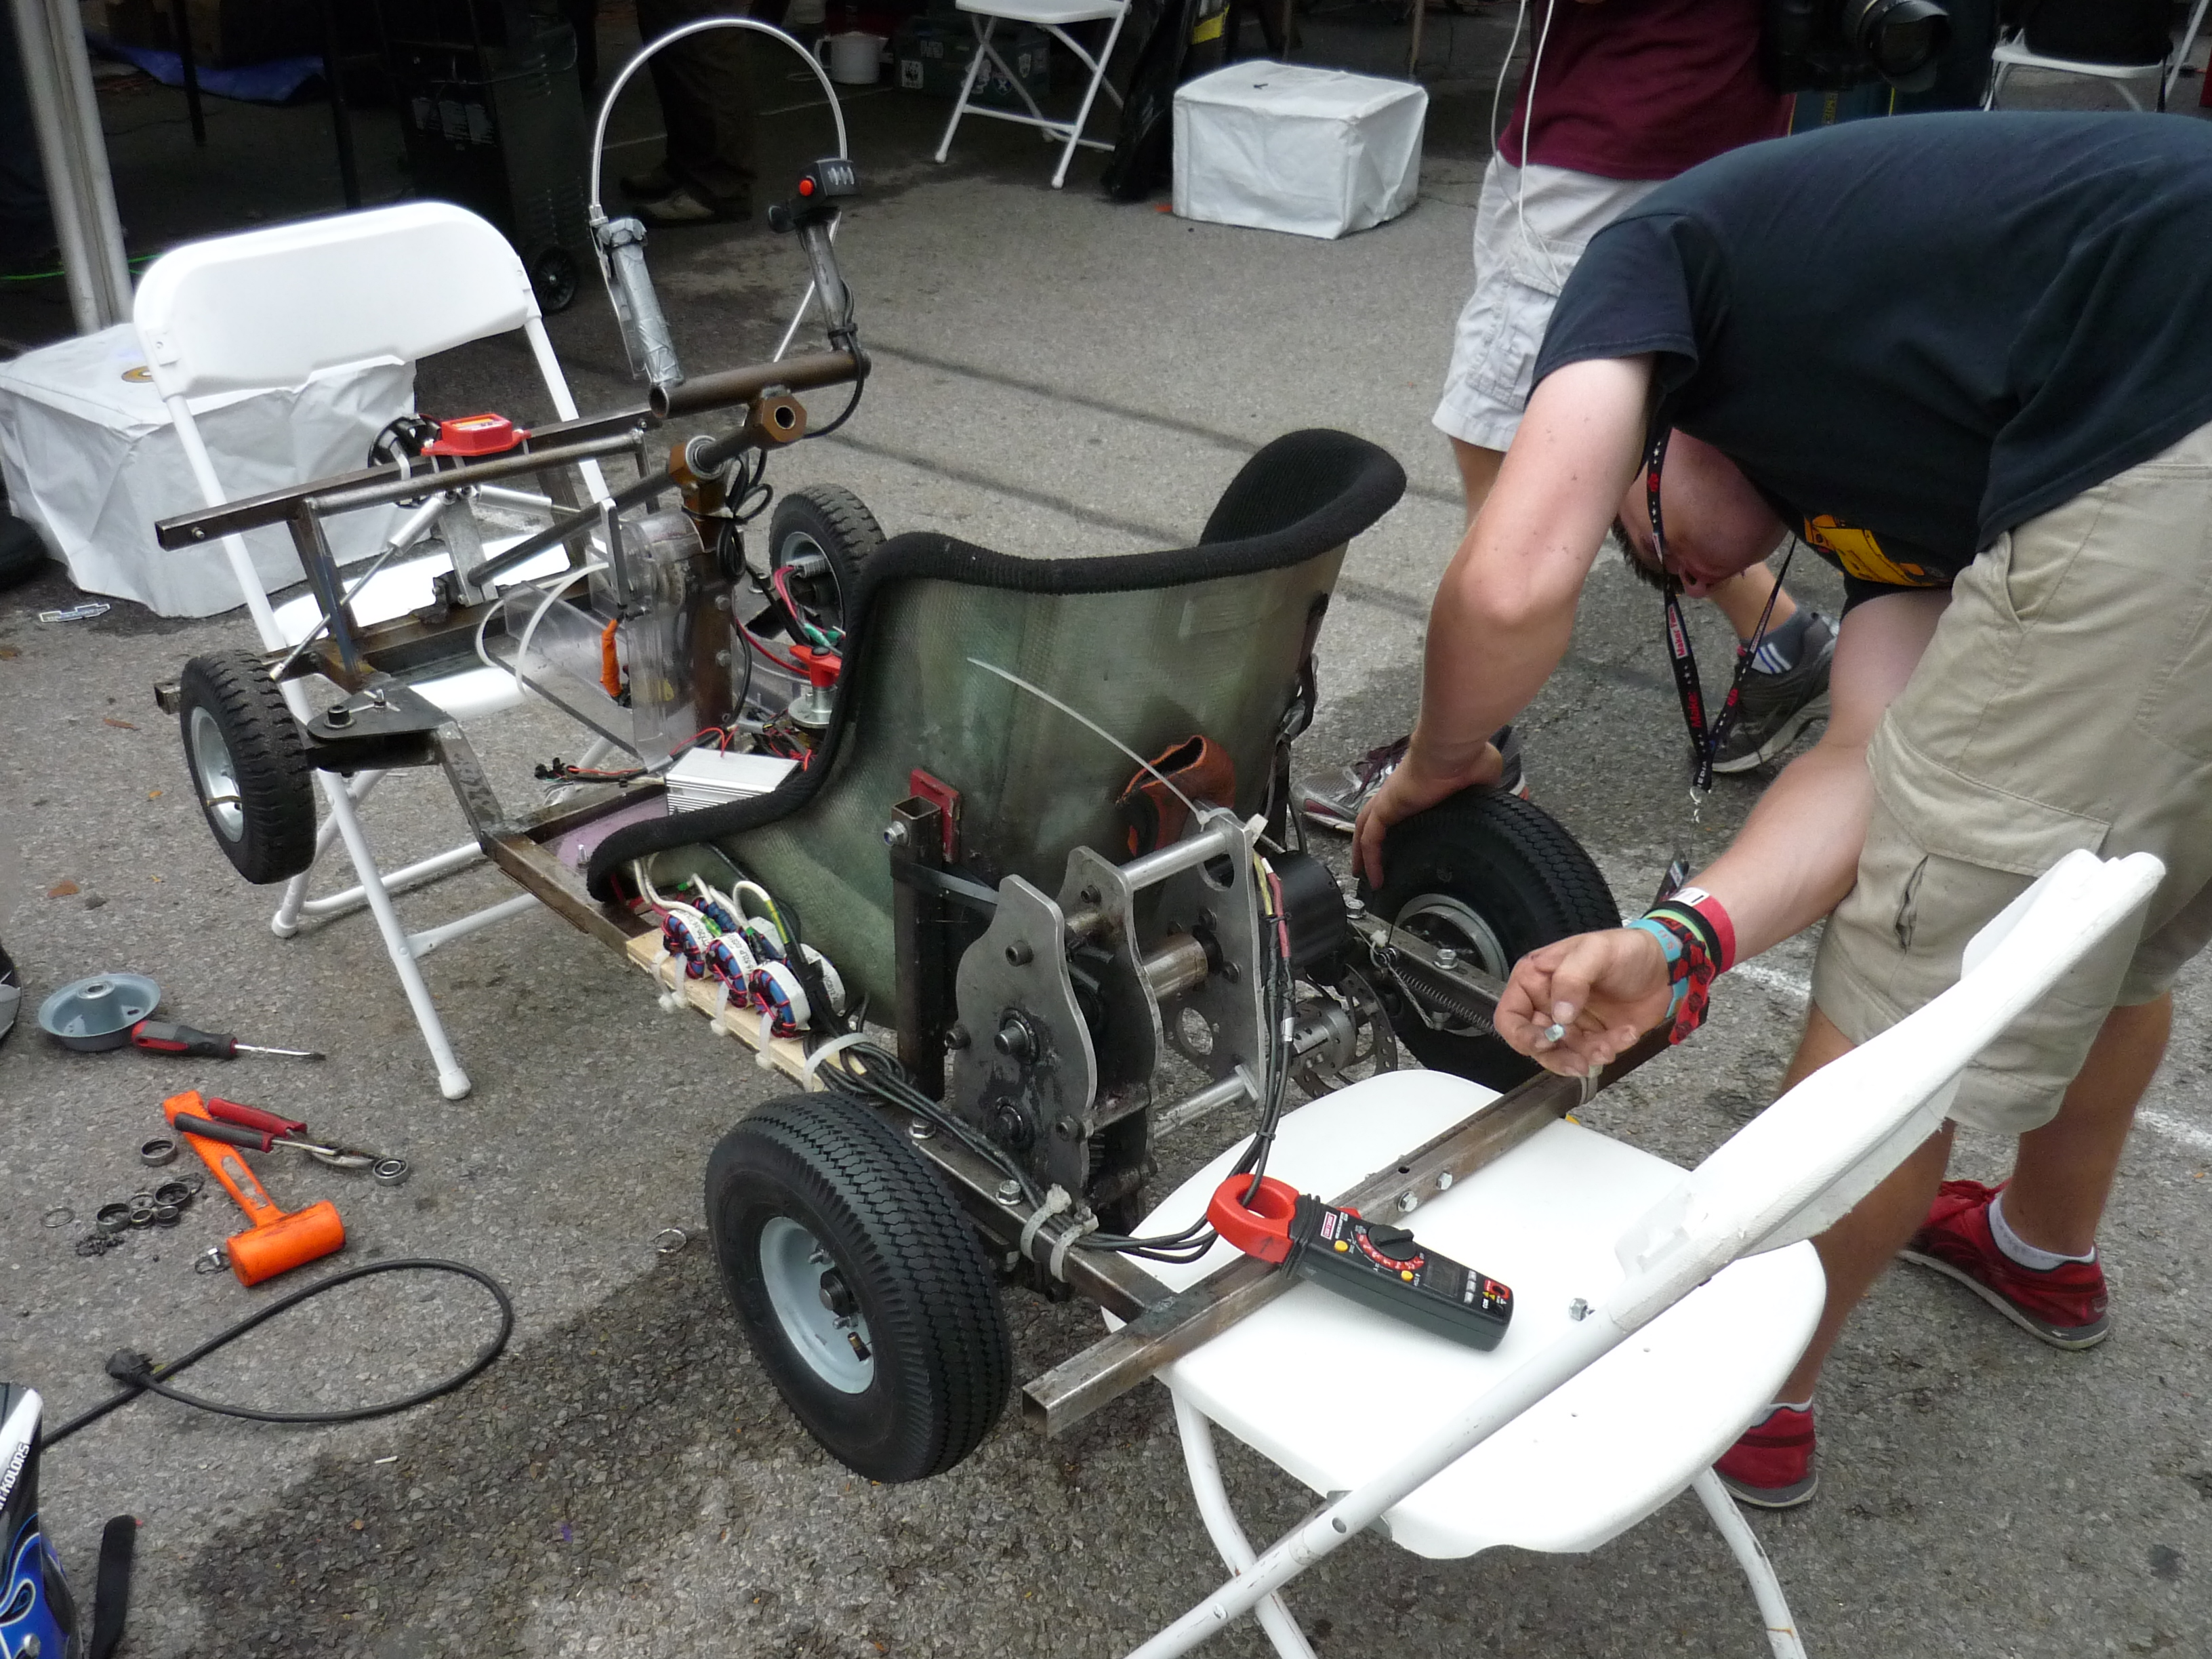
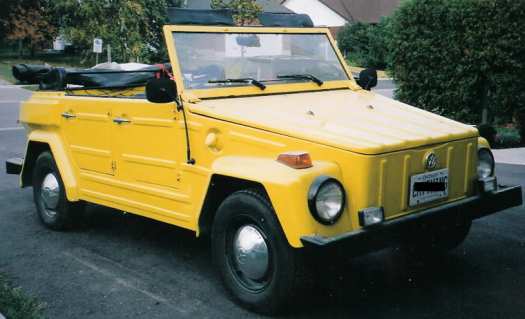
The New ShellChibi-atomic thing's wooden shell was put together in an overnight band saw session solely by Ciarán O Neill. It came out awesome. Shown far right is post-makerfaire NYC chibiatomic. Note that every VW Thing on the Internet is the same weird shade of yellow. Ciarán hit the style and shape spot on. 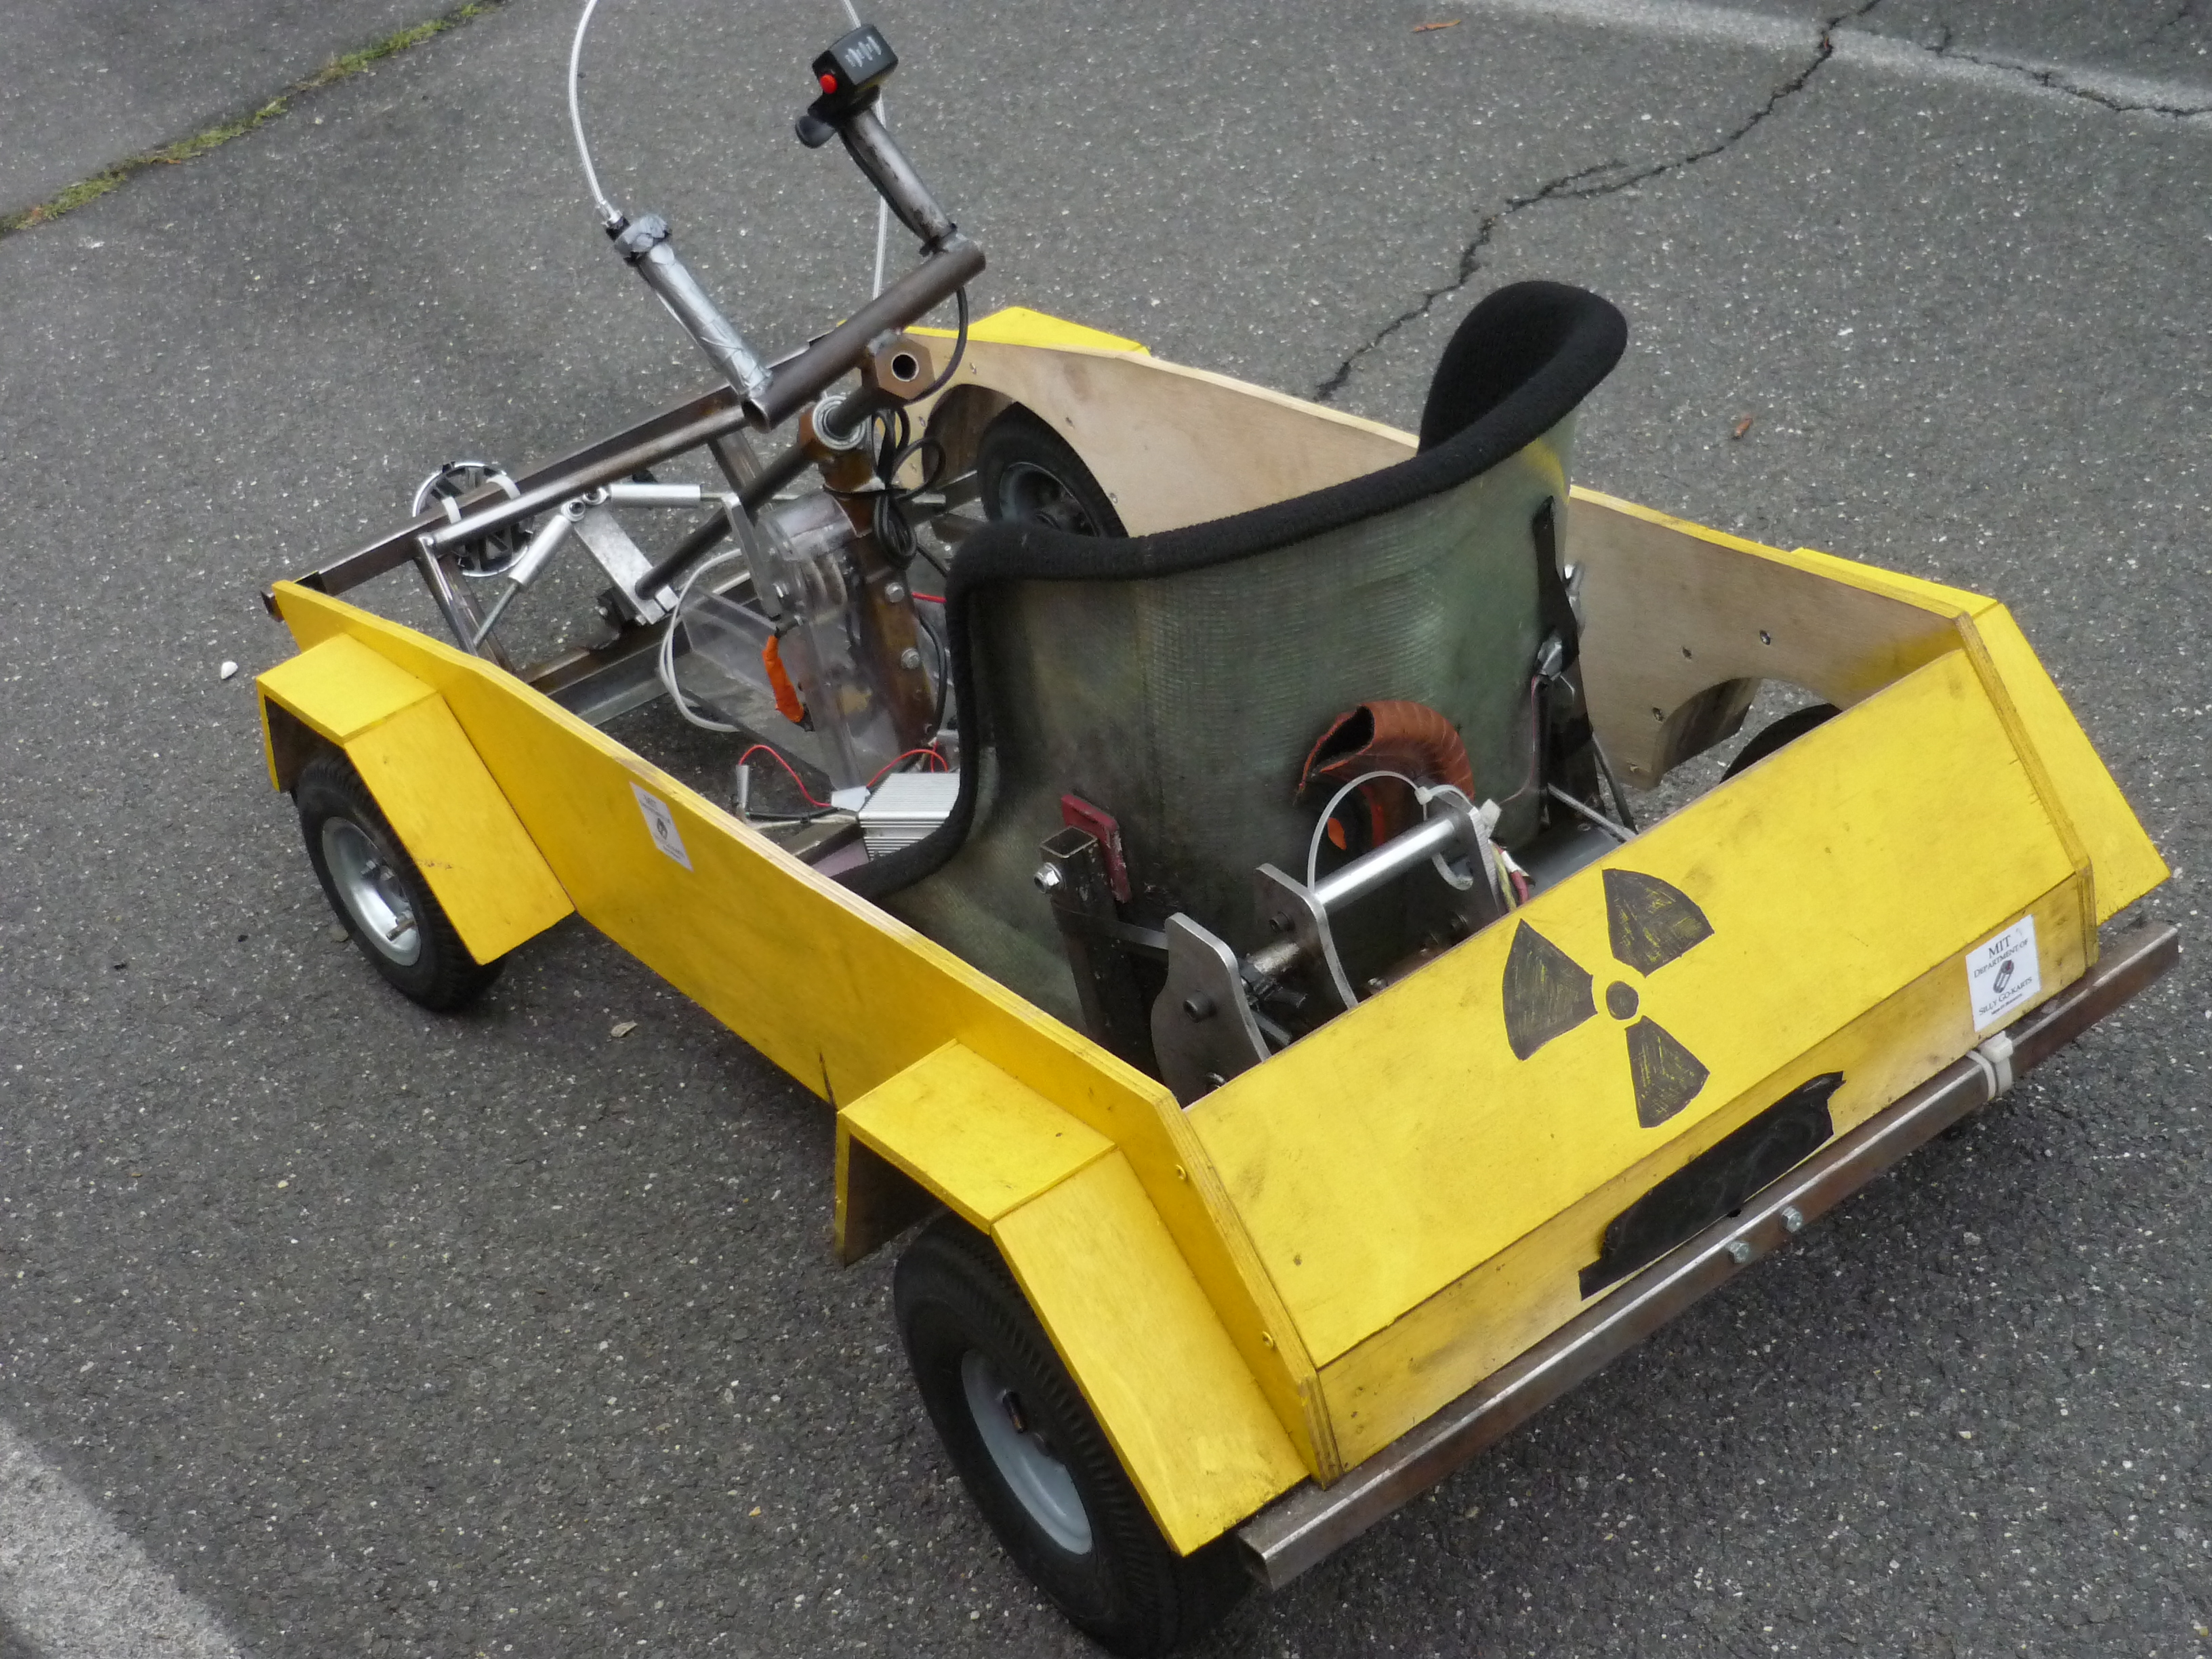
Original Fiberglass Shell AttemptWe did make a foam shell with fancy 3D shapes and even went through with fiberglassing it. We had used a miters-leftover fiberglass wonder epoxy on one side, and something from the flammables cabinet on the other. The fiberglass was something unearthed from harbor freight and broken into strips to cover the shell. Of the two sides, one held up fairly well (the one using normal epoxy), unfortunately the 'other' side melted. 
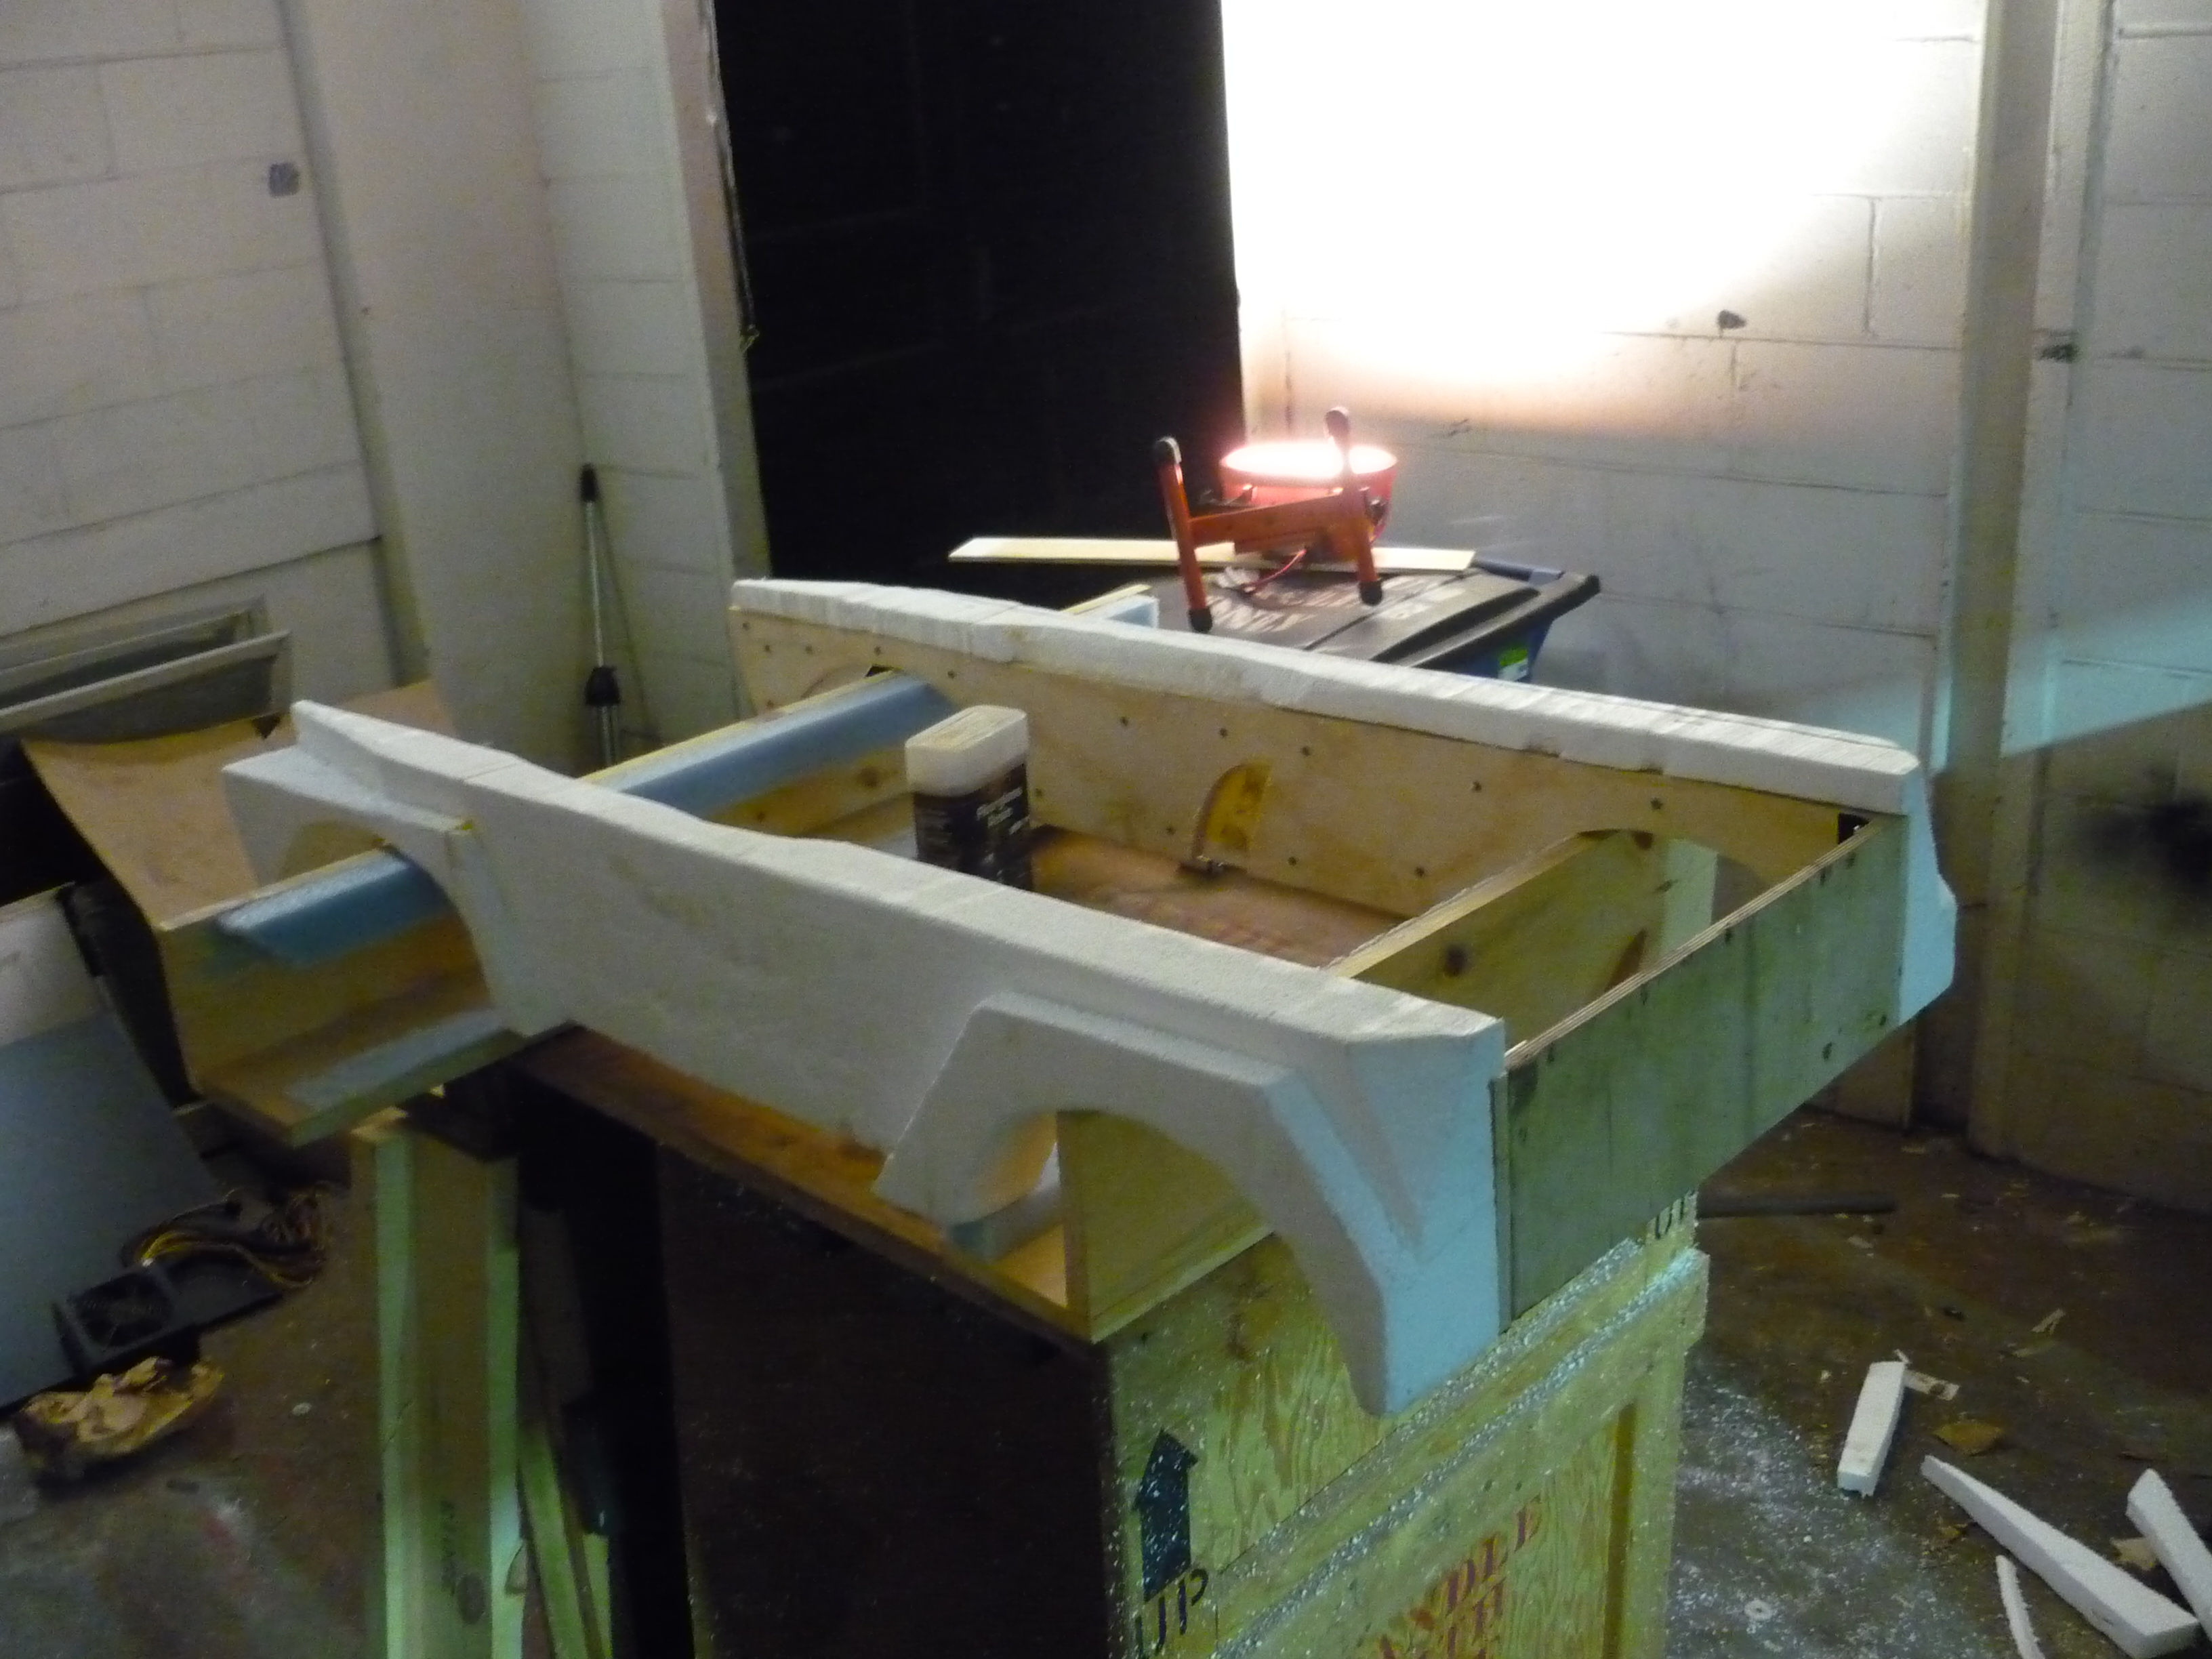
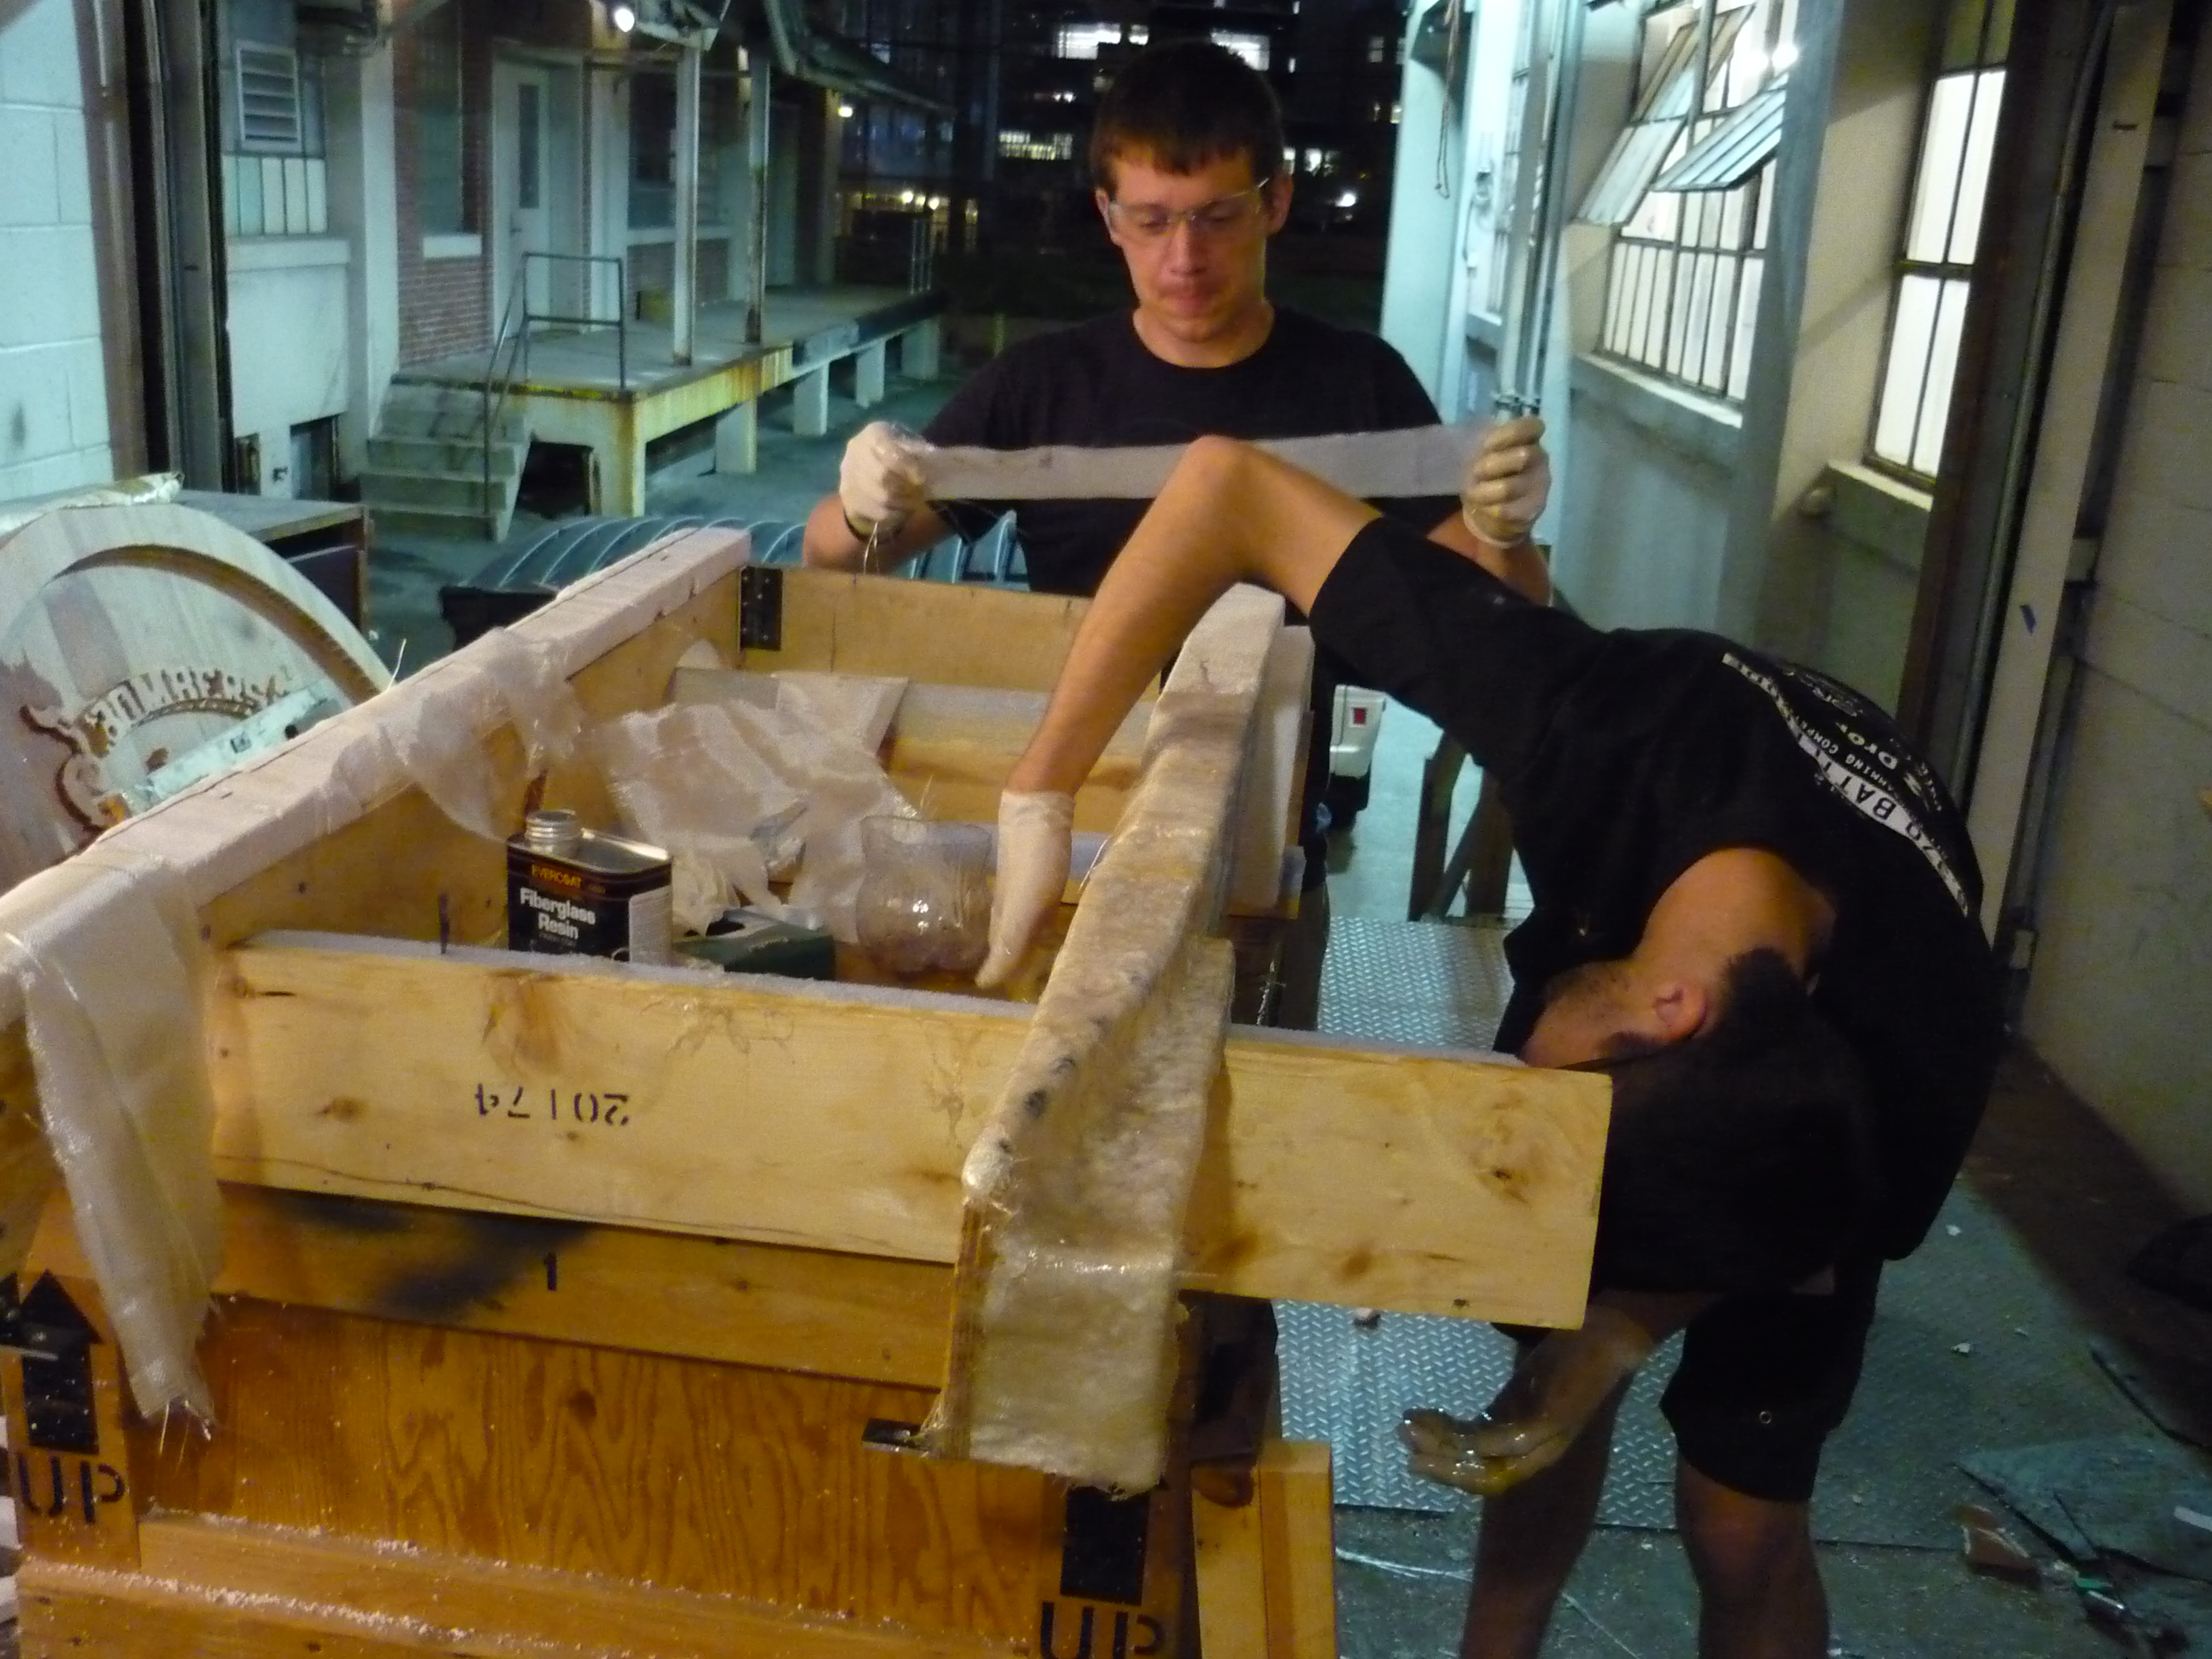
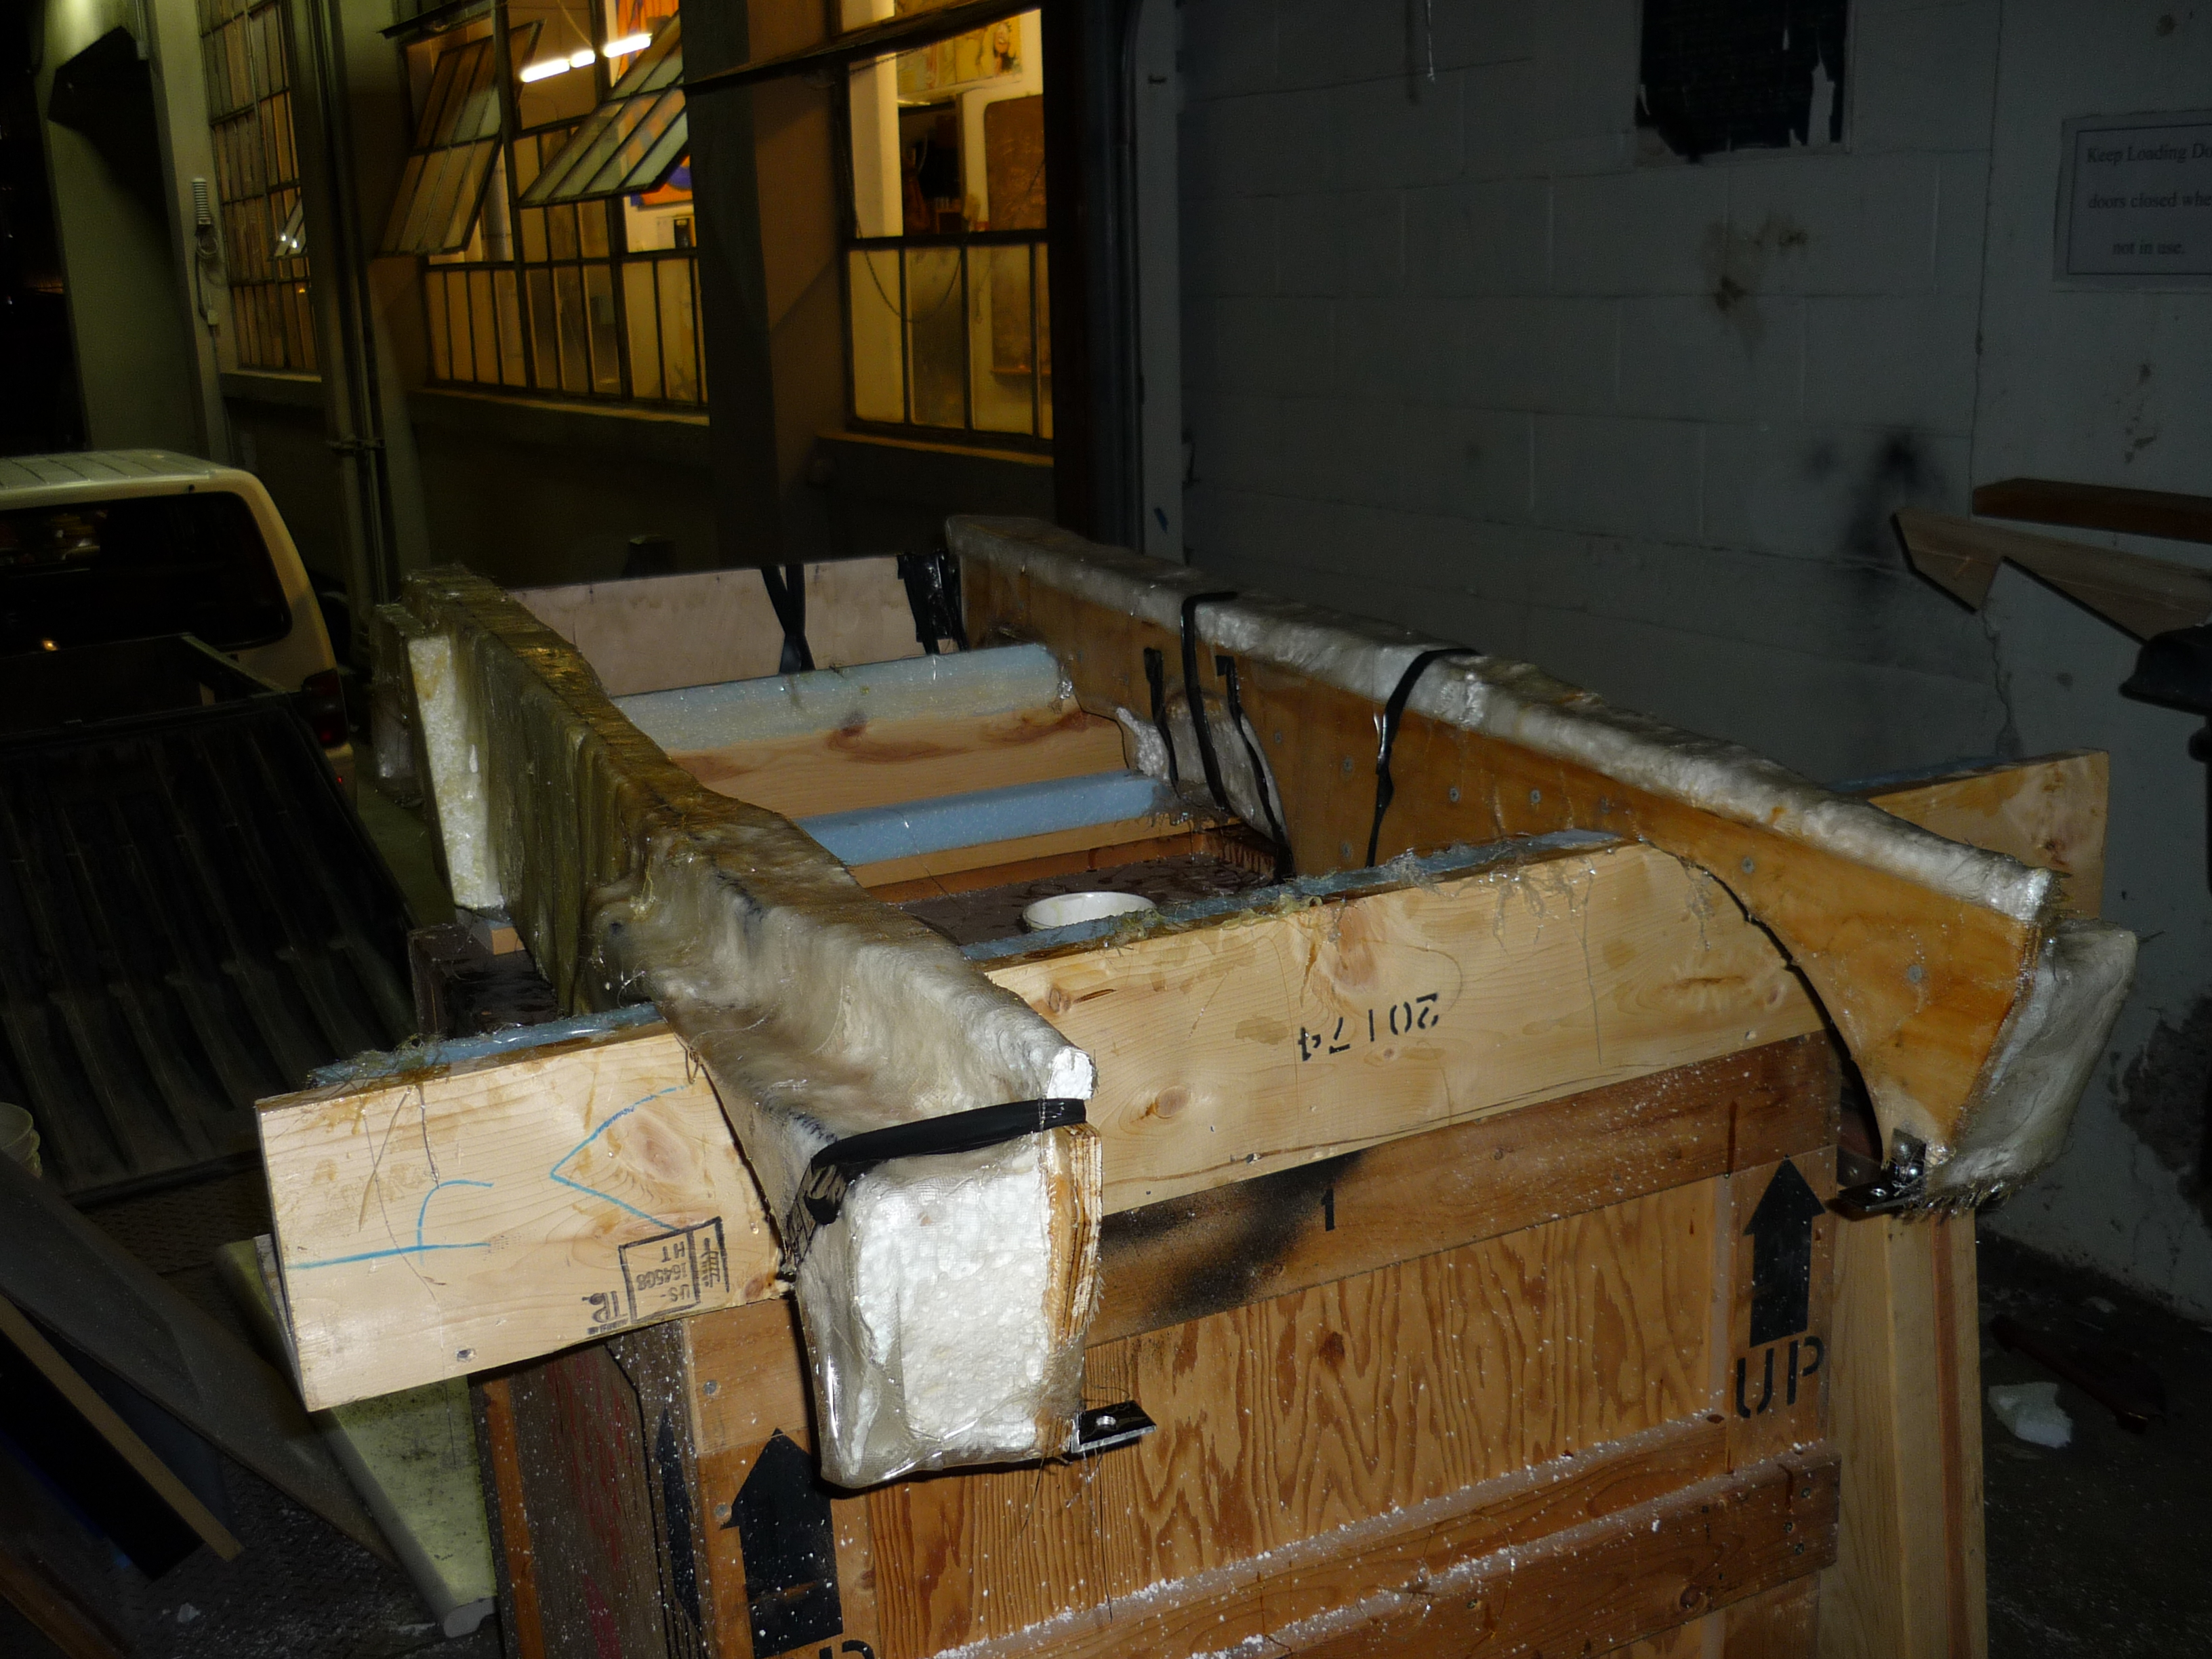
Band saw ahoy. With a lot of eyeballing the new frame was born in a few hours. The plywood was found nearby and quickly whipped into shape. Ciarán is a beast. 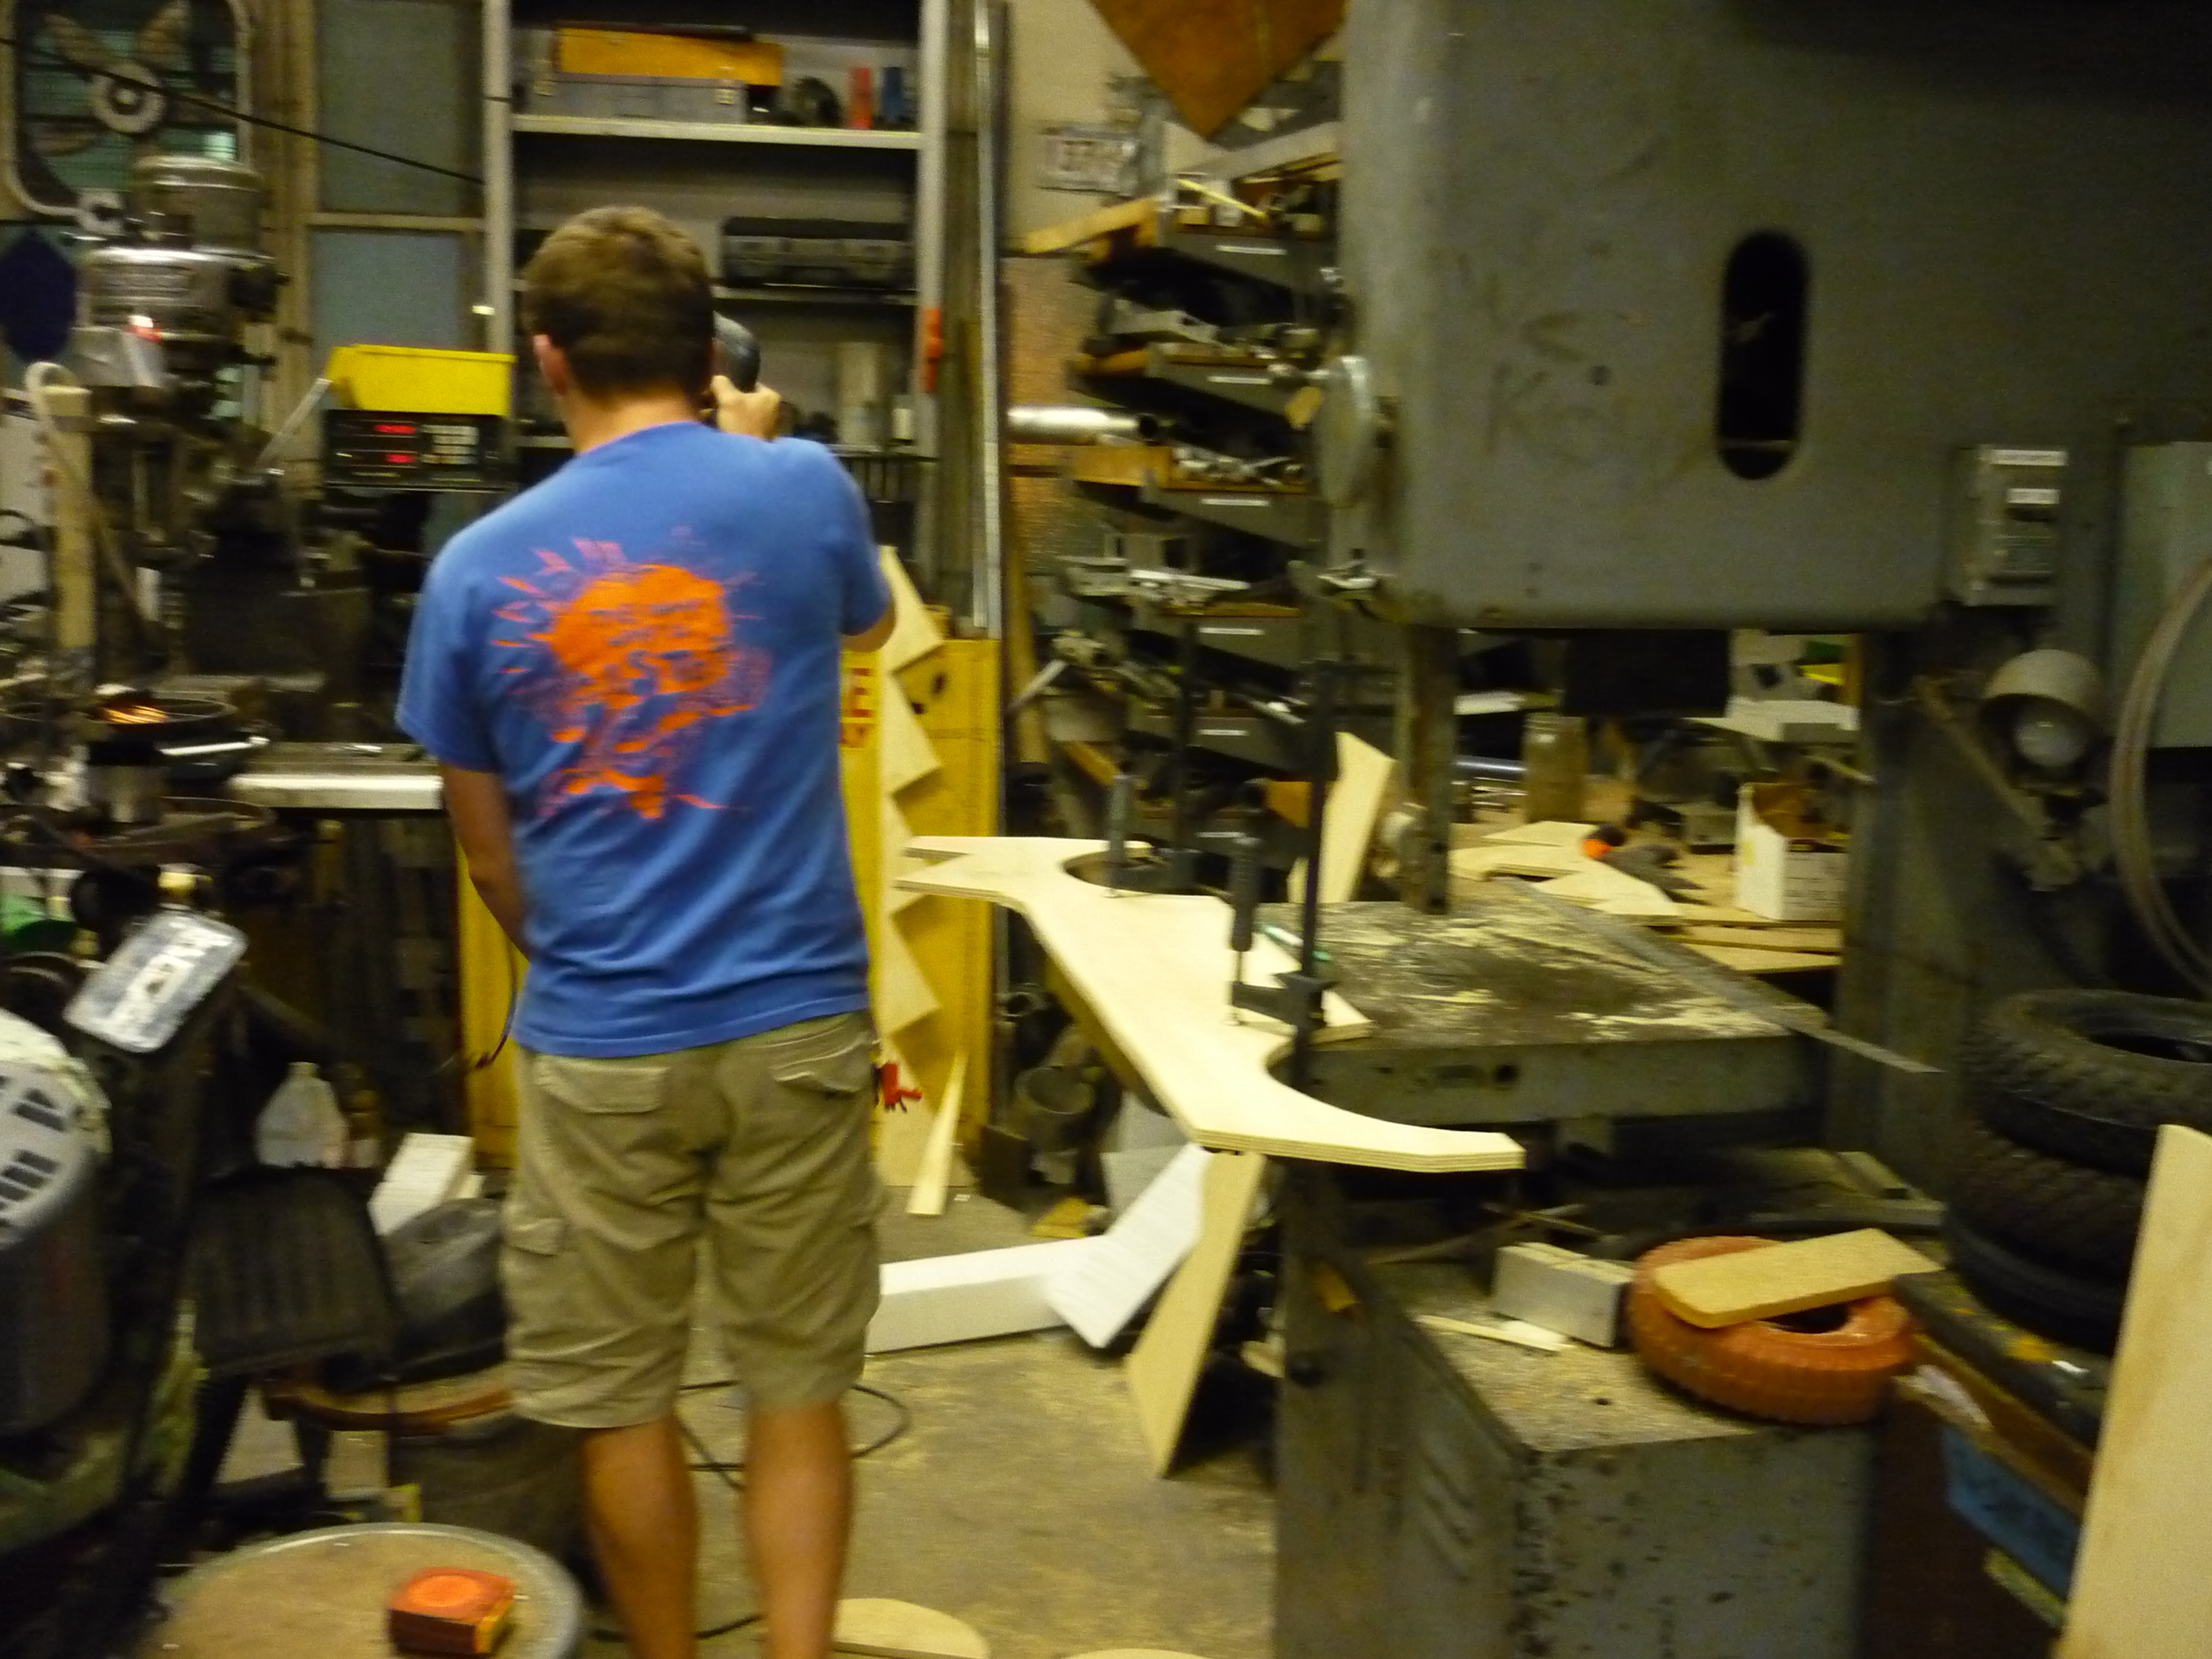
Turning Challenges: "Bottom Steering"Chibiatomic (2014) was fun to race in, it interested a number of attendees when they saw the homegrown gears. It was also wild to drive around. Its characteristic noise-synthesizing gearbox made it fairly hard to sneak off with. 
Due to the fixed rear axle, turning the tiny atomic thing in 2014 was a bit tenuous, as the outer tire would inherently want to spin faster than the inner about a turn. As a team, we developed 'swing your body out on the turn and lift the inner tire to steer better'. This technique had its drawbacks. 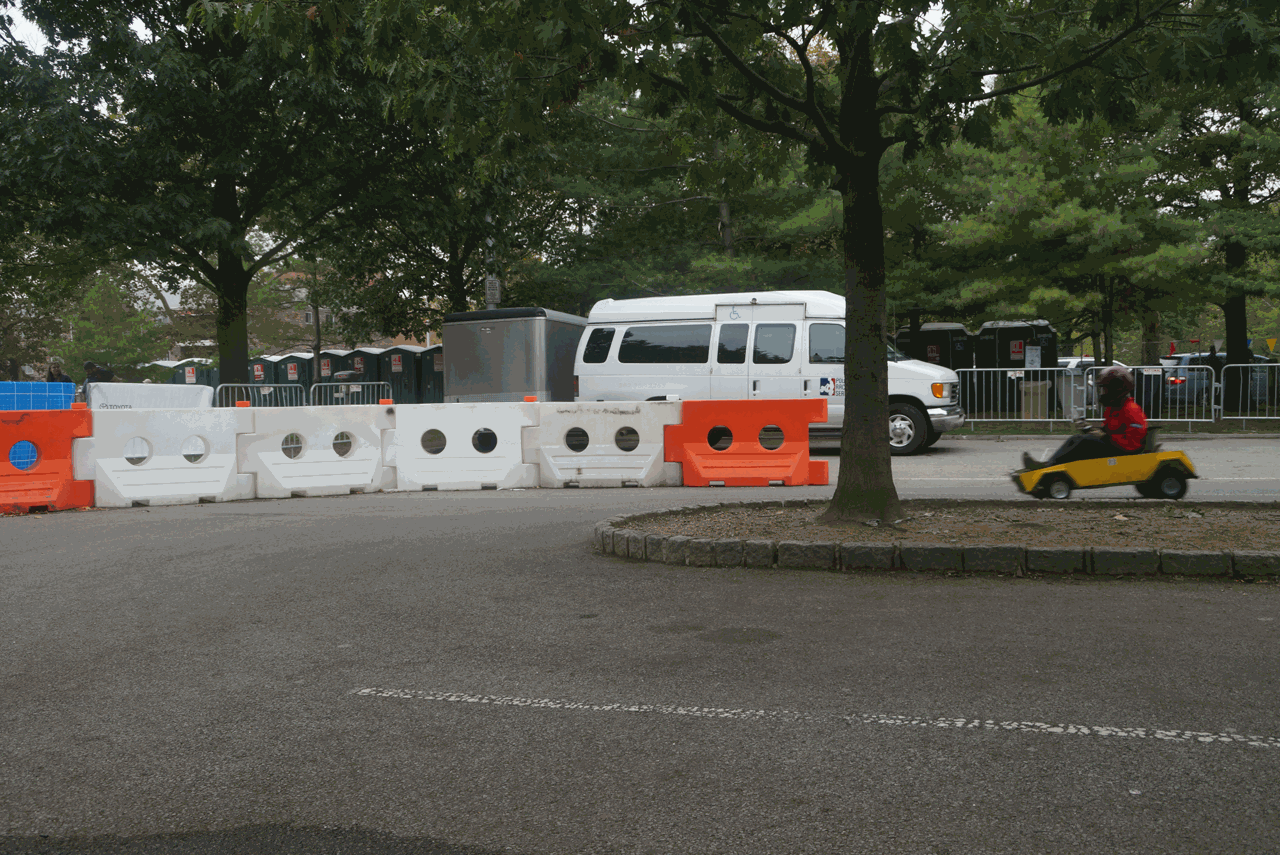
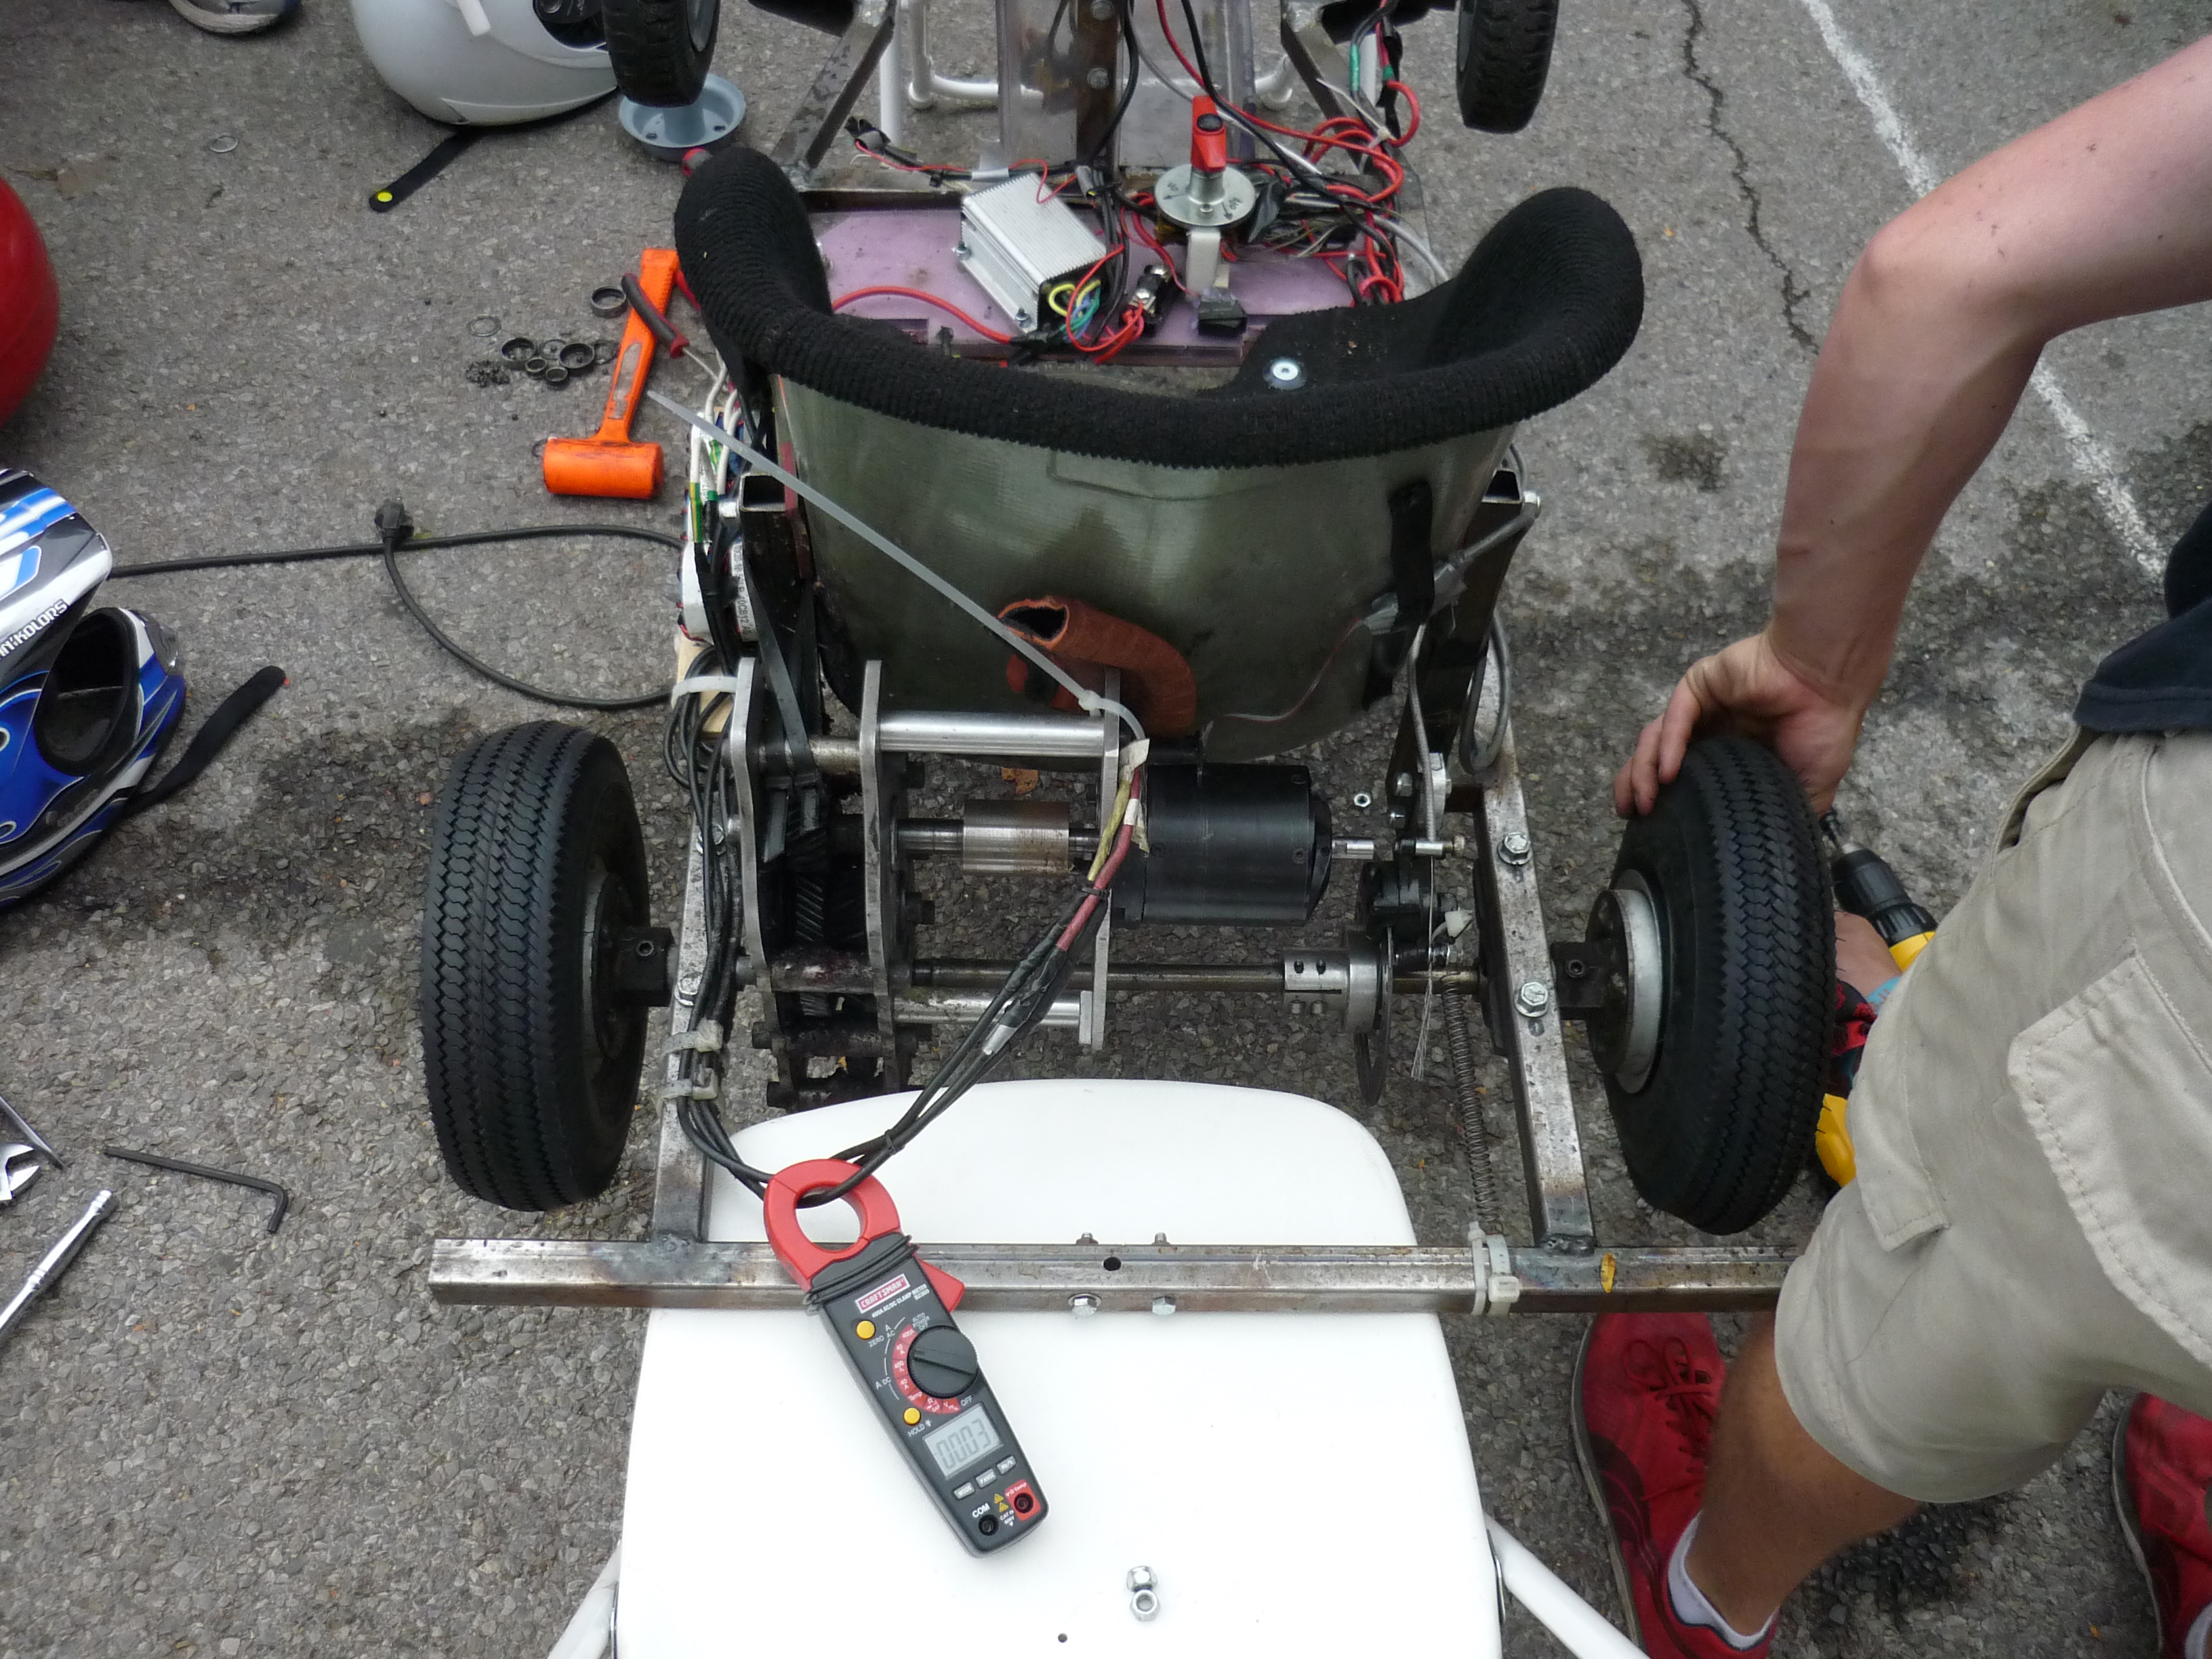
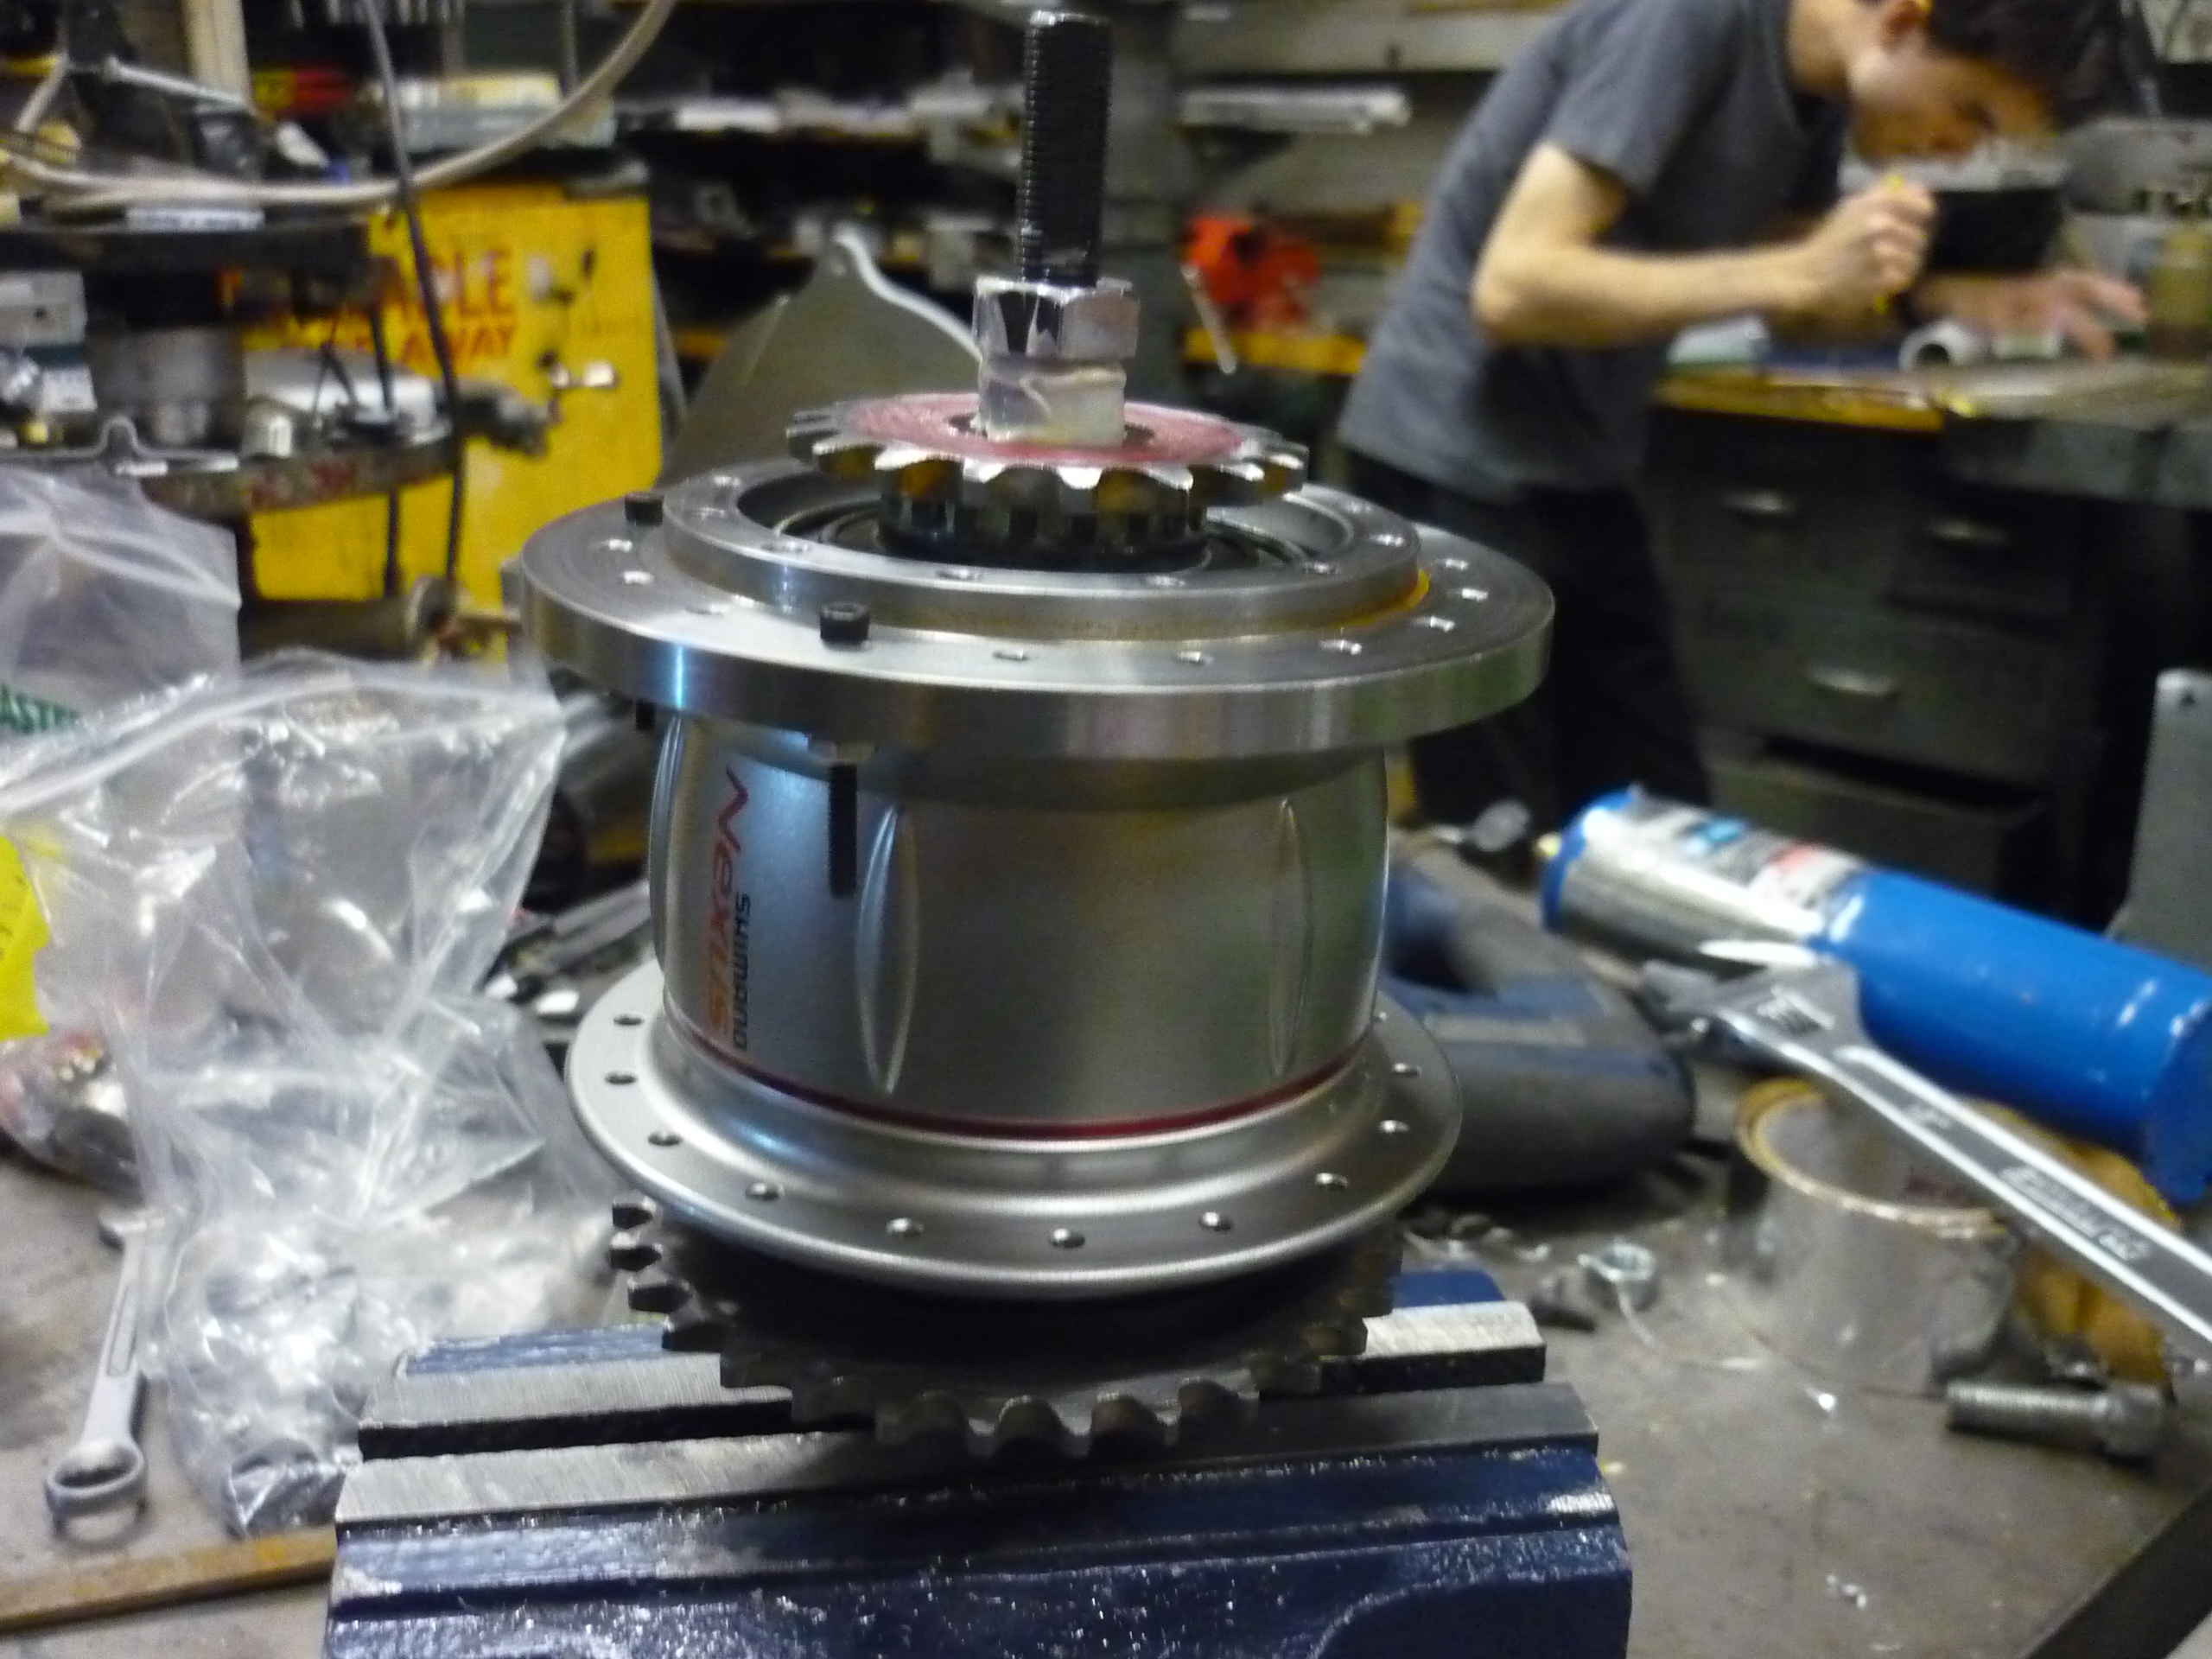
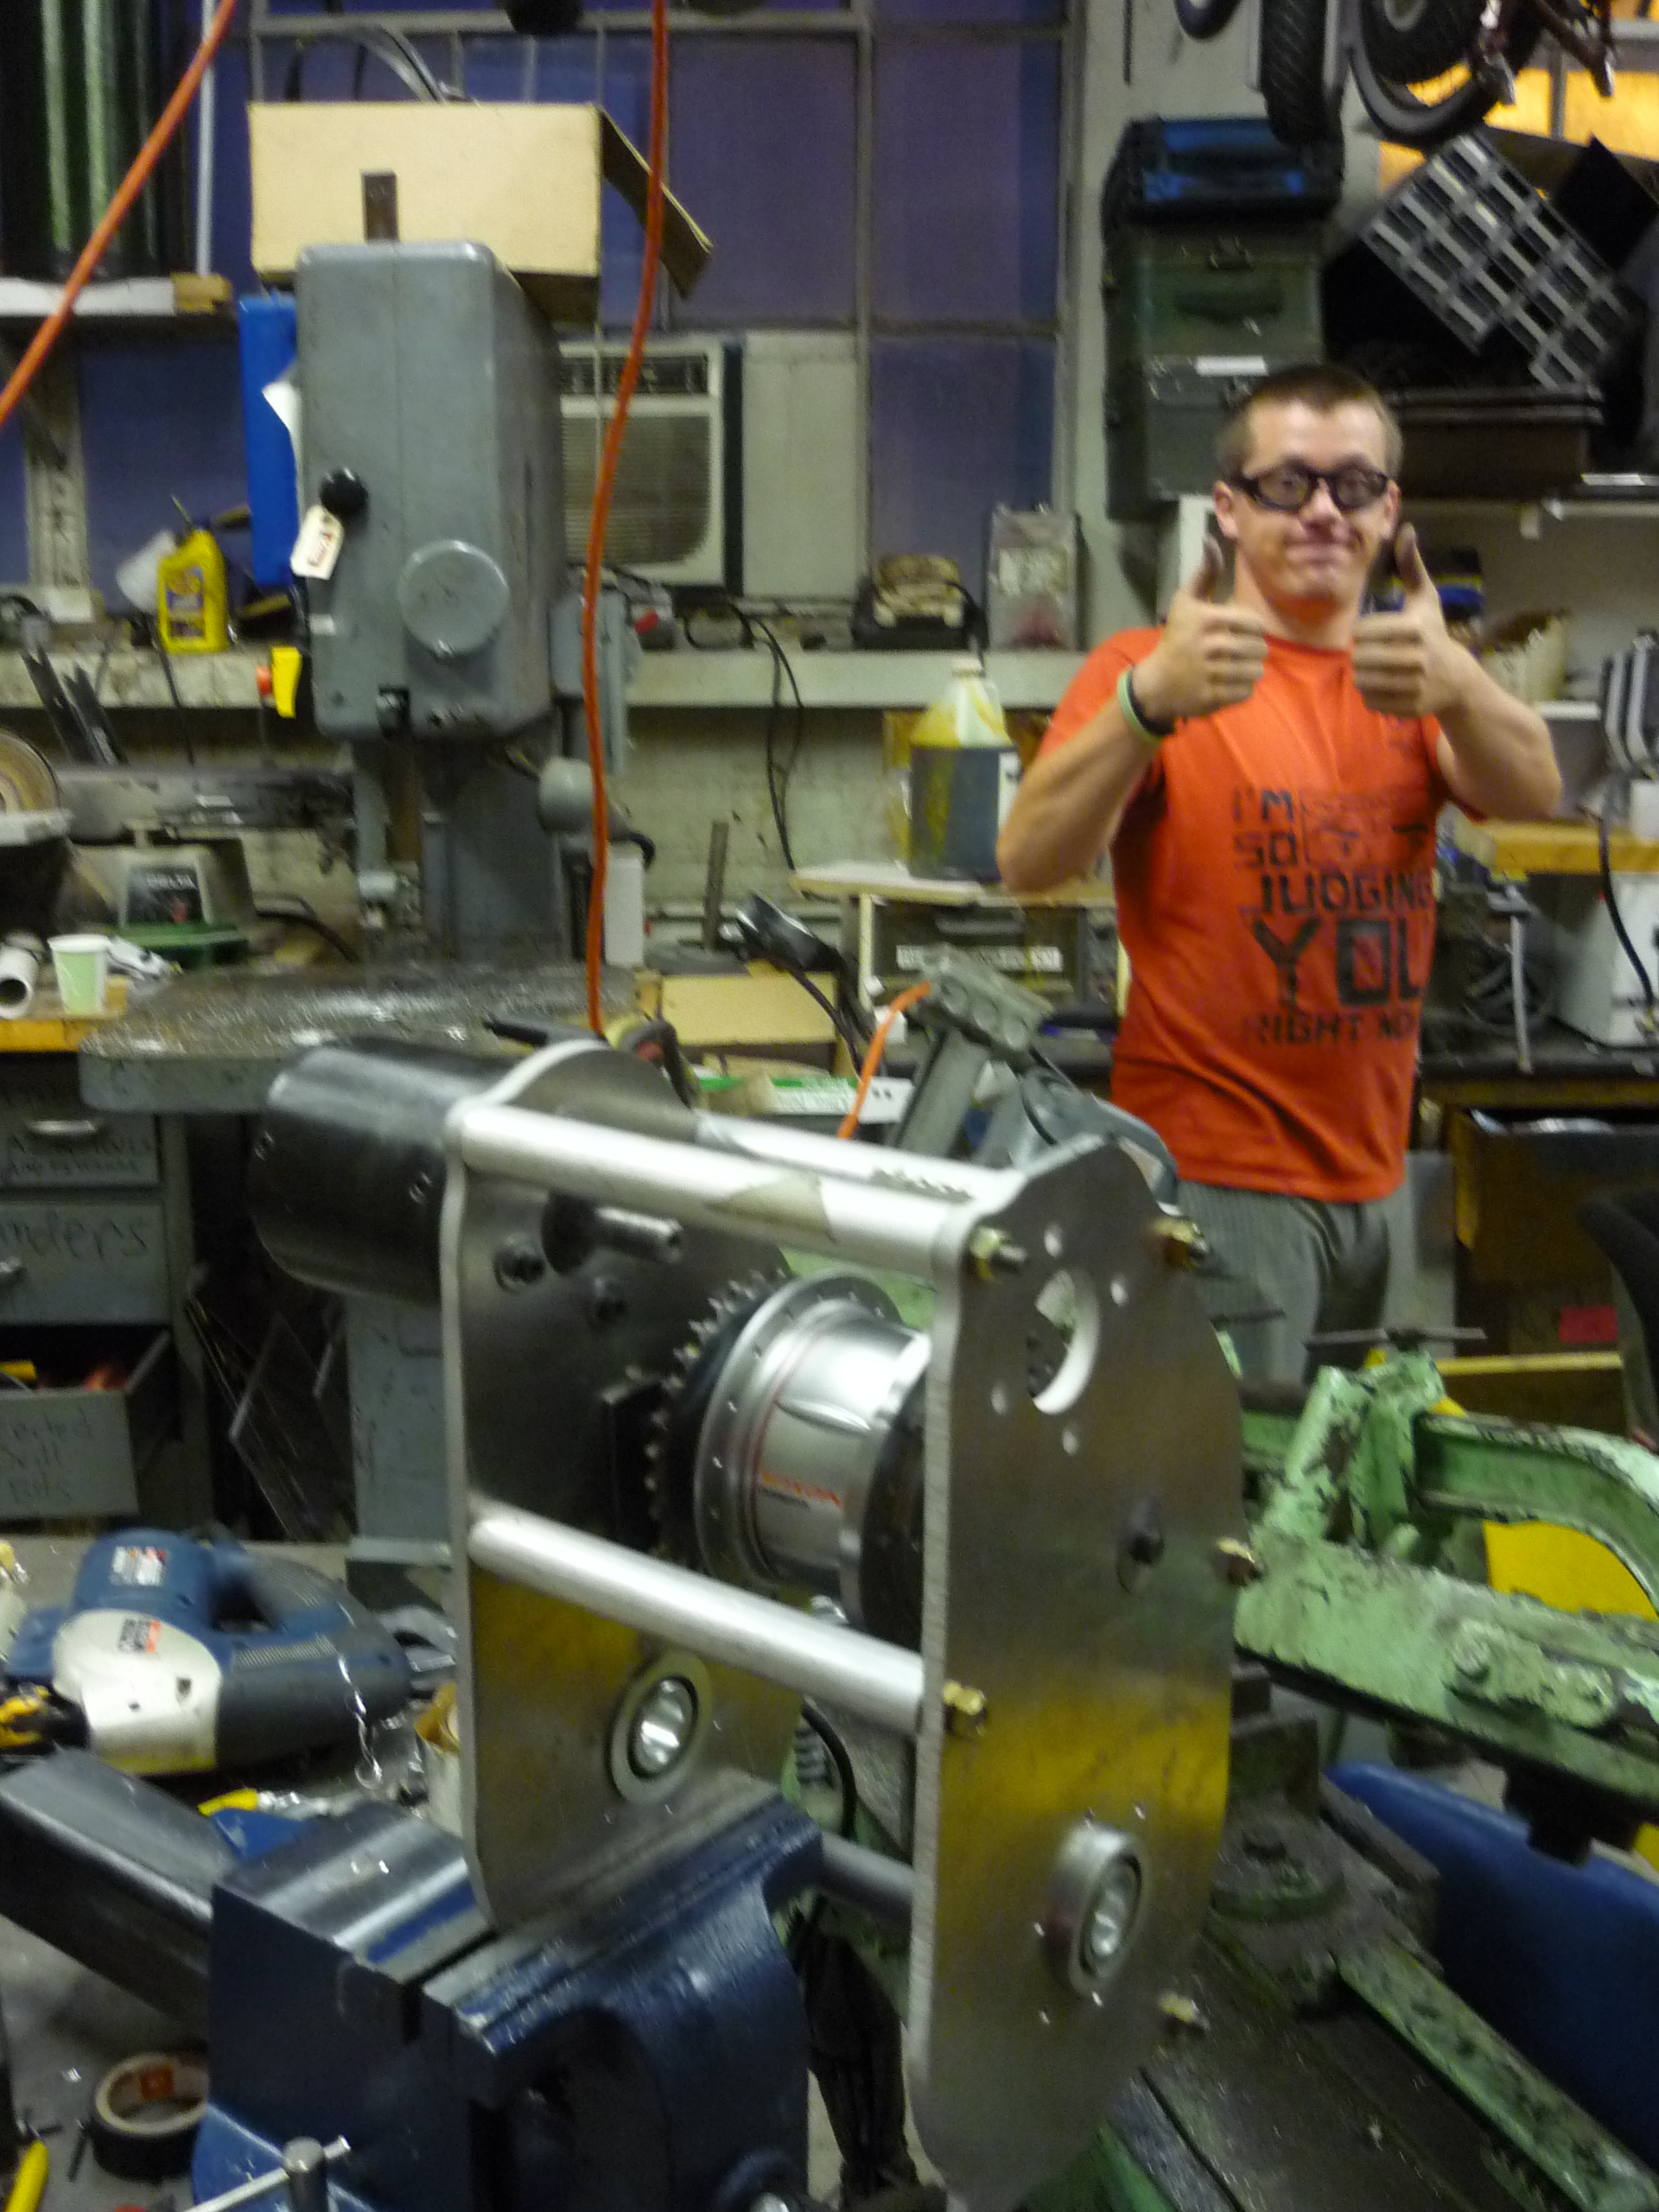
Gearbox Design & One-Way DifferentialHuzzah, a gearbox CAD appears. Shown right is a tear-away view of the gearbox. Note this sits in the same spot as last-year's homegrown gearbox. Shown are three major parts: Motor, adapter to 8-speed internal hub gearbox, and split-one-way-sprocket differential. There are two chain paths and two one-way shaft couplings. This beast is a work of art by Ciarán, it worked out splendidly. 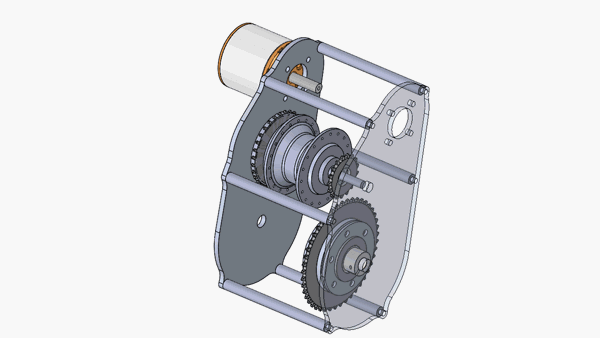
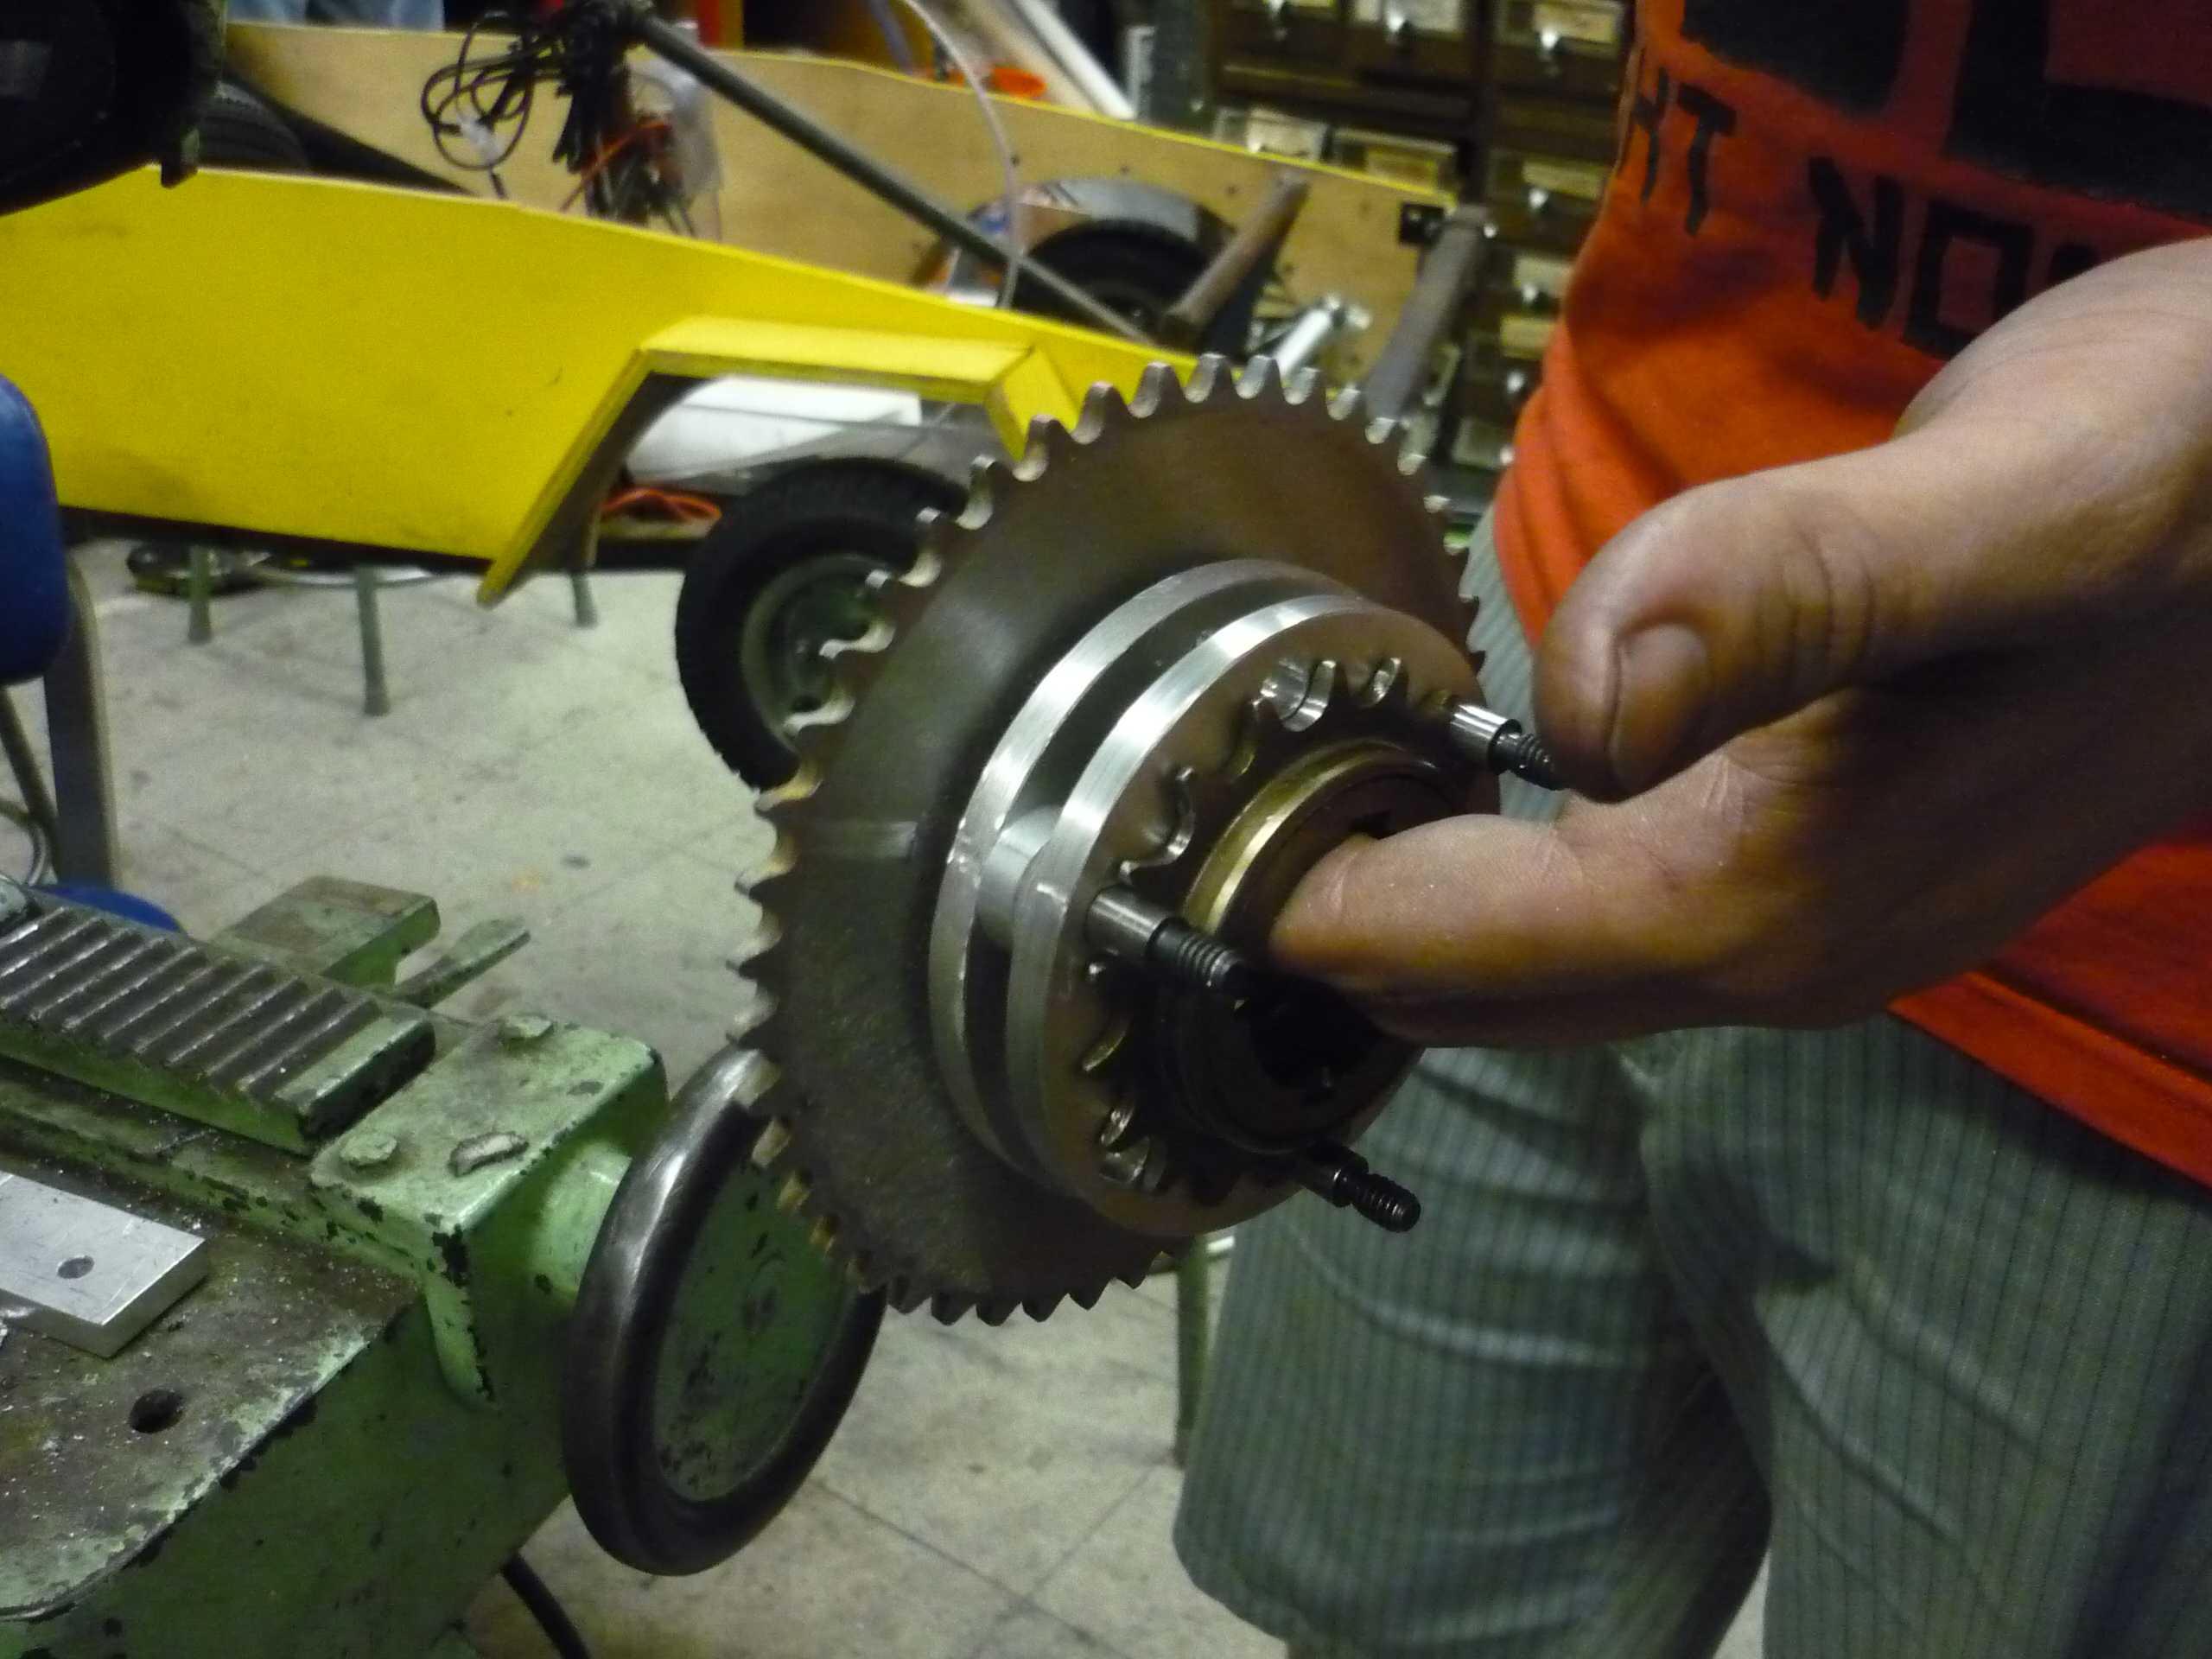
The one-way differential assembly is shown here in all its glory. Yes, those are bolts concentric with the sprocket teeth spacing for load transfer. It works fantastically as a differential, orders of magnitude better than the fixed-shaft drive of the previous year. 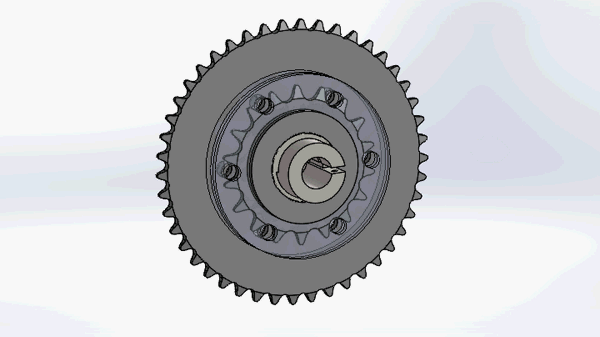
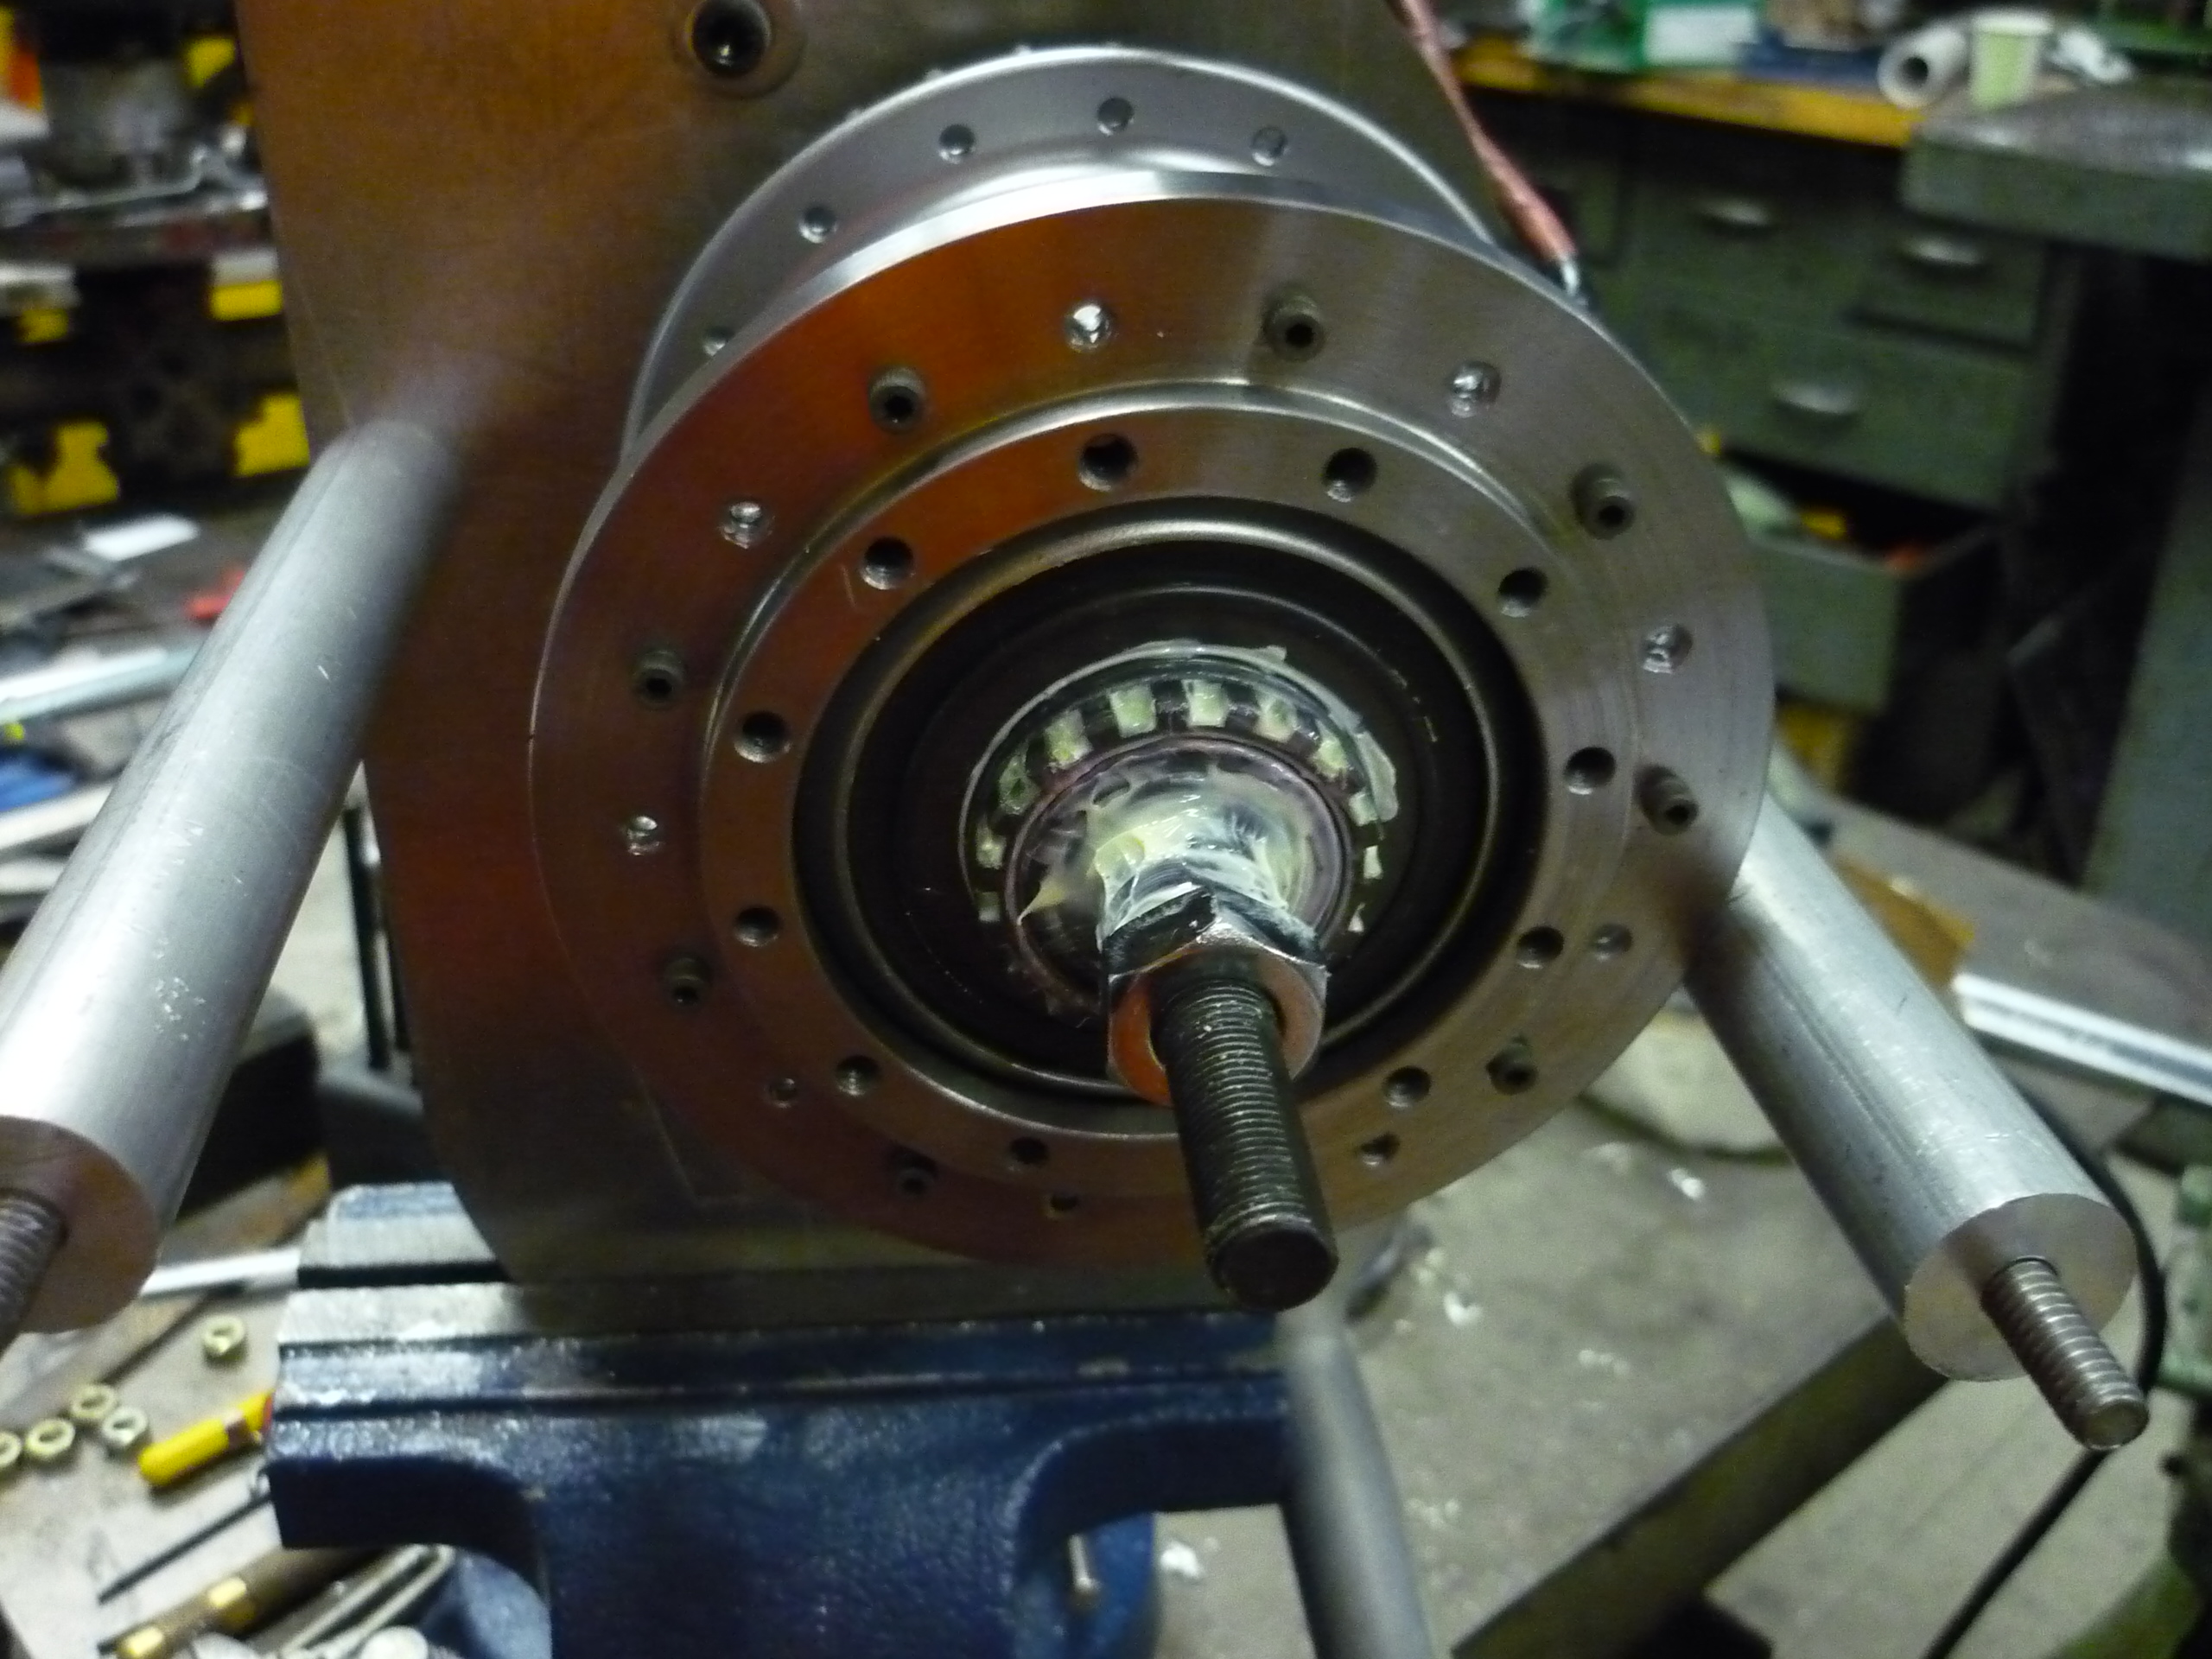
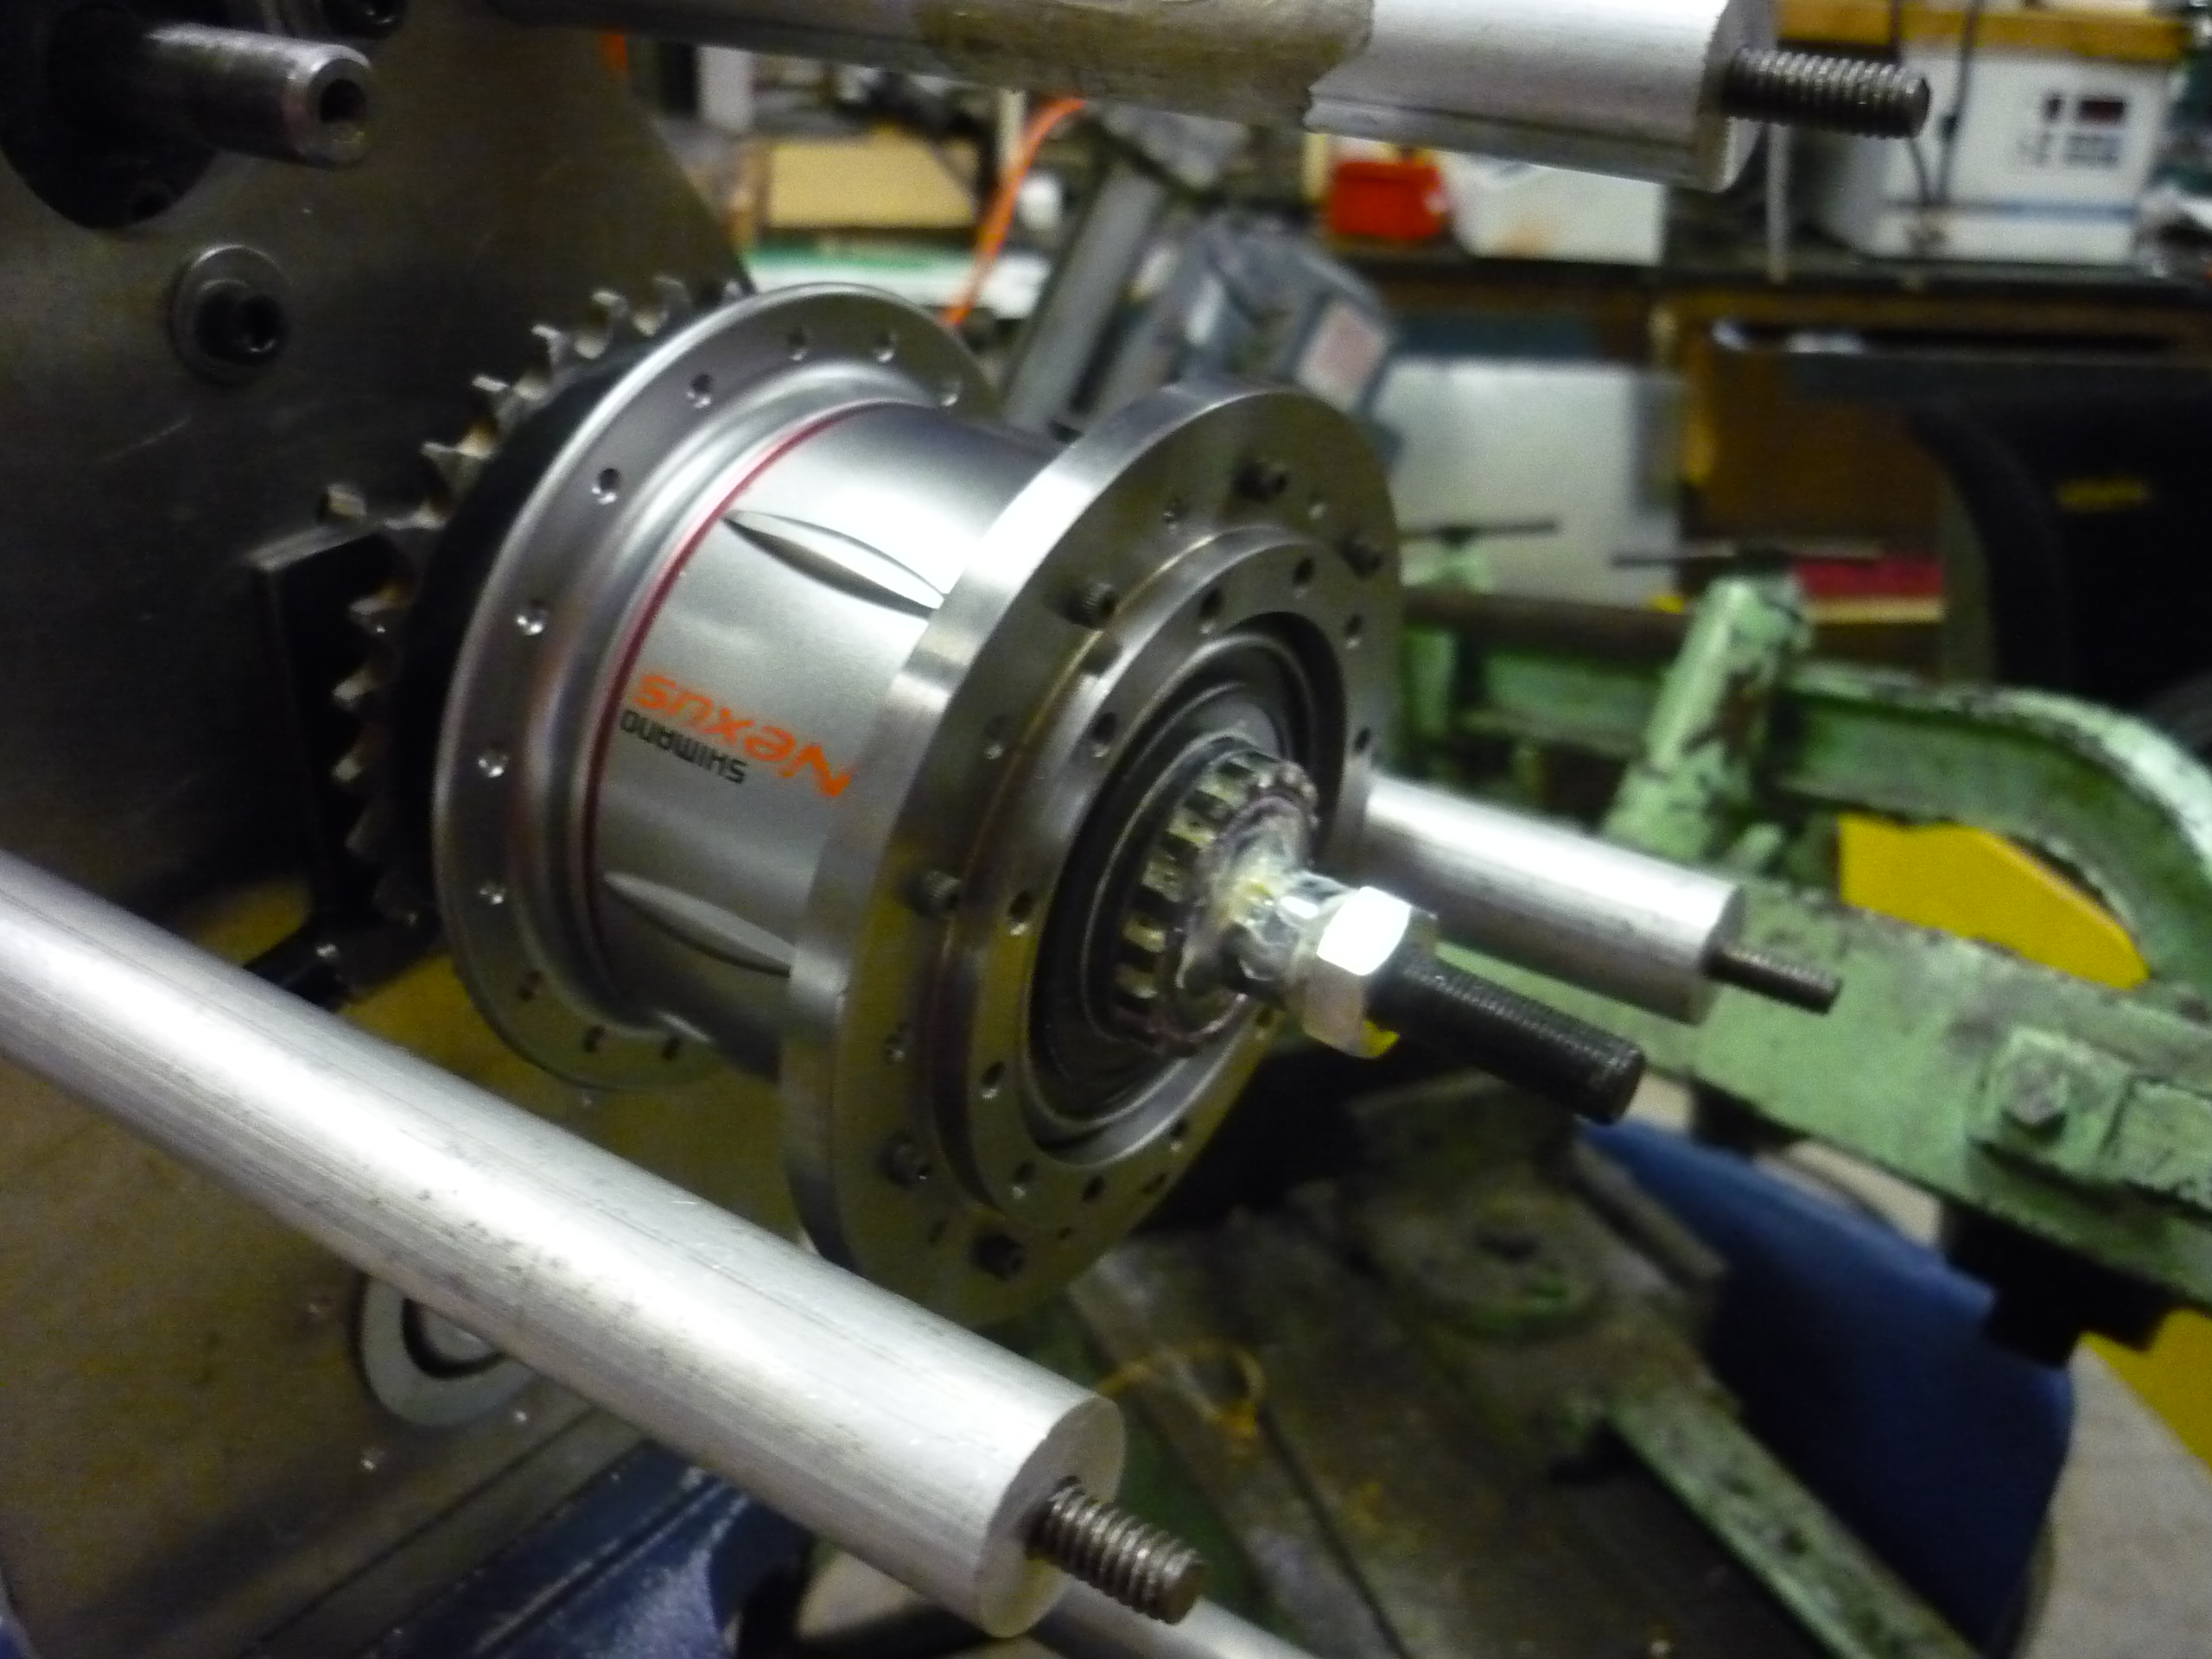
Upgraded Gearbox ComponentsThe heart of the beast is an ebay-deluxe mislabeled Shimano shifter, a lightly used Nexus SG-8R36 8-Speed. This monster features a pile of internal planetary gears and a rotary shift fixture which indexes between the gears. There's a bit of details available here [link], but suffice it to say there's a 309% spread from gear 1 to gear 8. 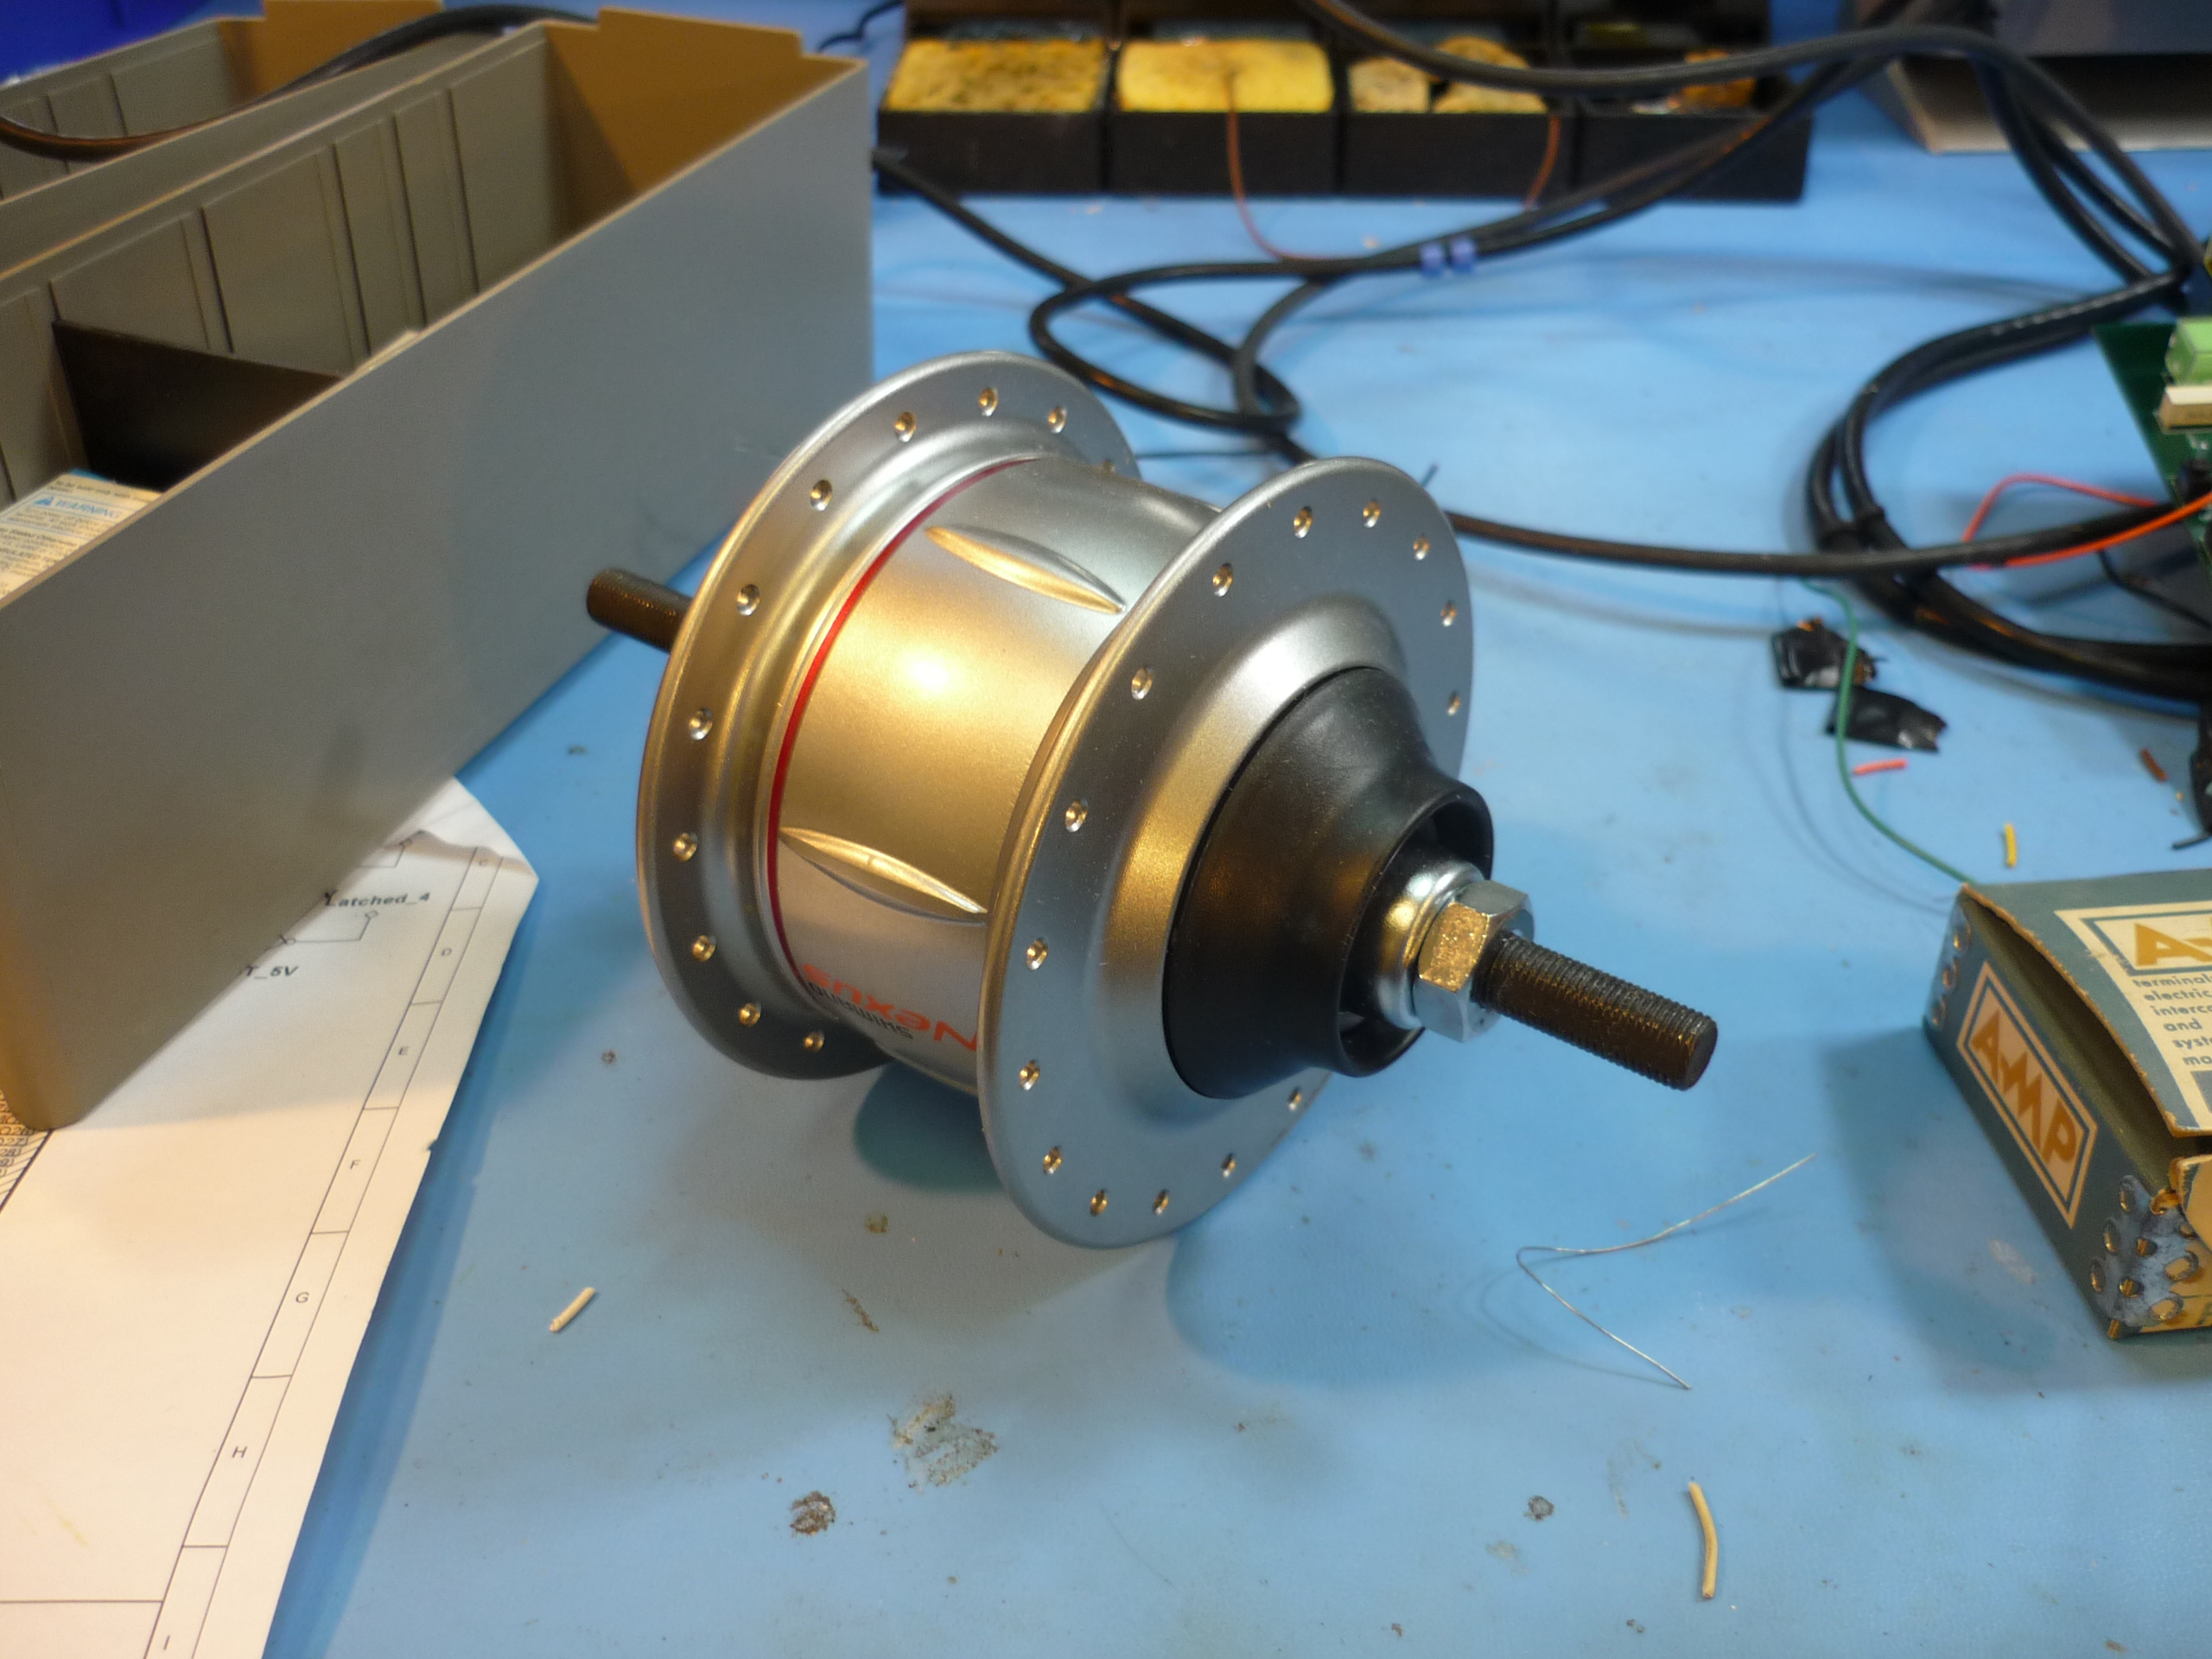
Spoke-to-Sprocket CouplingHow do you mate to this thing? In our case, we wanted to use the gearbox mildly as intended, with force transferring in through the crank sprocket mount and transfering out through the spokes. We did however need to transfer load from the spoke holes out to a secondary chain reduction stage. That requires some spoke-to-sprocket couping plates. 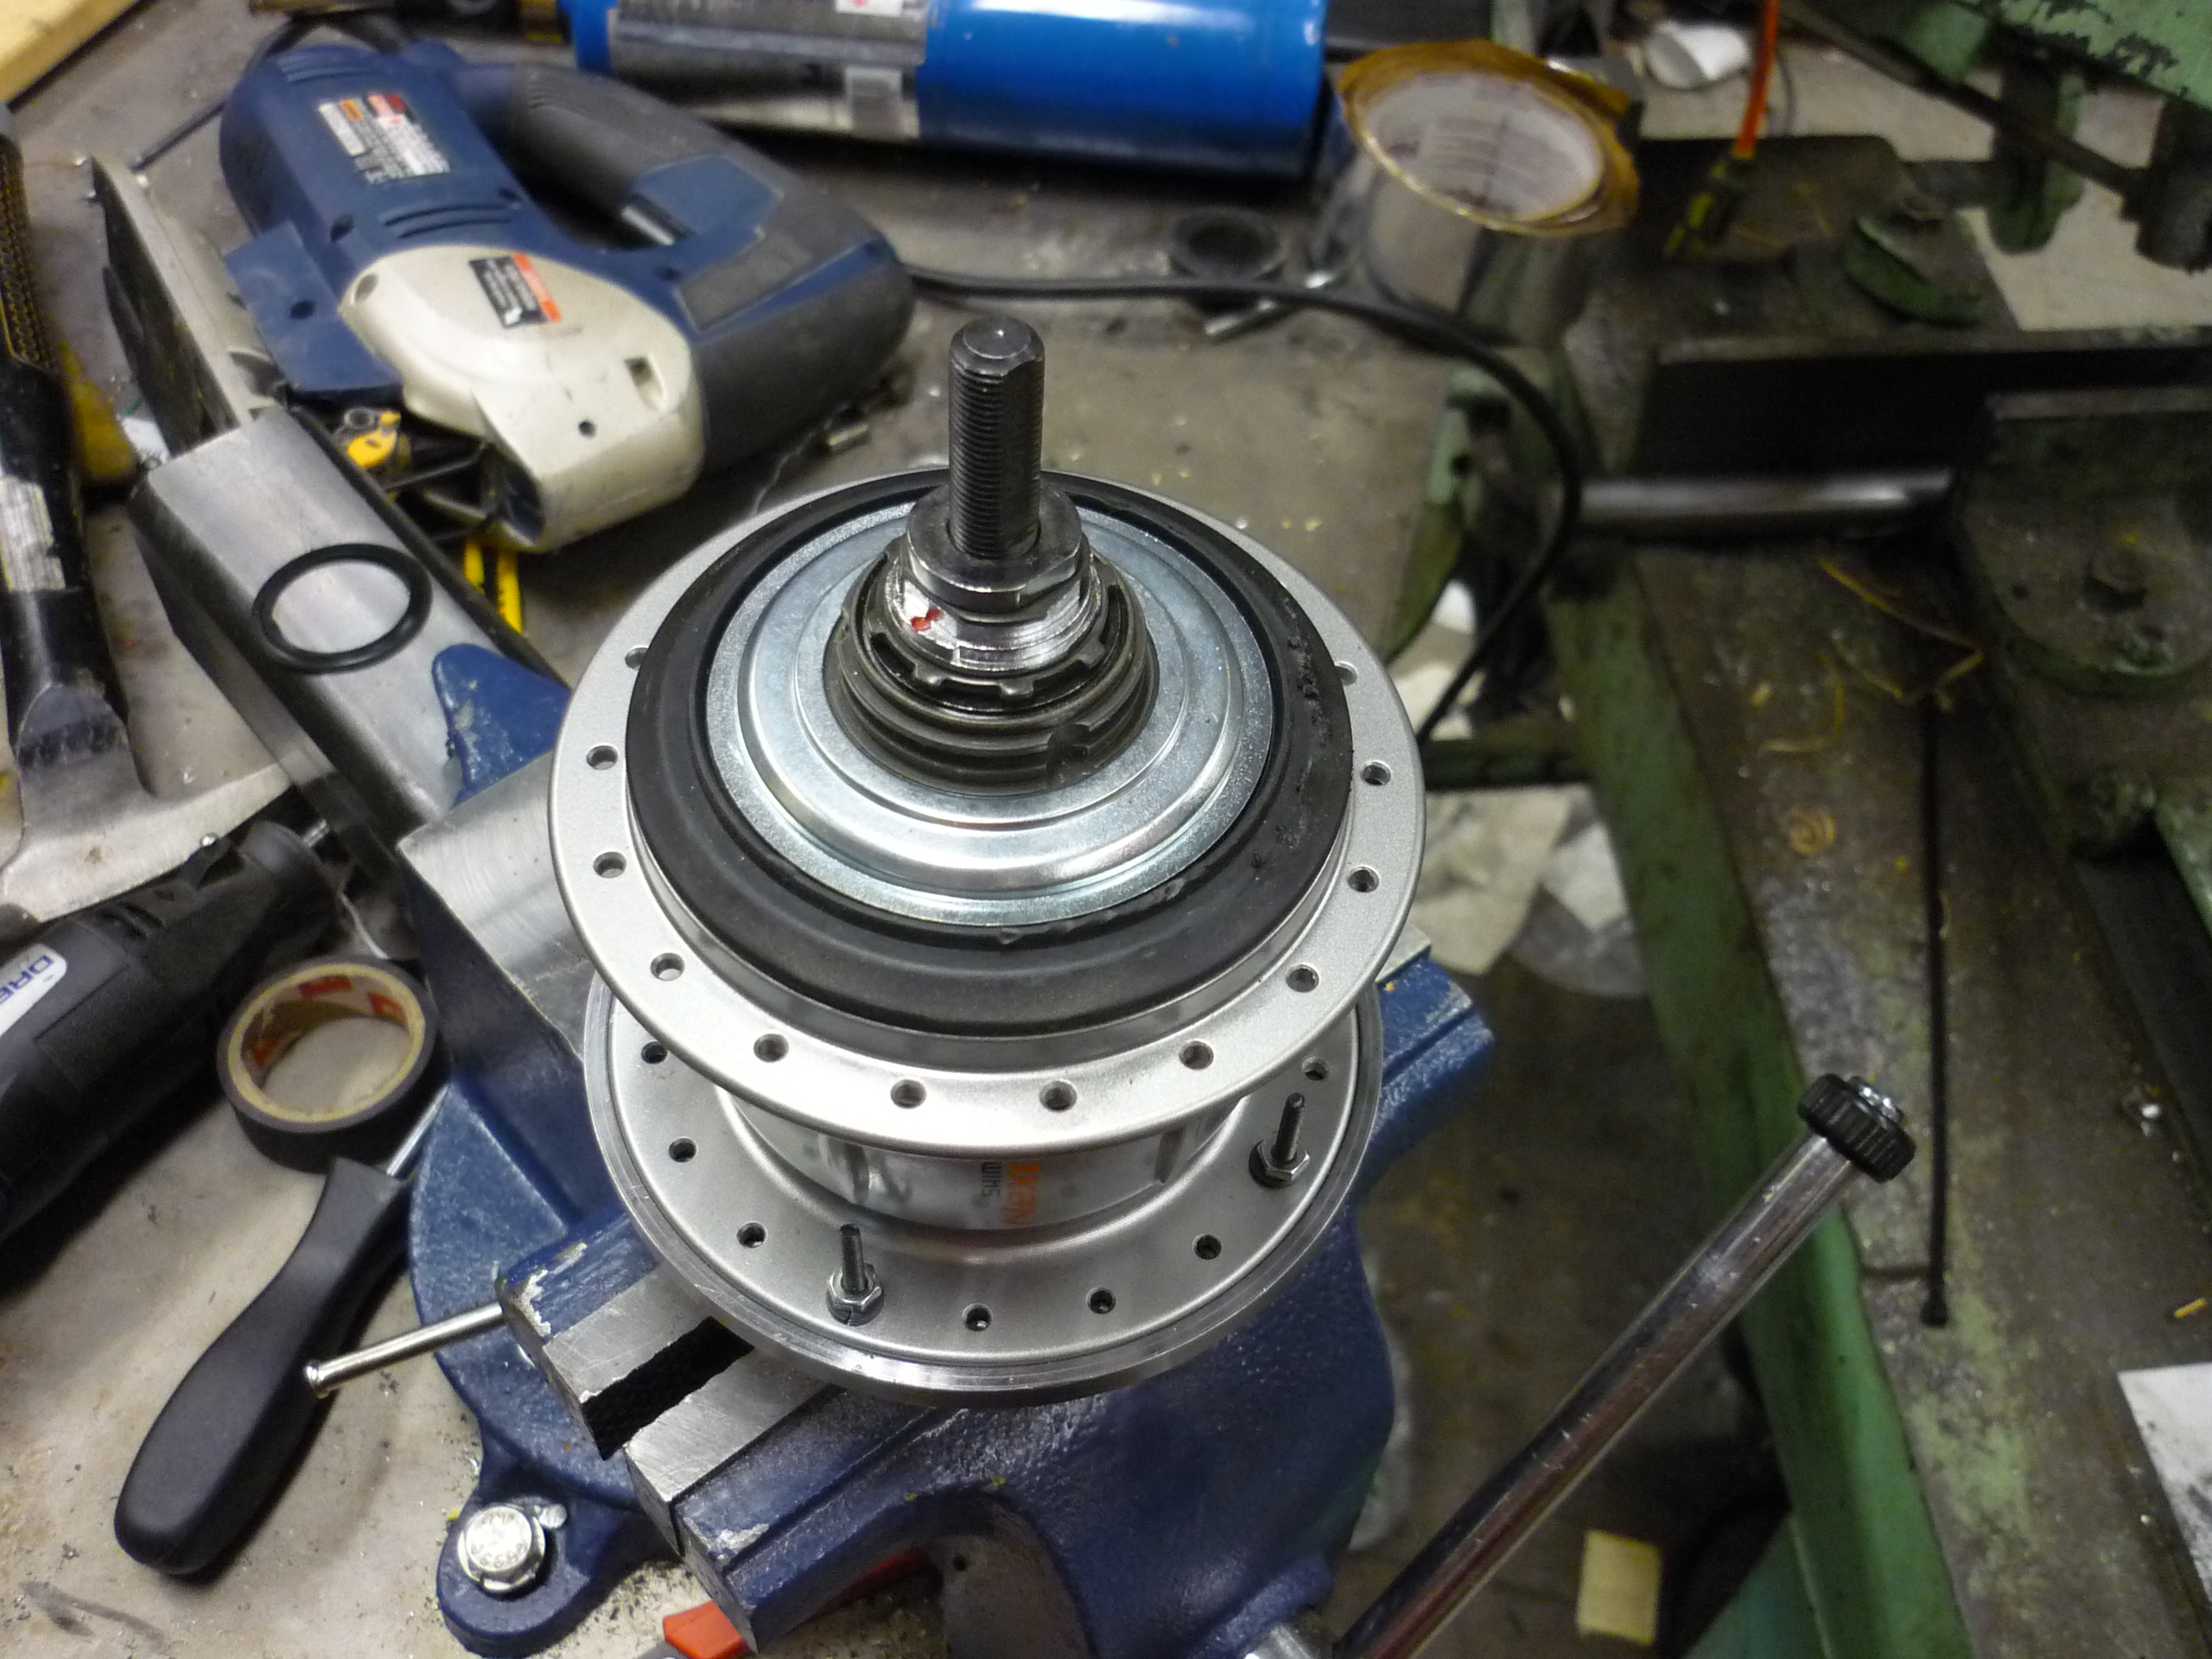
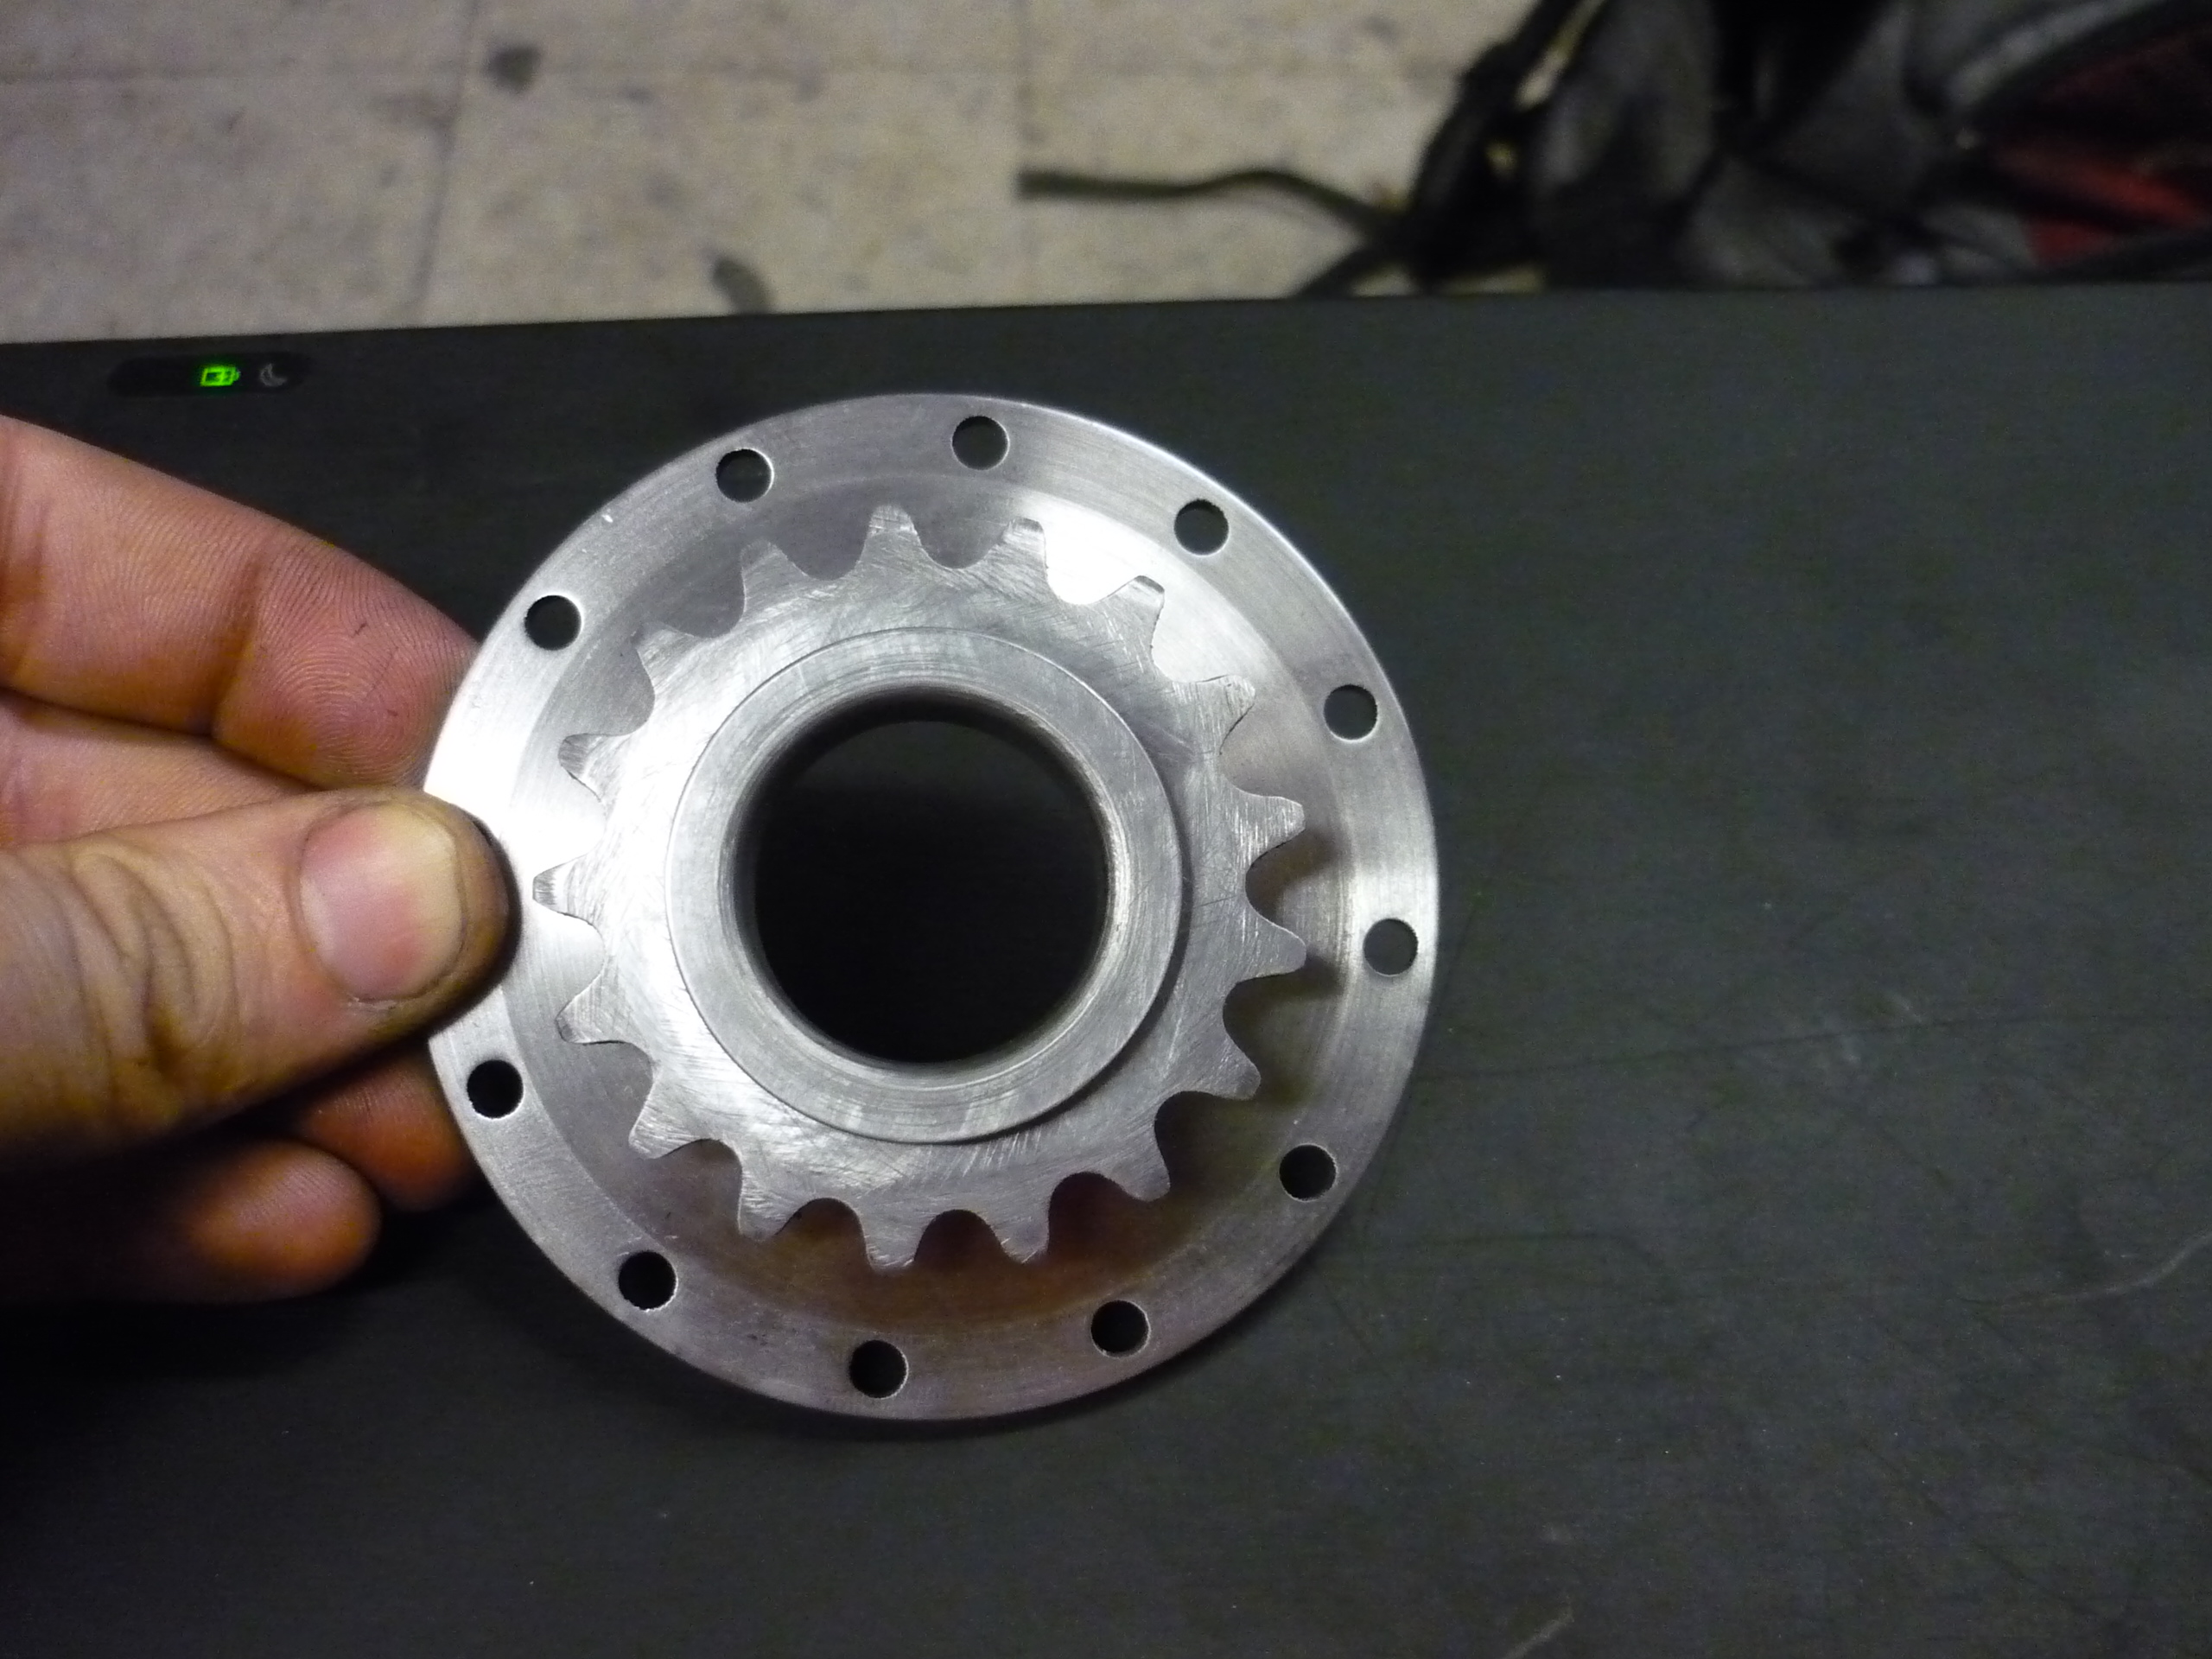
Rob Reeve's Adapter SynthesisBut how would a spoke plate adapter mate to an actual sprocket? Rob Reeve synthesized this, somewhat magically in a bit less than a day. Some small modifications with an abrasive tool, and this beautiful thing was born. This adapter reduces the spoke pattern down into the secondary output stage. 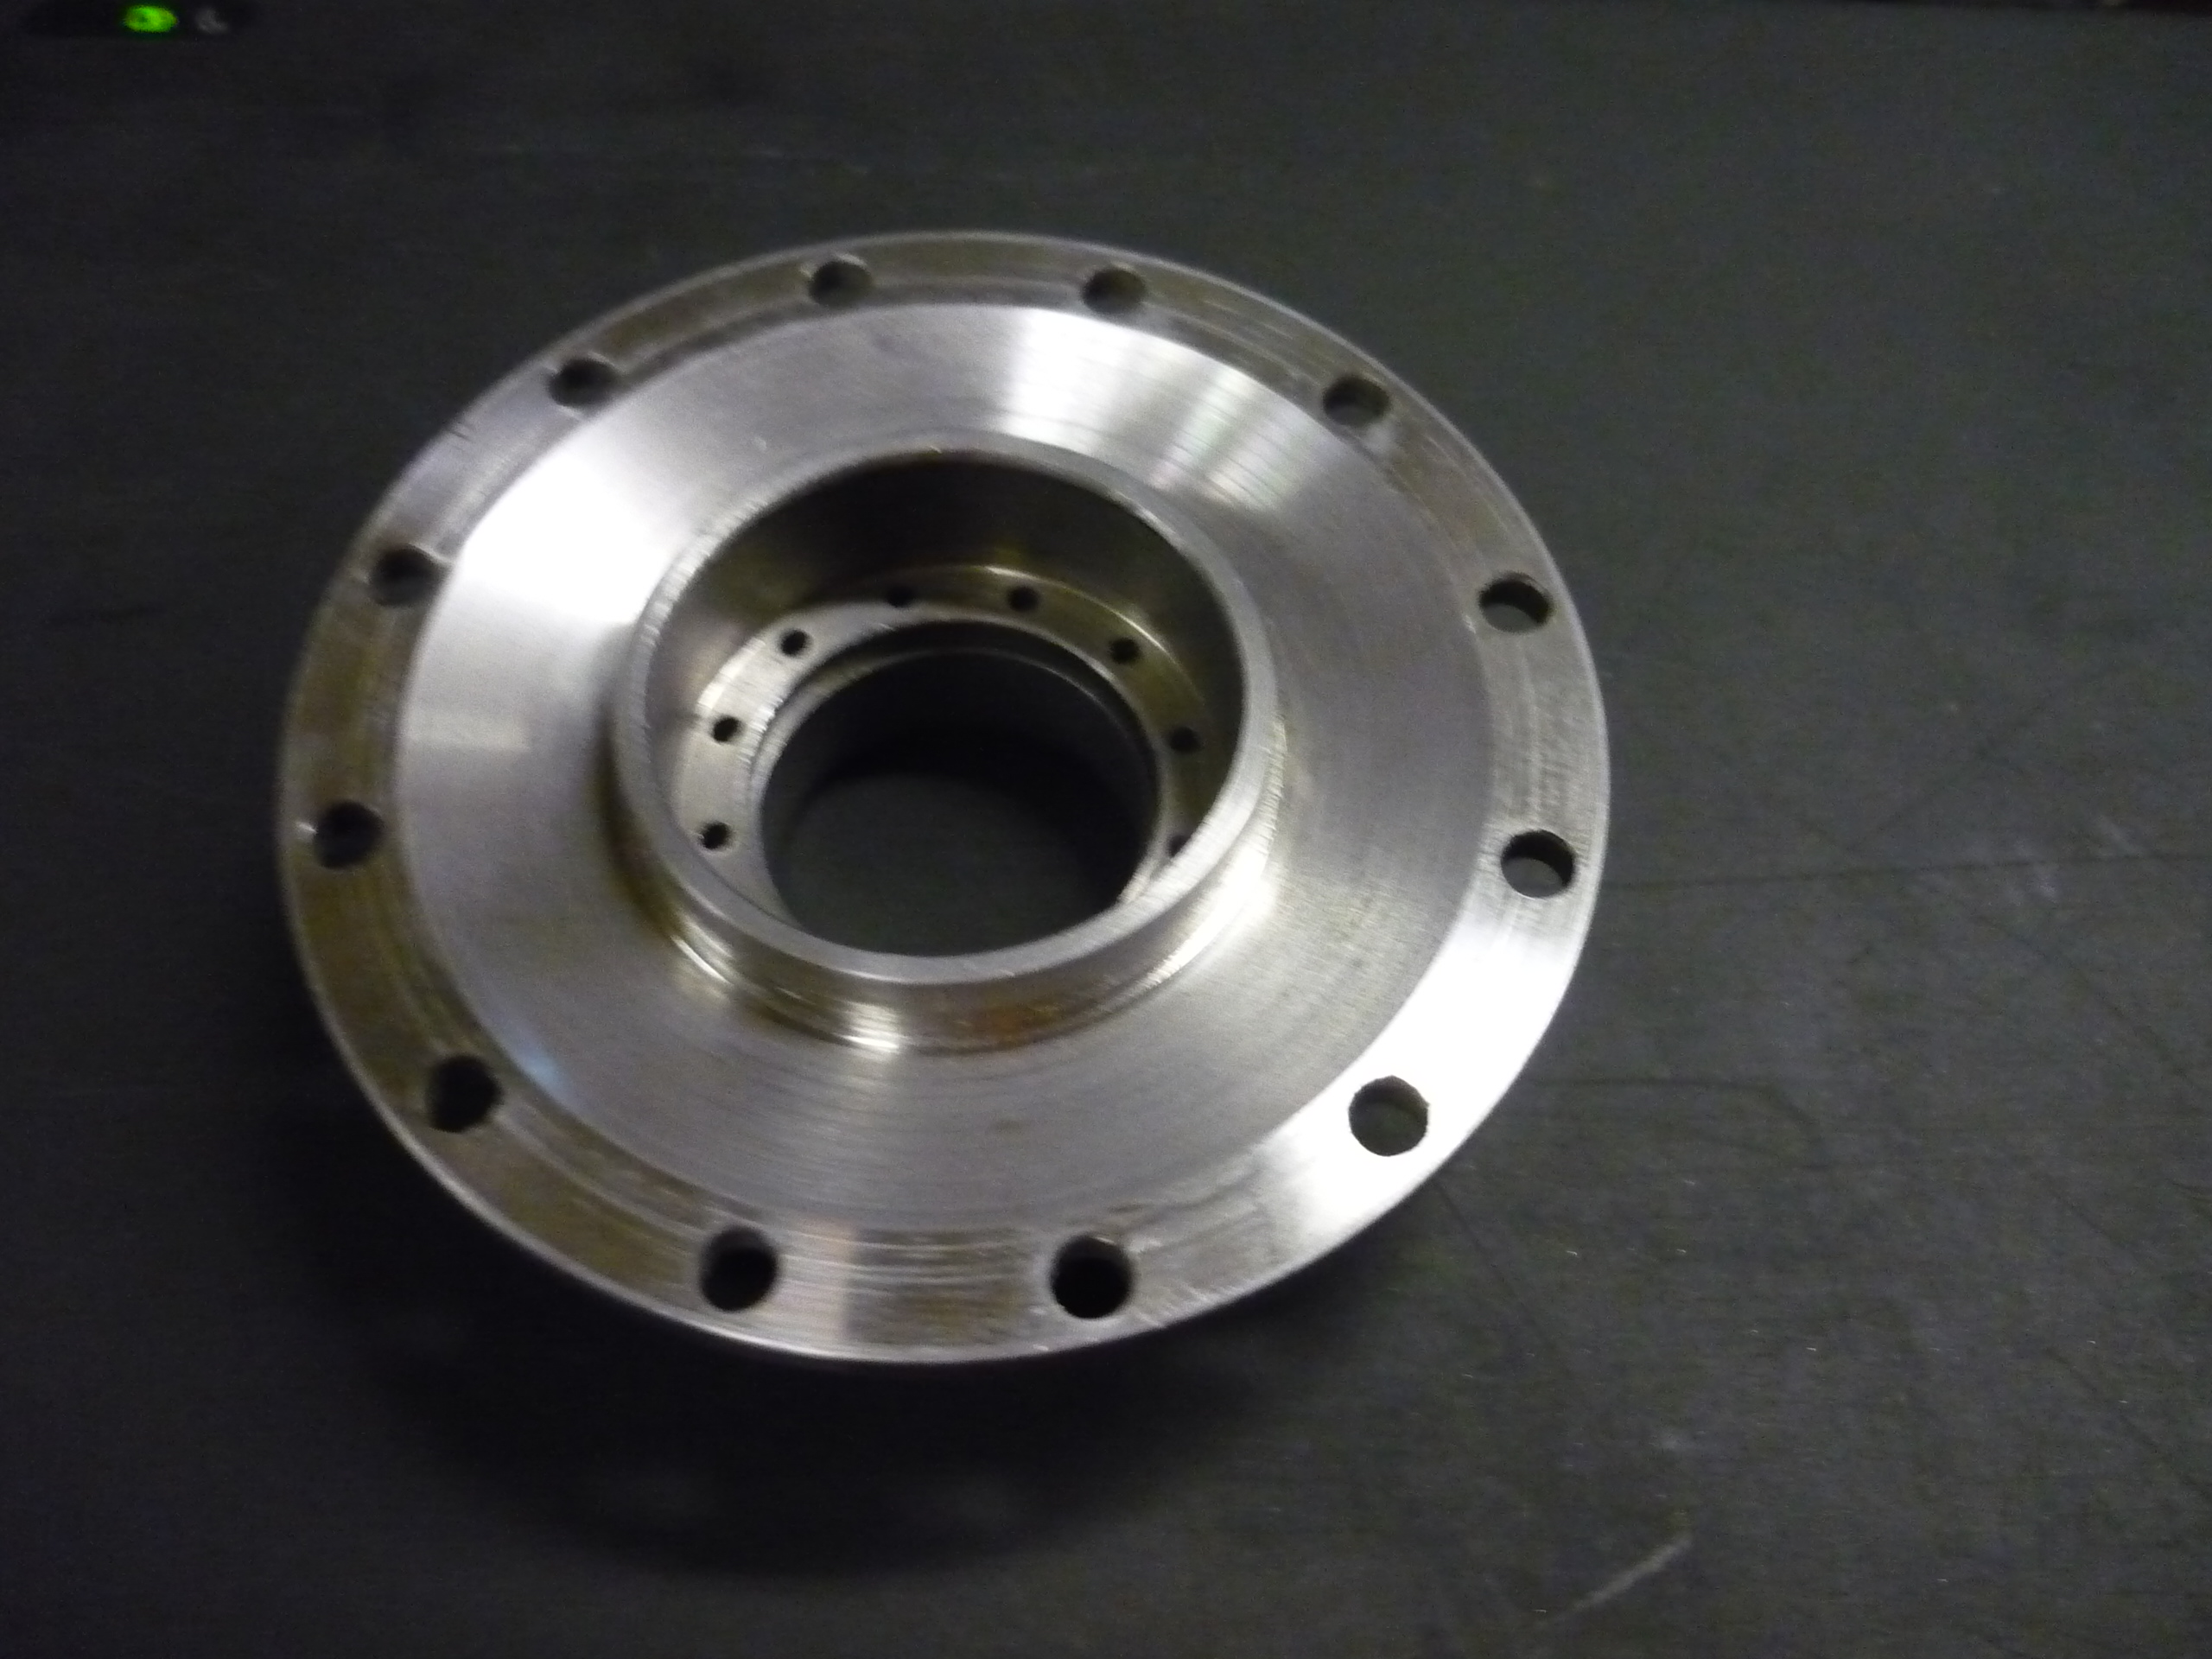

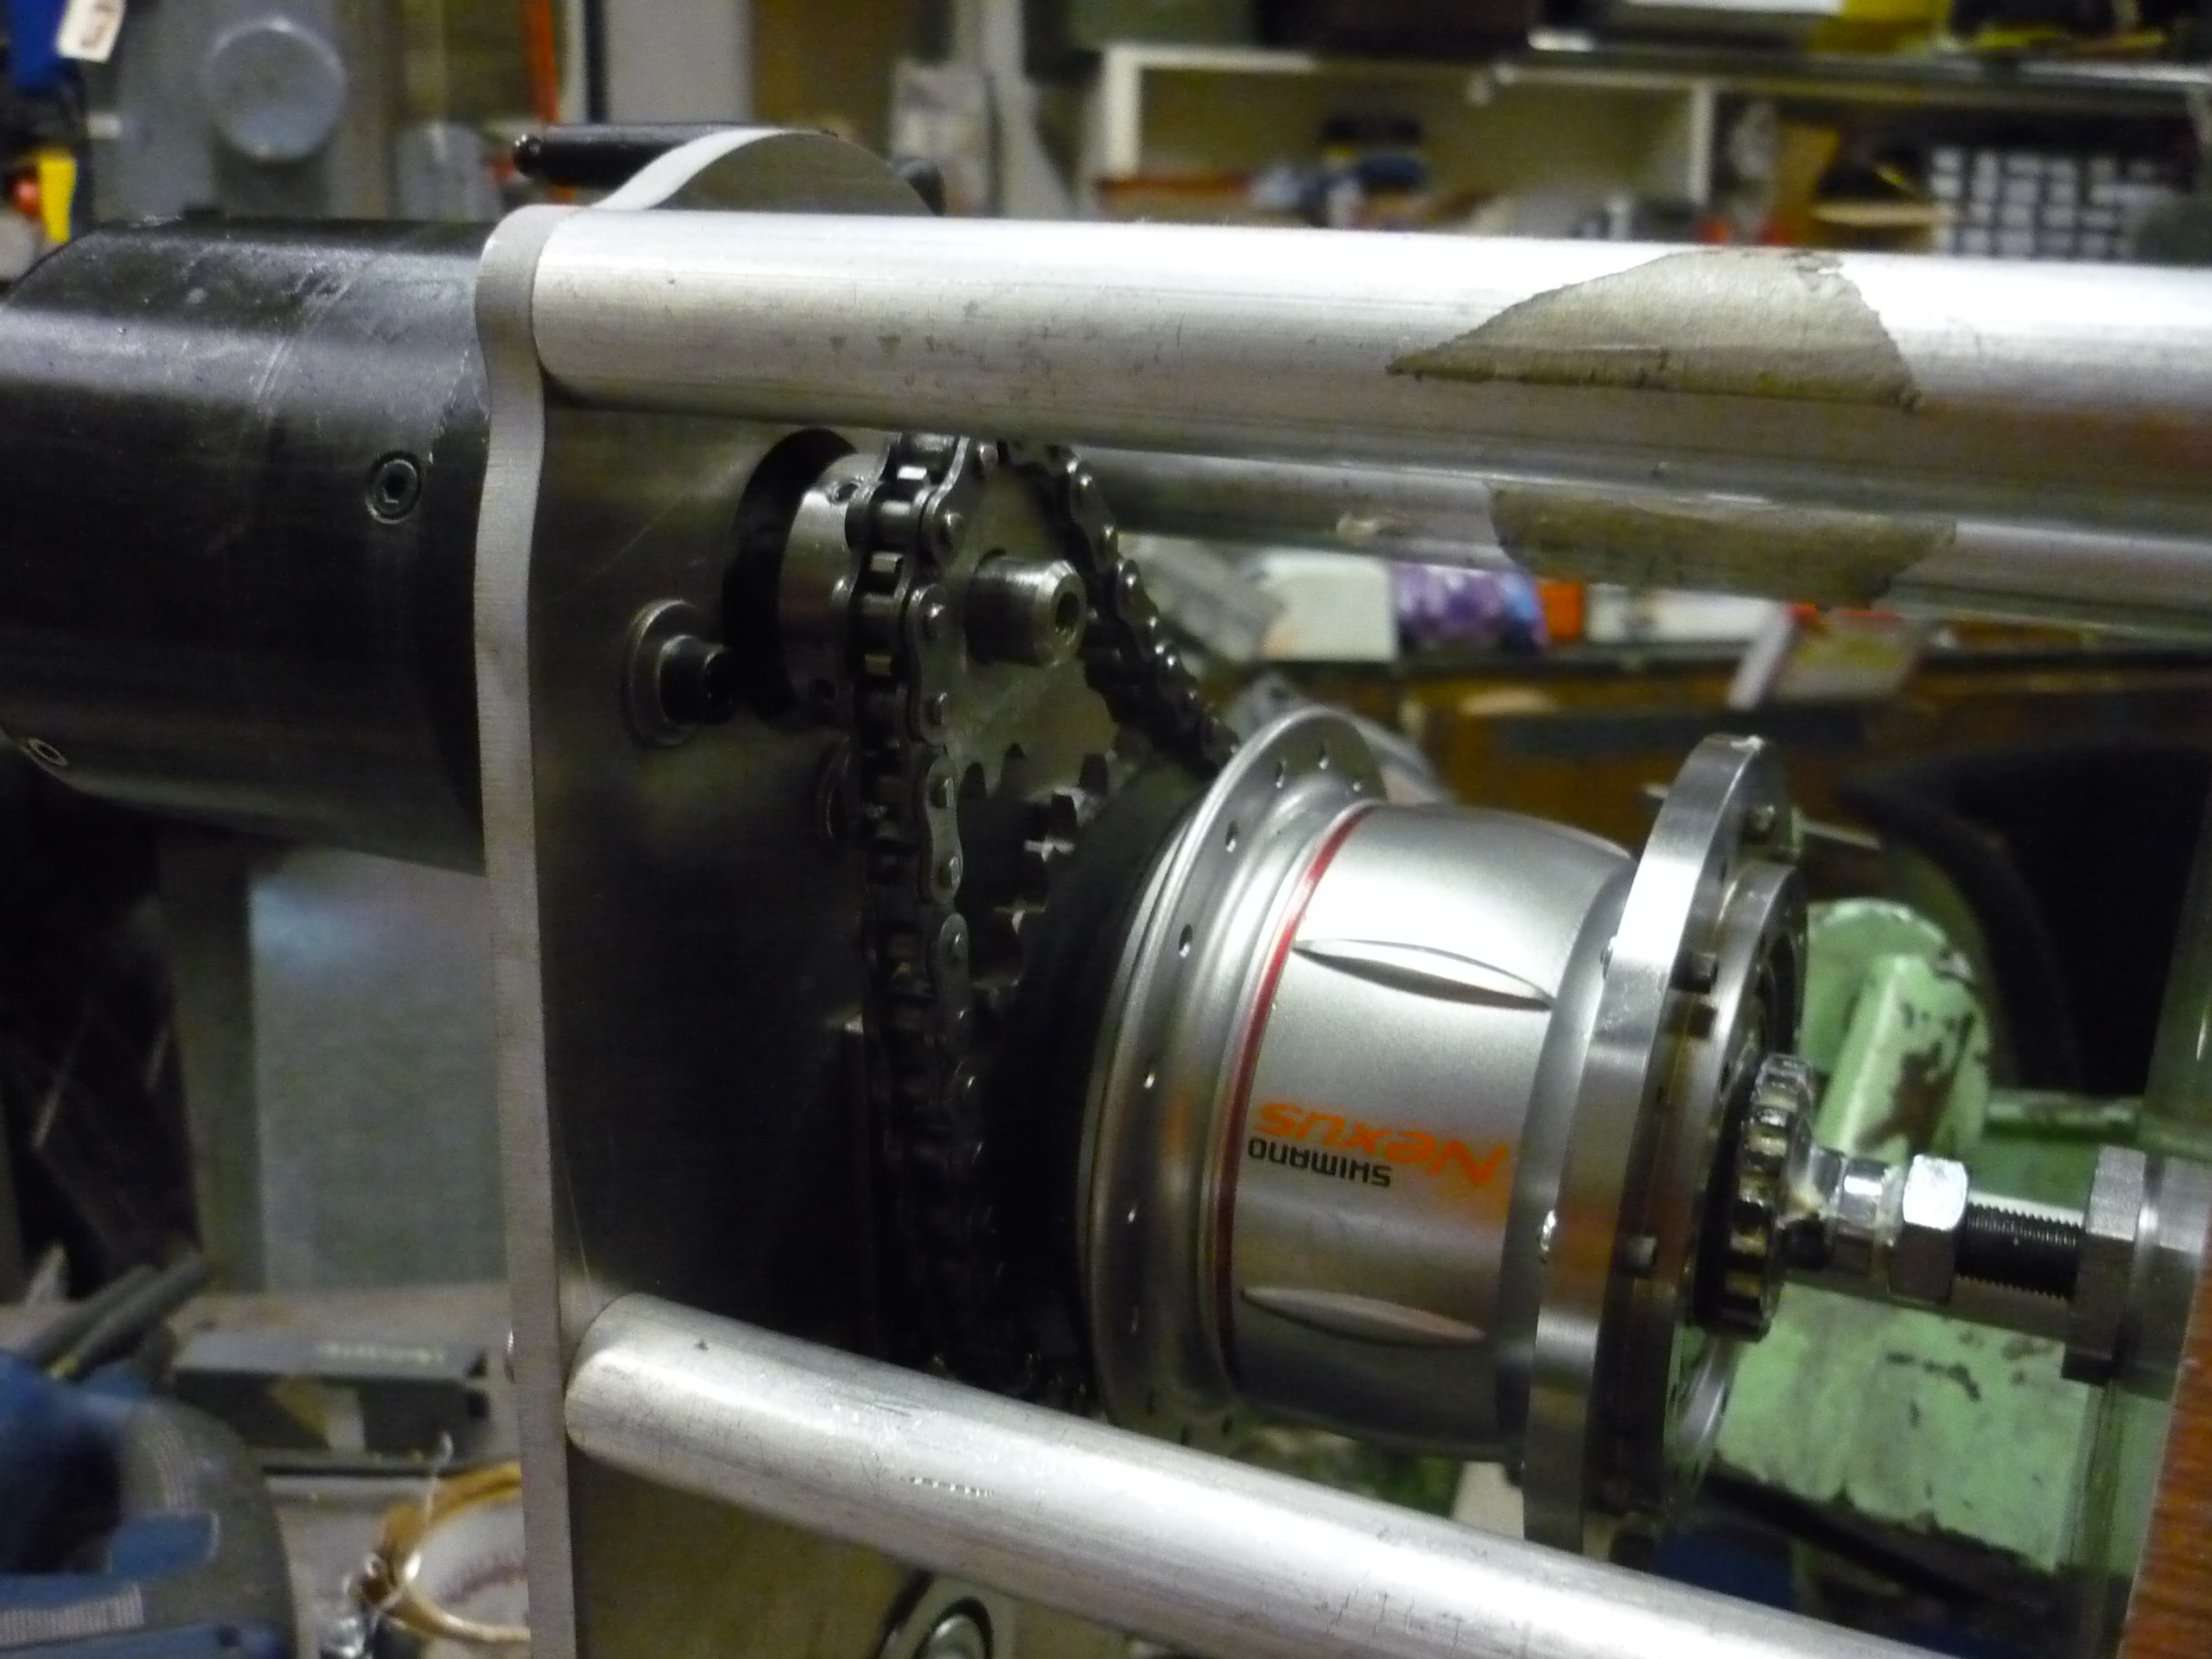
Drive Chain IntegrationThe first stage is complete! A small sprocket from the motor. After the shaft was key'd and setscrews added, a chain was linked in place. The magical split-diff assembly consists of two one-way sprockets, tied to shaft couplings. Power transfered from the gearbox is 'Diode OR'D to the rear wheels. Going into turns, the inner wheel spins at full speed and the outer freewheels. 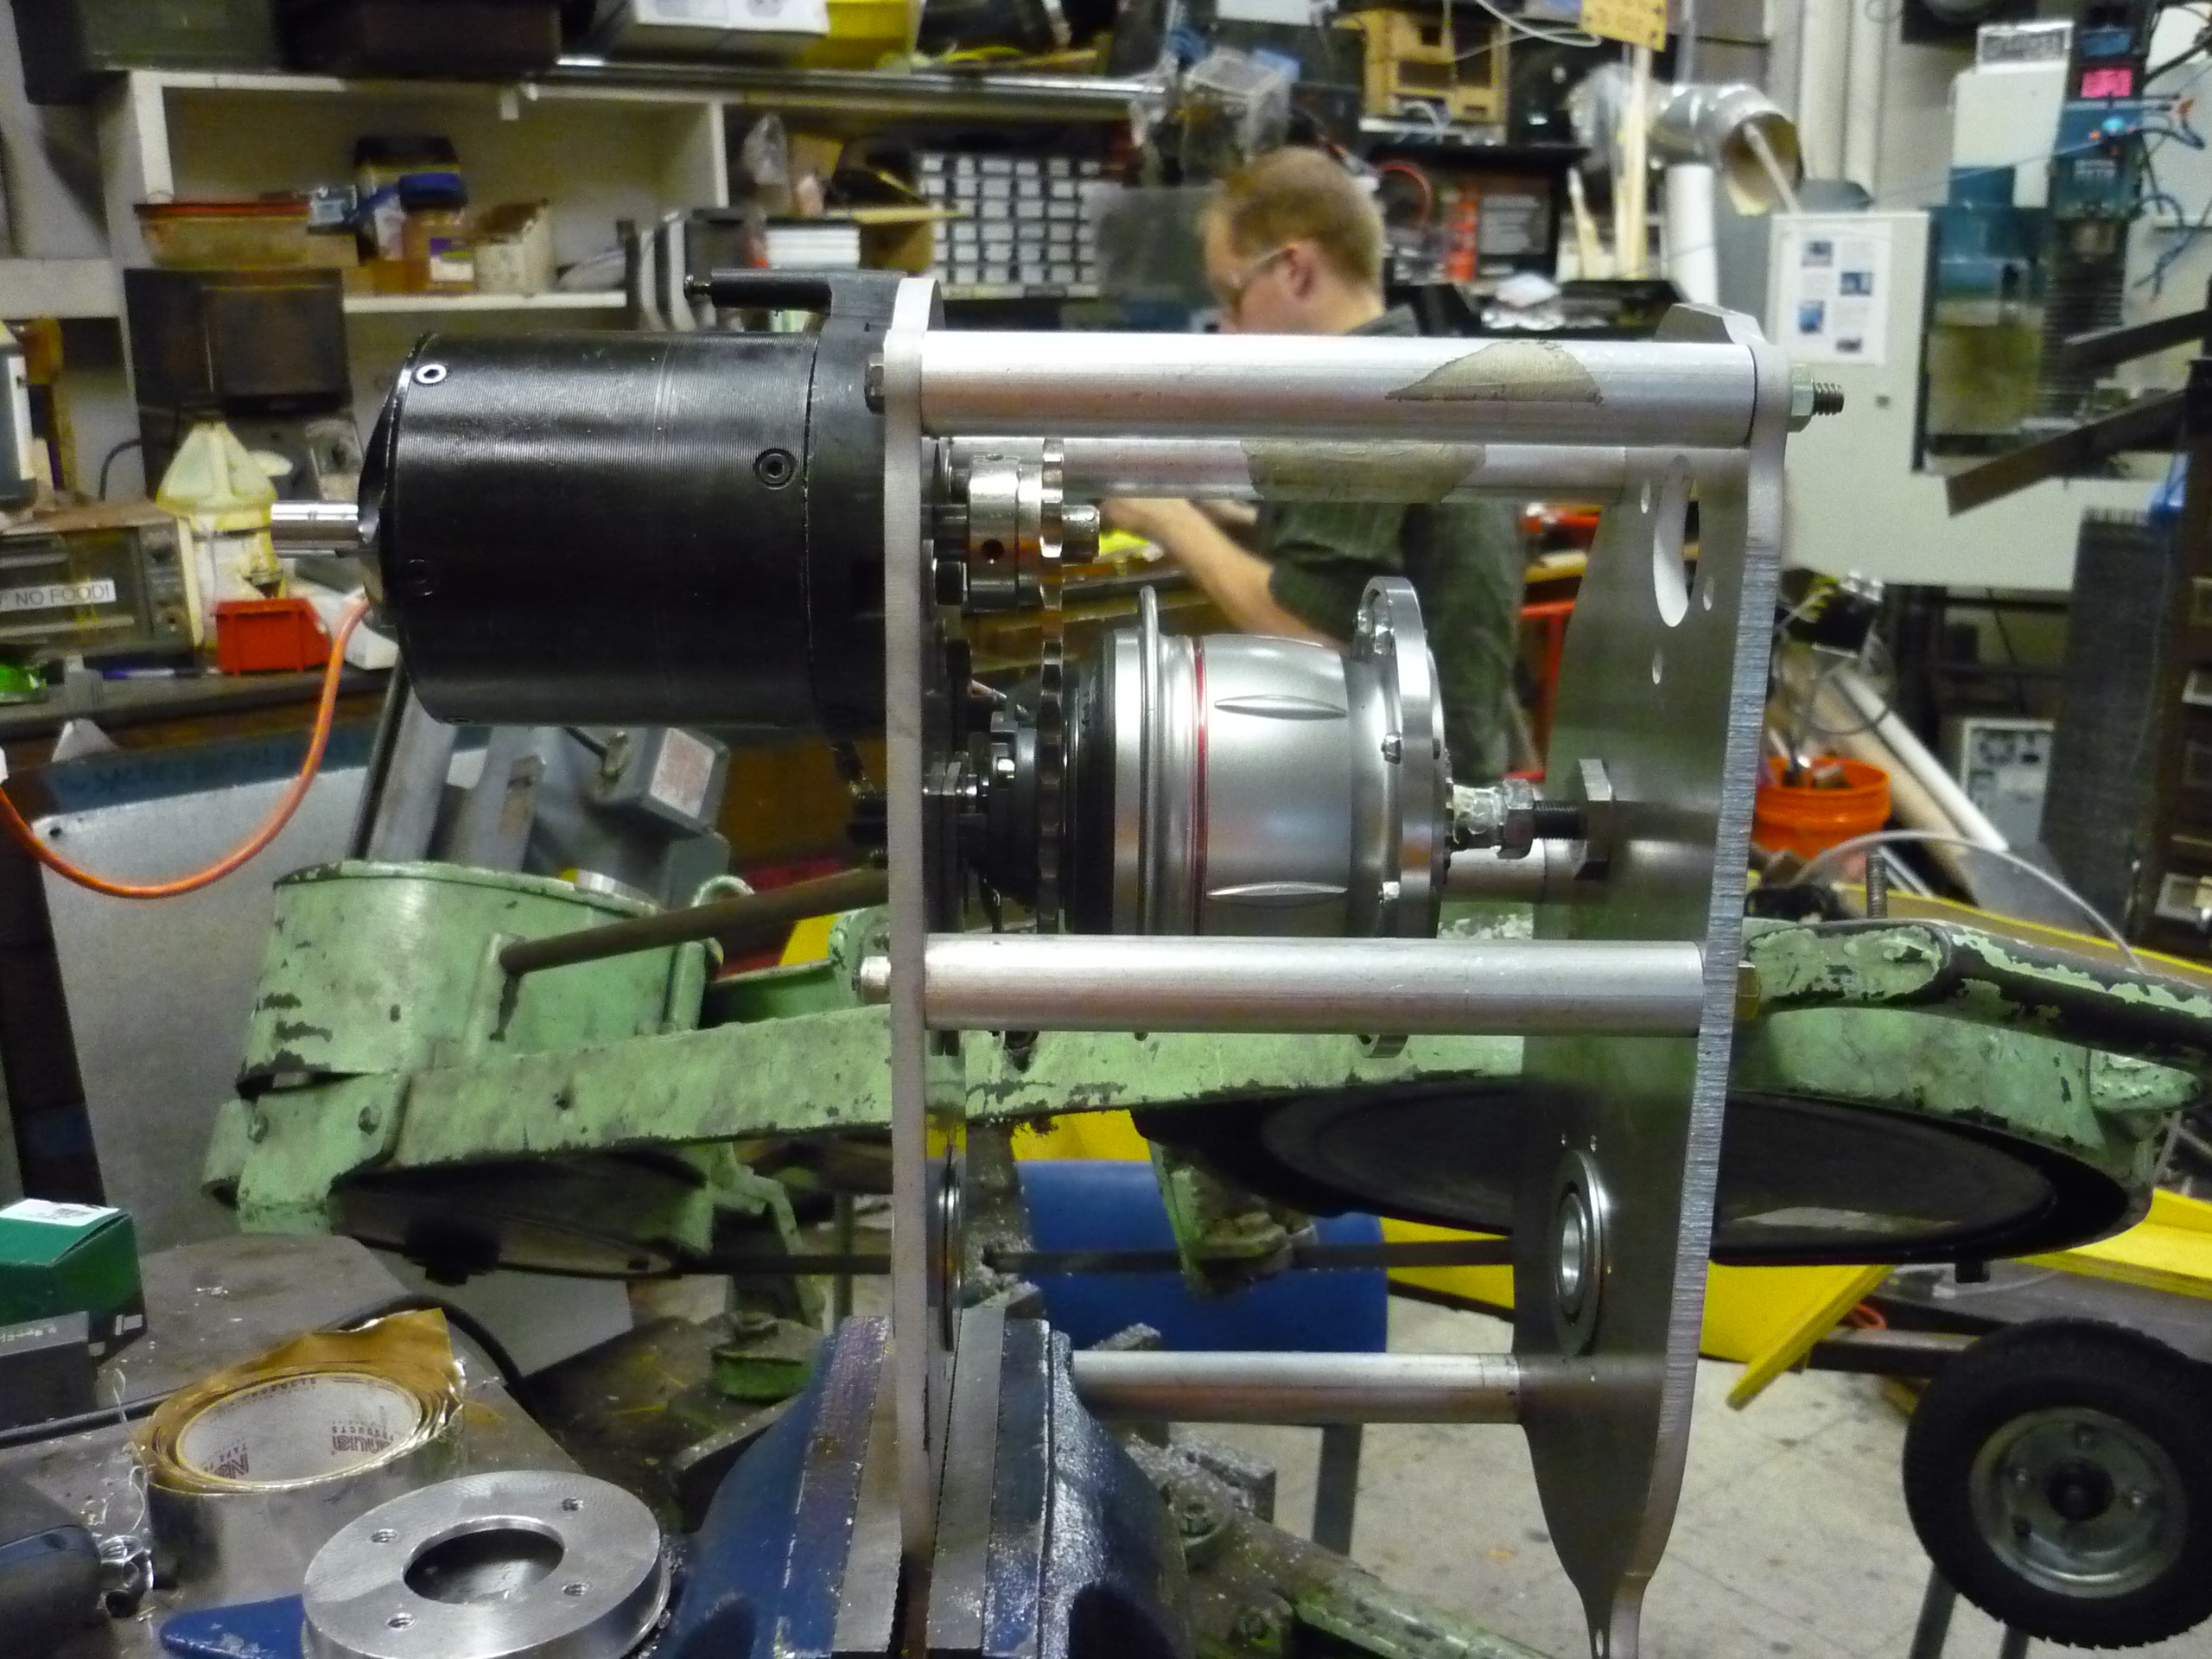
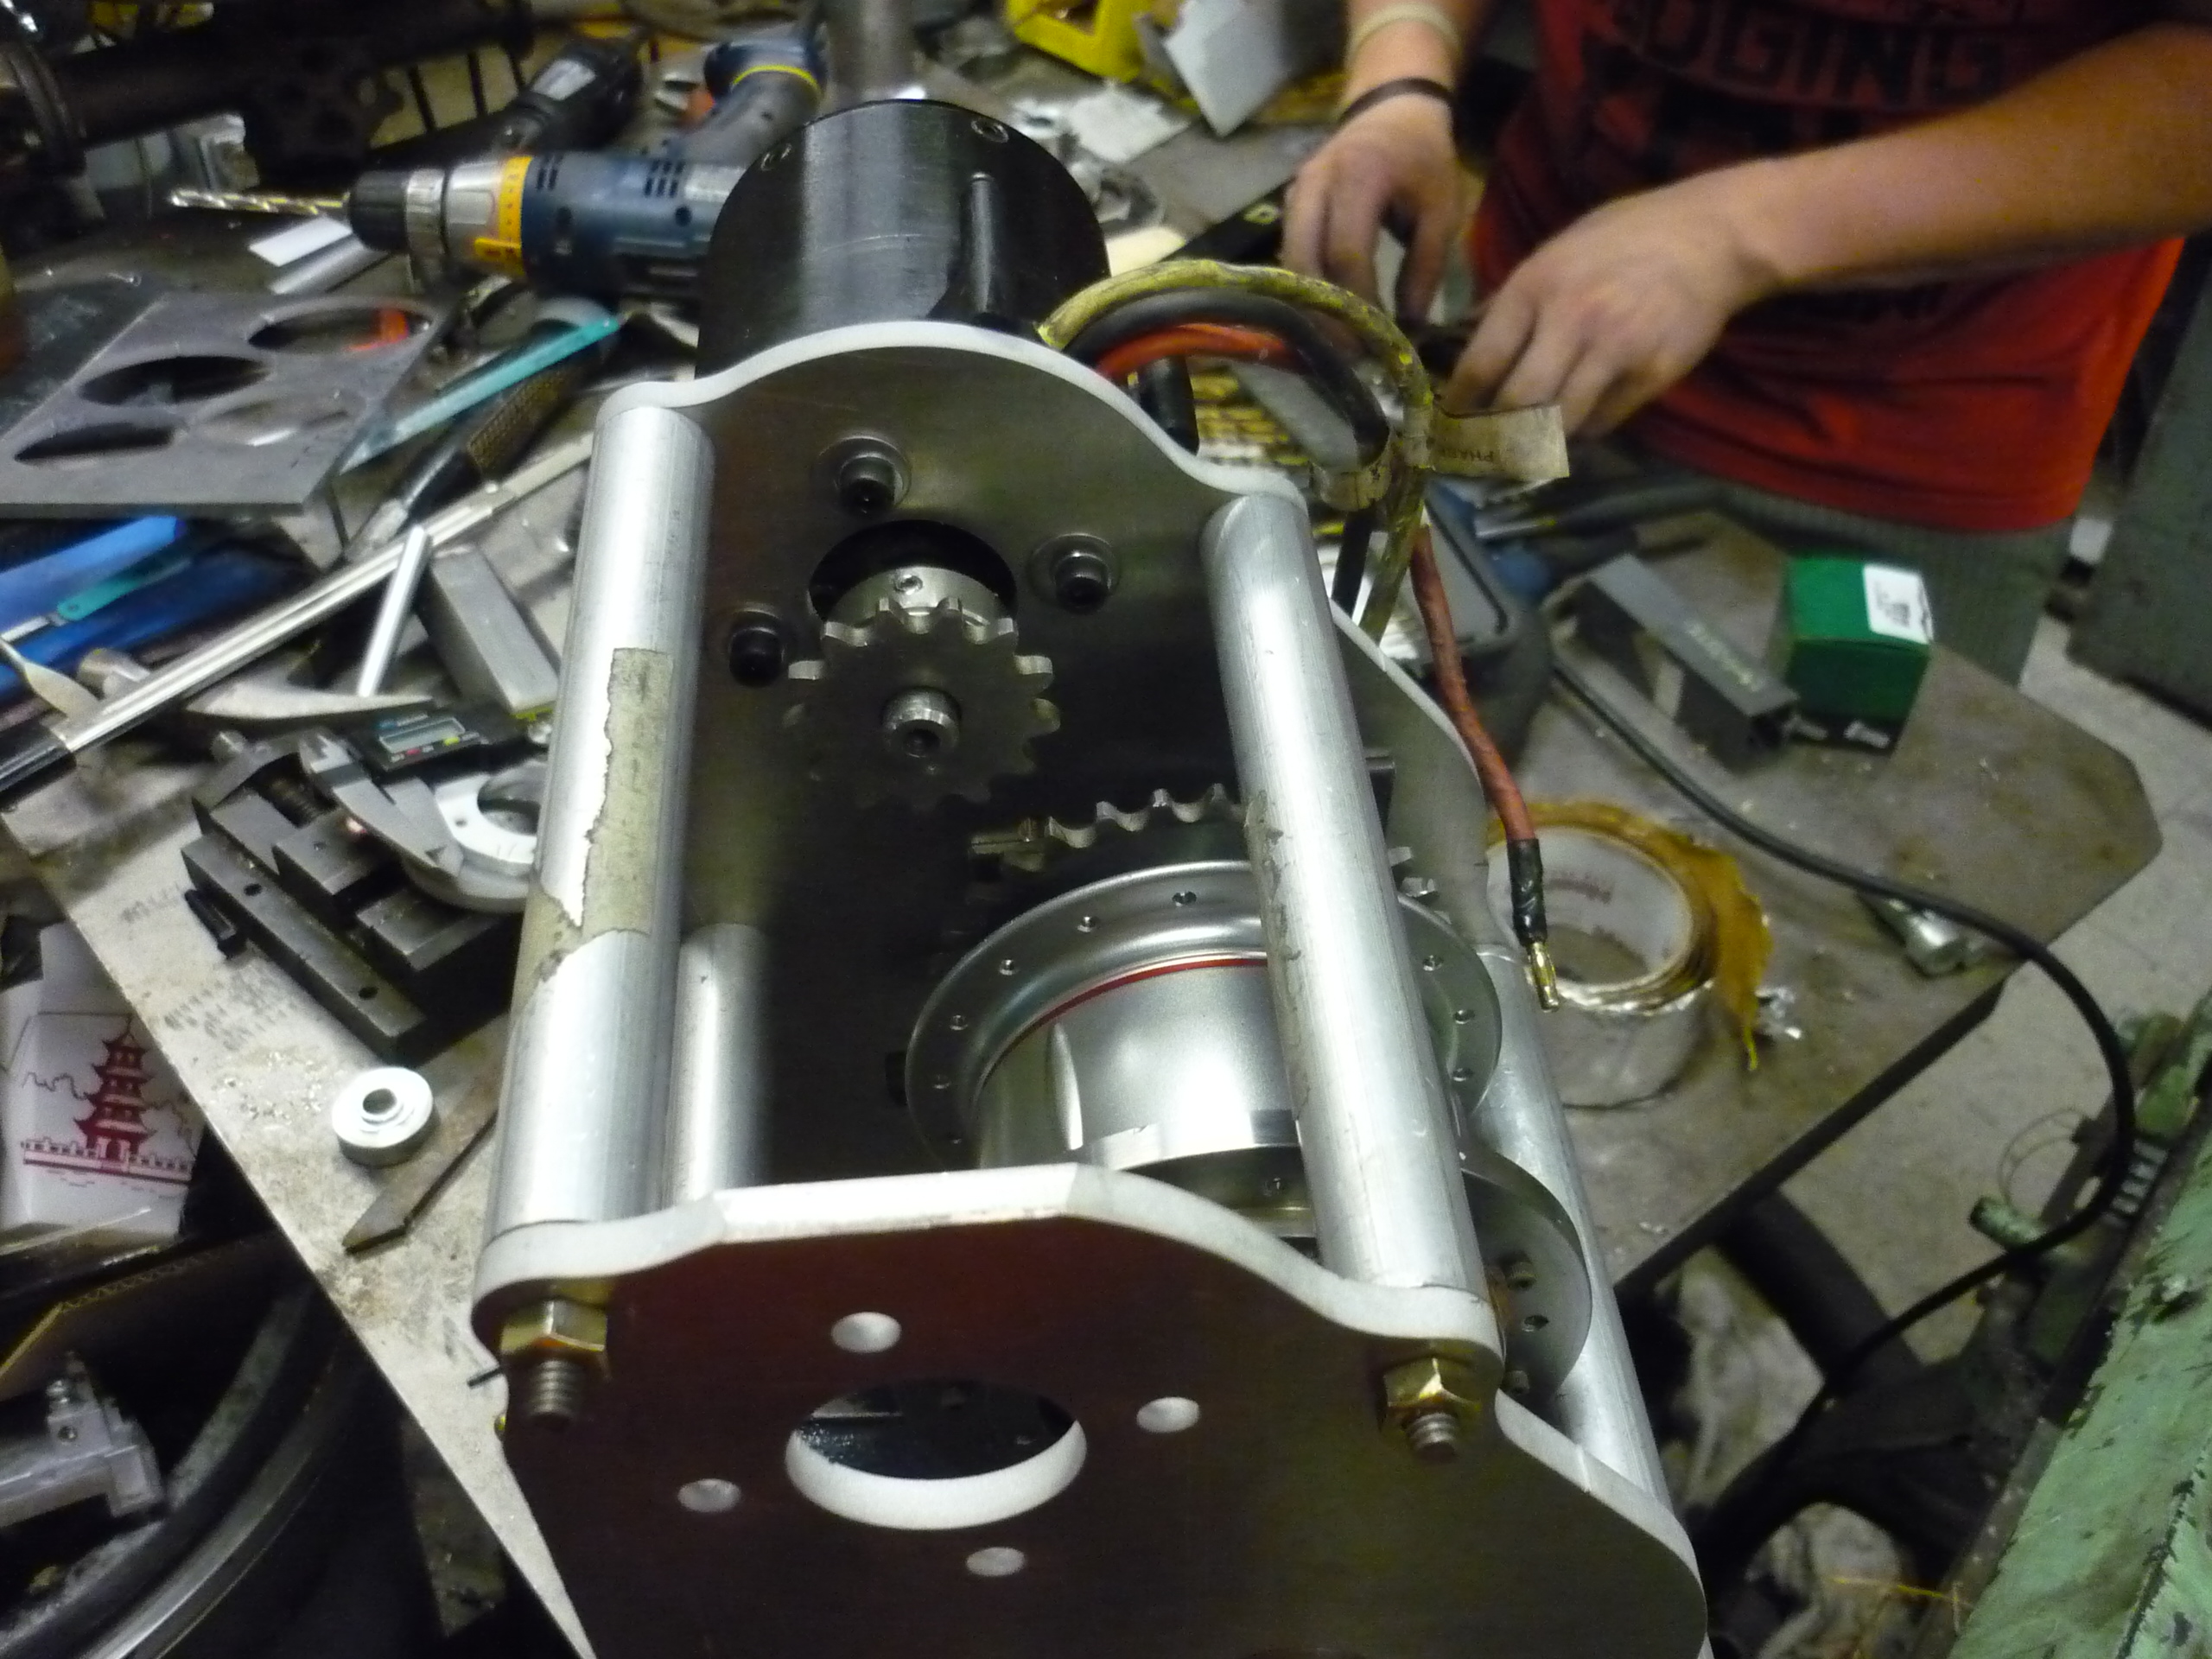
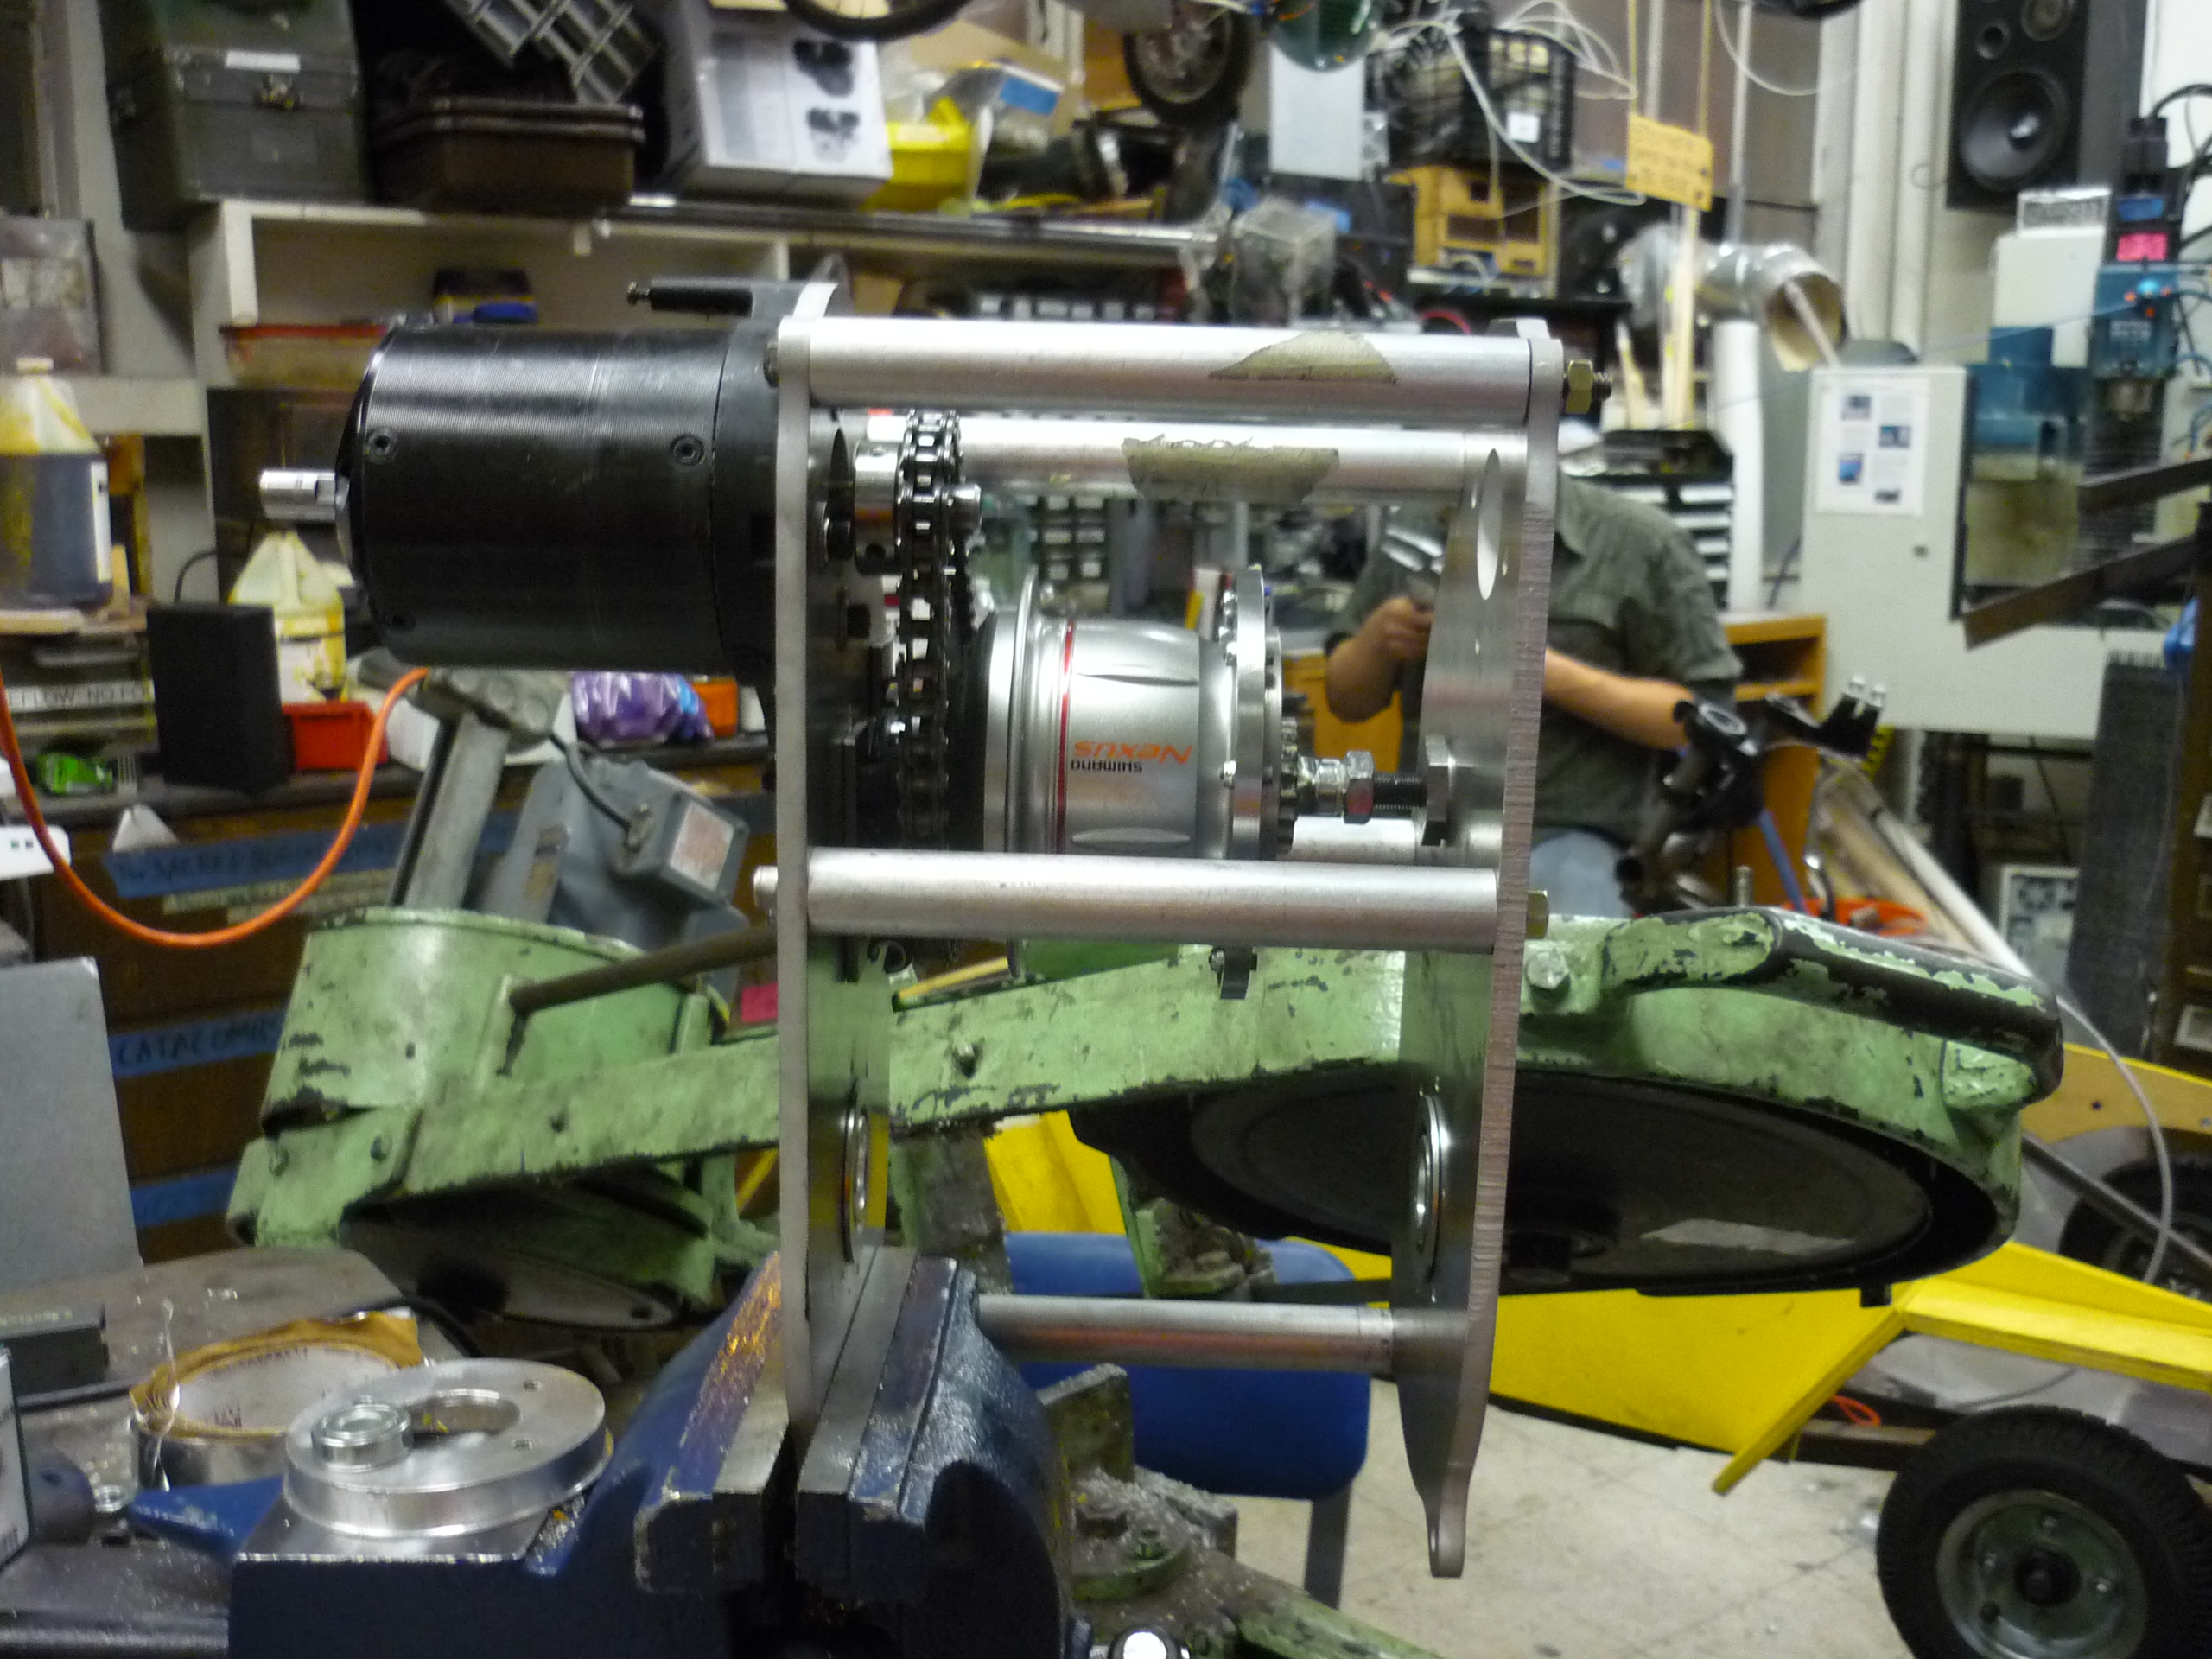

Gearbox CasingThe casing holds the whole thing together. We used a similar topology as last year for the 'gearbox assembly', it consisted of a curvy plate-on-plate assembly, held apart by aluminum round. 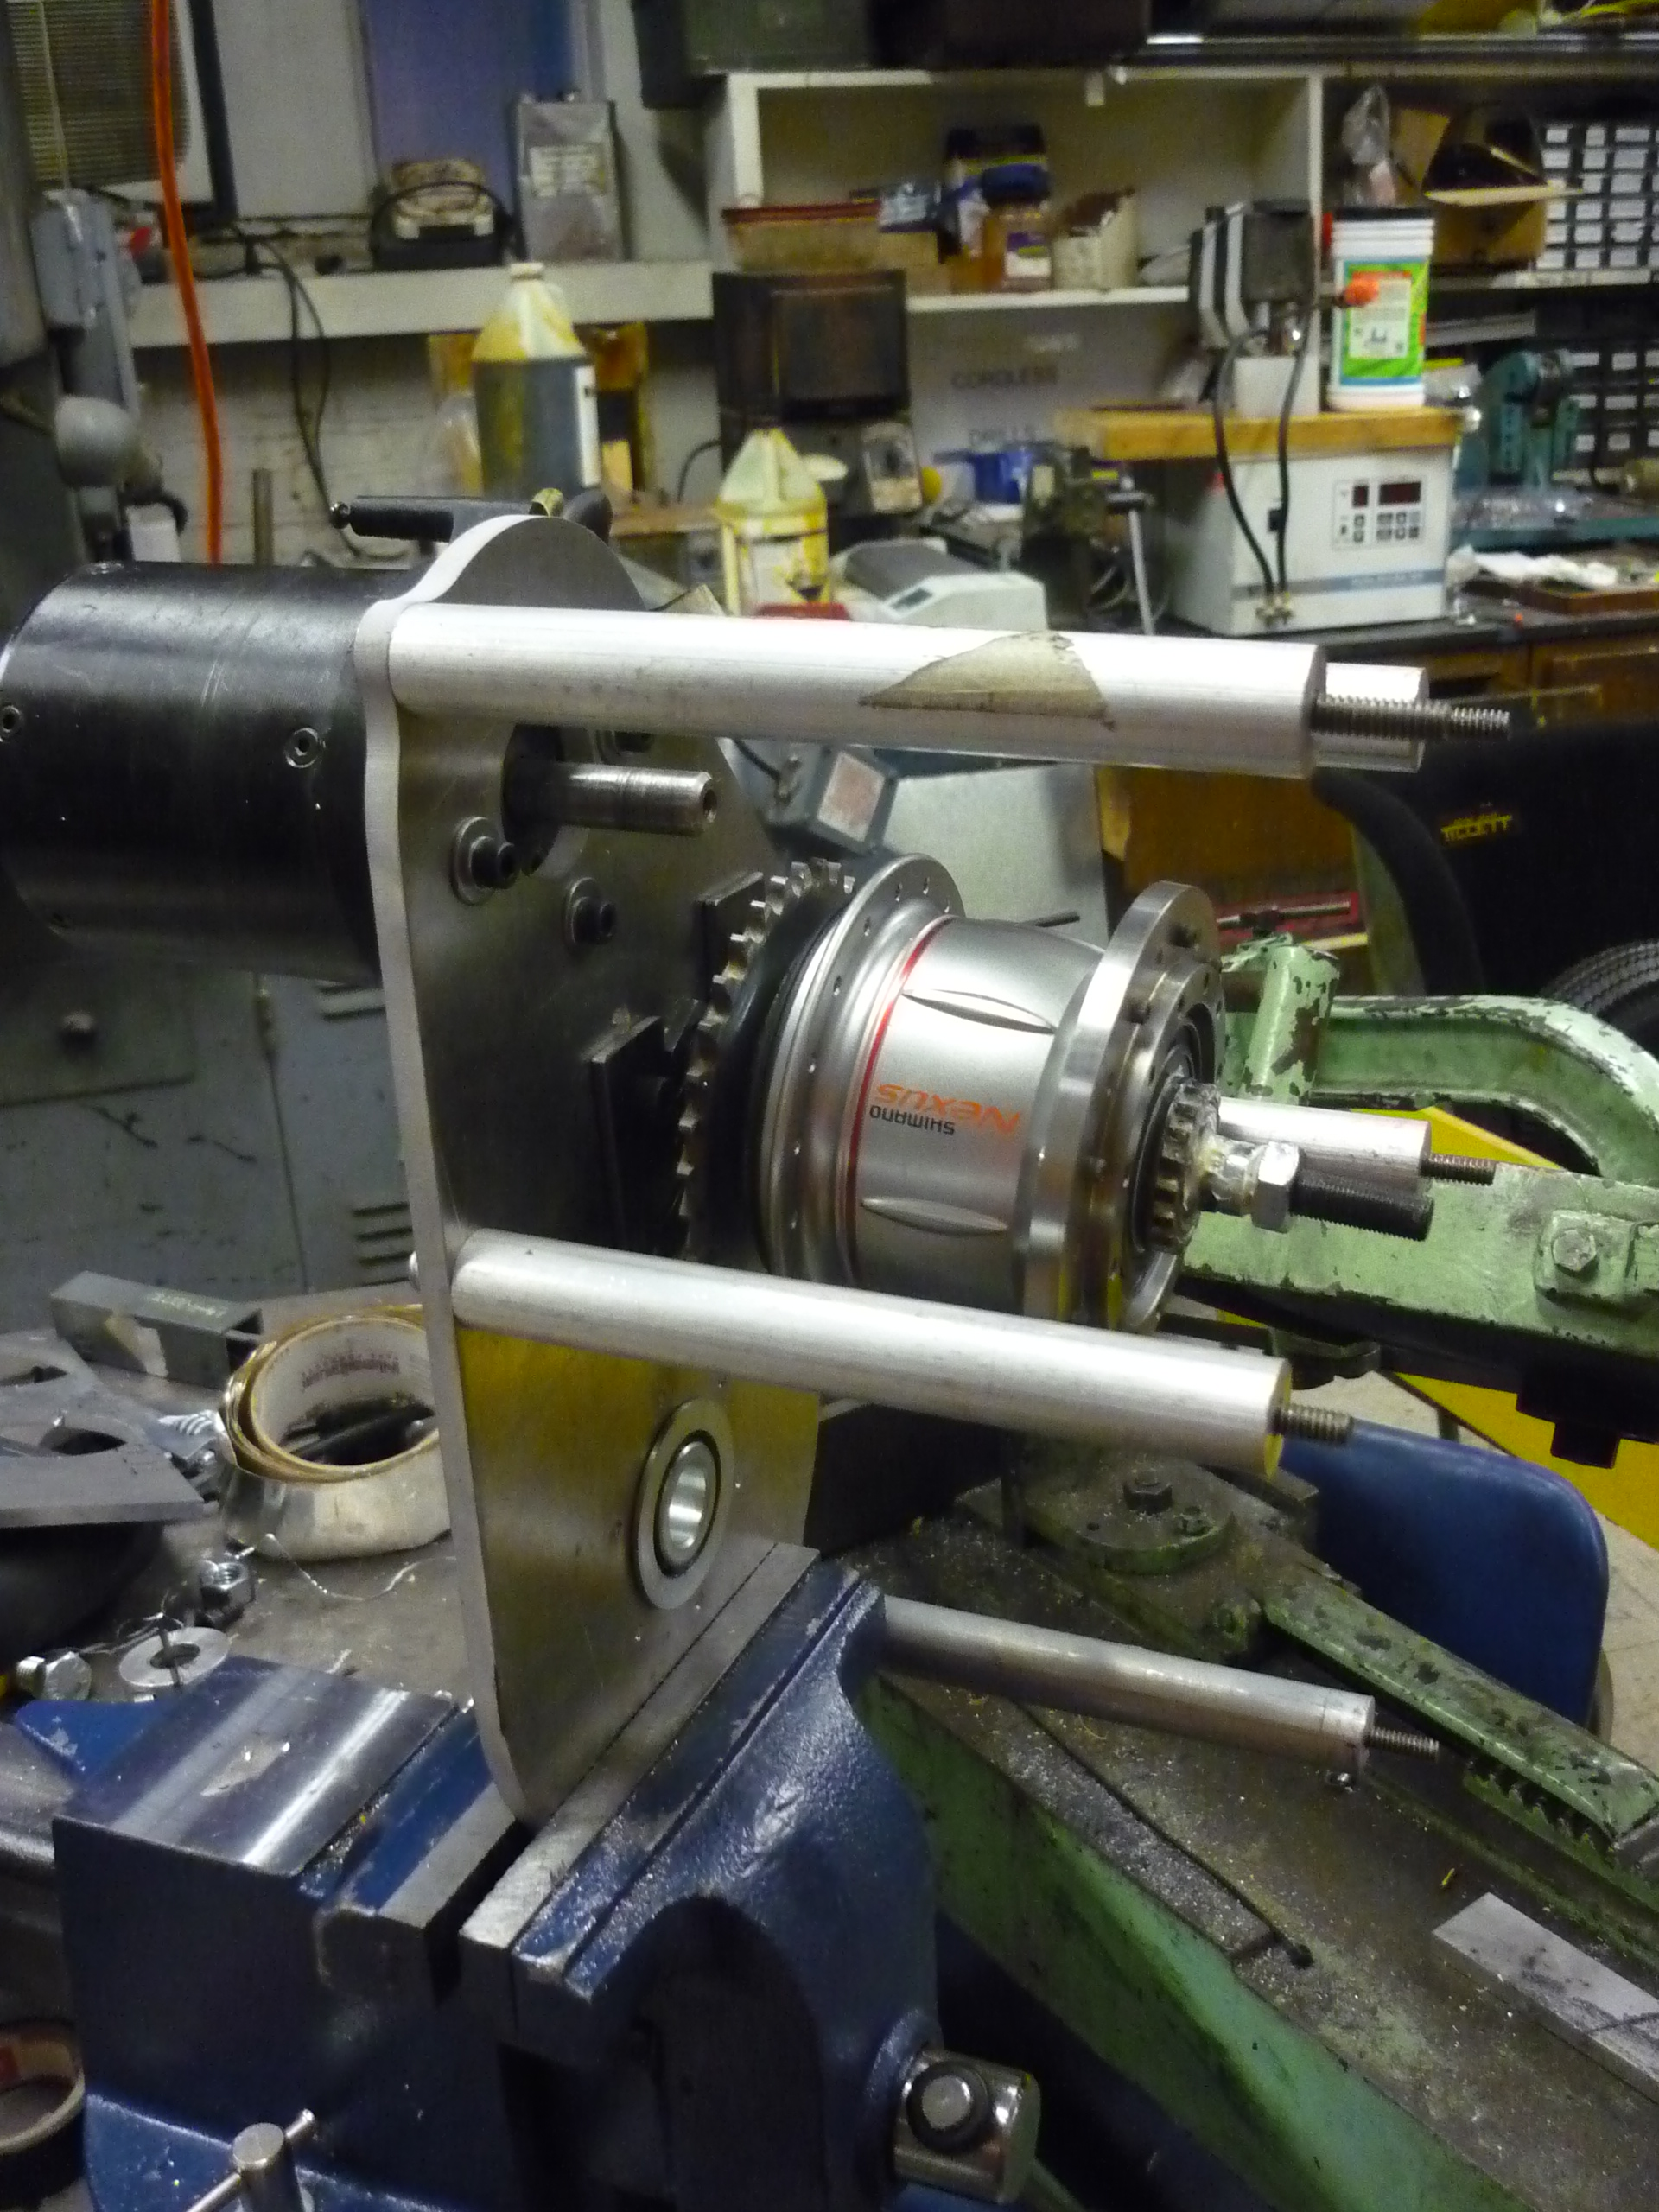
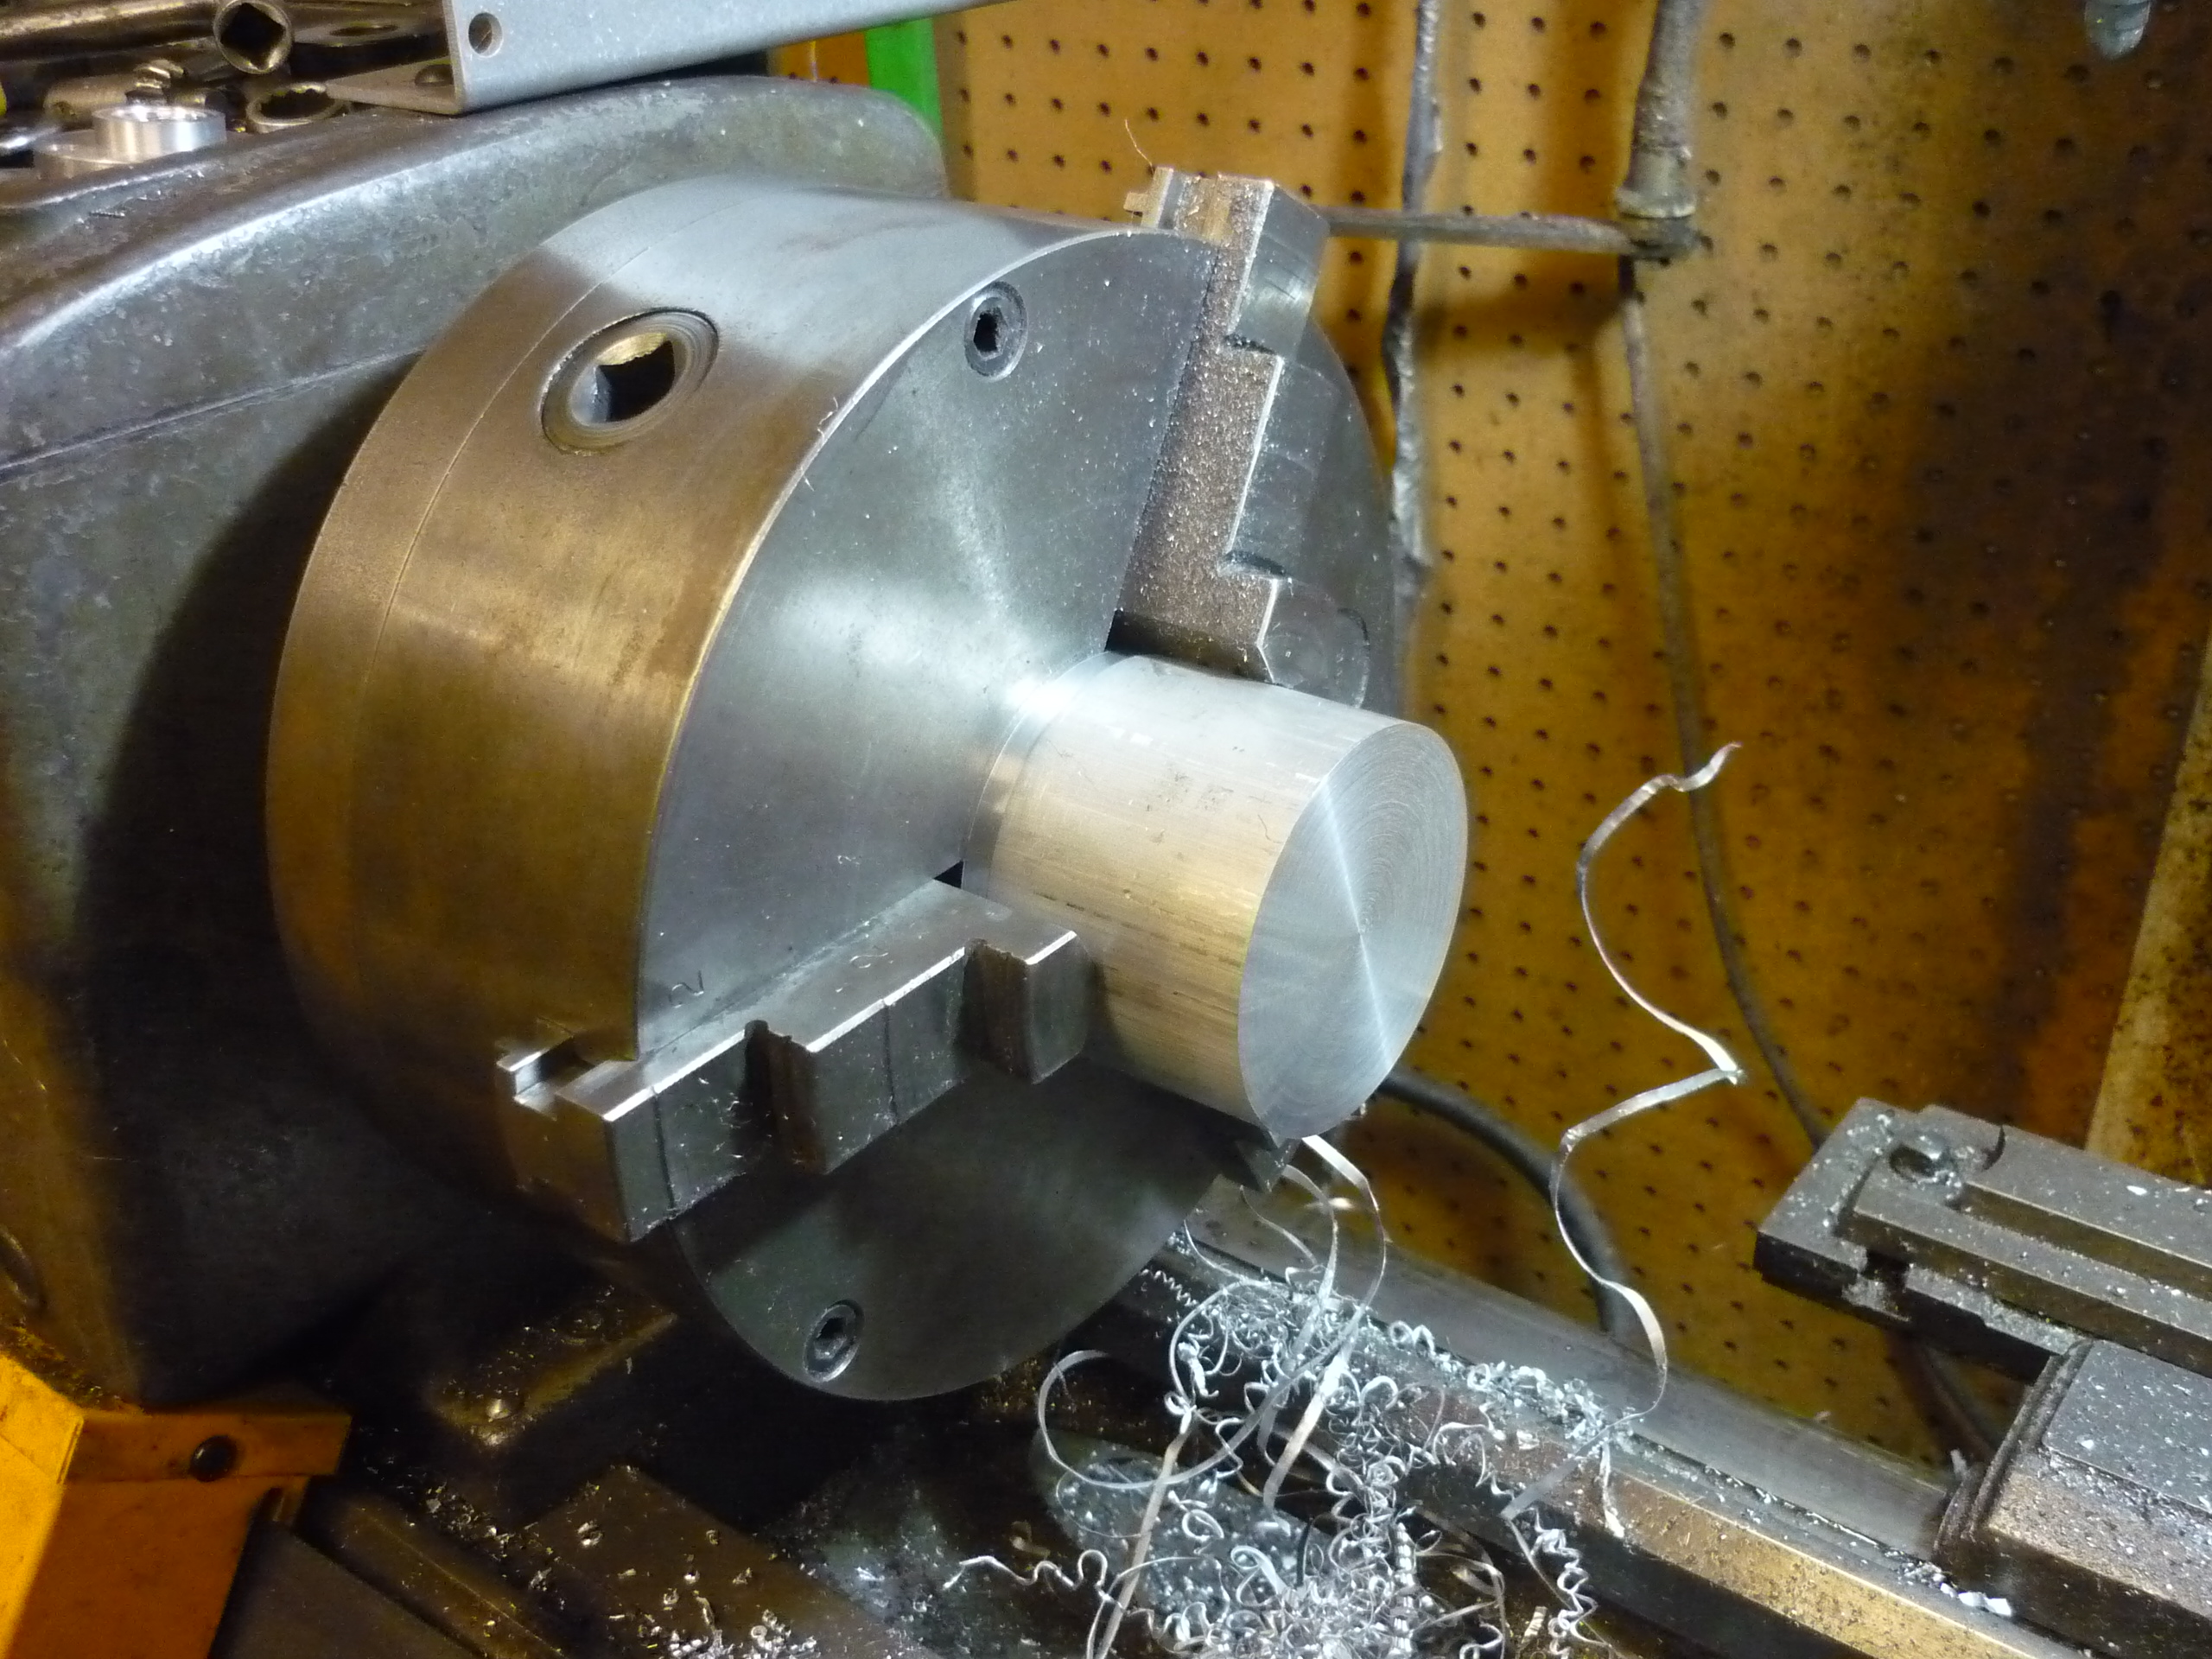
CAD File DownloadFor those interested in the design details, the gearbox CAD files are available: Solidworks 2014 [pack&go zip] Brake & Steering UpgradesDuring the 2014 world makerfaire, we managed to bust a steering linkage along with a wheel hub. Both were splatter-core welded back together. This held for the race, but was questionable at best. So we sawed them apart and I MIG-welded them back together. Note copious amounts of metal were added to fillet the joint. These were thrown in the 3-jaw to ensure the mating surface was flat. 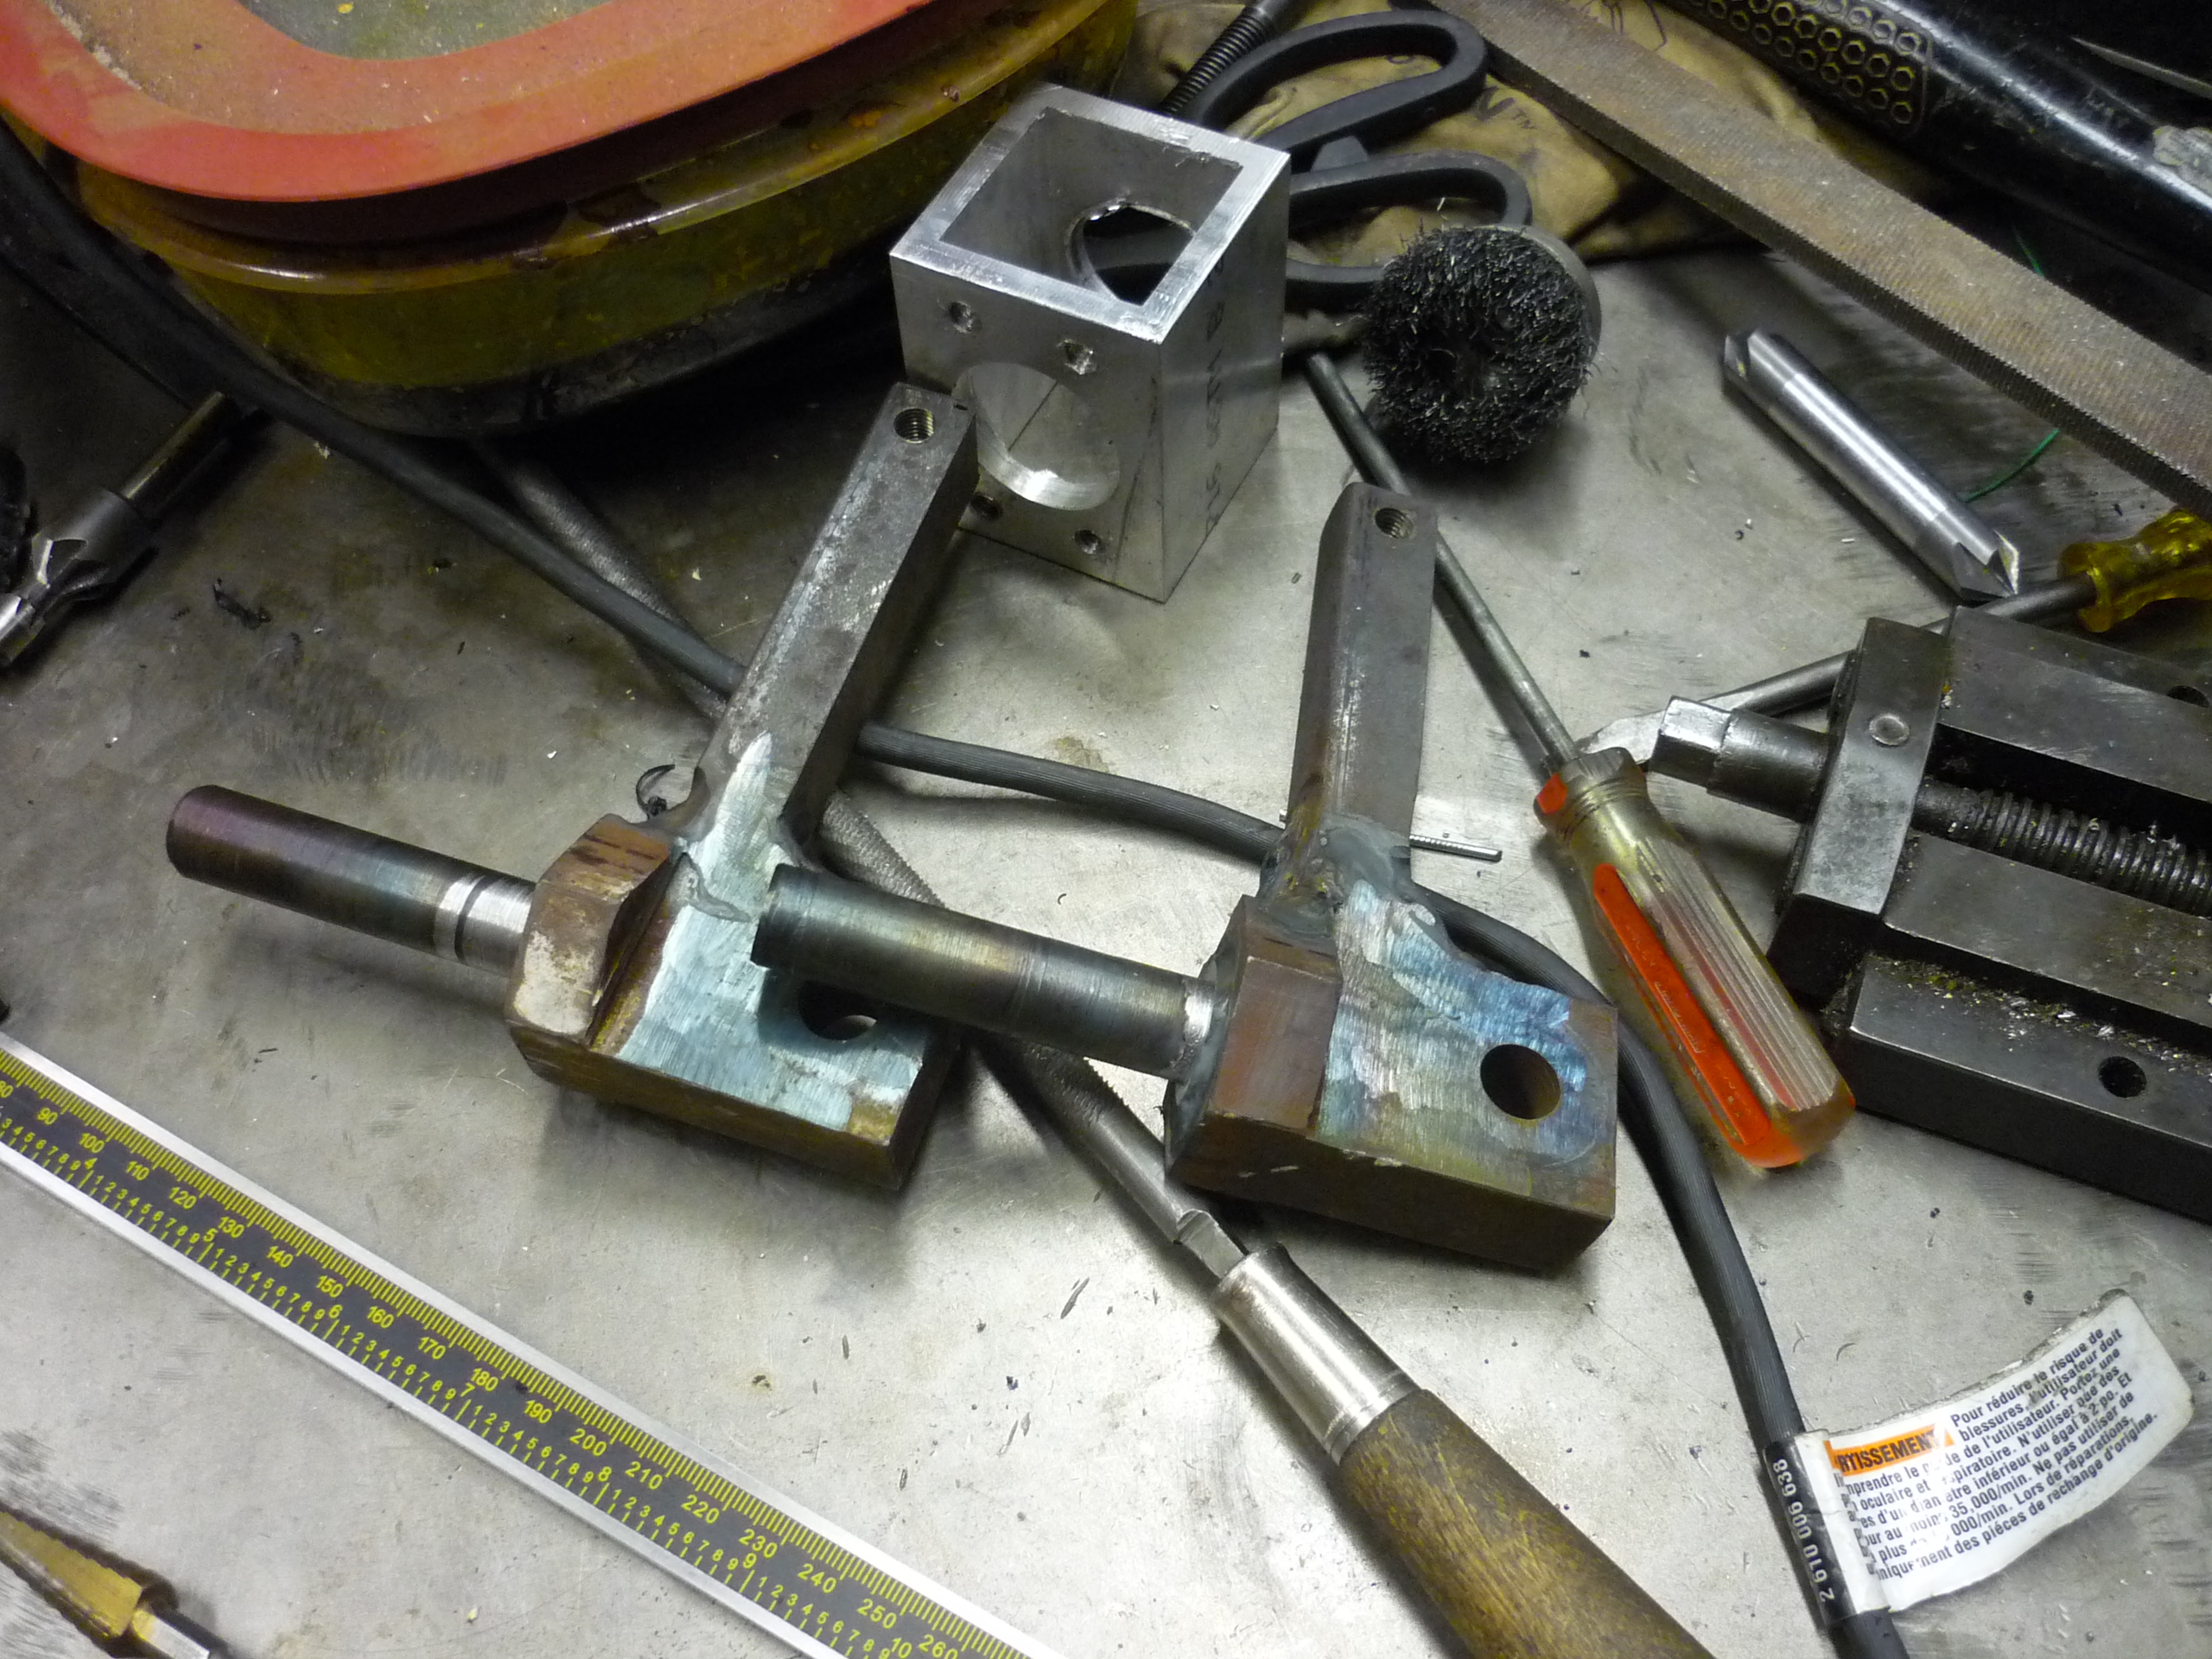
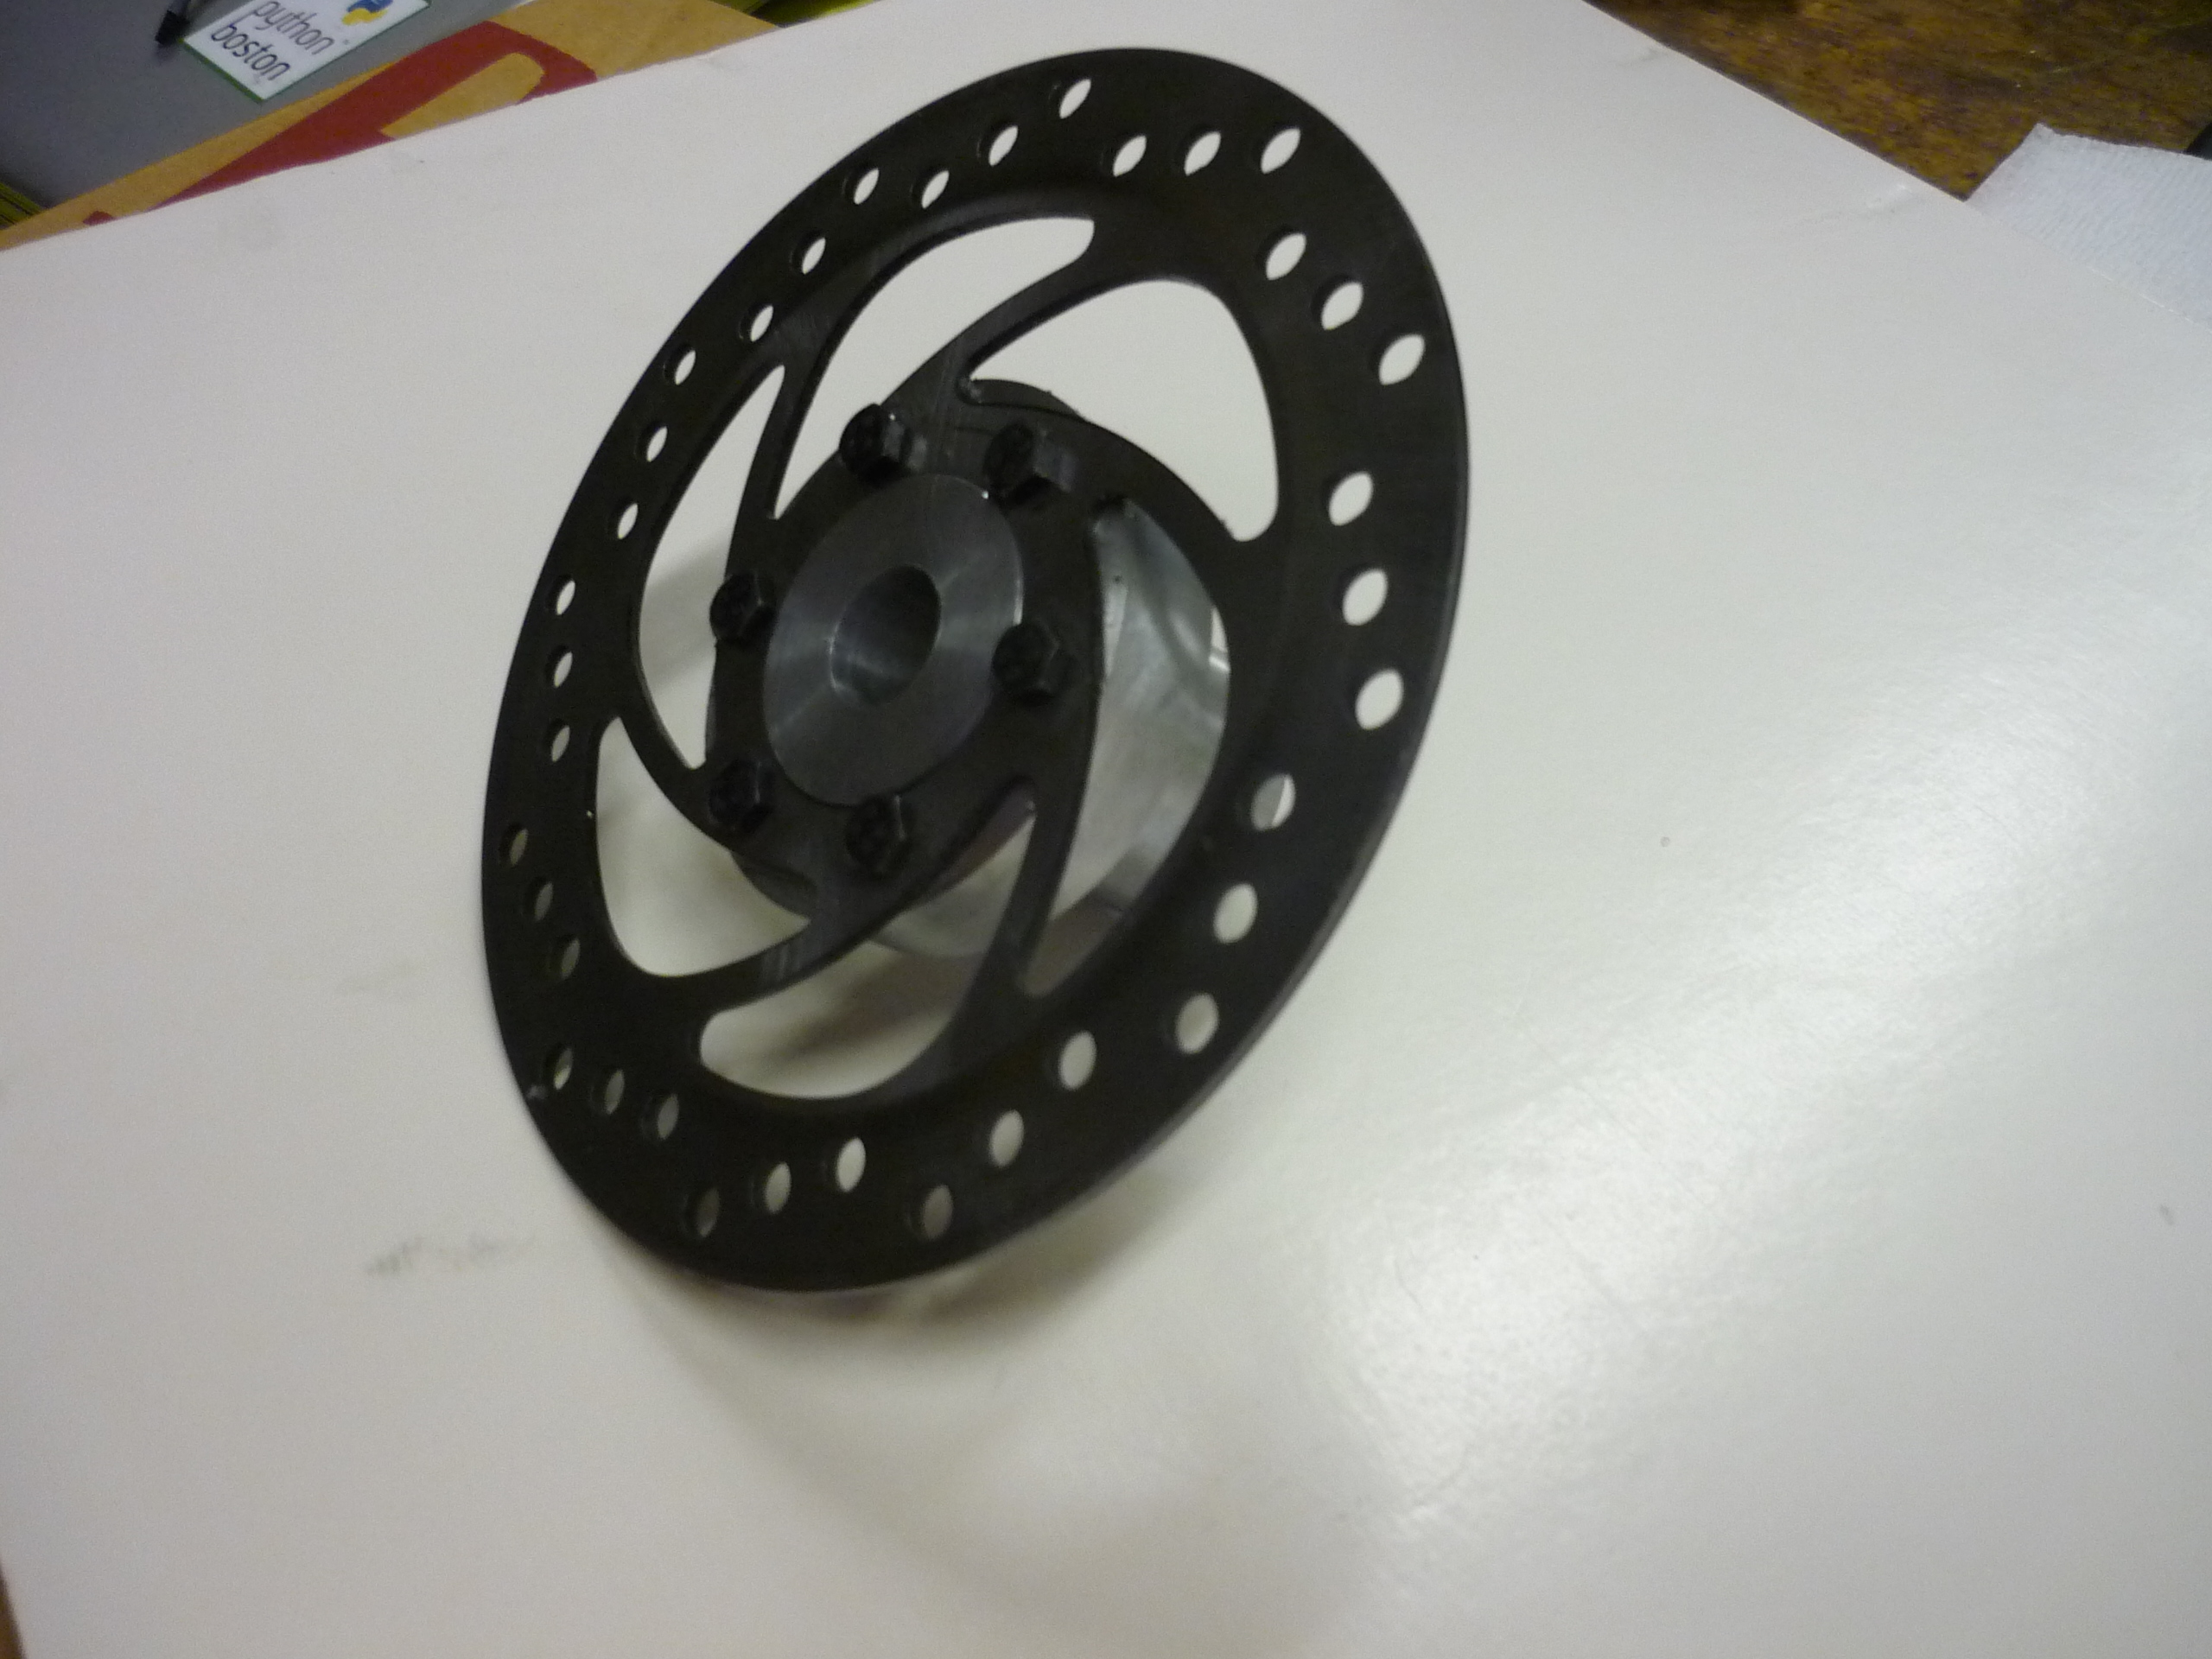
Split Brakes DesignLast year Ben Katz made this glorious brake disc holster. It friction-fit to the rear solid driveshaft and did gloriously. Now that we had a split differential, applying a braking force on one side of the rear axle alone would put all the braking force into one tire, and wear it out rather quickly. So we needed a clone. 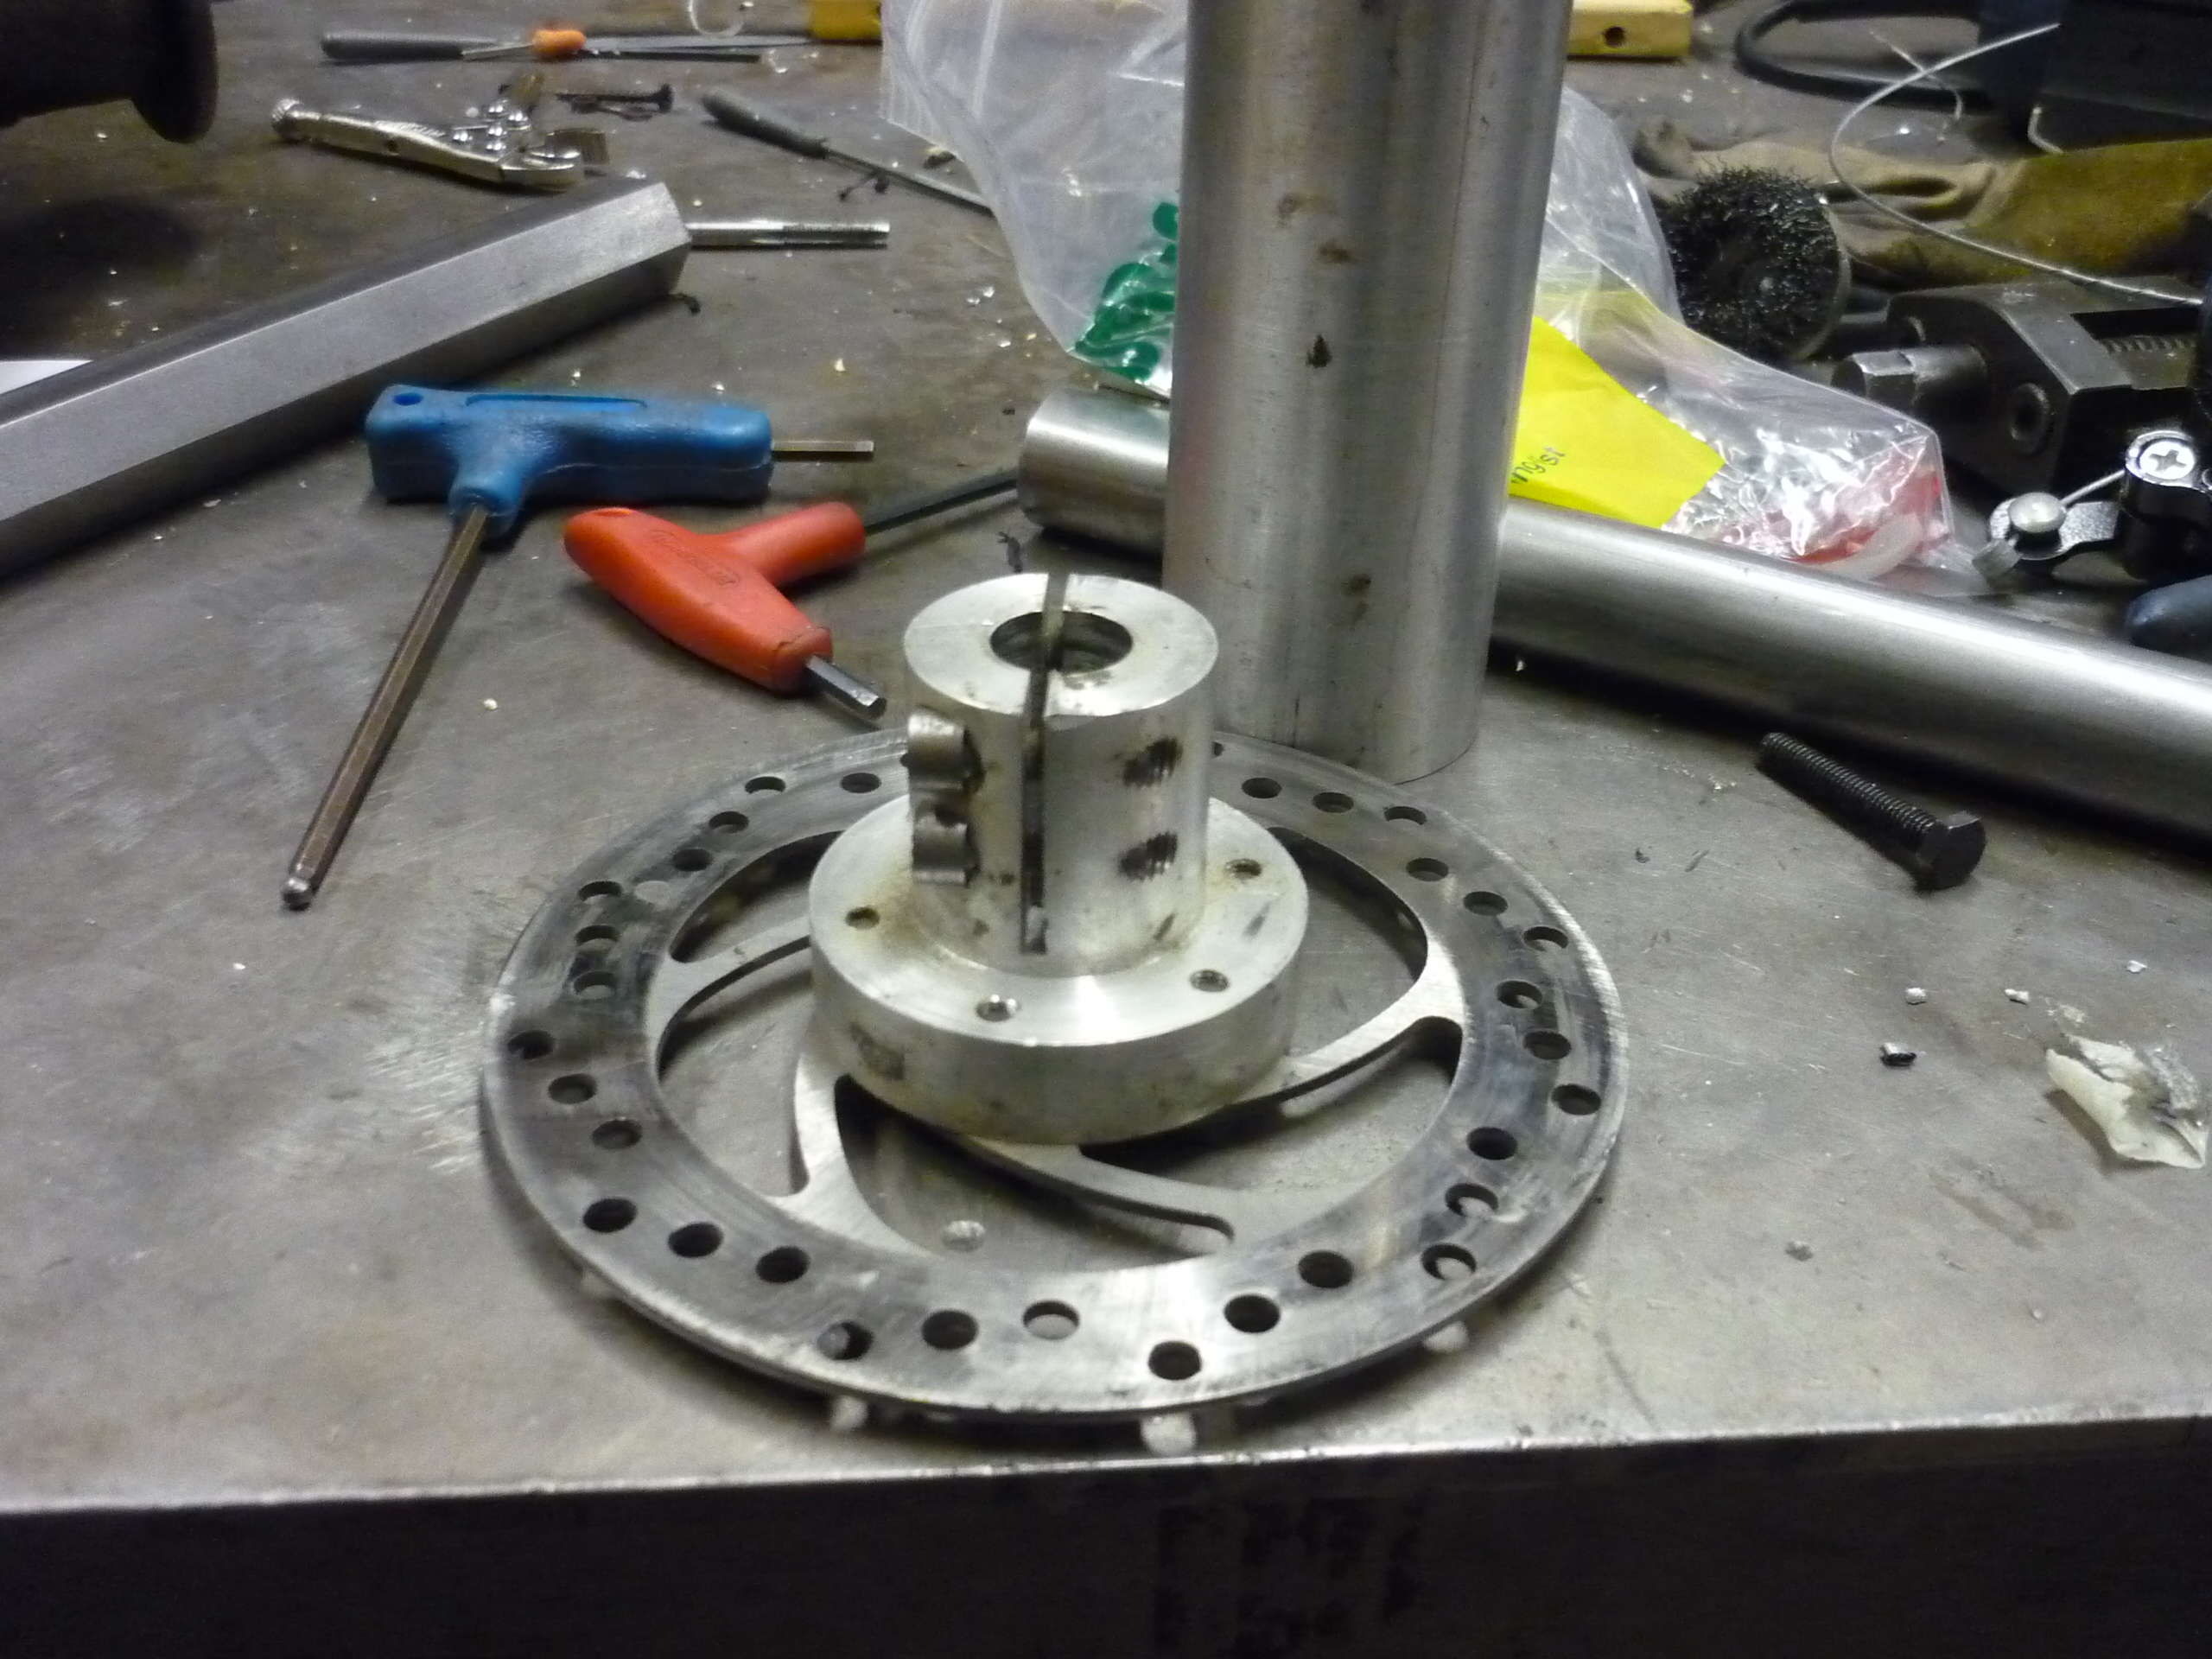
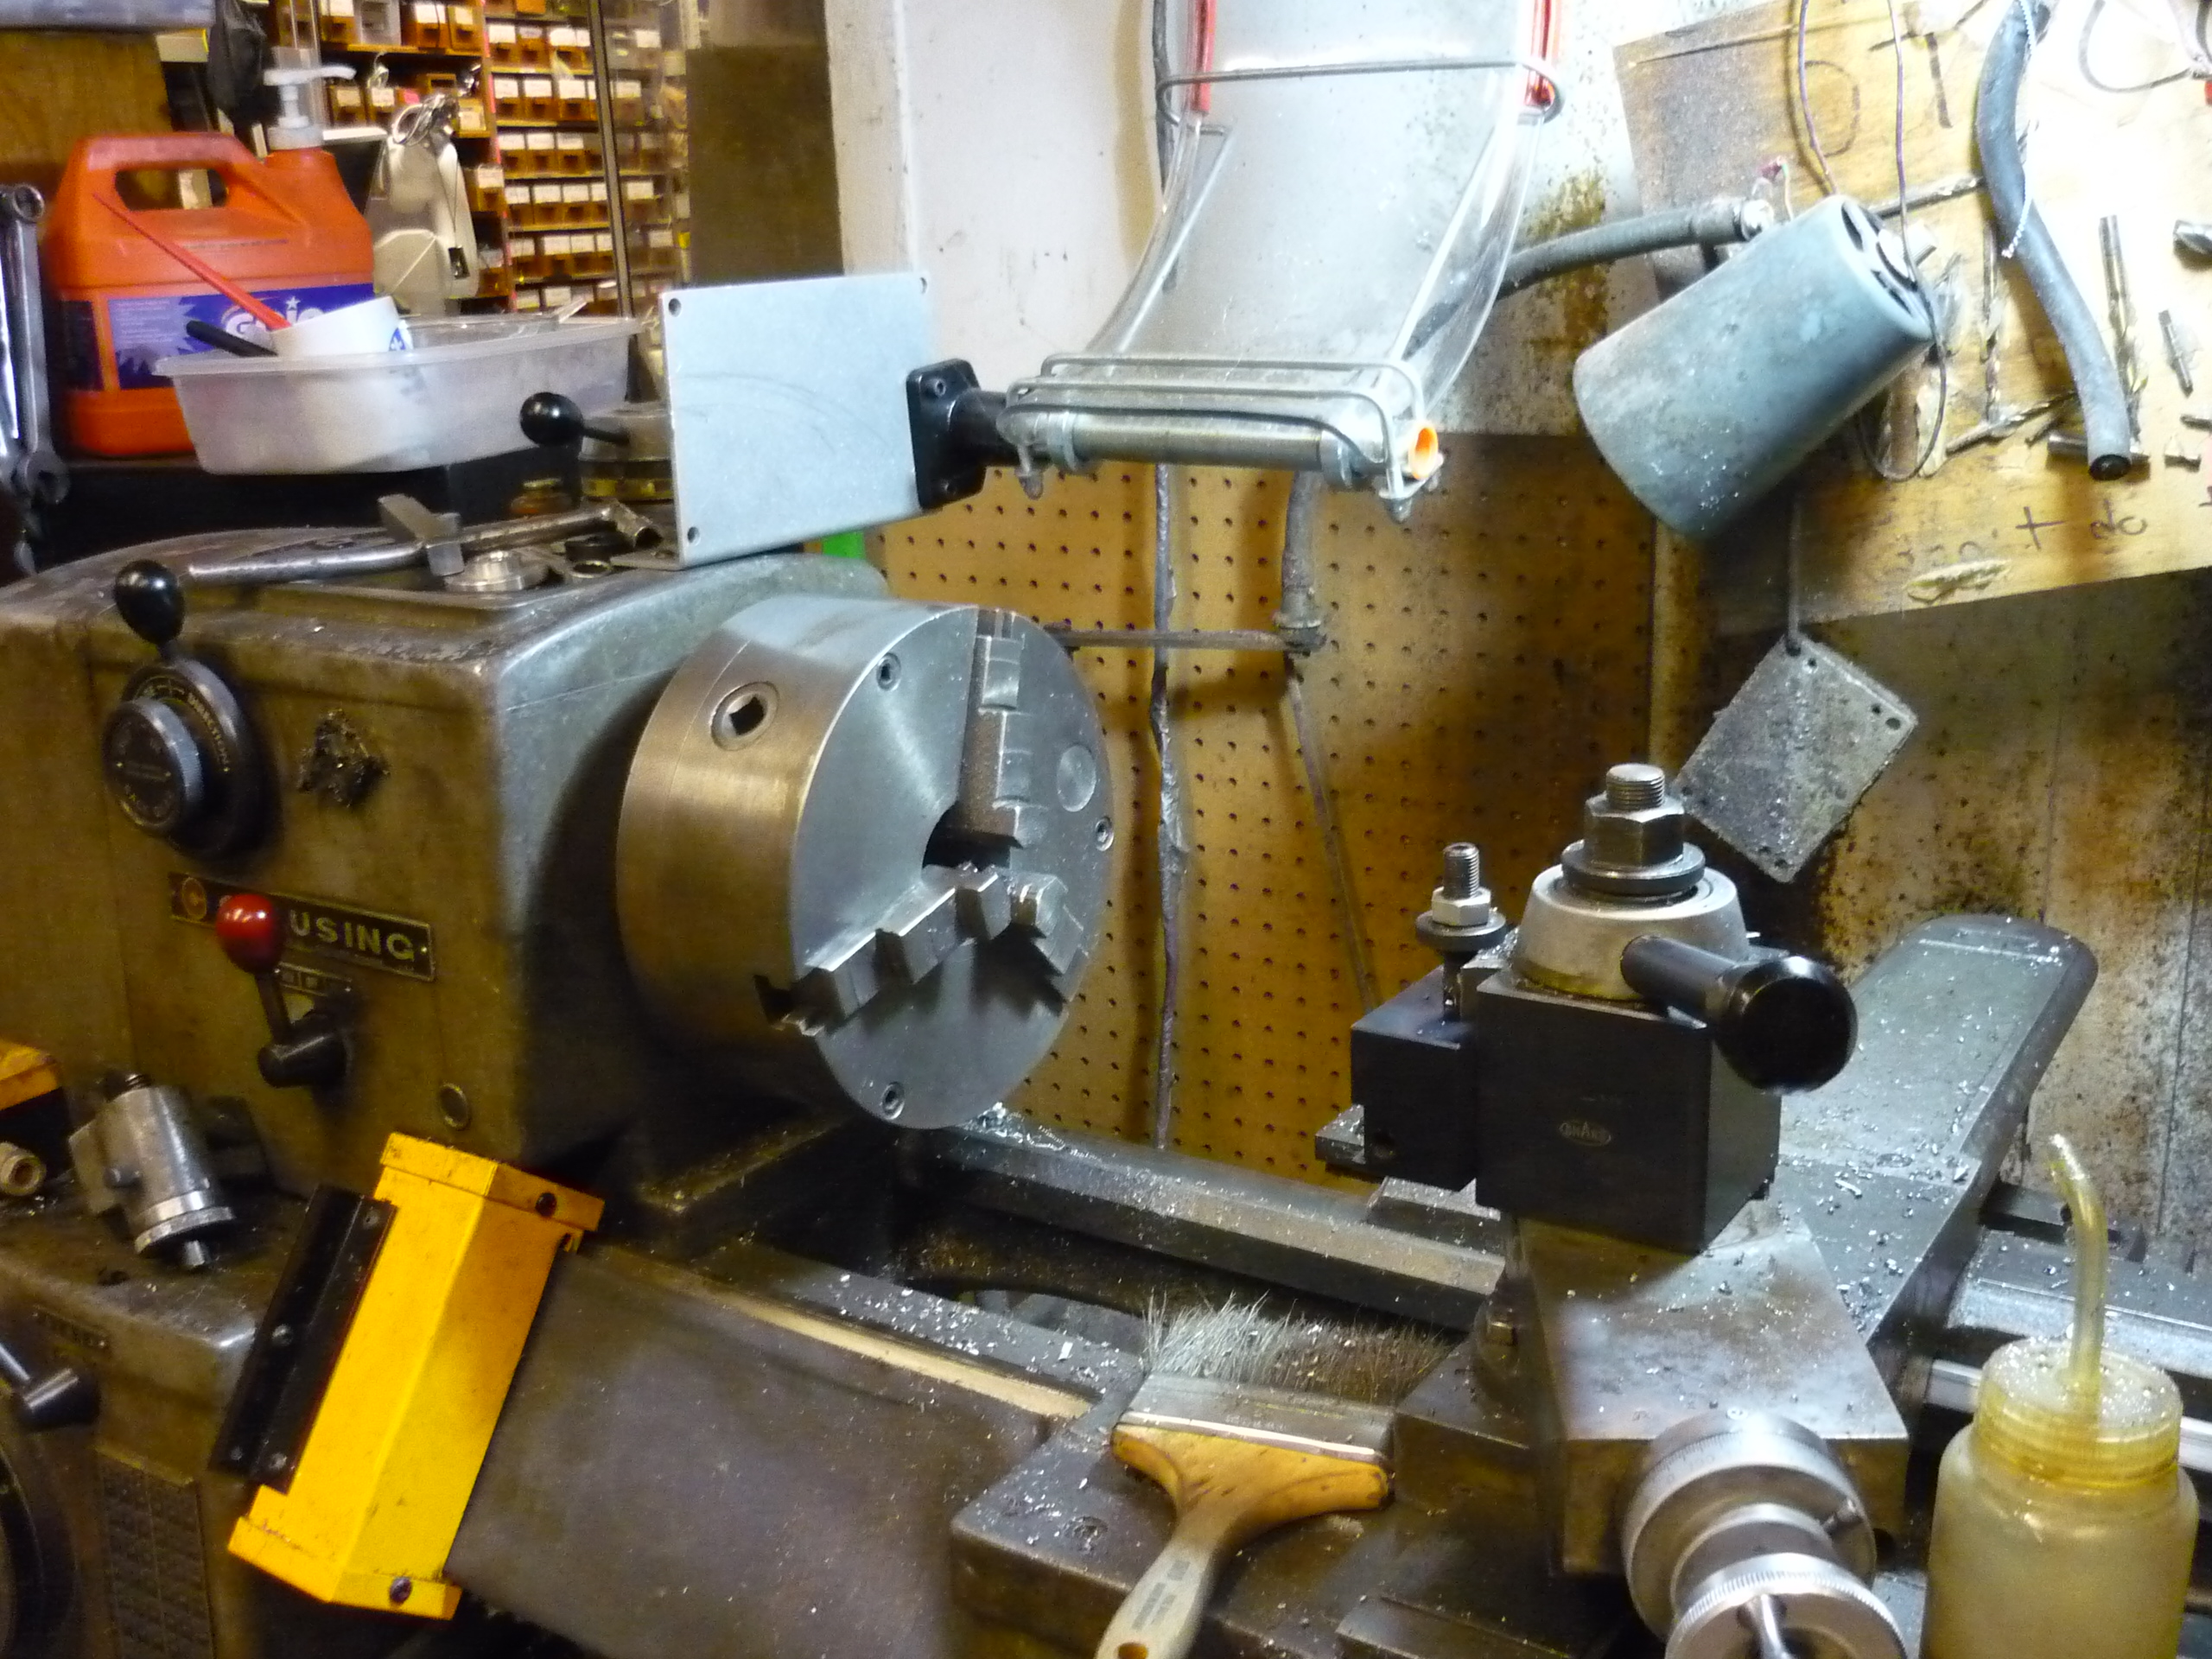
I started with roundstock that was gifted from the MIT Physics department. After turning the inside of the part to the right diameter, I swapped it around in the lathe and faced the opposing side. I now had a mechanical 1:1 of the disc adapter. 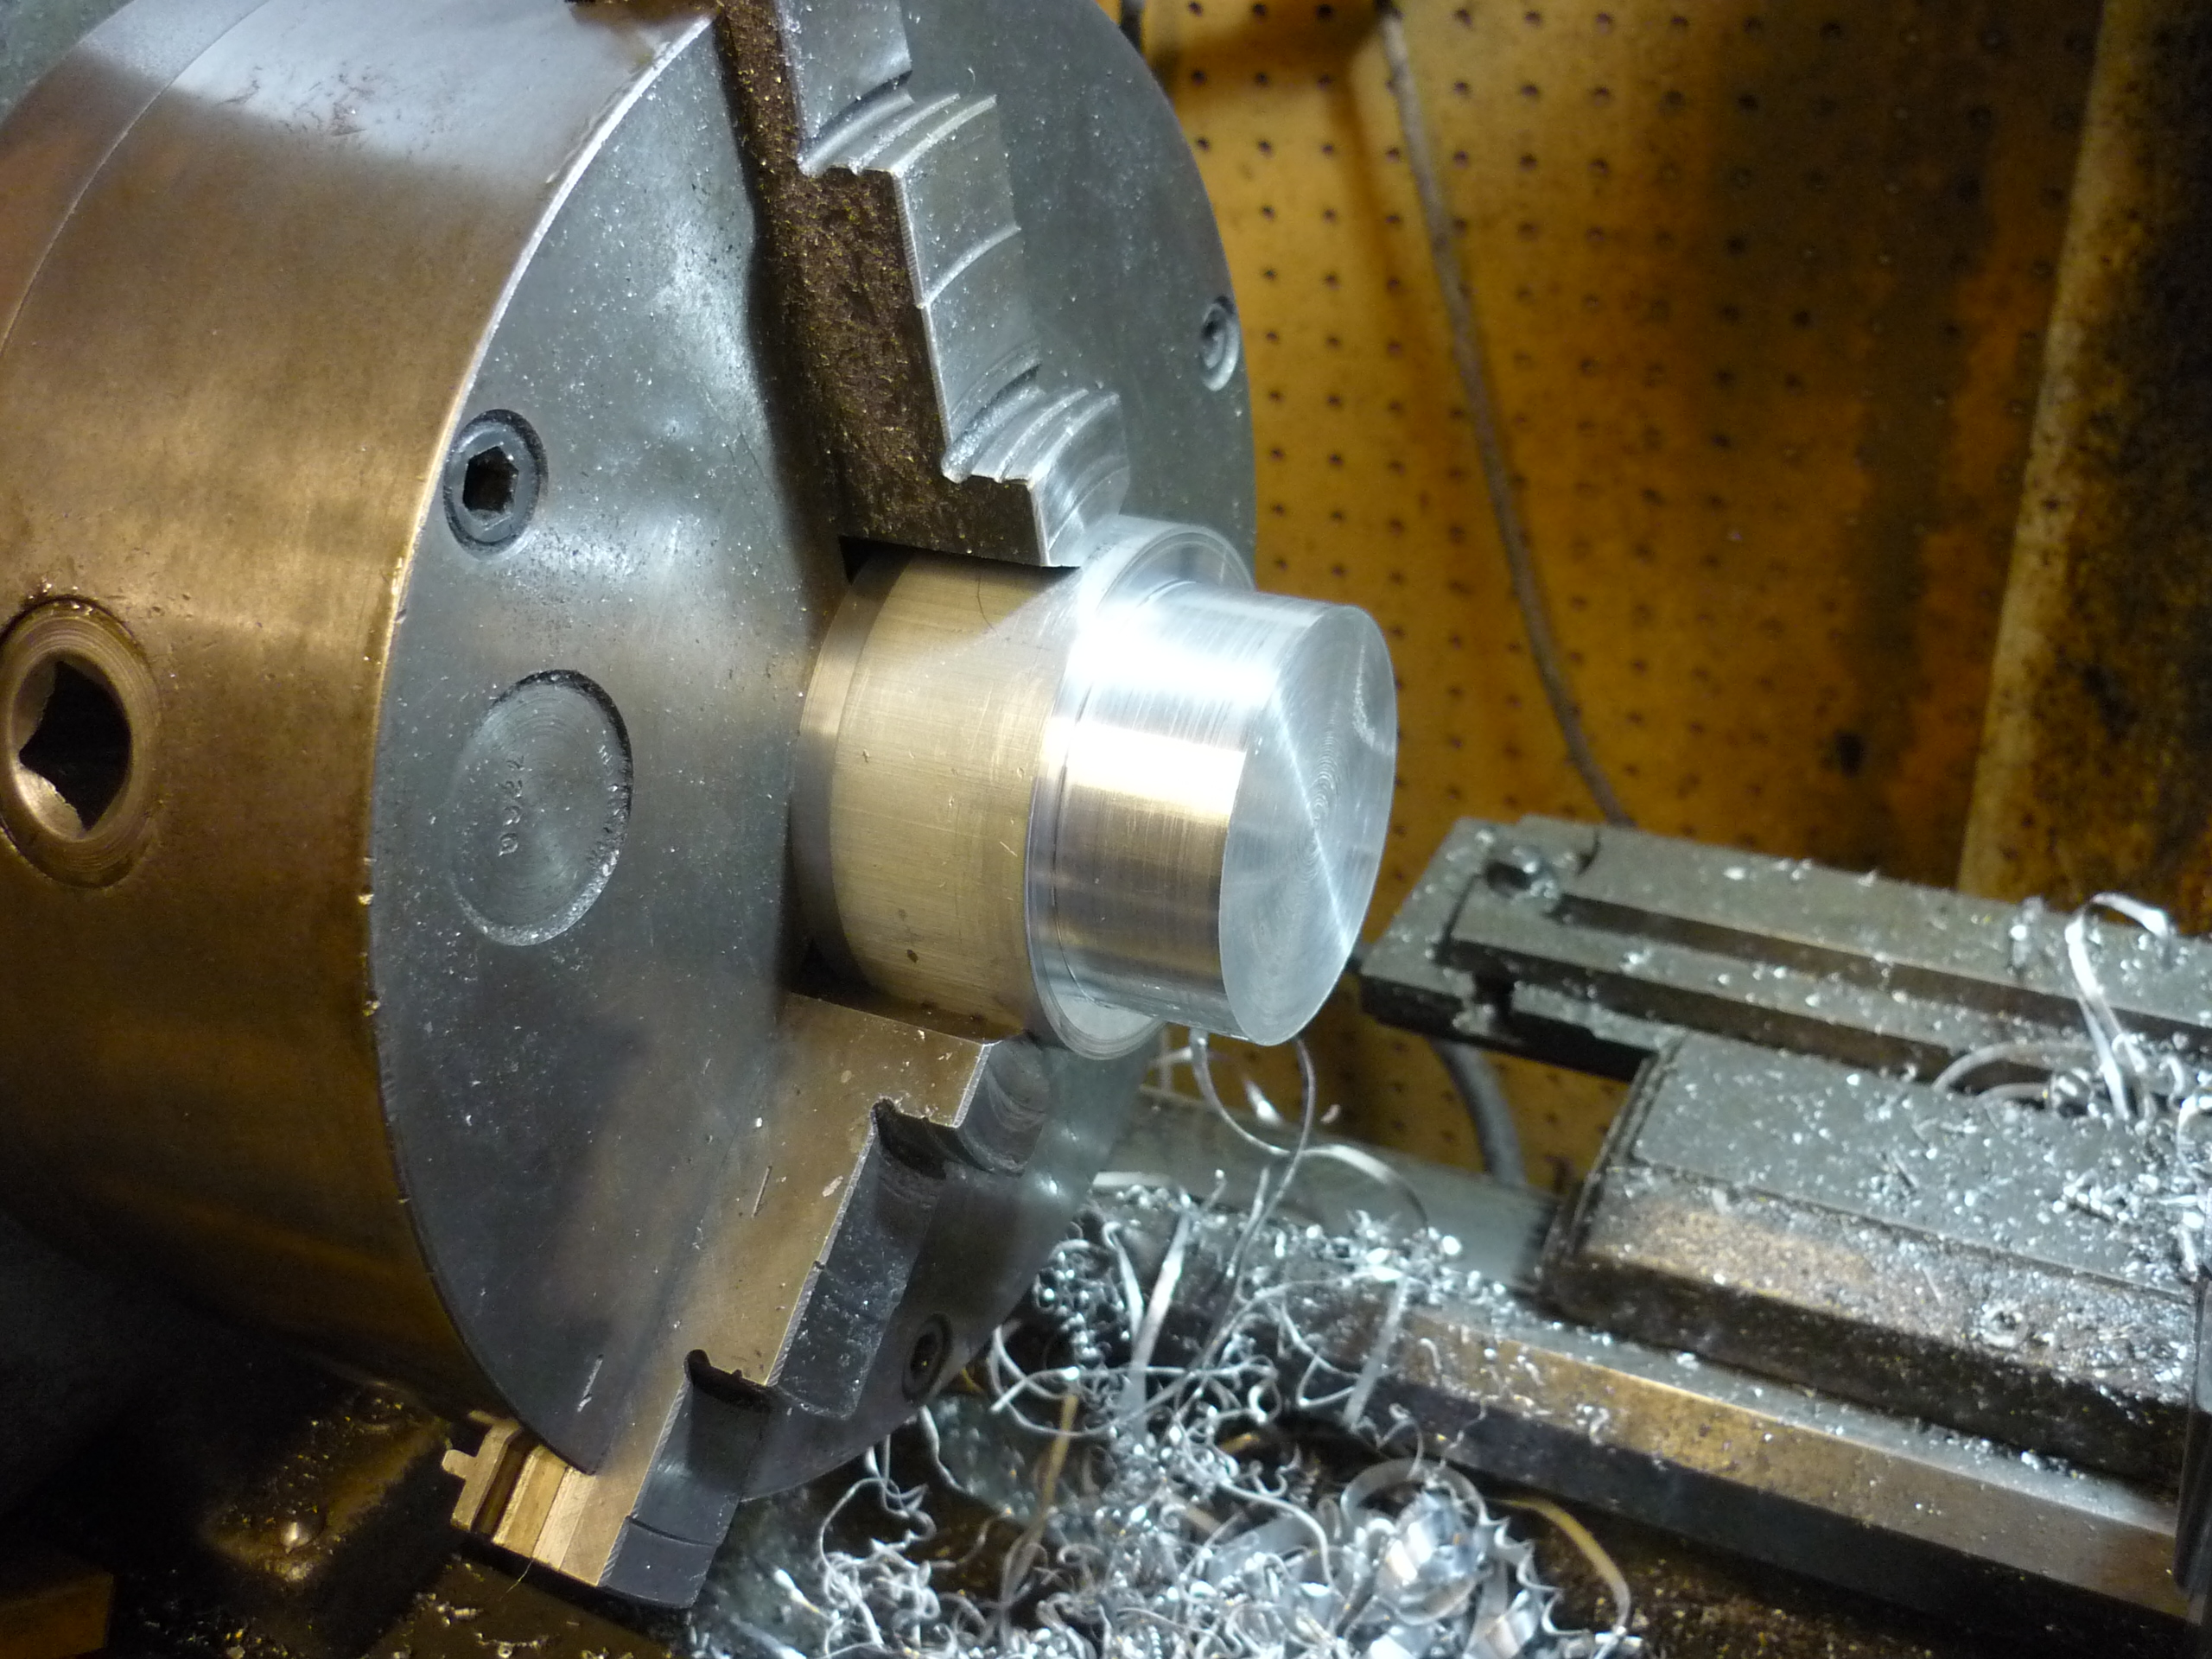
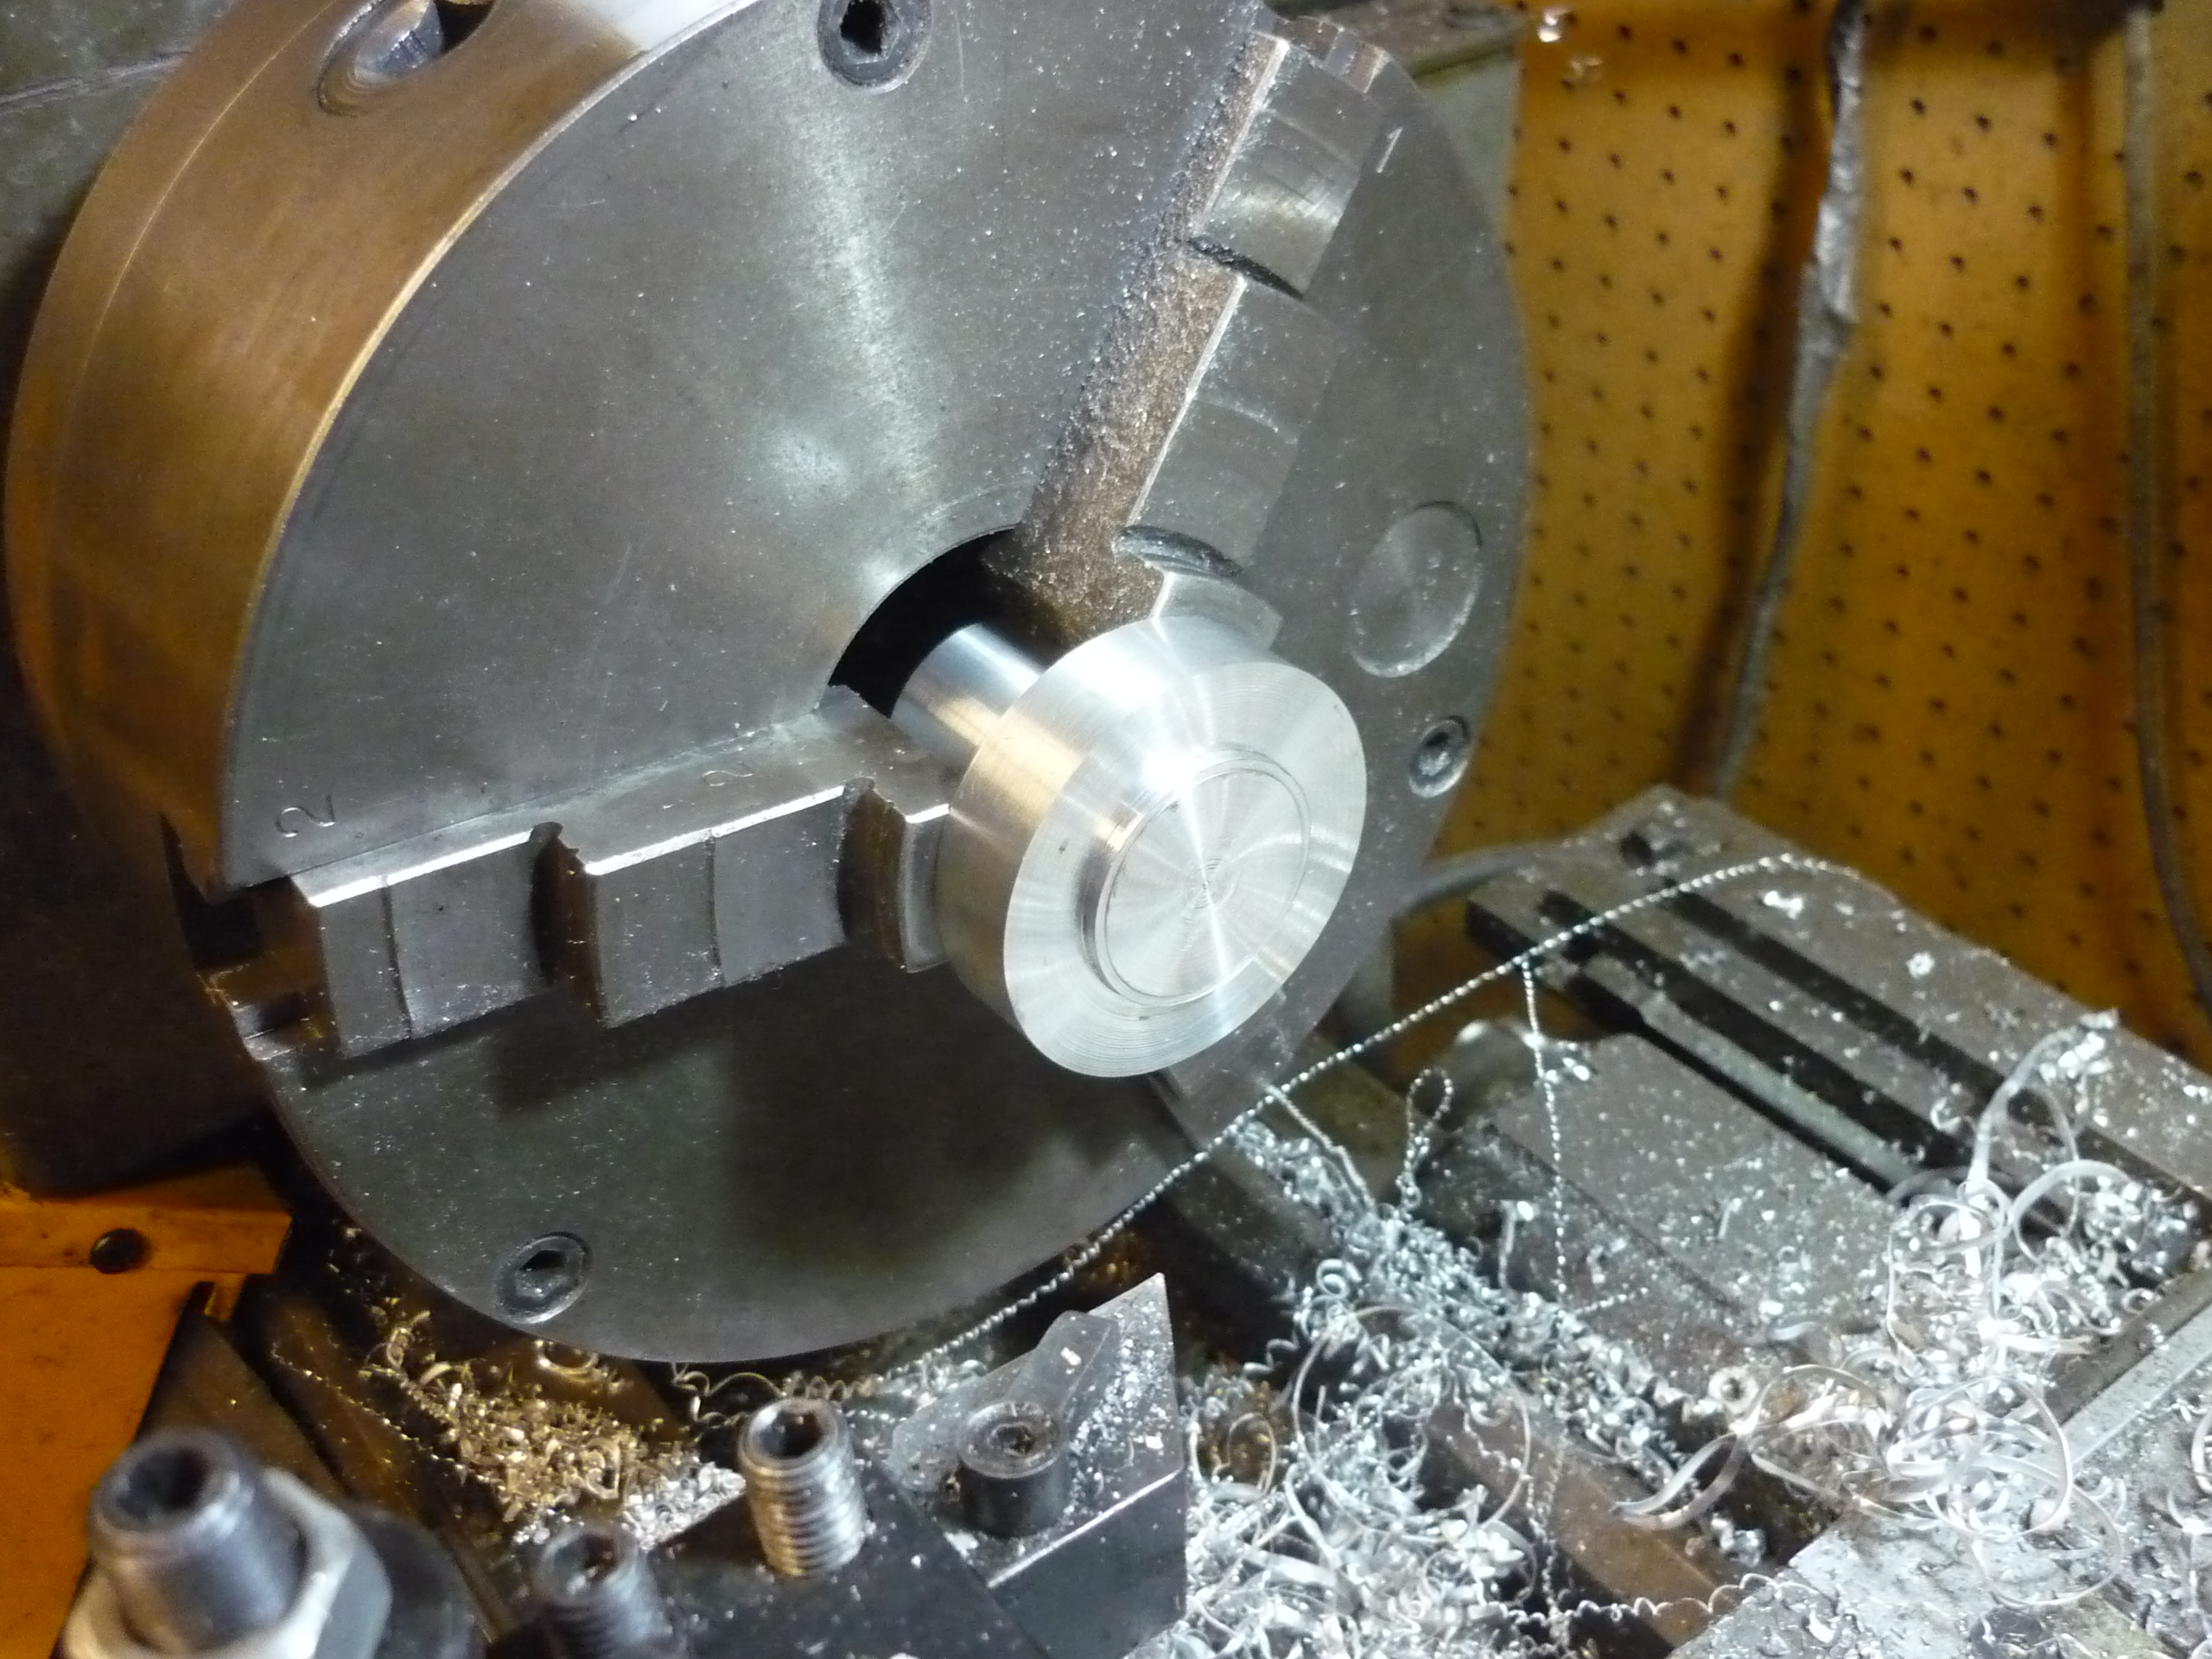
Next I used a rotary table, with the disc brake held in place to map the bolt pattern. This made hole placement really easy, and I soon had a 6 position pattern. Next I tapped each hole for M5 Bolts and went to town, torque-ing them in place. 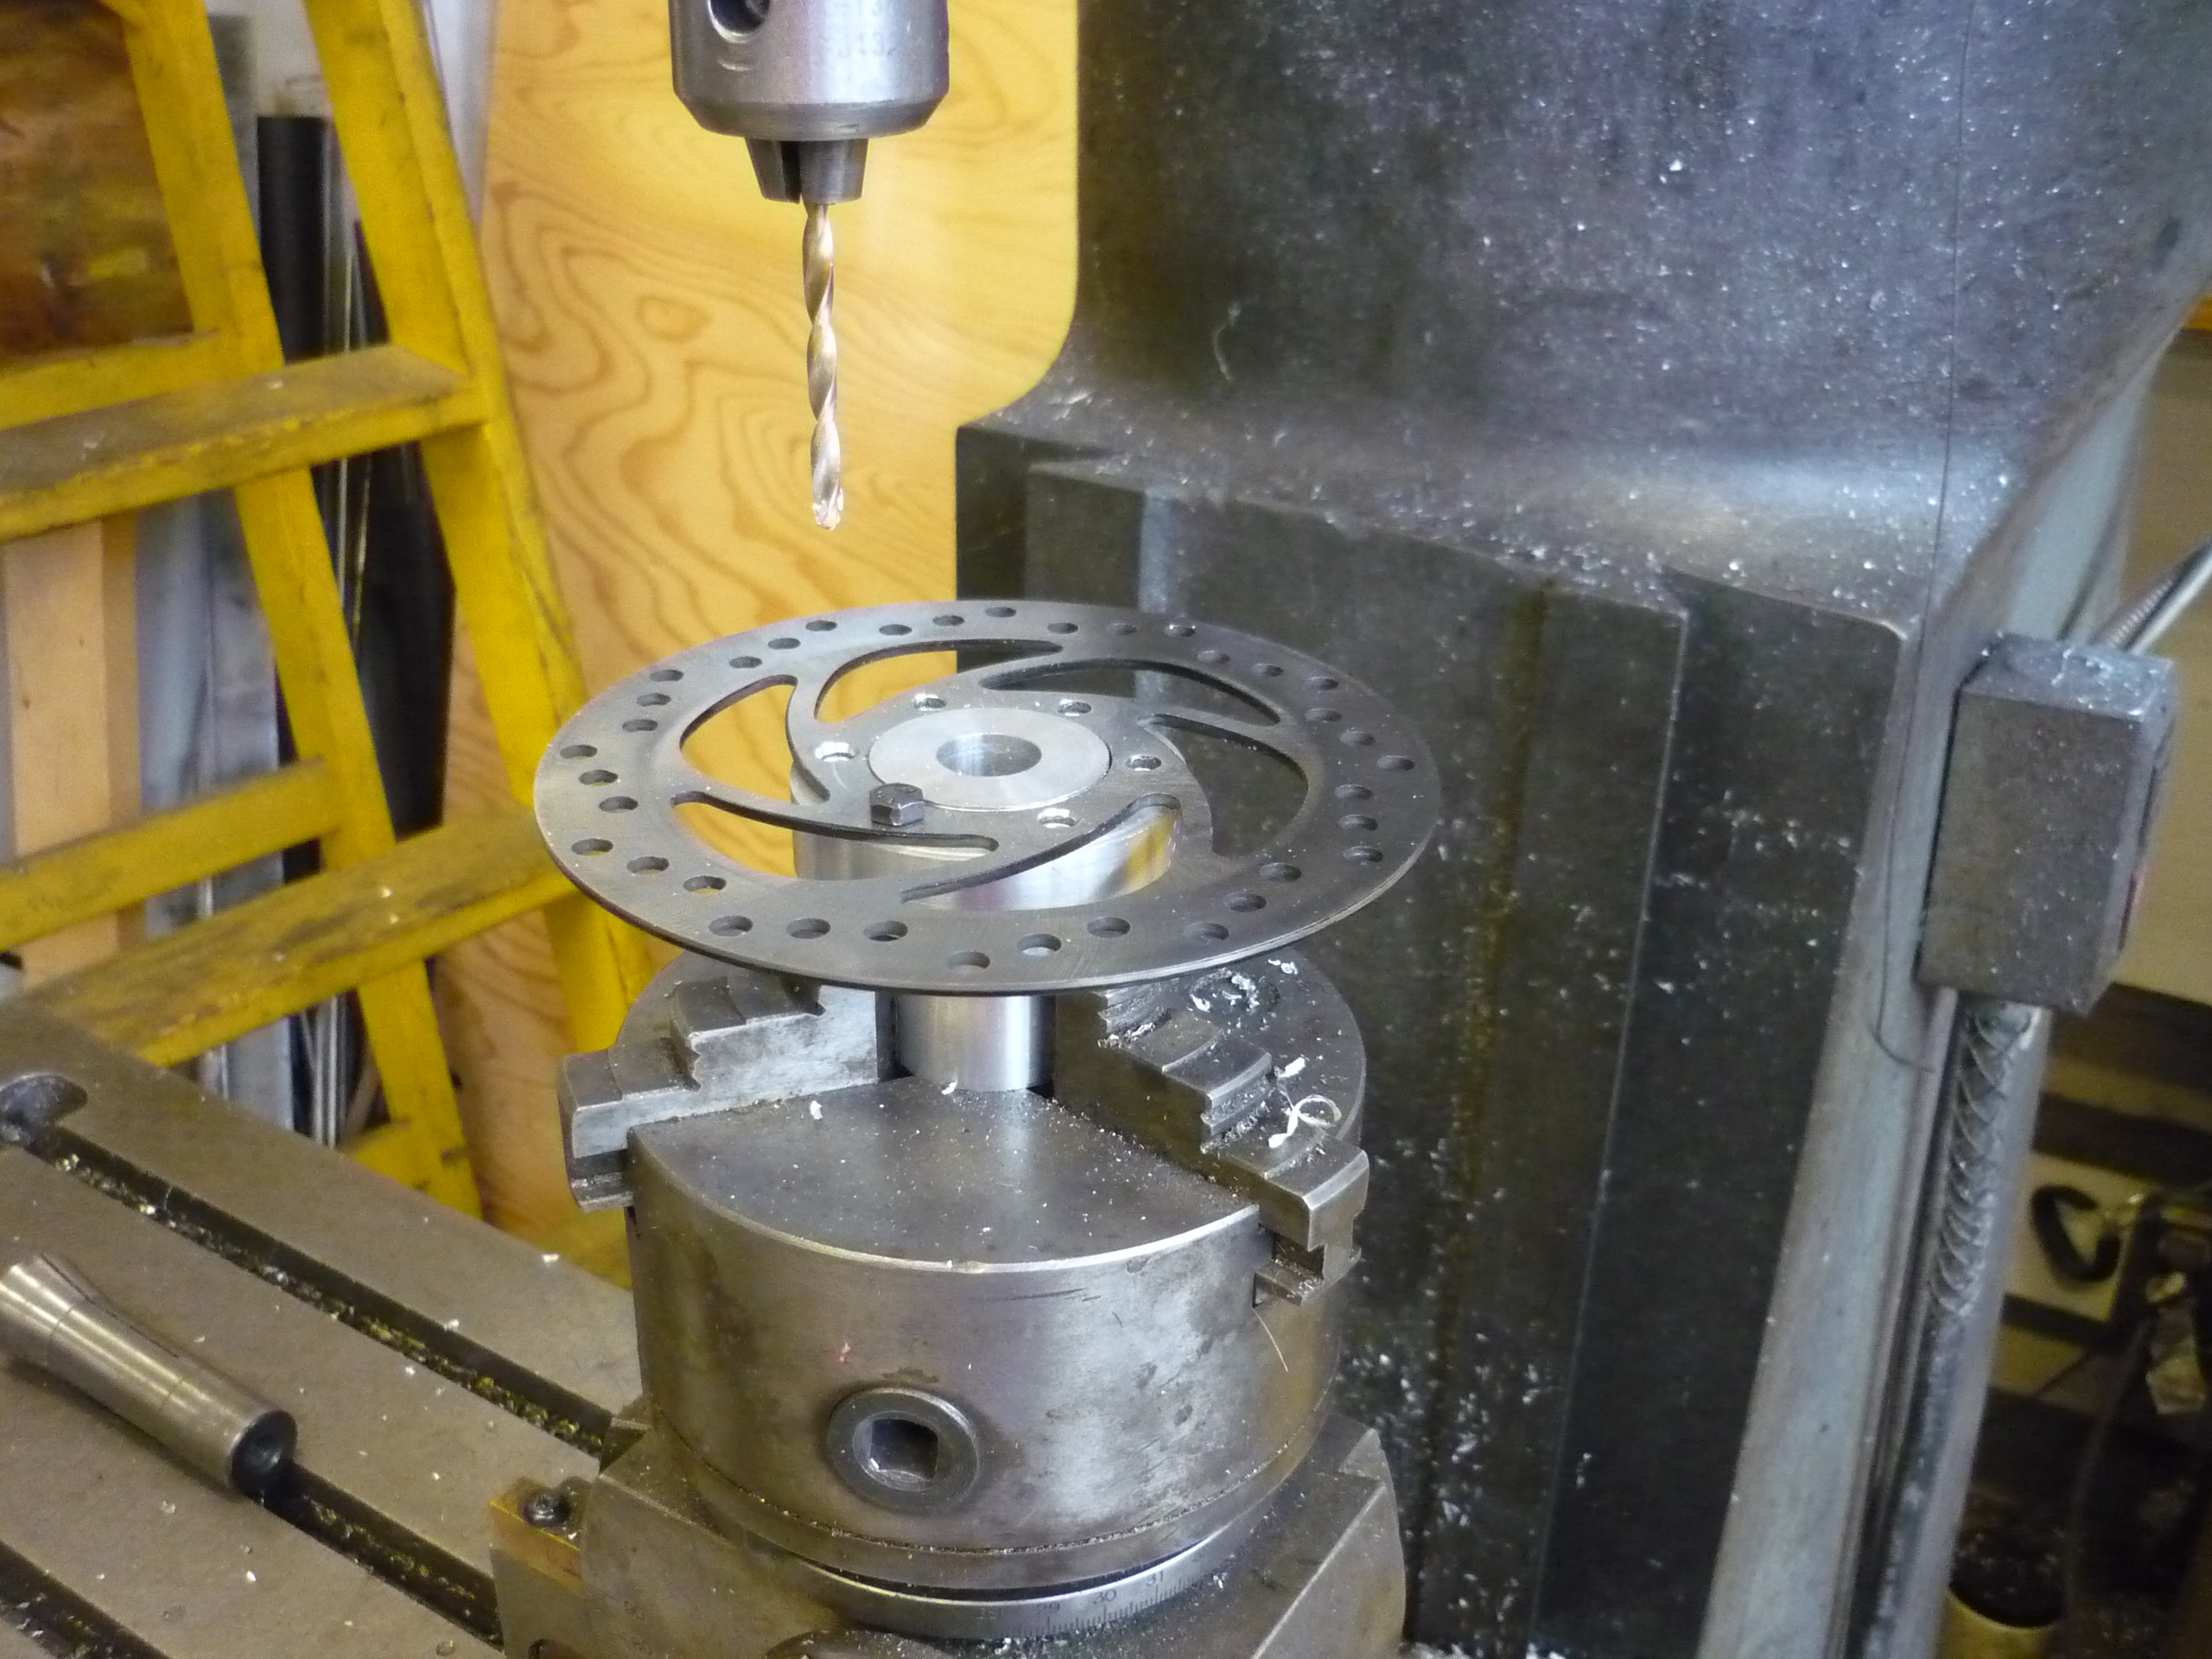
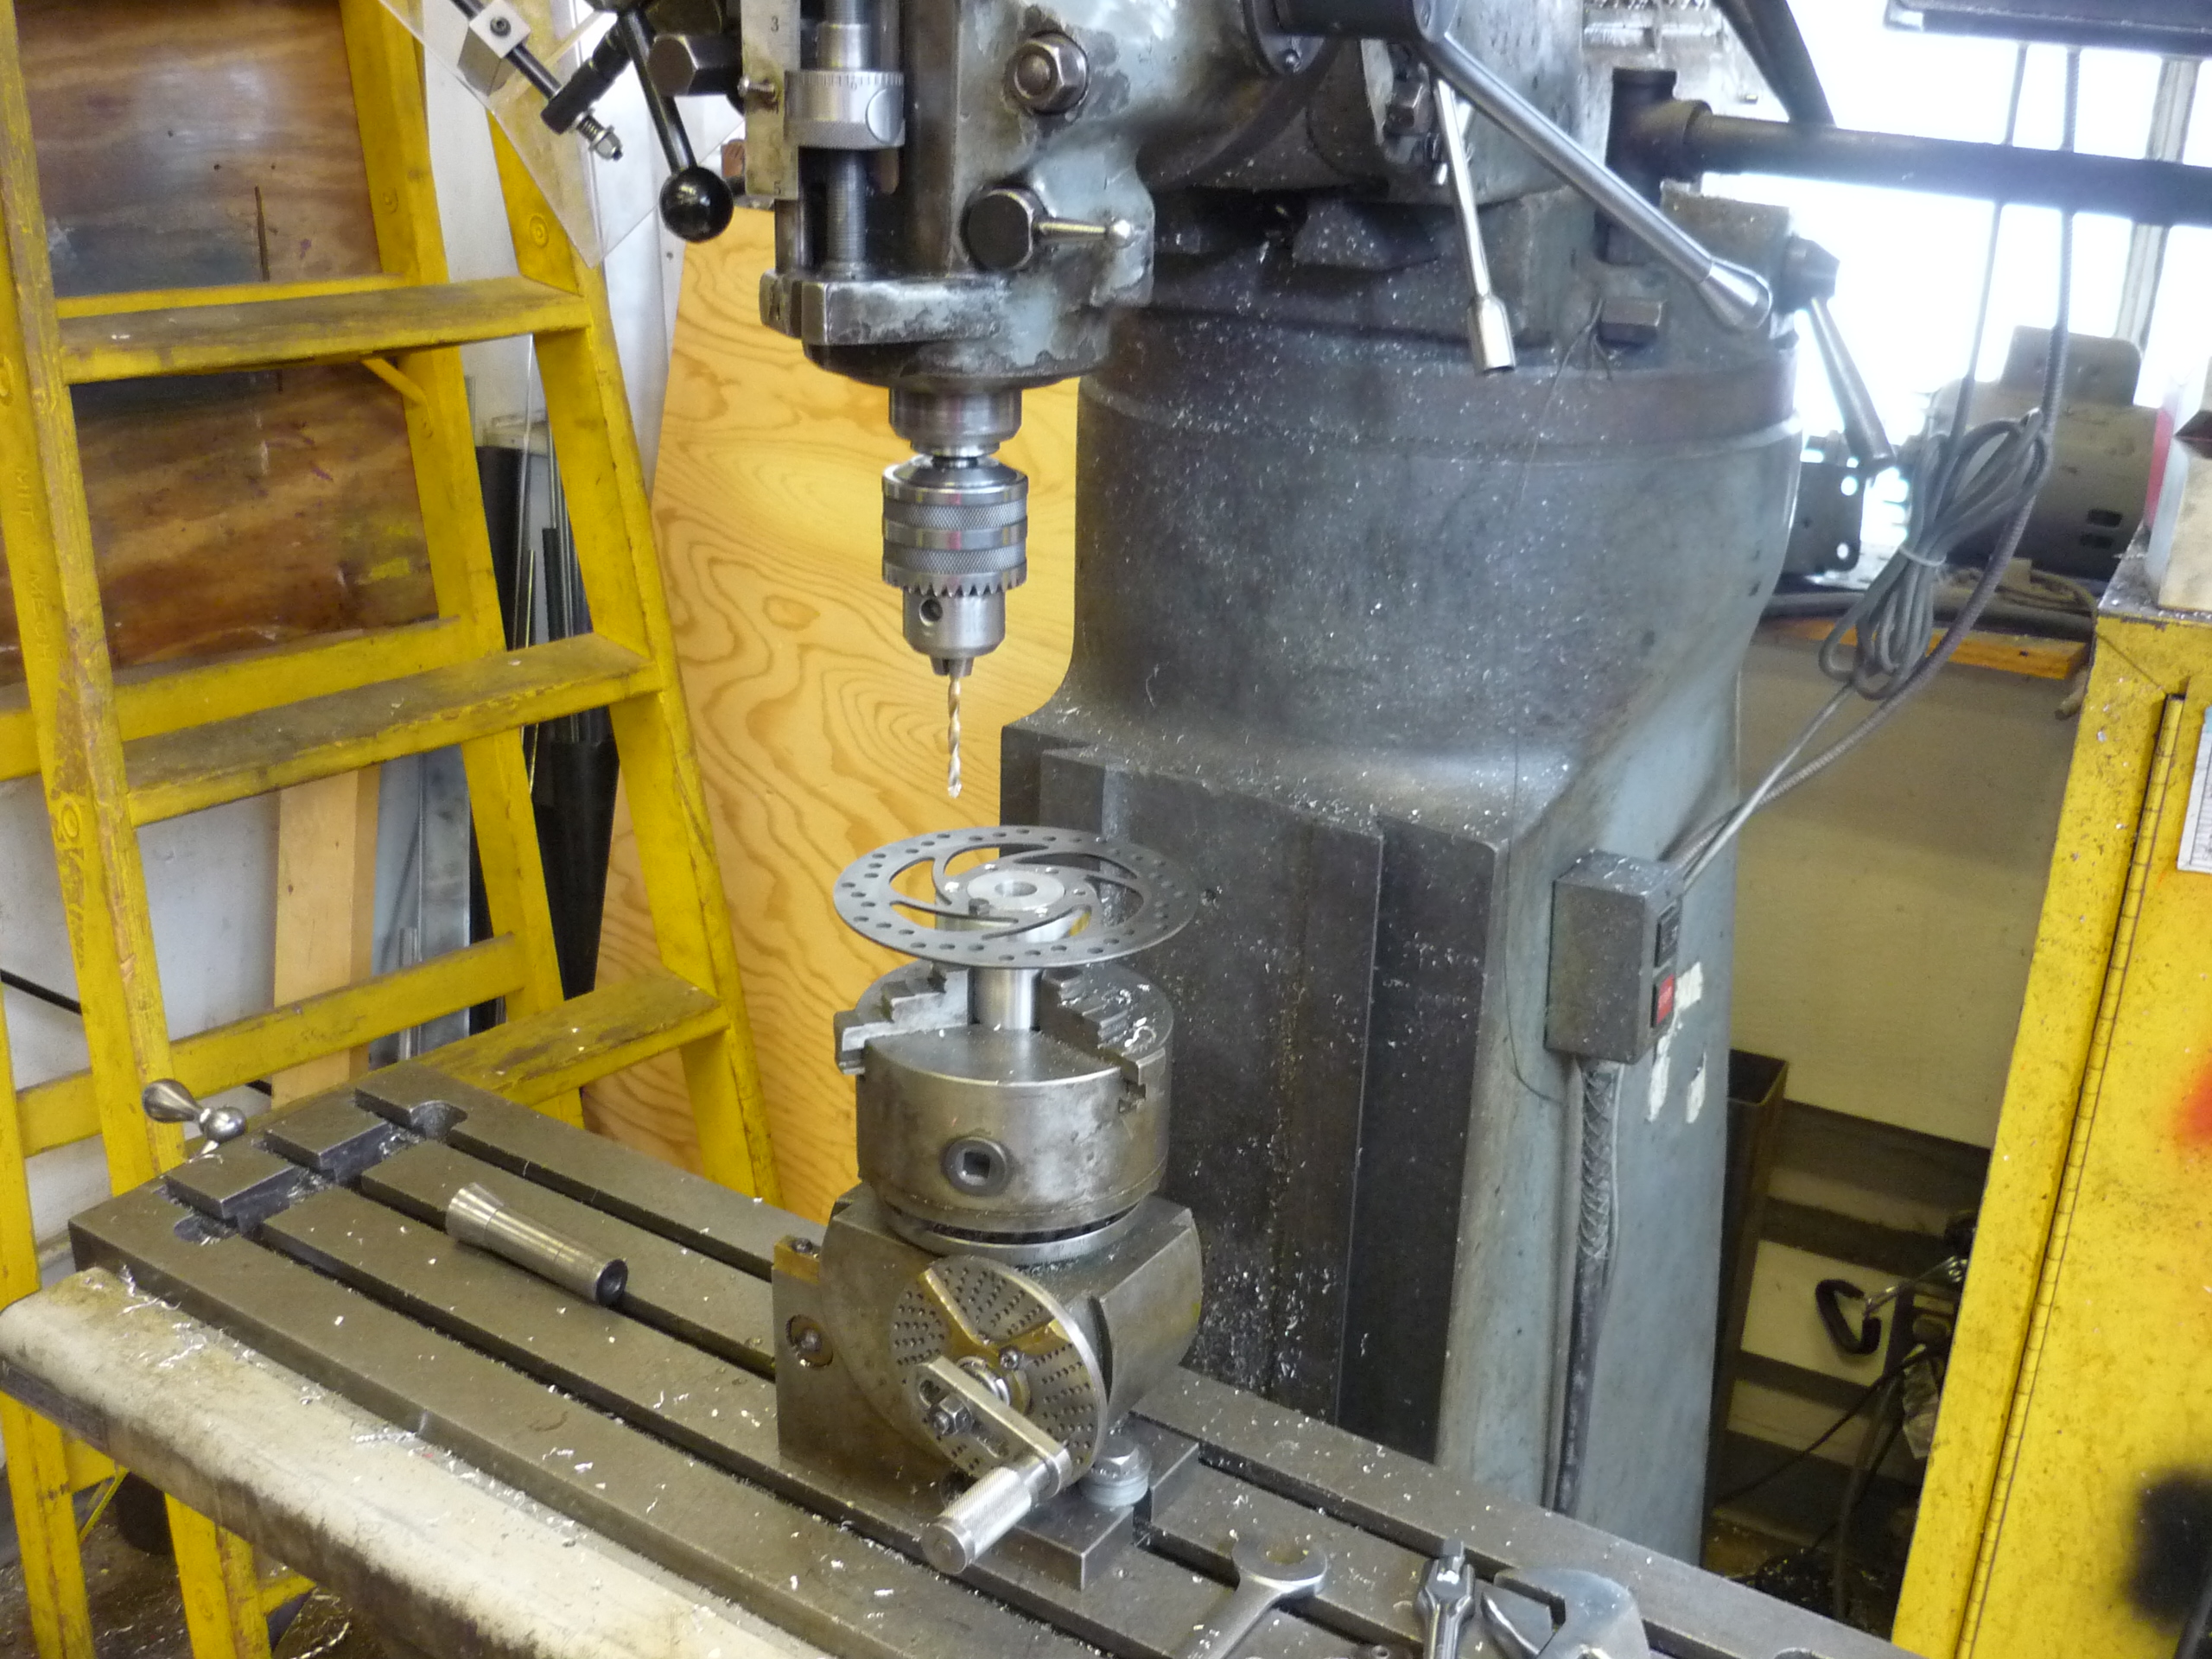
I've got to admit, I'm really proud of this part. And now there were two disc brake holsters. 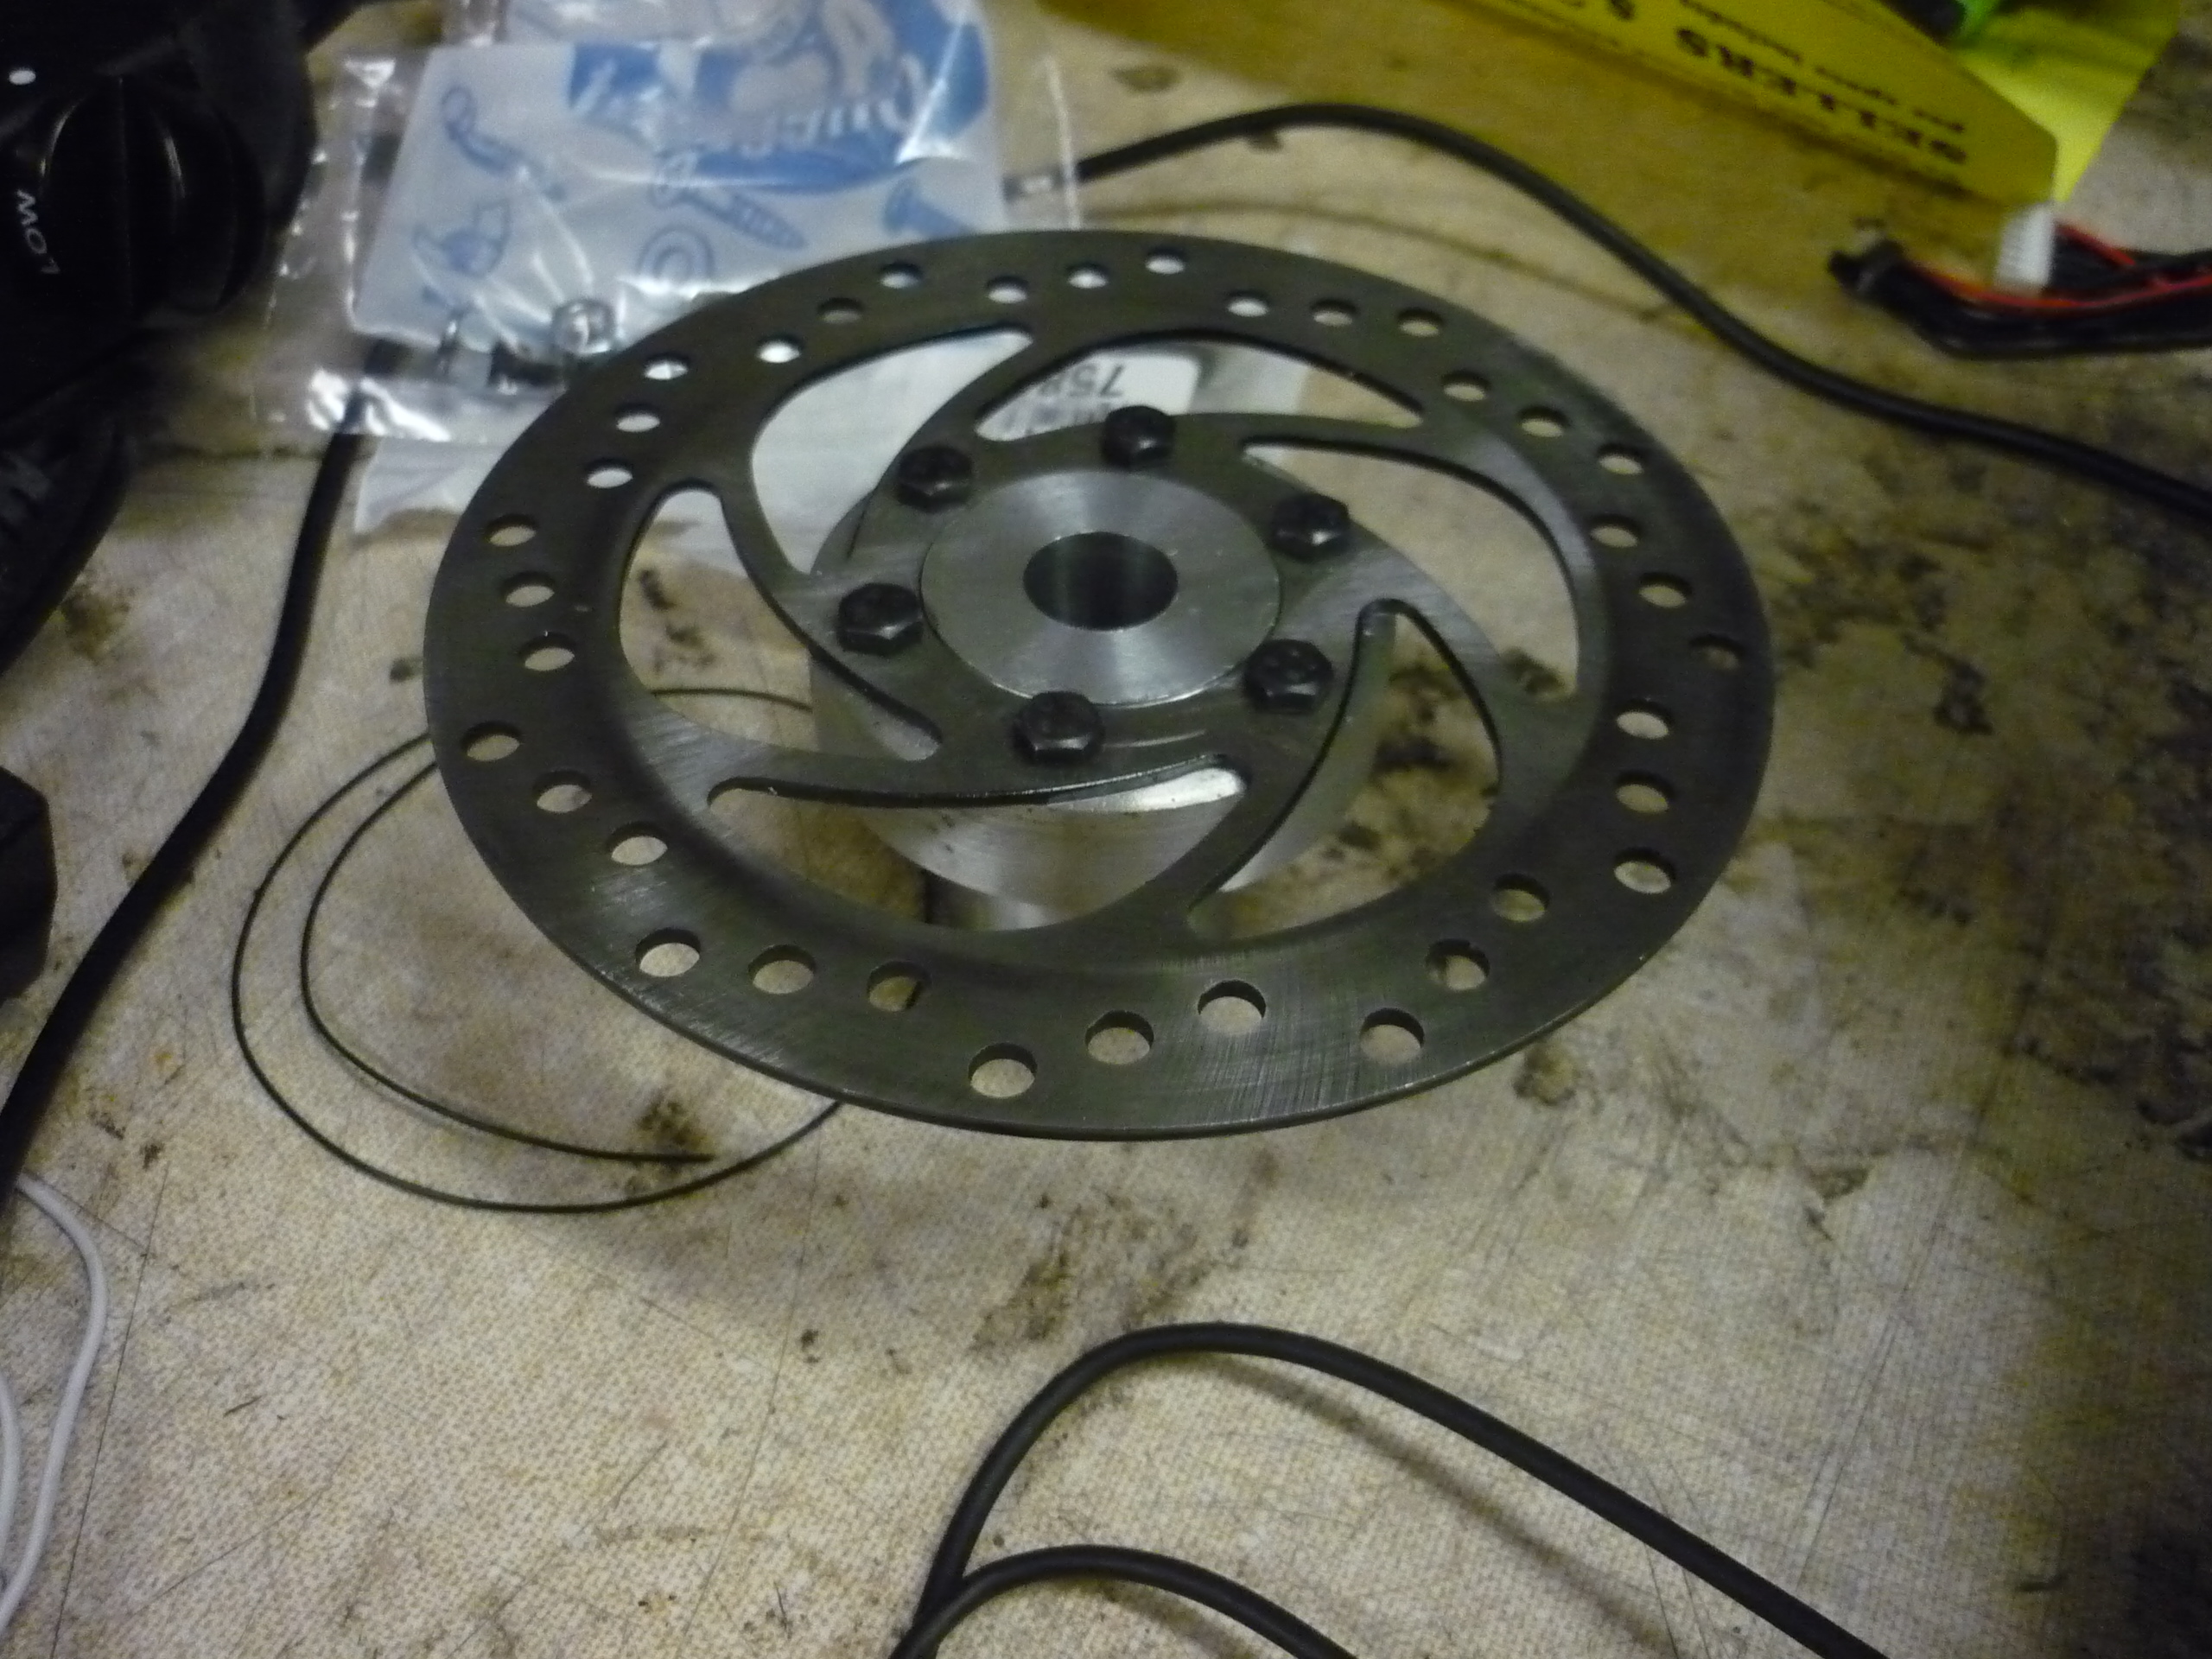
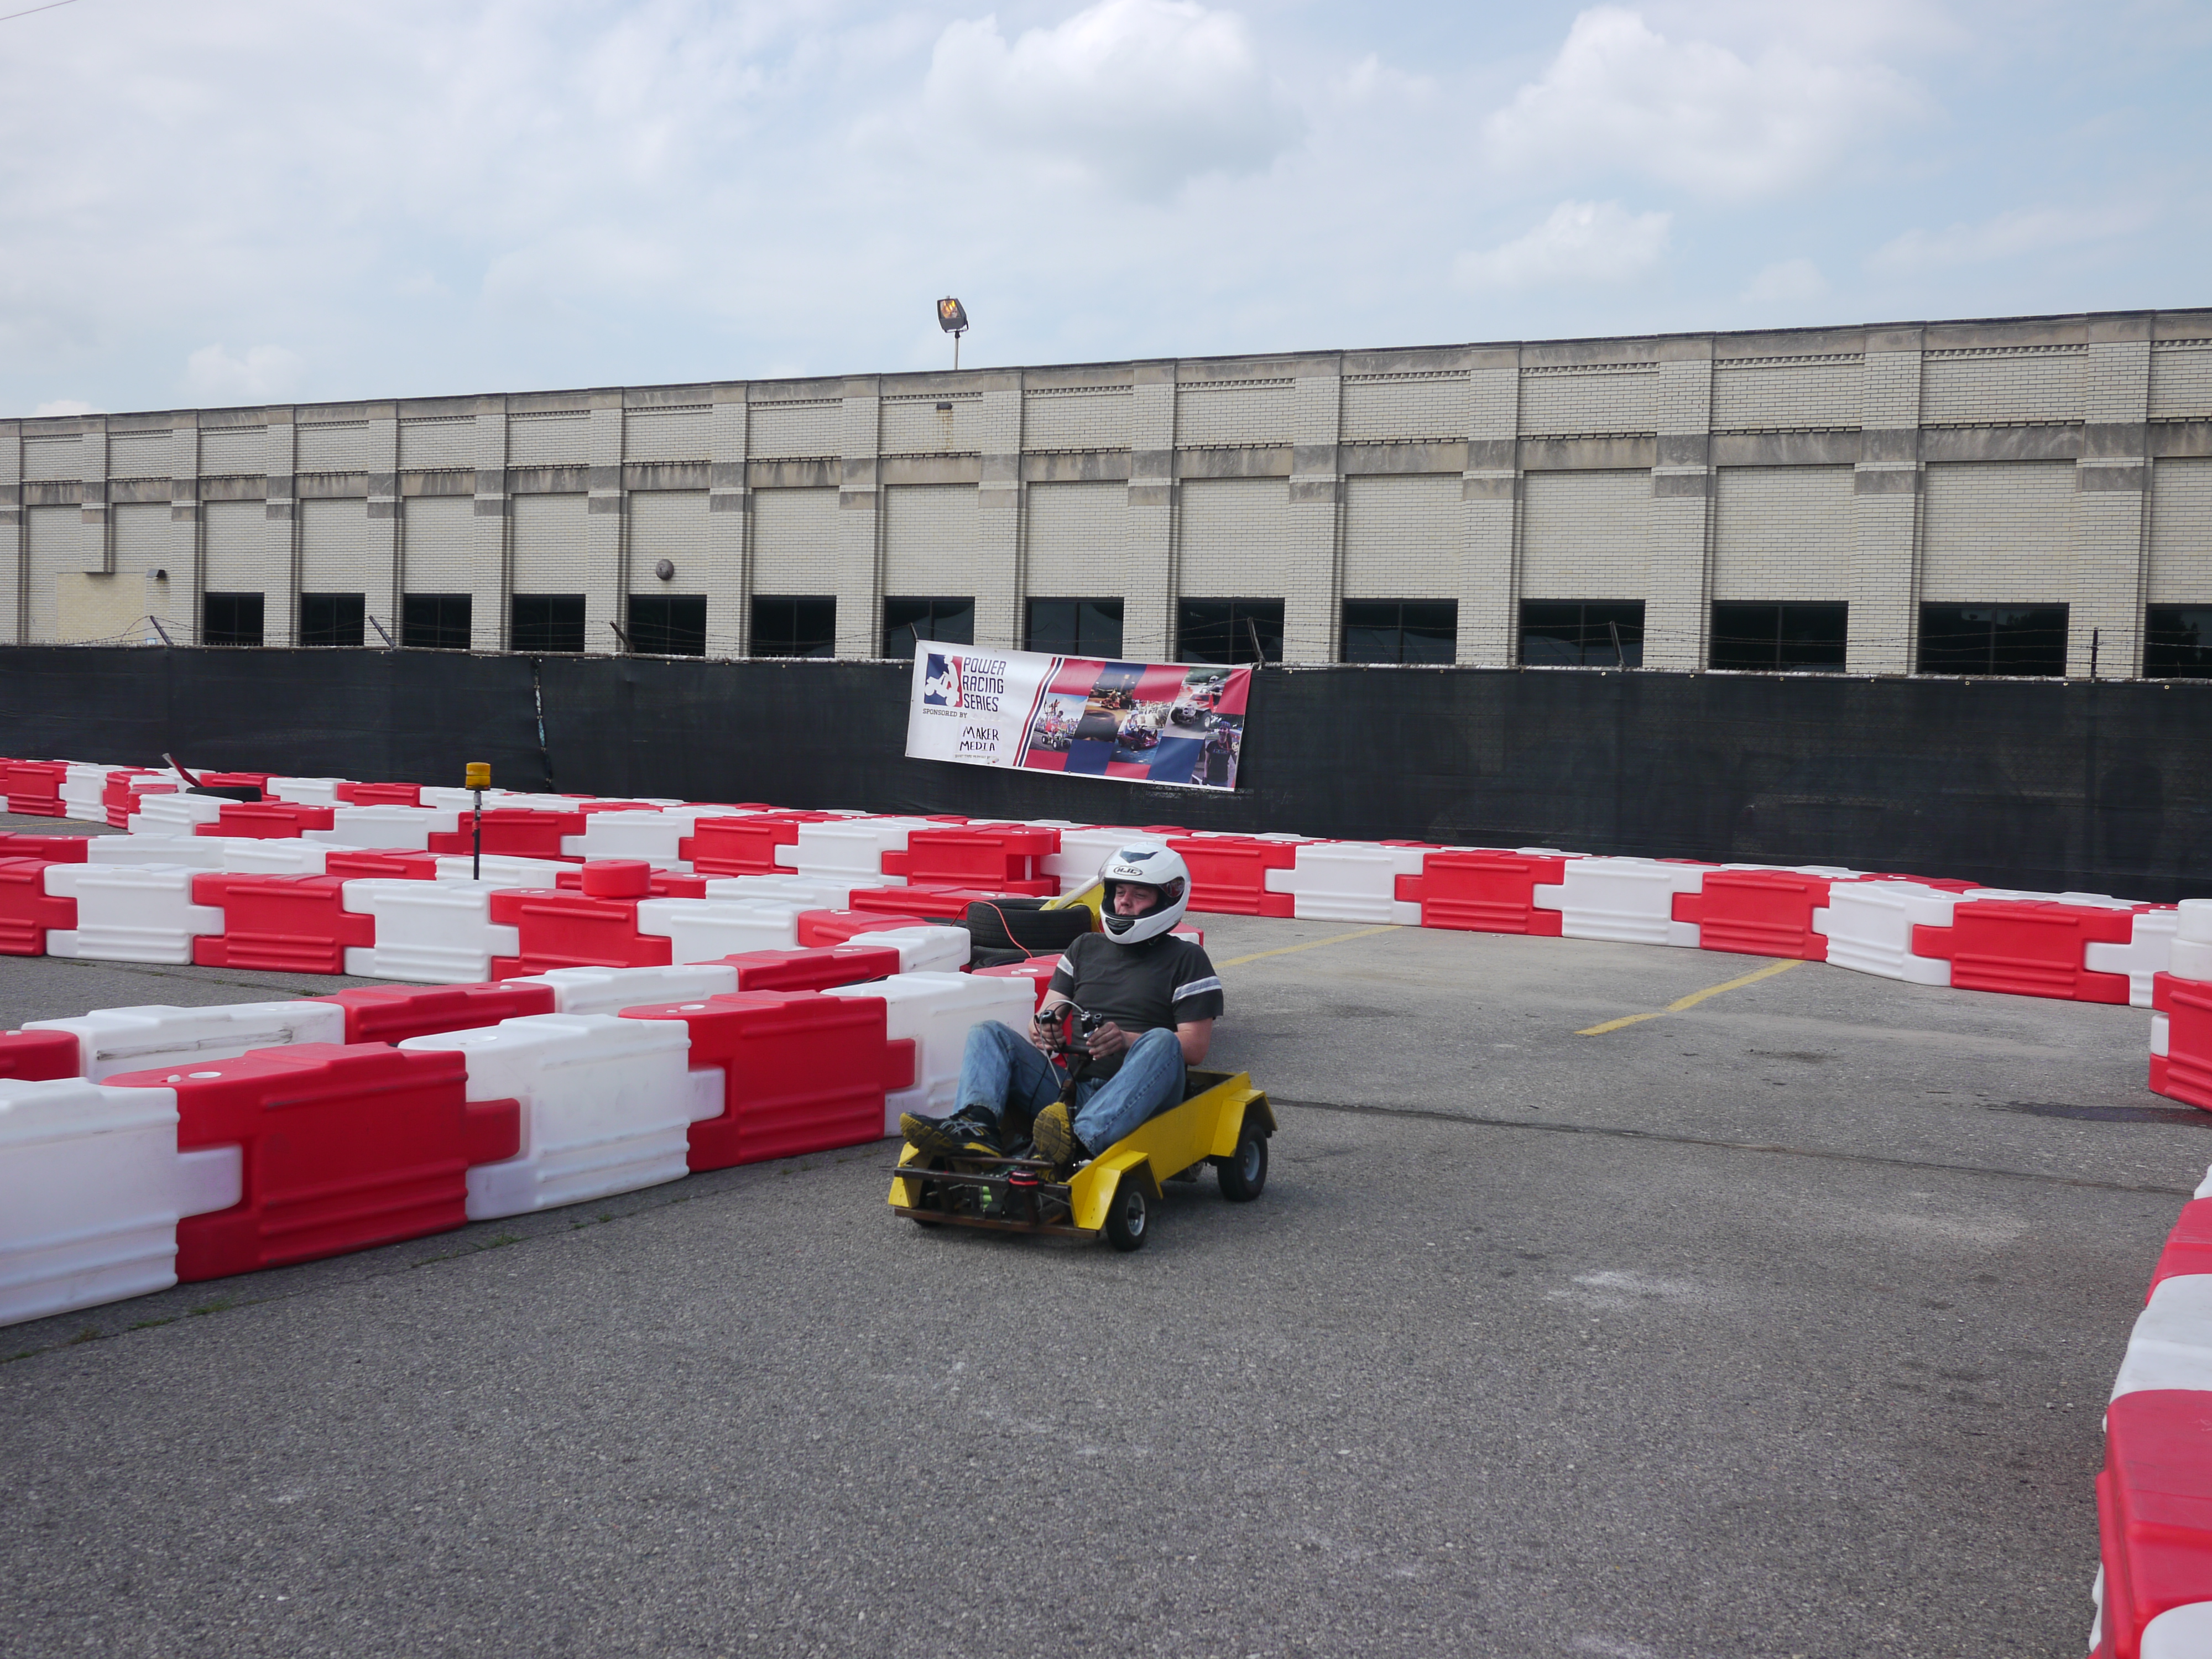
Speed TestingAfter all upgrades were complete, we conducted speed tests. The 0-5mph data is questionable, but the 5mph-30mph time is a whopping 8.71 seconds. At the end of the run we reached 33.6mph, and subsequently grunged our rotor position sensor. Raw data [link] 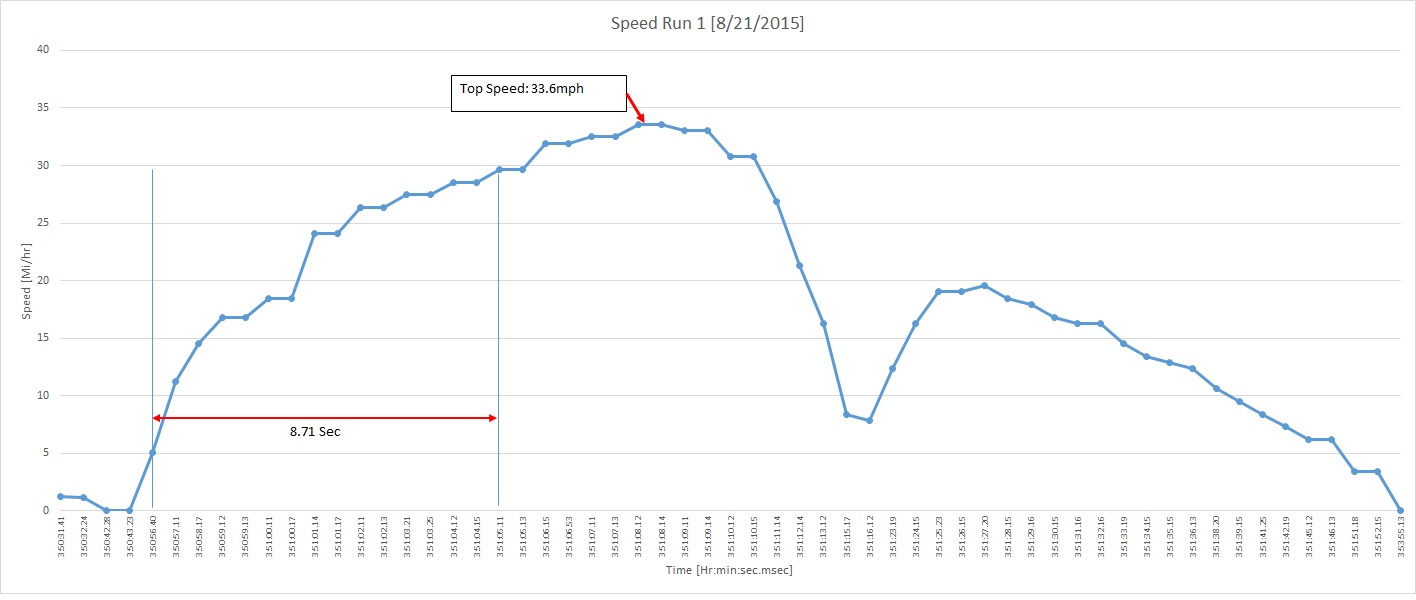
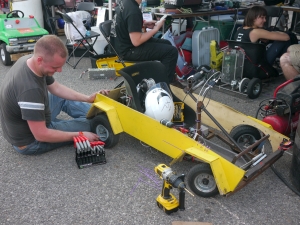
Makerfaire Detroit 2015Photo Credit Landon Team Composition & Pit CrewTeam chibi-atomic-thing's turnout at Detroit was mostly myself and Rob Reeve, we drove and were pit crew. This actually worked surprisingly well. I'm all for a swath of people to help fix the cart, but in the tight quarters, this wasn't really all that bad. Battery swap? Yeah there's 4 ready and charged. Tire change? Take off helmet and put it on. 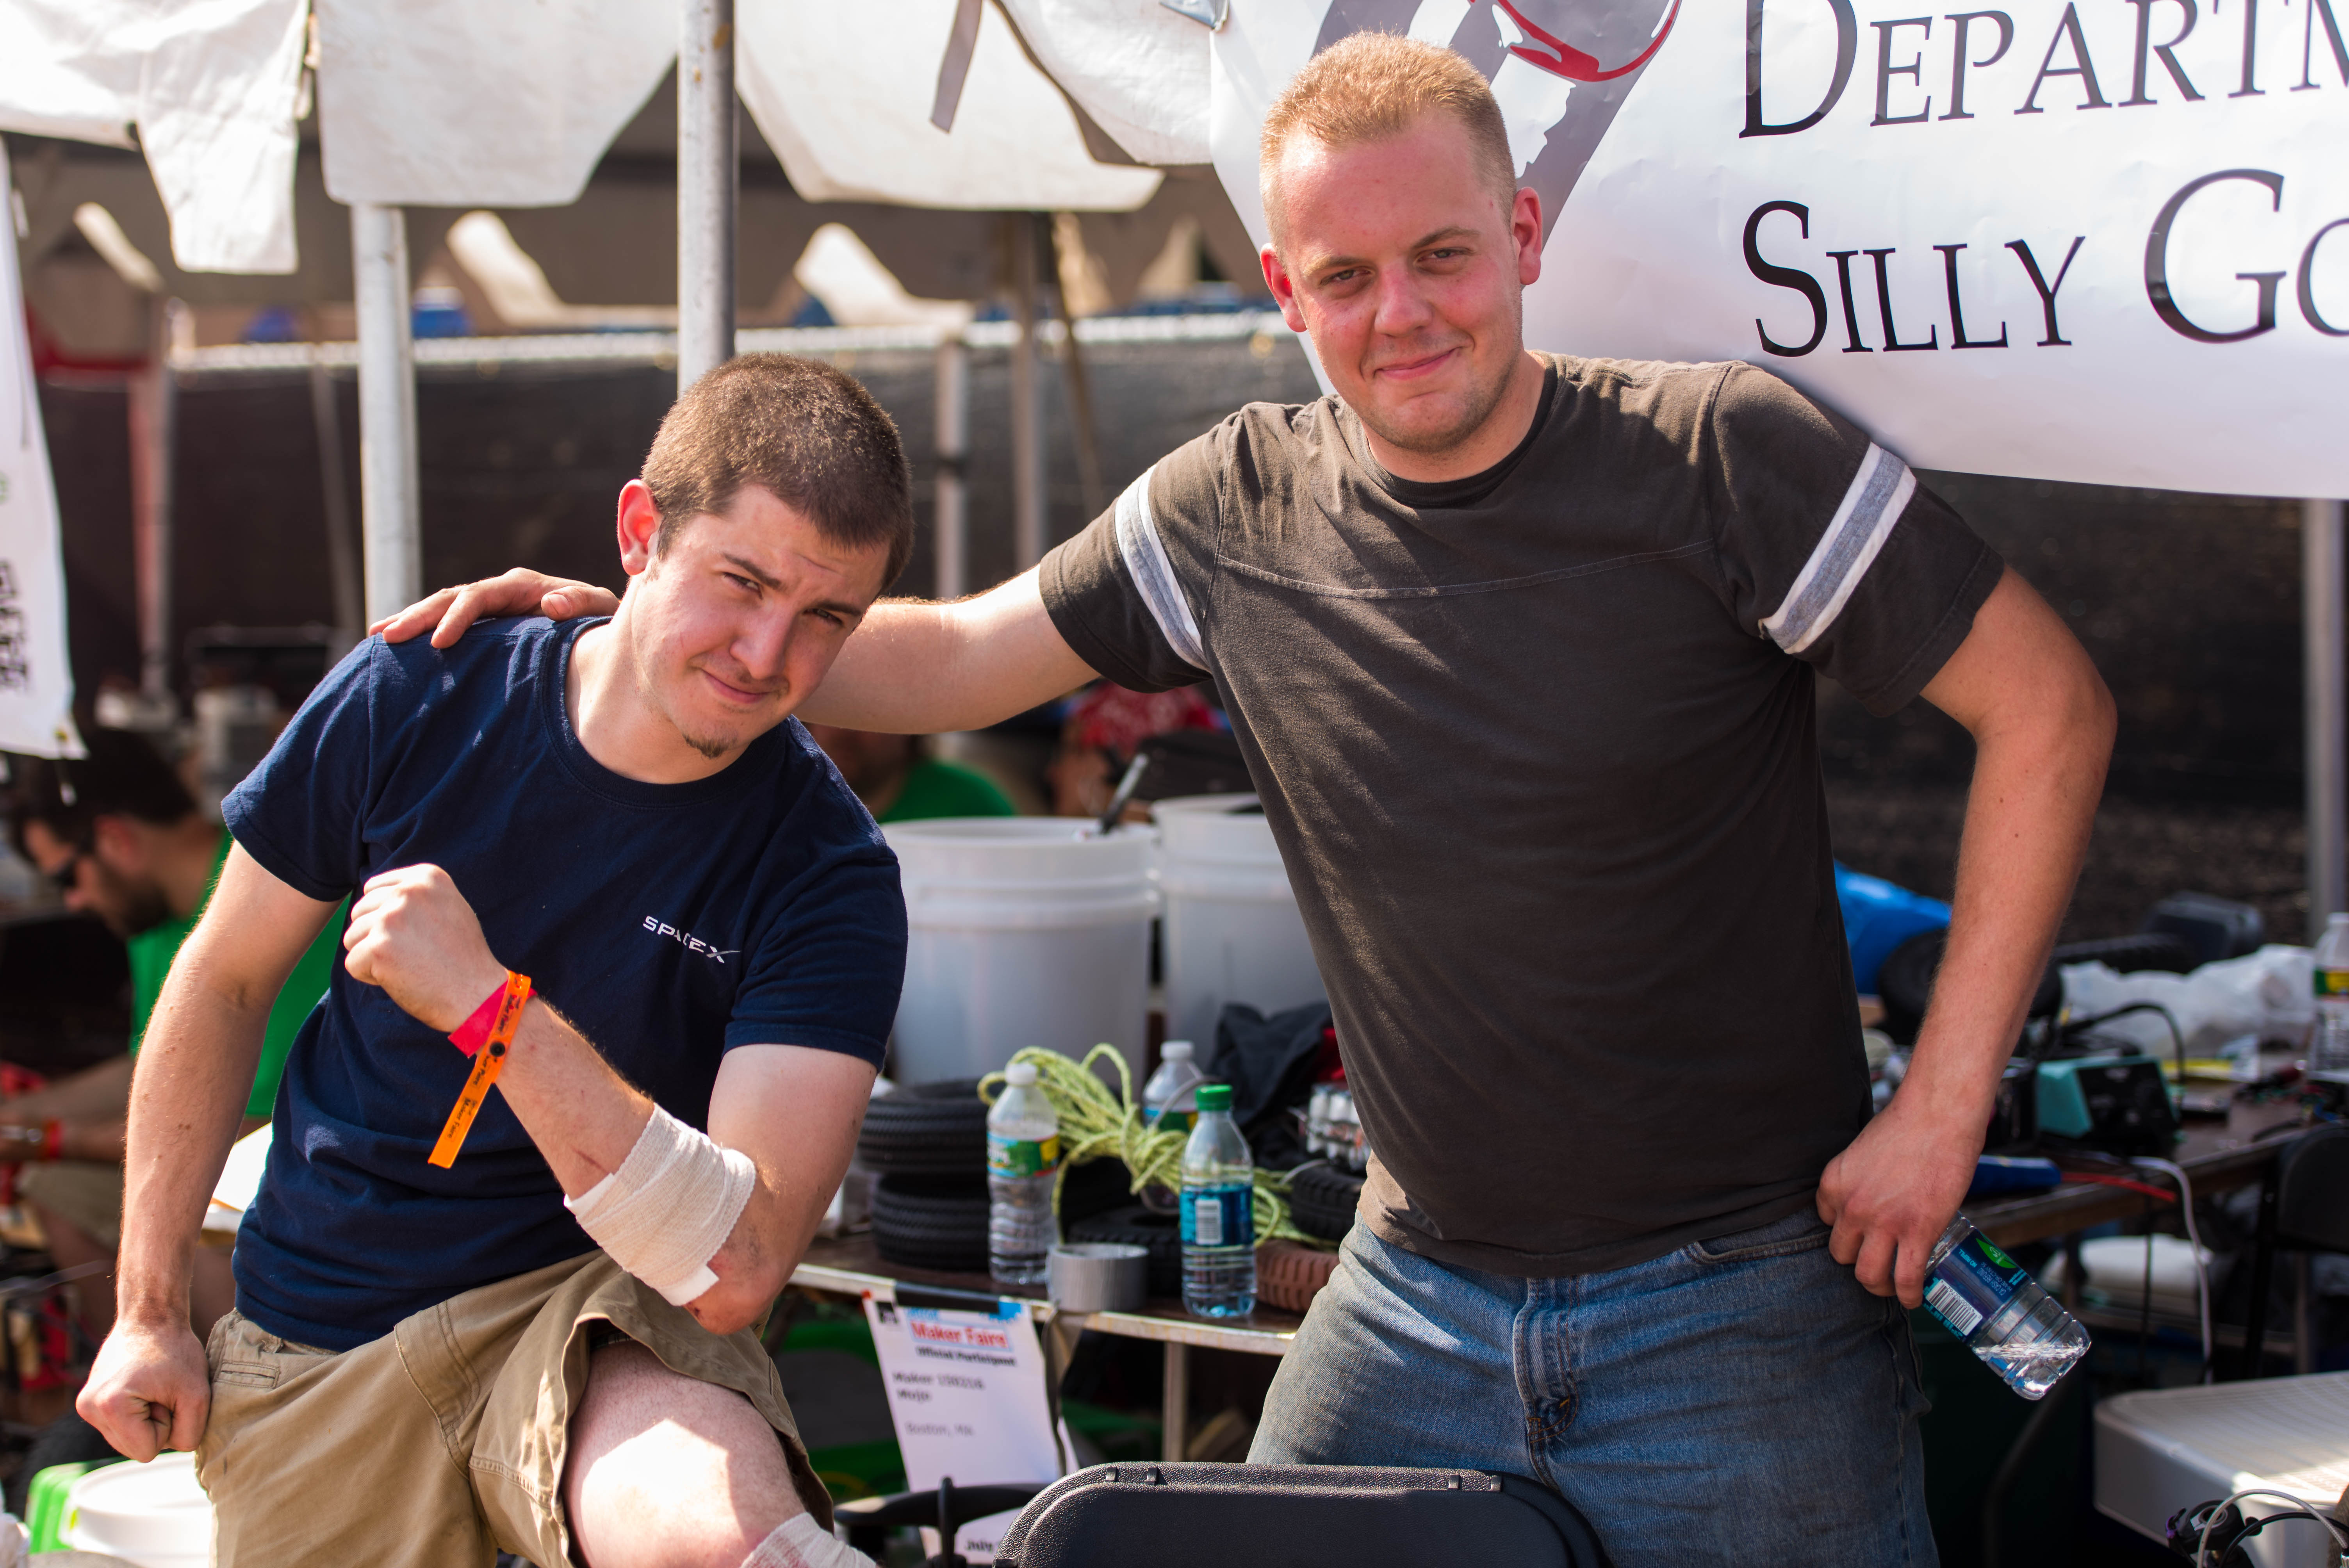
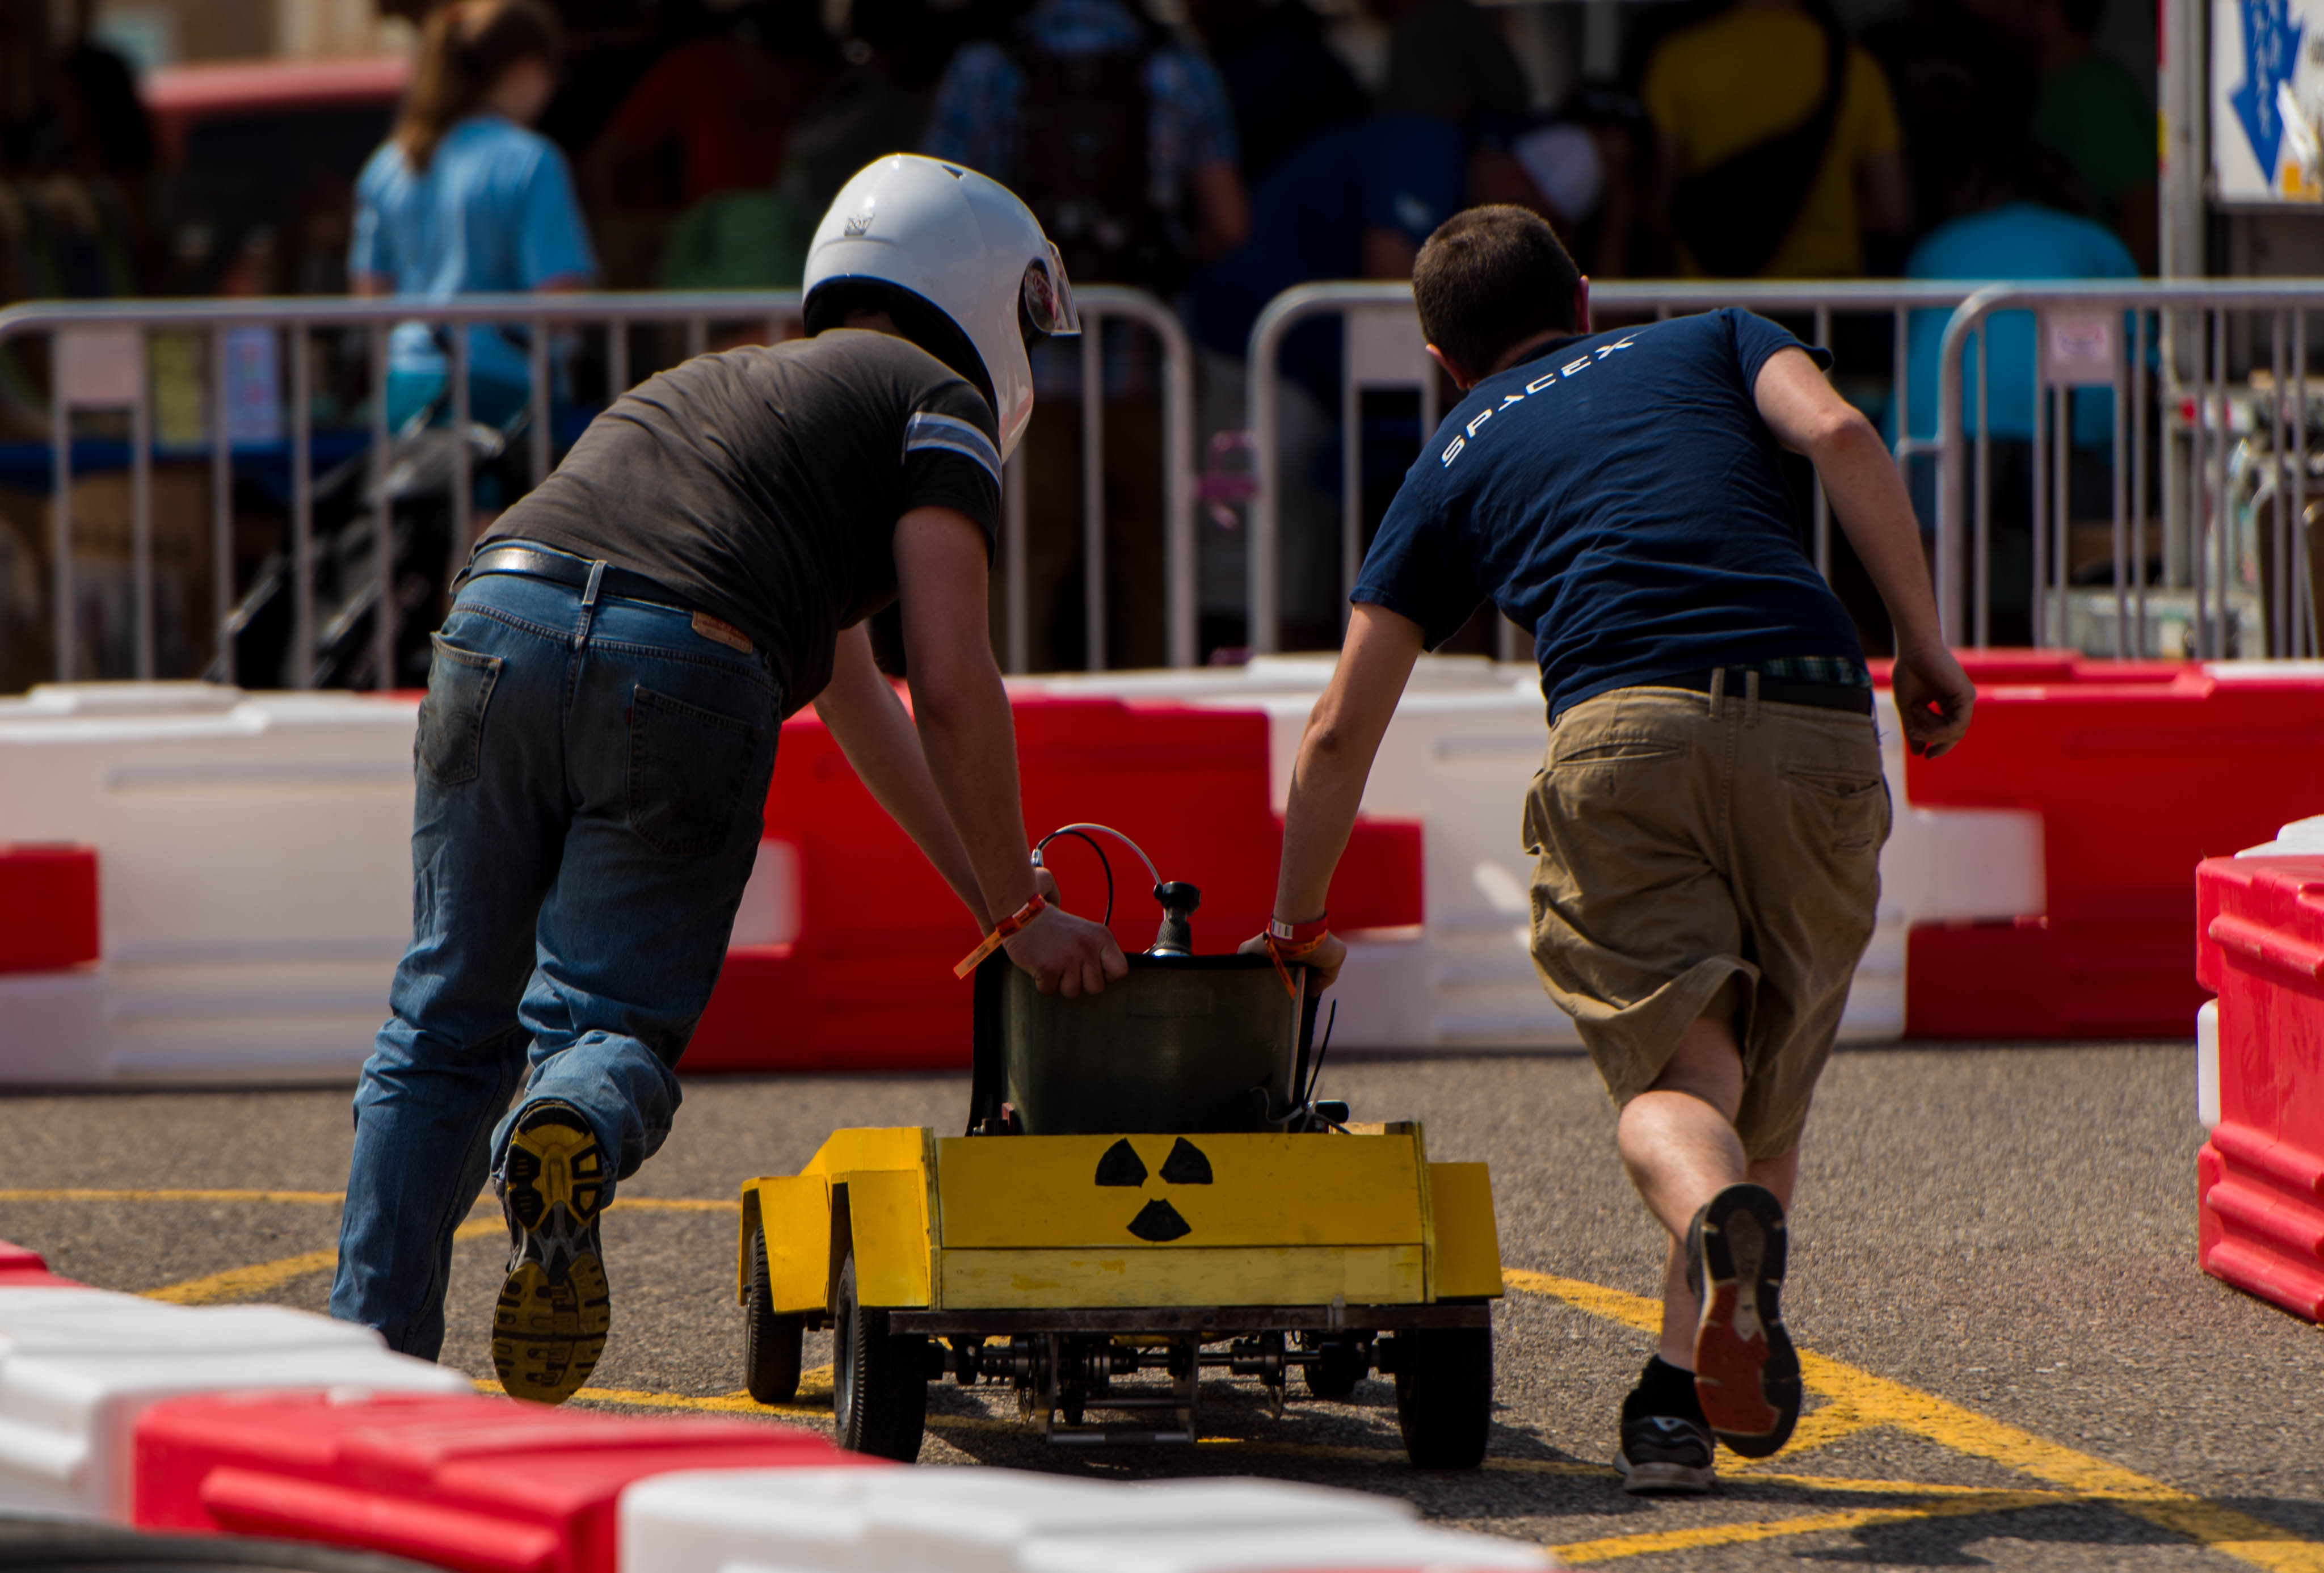
Arrival & TuningWe arrived at Detroit and spent a bit of time tuning and tweaking the cart. The time-trials runs left us a bit stuck in debug mode. The first few laps were tenuous with tweaking. We managed to acquire a 200A 'high speed' controller just in time for the race. Tuning everything down to operate under the 40A limit was tenuous. 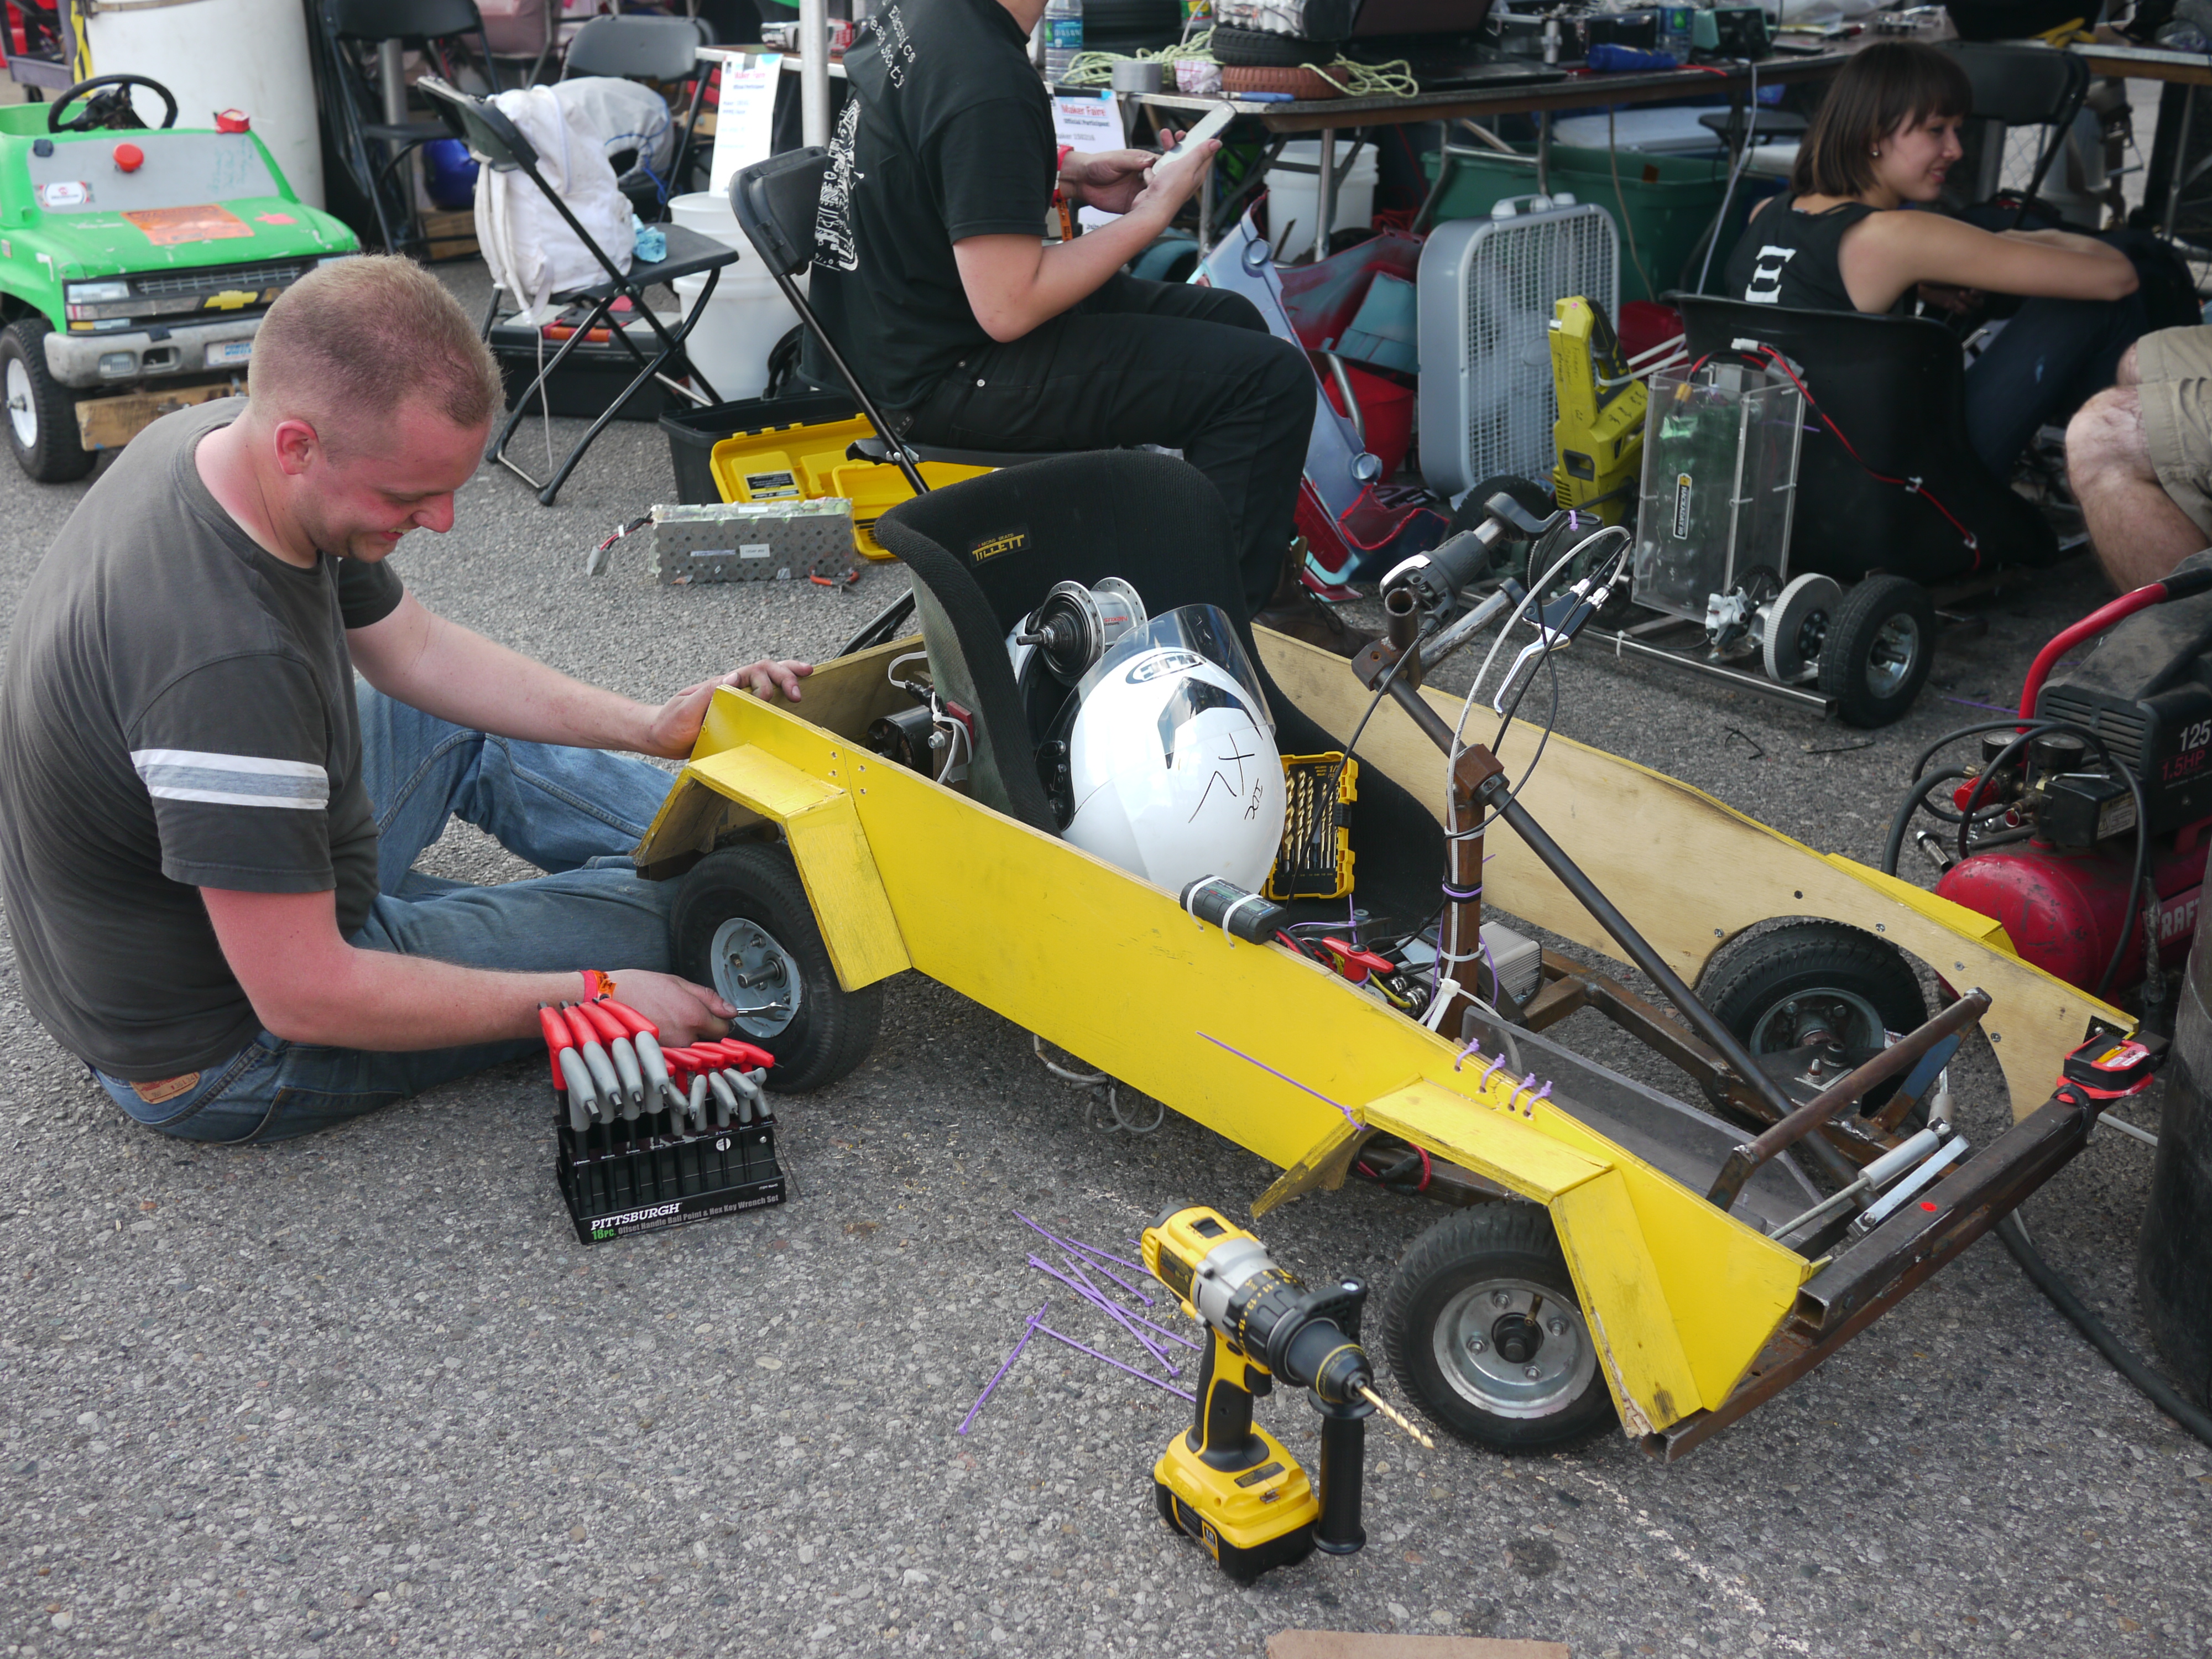
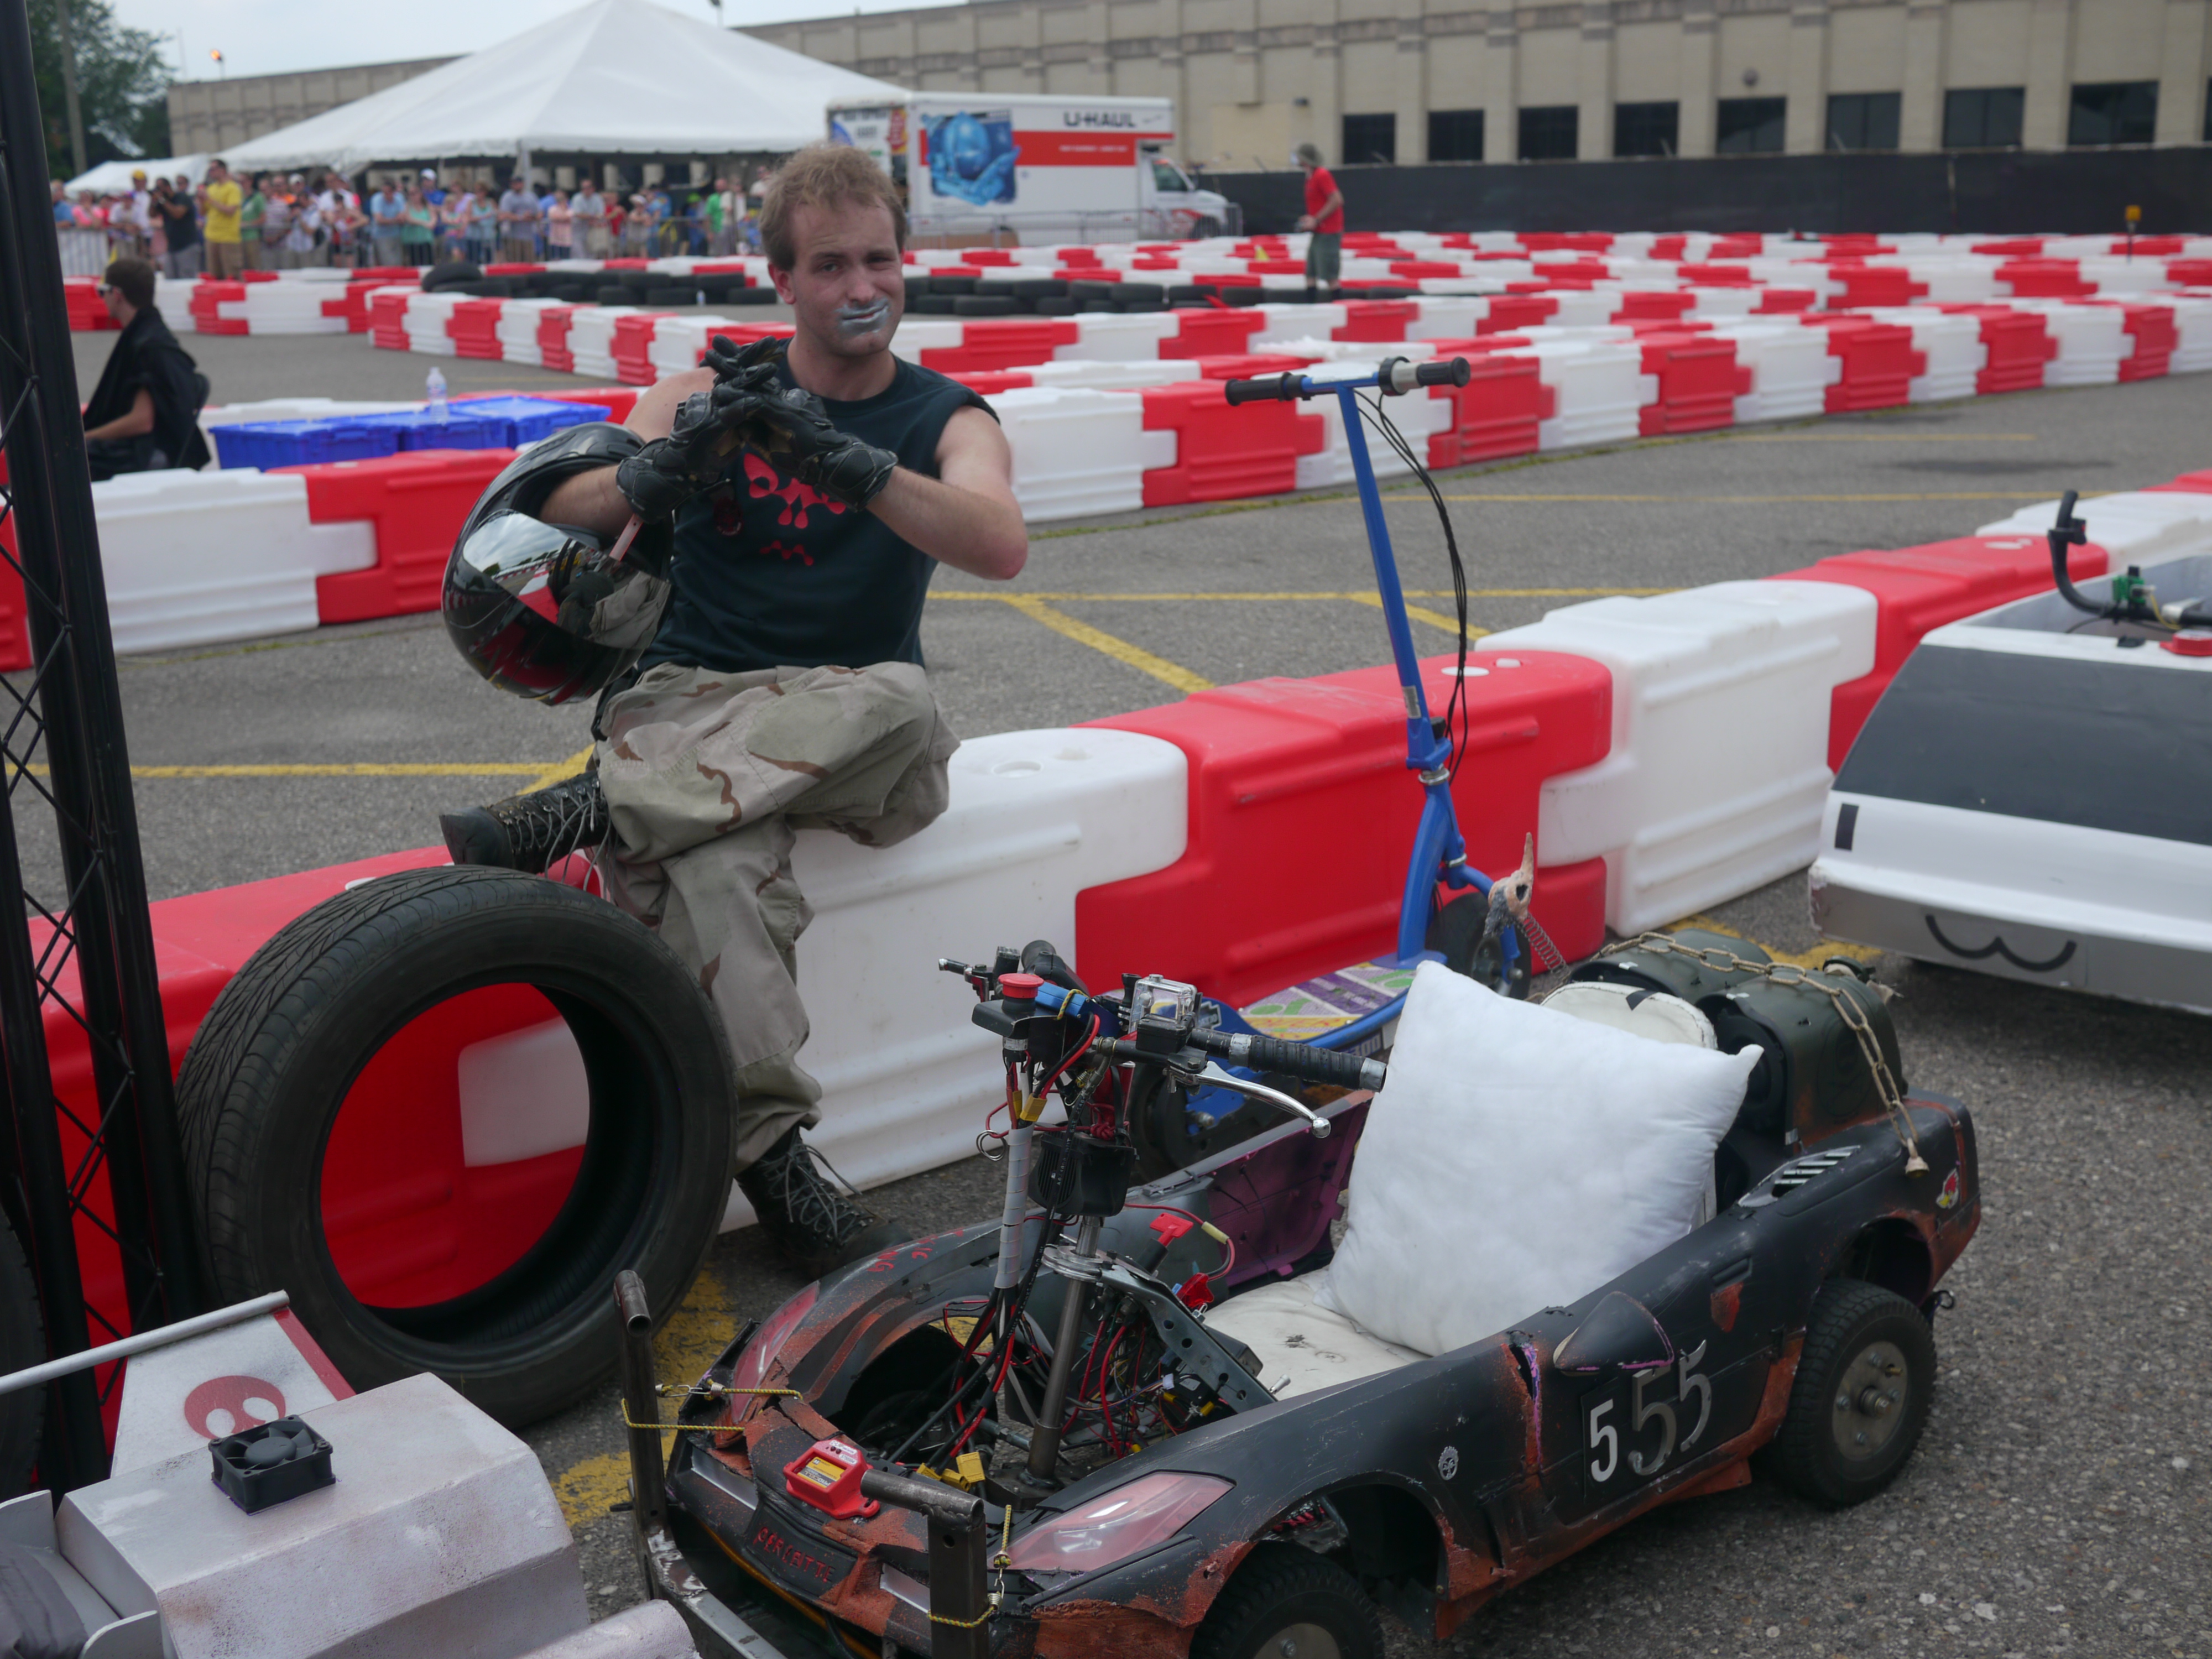
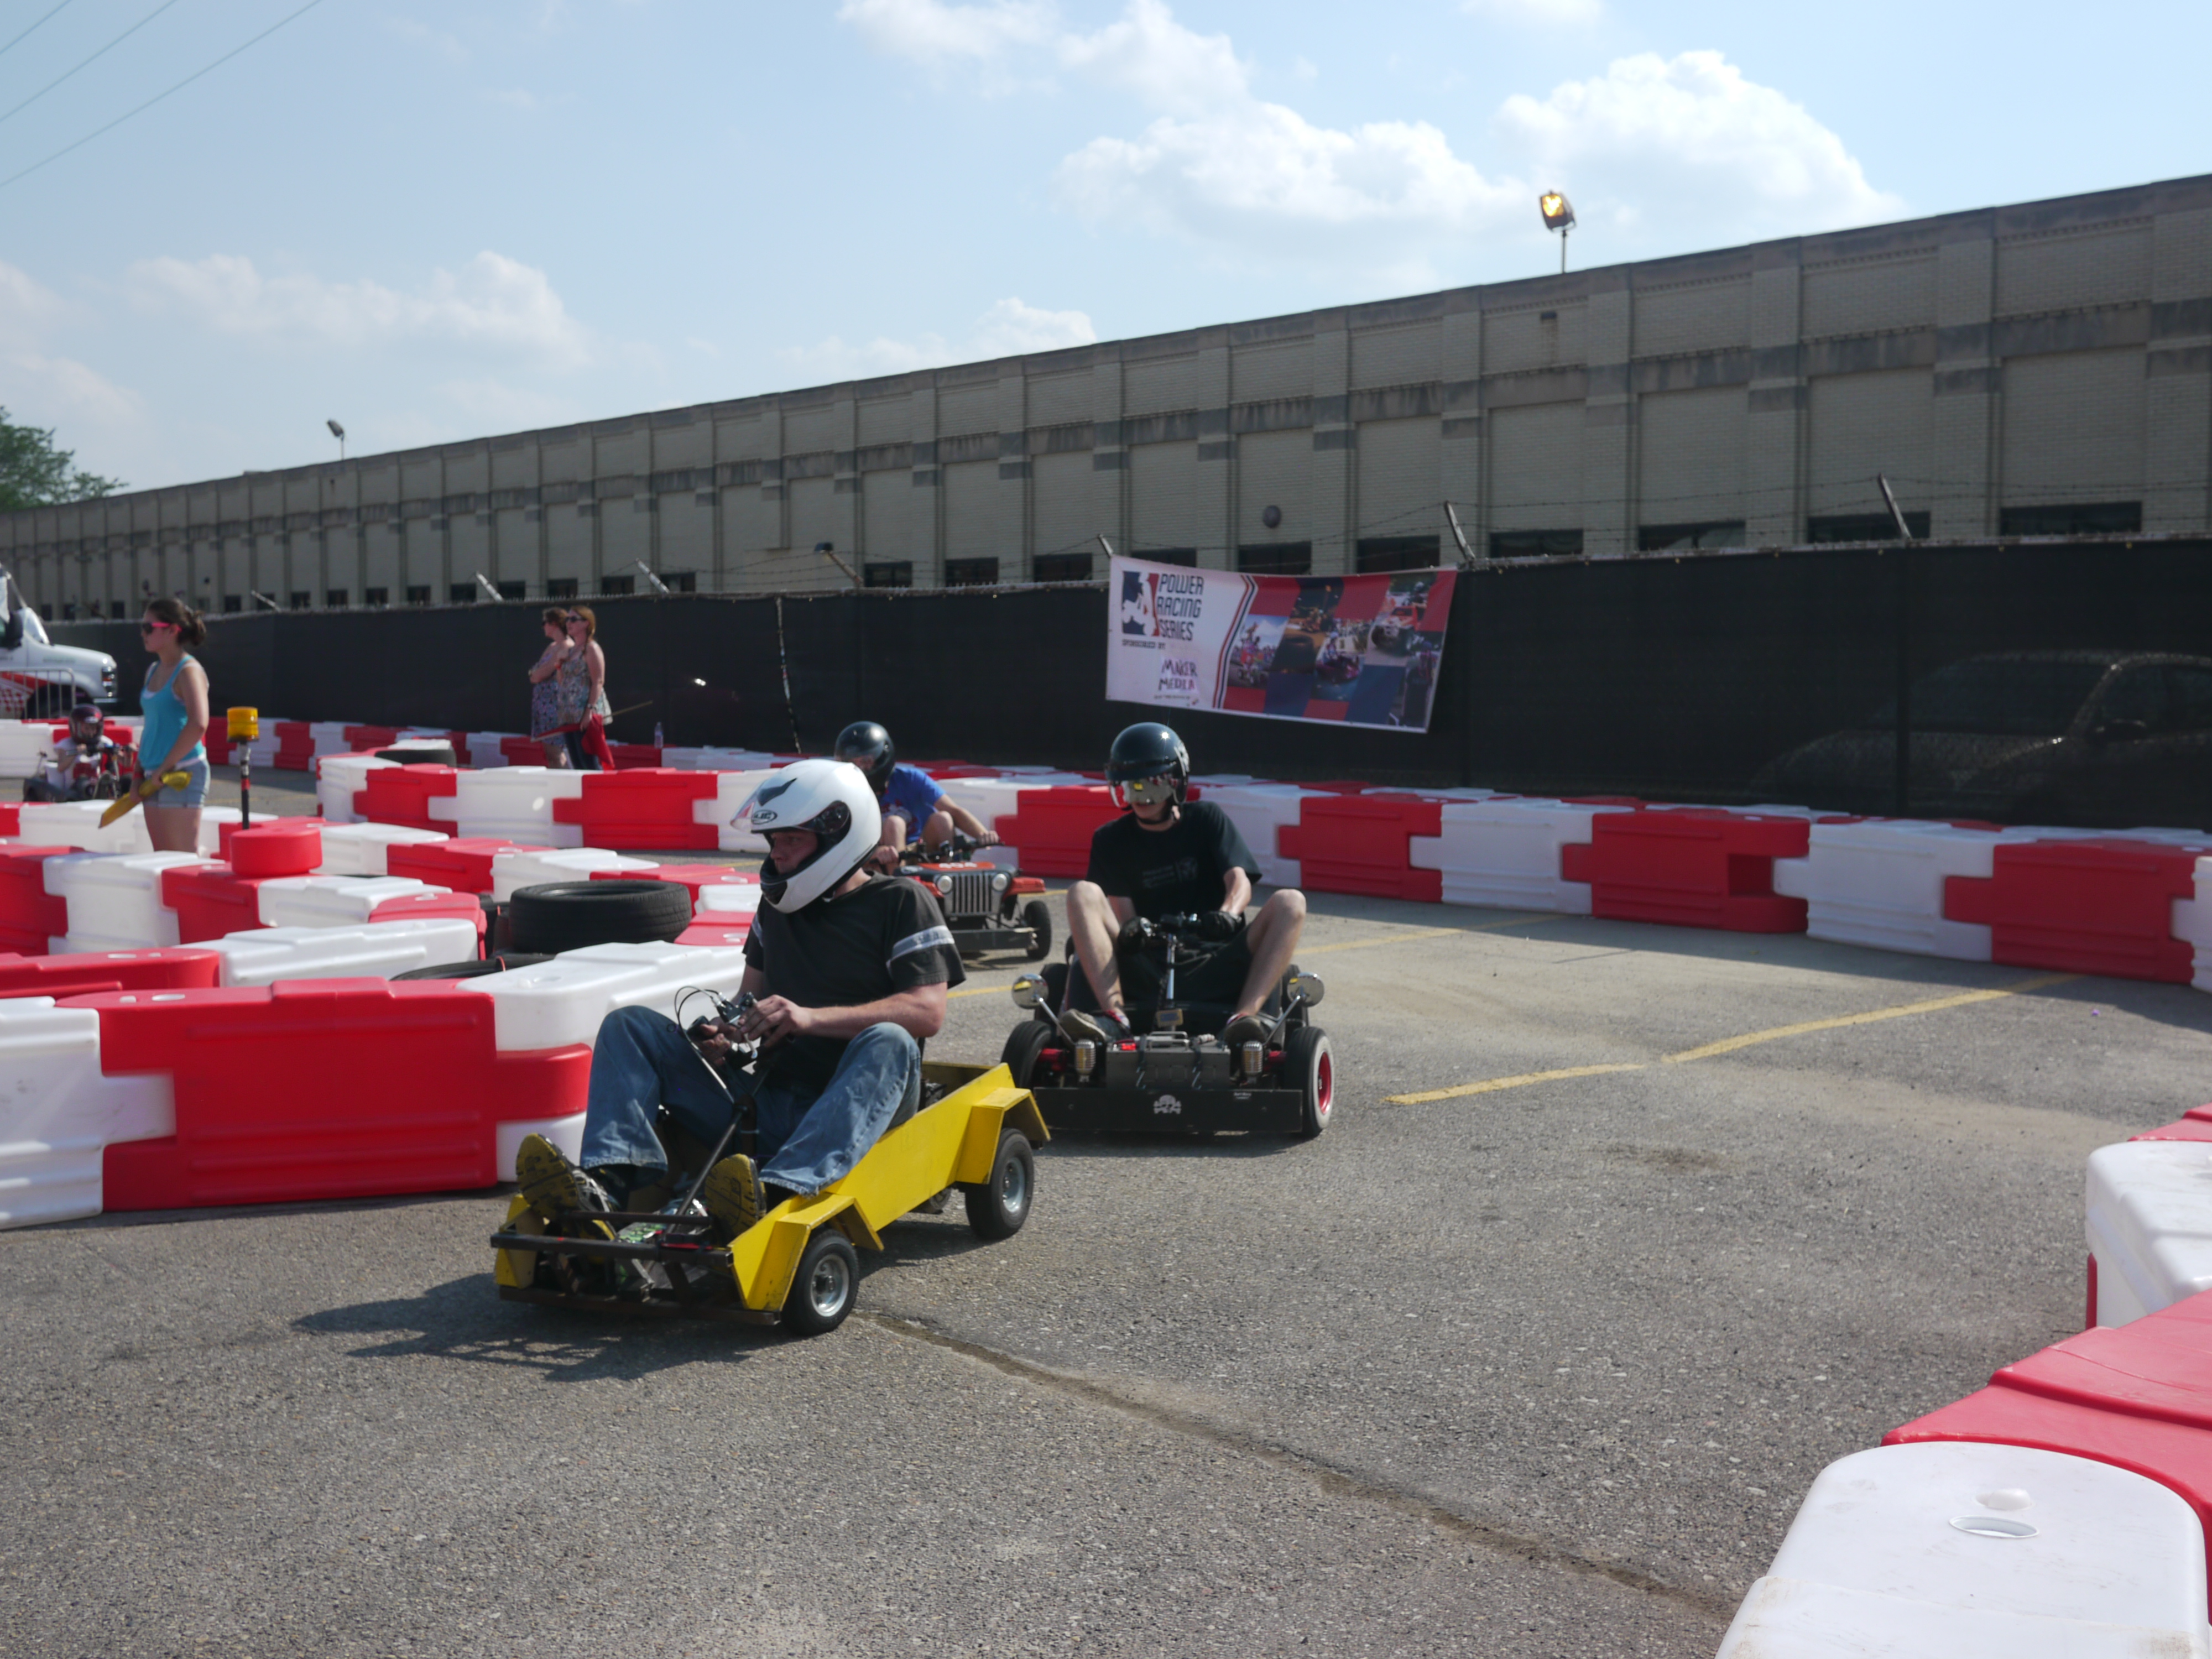
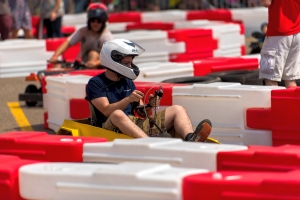
Racing is AwesomeMe and Rob switched back and forth for drivers and demolished in straight-aways. The racing was intense and competitive with many entertaining moments. 
Thermal ManagementDetroit is rather warm. I ran to a 'hardware recycling' tent and scrounged a 12V 1W fan, which helped keep our controller from overheating in the hot Detroit sun. The helmets were shared between teams and ended up absorbing quite a bit of thermal energy and perspiration. 
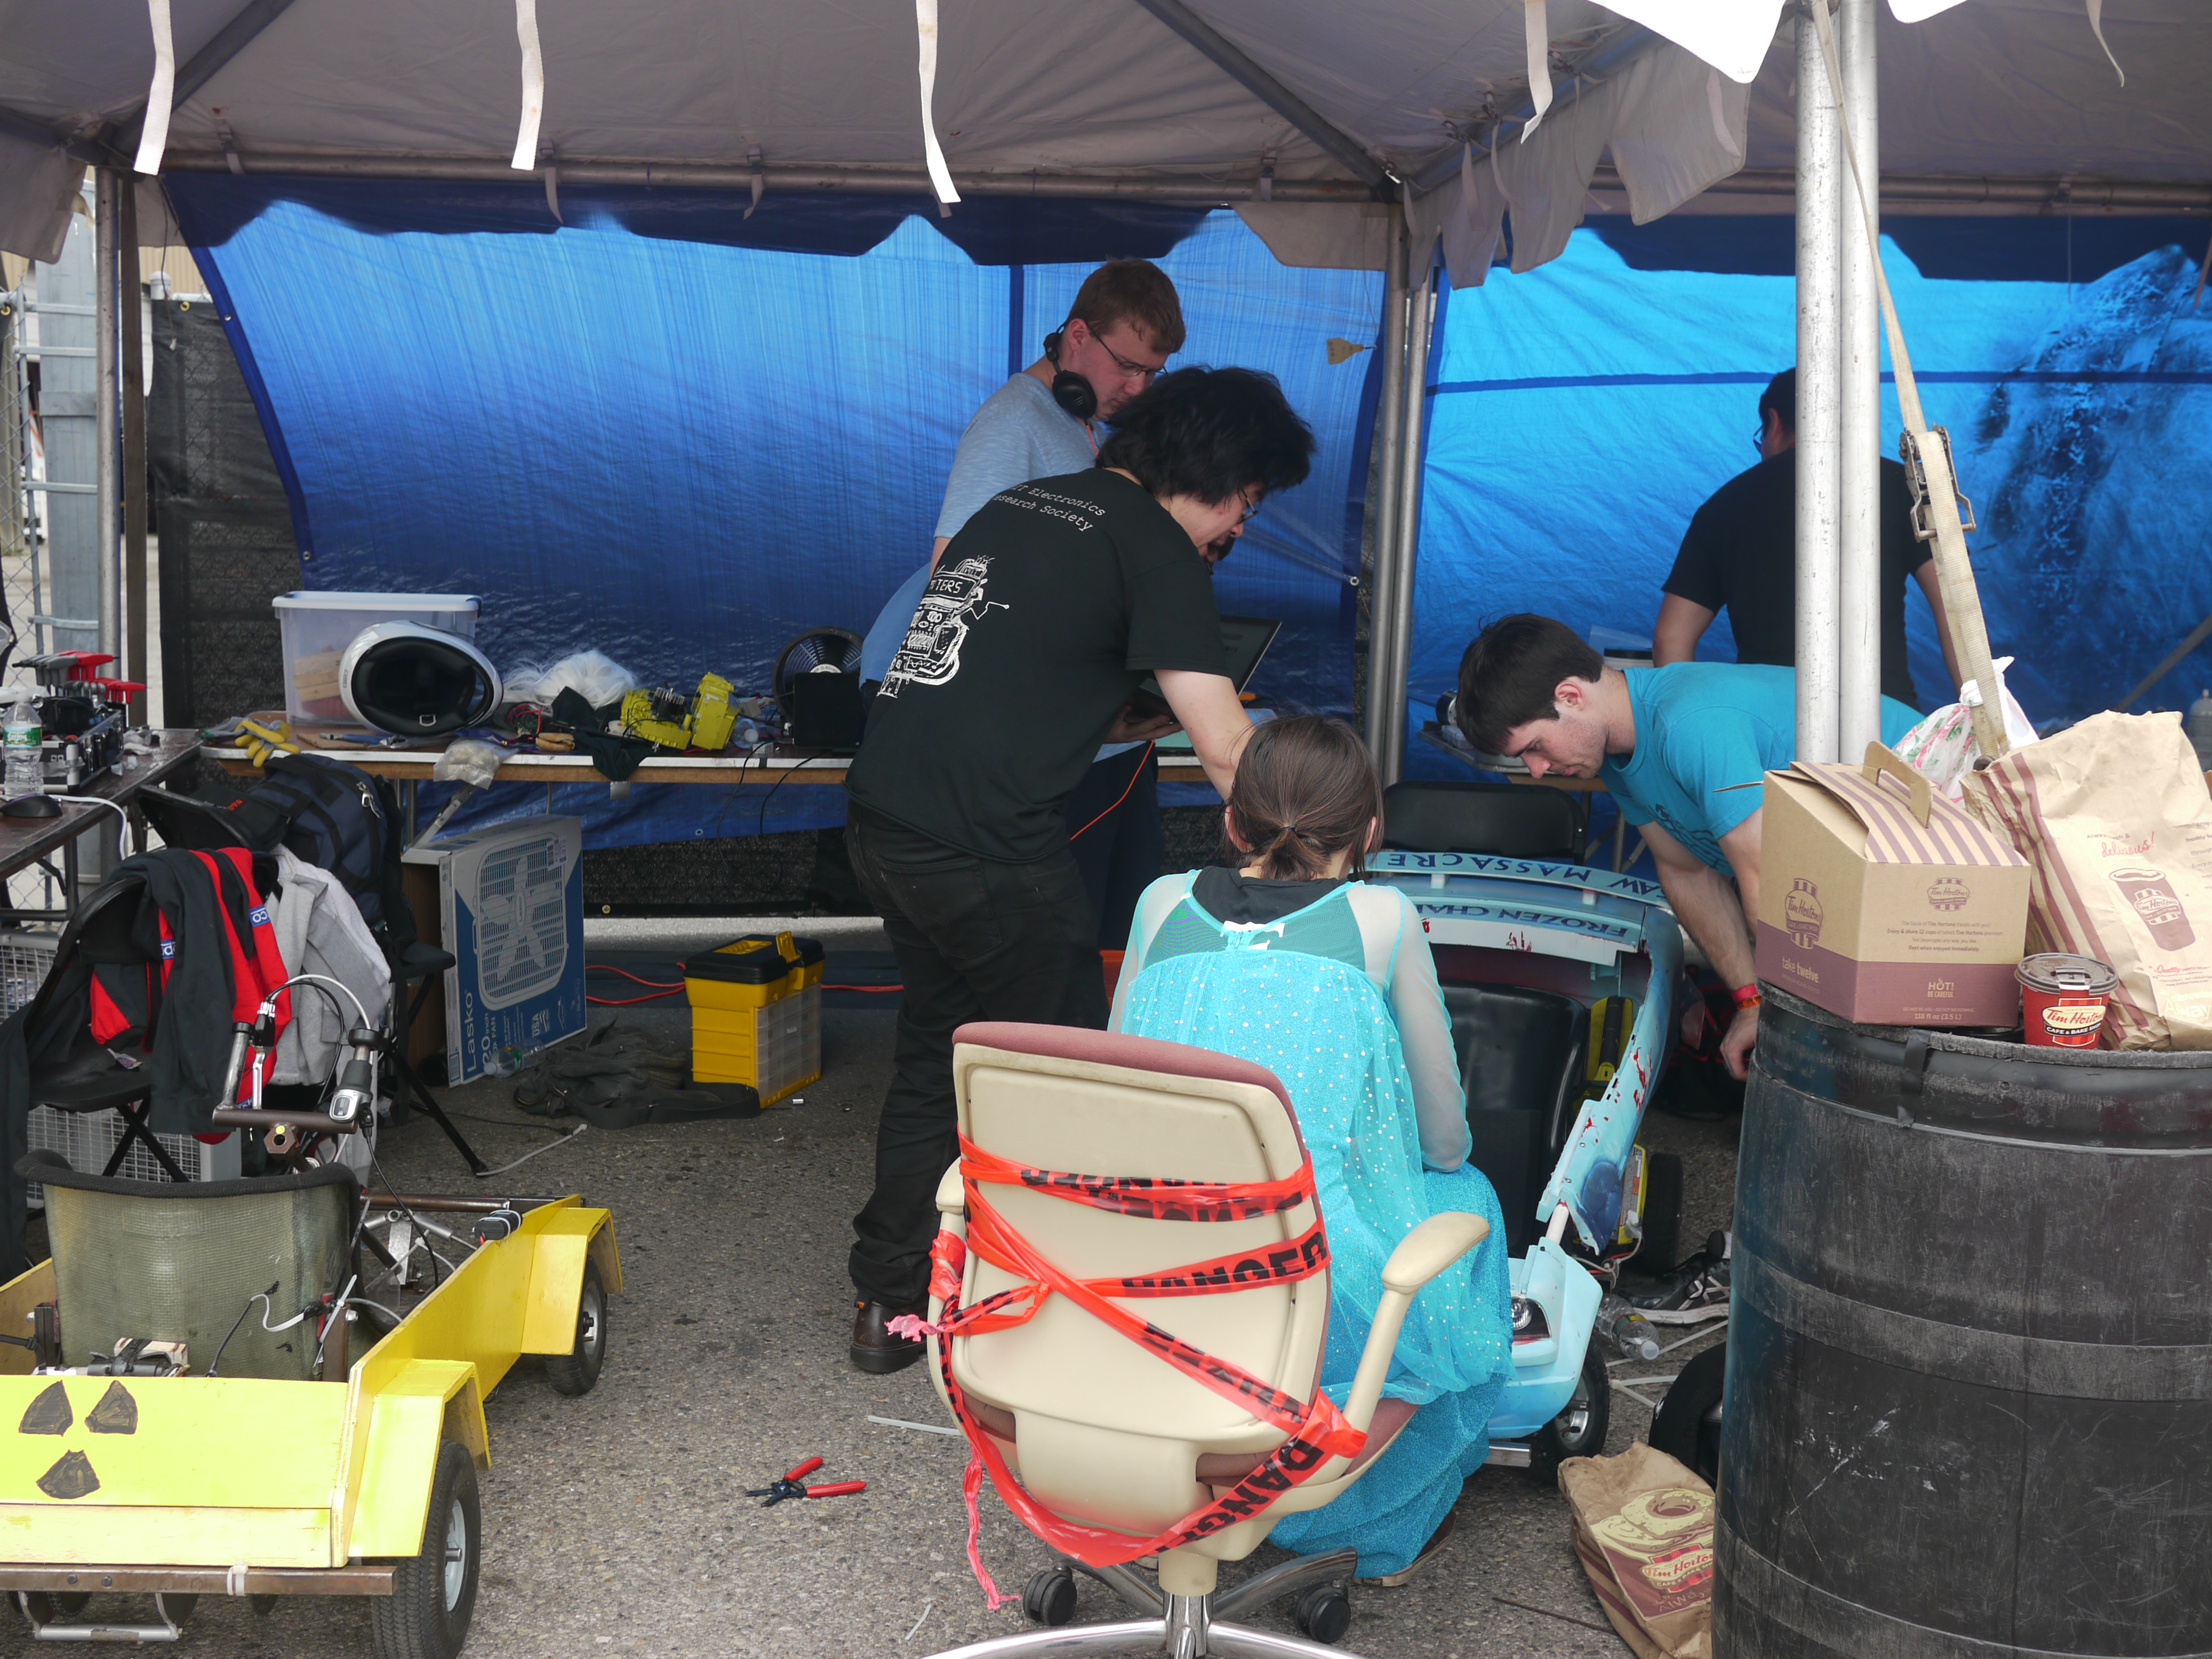
Other CompetitorsThere were hardware issues with both team chibiatomic and chainsaw massacre, here they sit, side by side amidst the chaos. Racing continued through Saturday and Sunday. Seasoned veterans were passed, new competitors emerged and sensor boards were derped. 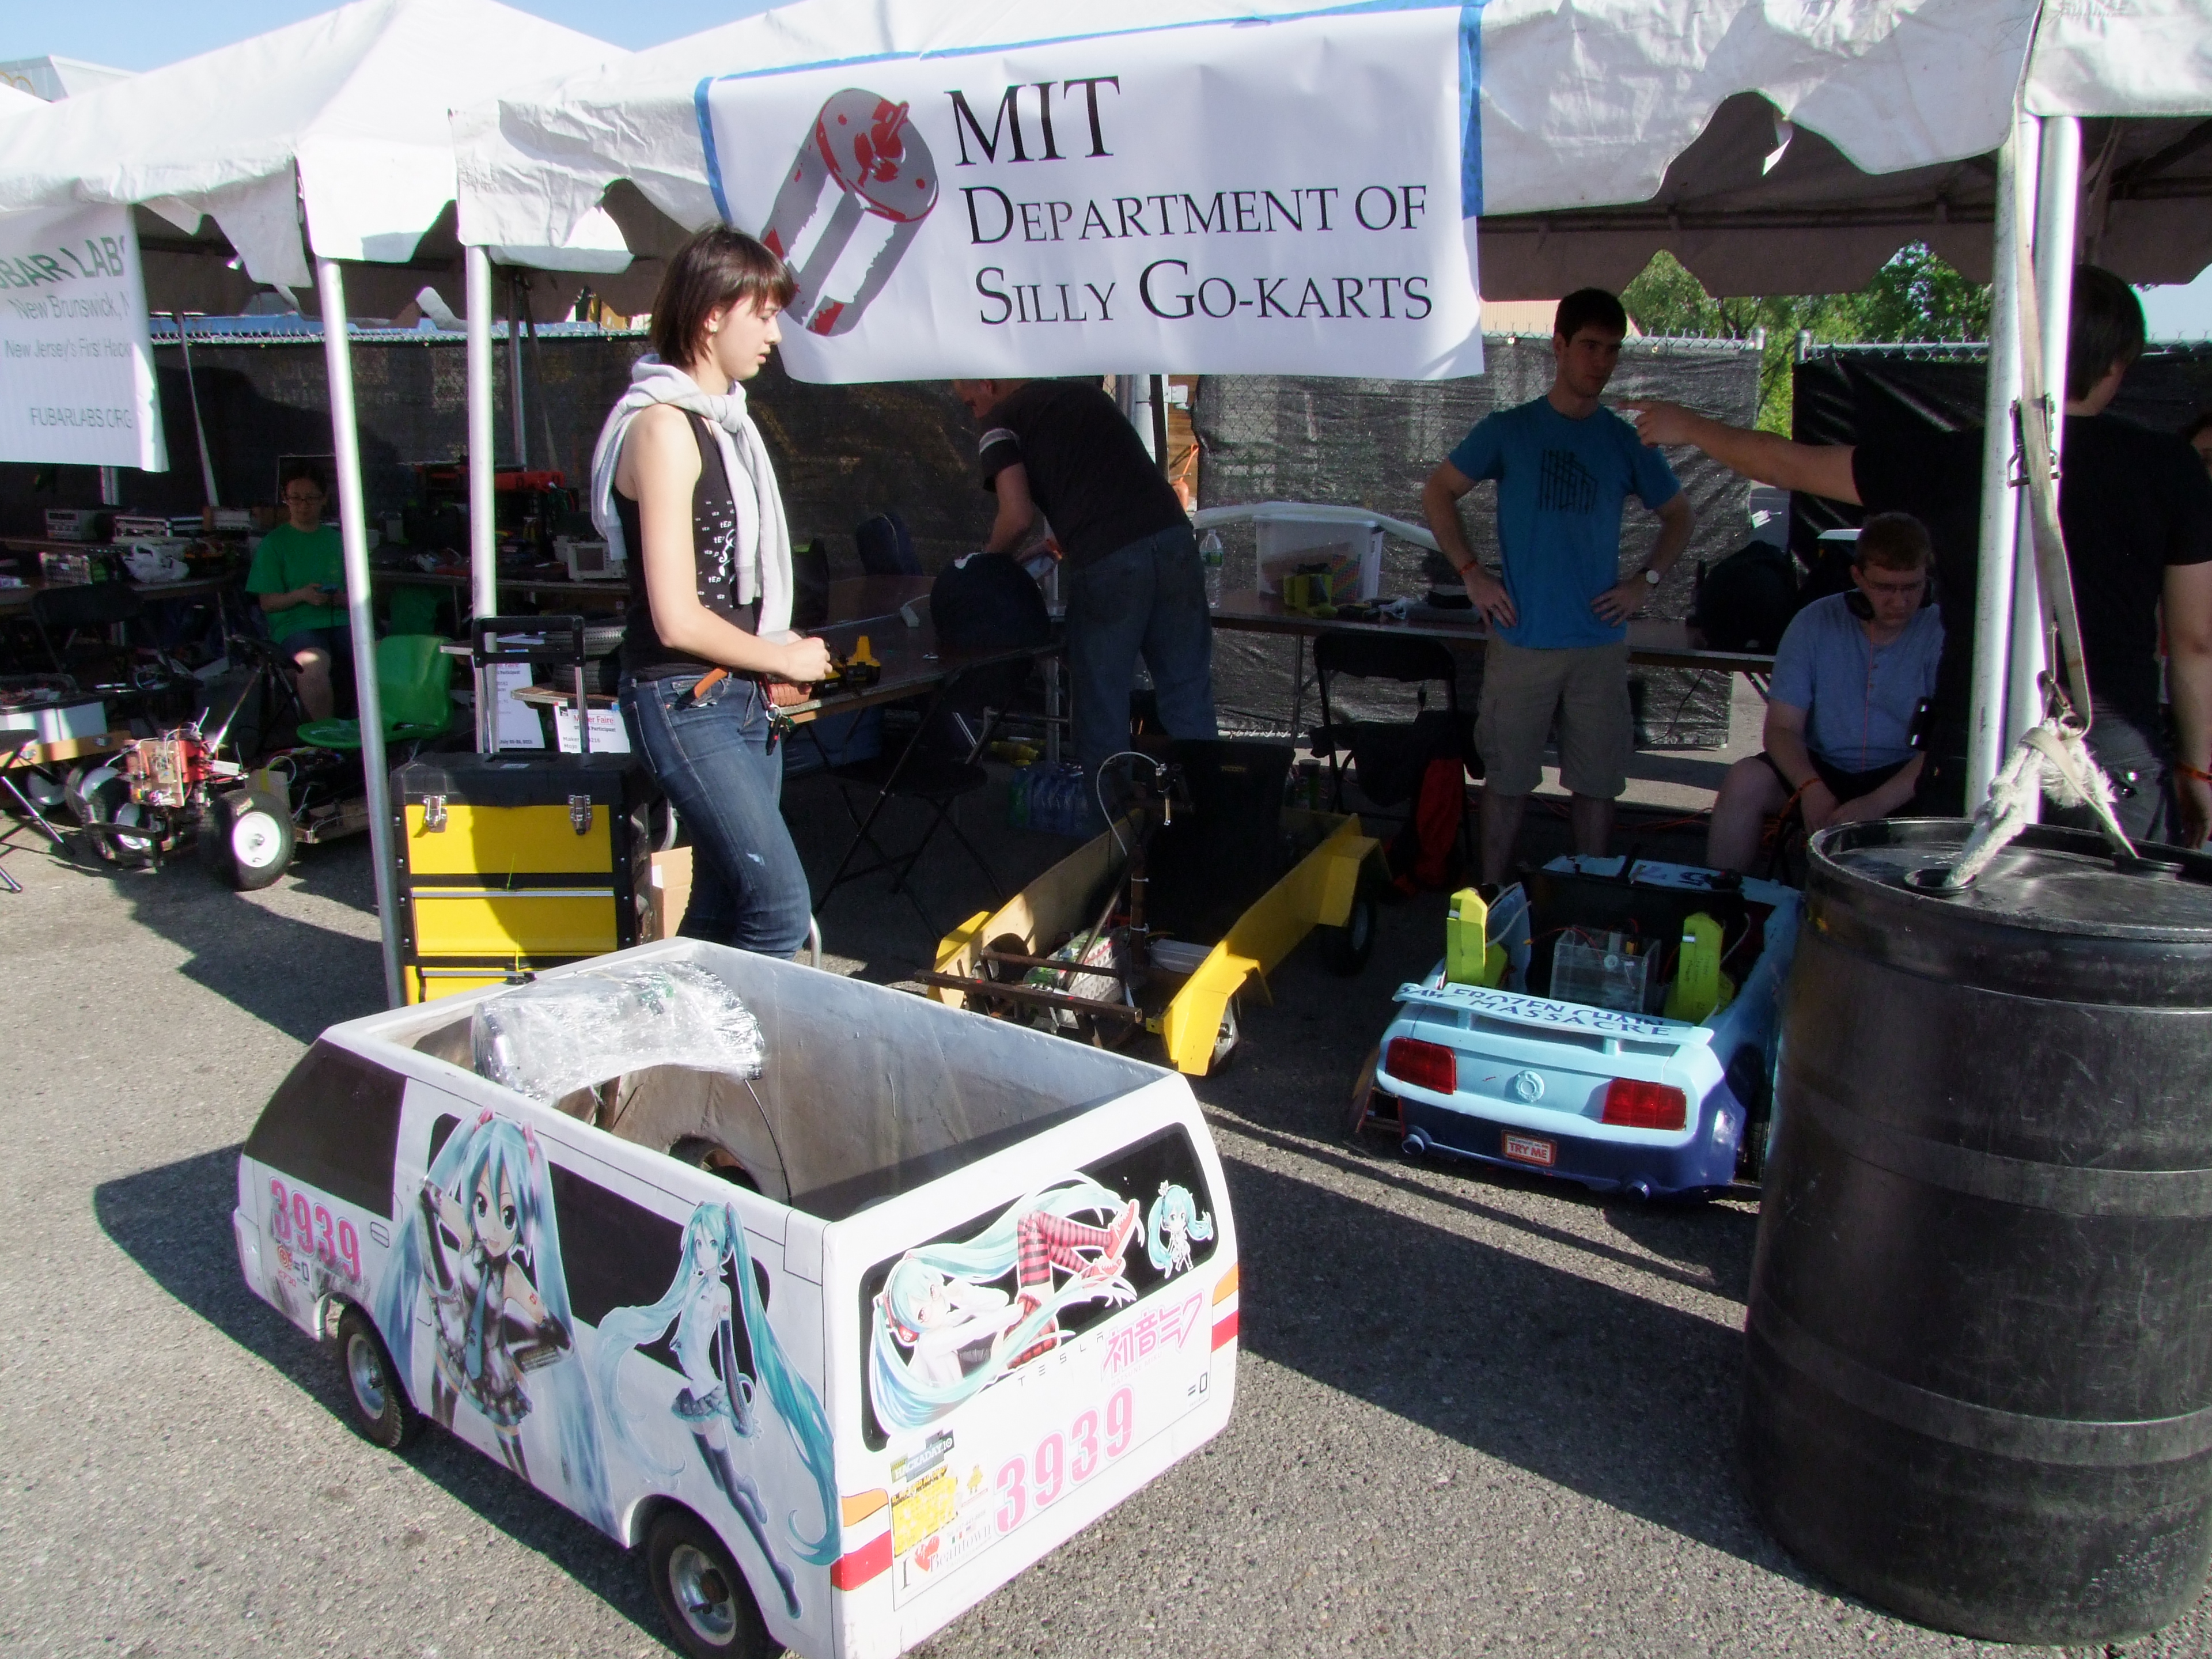
The Vehicle LineupThe lineup was excellent. There were a good number of contraptions, including a tie-fighter, a DeLorean mockup and a giant HUMVEE contraption. 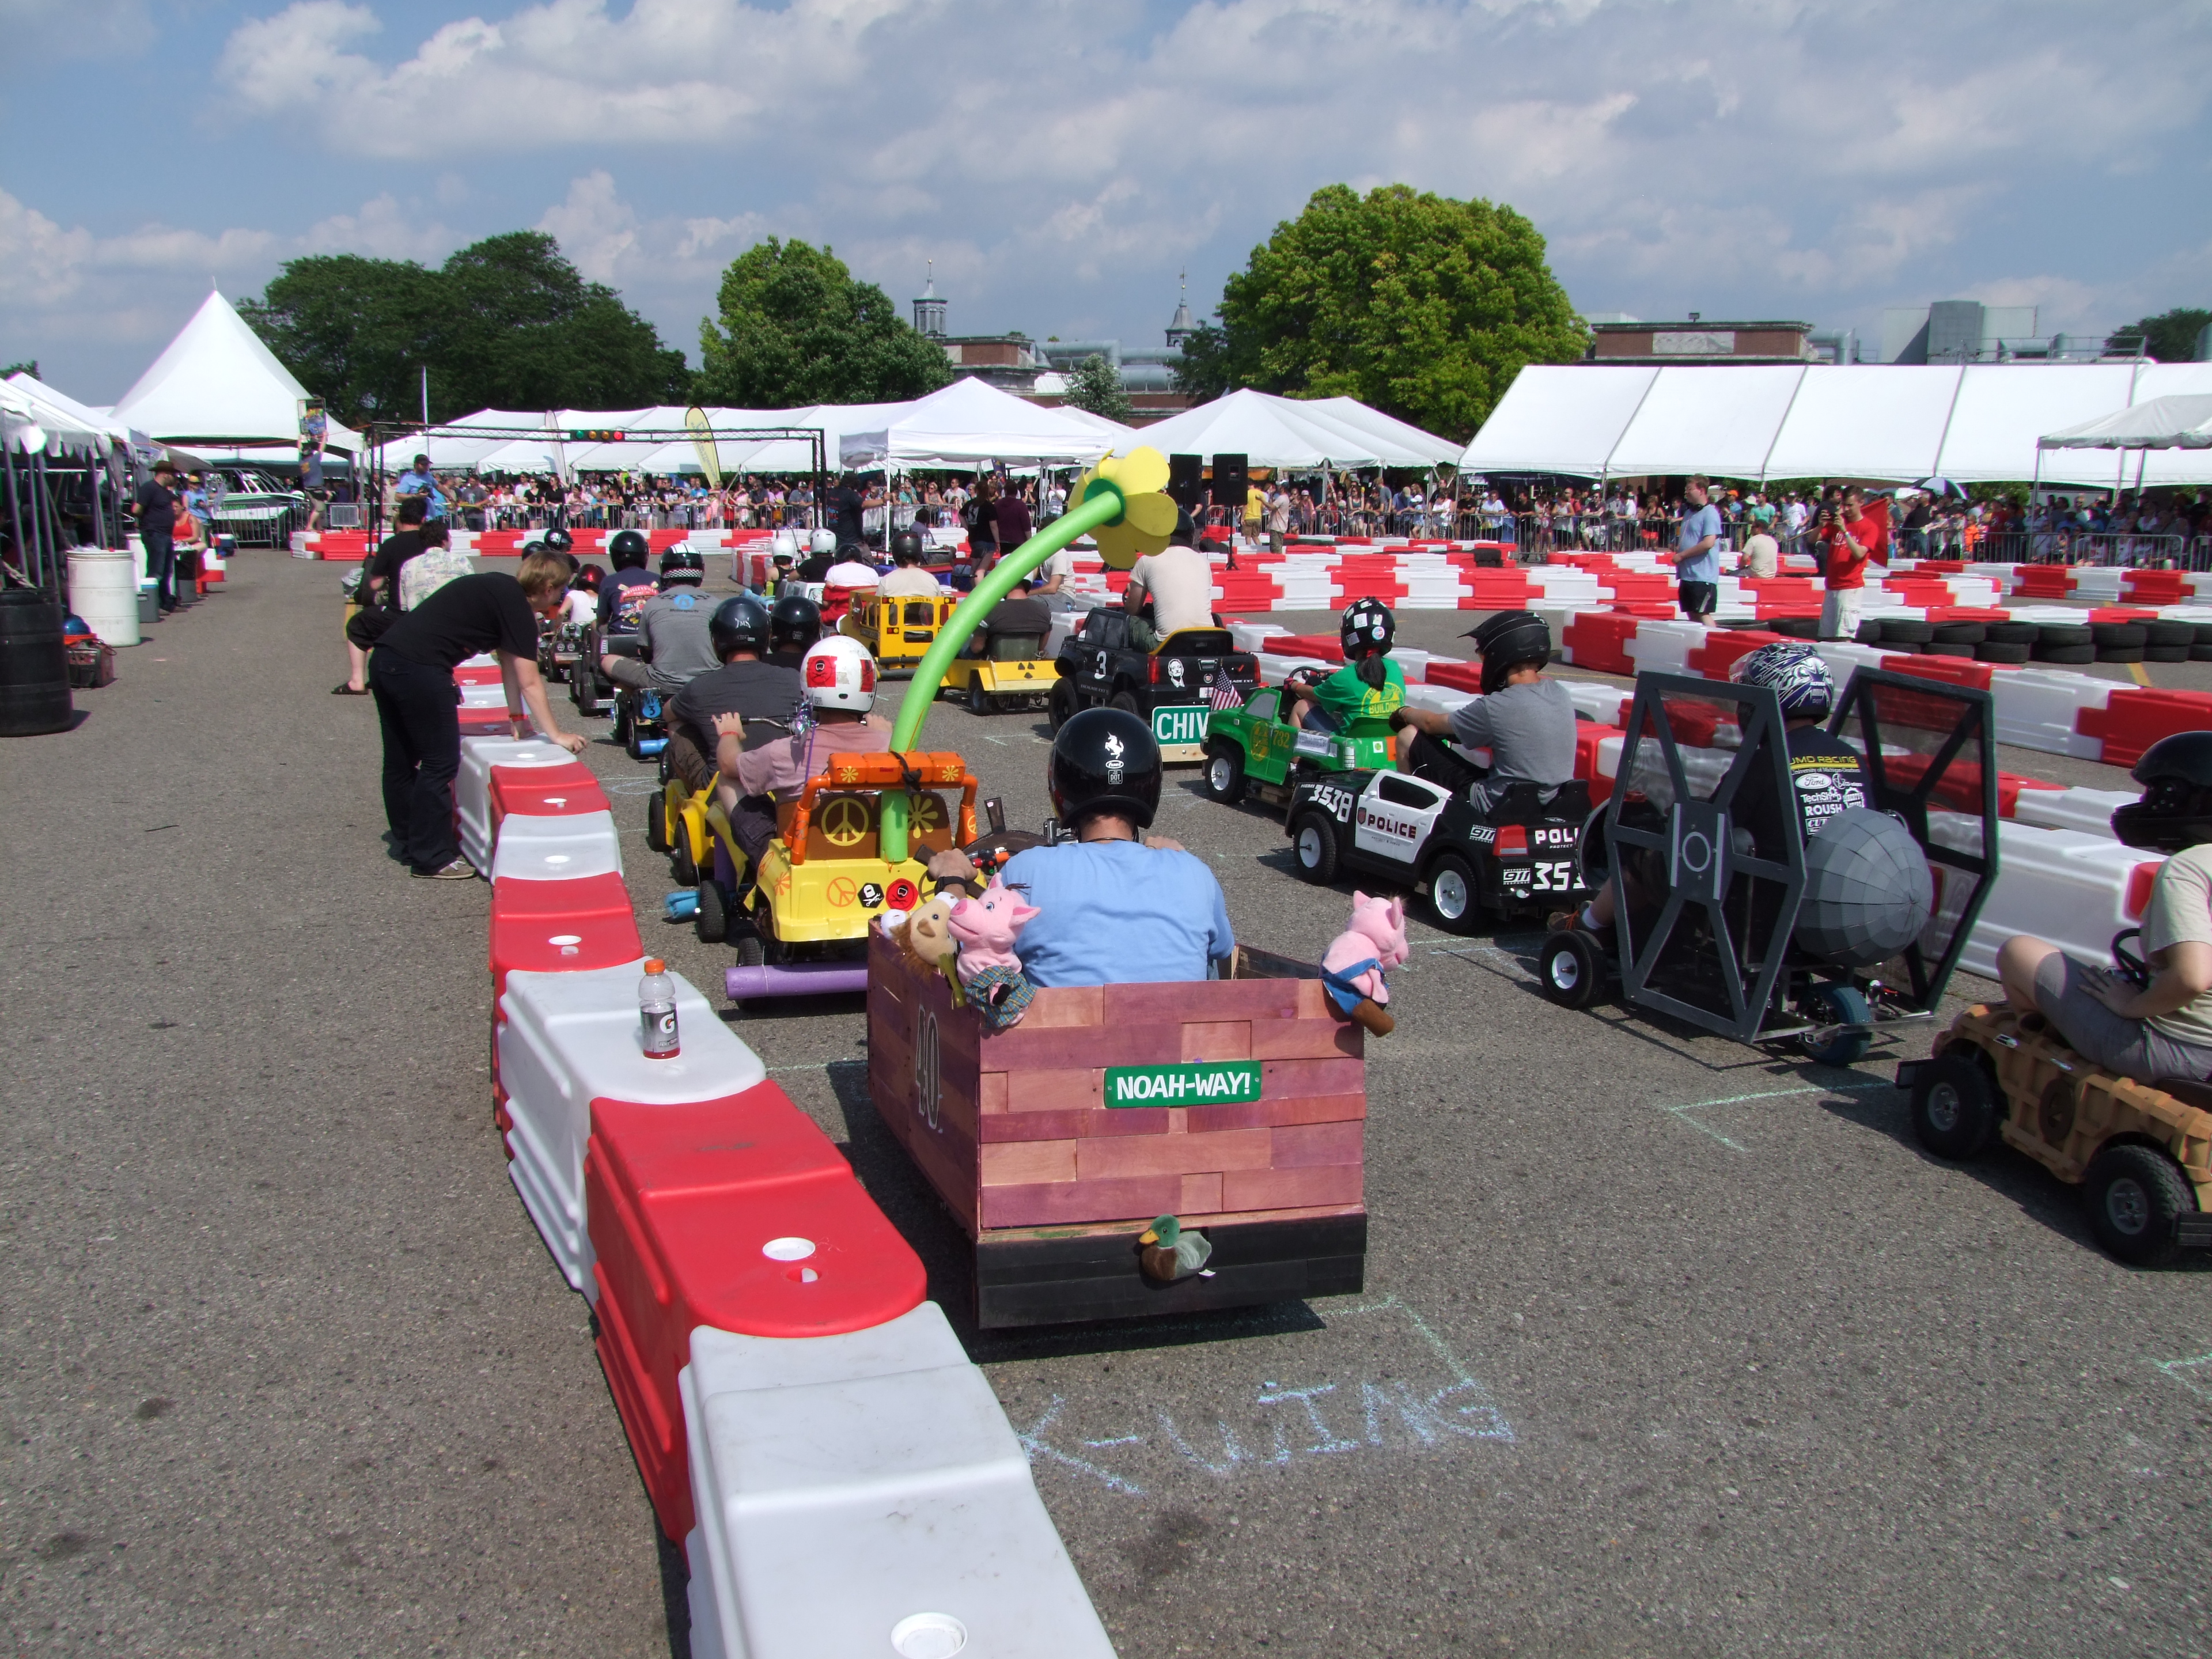
Other Teams & ComraderyTeam chibi-atomic also shared tent space with the mad-maxian team 'Mad Maxine' / Lotasaurous. Good times and part-sharing had by all. Post chainsaw destruction occurred when 40V snuck into the 5V rail and some rather unhappy chainsaws resulted. 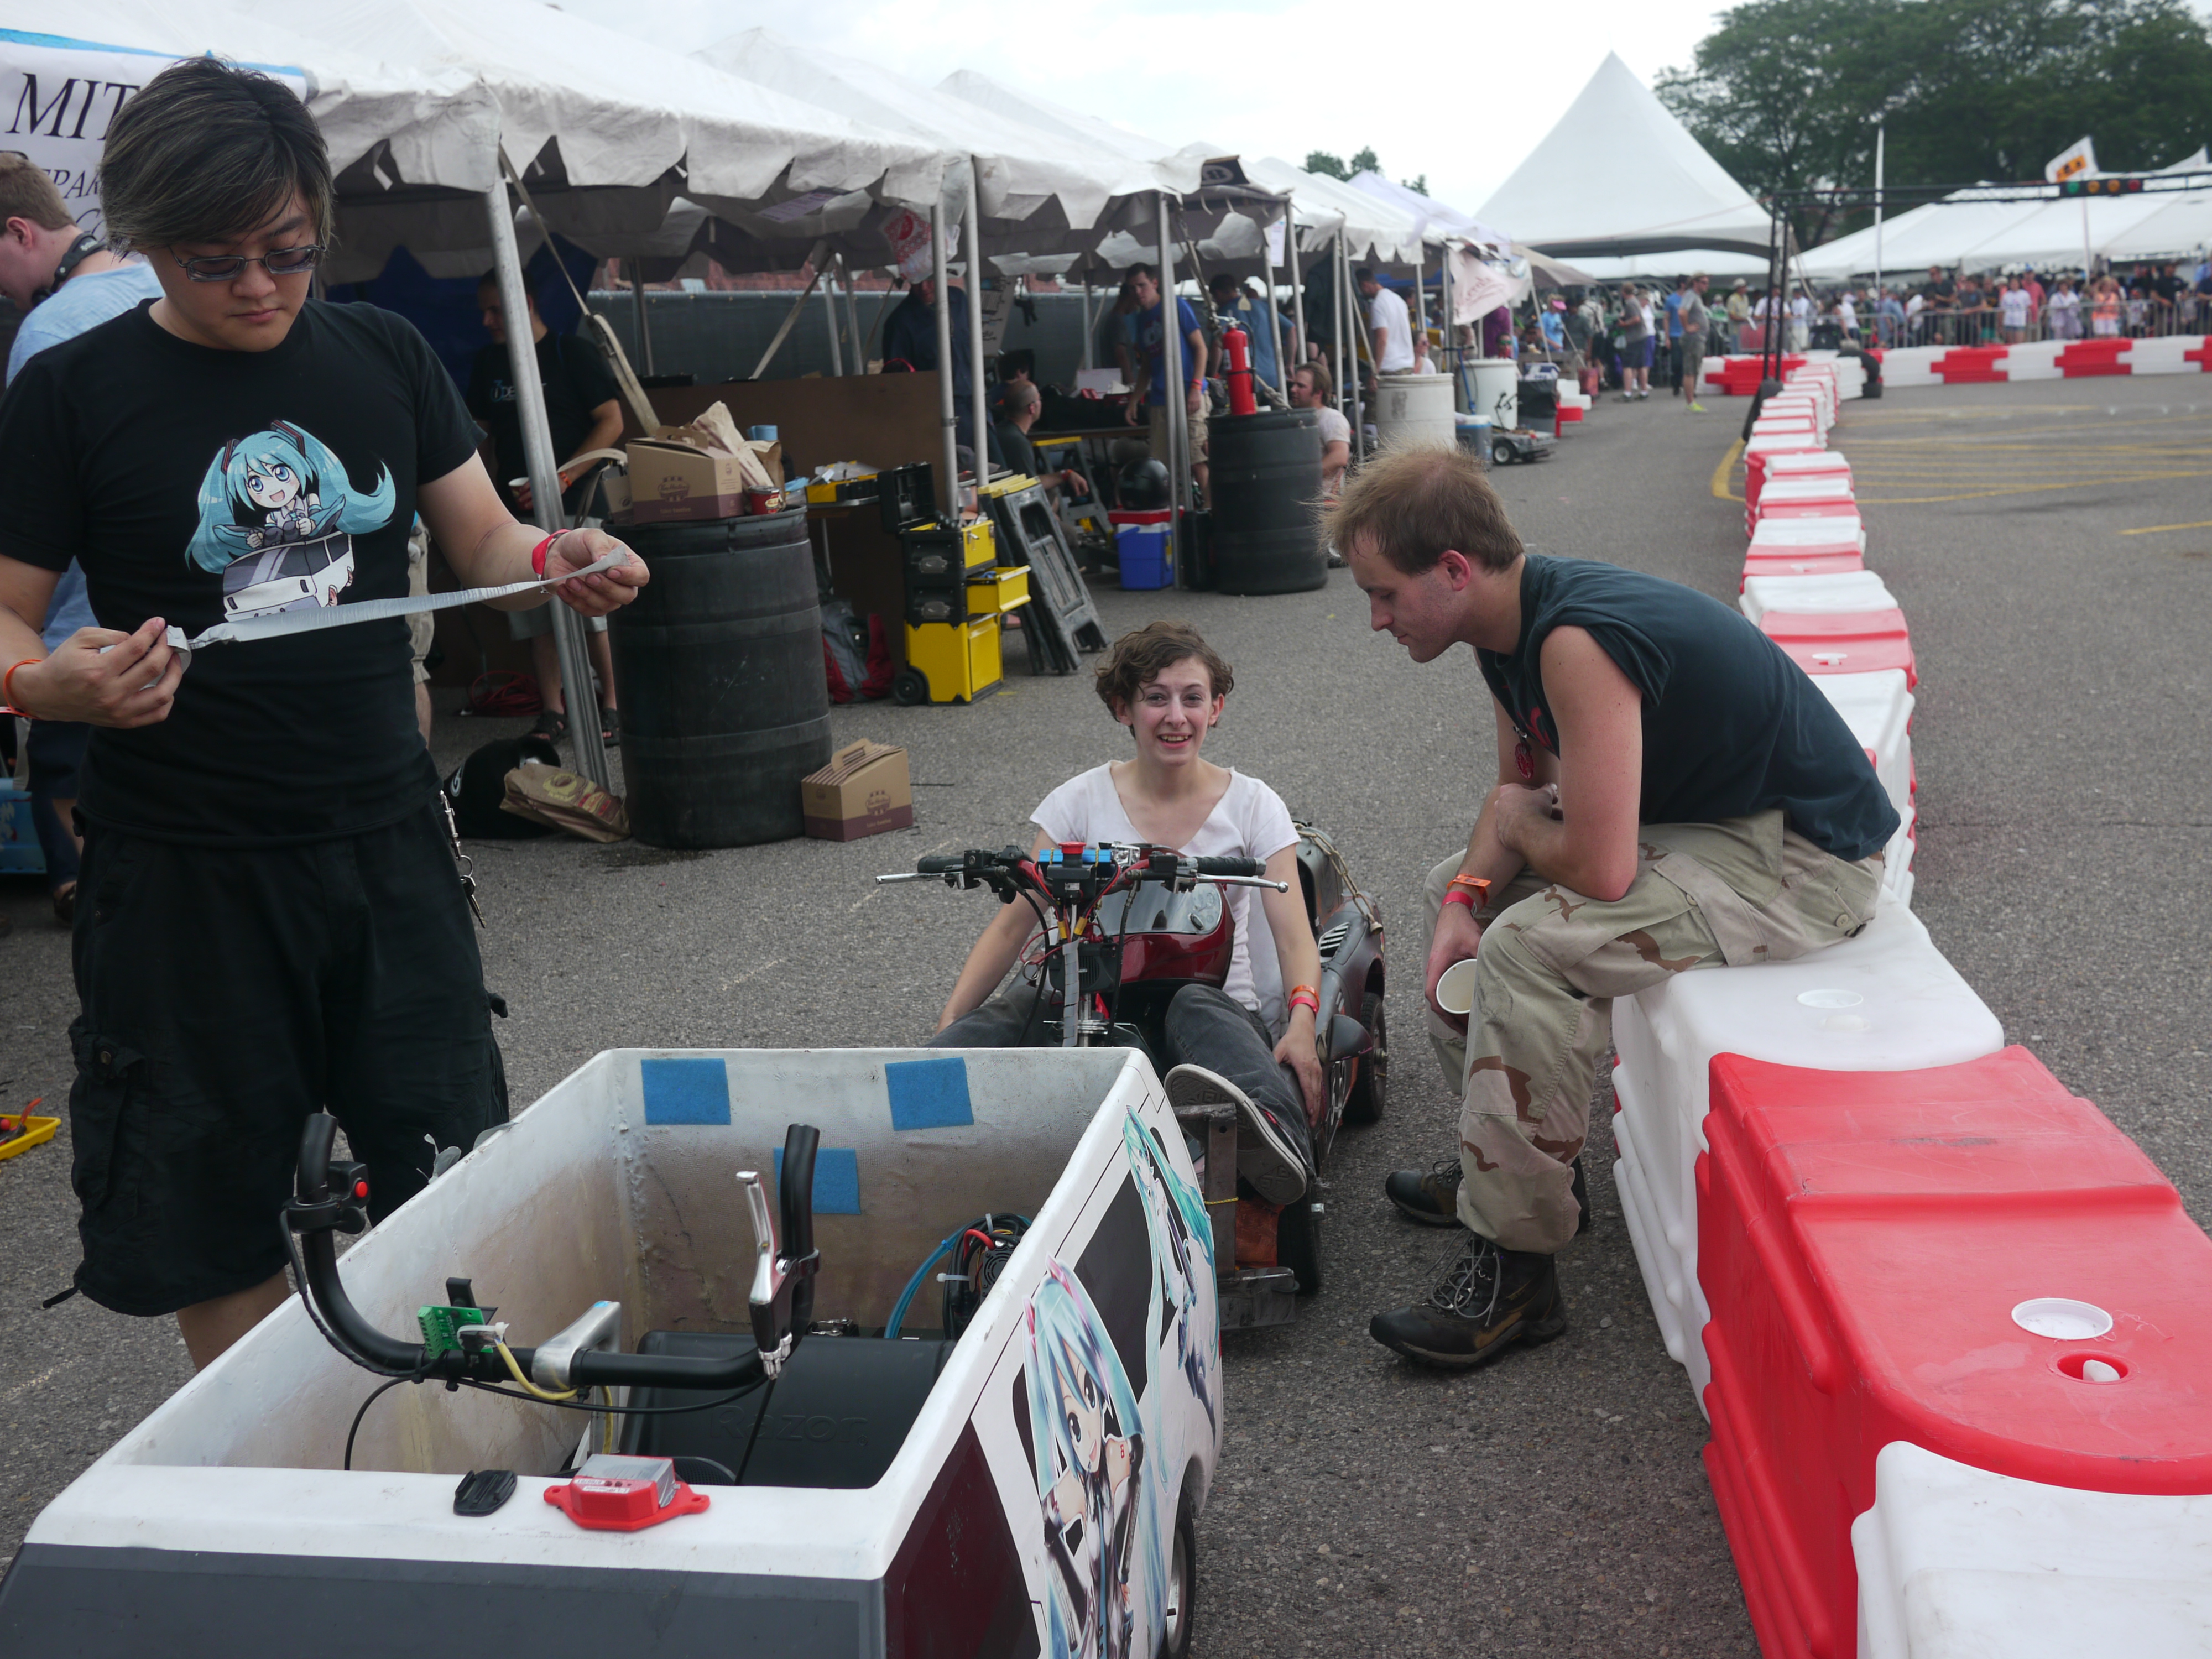
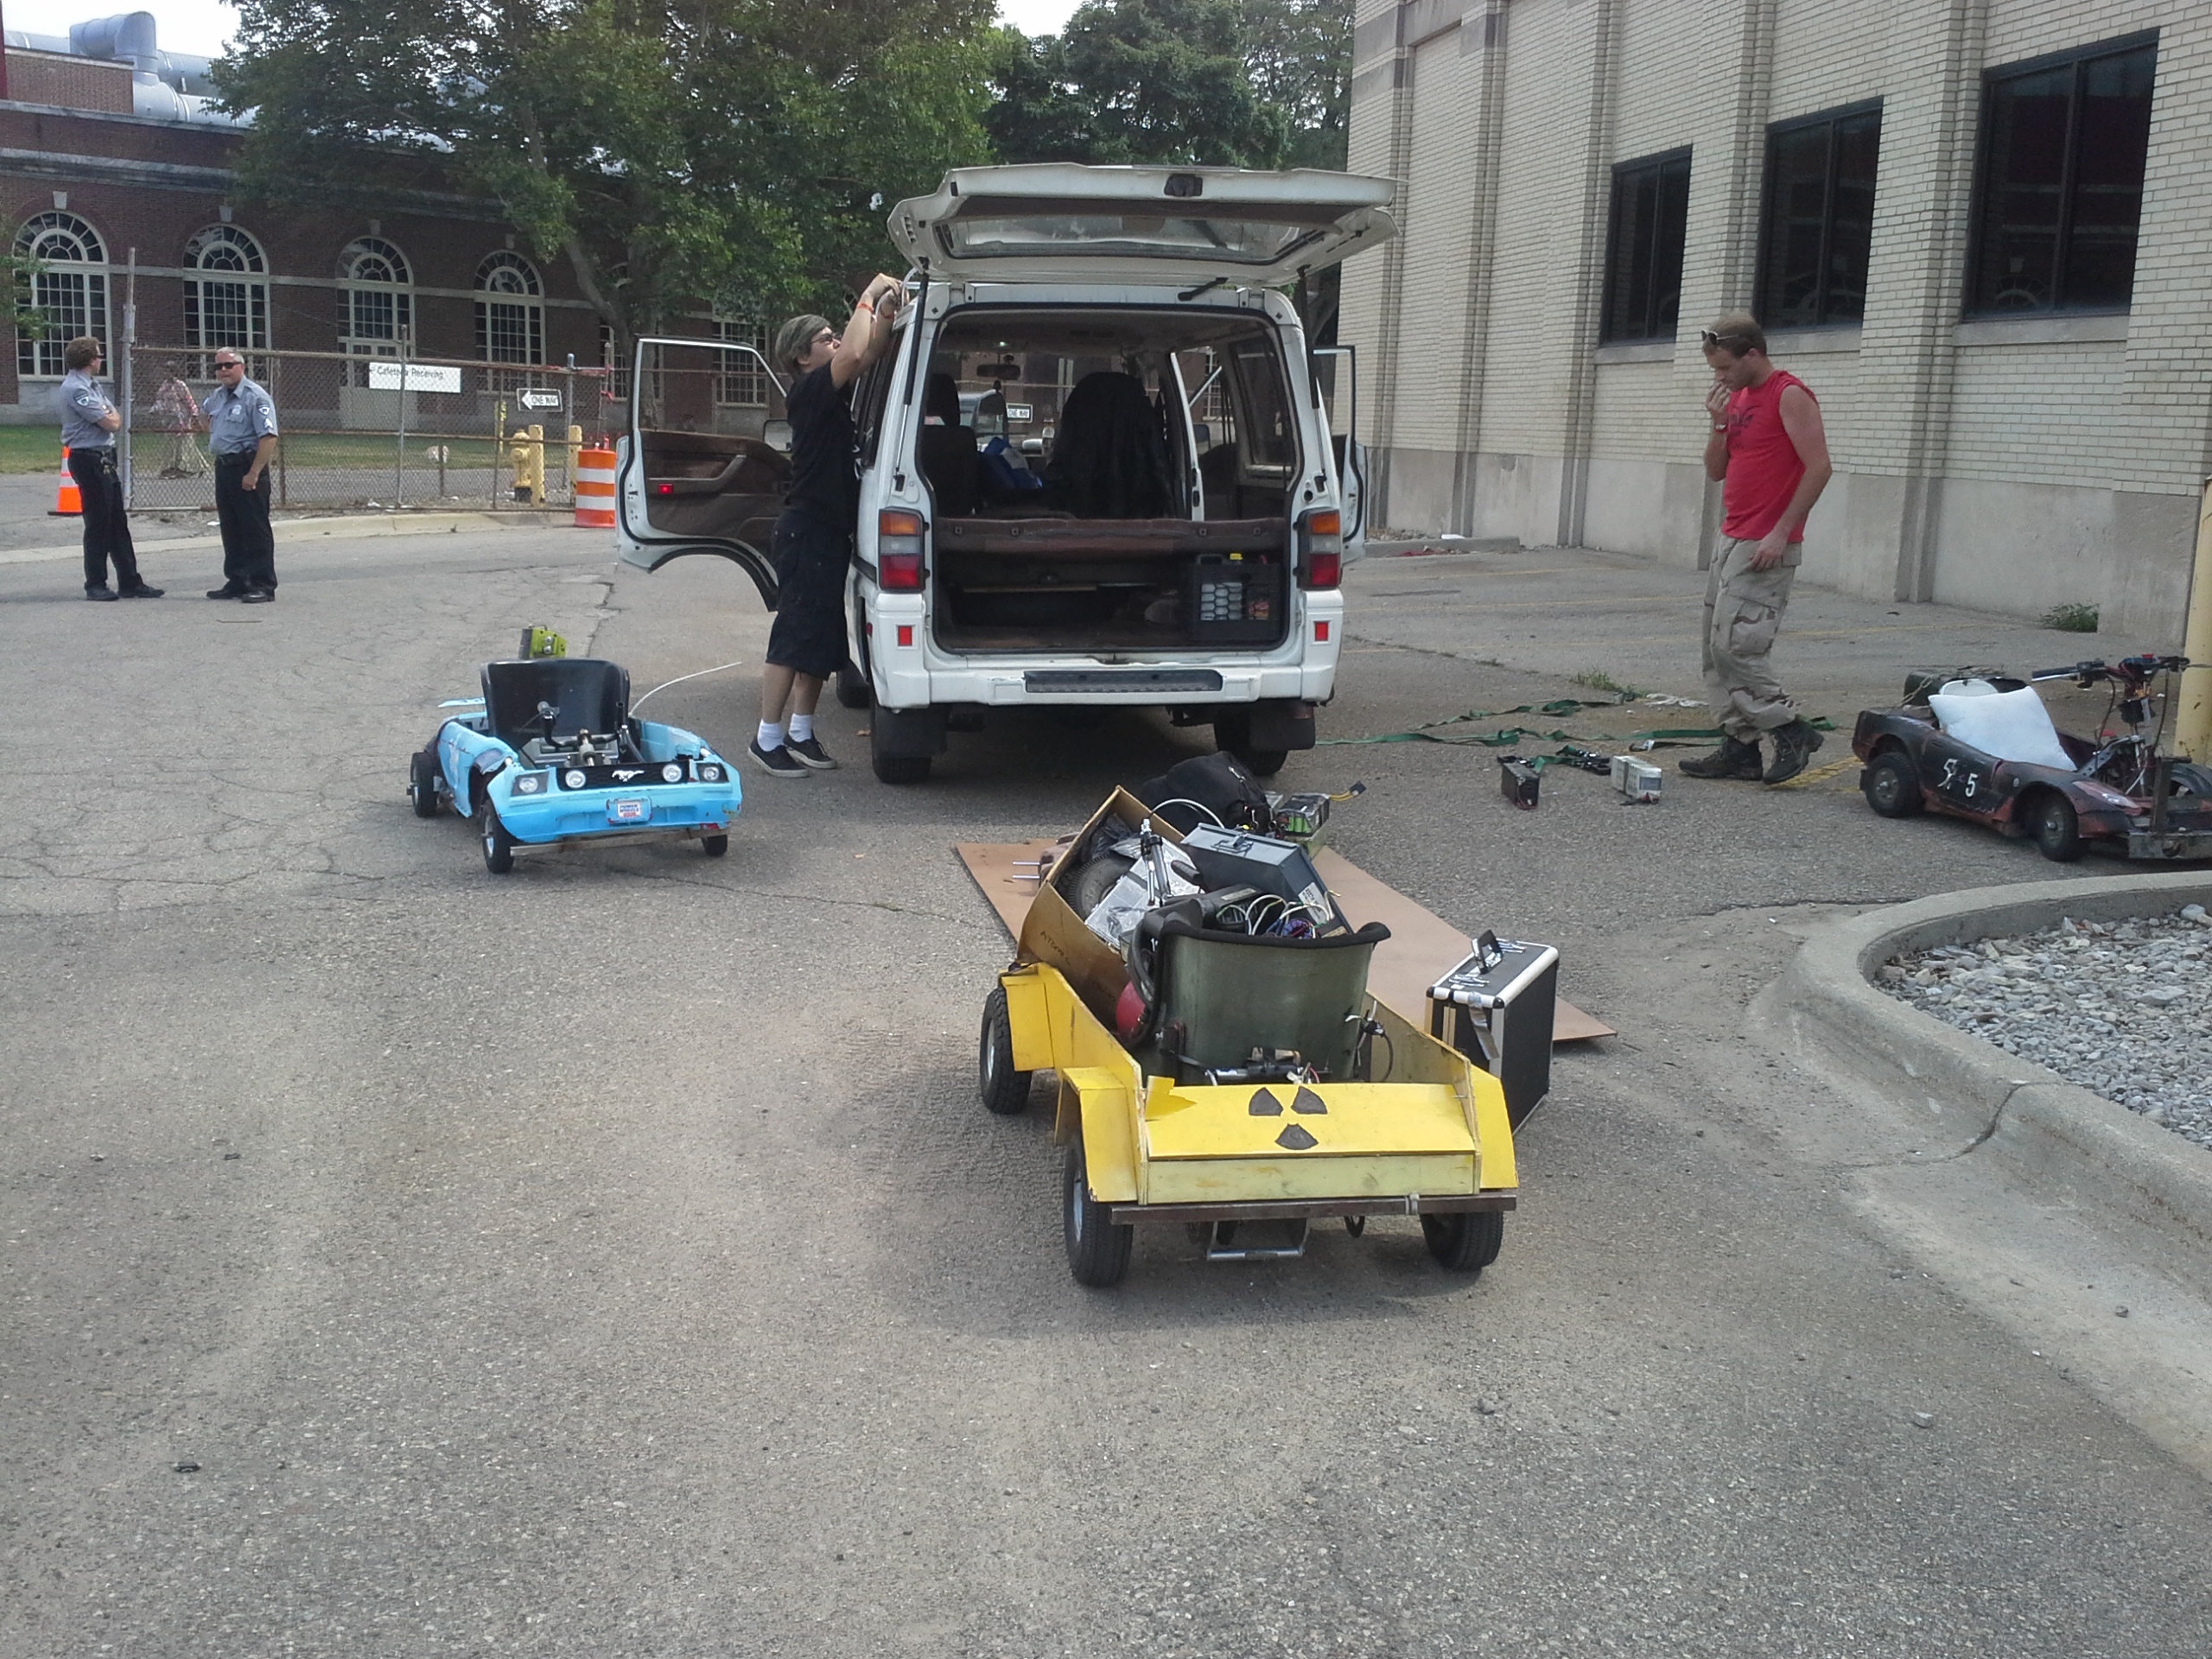
Final Results & DepartureTowards the end of the trip, the chibi atomic thing carried team goodies back to the mothership. Overall things went well, the new Kelly controller no longer had the issue of yester-year (sporadic reset faults). We no-longer had continuously screaming gears, however ended up generating a bit of noise during gear-shifts, which was comically gut-wrenching. 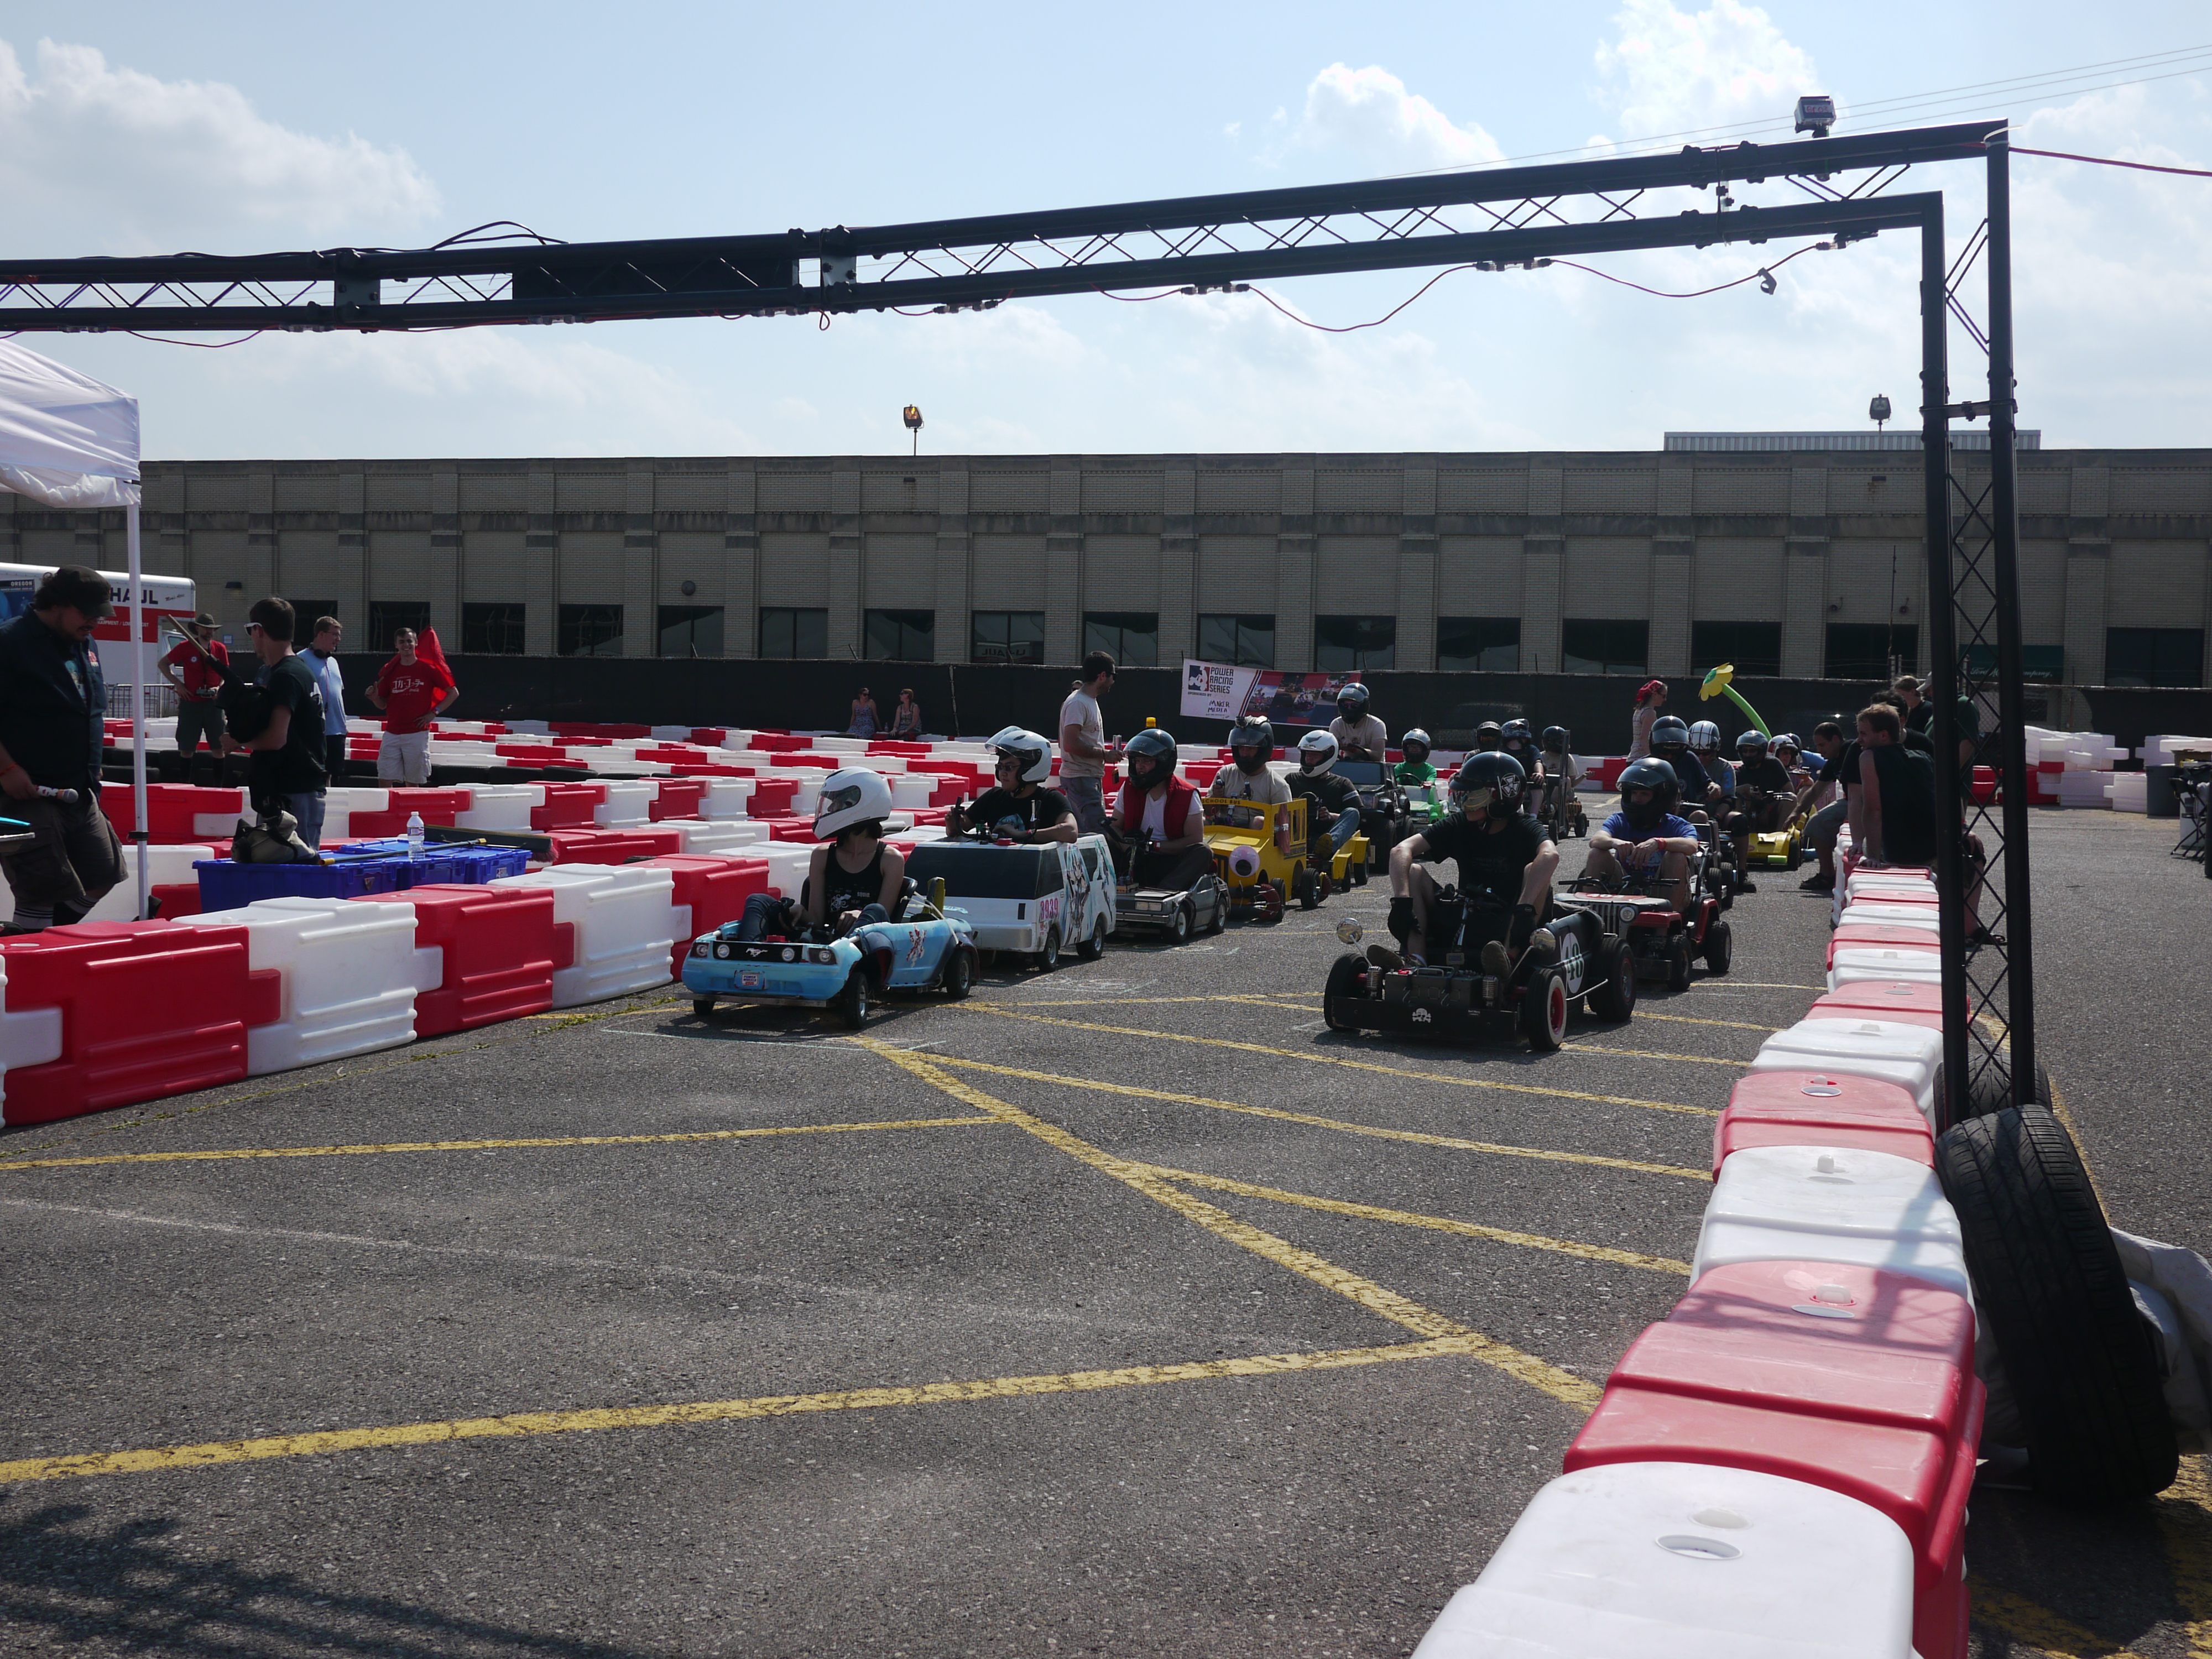

Concluding Remarks
Areas for ImprovementWe do need to upgrade the steering geometry and front wheel hub mechanism, as the left most front tire was grenade-ed in 'infinite mode'. The PWRS group is competitive, quite a bit of running around and hectic repairs are almost always a-foot. Our carts flalterings were mostly tied to reliability issues, in part the brushless motor external sensor mount and also partially due to the flips & tumbles the cart took, heavily marring the brake lines and jostling the throttle to bits. For upcoming races we have a few things to address electrically, but sourcing a more robust throttle + rotor position sensor is fairly high up on that list. BUT WAIT, why have an 8 speed gearbox if you're racing in tight corners on a power limited vehicle. Stay tuned and find out! |
Have you noticed that there are no advertisements or ridiculous pop ups?
No cookie banner or newsletter?
I'm trying to make a better web, feel free to support it.
For the original version of this page, check it out here: [Link]
Want More?
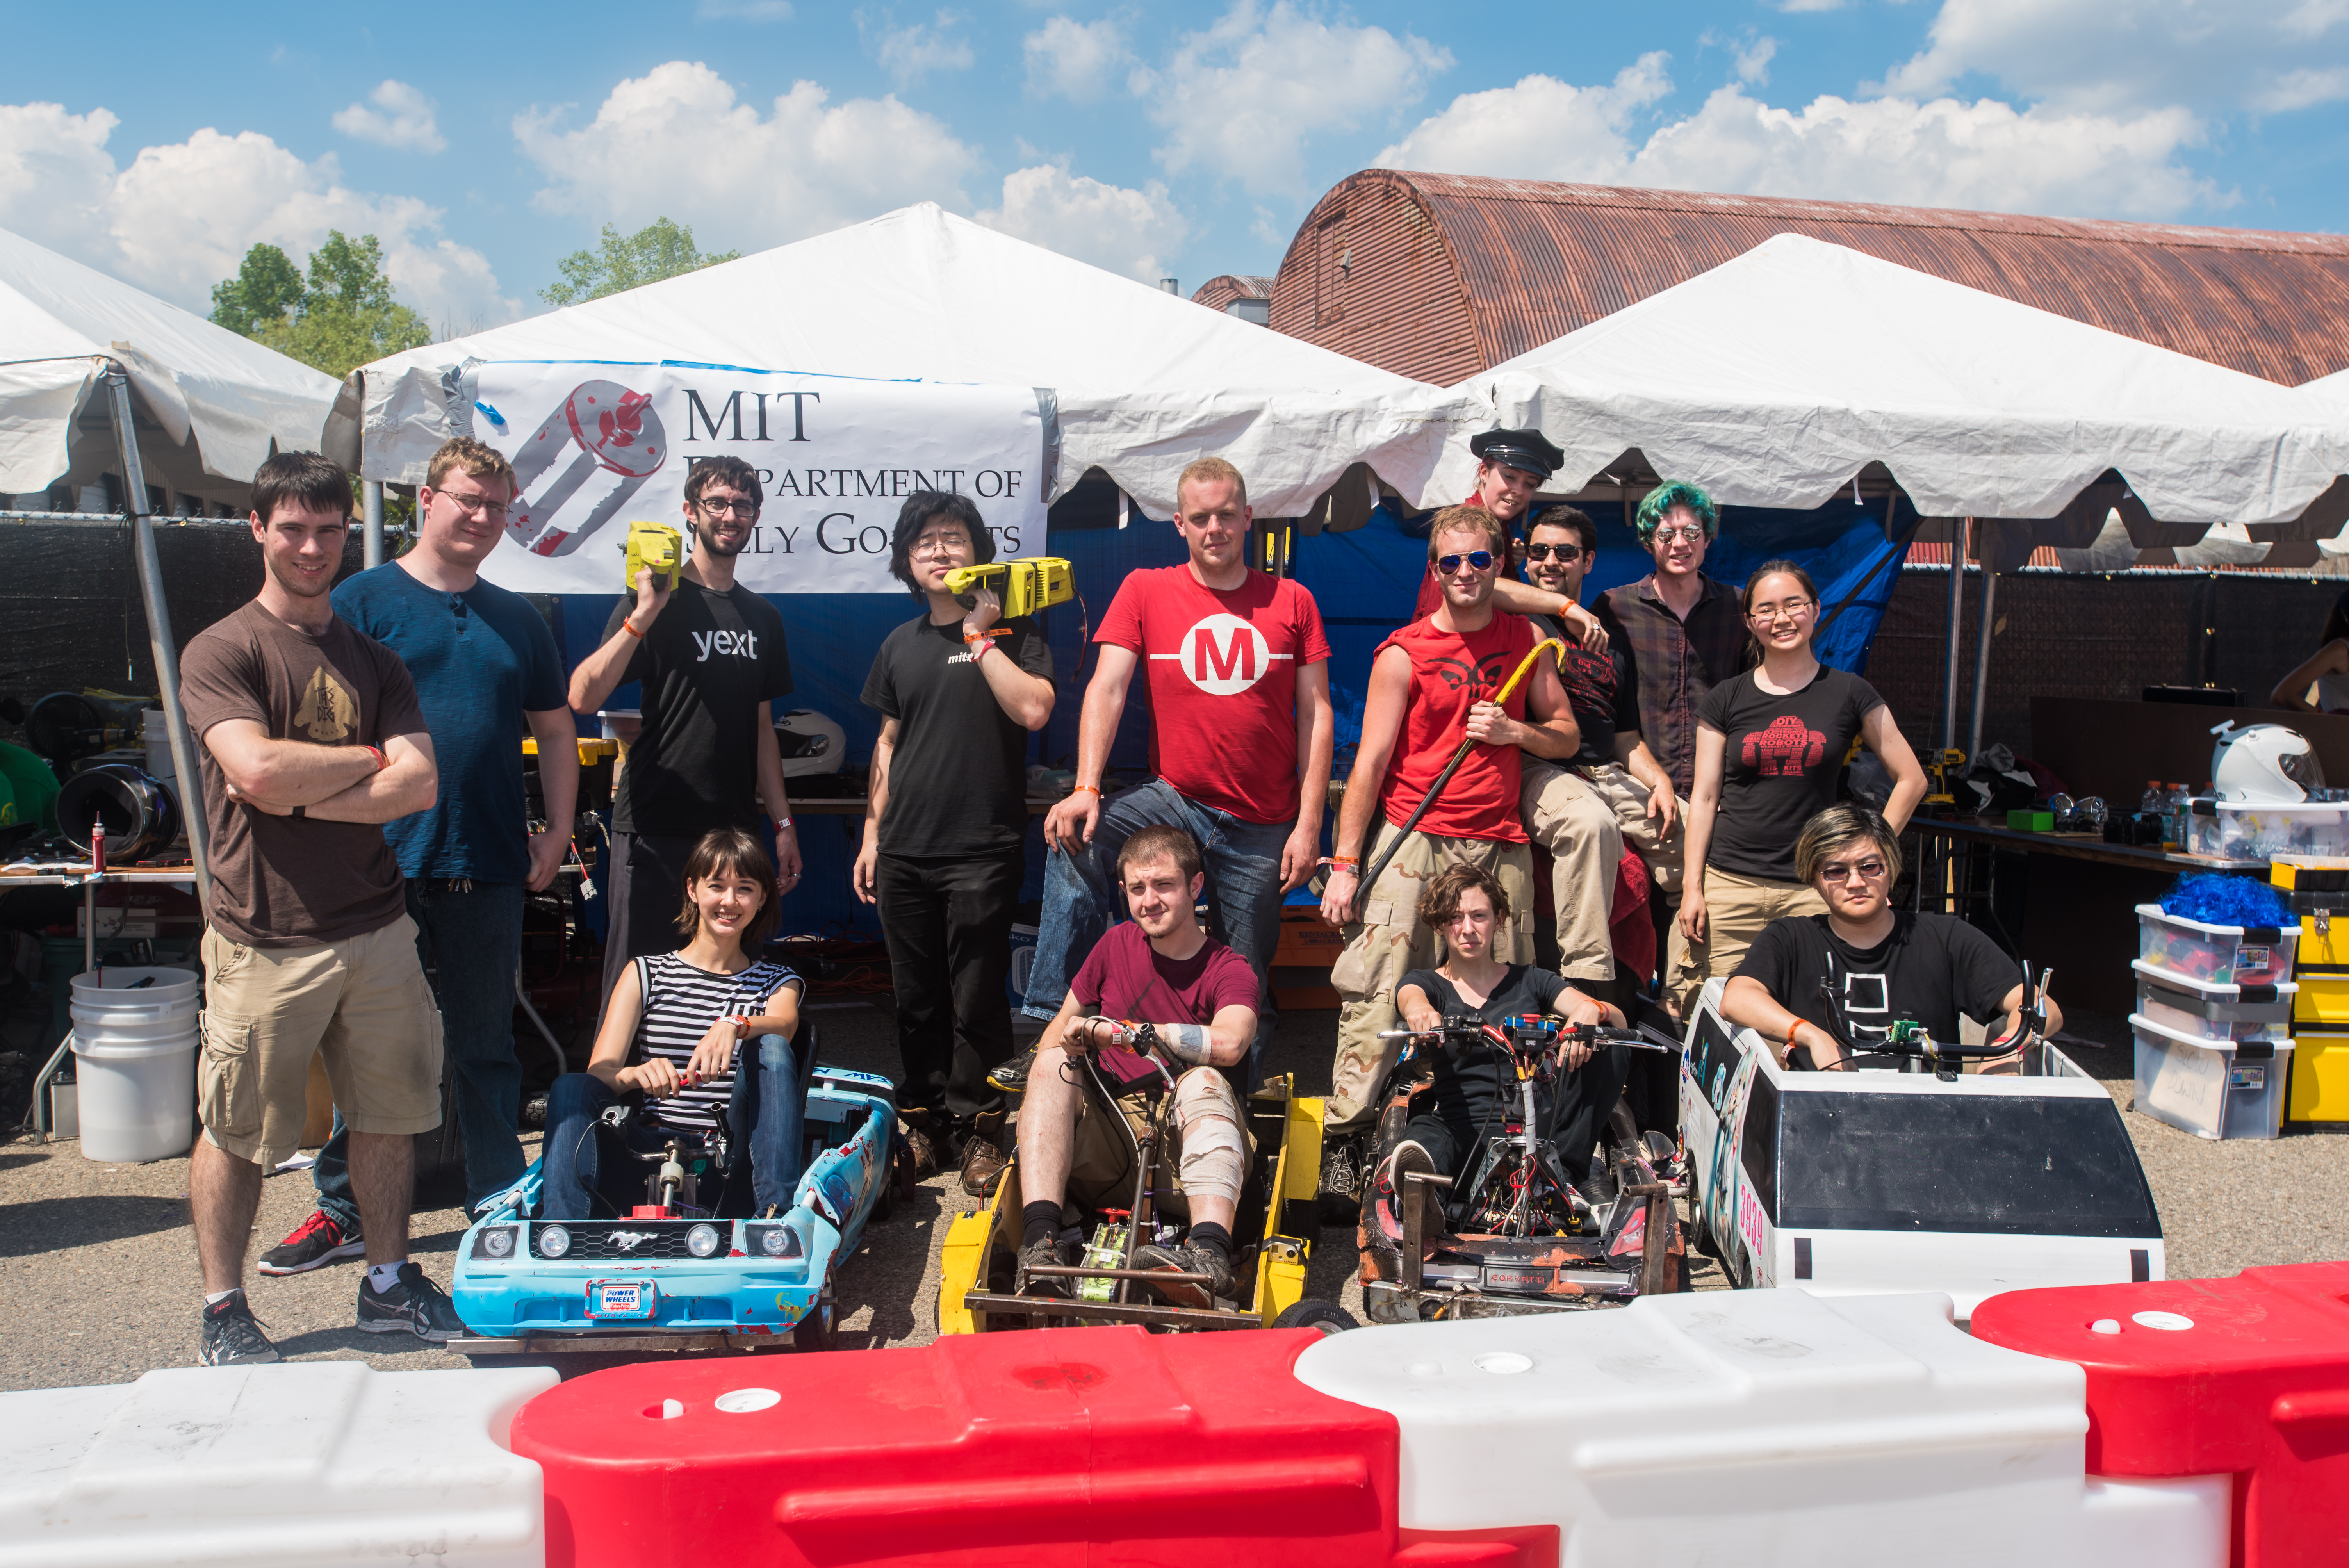
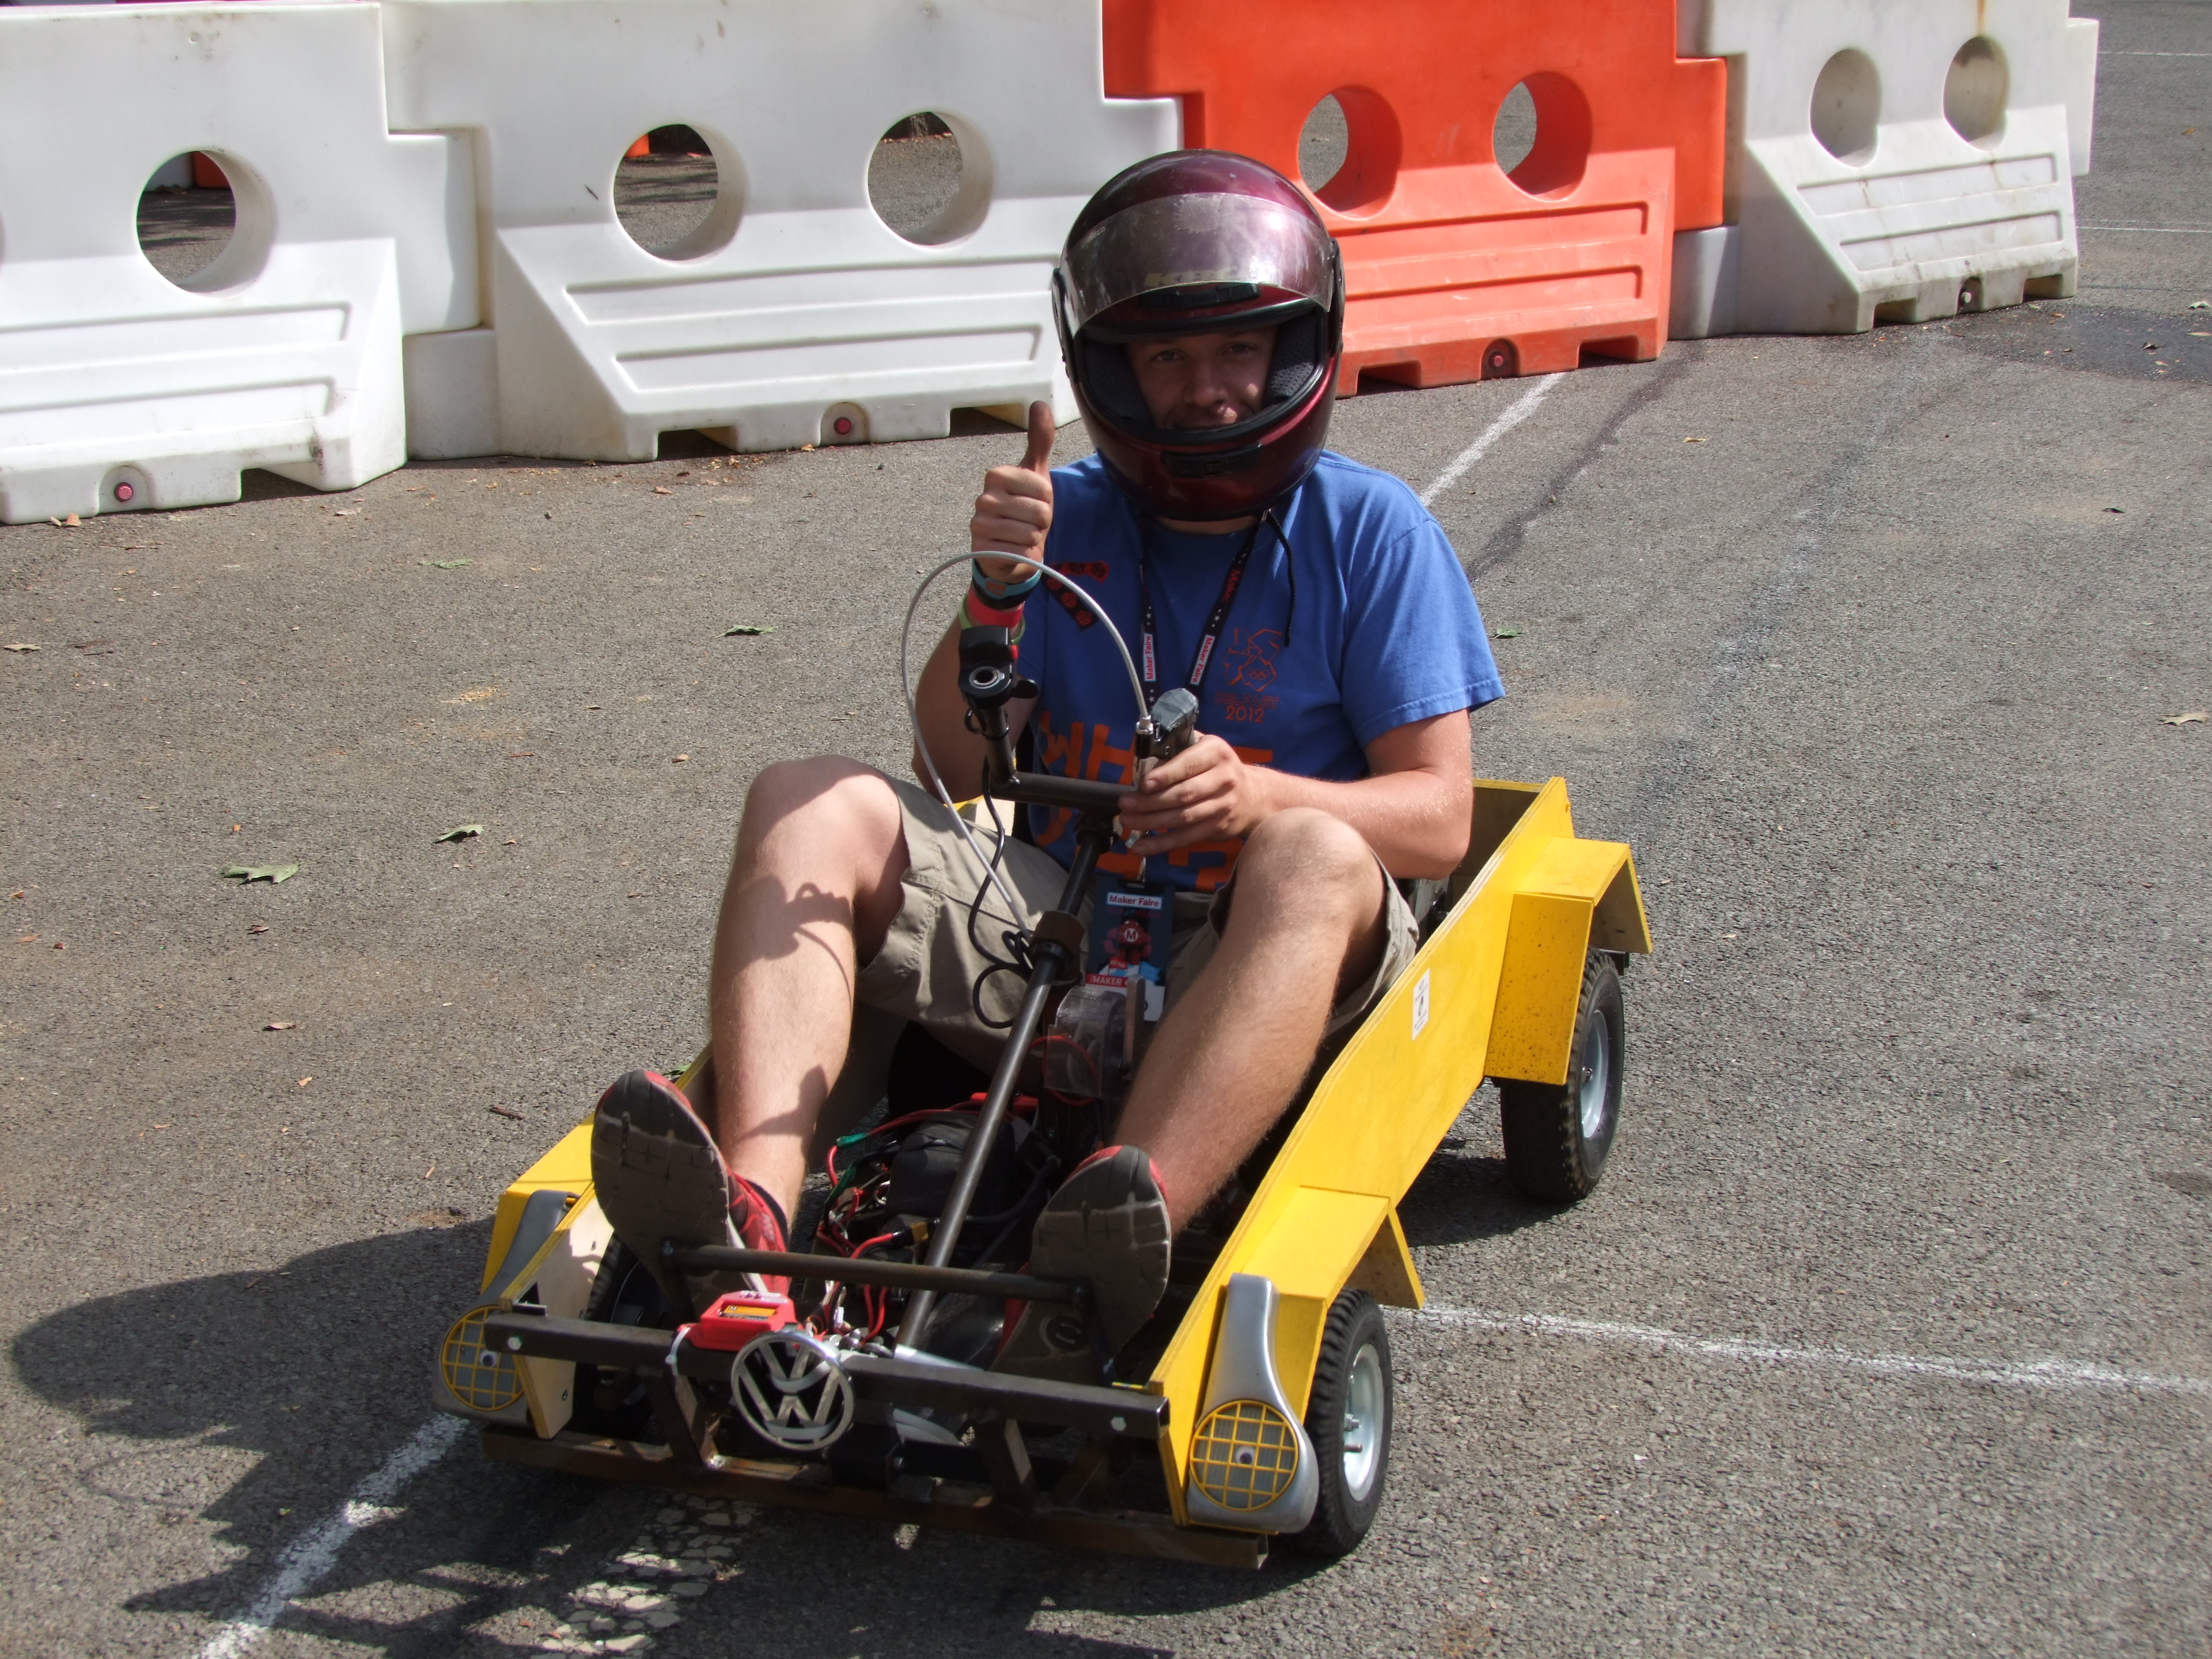
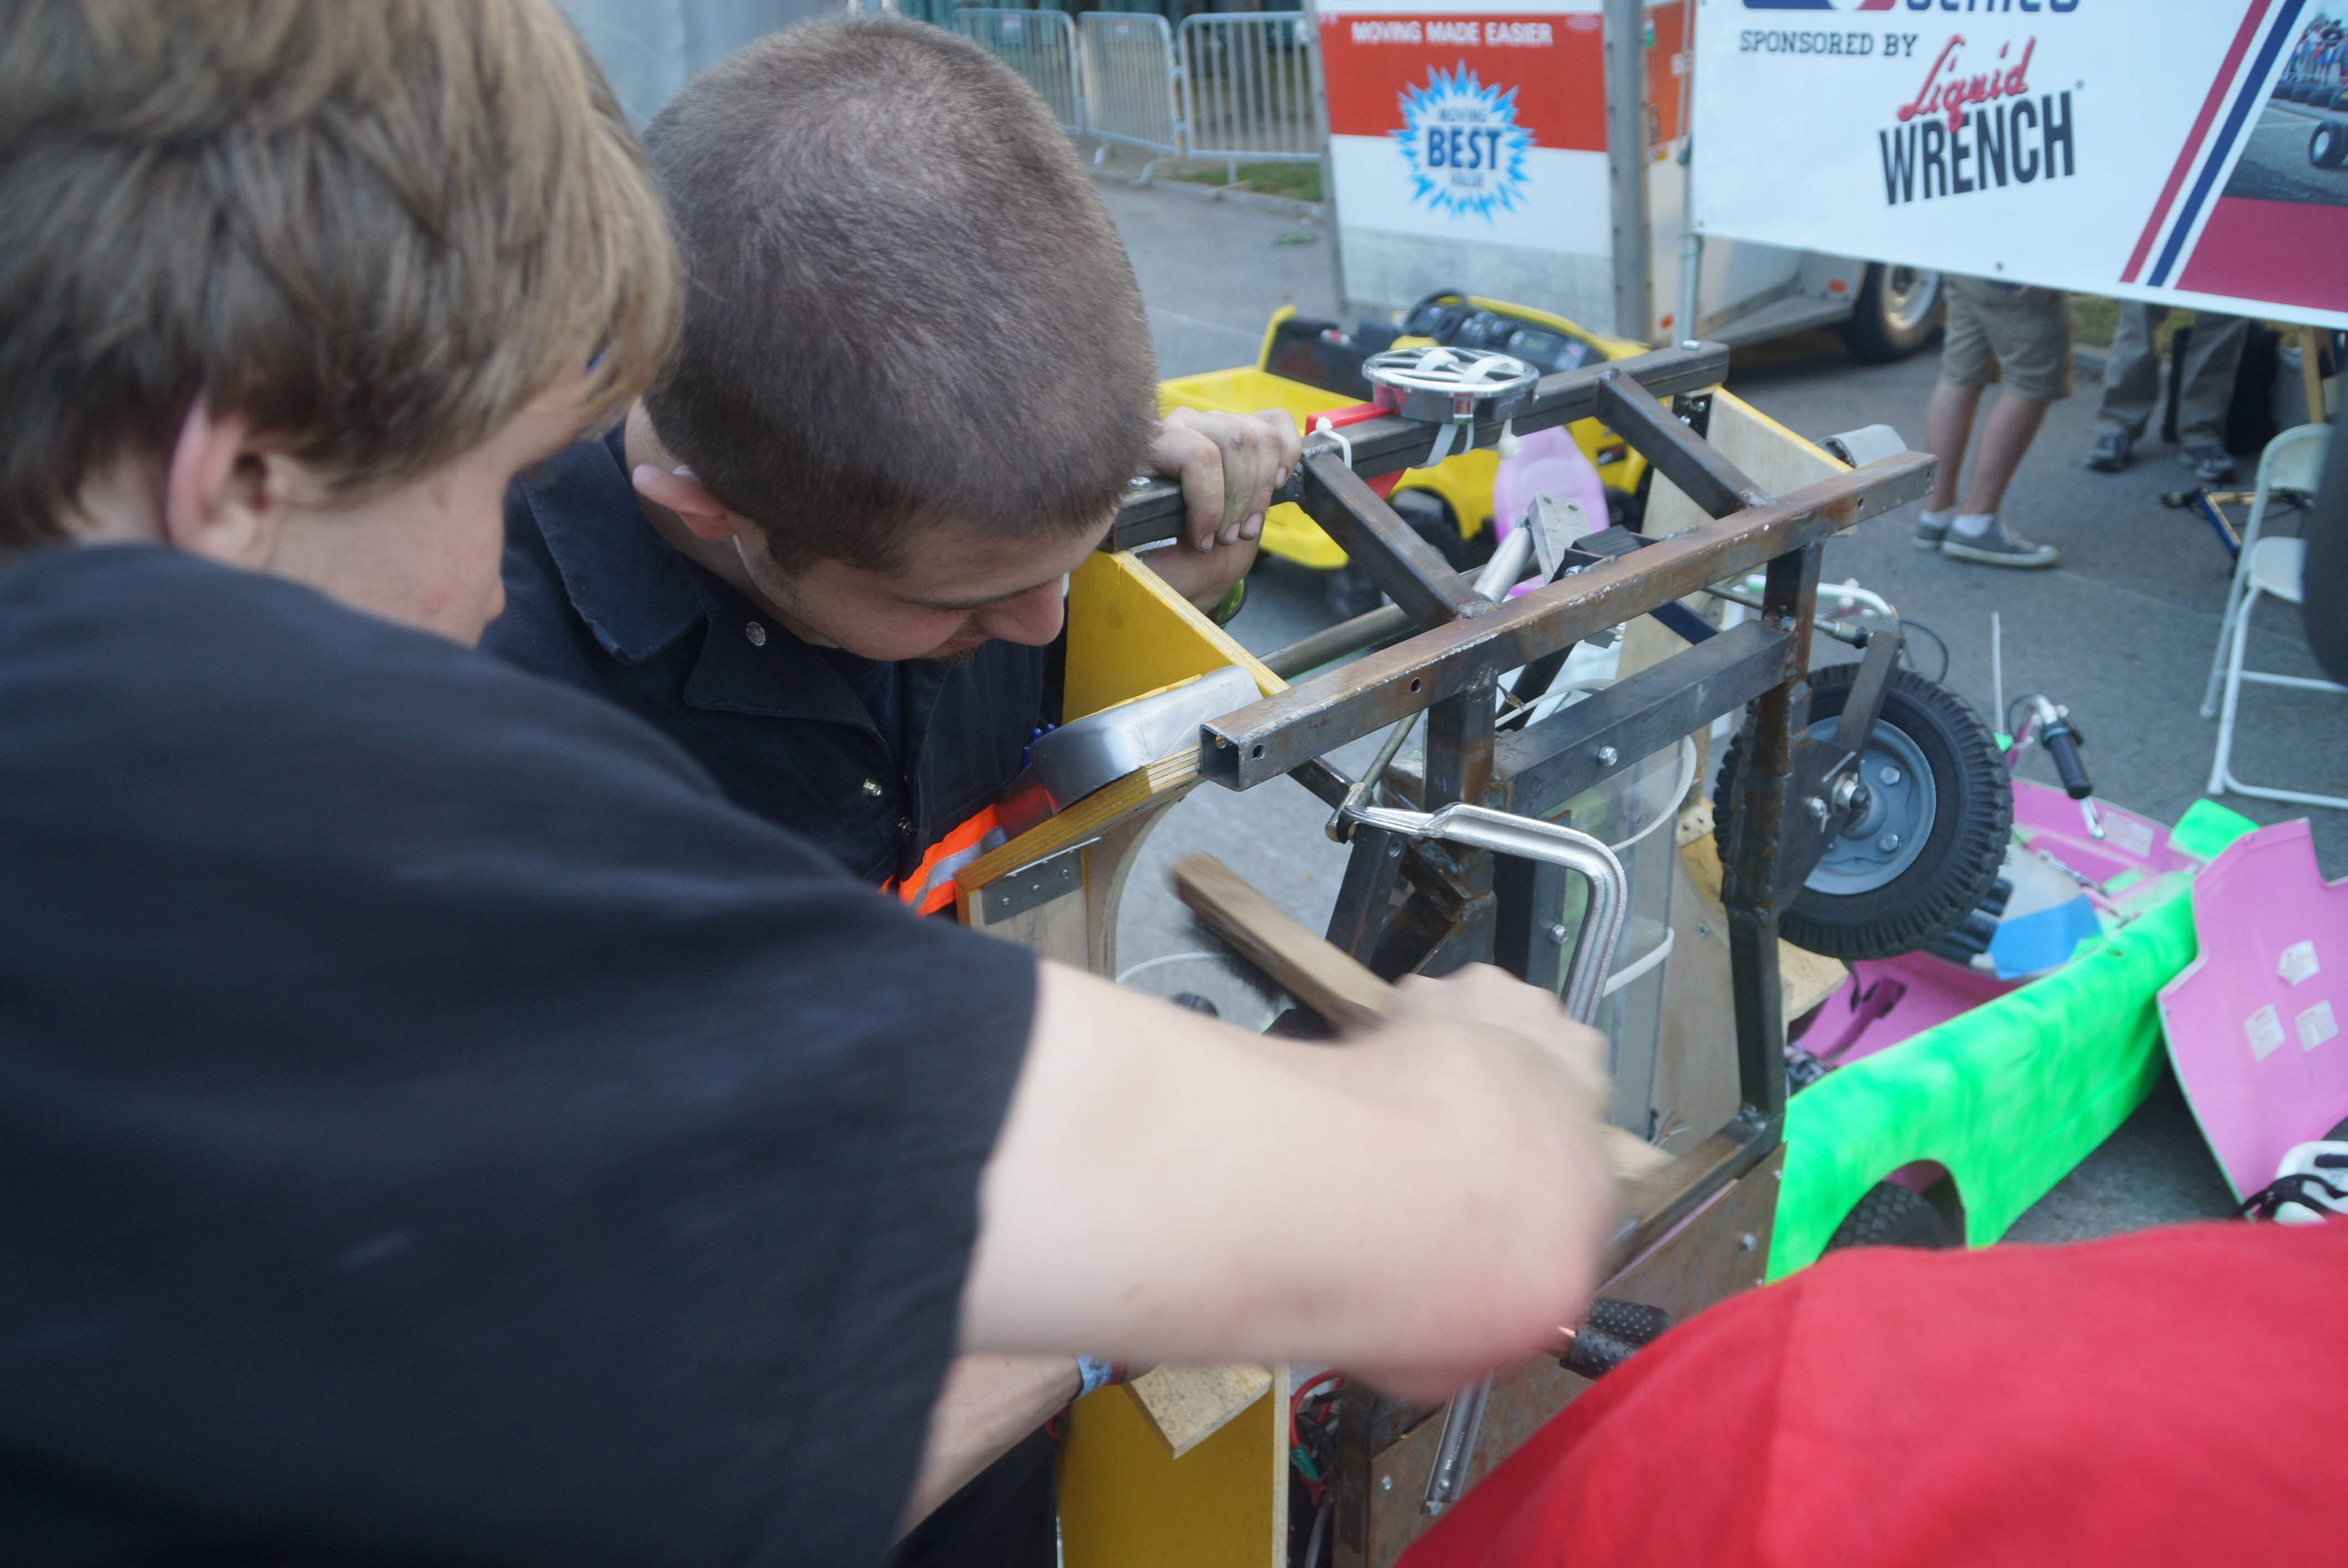
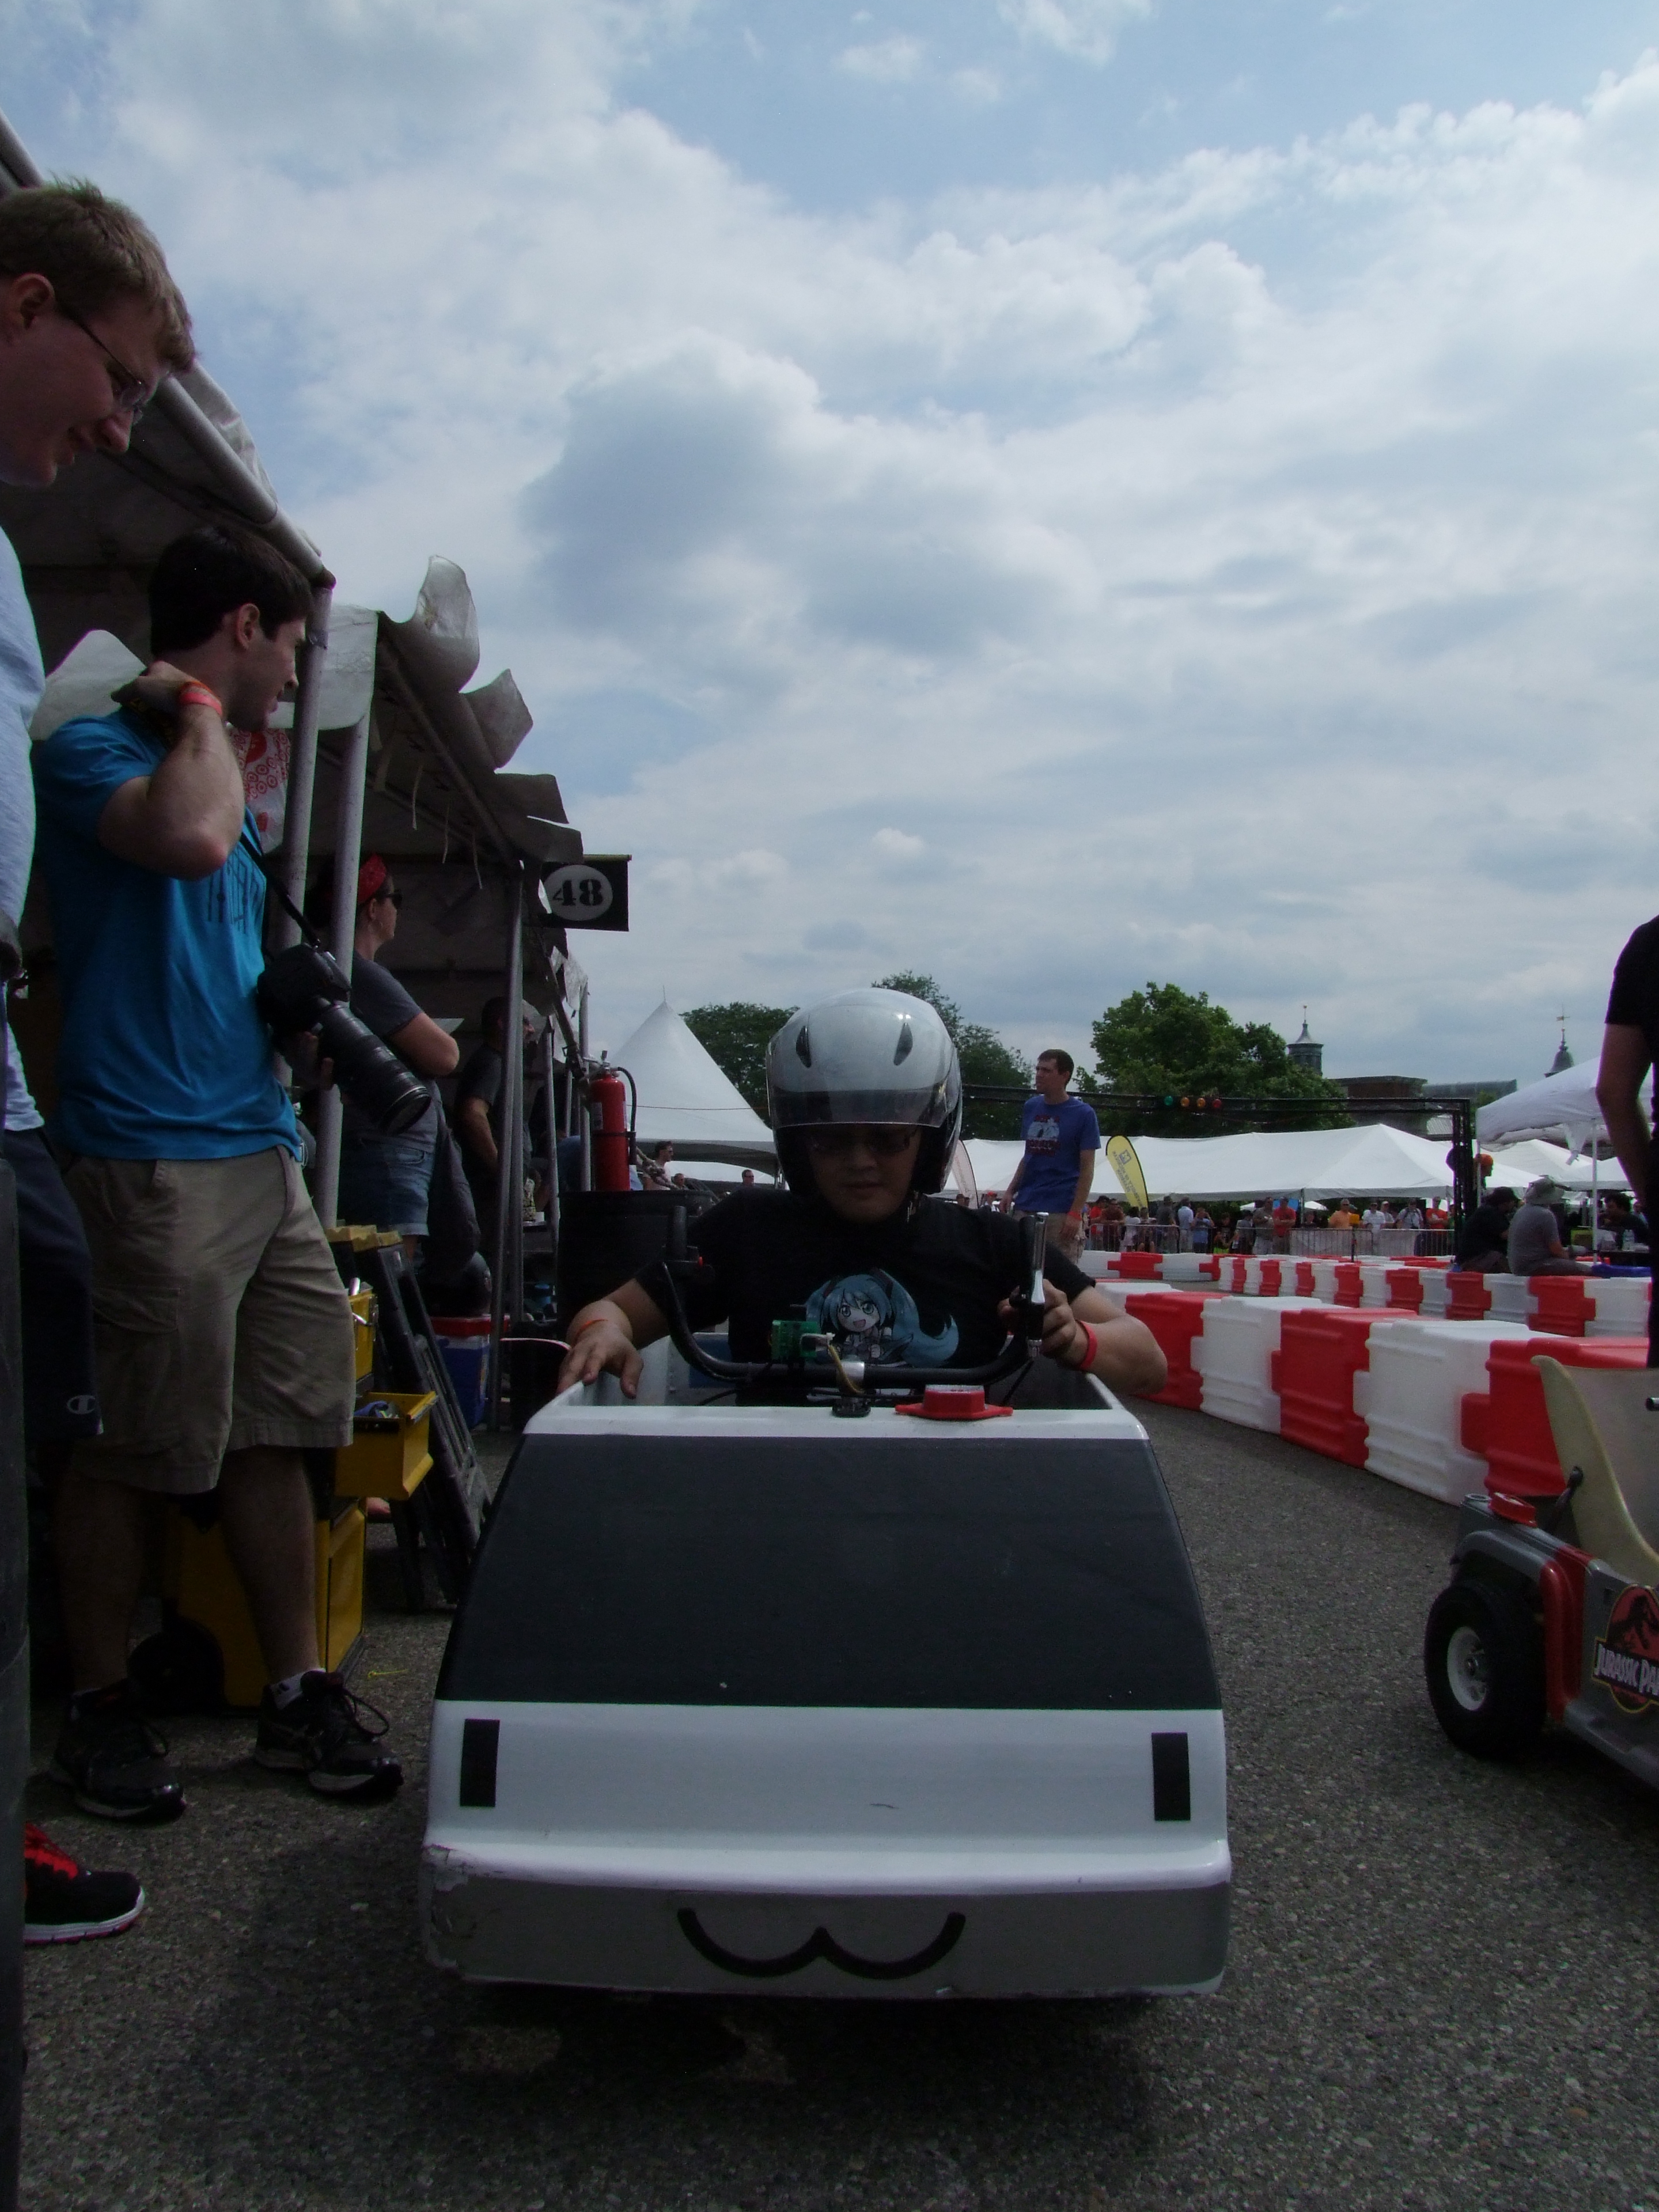
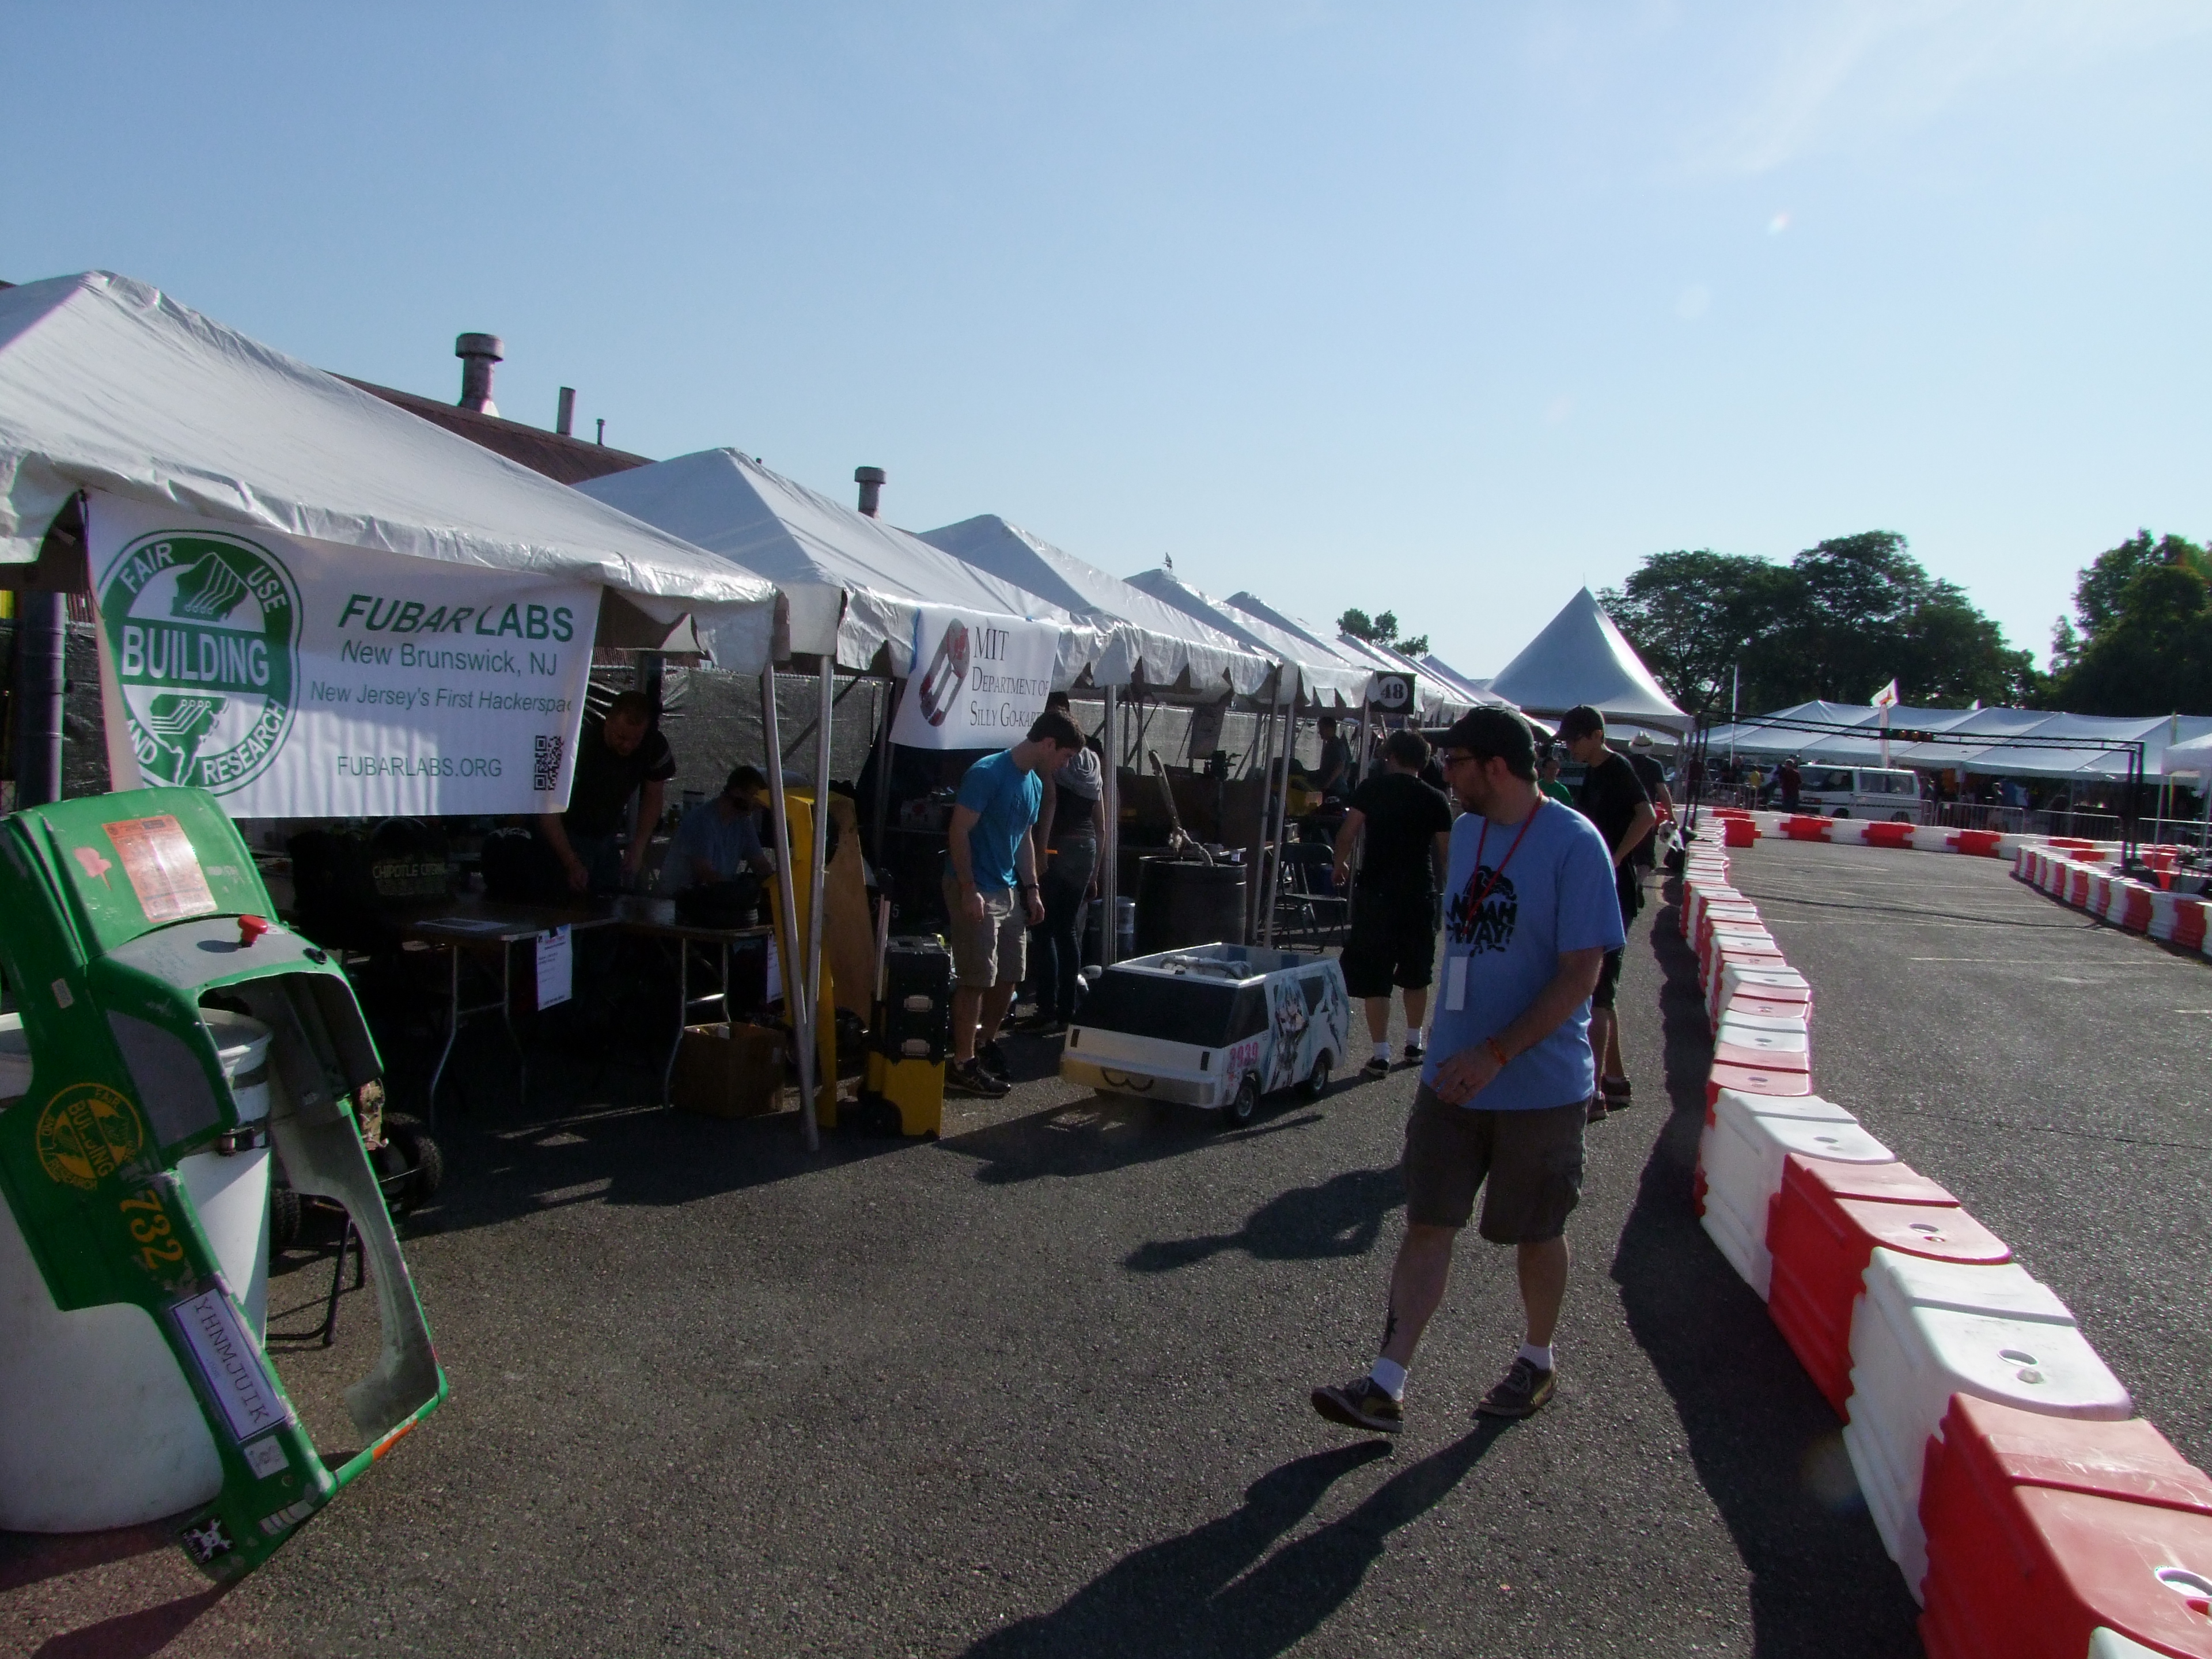
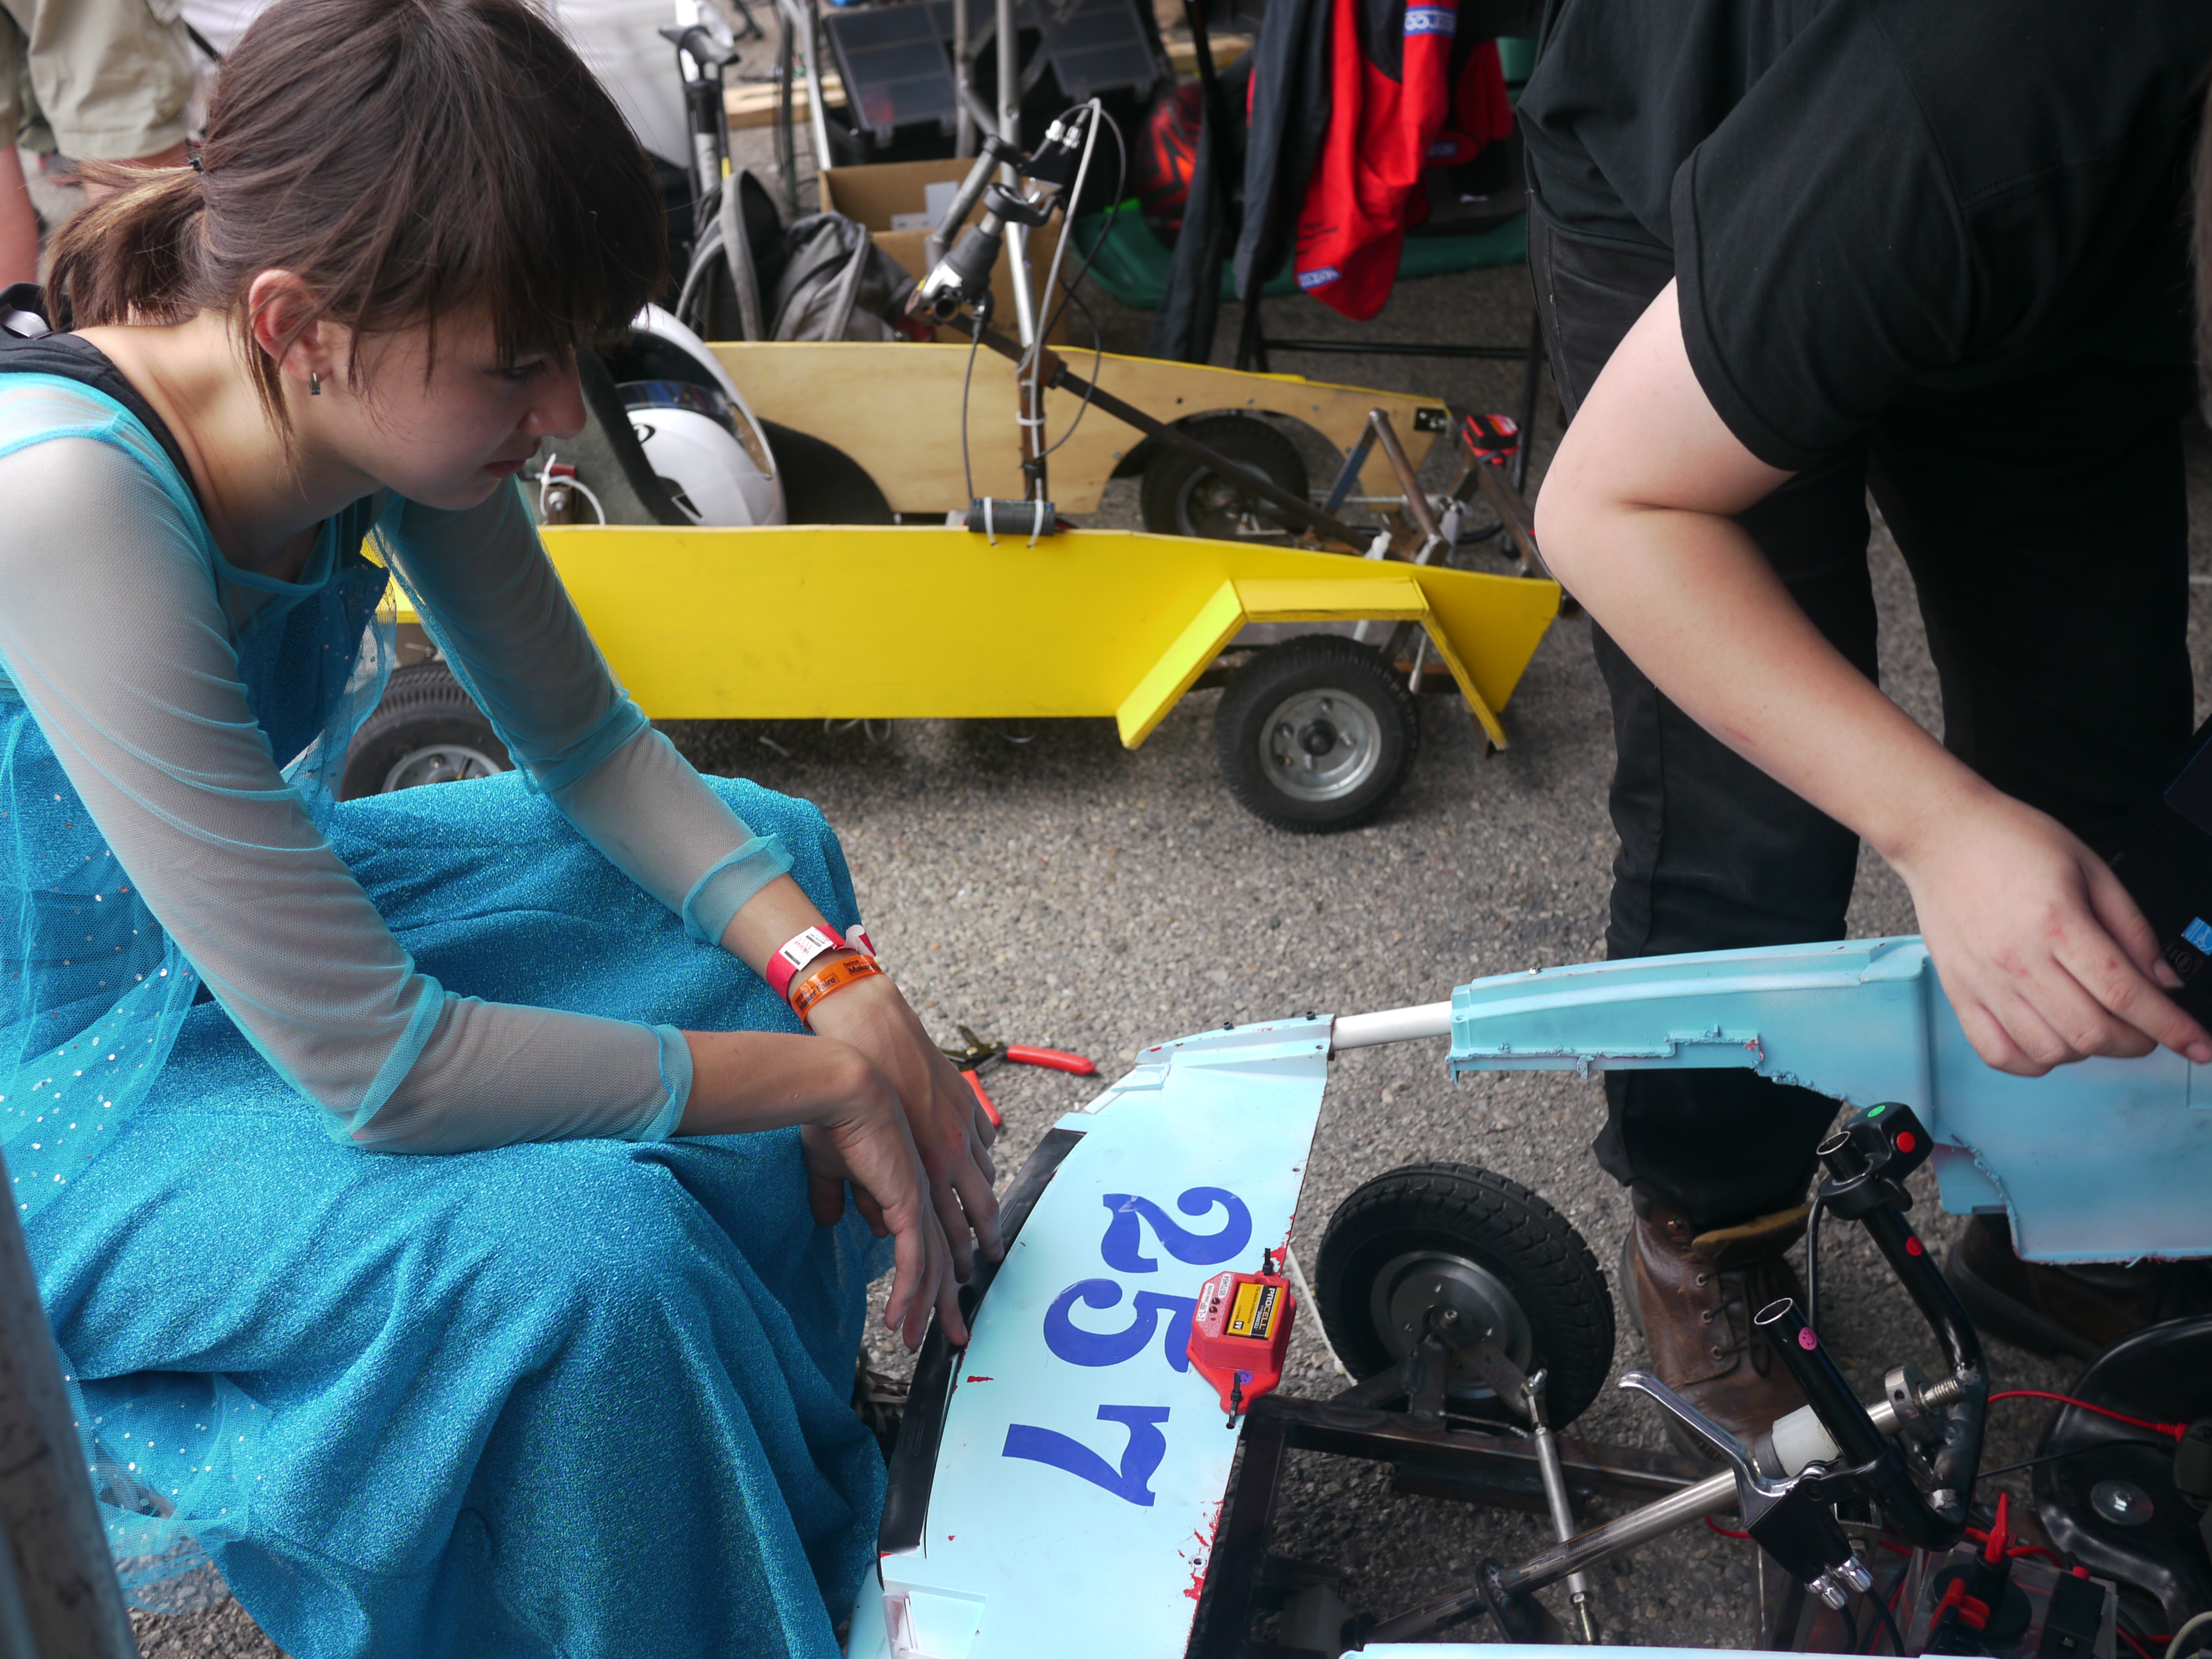
Here's a behind the scenes look and some of the images that did not make the cut to be included in the write-up:


If you have questions or comments, ask below or send an email
Overview
Previous Competition & History
Turning Challenges
Gearbox Design
Upgraded Gearbox Components
Brake & Steering Upgrades
Speed Testing
Makerfaire Detroit 2015
Conclusion
Post your comments! |
|
Comment Box loading
|