
Dane Kouttron
This project / write up is in progress, check back for more soon!
Project Started: 06/2016
Hey Dane, want to make a Battle-Bot?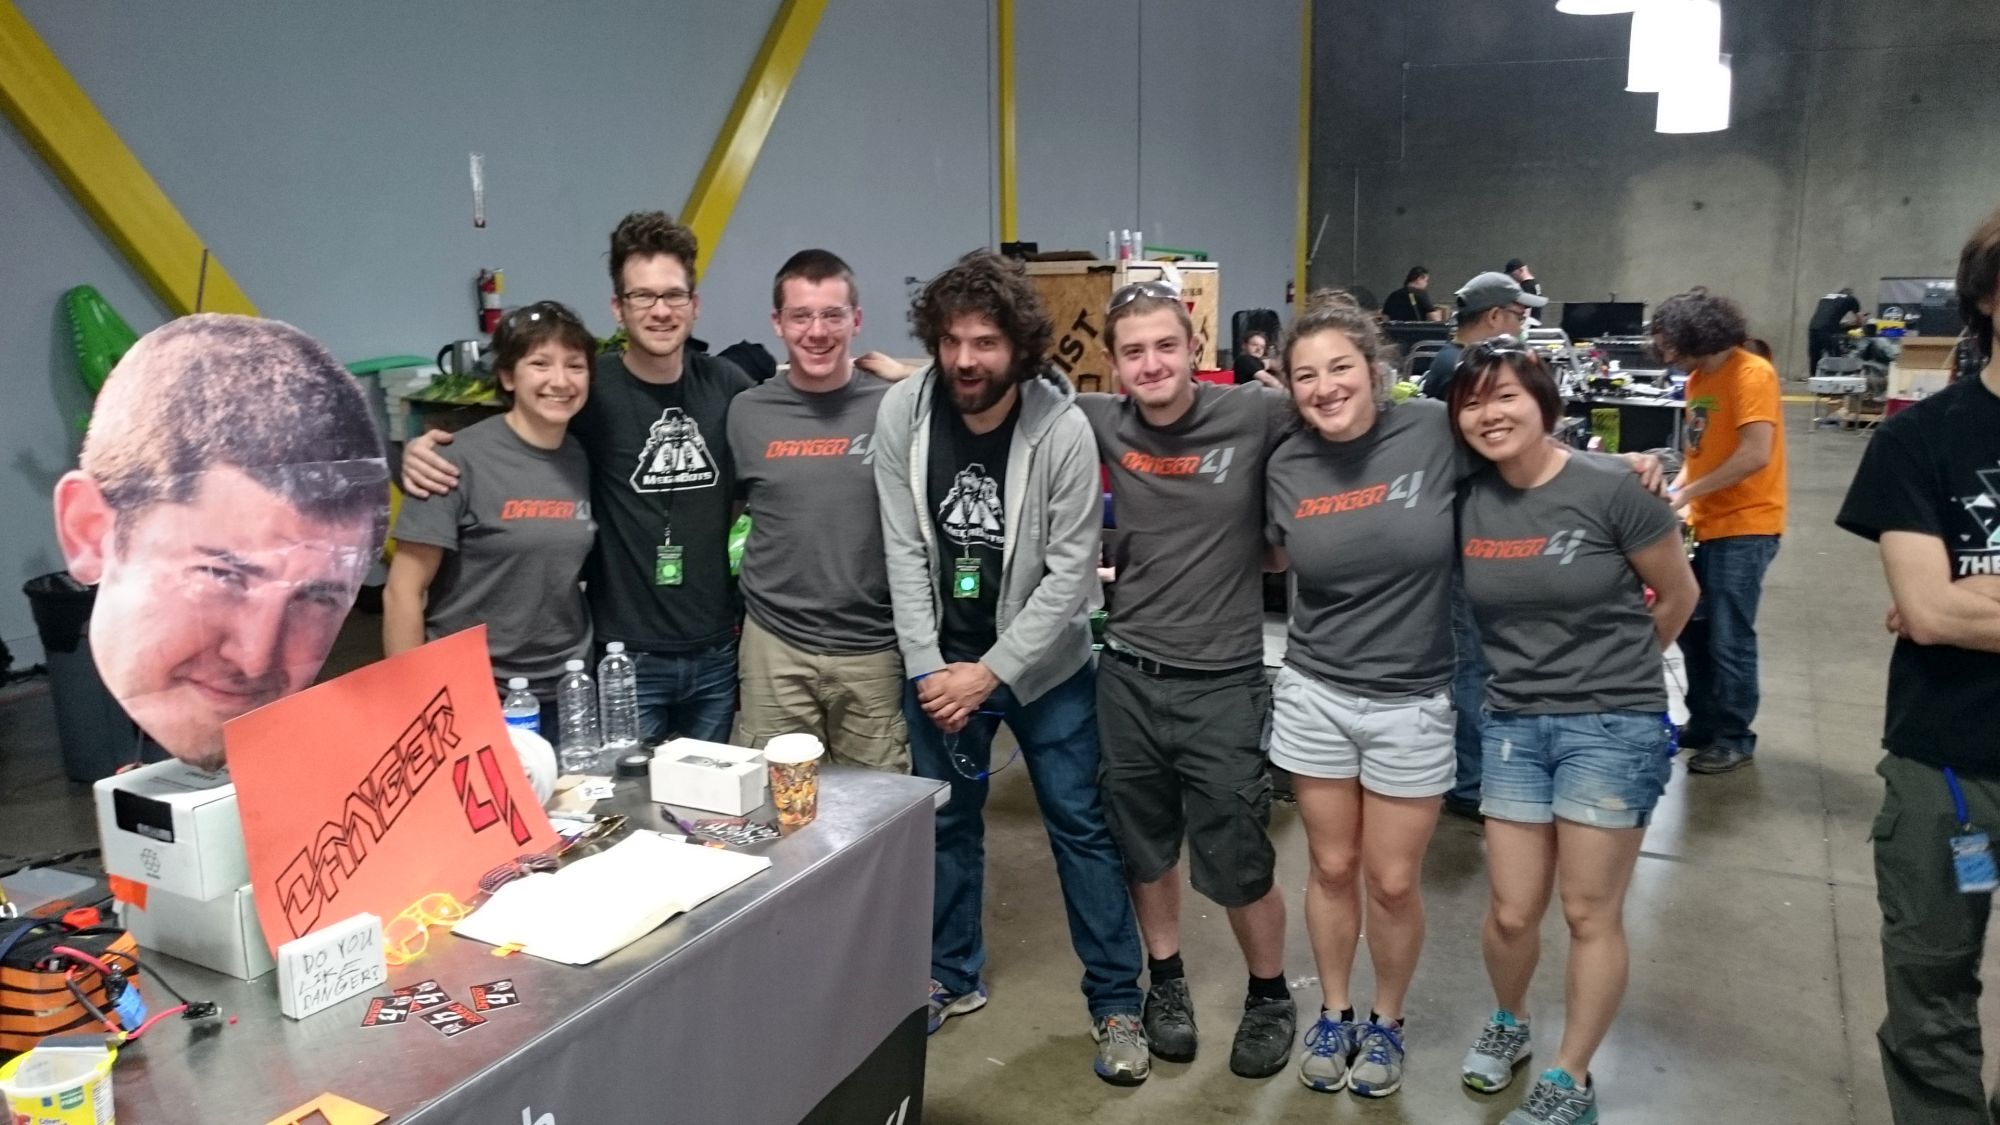
Let me tell you the wonderful, magical and highly dubious story of Road Rash, a contraption entered into the 2016 Battle-bots series |
||
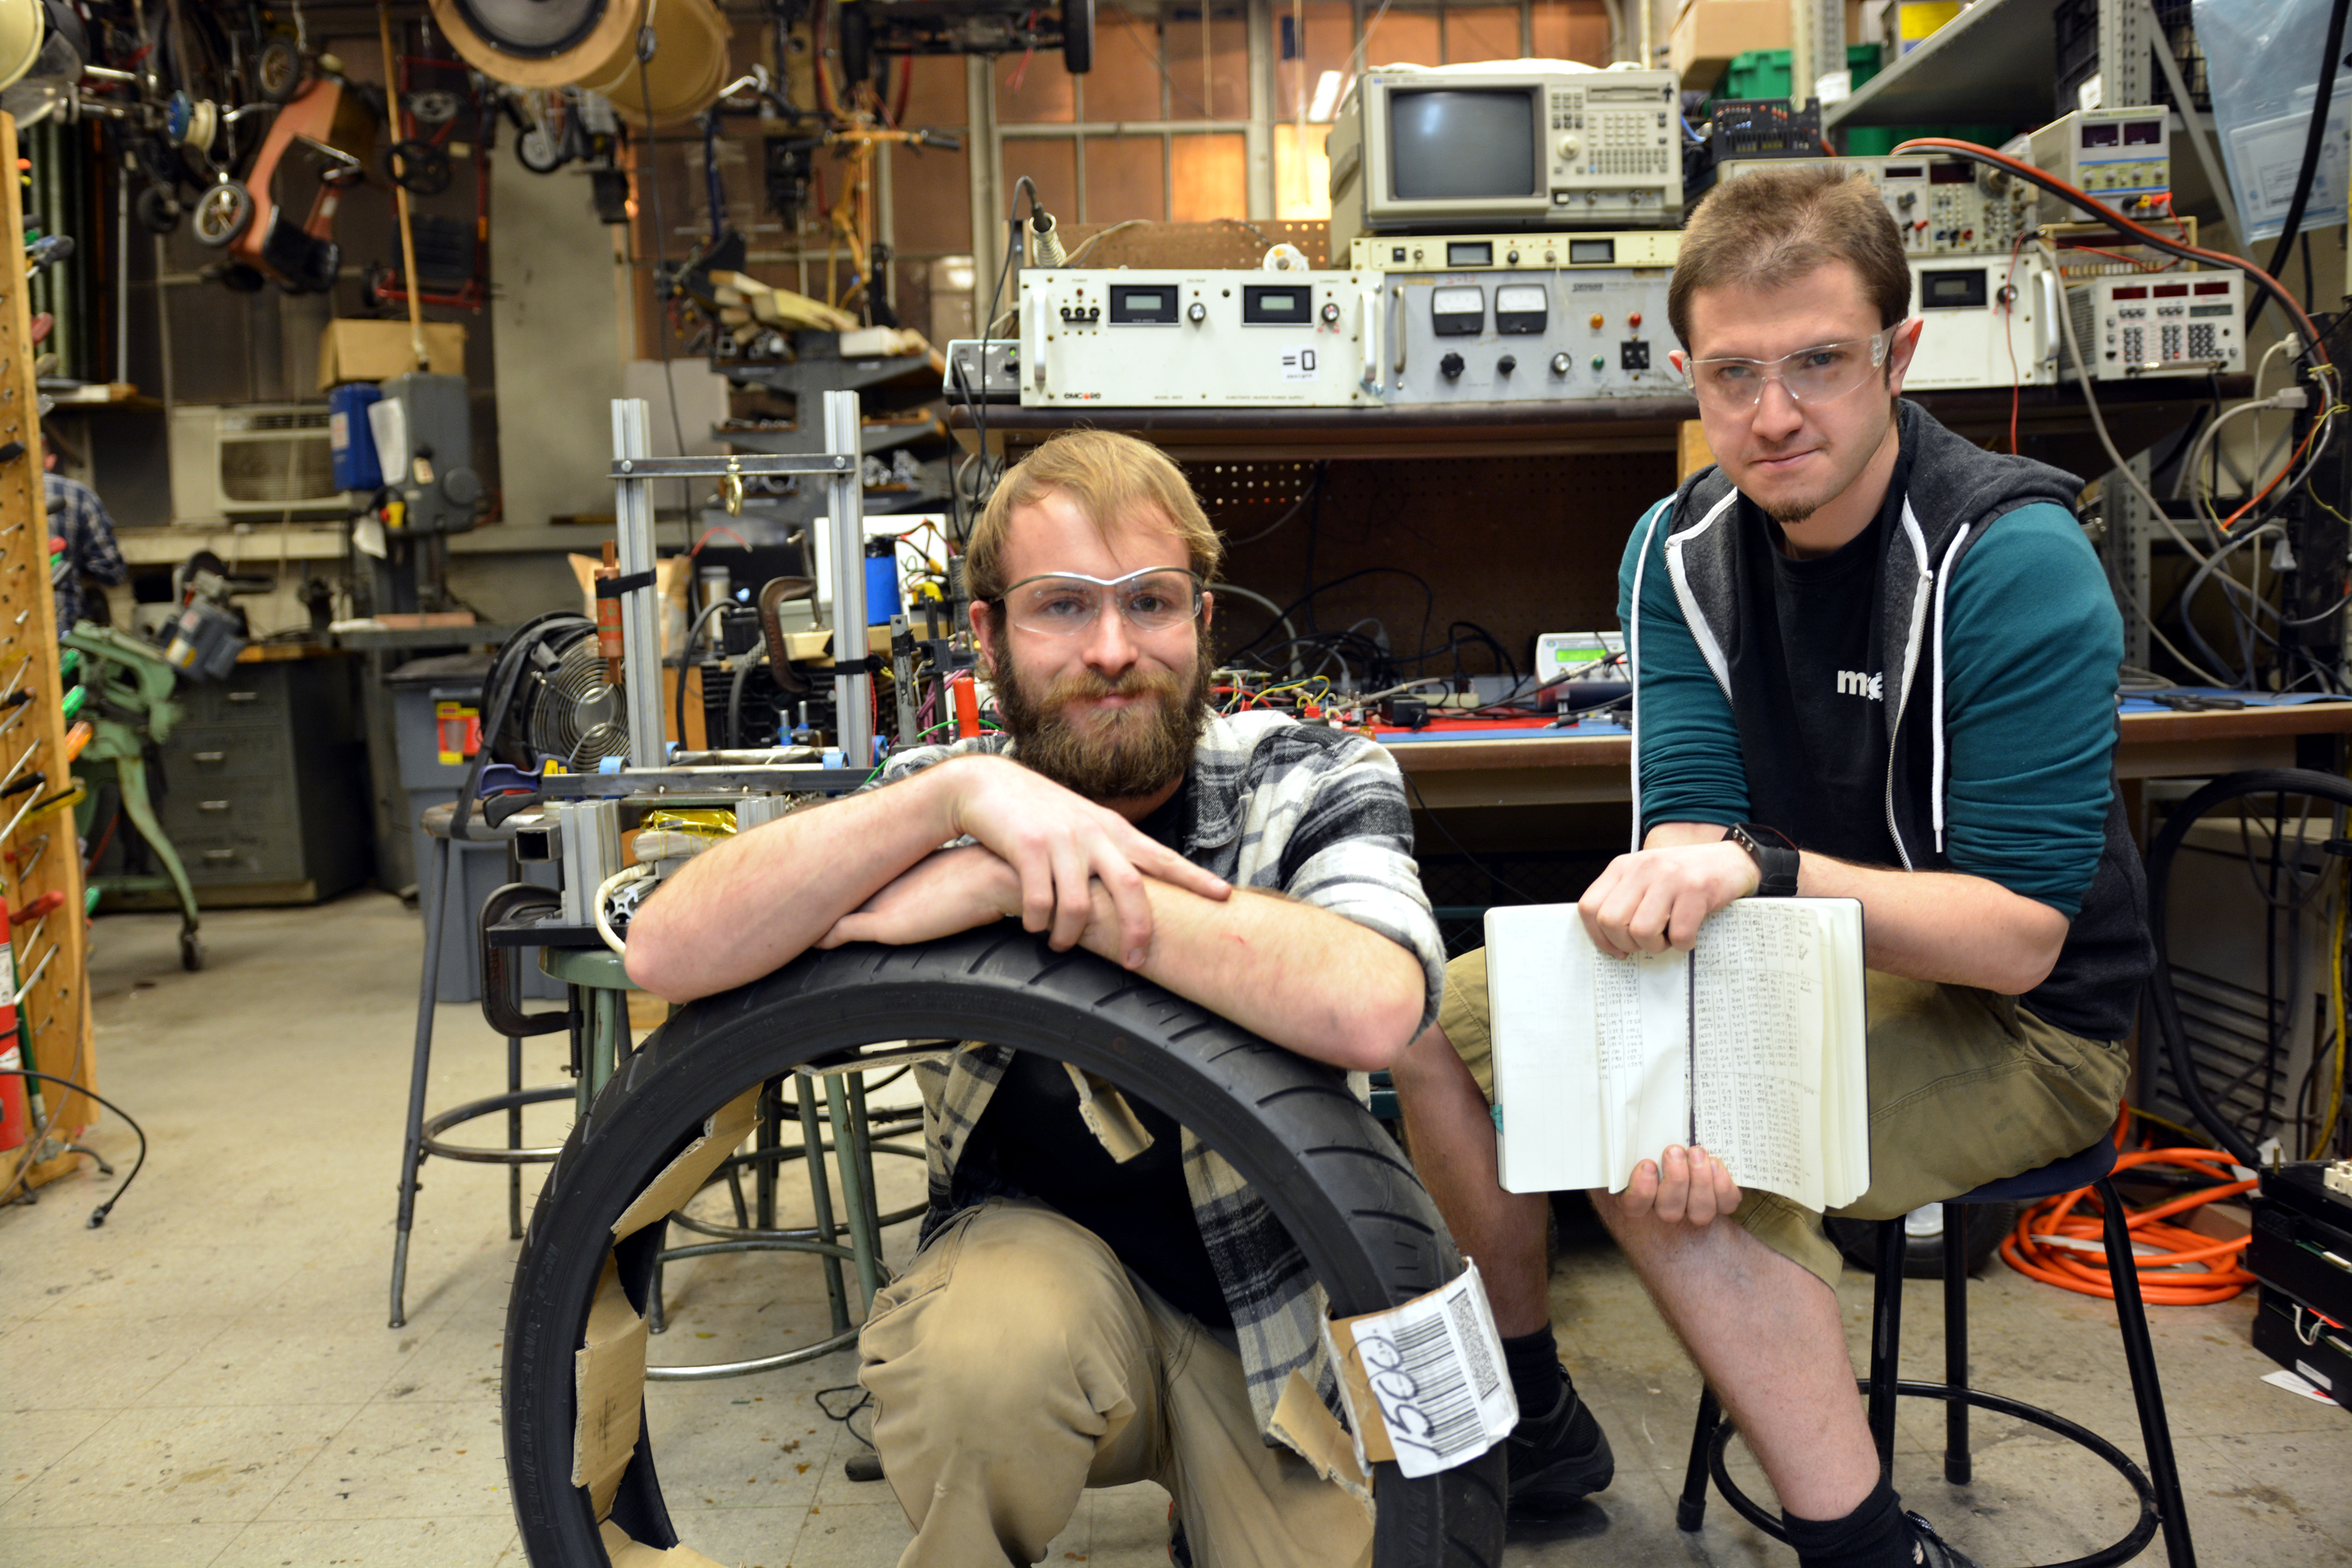
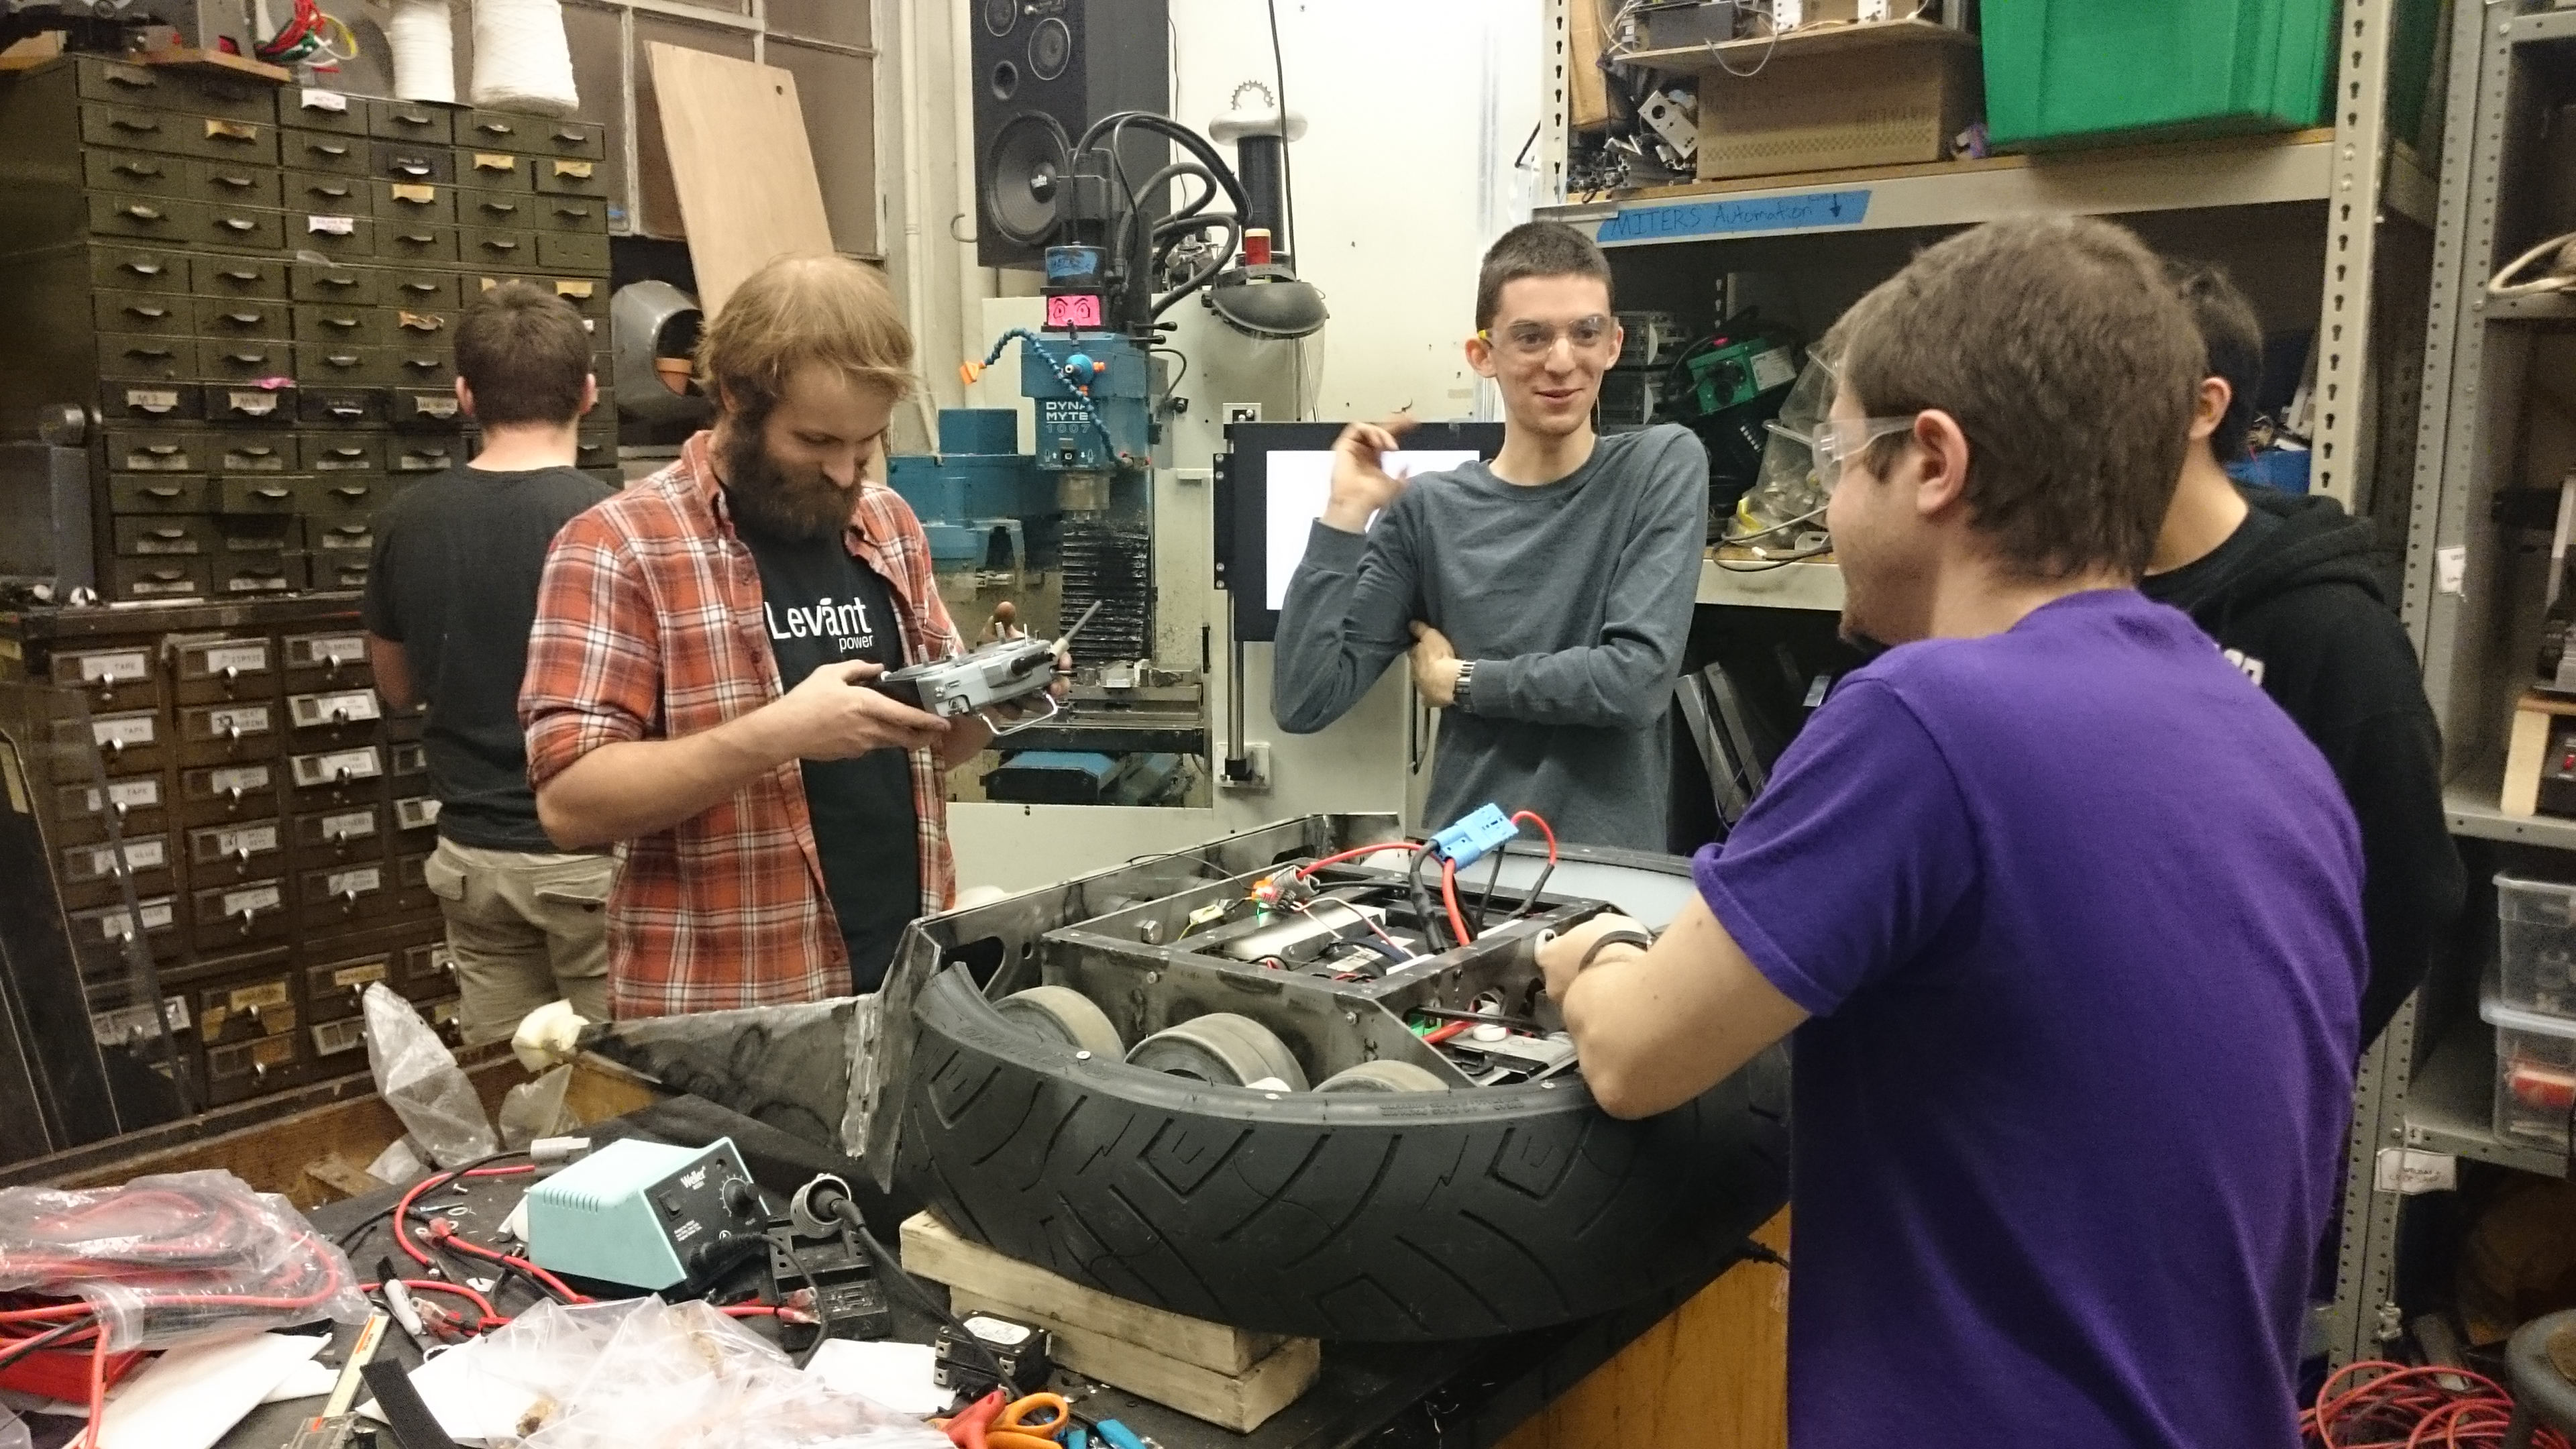
WATT are you up to?These wonderful goofs banded together to make a contraption. Like most new teams, they start because a previous team was somewhat rediculous, and as such all four memebers of J.A.C.D. (the overhaul 2015 series battlebot) split up to make their own teams, a-la bender making his own casino. The JACD band split up into Jamison Go [sawblaze] Adam Bercu [Brutus] Charles Guan [Overhaul again] and Dane, with some-kind-of-science-bot. The team consisted of miters ppl who helped out on the 2015 series robot but never quite got much in terms of notoriety, but also wanted to make something that was not 'a steel rectangle RC car with a chainsaw bolted to the top'. One of the parts of Overhaul V1 [2015] that was interesting was 'the shuffles', or the mechanism that helped us get onto the show in the first place. I'm somewhat documenting this from the distant future so some details and photos are a bit lacking. 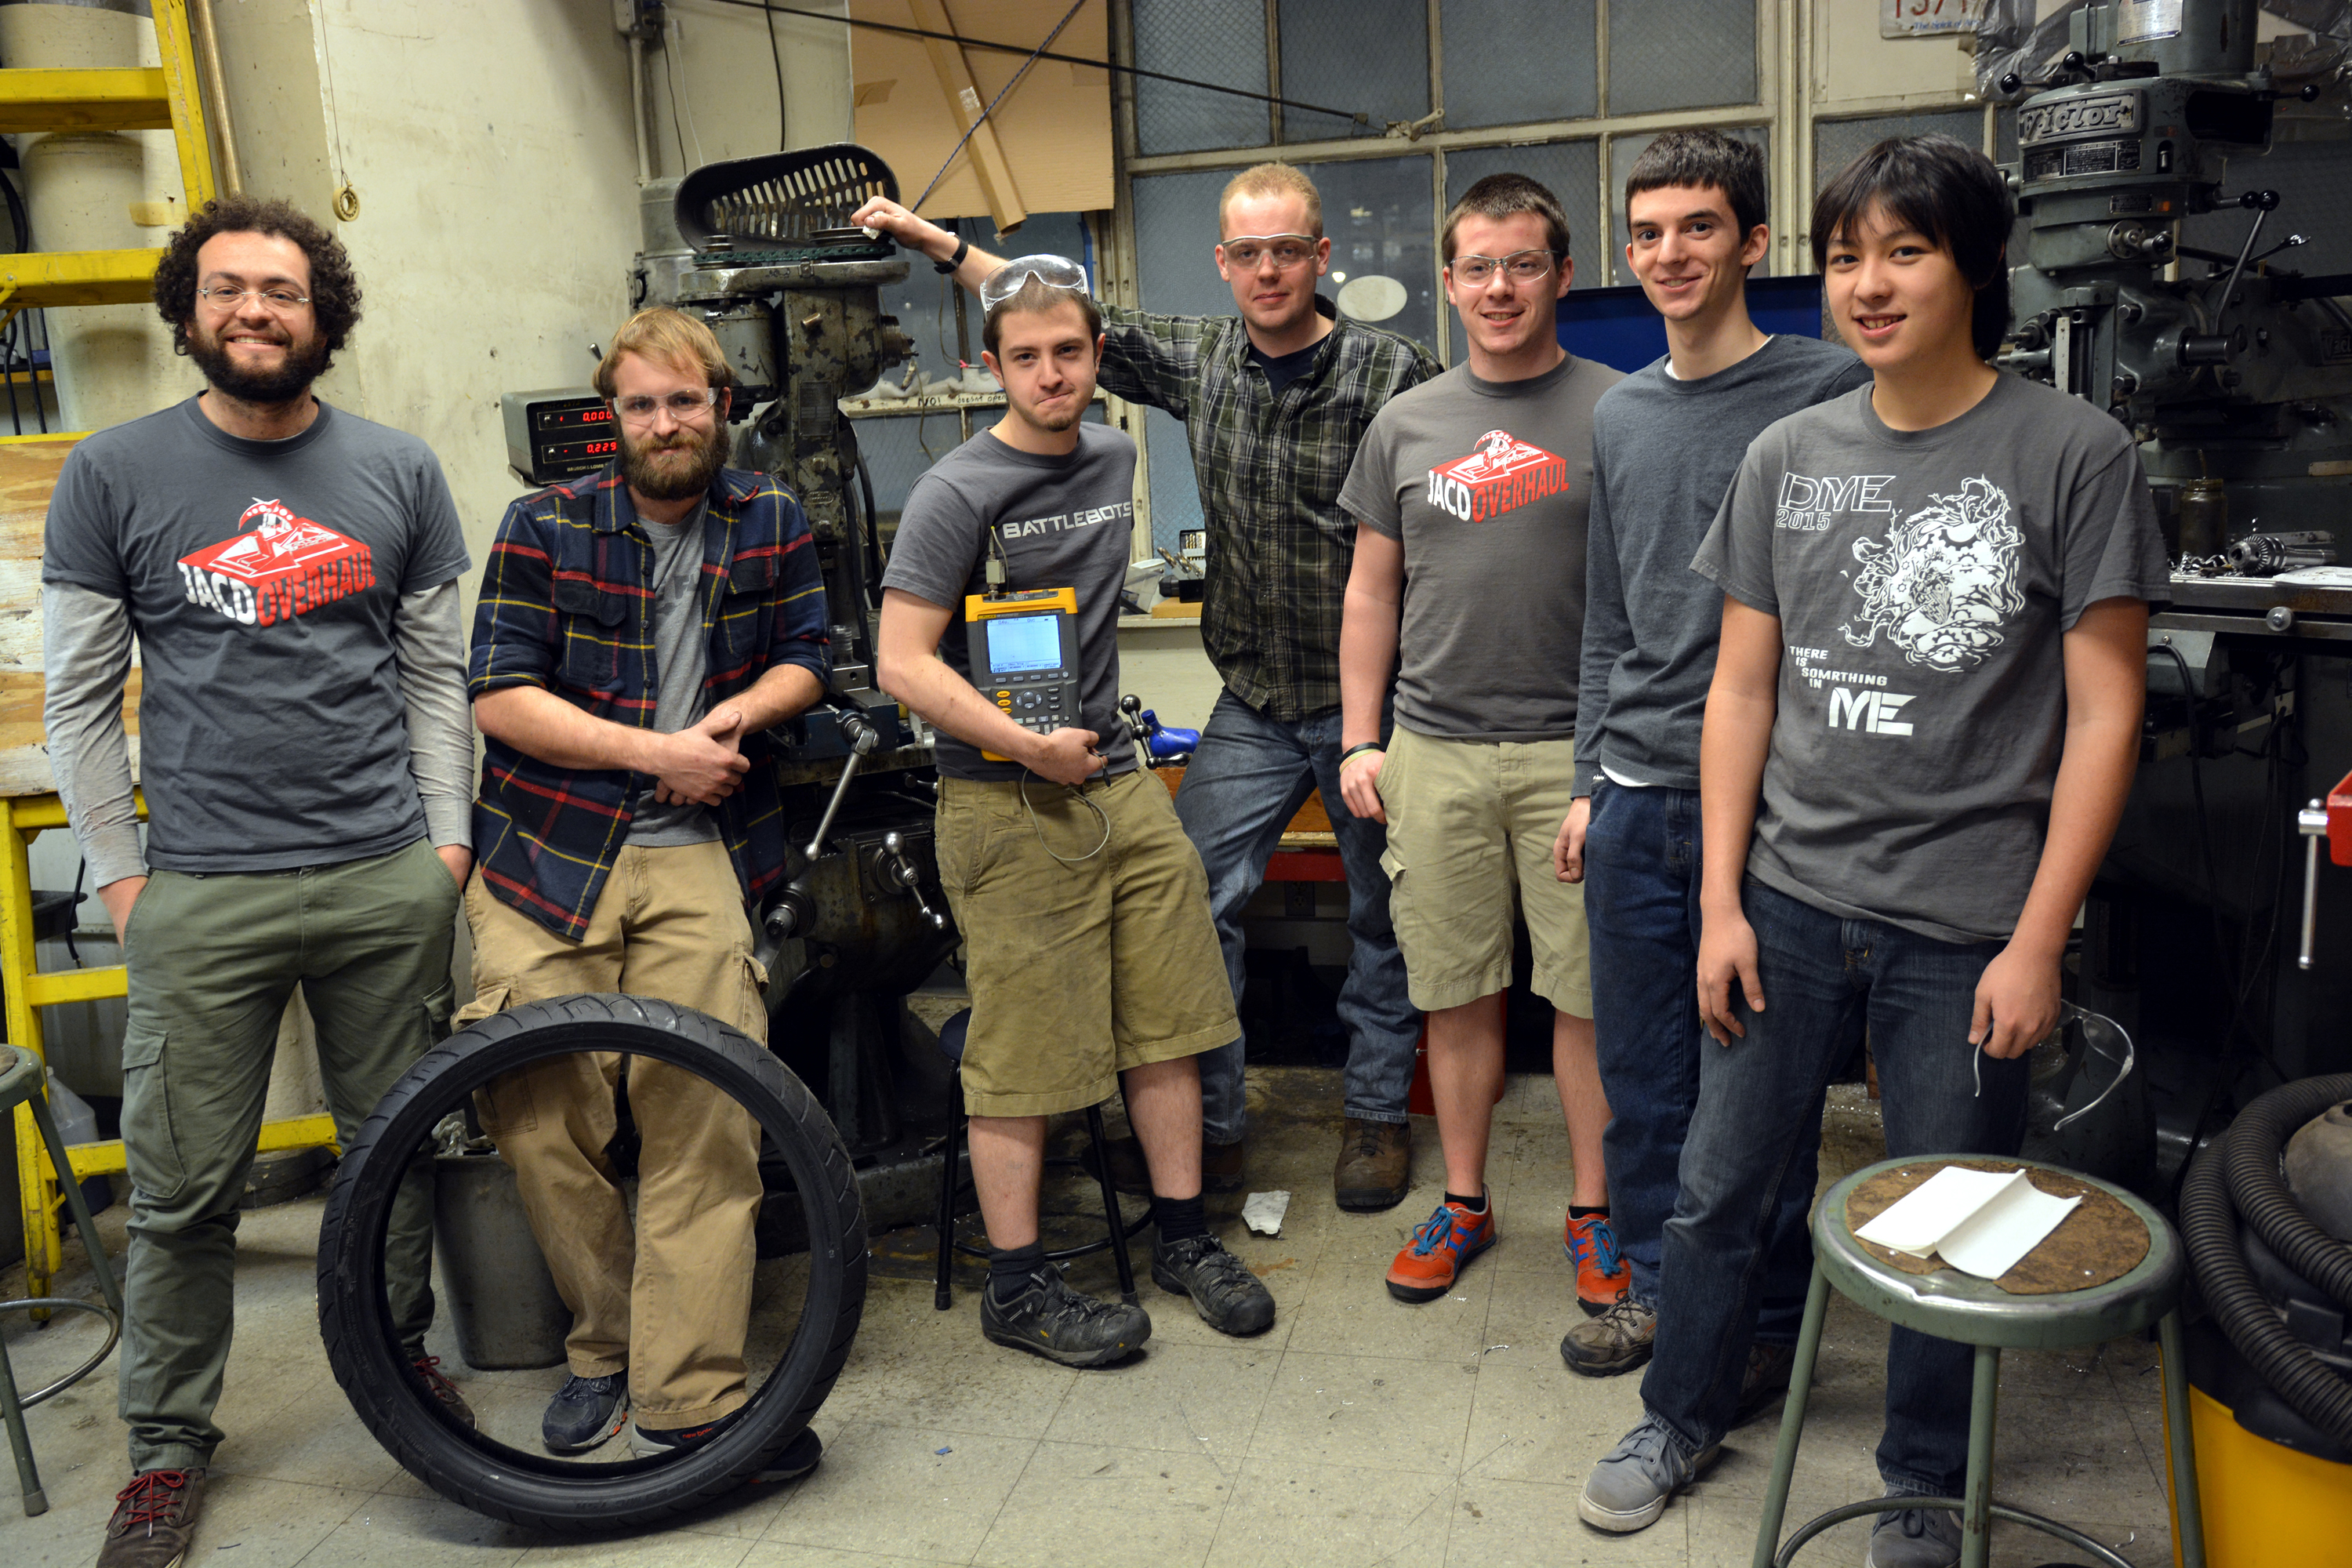

So DANGER 4: Road Rash was bornLets do some science, the robot propulsion was actually the brainchild of Julian Merrick, during a group meeting we explored the idea of 'using the floor as part of a magnetic circuit, and while our first drafts were kind of terrible, we eventually started making progress on conceptual designs. The robot was experimented on in MITERS, the MIT Electronics Research Society. We took up a lot of space trying to figure out our way forward for this goofy robot. 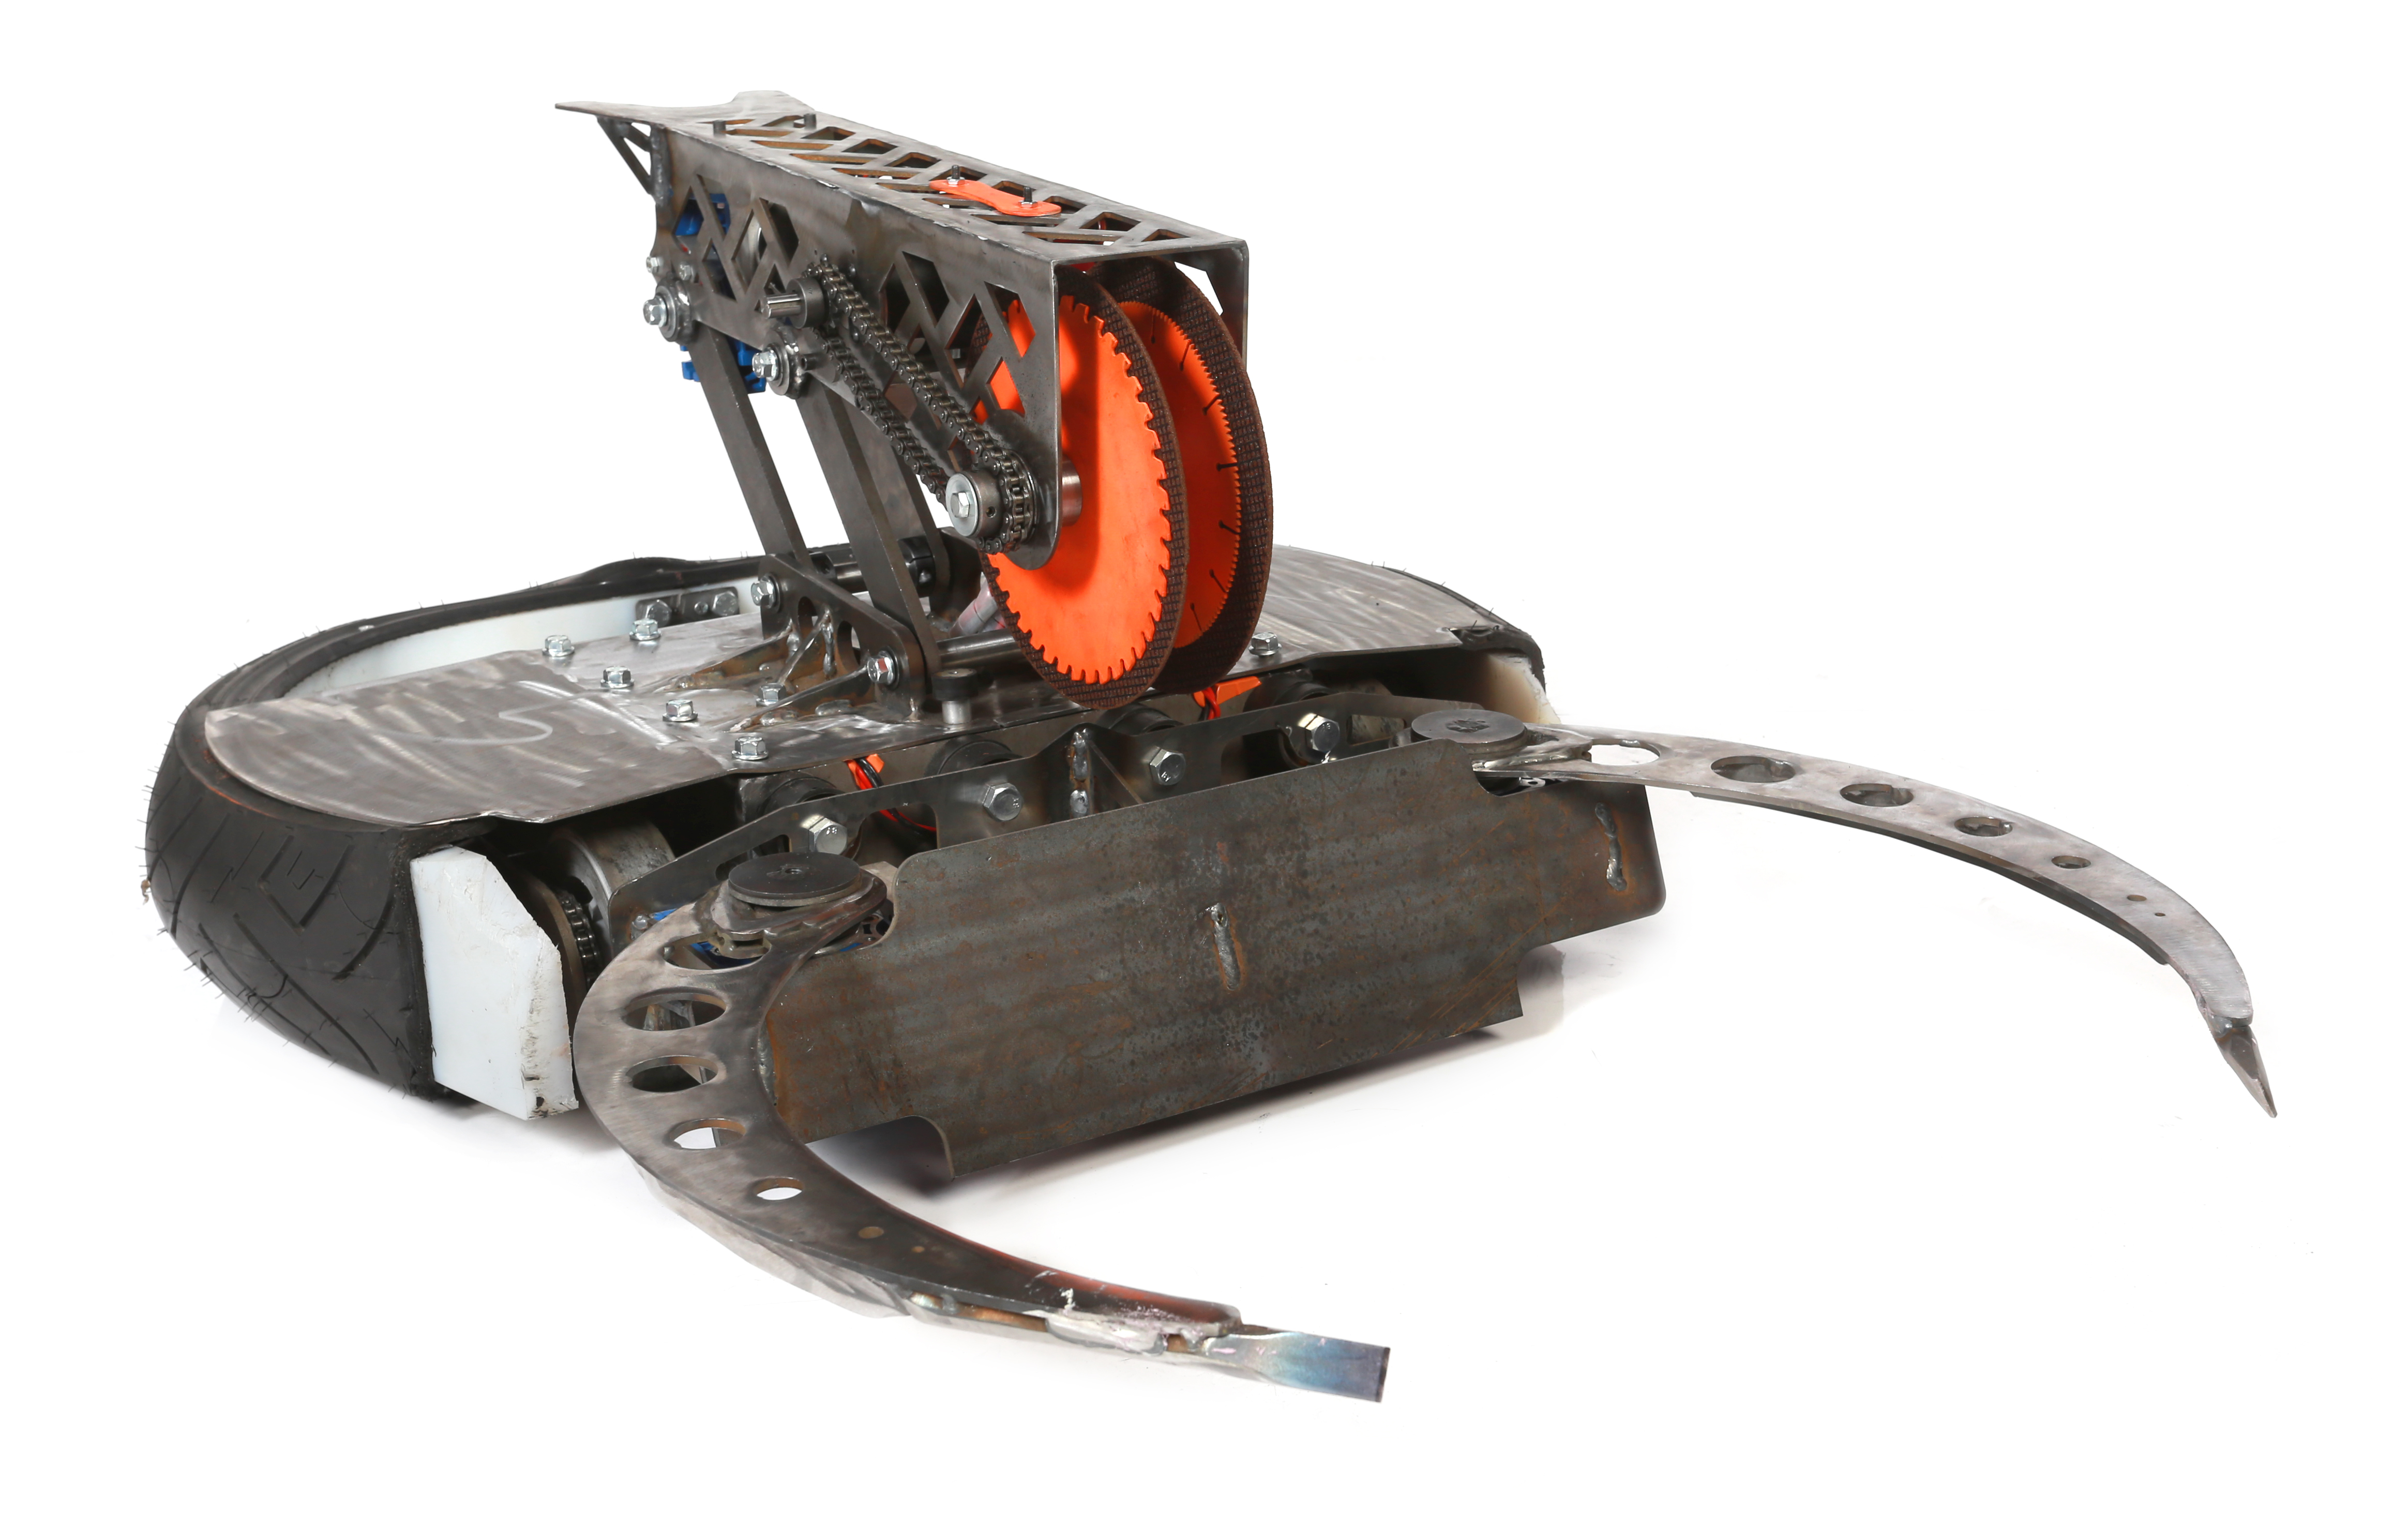
Robot planningThe overview plan of this bot was to continue on the 'new propulsion' research path and try to take advantage of the arena to get a leg up on the competition. Part of the plot was to use the arena to our advantage and make it part of the propulsion system. If you imagine an induction motor, and un-wrap it to make it planar, the rotor becomes the floor and the robot becomes the stator. Making sense of propulsion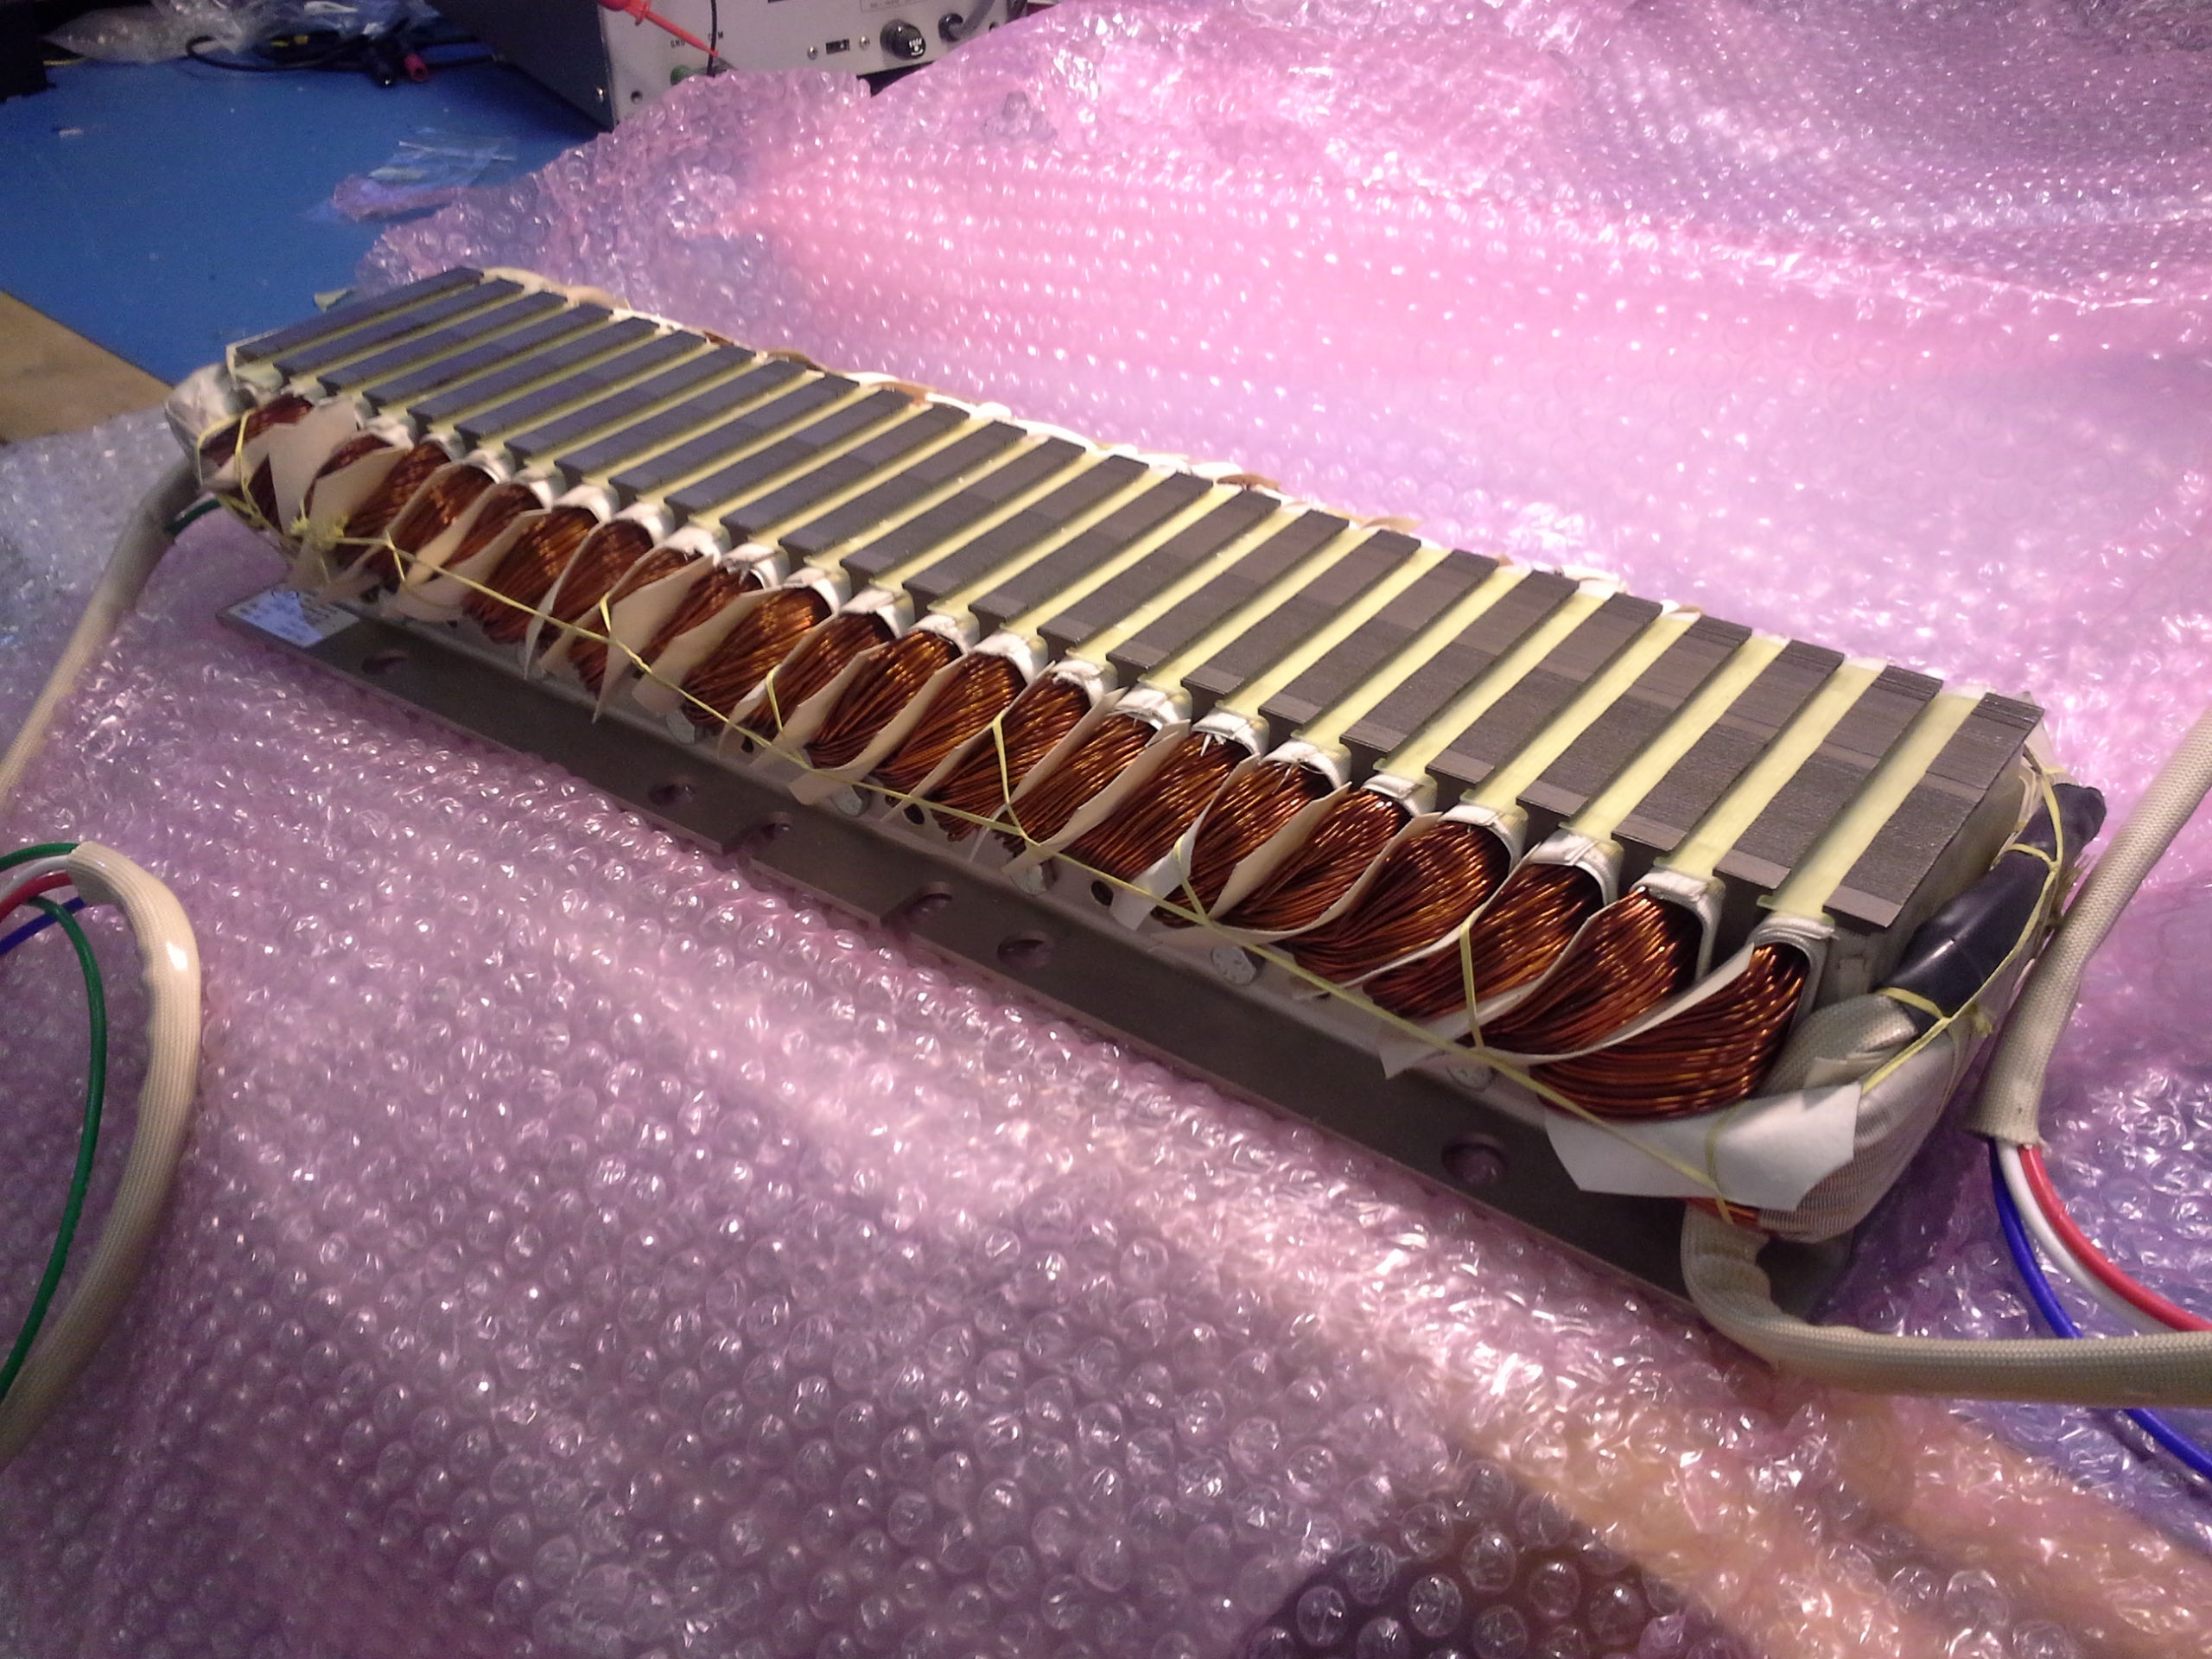
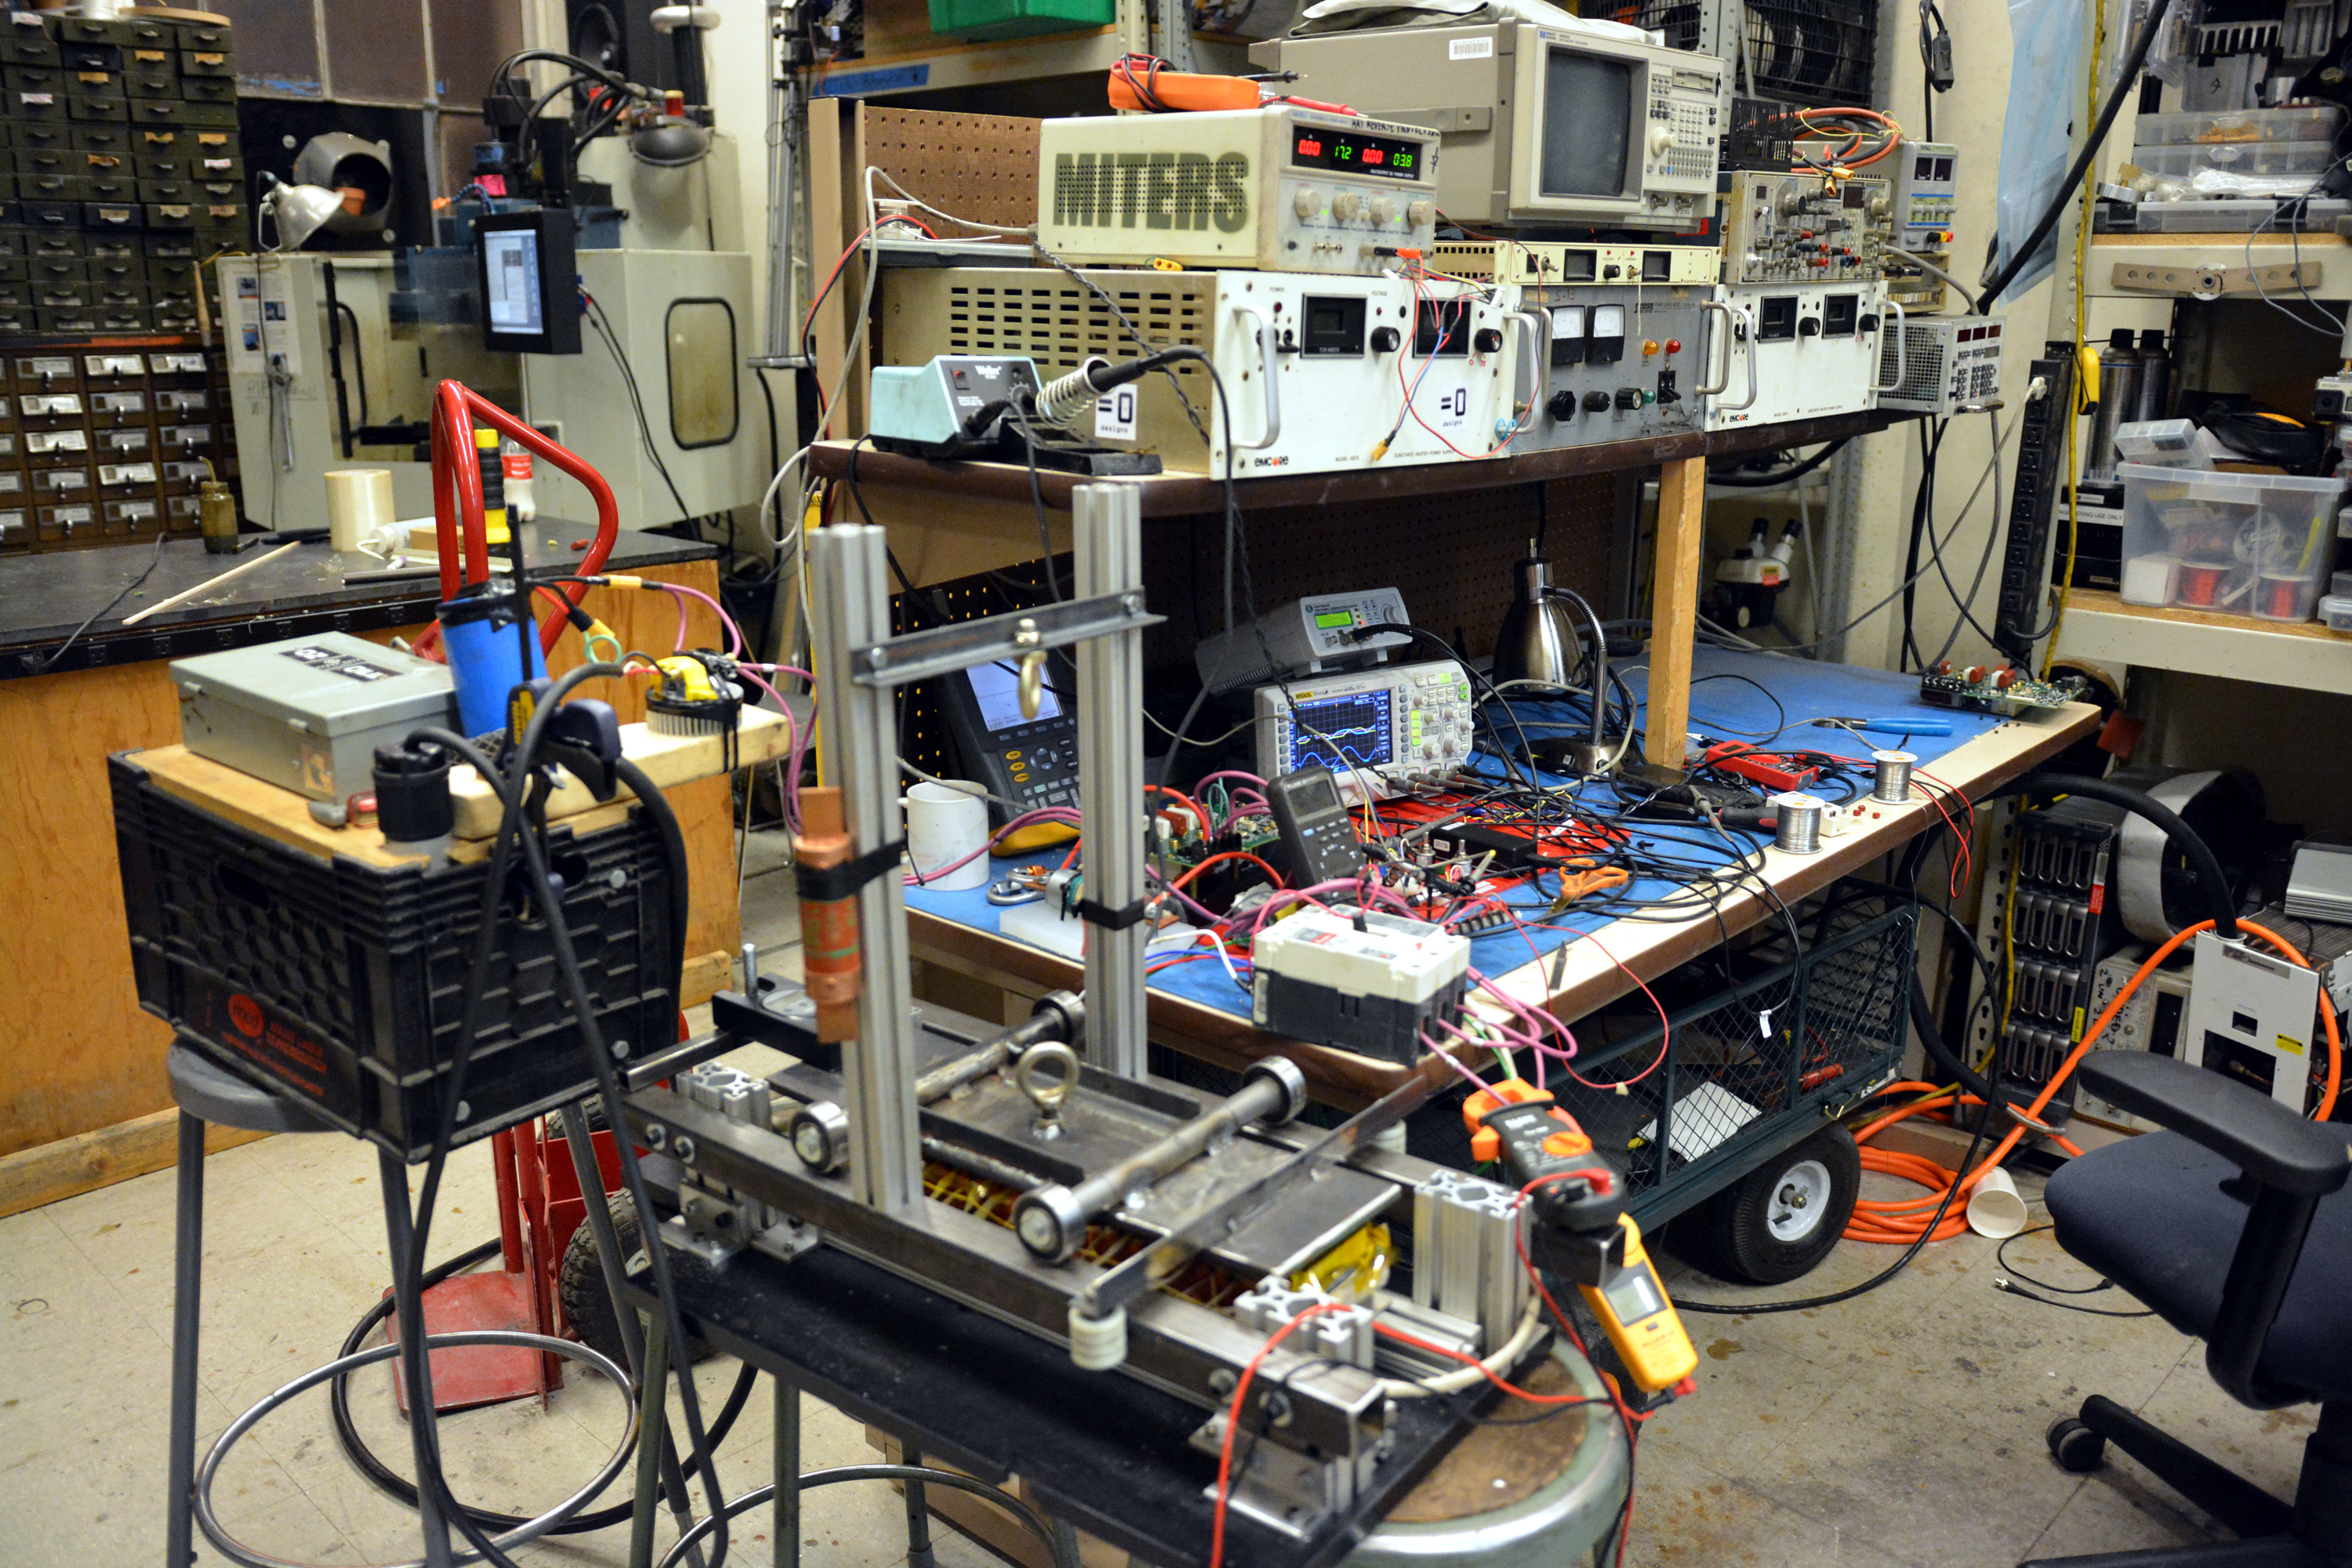
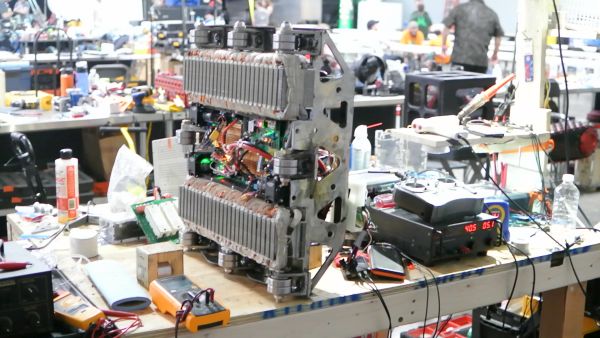
Generating 400V for roller coaster motorsGiven that the linear induction motors were wound for high voltage and we were pressed for time, the easiest way to drive this thing would be to generate a high voltage DC rail and find some motor controllers to turn into HV variable frequency drives. This 'quicker' route ended up adding a lot of complexity to this project, but either way we needed to operate 'loosely' within the rules. The actual rules for the 2016 event were not finalized until the day of the event, but the early draft rules required "at maximum a 48V battery". Ignoring the intent of this rule, we opted to stick to the 48V battery but make an intermediary ~400V dc bus. Each motor could pull upwards of 8KW, so we need at least upwards of 4KW per motor, limited by what battery space we could afford in the robot. To get all the way up to 400+ volts without taking up the whole robot, I opted to reach out to friends at vicor. 
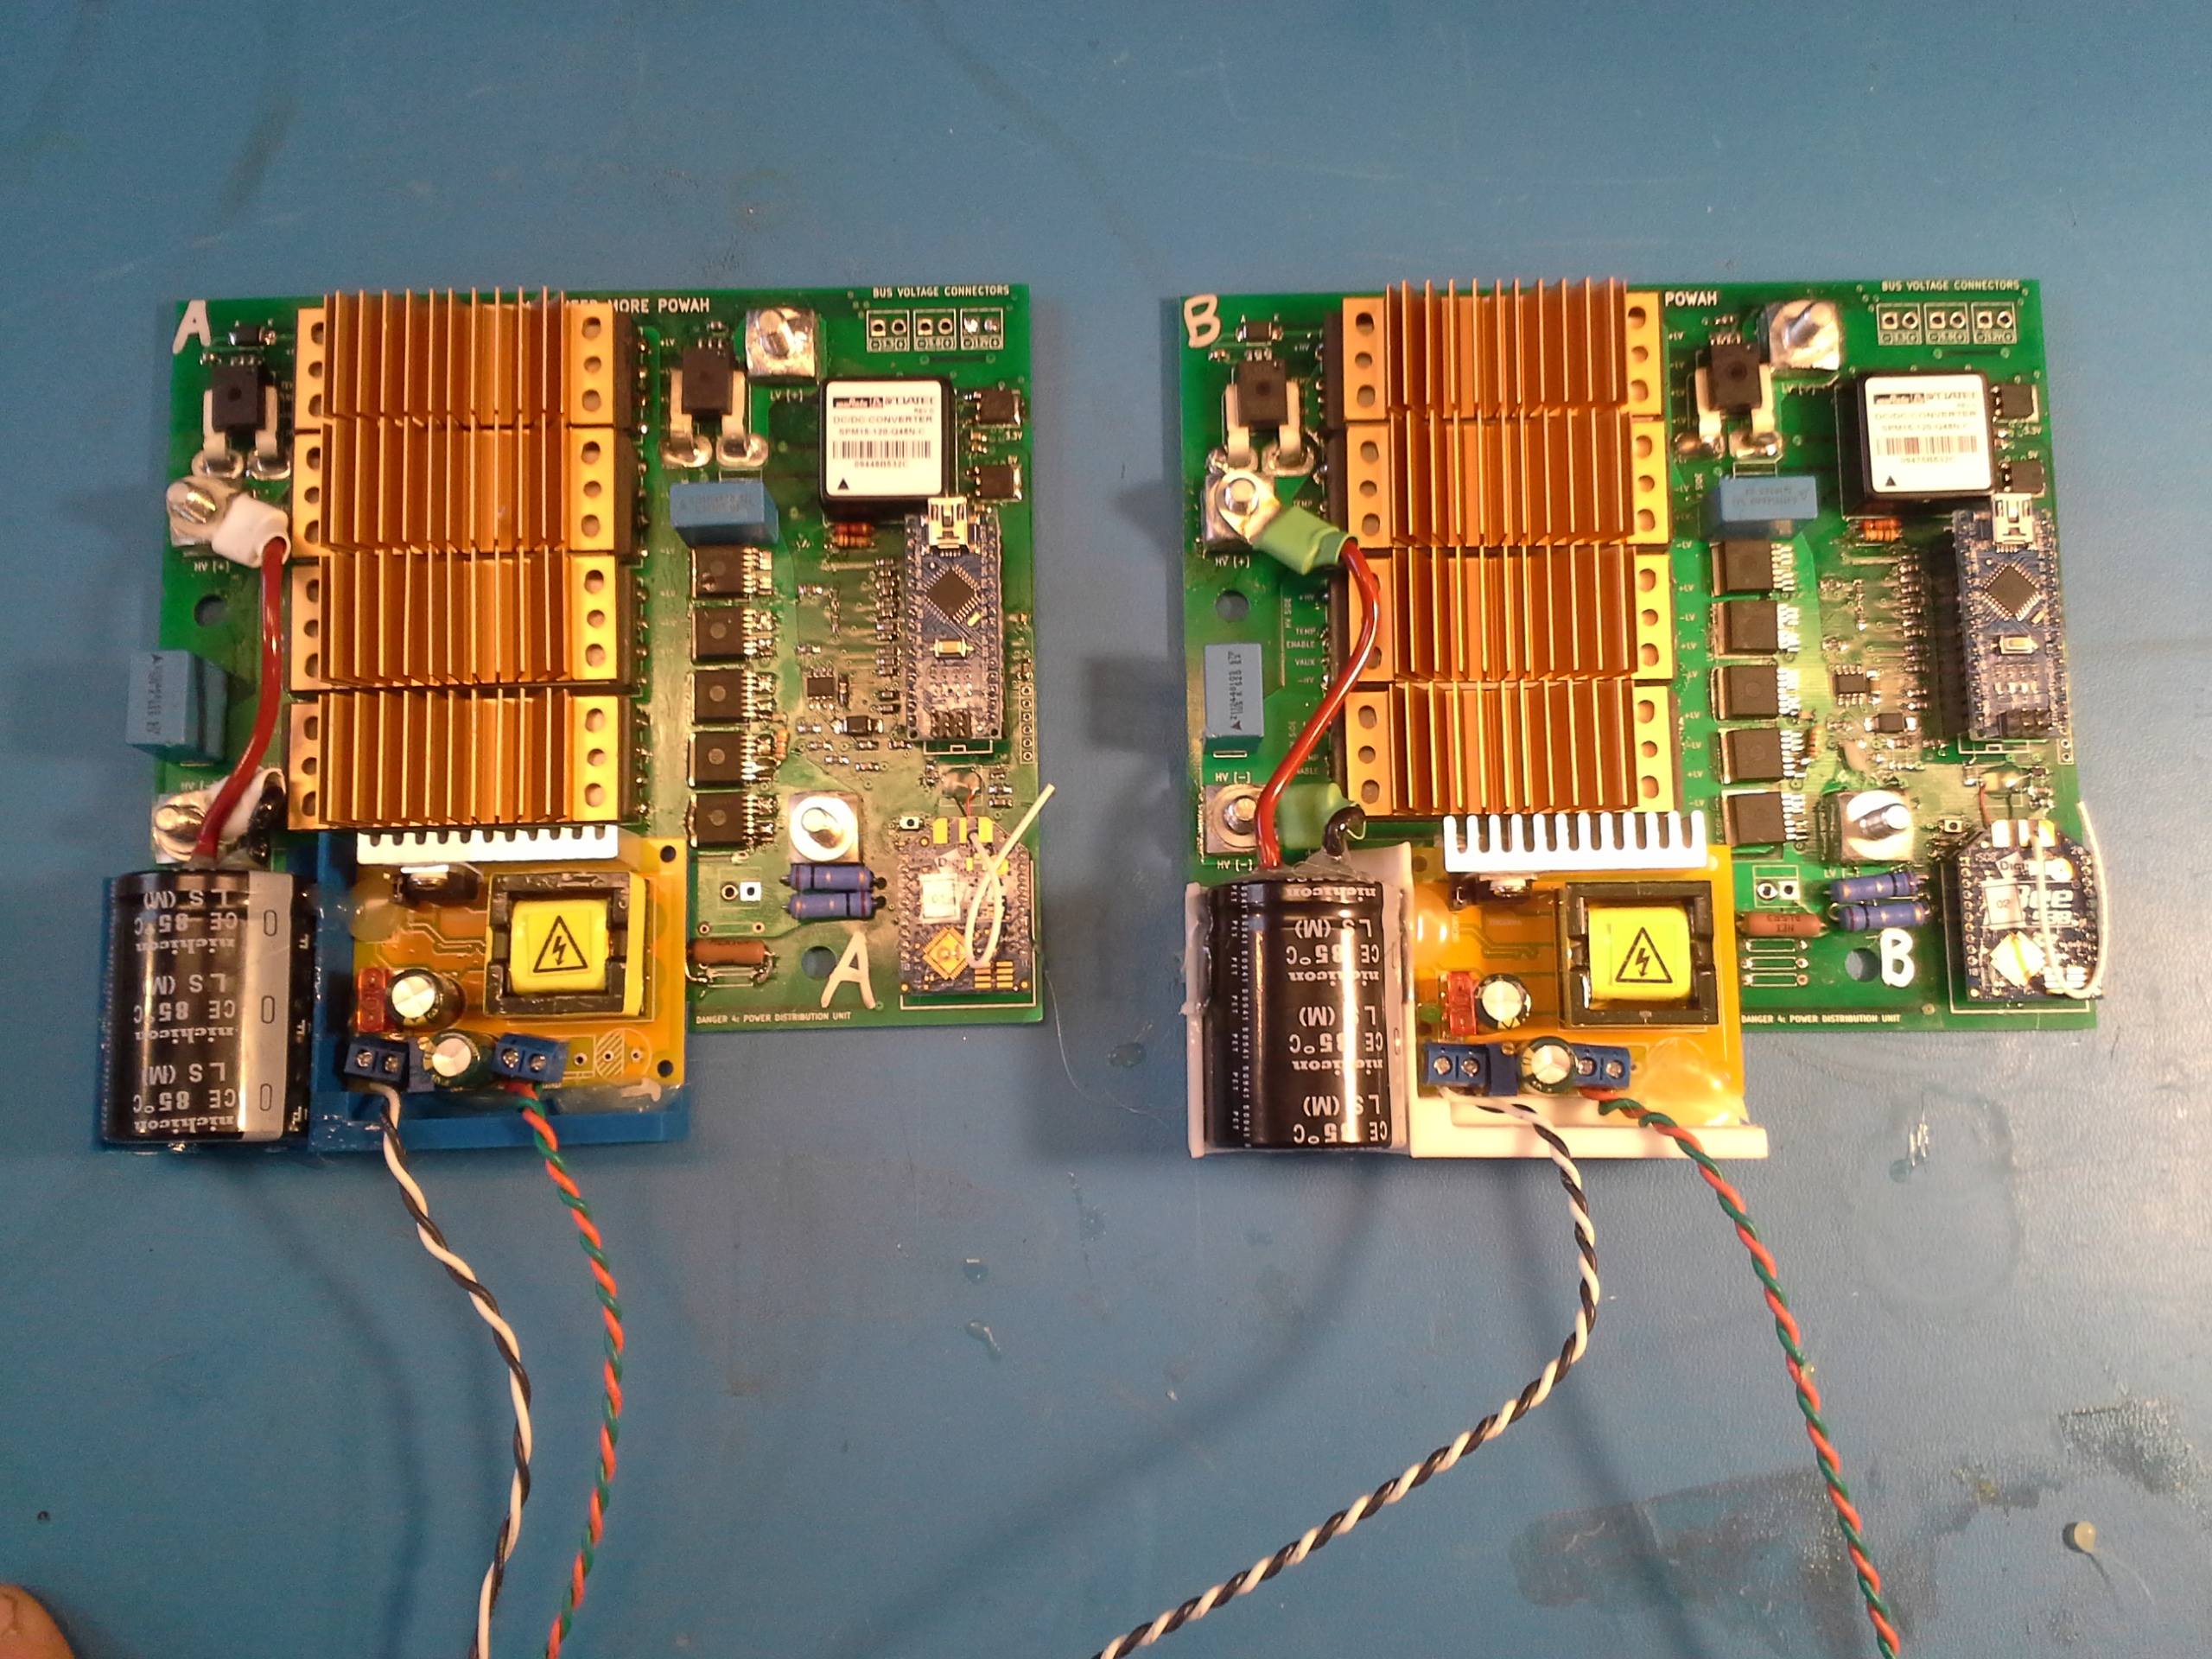
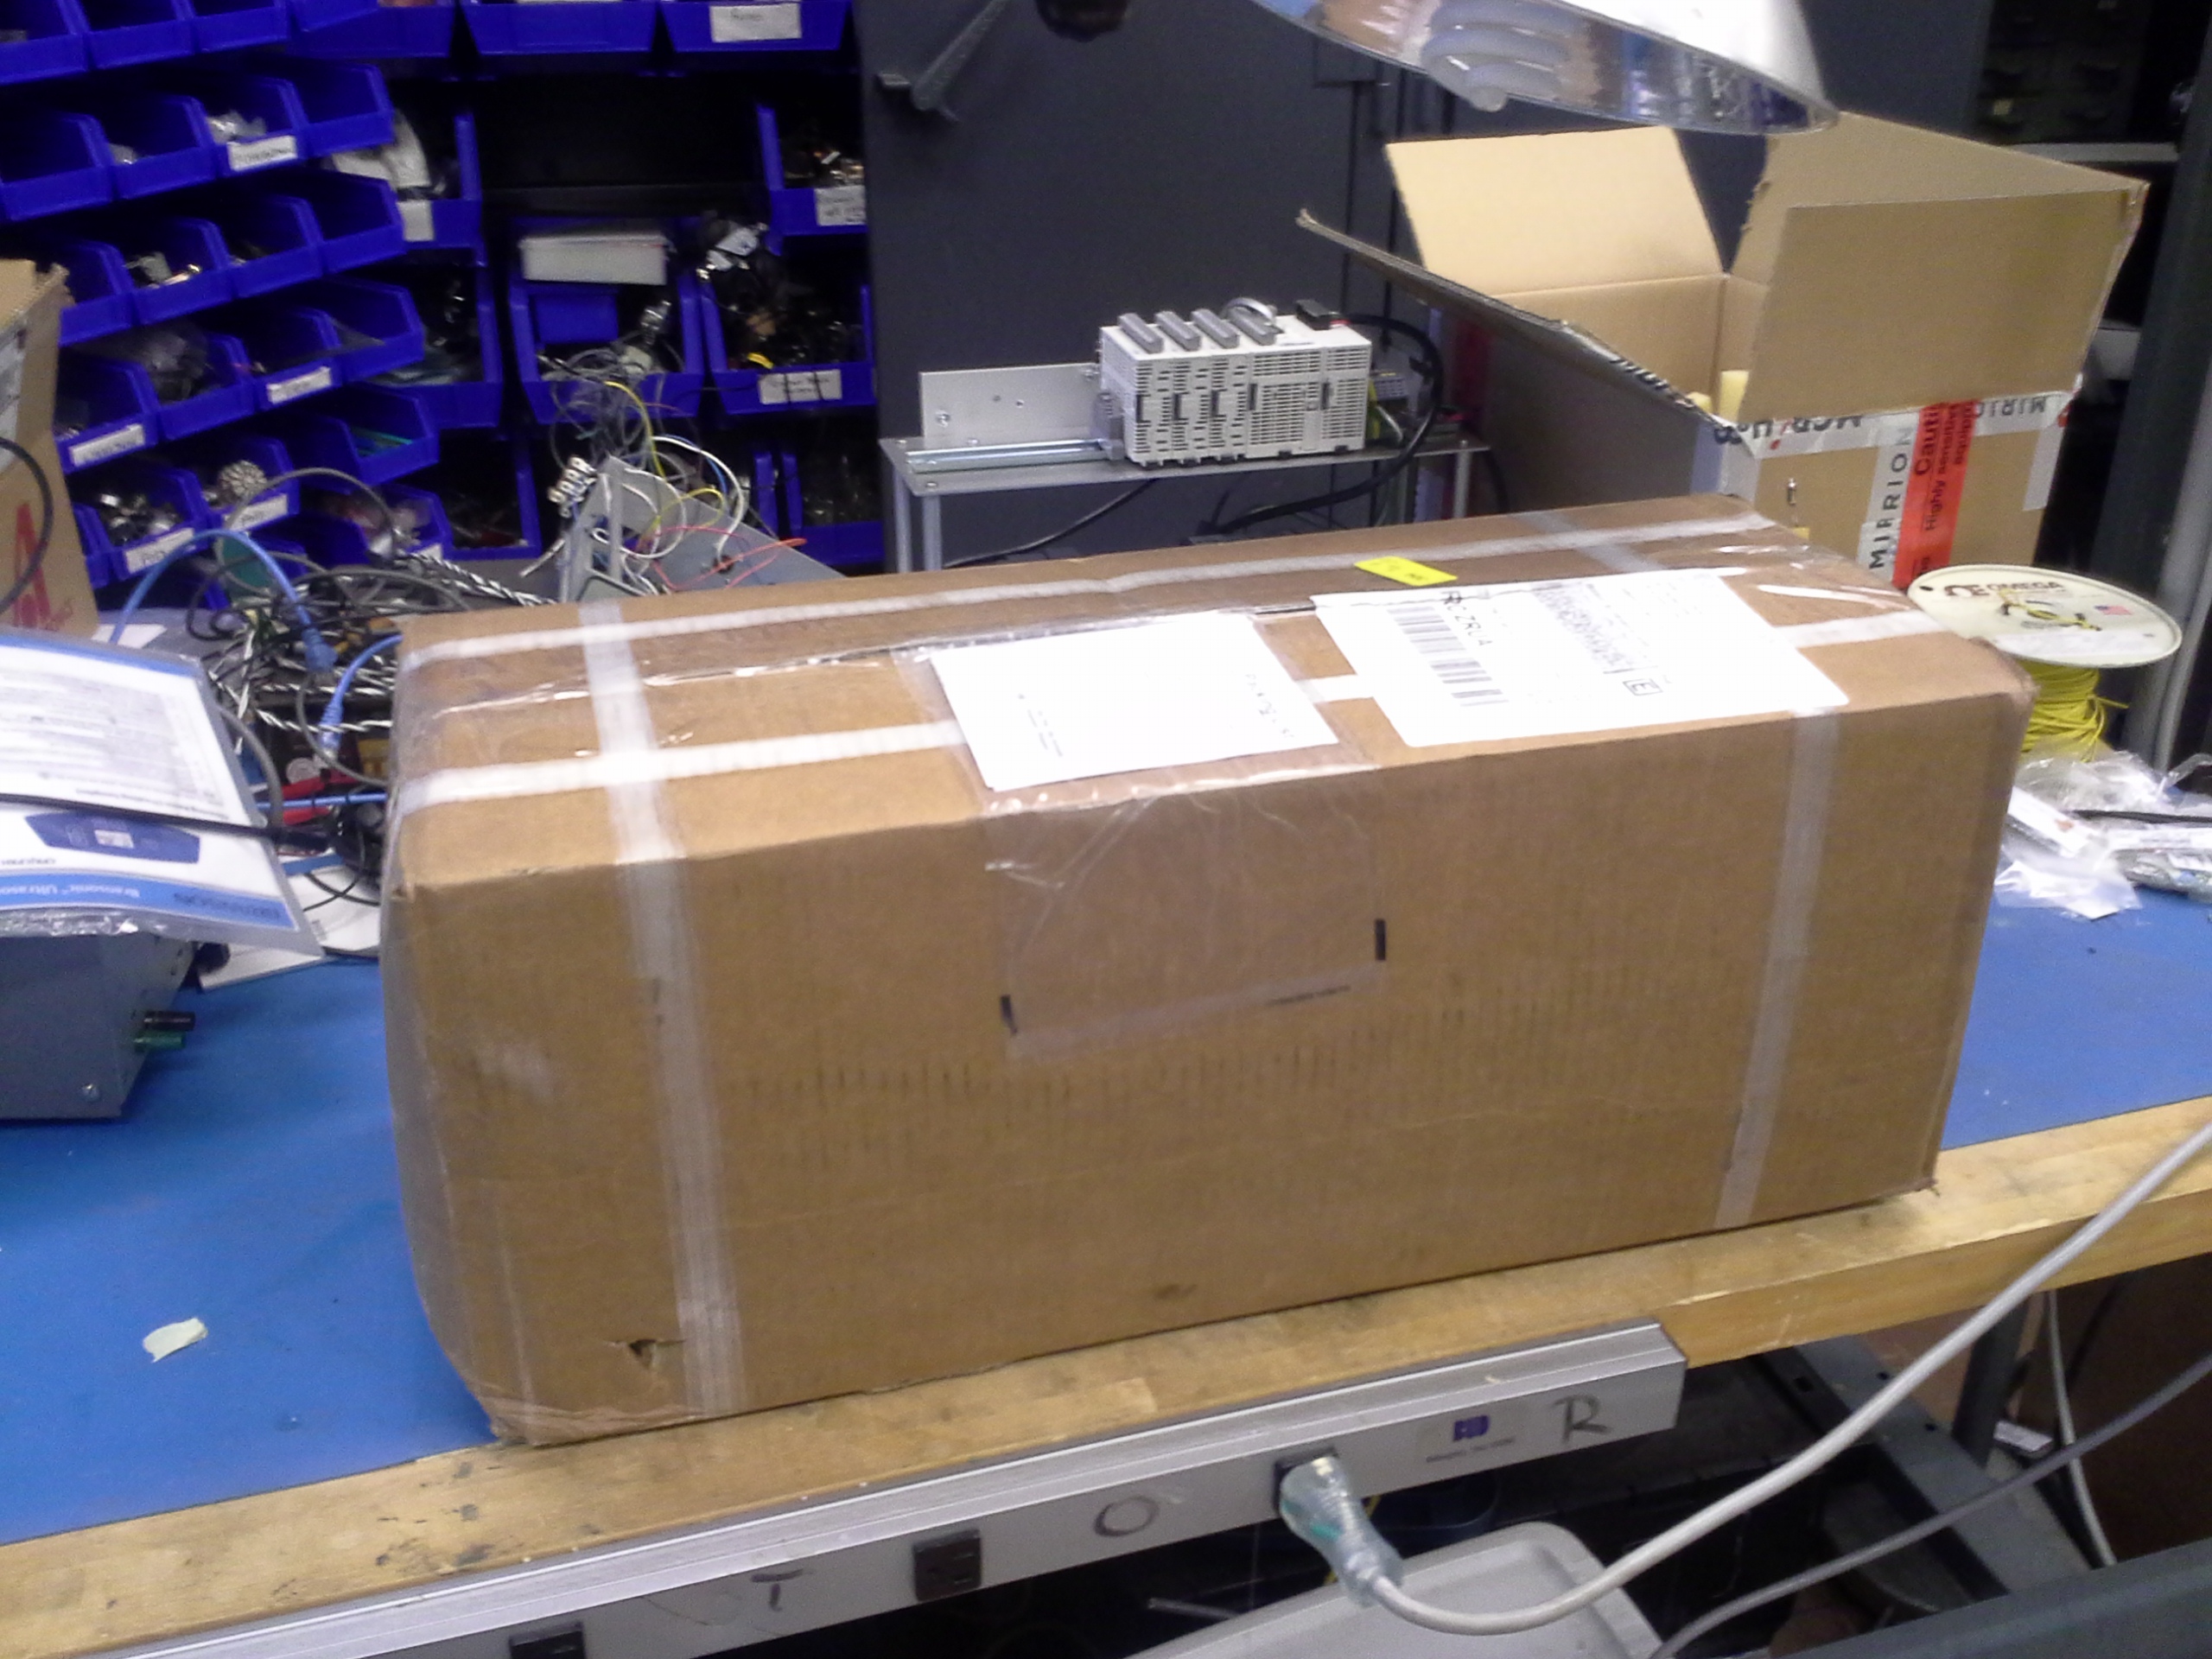
Behold, four 1.7KW modules, providing 6.8KW peak at 400V, all on a relativley straightforward board. Two of these boards sat underneath the robot between the two LIM modules to feed the two three phase 480V motor controllers. 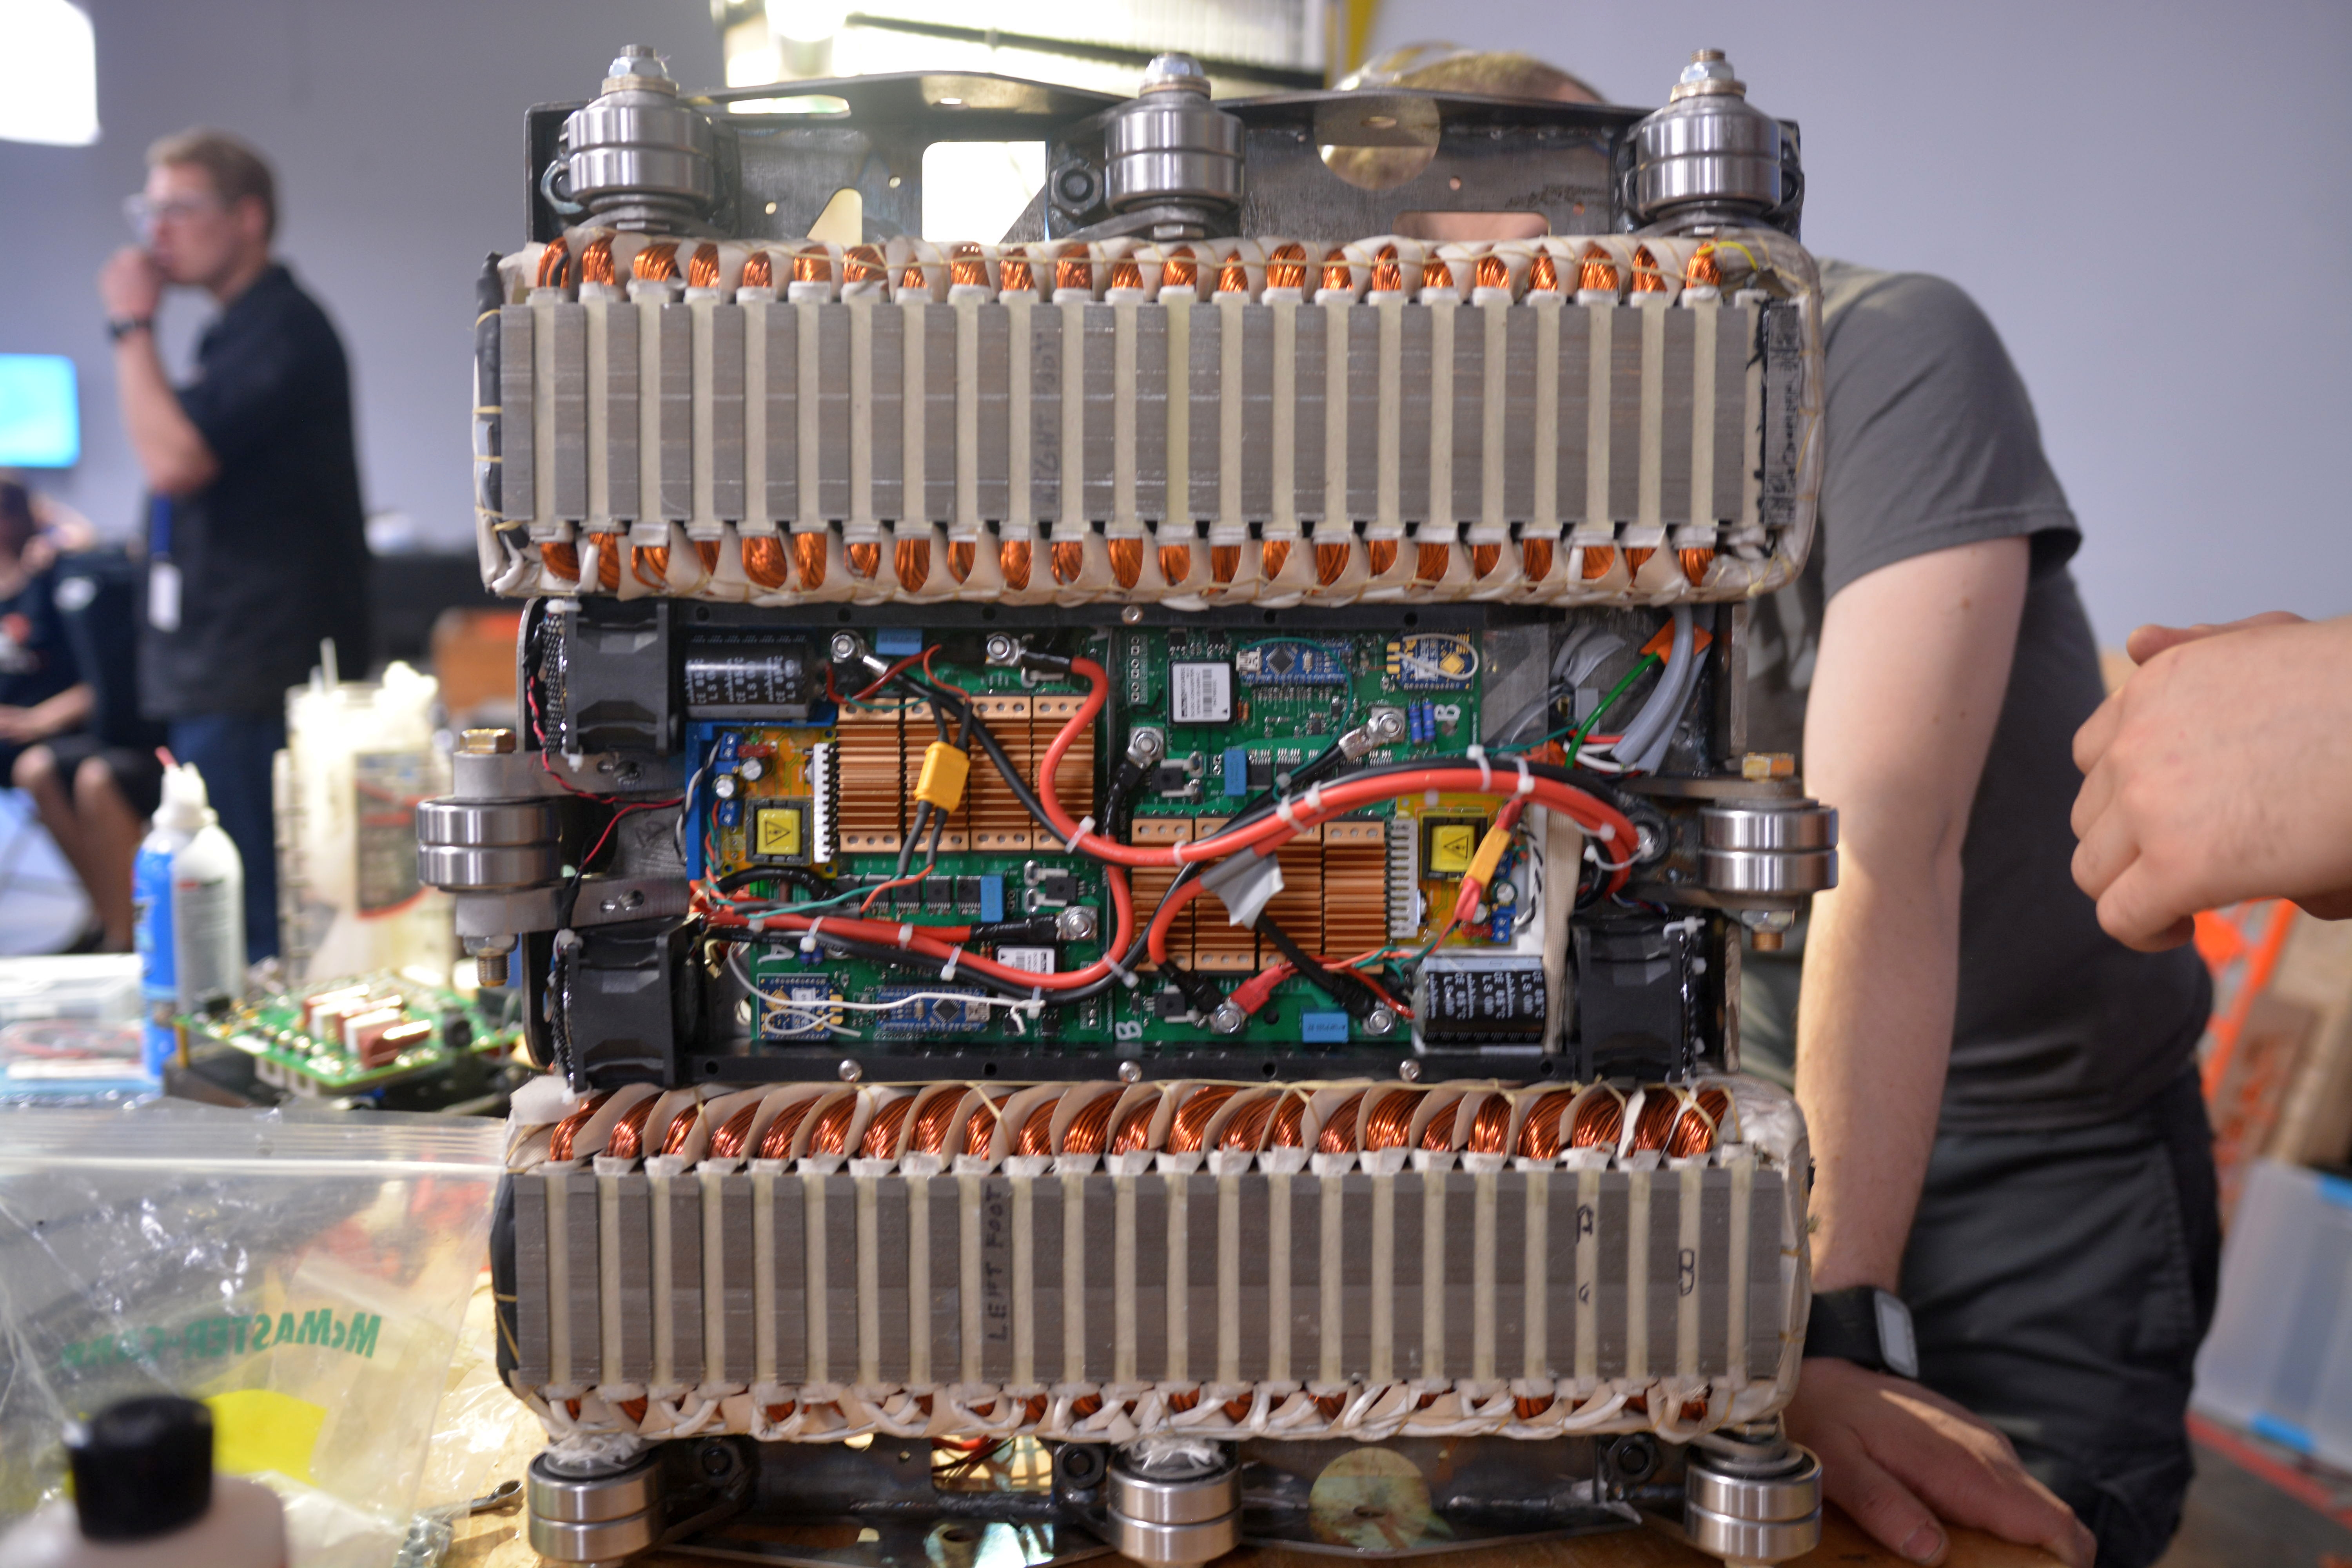
Wait tell me more about this Overhaul V1 propulsion
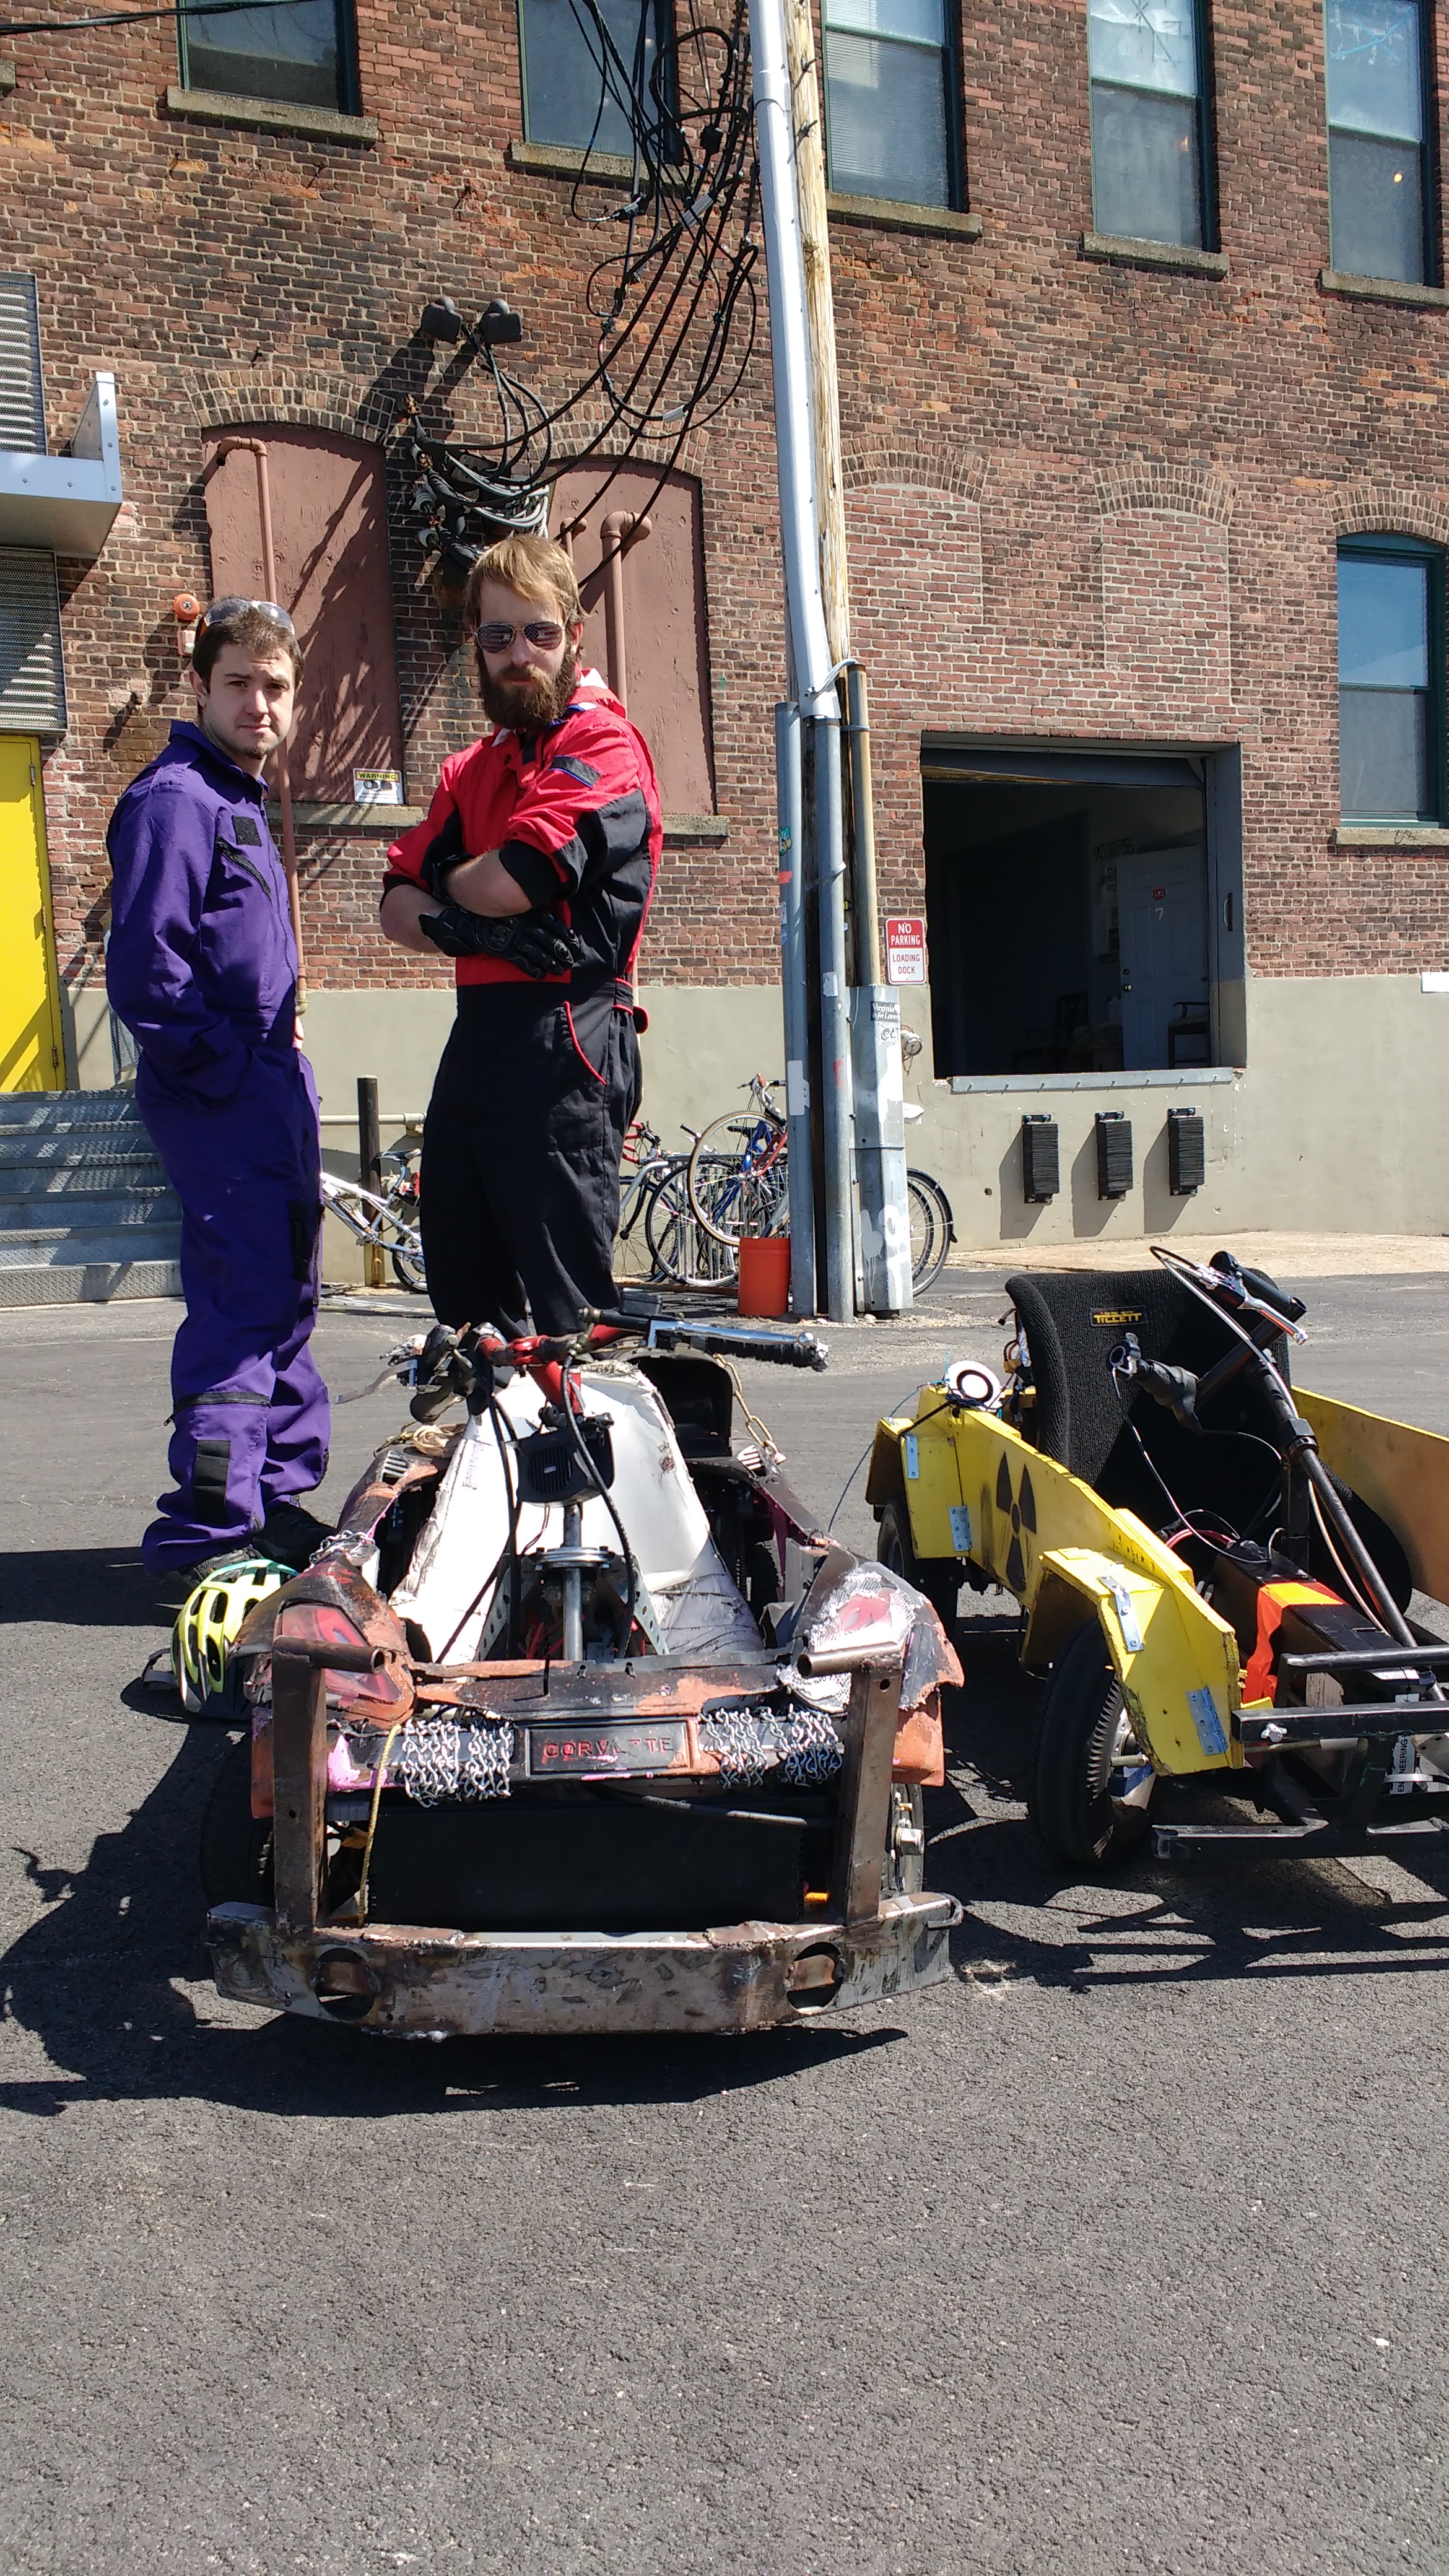
Team background interviewsAt some point ABC came to the workshop to go and interview the team captain(s), and without a completed robot we just opted to show off... Silly go-karts. The purpose of the visit was to collect B-Roll footage to use behind 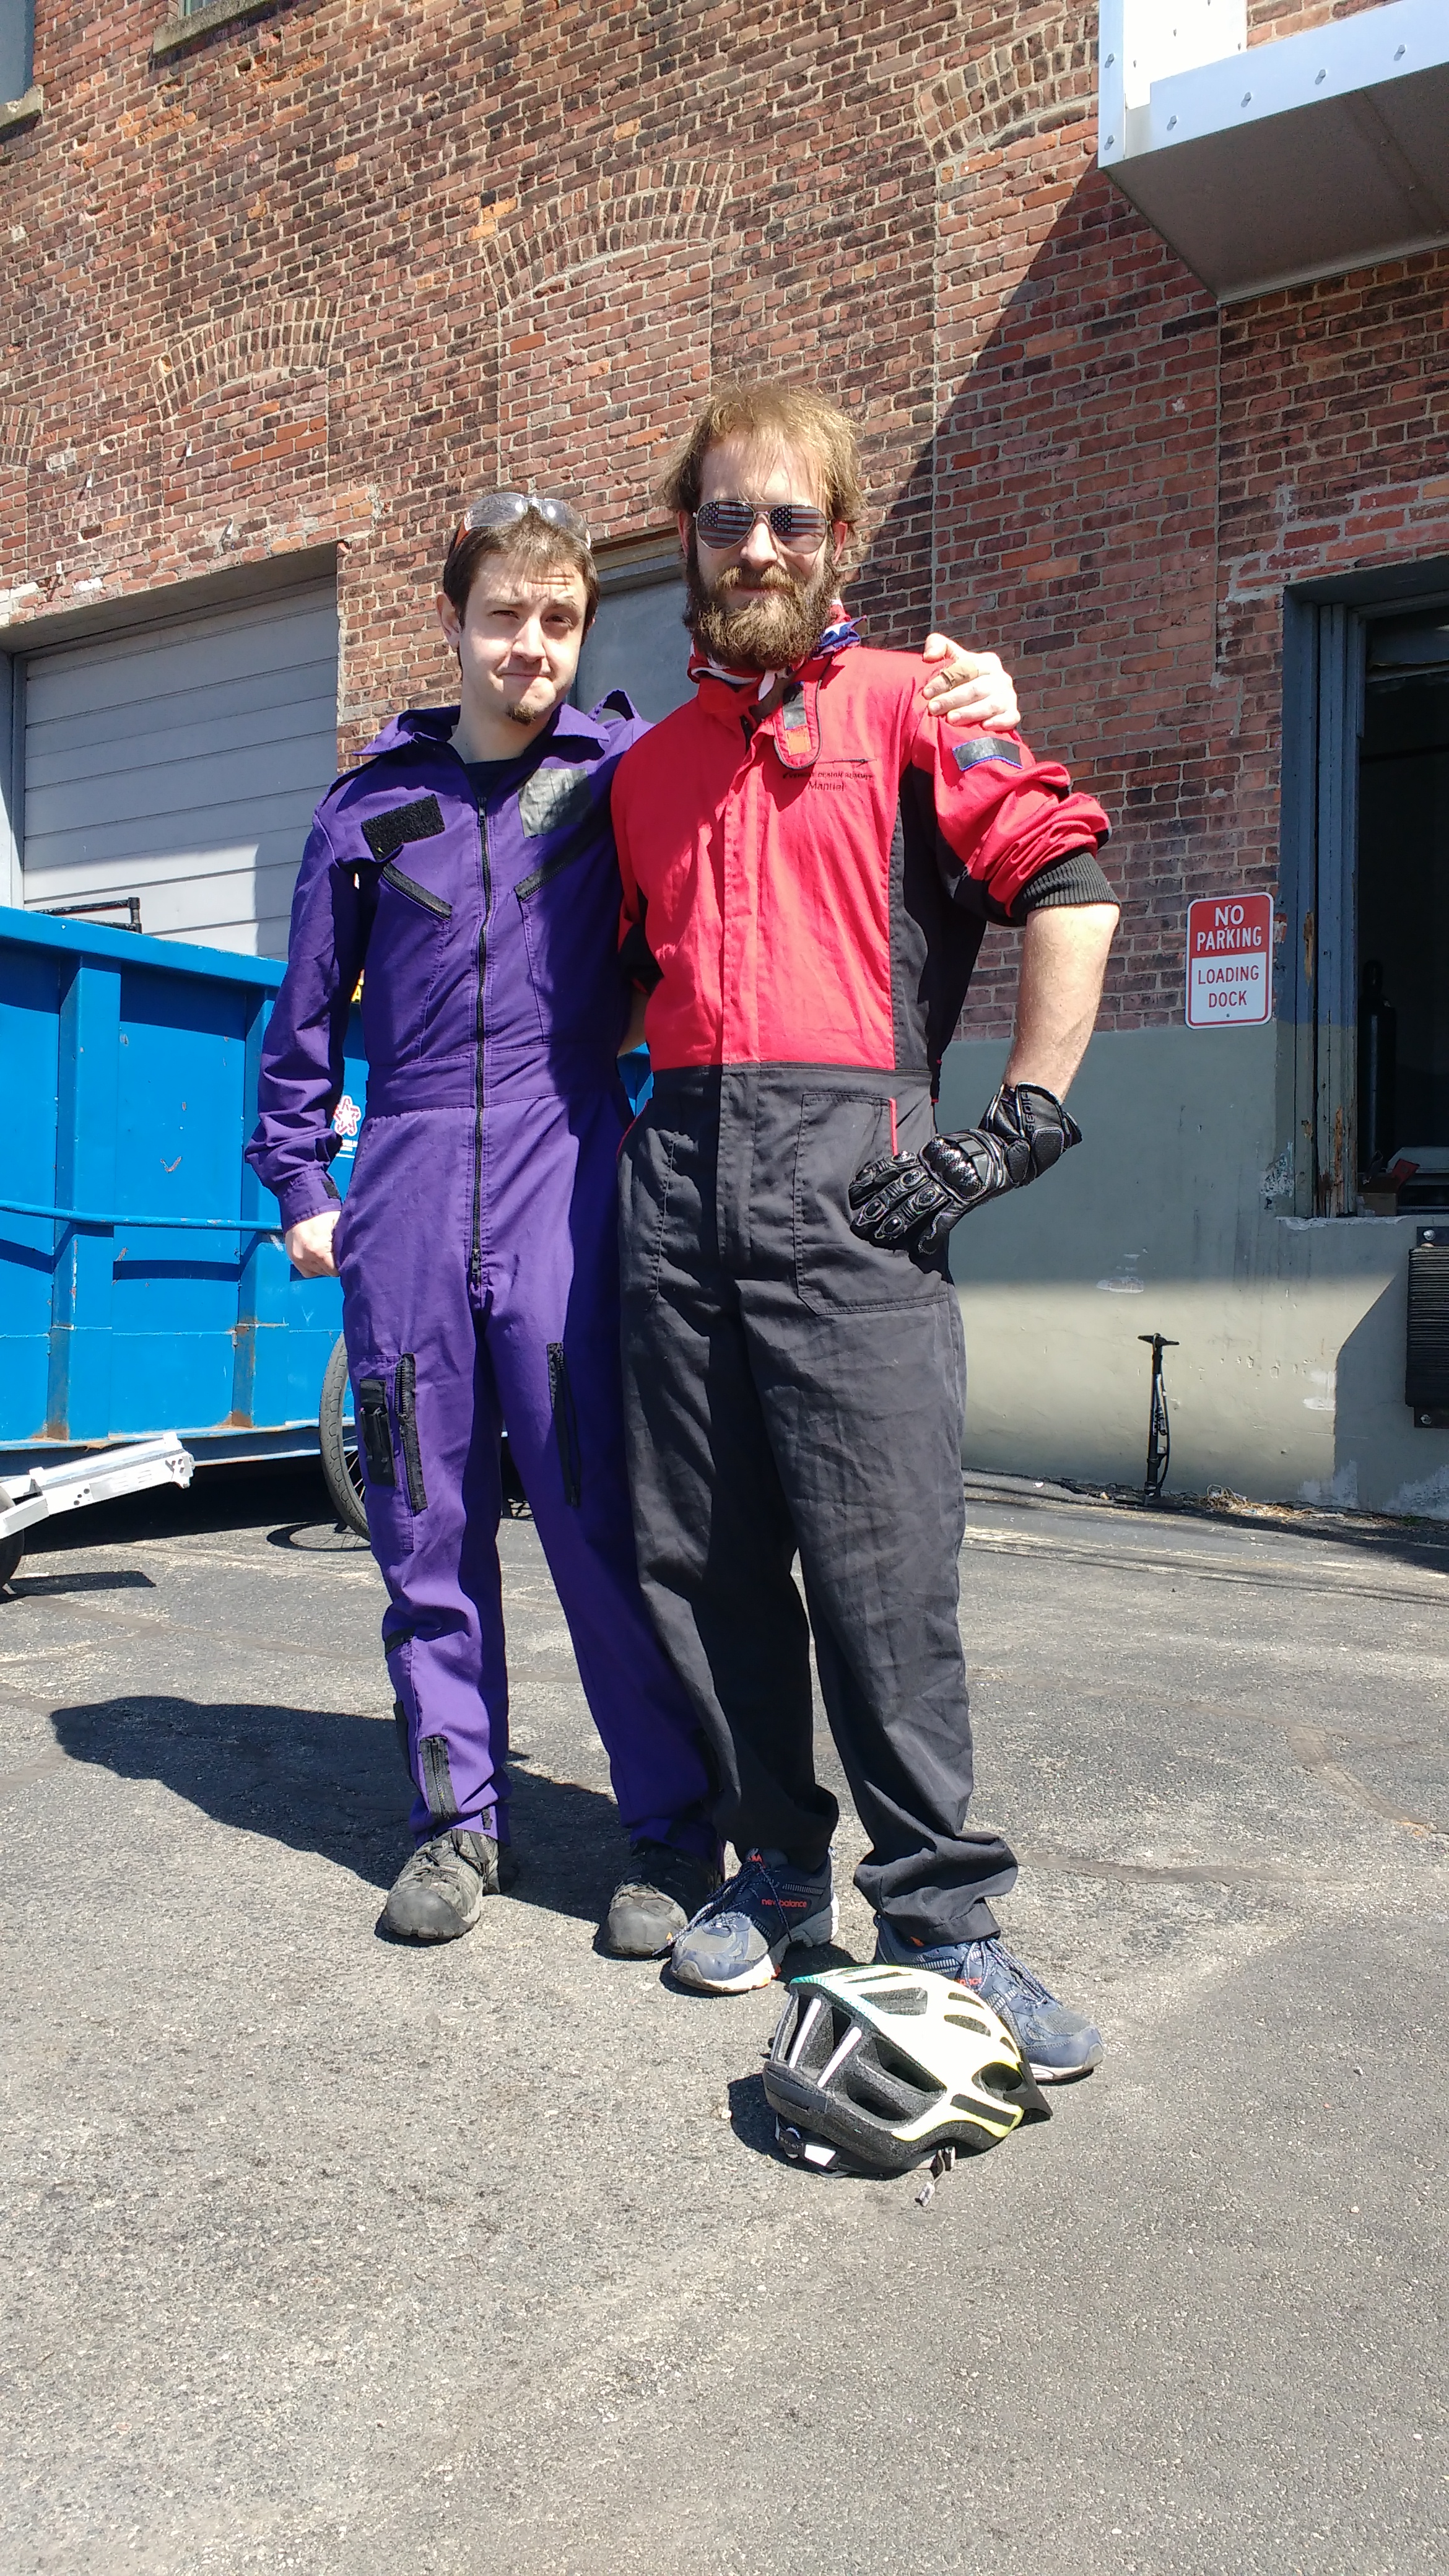
The design process beginsIt's really easy to get lost in CAD and a monitor, I opted to use a plotter at the lab to print out a 1:1 model. With this prinout we all stared at it, unable to believe how ginormous it was, and began scaling things down. 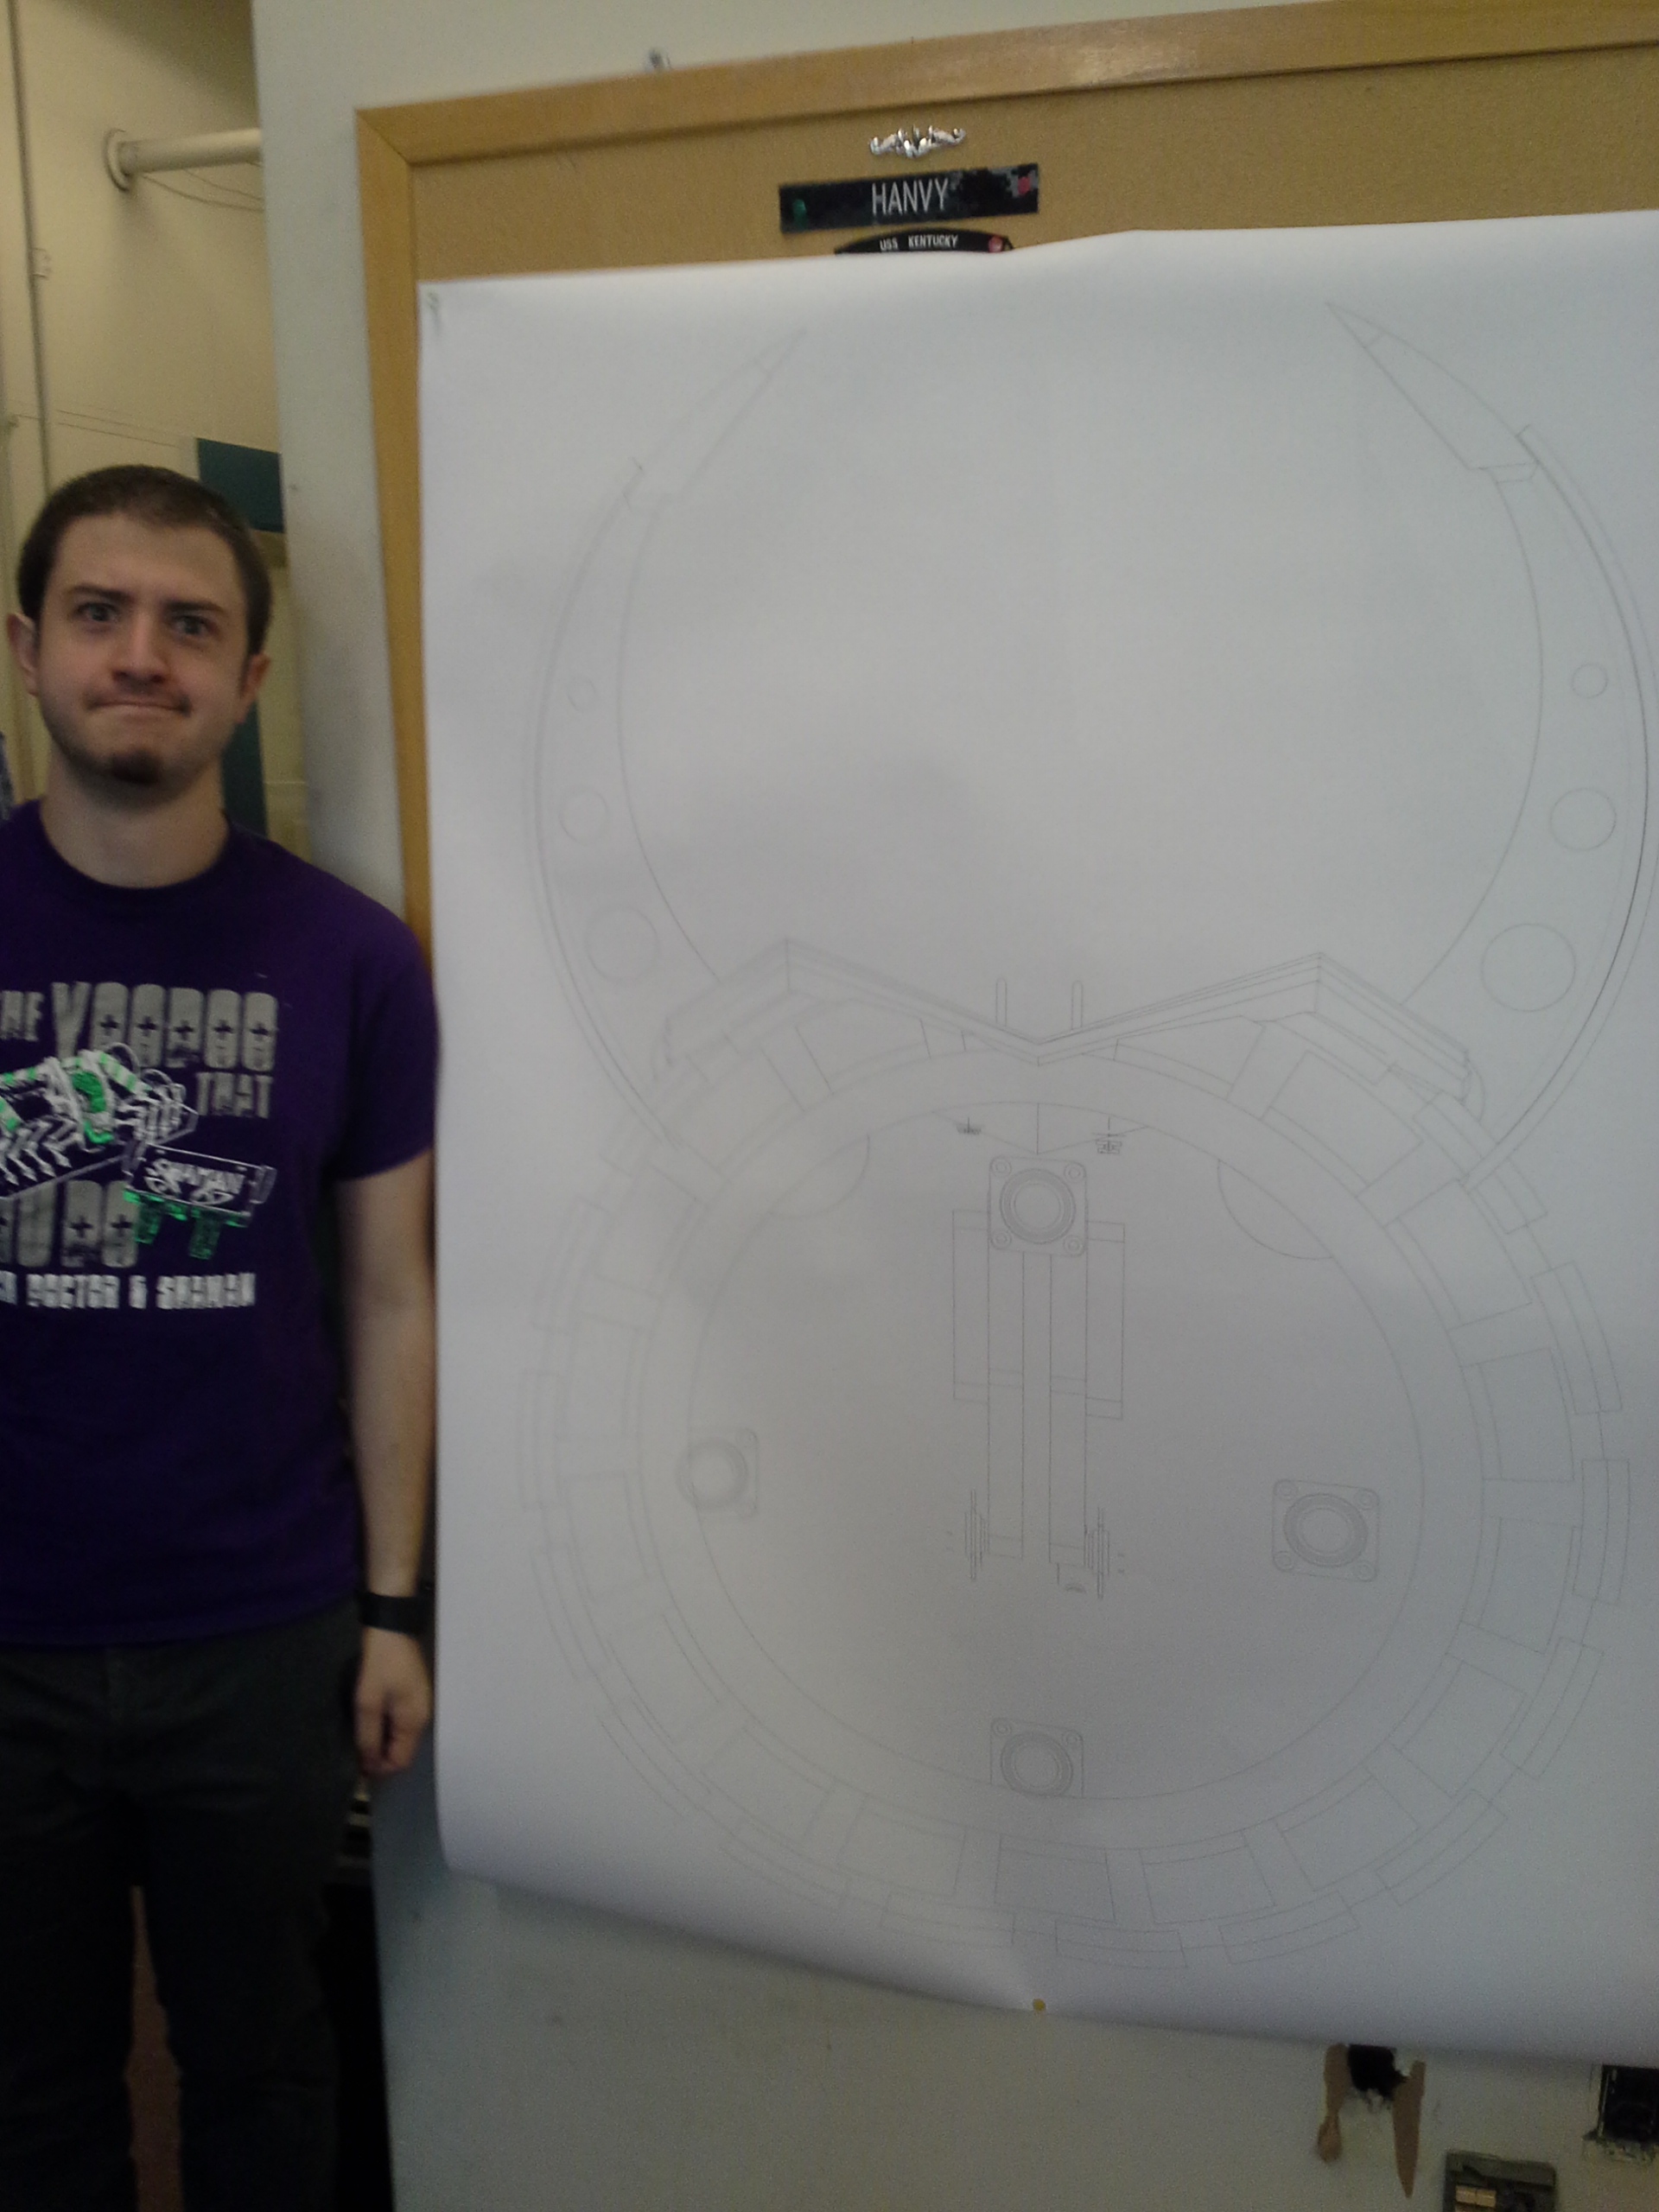
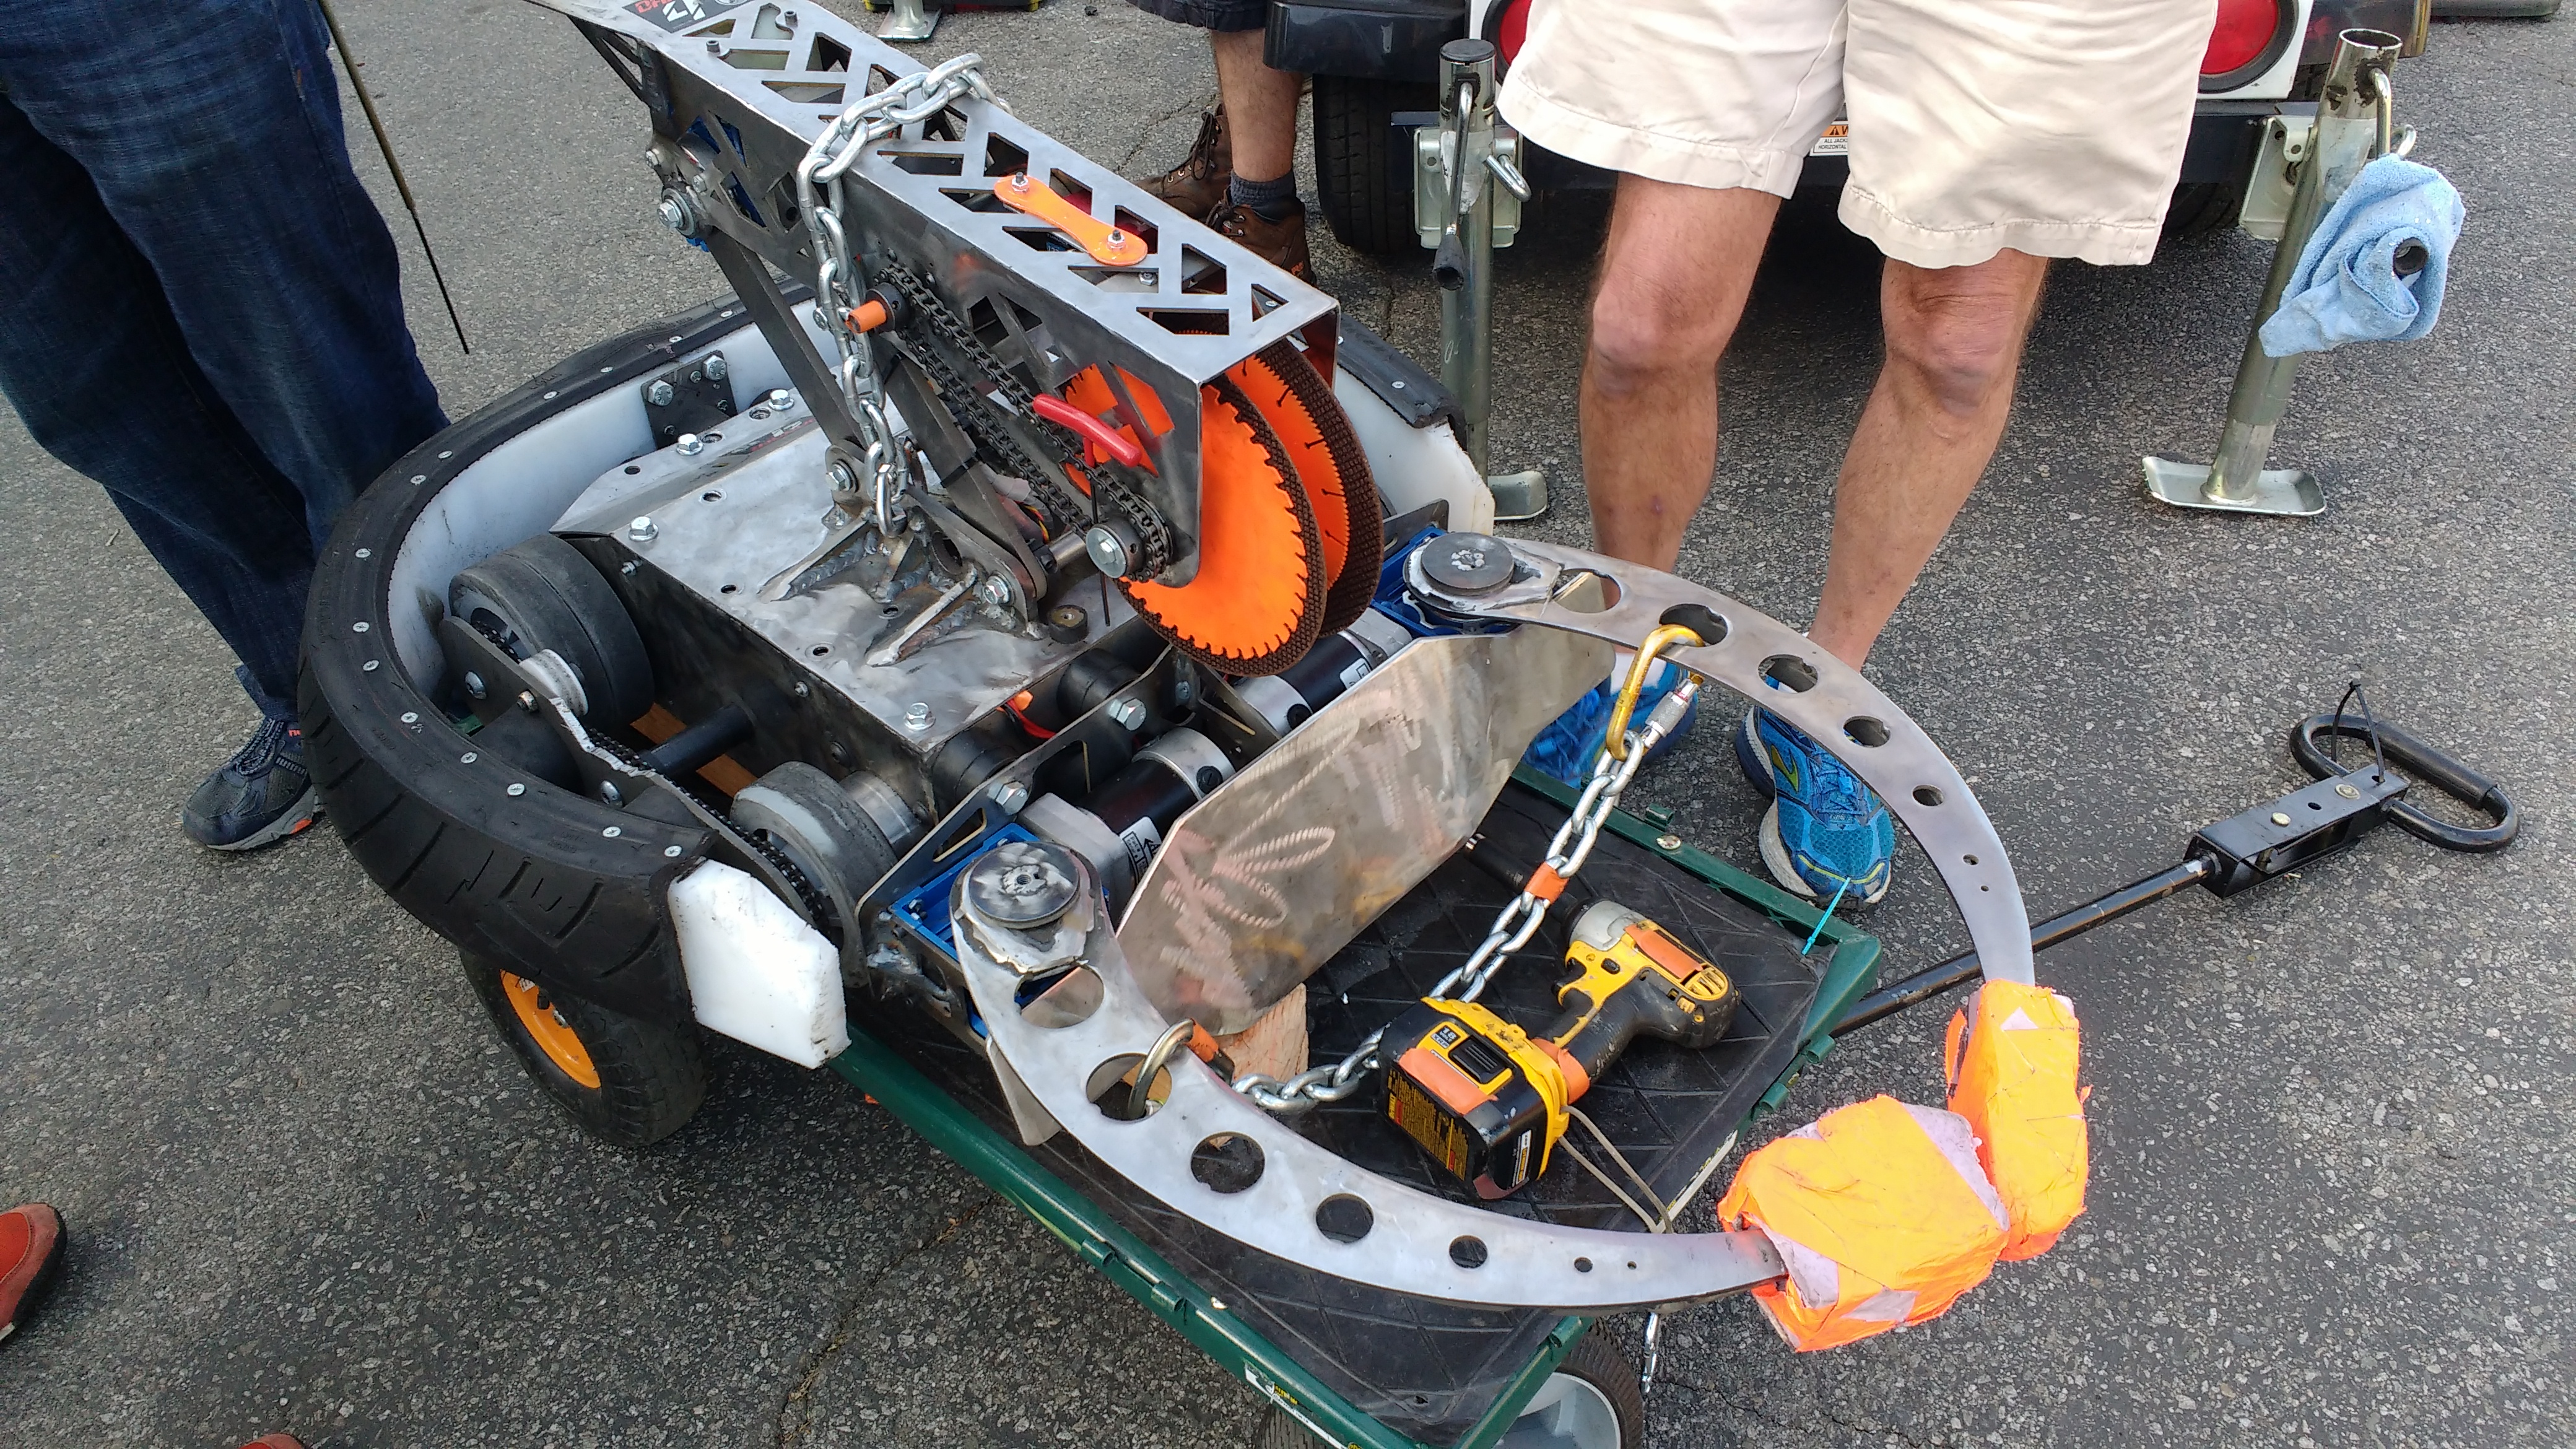
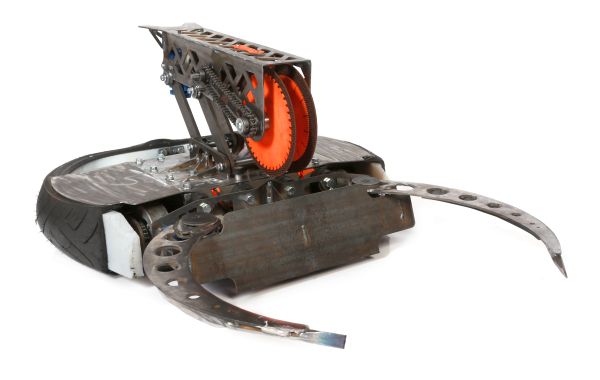
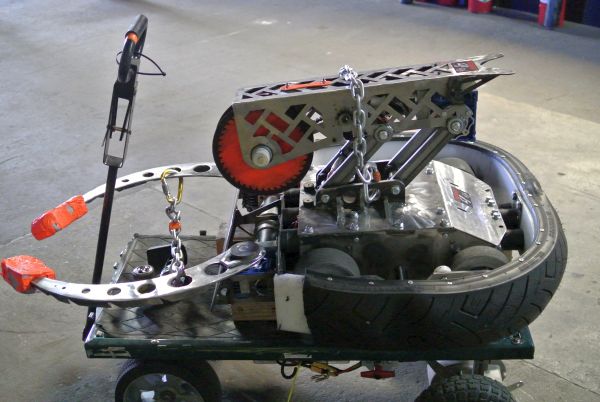
Do tires make good armor?Fred was convinced that it is 
Making 400VDC from a 48V Battery packThis is a long story 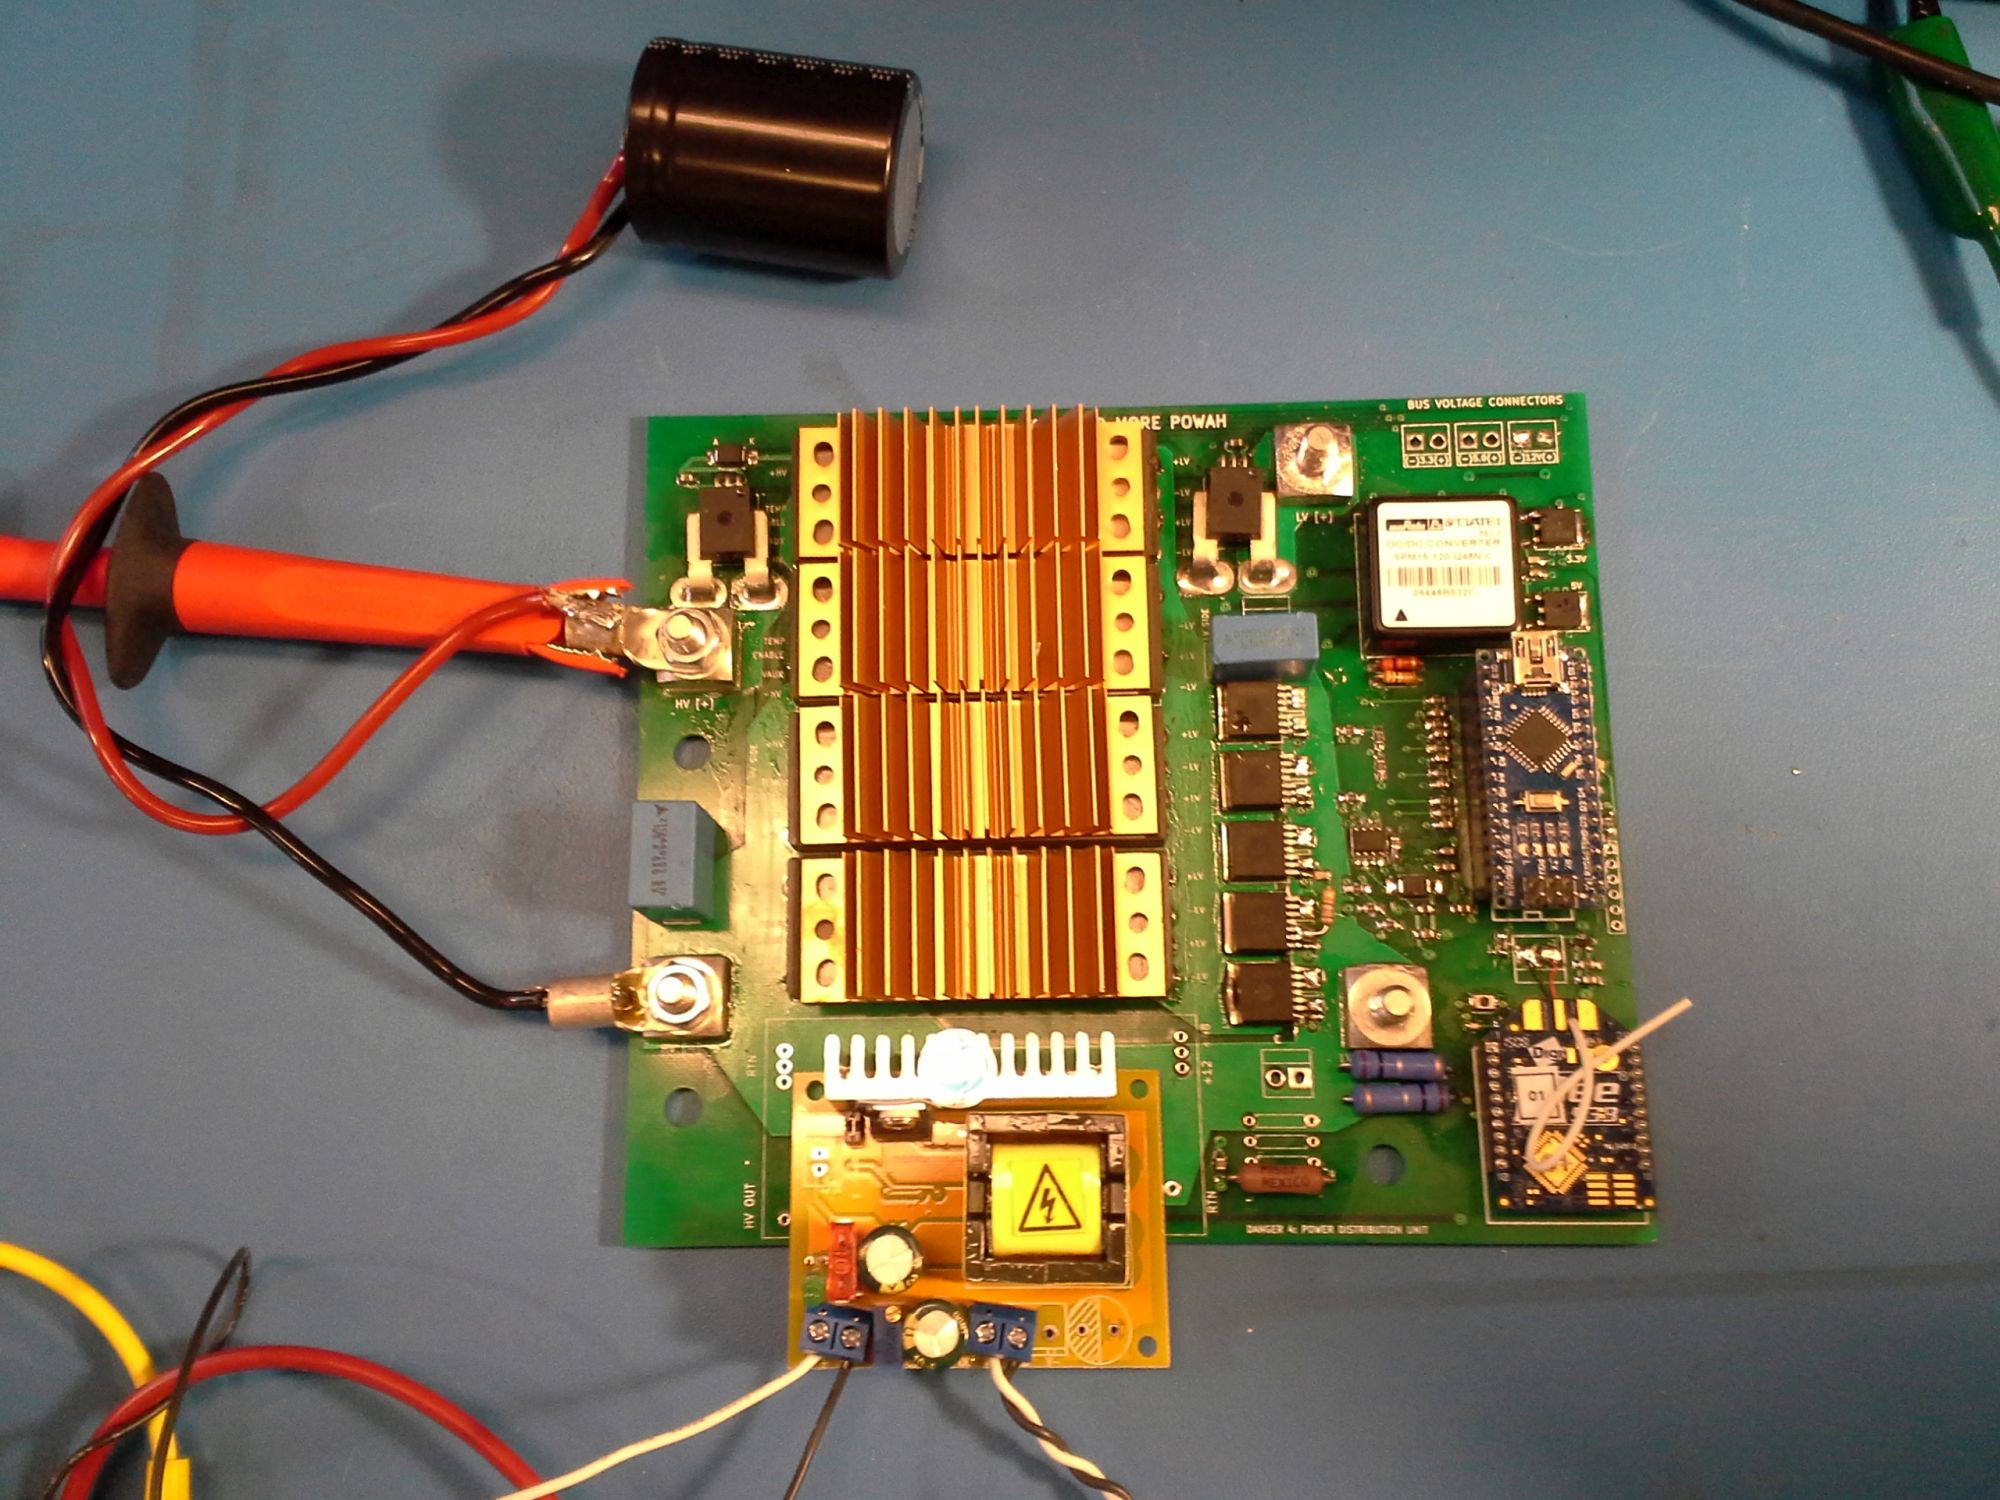
Linear induction motors appearOne of the big pieces to make this gadget work is the linear induction motors themselves. We worked with a vendor who was curious at best but at the last minute we got in our second motor. 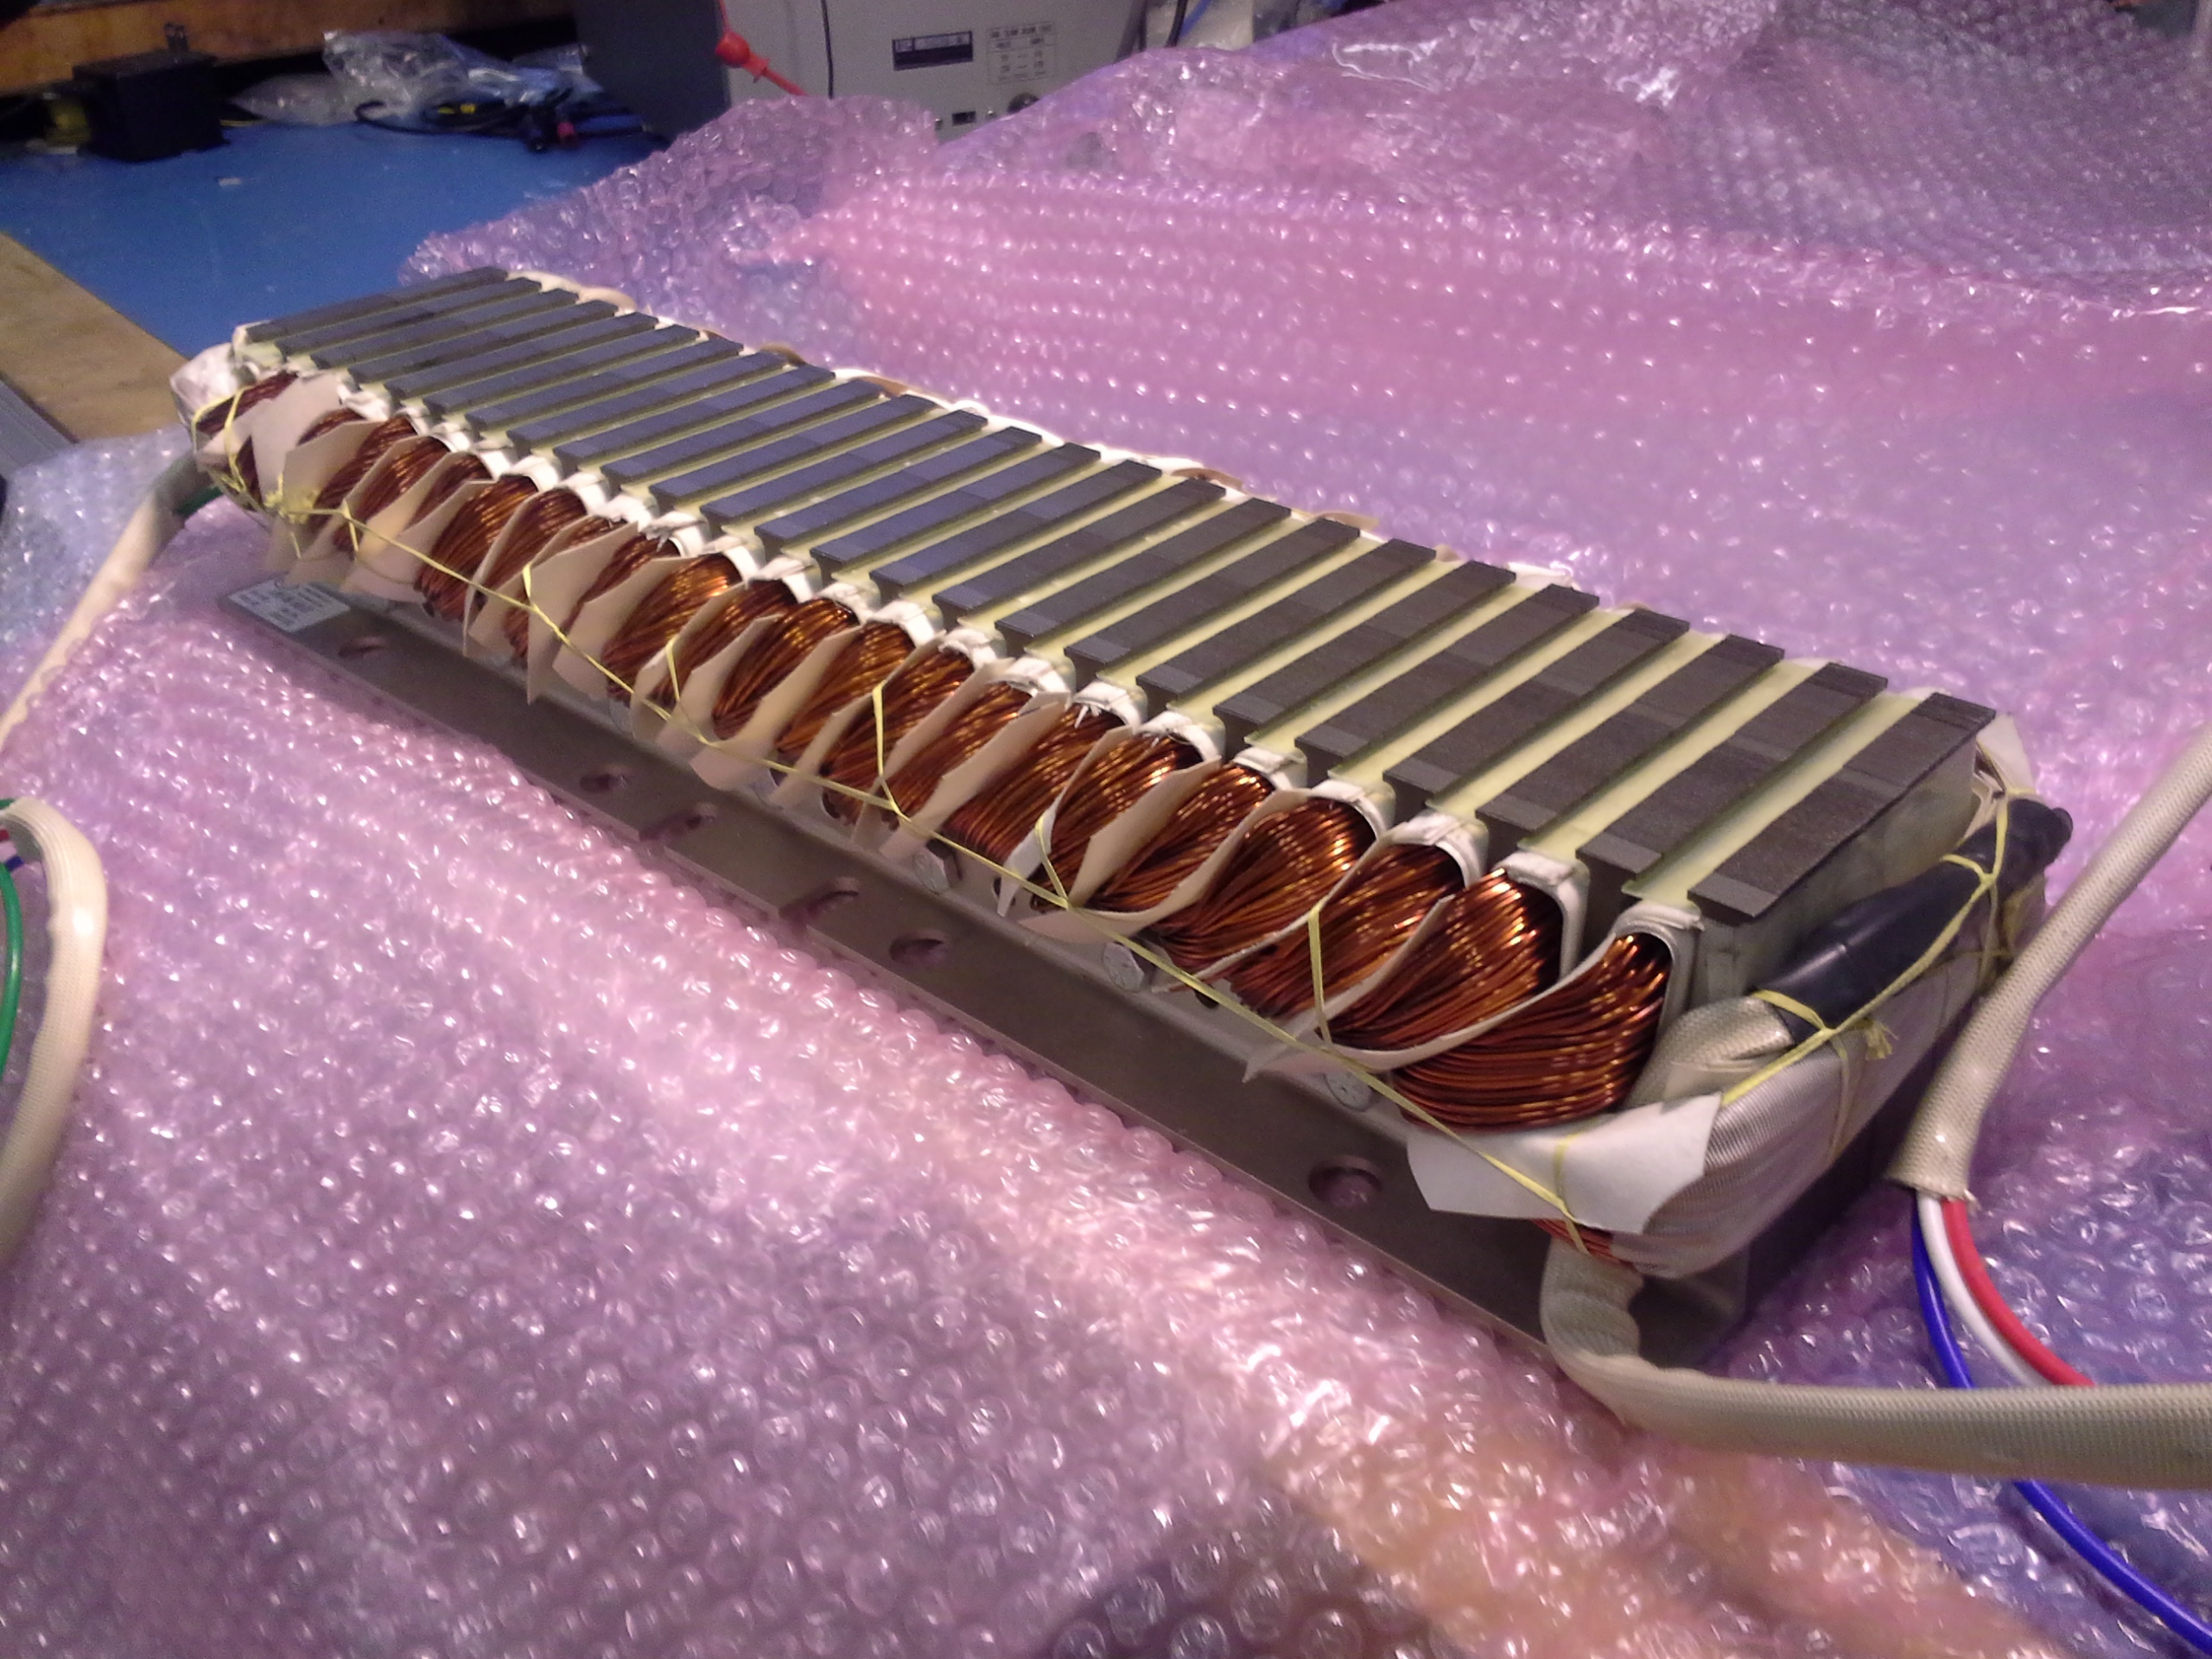
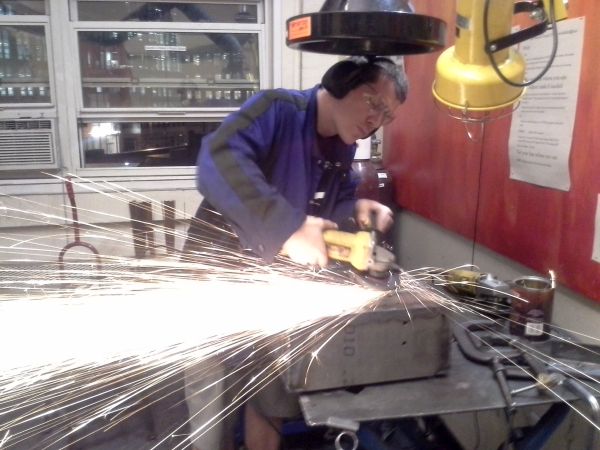
Tying everything togetherlast minute fabrication 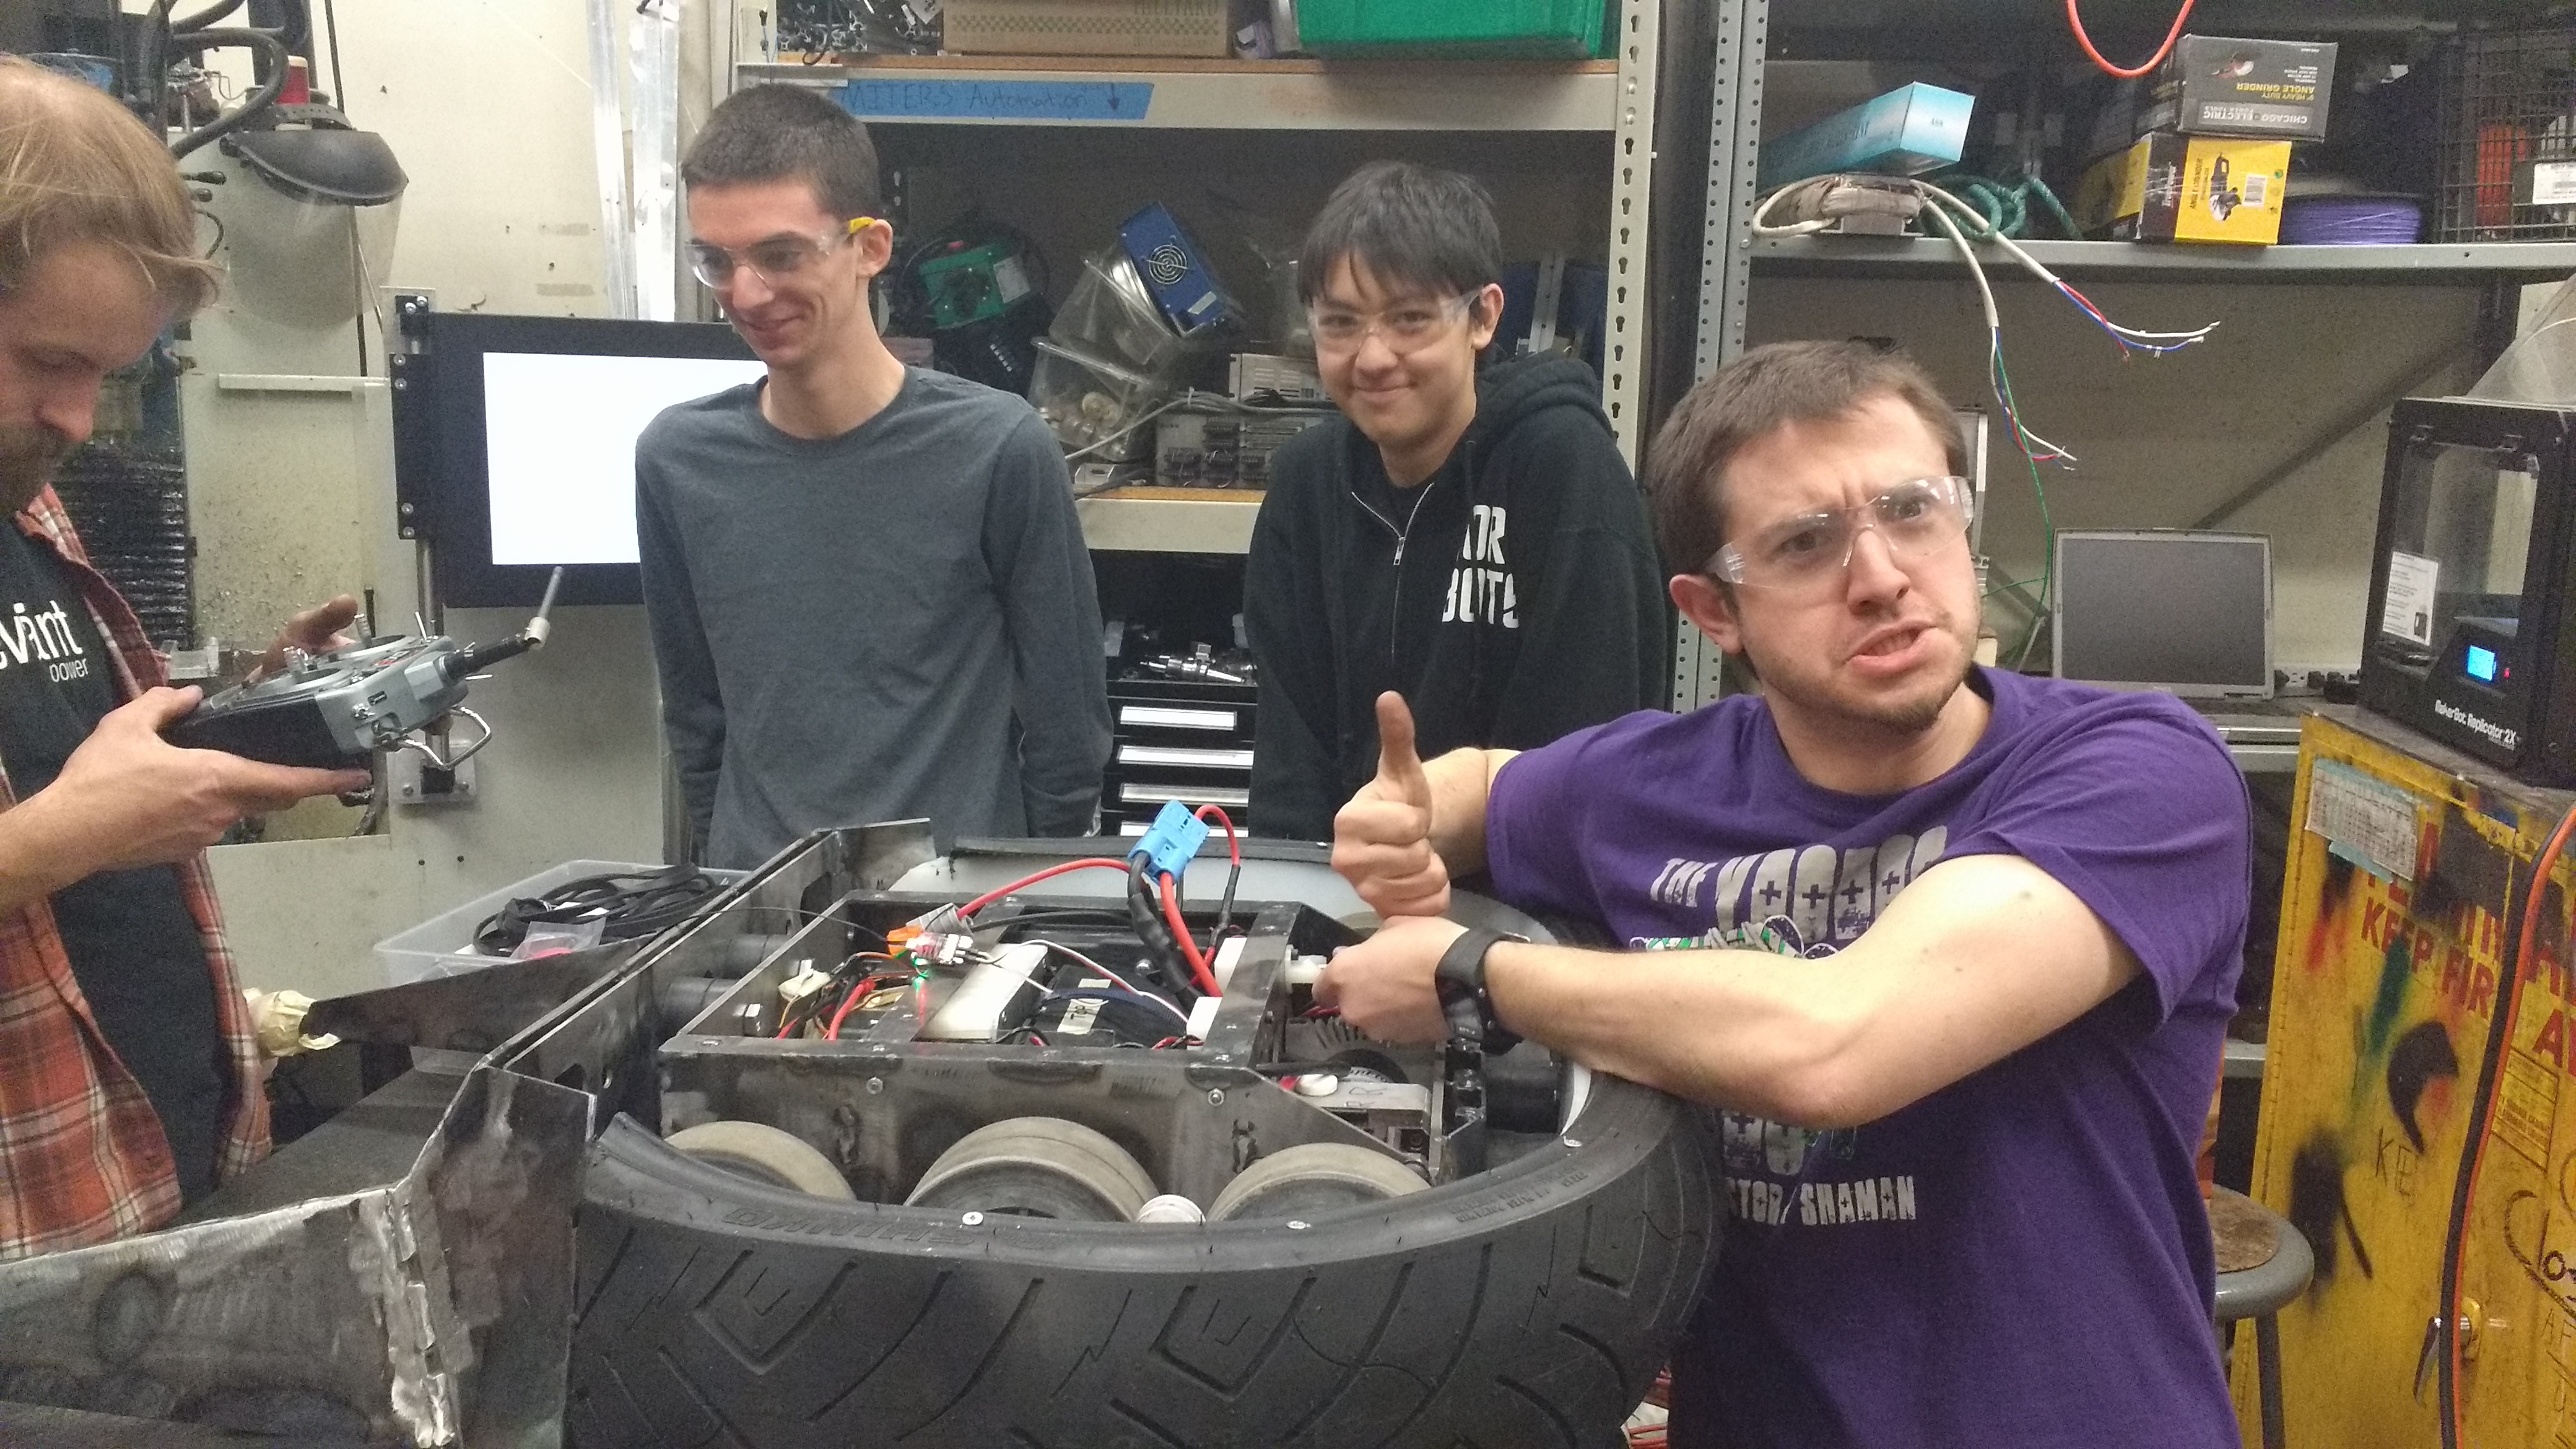
So we headed off to Beautiful CaliforniaWe hopped on a plane and headed across the states 

The set is gorgeousThe Battlebots set itself was stellar 

Grabbing Extra Motor ControllersWe needed spare 480V 3ph motor controllers to act as spares for our 

While we were out we stopped by Apex Electronics 

There was a day off between filming so some folks went out to explore: 

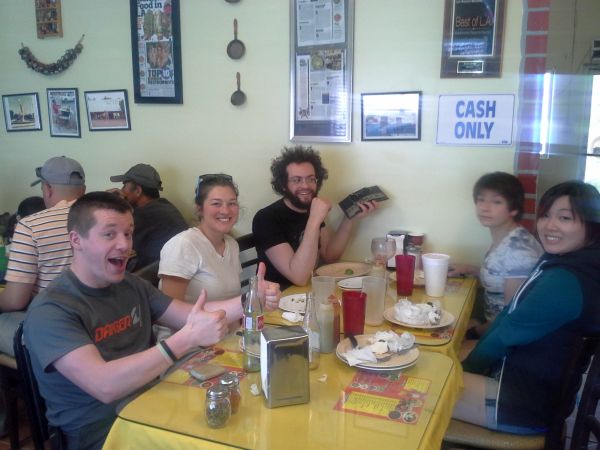
The food is also amazing everywhere out there 

The people are amazing too 

Some photos of the internals:The first designs were somewhat questionable. The final design was a lot more refined wheel base testing Robot POV learning how to drive Testing failsafe (with audio) Tig welding The Weapon arm Tig welding The Drive Gears Weapon bench testing Weapon linkage testing weapon linkage testing part 2 Weapon bench testing Benchtesting HV Power Supply Benchtesting Linear Induction Motor Lim Update to Battlebots Test driving with armor In the pits with safety man Will Osman Learning to use grabbers Testing the Saw in the testbox test box testing An Orion appears Parking lot duels
Have you noticed that there are no
advertisements or ridiculous pop ups?
|


Post your comments! |
|
Comment Box loading
|