
Dane Kouttron
This project / writeup is in progress, check back for more soon!
Reviving and electrifying a trash jet pump
Did you know there are free jet pumps?
Scrapped jet-skis, or jet skis with failed engines, have a negative value. The fiberglass hull is hard to recycle and costs a bit to toss, instead of paying to have some one haul away and landfill the jet ski carcass, why not just post it for free on Craigslist?
Enter jet-pump revivalThe following details attempts at removing, repairing and electrifying a jet ski jet pump for small-vessel propulsion. |
||
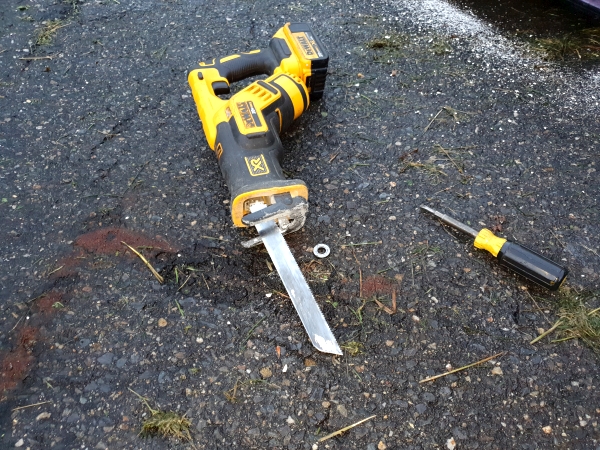
An introduction to the finest of New Jersey vintage jet ski technologyHere's the jet ski remnants. The engine was removed at this point, but the hull remnants were still present, namely the fuel tank, hoses, exhaust systems and curious air intake. The whole thing is a pile of fiberglass, its not clear why it was so incredibly filty. muddy oily muck somewhat The rough-shape of this cant be over-stated. I realy gave it a go to disassemble this thing into parts, but the amount of epoxy and fiberglass was astounding. I finally succombed to just using a relatively new sawzall with a hose to keep the blade cool to cut up the shell to extract the pump. Seriously how would you ever replace this part? 
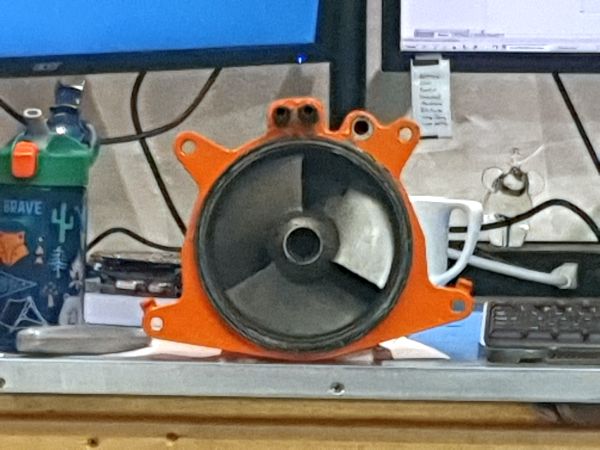
Removing the jetpump from the leftover jet ski fiberglassAfter spending ages cutting up the jet ski fiberglass to get to just the remaining pump, I was left over with just the pump. I was hoping this was bolted into the fiberglass housing but it seems that the pump assembly was actually epoxied to the shell. Hammering, chiseling and more hammering continued. Finally the rear mating surface between the jet pump and the shell came free. The frame functioned as the scoop and jet fluid pathway, so I was going to need to duplicate this assembly. With the pump removed from the fiberglass hull, it was pretty clear not only would whatever internal lubricants were in there would need replacing but, everything needed cleaning. This thing was filthy. The casing appears to be aluminum, and while it was not heavily pitted it was in rough shape. Fortunately the blades looked in reasonable enough shape and it still spun without much effort. There were a few ports sticking into the casing, and I did not quite understand what they were for. I knew it was likely that the pump would provide coolant to the engine, but why were there three-ish ports?These ports were filty and clogged with dirt, so it is possible that the engine just overheated and failed. The rear pointy part also functions as a lubricant resivour. Upon opening this up I was greeted by the most foul-smelling oily goop. The actual 'intake' is the splined part of the propeller assembly. Lets clean this up. 

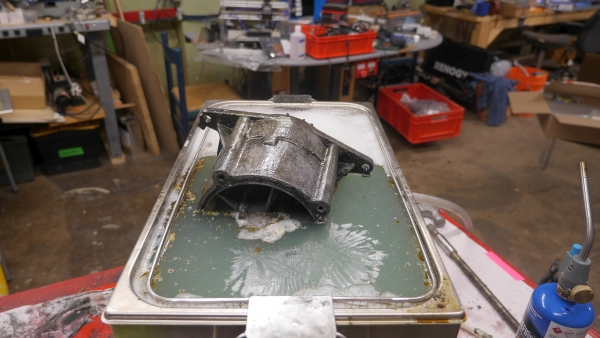
I started with an ultrasonic bath. While there's some unknowns on if bearings should be cleaned in an ultrasonic bath, this thing is so abused that its unlikely I'm going to cause more damage. To clean this up I'm using a fairly strong mix of simple green and ethanol. Initially i was planning on bagging the pump and just having the bath be full of water with the dirty bits contained in a bag. I could not for the life of me find a sealed plastic bag that could fit this monster. It turns out old mcmcaster-carr bags actually have breather holes at the bottom. Ah well I will just clean-out the ultrasonic bath afterwards.
This particular ultrasonic bath is actually a dental ultrasound with a built in heater. The heat nominally helps loosen up some of the greasy goop leftover inside the spline. My bath is not deep enough to fit the whole pump (even though its ~4 gallons) so I just periodically rotate the jet pump. The ultrasonic does not do all the work but should help loosen up surface gunk. For it to be easier to watch what it's doing I removed the bubbles with a small propane torch. This is the same method for clearing out bubbles trapped on the top of epoxy castings.
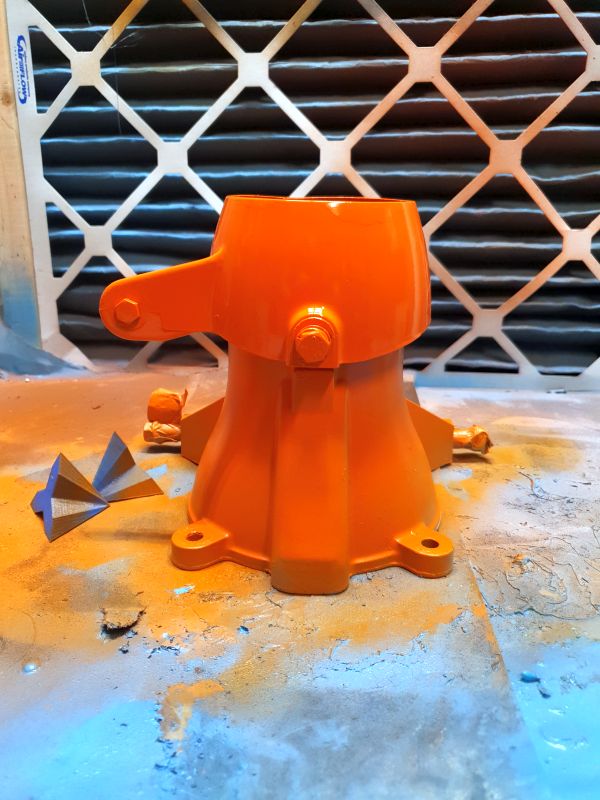
After the goop was loosened up I used a copper wire brush to scrub the surface and start surface cleaning. This took a while. The copper brush periodically filled with oily goop or leftover surface slime. You'd imagine that there's a better tool for this but the inner contours are difficult to reach with sandpaper, scotchbrite pads and wire brushes are the only tools leftover. The larger flat contoured surfaces were easy to tidy up with a rotary wire brush / spinny scrubby tool, but again the goop-encrusted surface tended to fill most of the cleaning tools quickly. Here's the pump with most of the cruft removed and the surface cleaned up. The inner surfaces were incredibly difficult to clean and it's likely it will remain as is. The outside however is going to be etch-primed and painted to help protect it from fresh / not-fresh water. Before priming and painting it was time to tape and mask off exposed surfaces. As everything is tapered I opted to just over tape everything with gaffers tape and then slice off the excess. I also taped off the fluid ports to prevent anything else from sneaking in. 
The jet pump was hung up from an overhead gear motor to slowly spin it while painting. This worked surprisingly well as even the top and bottom were accessible. I used some solid core stainless wire to hold everything up by the mounting holes. To make sure the primer was not shadowed I moved the mounting wire periodically. Again you do not need anything particularly fancy for a power supply, due to some limitations on the display of my older Kepco bench supply, I used an external multi-meter when i was adjusting down to a low current. Initially i started at slightly lower than 200mA, which was somewhat hard to see on the analog gauges of my bench supply.
Have you noticed that there are no
advertisements or ridiculous pop ups?
|

Post your comments! |
|
Comment Box loading
|