
Dane Kouttron
This project / writeup is in progress, check back for more soon!
Temperature humidity solar and wifi all in one tiny box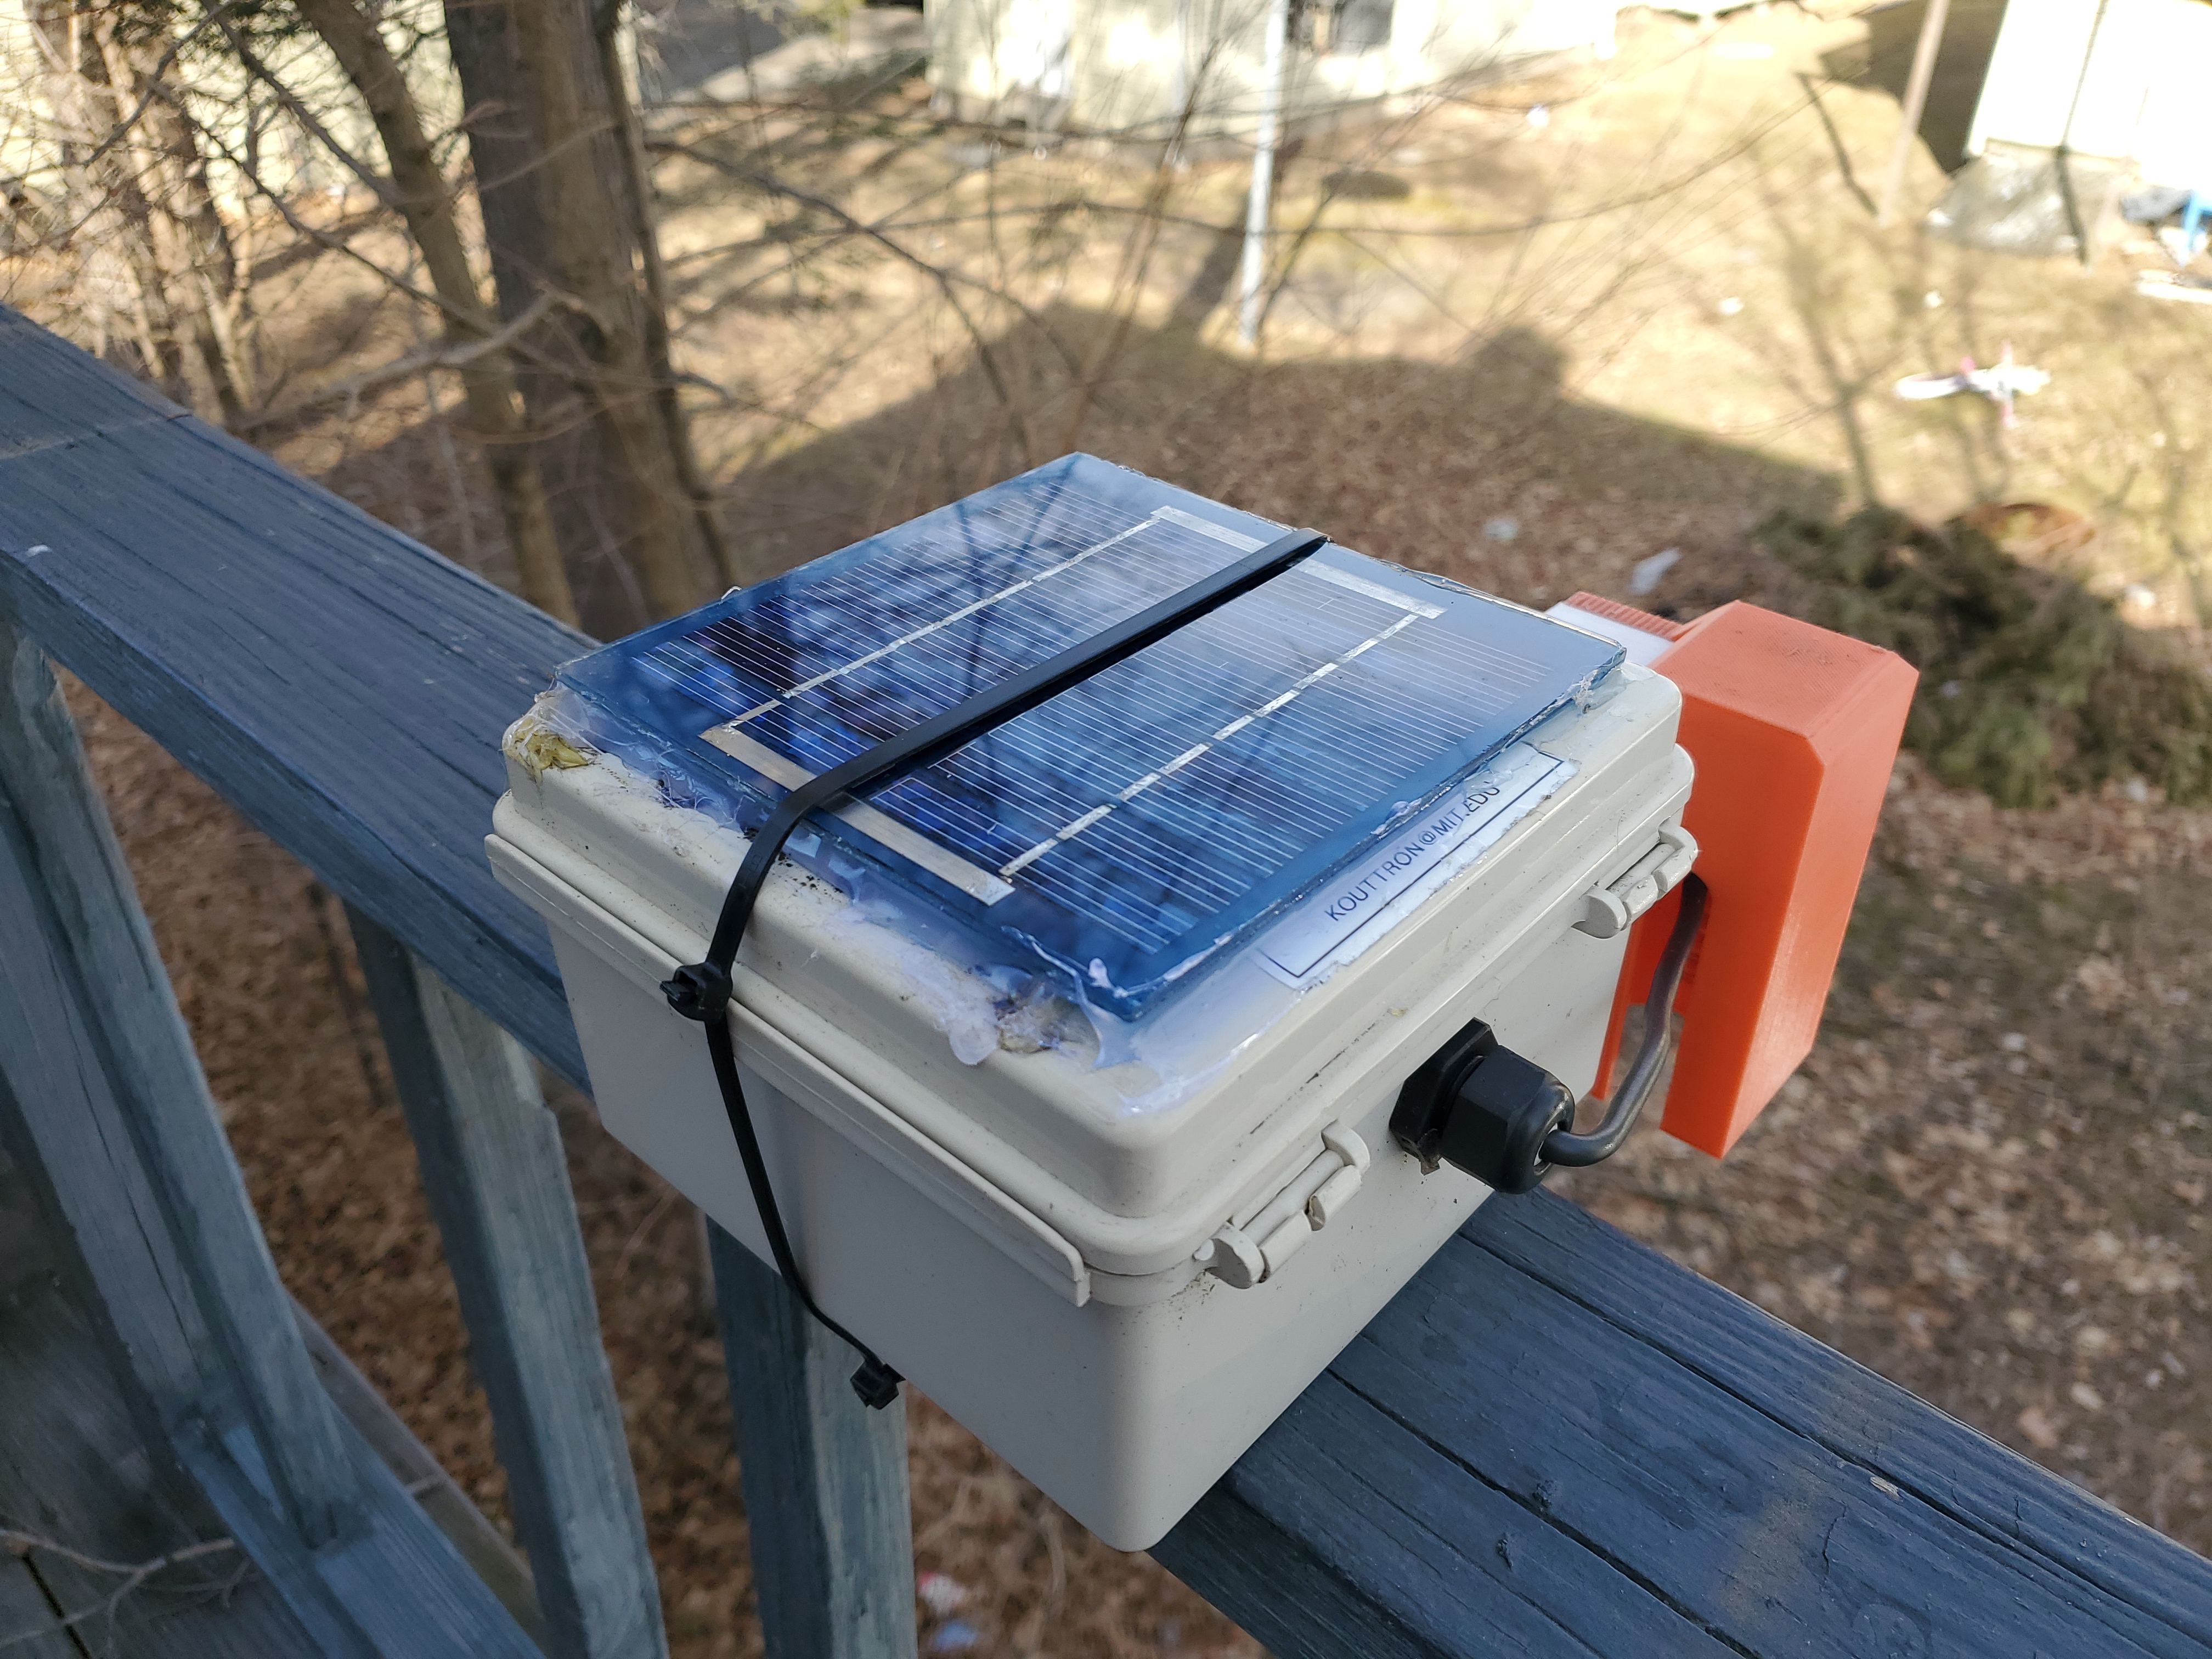 Hardware that lives outside and keeps working has a special place in my heart, it's rattled by all types of conditions and moisture will try and get in at every opportunity. In this writeup, we're putting an esp32 to work to measure an external temperature and humidity probe, report those values back over WiFi and keep running throughout the years. |
||
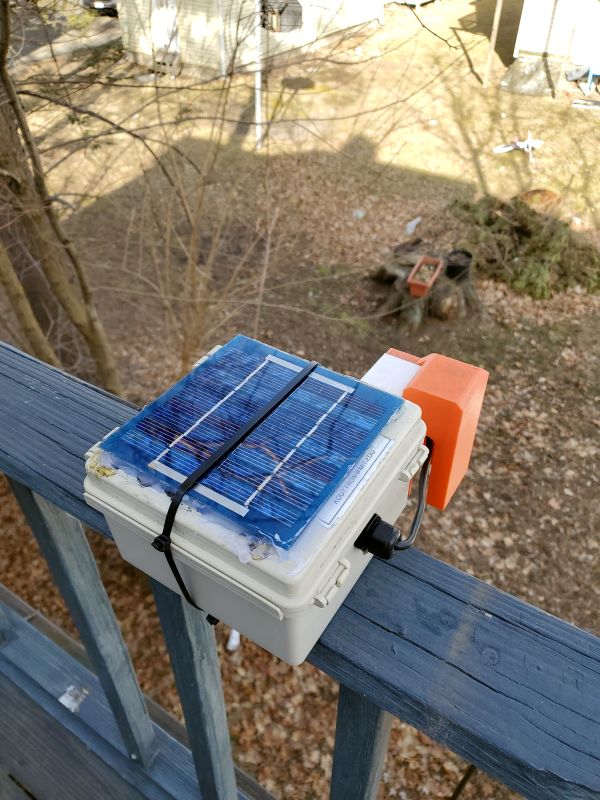
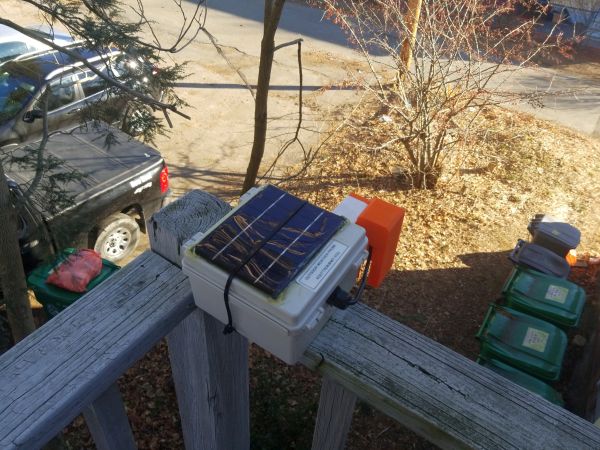
Why would you want to know temperature and humdity outdoors, there's the internet for that ?! There is the internet, but what if you wanted to go backwards in time, or try and correlate outside temperature and something else at home? Do you get 5 minute resolution data? The goal here is to develop software and hardware that works and manages to keep working with intermittent WiFi, cloudy snowy days and the like. Here's the 'final' form of the weather monitor, happily zip-tied to my porch. What hardware survives the long haul, and what hardware struggles? Check up on this page periodically to find out. The zip-tie mount is probably something that needs updating.
Some photos of the outdoor sensor monitor chugging along after 3 years:
This little rectangle keeps chugging along reporting back diligently the ether it's environment. Like a little rover on a foreign world, it keeps going despite WiFi issues or cloudy Massachusetts weeks 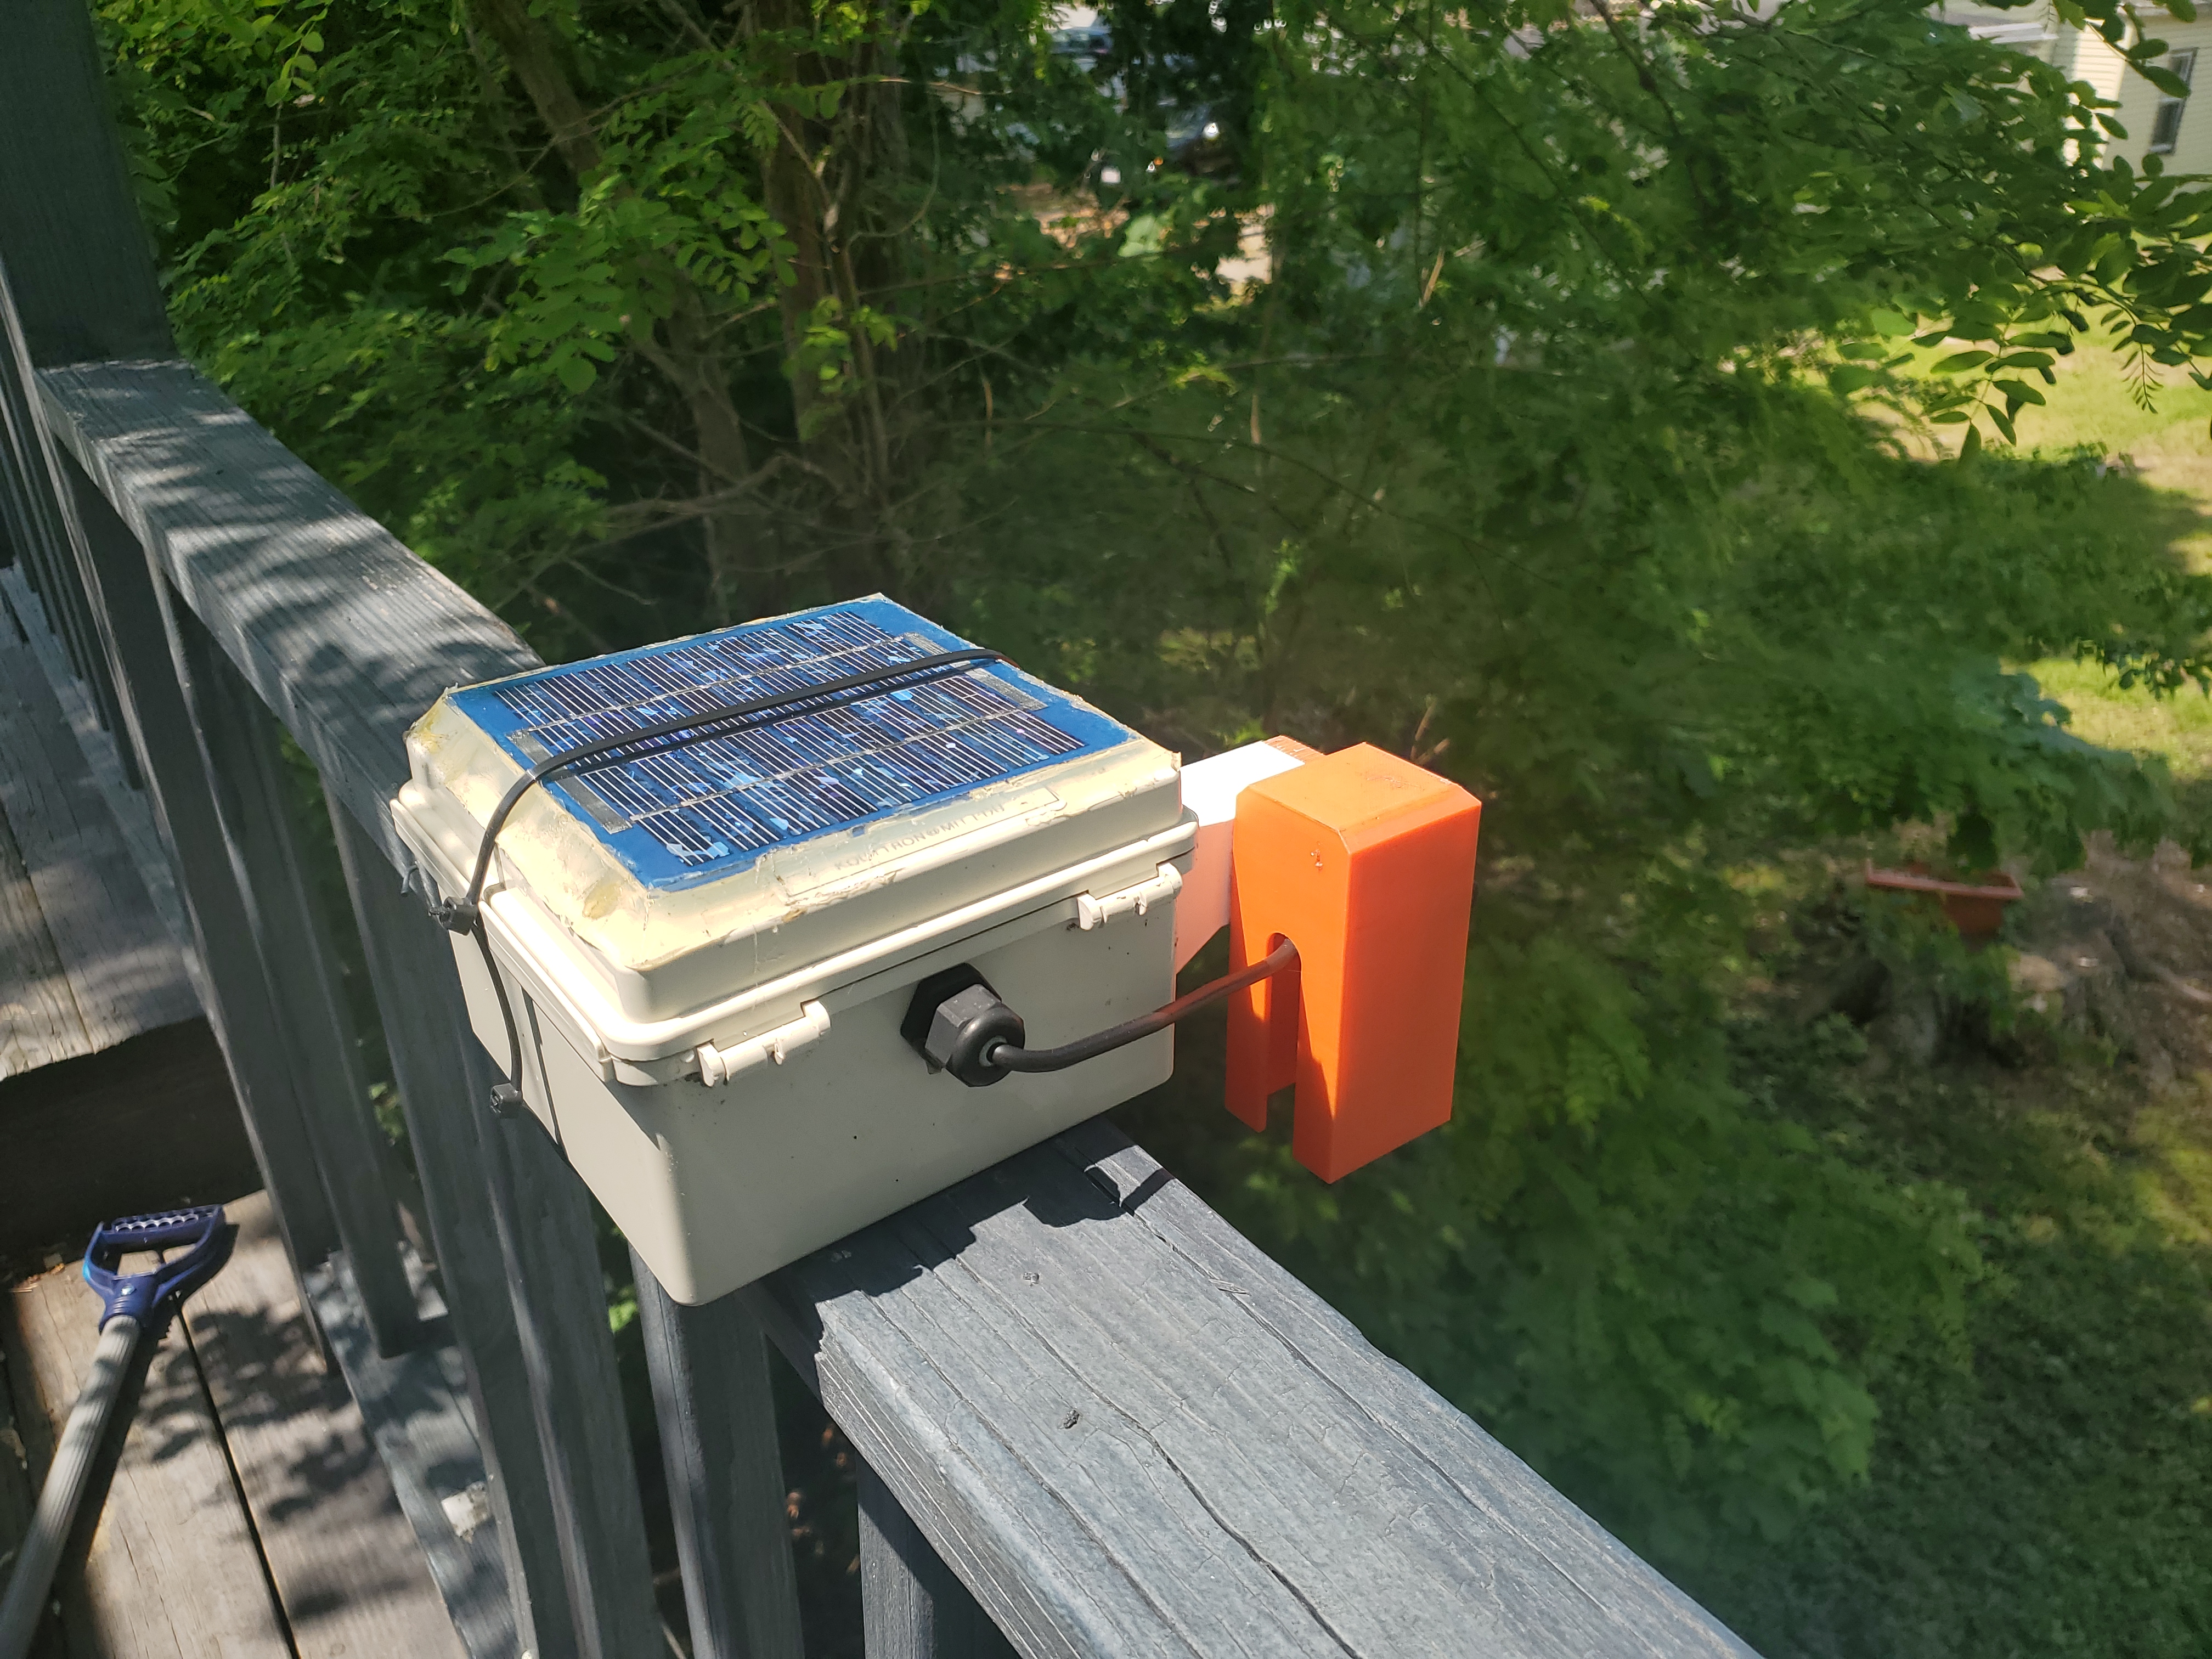 System Requirements:
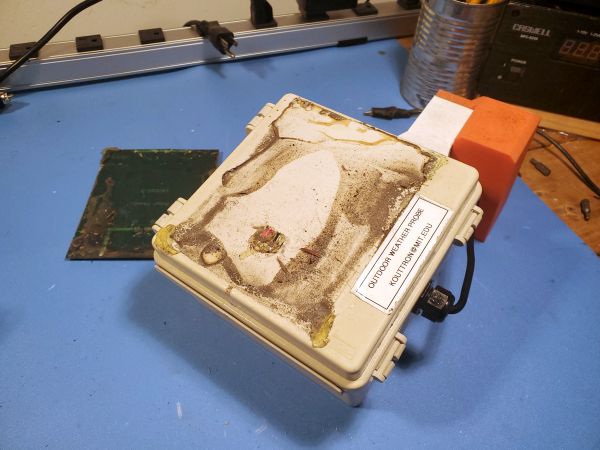
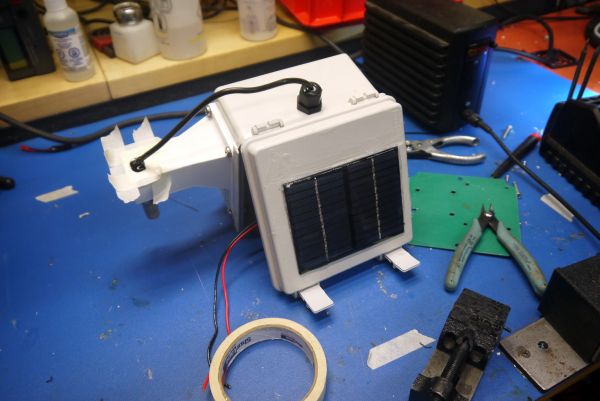
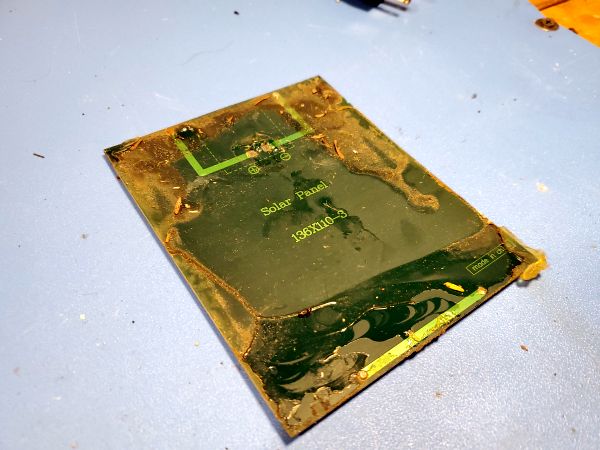
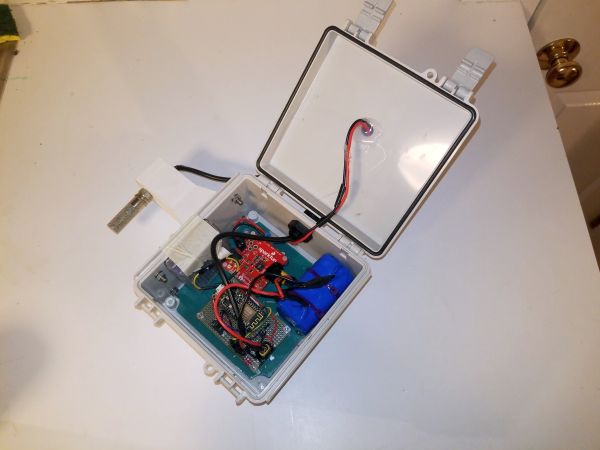
Nominally there's only really a few main requirements that drove how this gadget turned out. Waterproof It needed to be waterproof, and the best way to do that is to start with an existing waterproof container. I like clam-shell enclosures as they permit opening to service without a tool while they still do a great job of sealing off from the outside environment. The cable glands used to pass the sensor's cable also work well for keeping a waterproof barrier between outside and inside. Solar Powered without intervention I really did not want to have to periodically recharge this thing, I wanted it to live on its own and survive off the meager light on my porch throughout the year. There's only three main ways to do this, have a large solar panel, have a huge battery, or spend time to reduce quiescent current. Quiesceent current is the amount of current consumed when the gadget is asleep. Small and Simple I did not want to have to layout a board or buy exotic hardware, this was intended to be simple to assemble and build without exotic tools. "small" mechanically was defined by not requiring a huge solar panel with an associated wind shear or thermal loading. Ie this should fit on a porch railing without too much of a problem. Datalogging did not require self-hosting Self-hosing is great but it's also something else to maintain. In this case i opted to use mathworks's thingspeak network as a place to store data. My data requirements were so low that the free-tier really worked splendidly. Temperature, humididity, Wifi signal strength, battery voltage were all i really cared about, logging once every 5 minutes was nothing in terms of their data quotas. With these requiremennts set, lets make a quick schematic [2023] The first solar panel had some issues: Initially i opted for the super-cheap ~6V 1-2watt epoxy panels. These are ubitquous and very budget friendly, but wow they do not hold up over time. After one year of solar UV exposure, this thing clouded up remarkably. The epoxy used for these panels must be some kind of non UV-Stabilized stuff because the solar cell lost approximatley 70% of its output. How did i know that it was UV driven? Look at the stripe in the middle where the zip-tie that held it to the porch rested. While the panel did hold up for an entire year, this doesnt really hit the "solar powered without intervention" thing requirement I was going for. 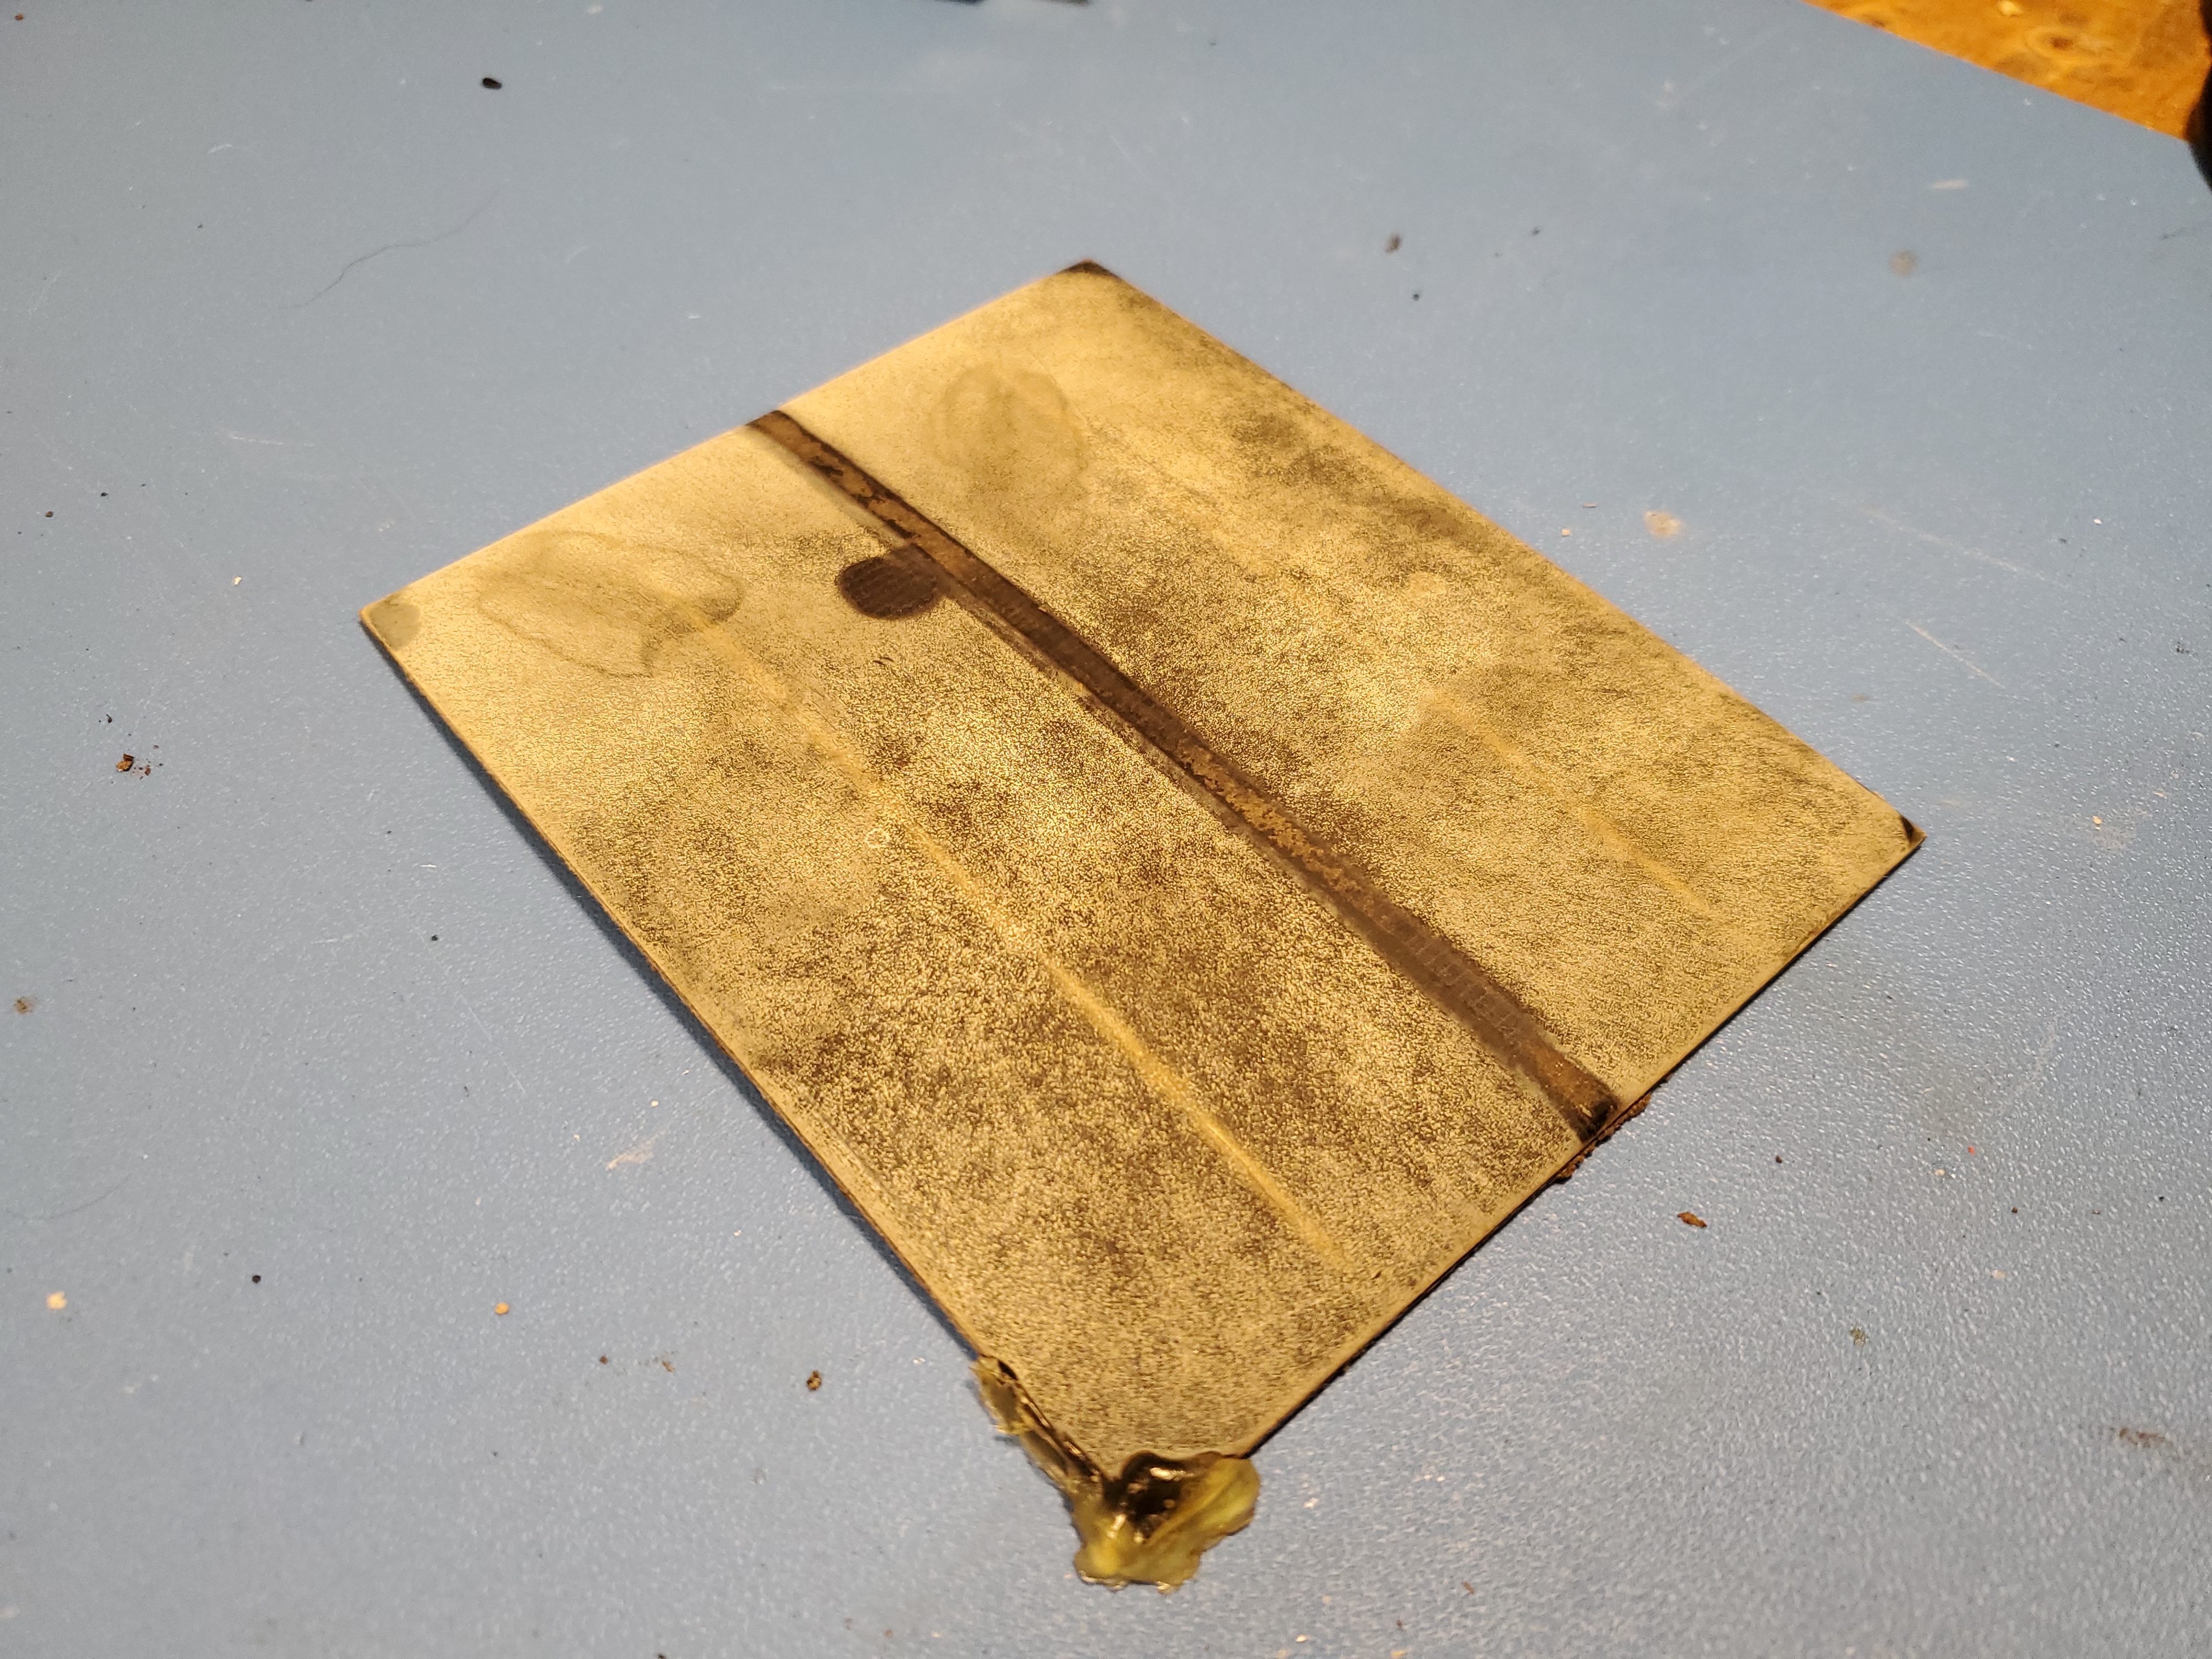  The attachment to the box was also somewhat not stellar. I had previously used hot-melt glue to attach the cell to the enclosure, while keeping the wiring of the cell passing through a small opening in the top of the case. This didn't end up holding up well. After removing the failing epoxy cell we can see that there was a lot of dust and muck intrusion. The two wires that connected to the panel through a potted hole also were barely holding on. It was fairly clear that the hot glue was applied to spairingly. There was no water intrusion into the case so we at least know that the potted pass through held up. With some windex and cleaning agents i was able to remove the grime and glue remnants to prep for installing something new. 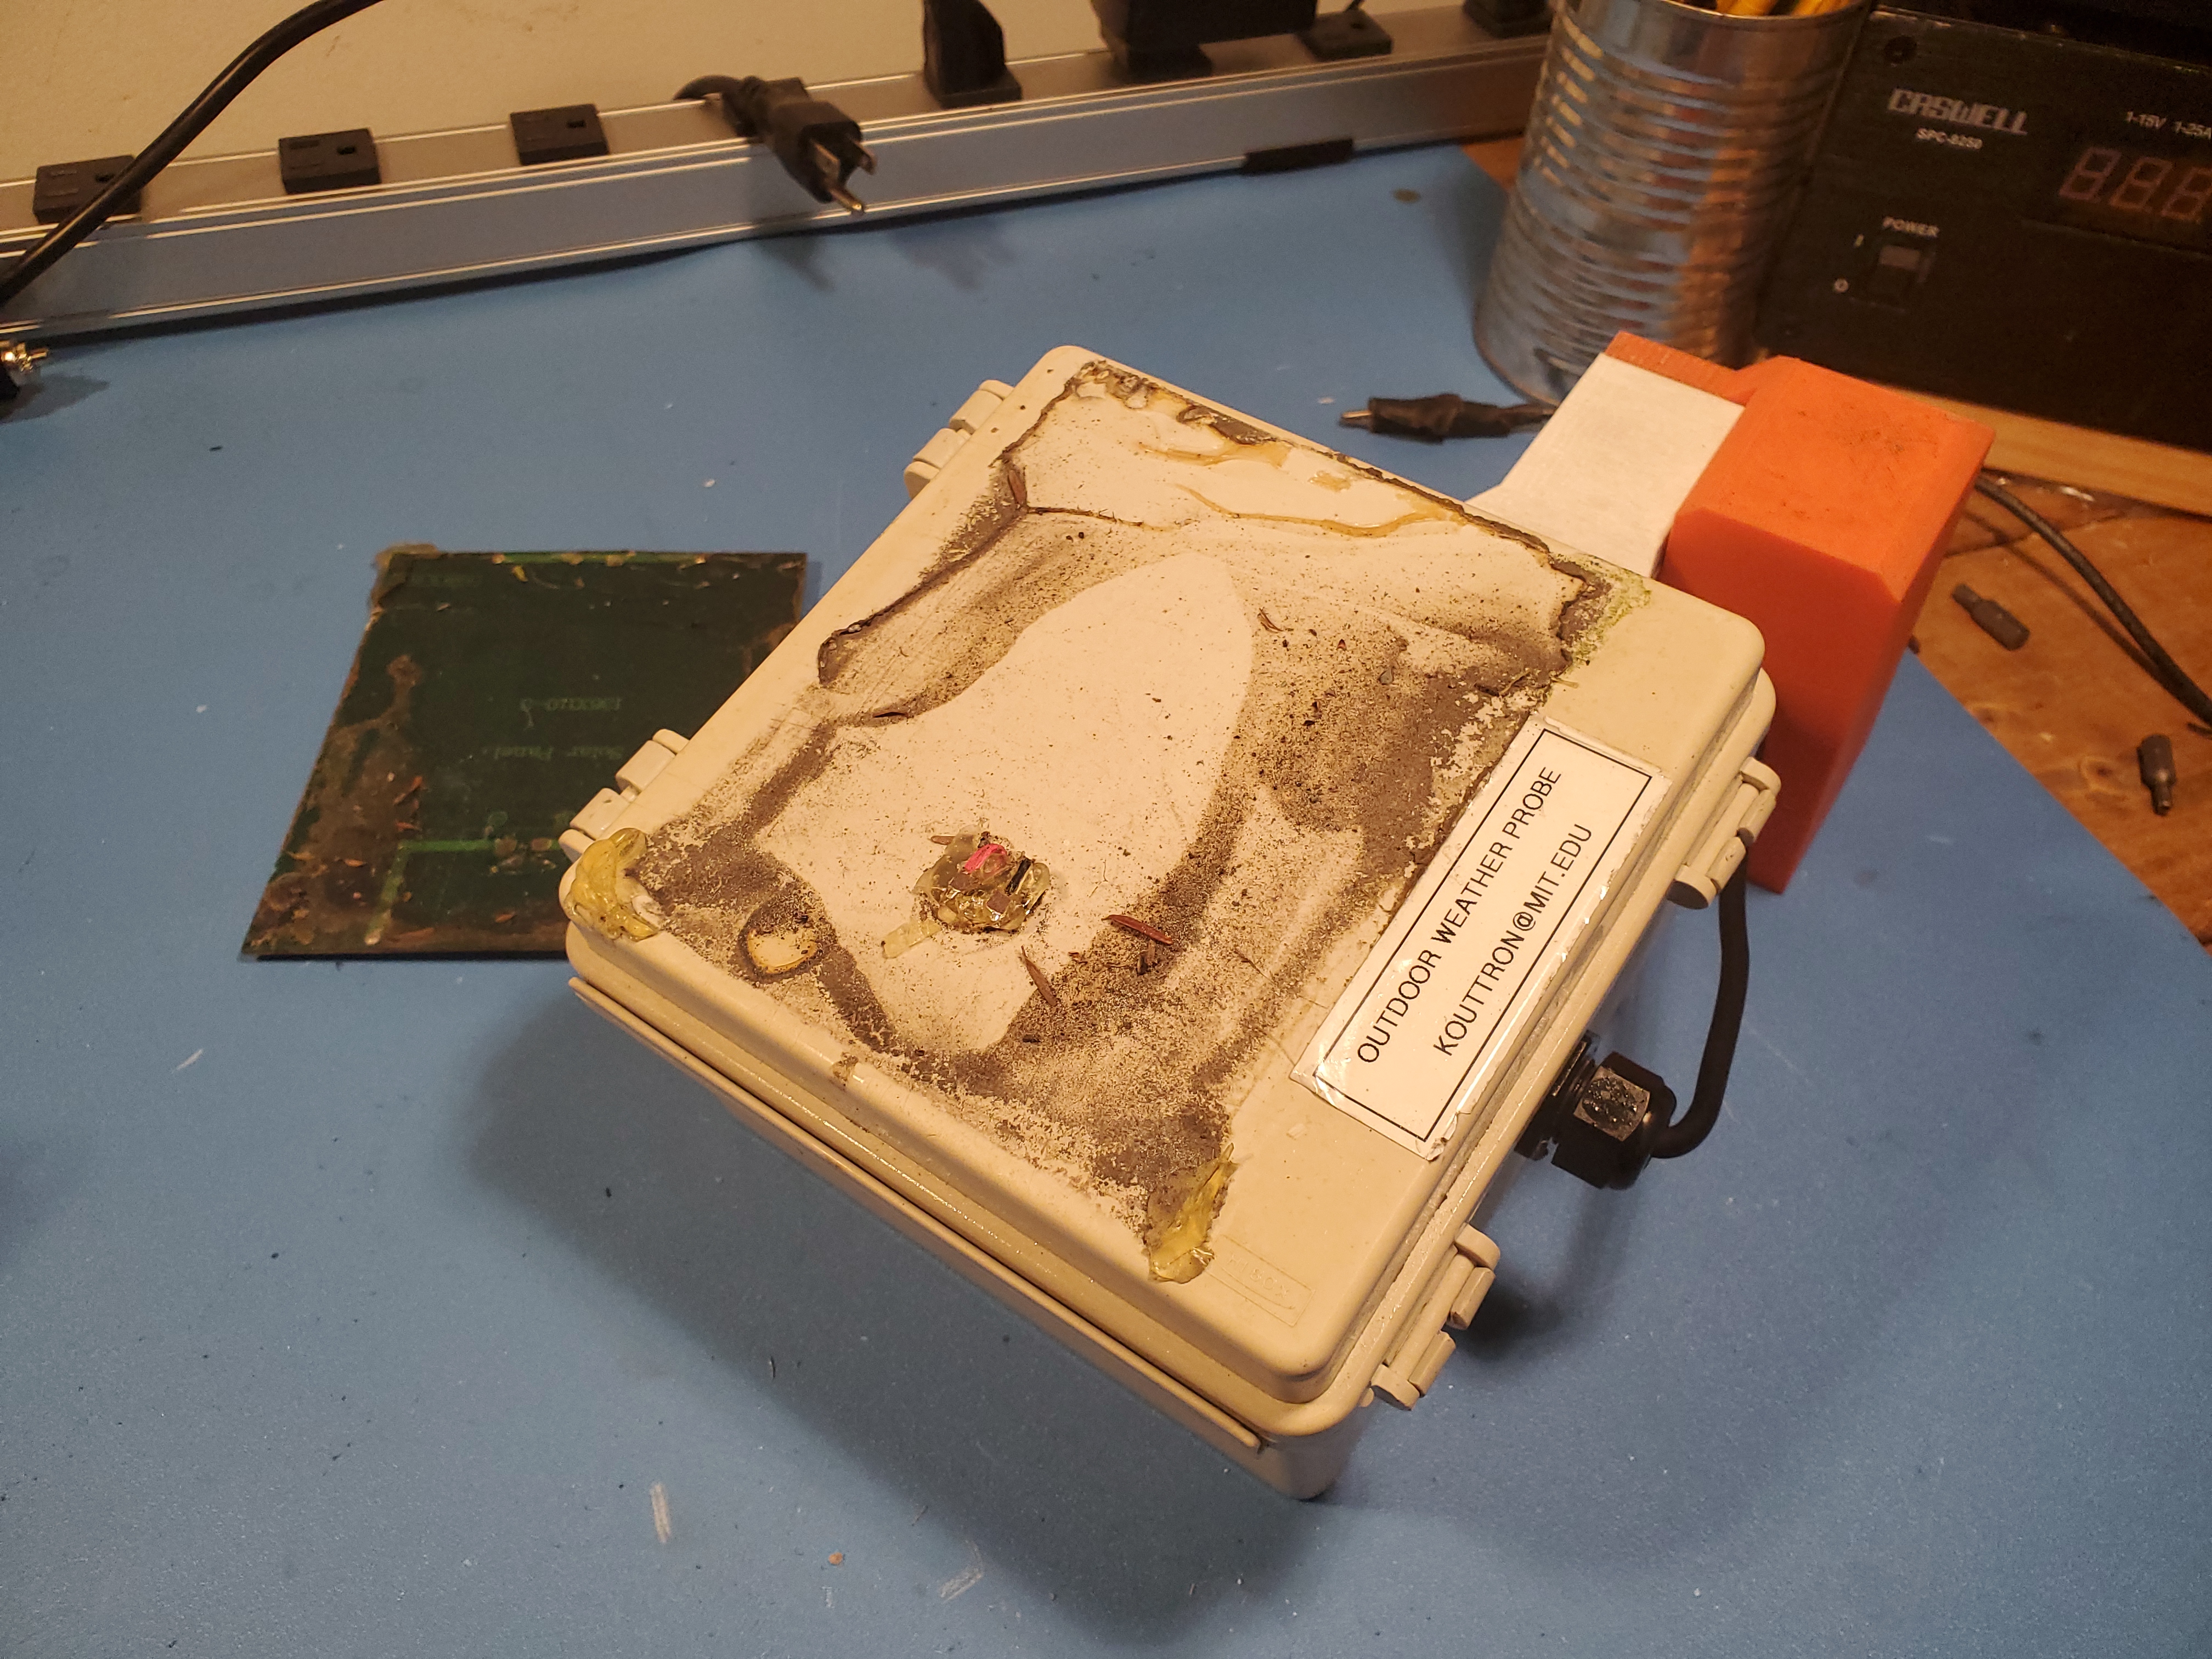 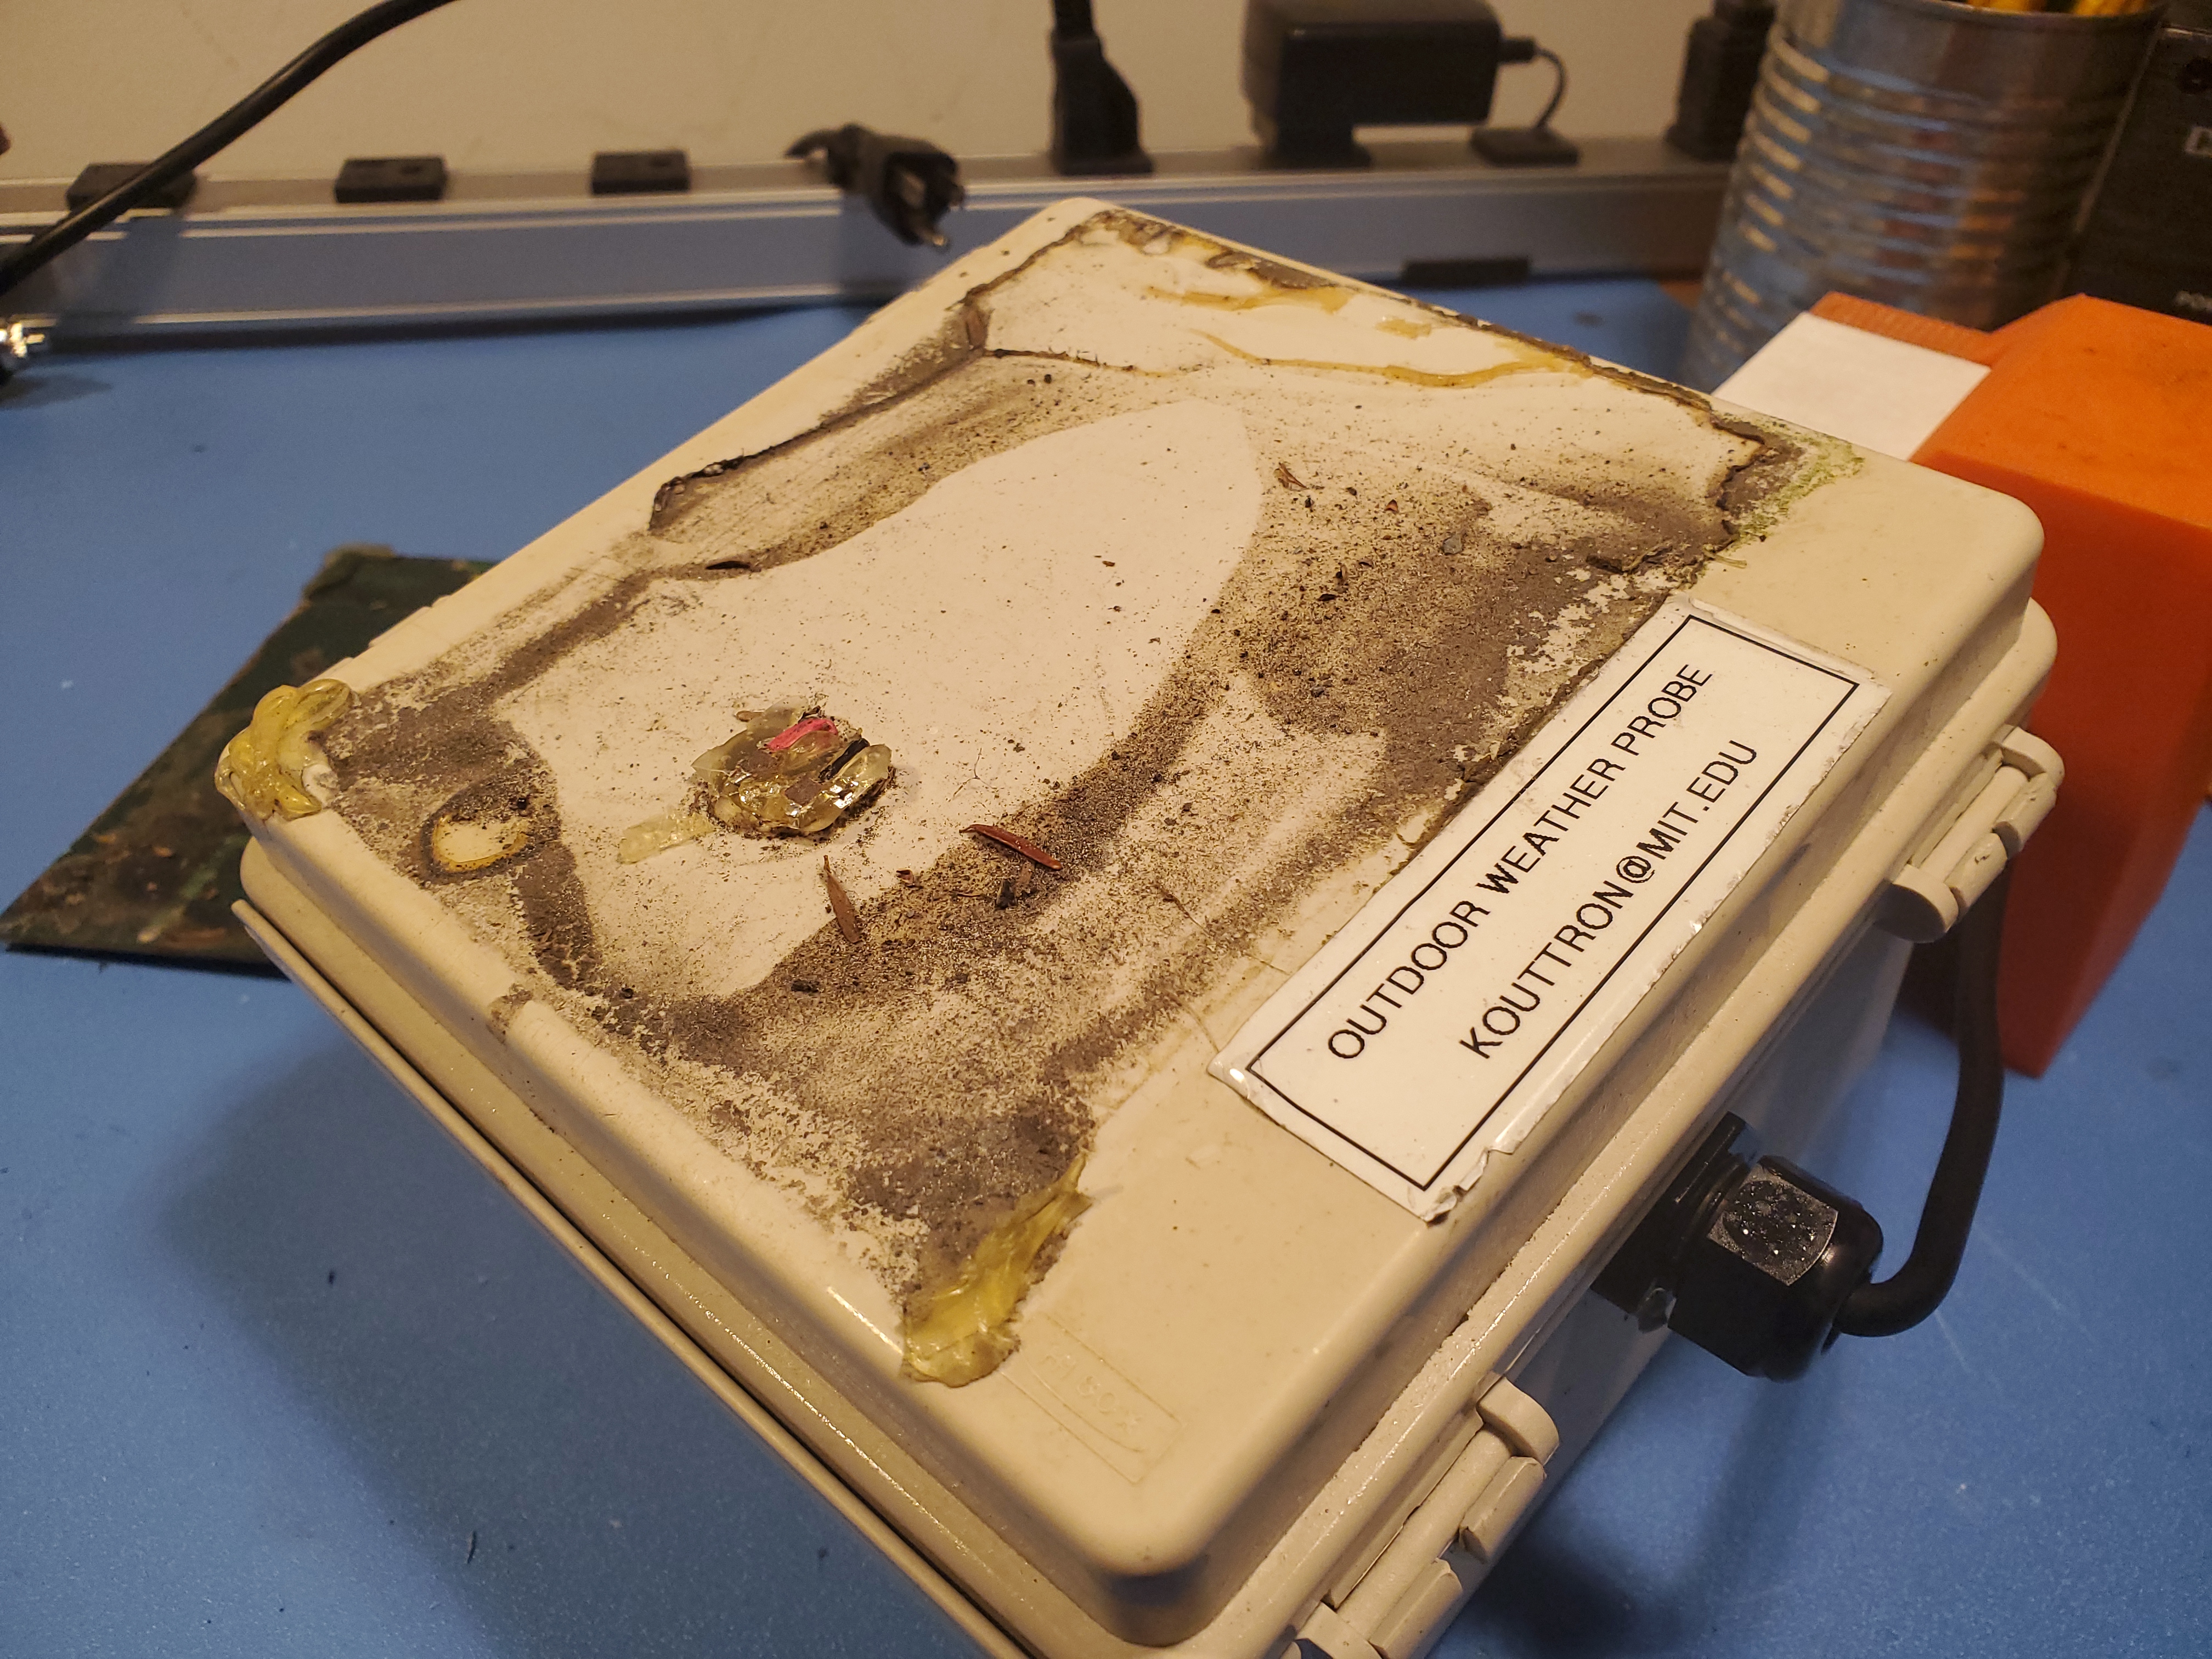 Ancient Glass solar cell to the rescue Sometime in 2019 i stumbled upon some MIT Museum artifacts, these are relics, but they are glass bonded. The cell itself is a 5 inch square glass cutout with small 2.25 inch polycrystaline cells soldered in series-parallel and attached with some potting compound on the opposite side of the glass. In this case the glass deals with the UV. Ideally this should work well for the ~1W 6V solar input I was looking for. Either way I adopted a dozen of these and was fortunate to have them mid 2023 as a replacement. Mechanically it was larger than the cell I had initially chosen but it was still within the size of the lid of the enclosure. 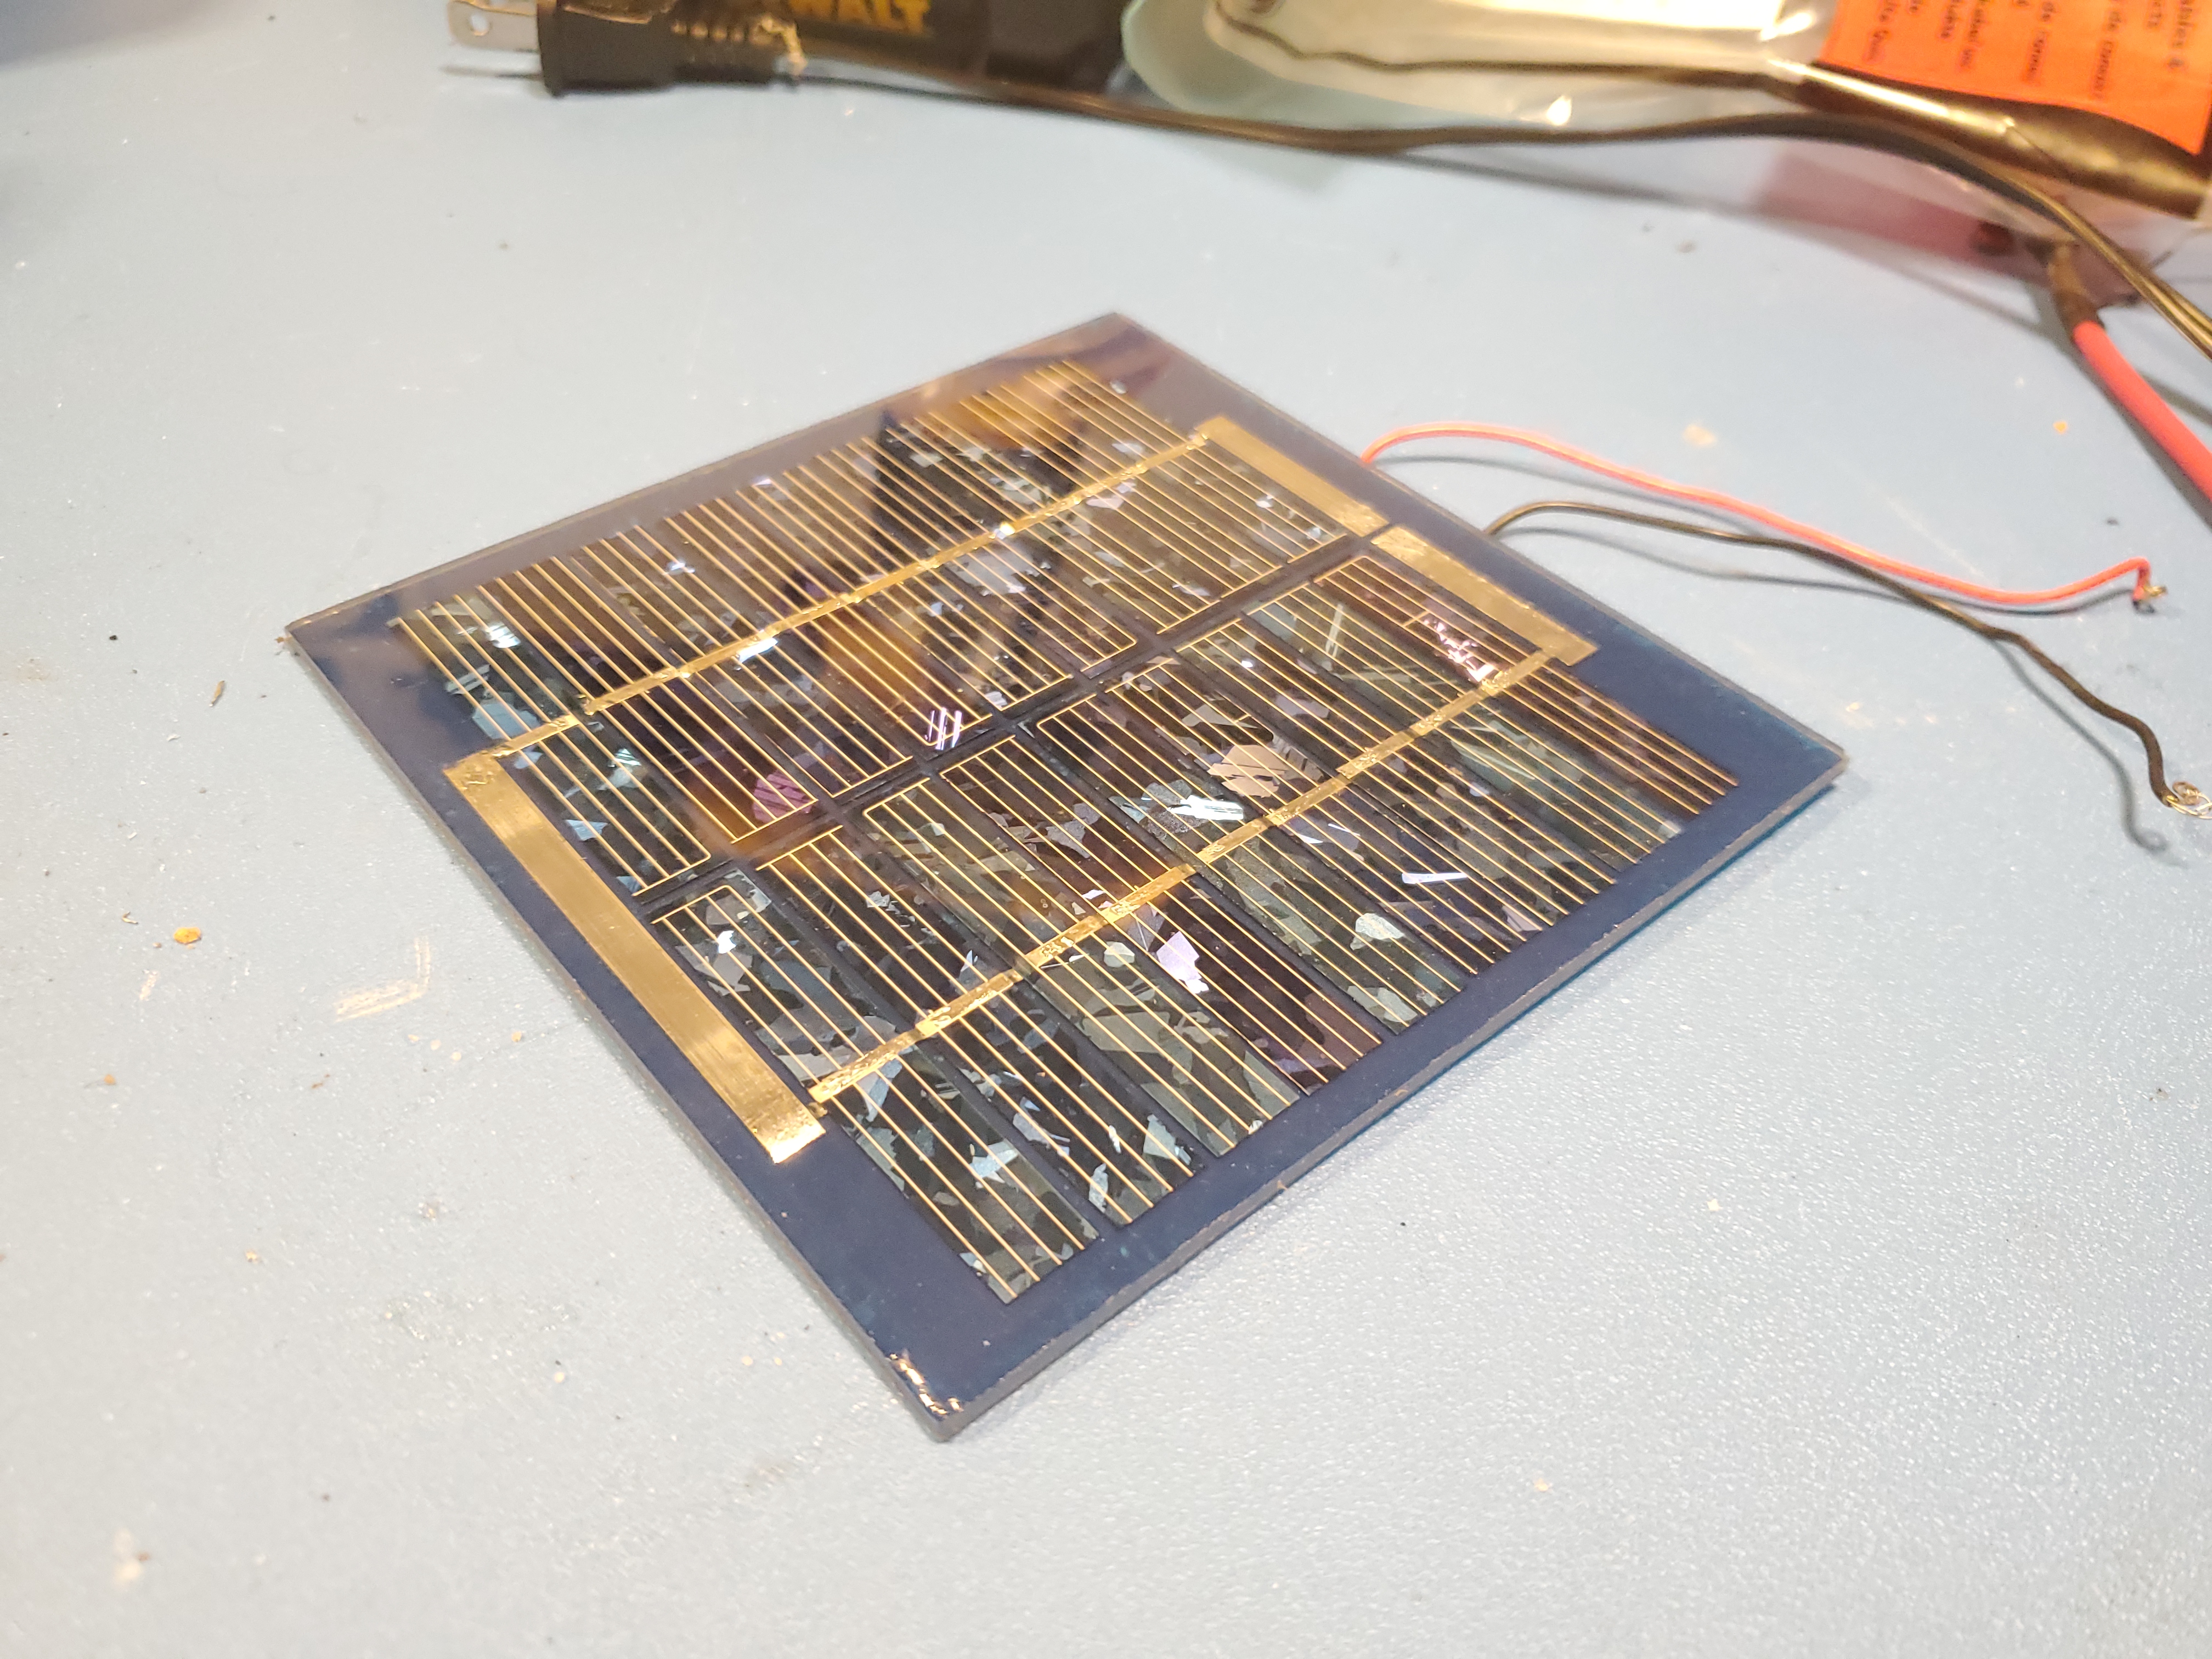 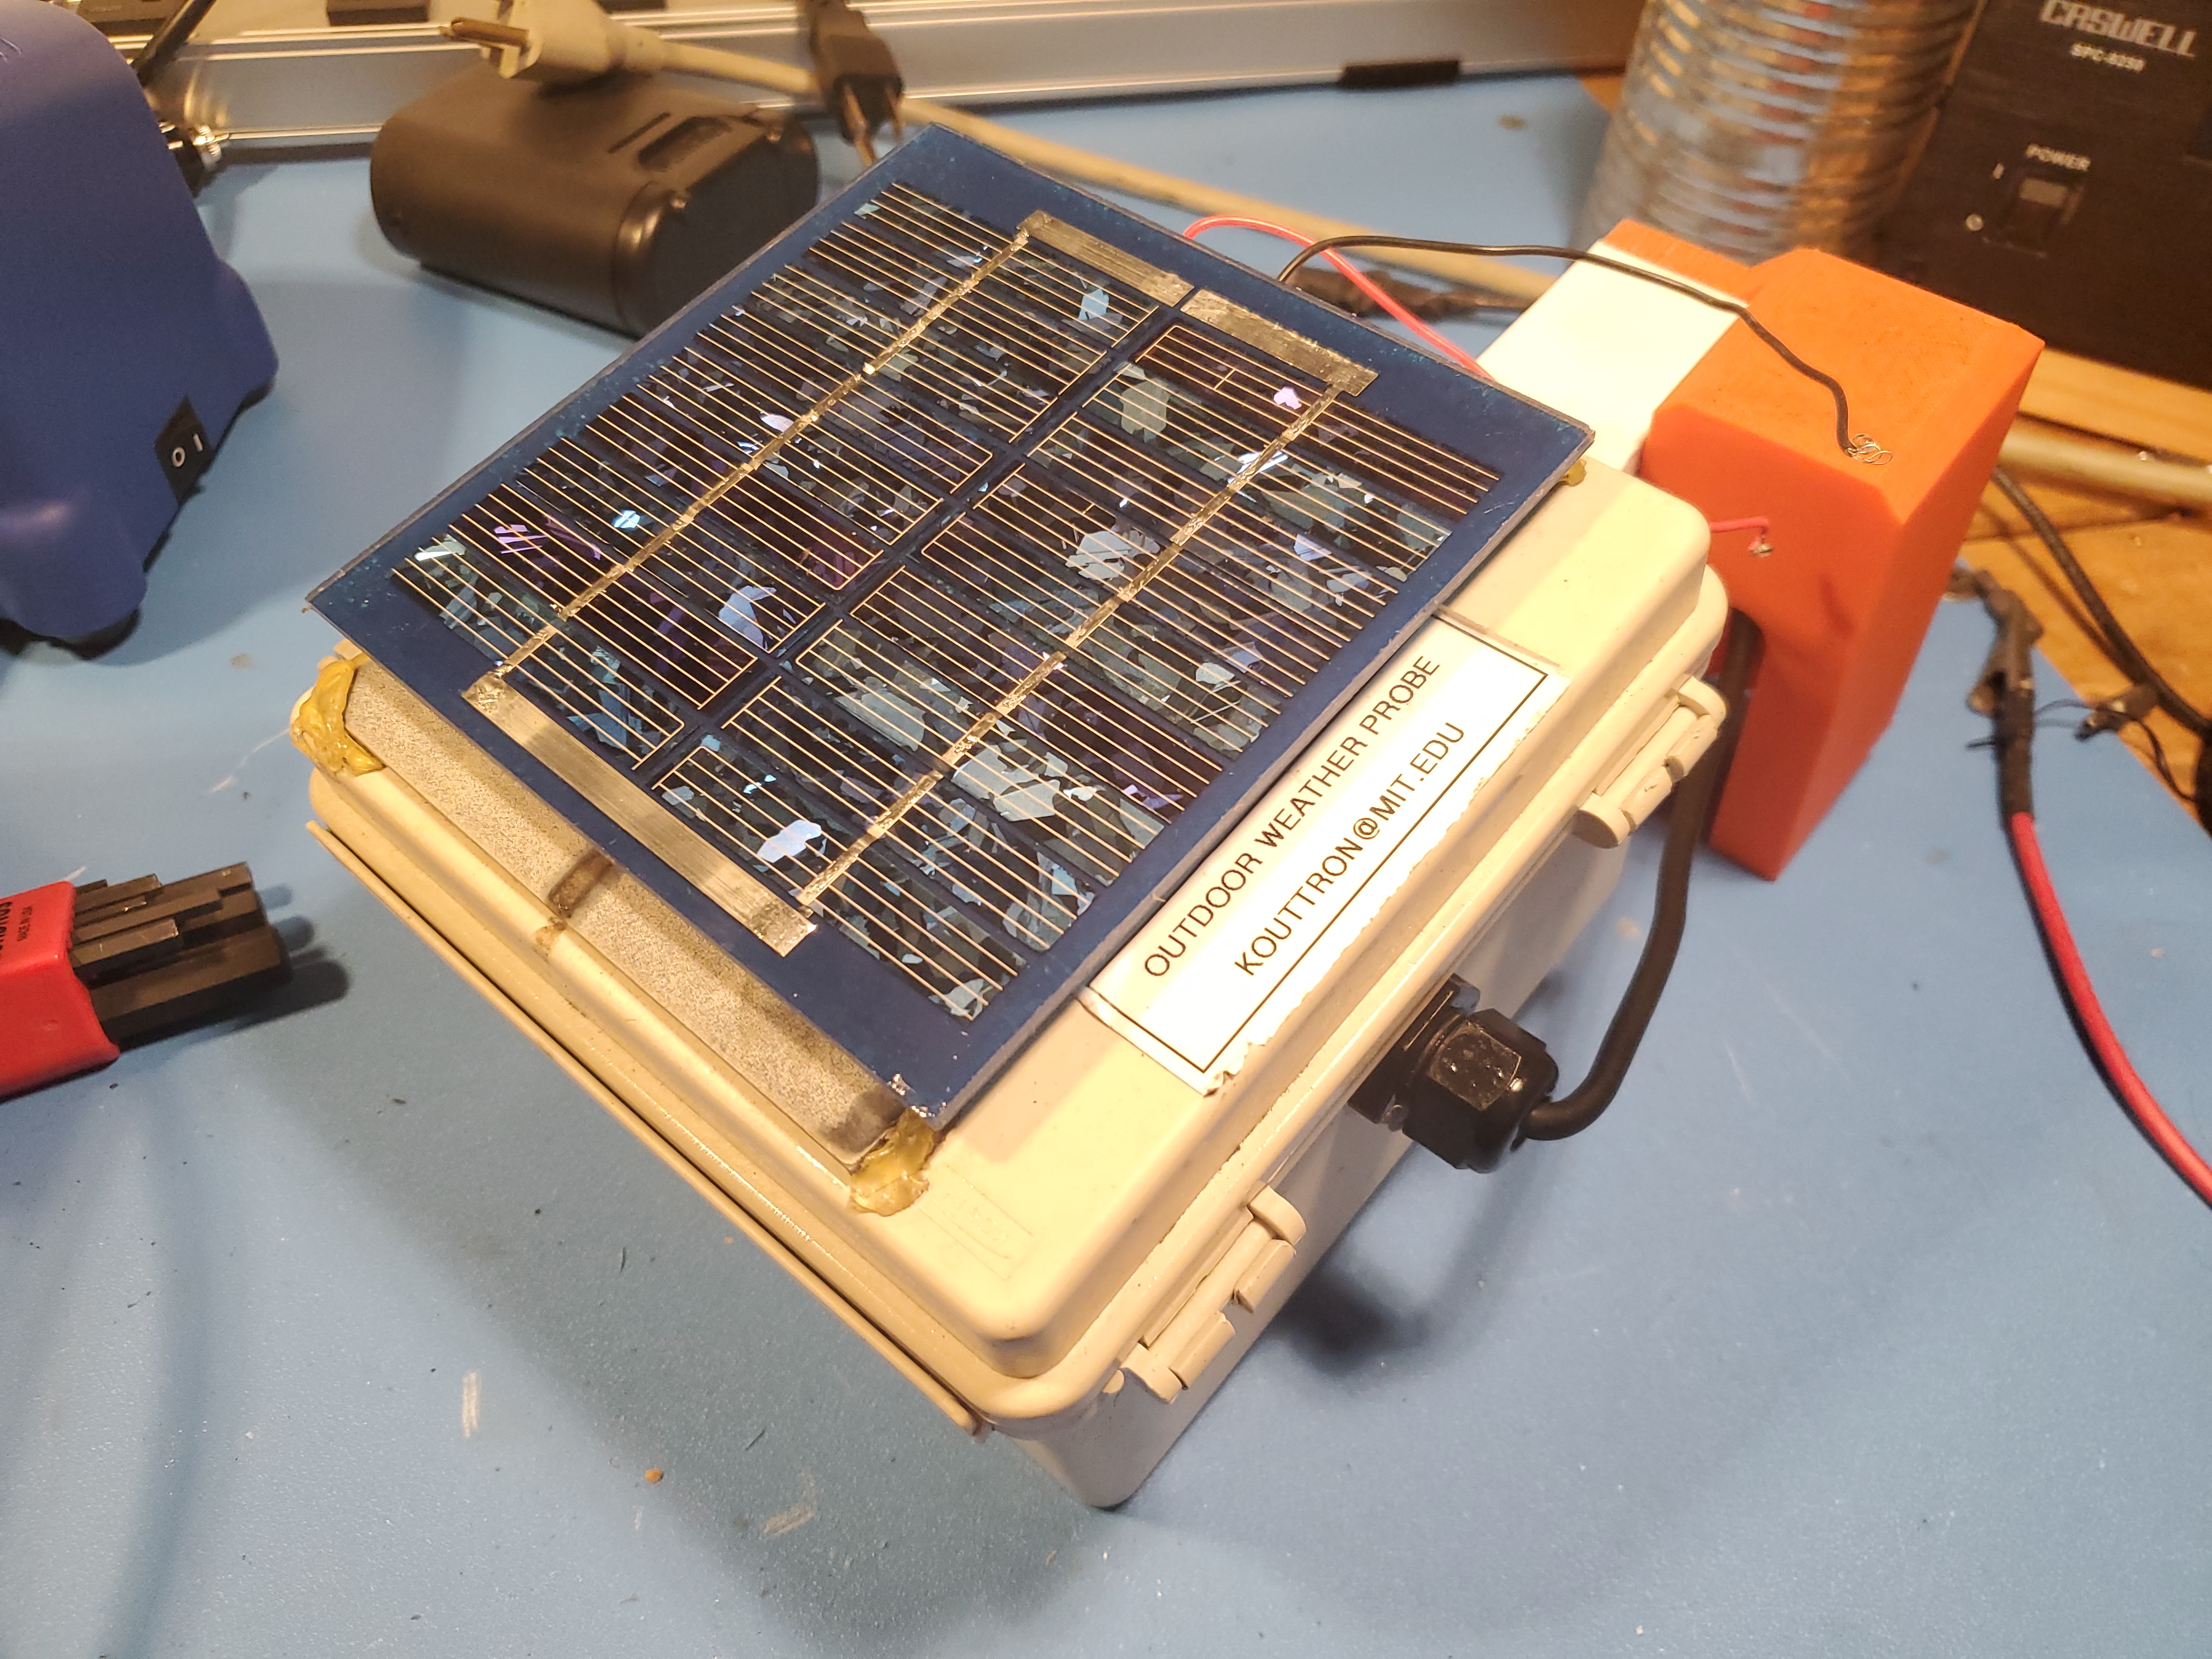 To mount the 'new' replacement solar cell I opted to
use UV rated outdoor silicone RTV. After wiring in the panel and
verifying that it worked, i applied a heaping amount and attached the
cell firmly to the top, letting it cure for a full day before
re-installing it outside.
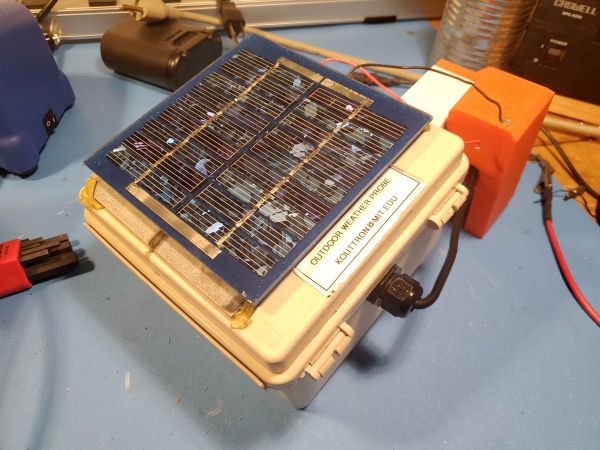
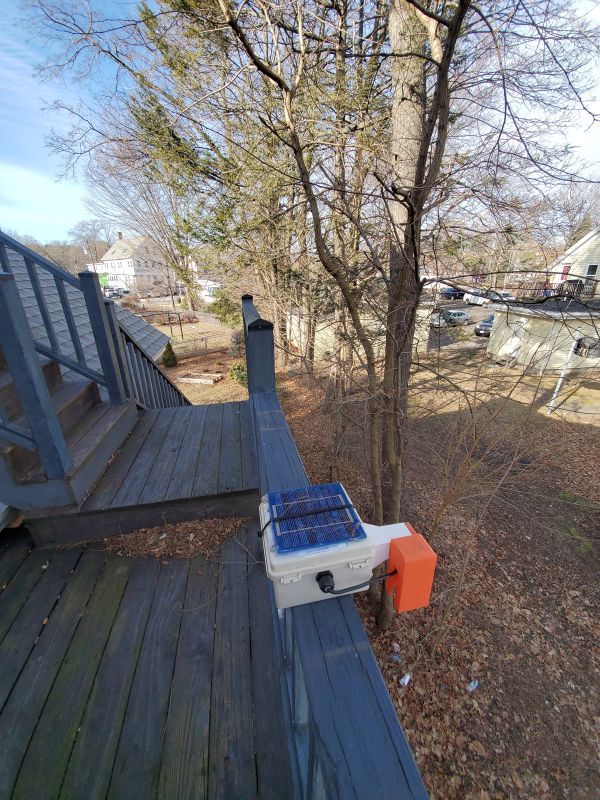
The replacement panel worked out great and can be seen below chugging along outside in the sun.
Have you noticed that there are no
advertisements or ridiculous pop ups?
|
Post your comments! |
|
Comment Box loading
|